
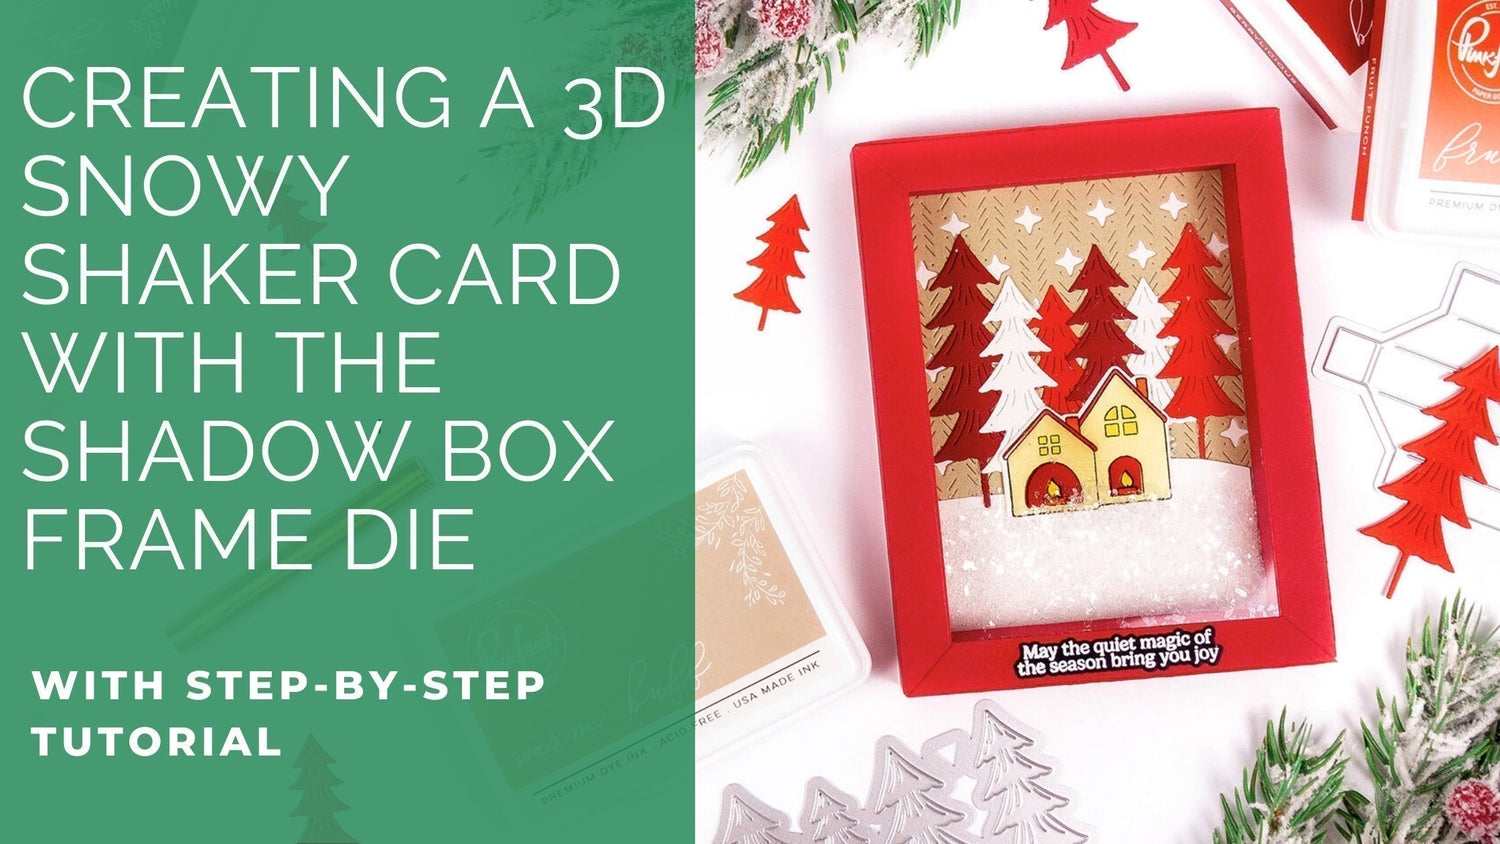
Hello everyone! It's Rachel here with a 3D "snow-filled" shadow box shaker card featuring some gorgeous products from the latest Twinkle & Tradition Release.
I've always loved creating 3D projects, so I was really excited when I saw the new Shadow Box Frame Die. This type of card is super easy to assemble and also makes a beautiful decoration that your recipient can display.
*Disclaimer: All products used are linked below as clickable images. If a product isn’t listed, it’s been discontinued

How to recreate this card:
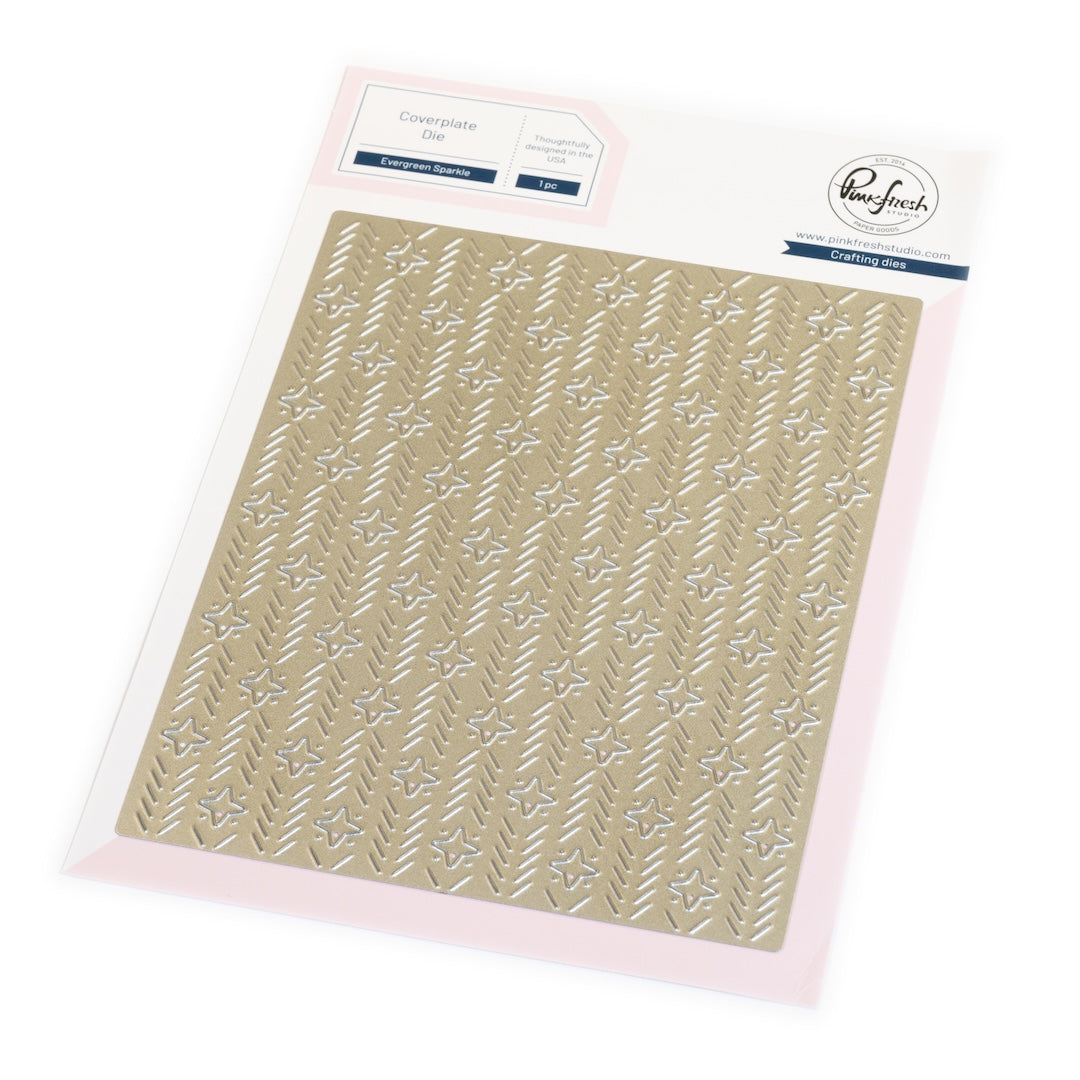
1. Die cut a 4.25" x 5.5" piece of beige or Kraft card stock using the Evergreen Sparkle Die and adhere it to a 4.25" x 5.5" piece of white card stock.
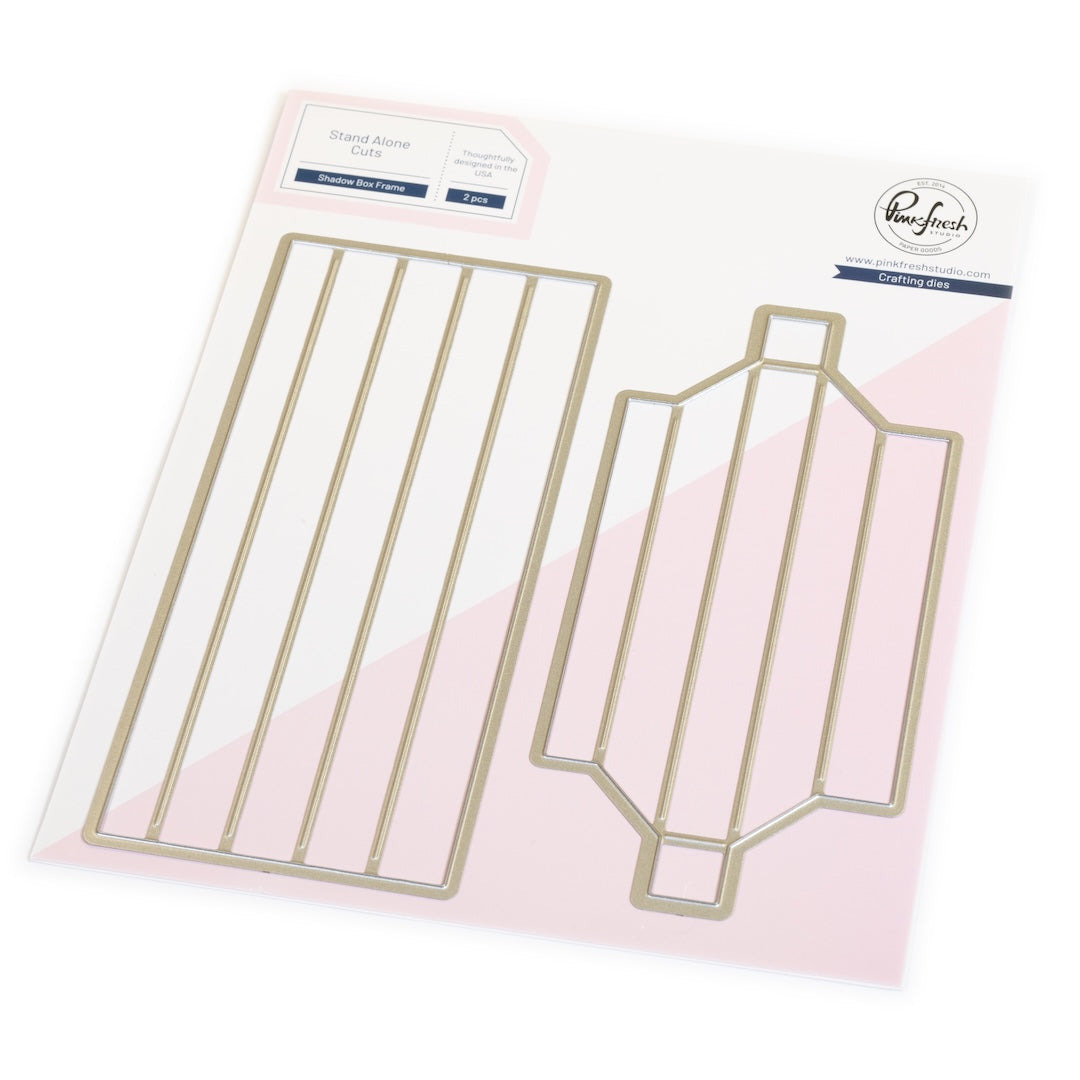
2. Create your shadow box frame from red card stock using the Shadow Box Frame Die. Check out the Pinkfresh Studio YouTube video HERE for easy instructions on how to create the frame.
3. Add glue to the back of the frame and attach the entire piece to your card base that contains the beige die cut piece from step 1.
4. Trim a piece of white card stock to 3.25" x 1.5" and fussy cut the top of the piece (along the long side) to resemble a snow drift and glue this piece to the card base inside the bottom of your shadow box frame.
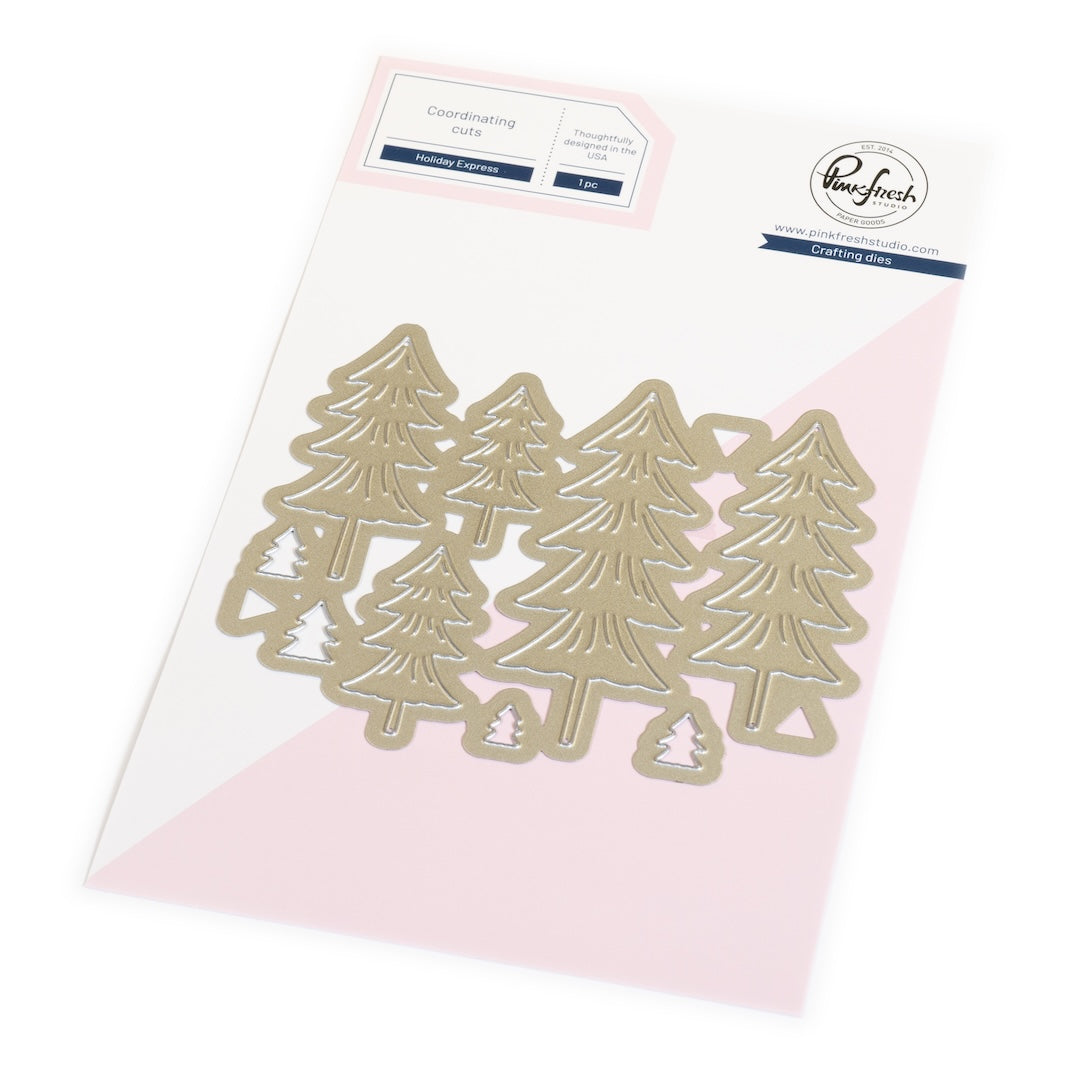
5. Use the Holiday Express Die Set to die cut some evergreen trees from red and white card stock. I used two shades of red (one light and one dark) to give my card some more variety.
6. Glue your trees to the base of the card on top of the snow drift so that they fill out the background scenery.
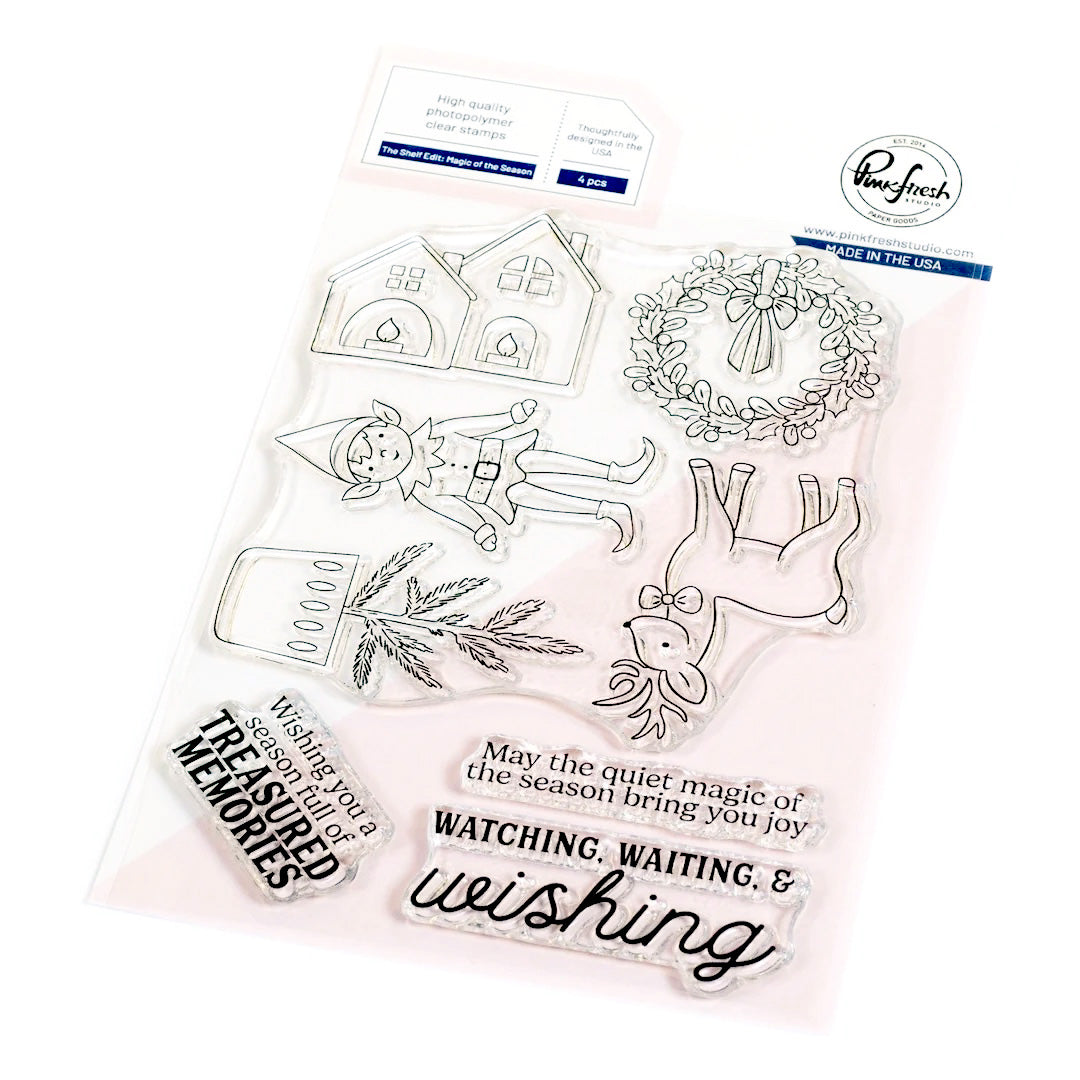
7. Use Pinkfresh Detail Black Ink to stamp your images from The Shelf Edit: Magic of the Season Stamp Set onto a piece of white card stock.
8. Add color to only the house image using the coordinating stencils.
- Stencil 1: Warm Buff
- Stencil 2: None
- Stencil 3: None
- Stencil 4: Sunshine
- Stencil 5: Fruit Punch
- Stencil 6: Berrylicious
9. Die cut the images and glue the house onto the base of your card near the top of the snow drift.
10. Add your "snow" inside the window of the shadow box frame. I used chunky white glitter, but you can use whatever embellishment you want!
11. Glue a 4.25" x 5.5" piece of clear acetate on top of the shadow box to hold in your embellishments.
12. Die cut two more pieces of red card stock using the two dies from the Shadow Box Frame Die Set and either fussy cut or trim (along the score lines) two angled strips from the angled piece, and two of the large rectangle strips from the rectangular piece.
13. Glue these strips on top of the piece of acetate exactly on top of the front of the frame below.
TIP: Make sure you glue your two rectangular side pieces first and the top and bottom angled pieces last so that the angled line is still seen on the corners of the frame.
14. Lastly, add your sentiment to the bottom of the shadow box frame. I heat embossed one from The Shelf Edit: Magic of the Season Stamp Set onto a piece of black card stock and die cut it with its coordinating die.

I hope you enjoyed my card today and will be inspired to make one of your own!
I would love to see what you create! Make sure to tag us on Instagram with your personal creations using these products!
Please feel free to leave a comment below as well as any questions you may have.
- Rachel
Recommended Products


























1 comment
Darlene Renshaw-Busch
Leave a comment
All comments are moderated before being published.
This site is protected by hCaptcha and the hCaptcha Privacy Policy and Terms of Service apply.