
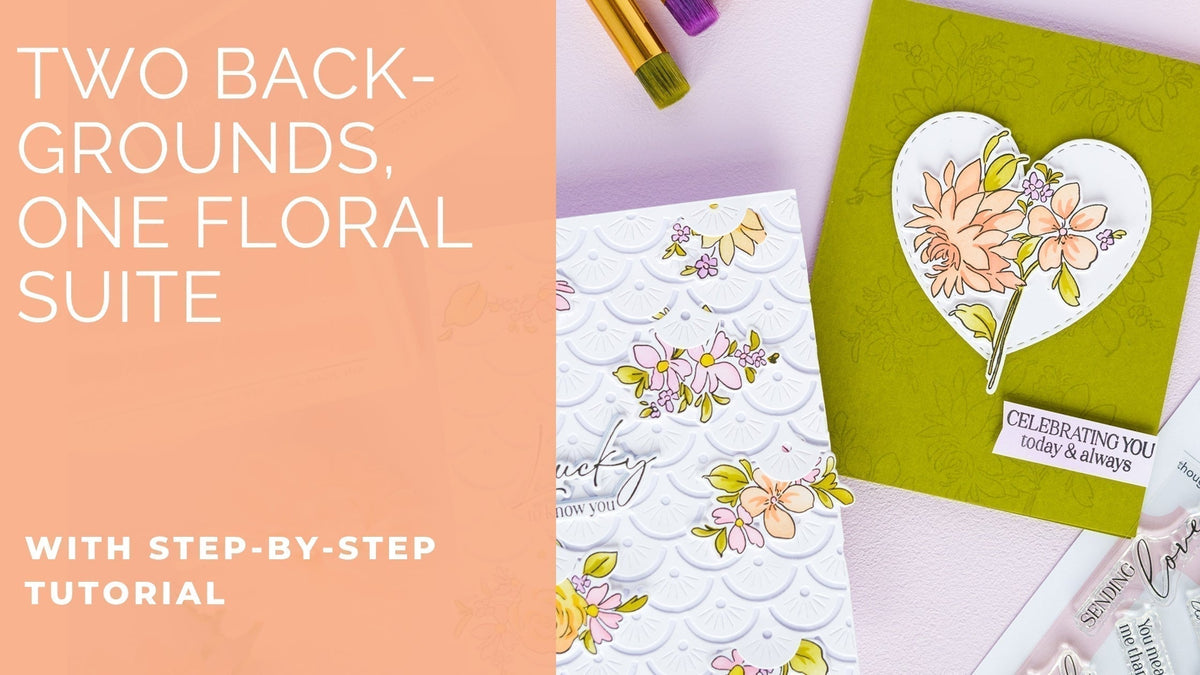
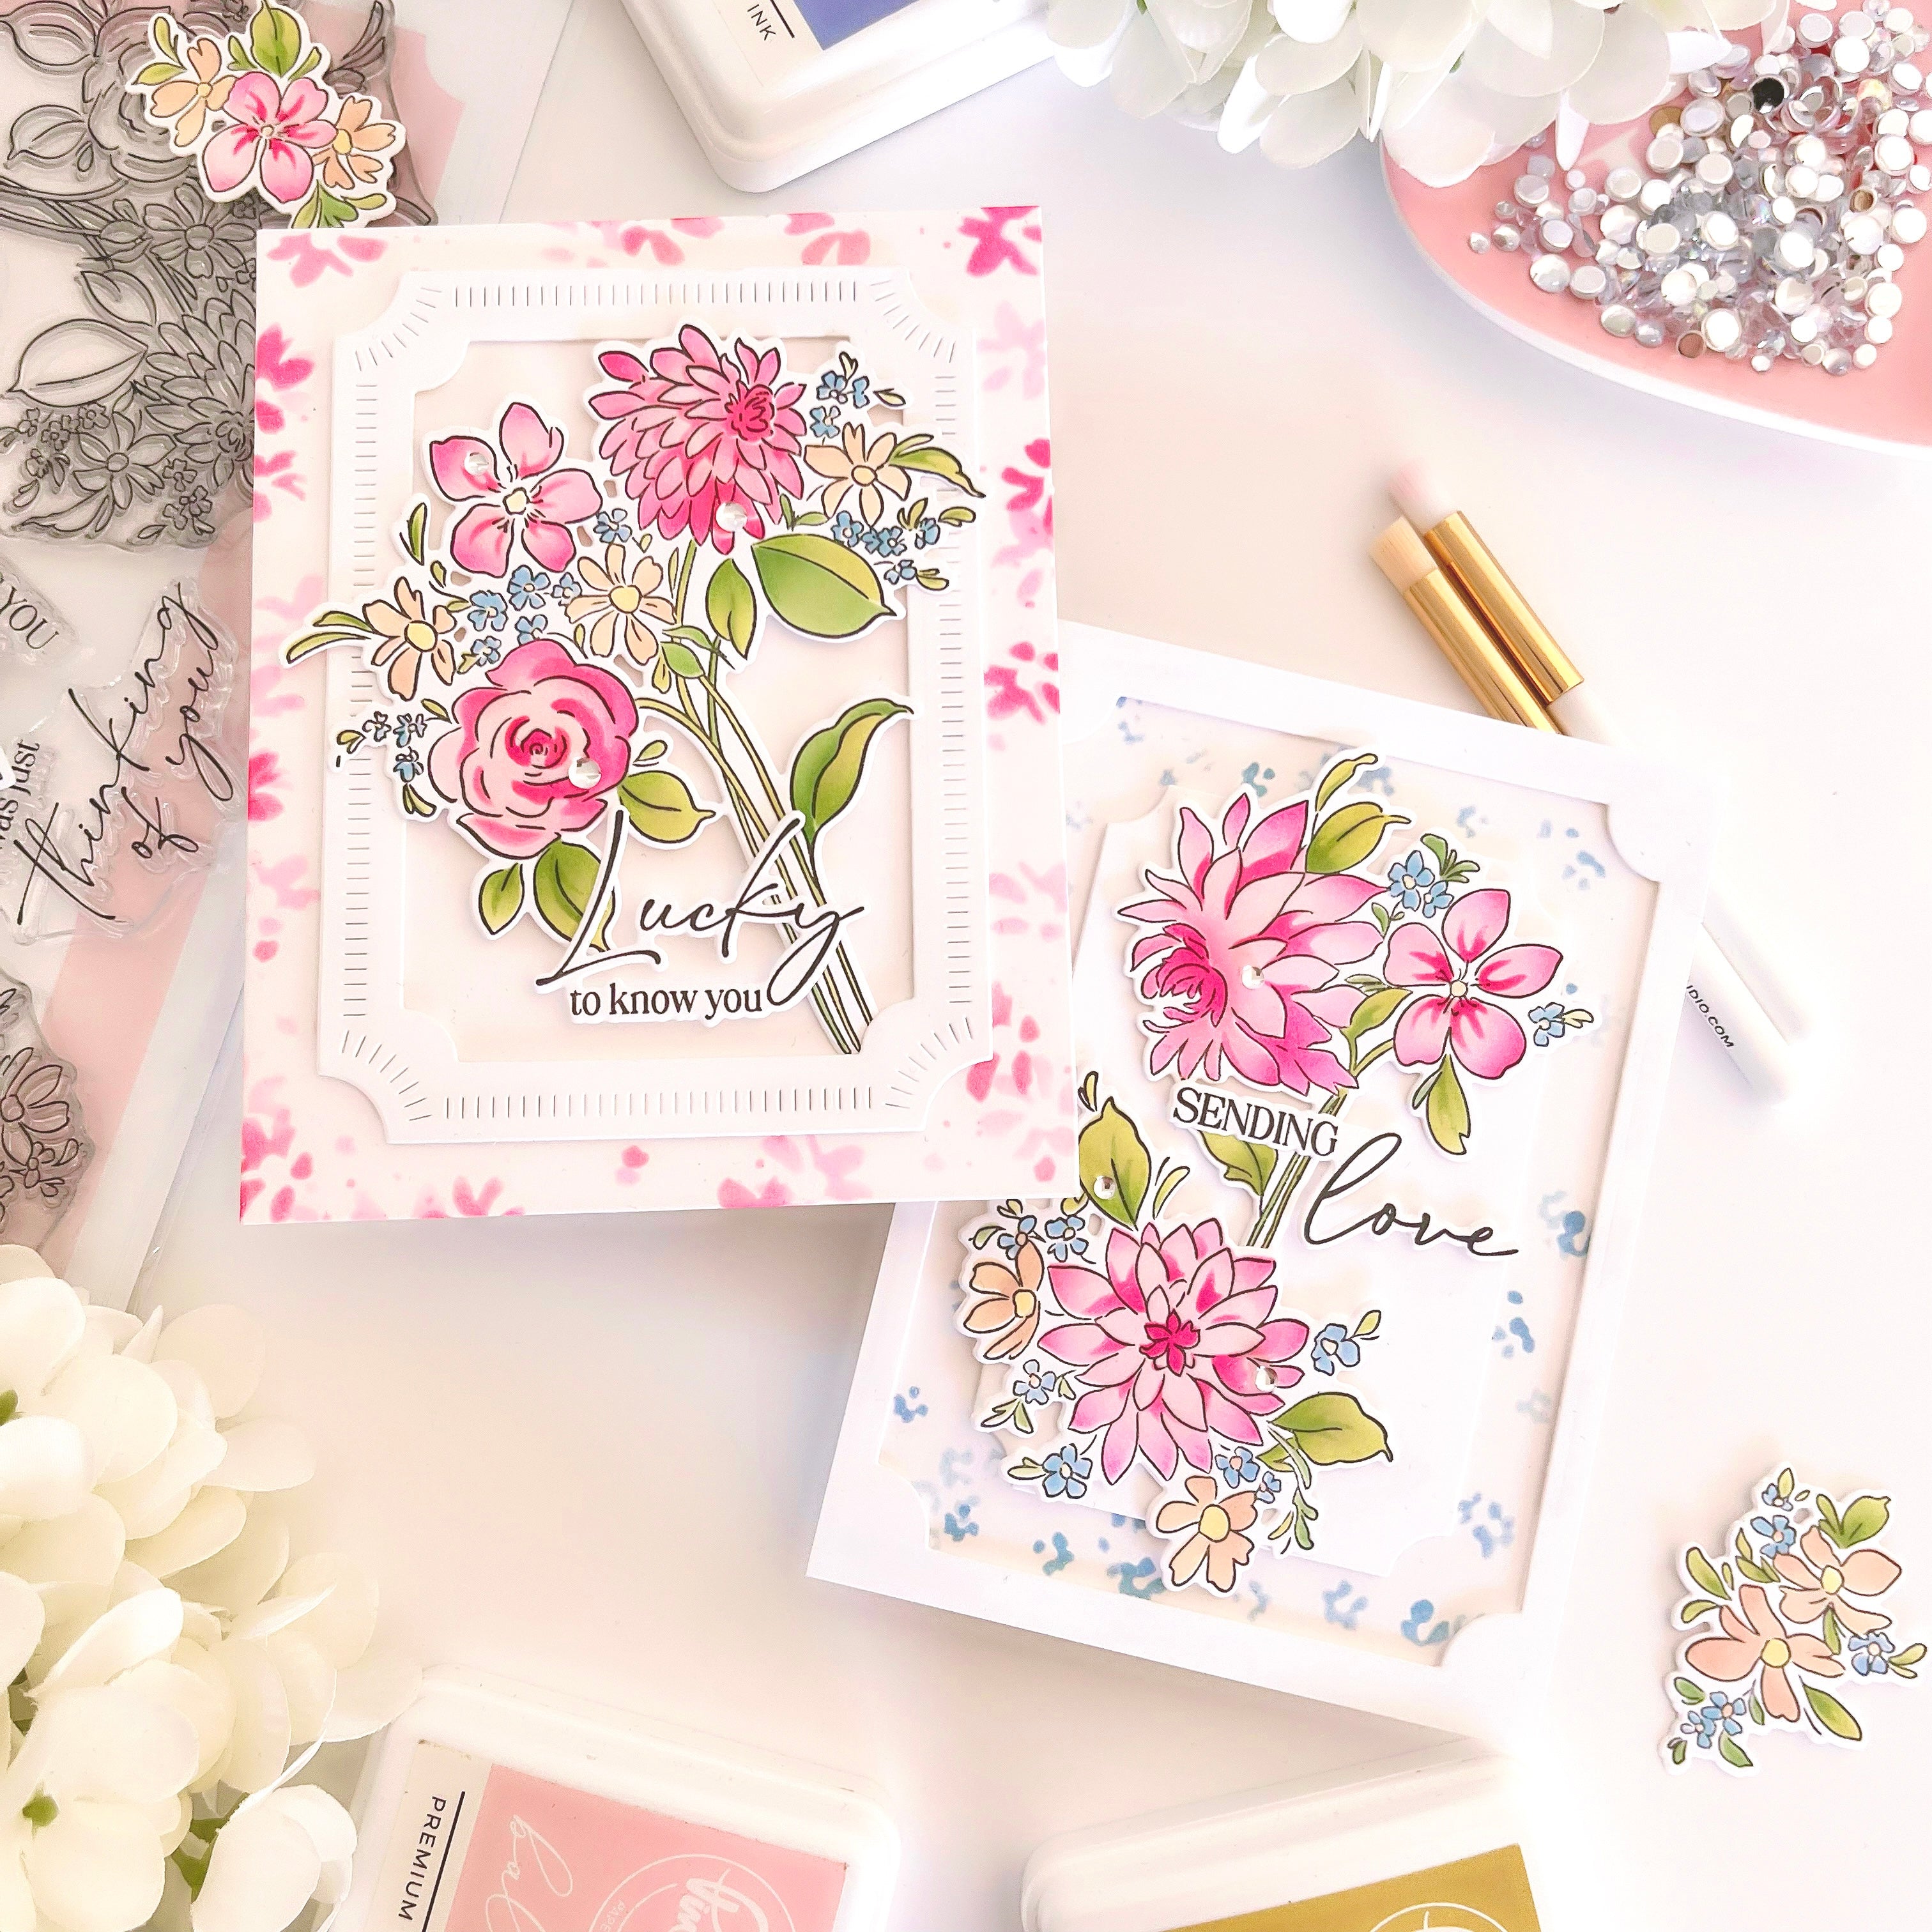
Hi Pinkfresh Studio friends! It’s Kathleen here, and I’m so happy to be back sharing a pair of cards featuring the gorgeous Blooming Daydream collection. For today’s projects, I focused on combining the stamp set with the coordinating layering stencils instead of reaching for the washi tape.
With these two cards, I also wanted to share a couple of different ideas for creating interesting backgrounds for floral card designs. Of course, if you’re looking for an even faster way to achieve a similar look, the coordinating washi tape would work beautifully for these designs too!
*Disclaimer: All products used are linked below as clickable images. If a product isn’t listed, it’s been discontinued.


Let's take a closer look at how you can recreate these:
-
Blooming Daydream:
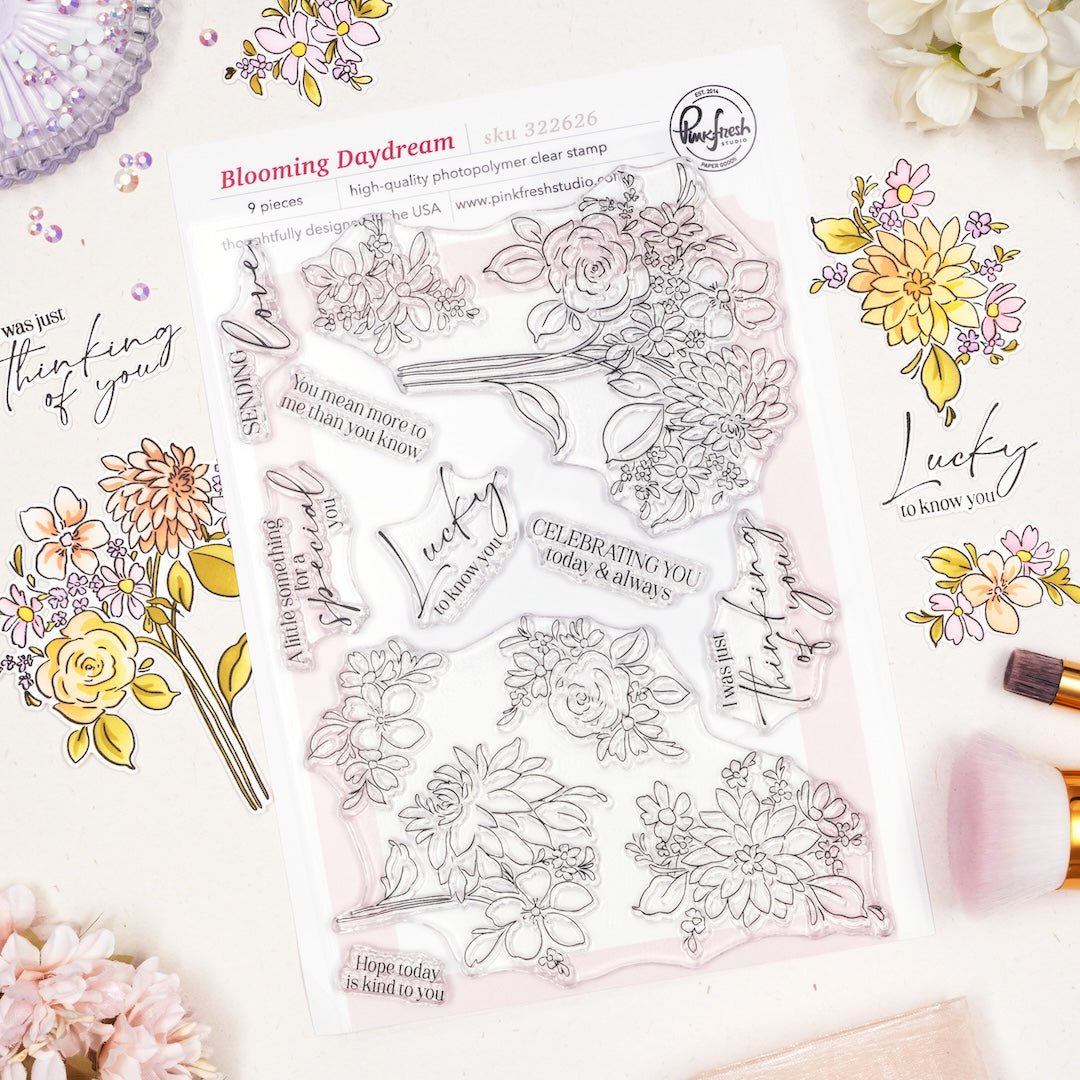
- Stamp the Blooming Daydream image stamps in Detail Black on (2) of the A2 panels. Heat set or let dry completely before ink blending.
Alternative: Stamp the images first in a light ink color, such as Misty Coast, then do your ink blending before re-stamping in Detail Black. This technique does require a stamp positioner, but it helps prevent any ink smudging during the blending process and gives you crisp black details at the end.
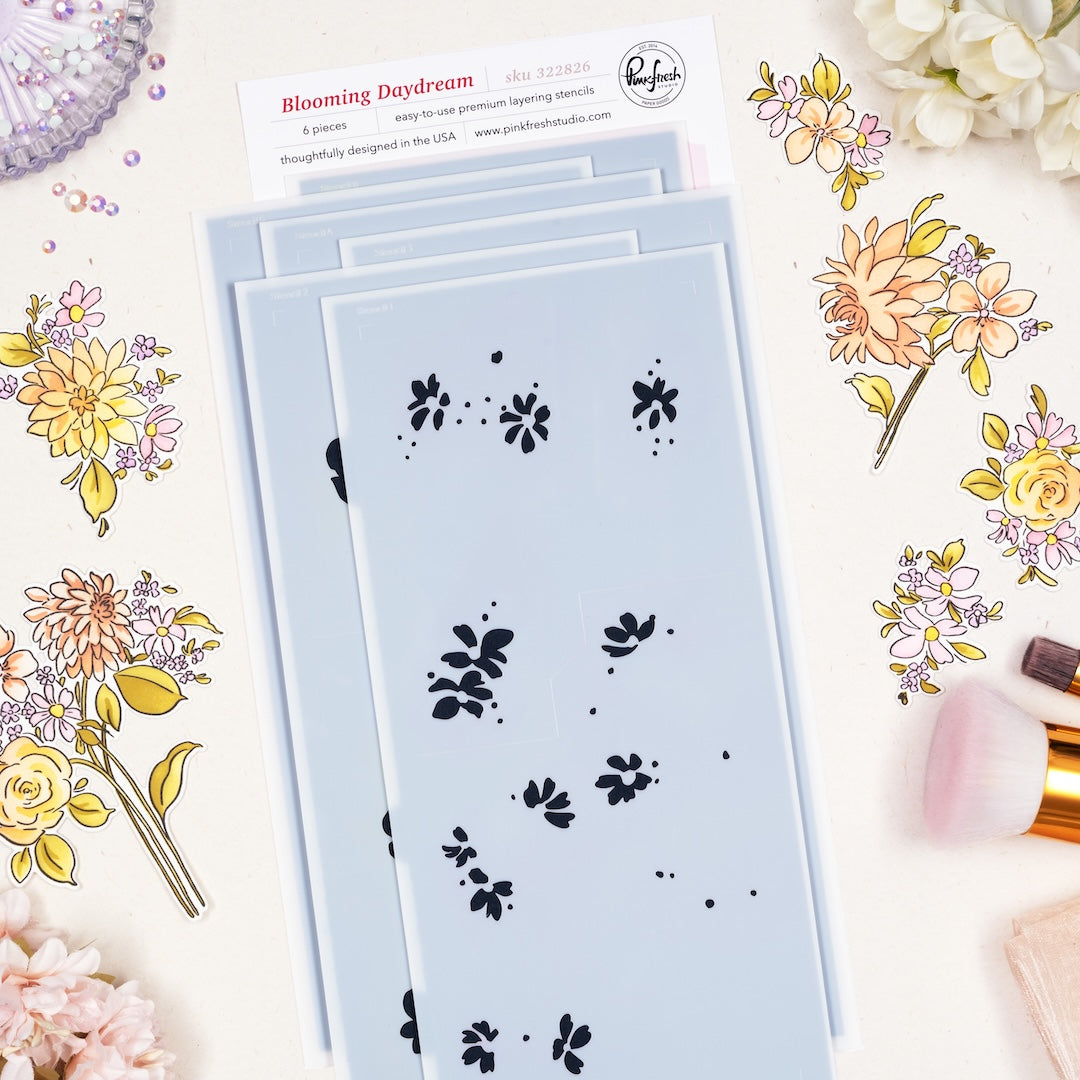
- Ink blend using the coordinating layering stencils:
- Stencil 1: Coral Reef
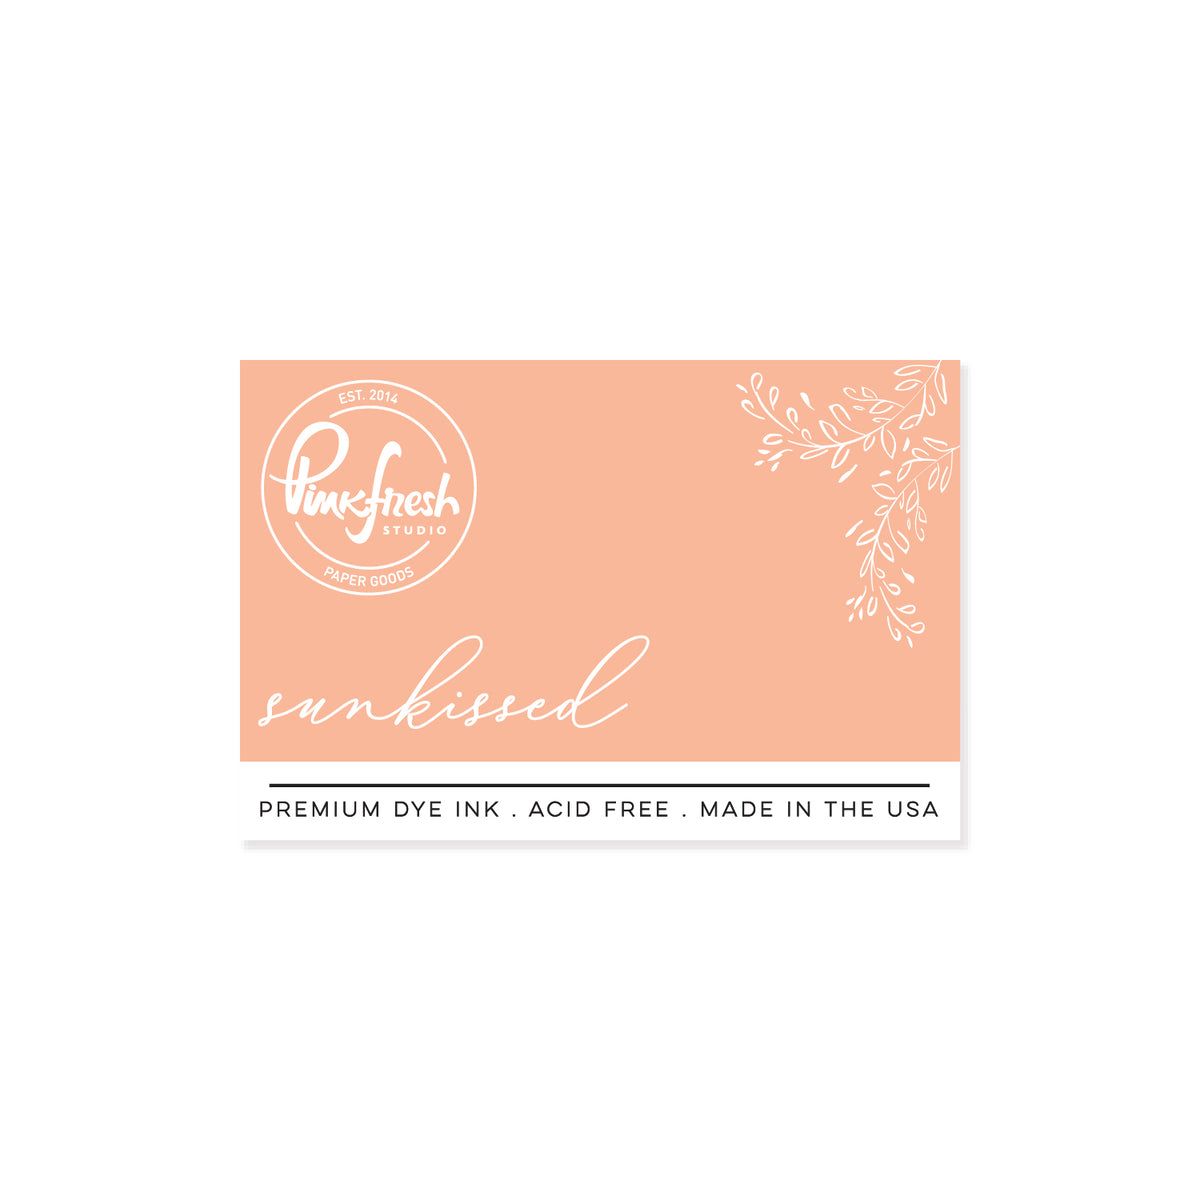
- Stencil 2: Sunkissed + Lemon Whip
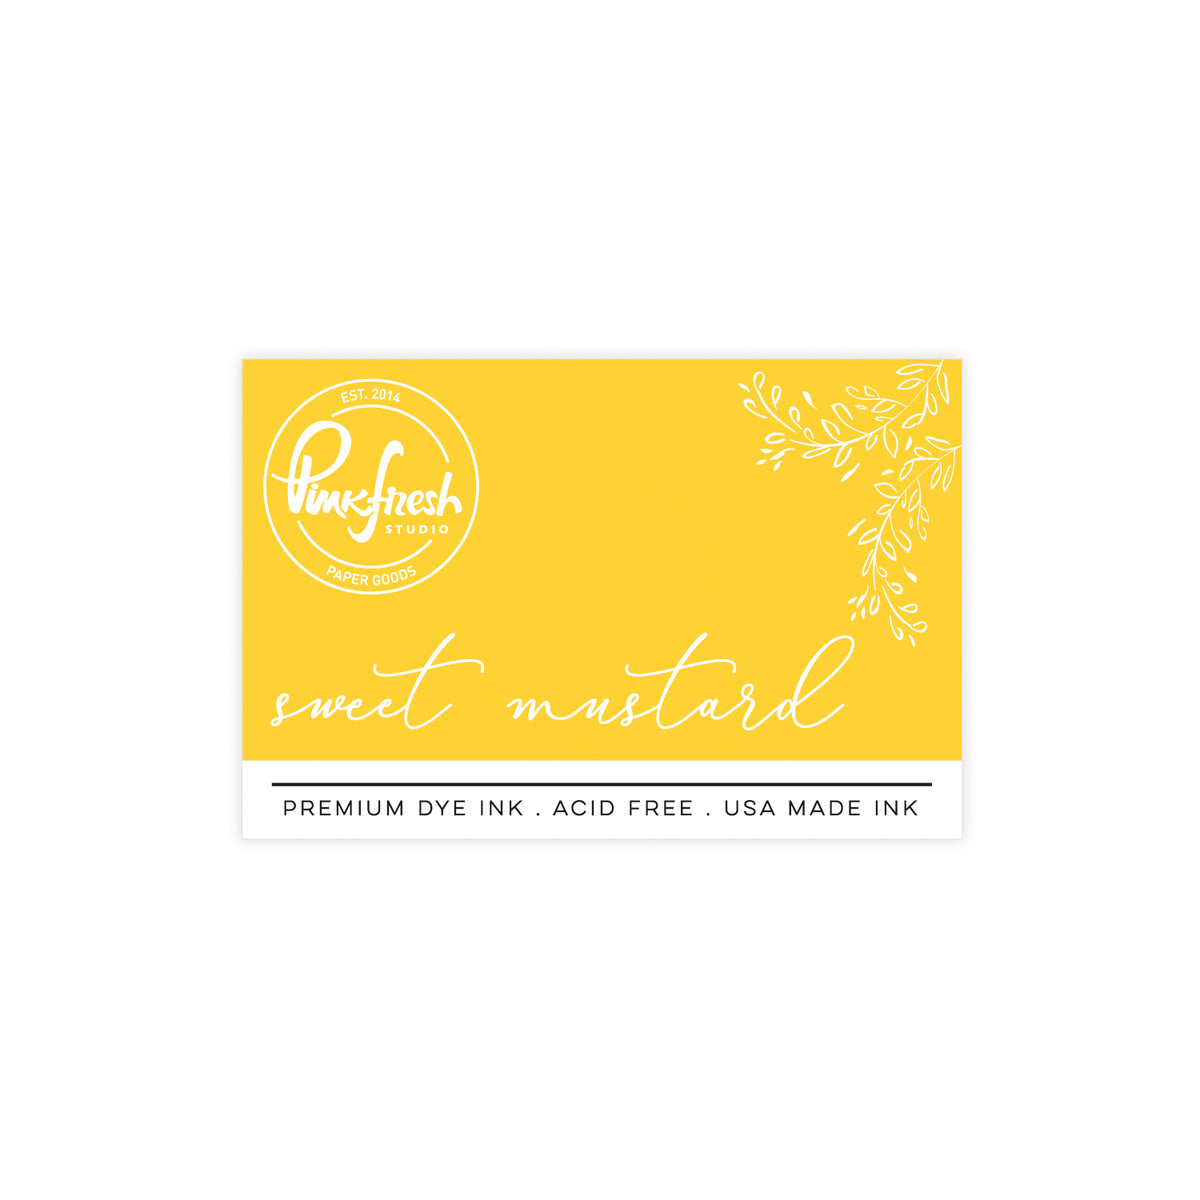
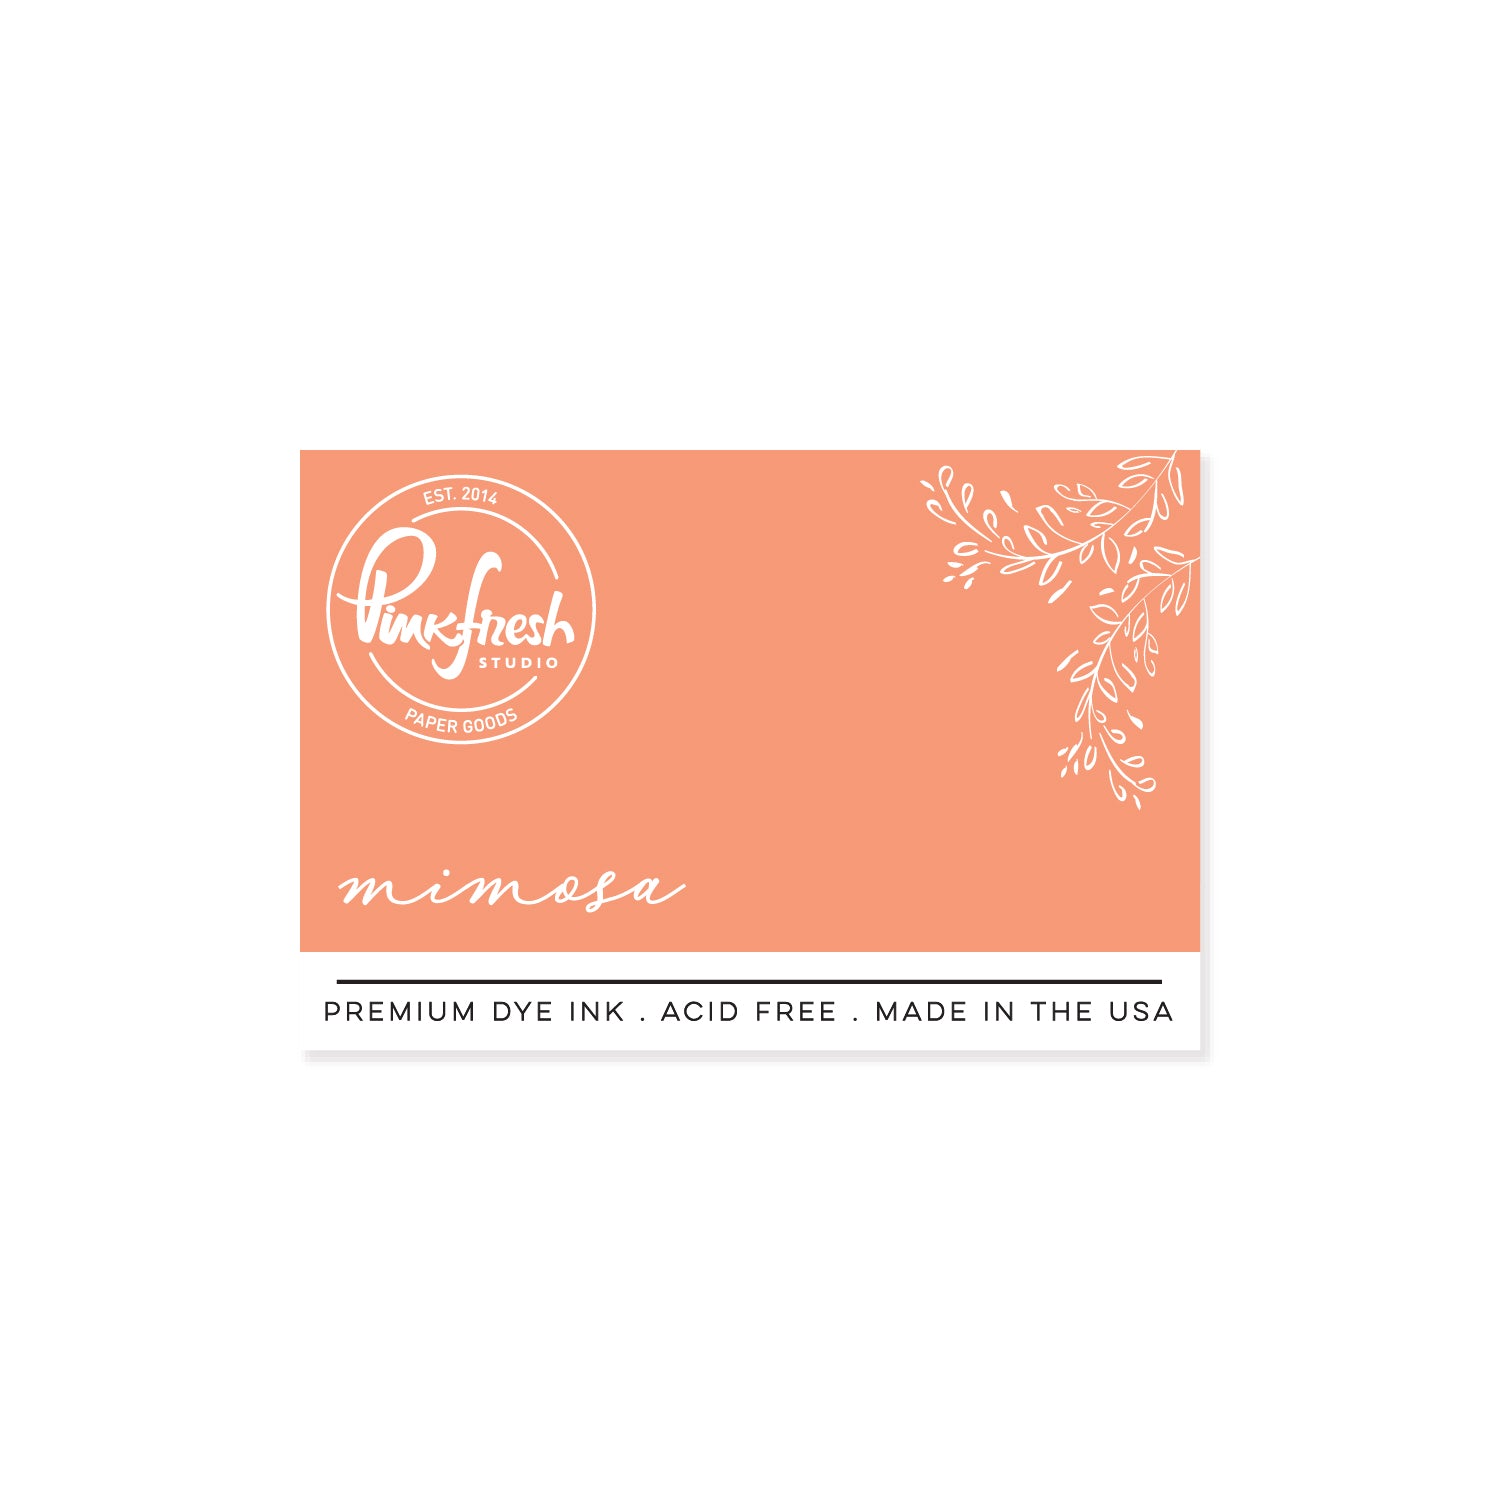
- Stencil 3: Mimosa + Sweet Mustard
- Stencil 4: Soft Lilac
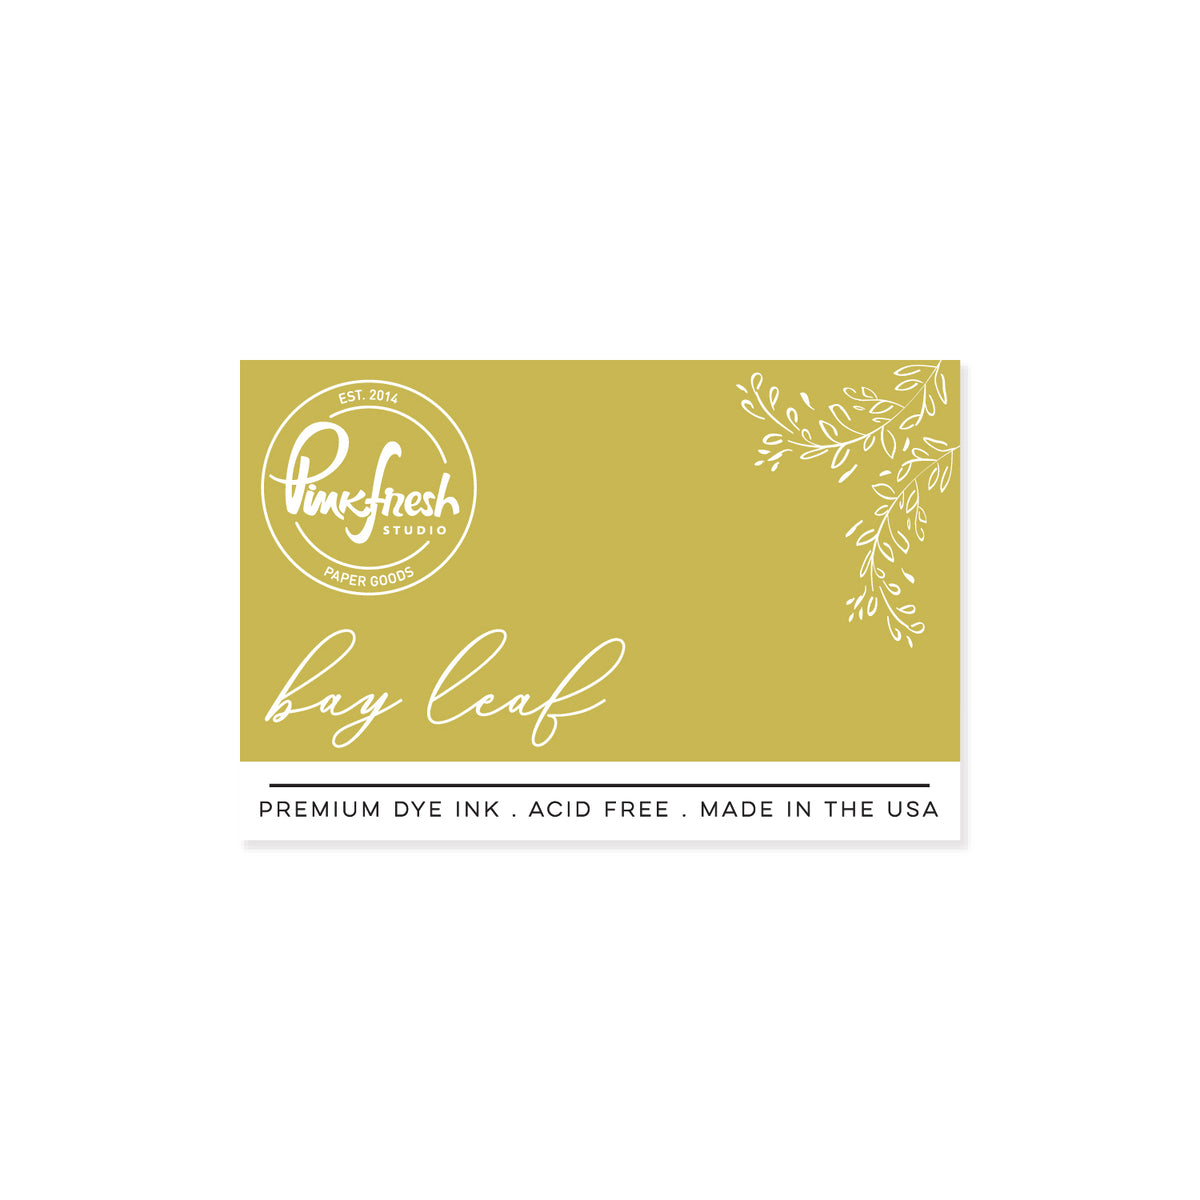
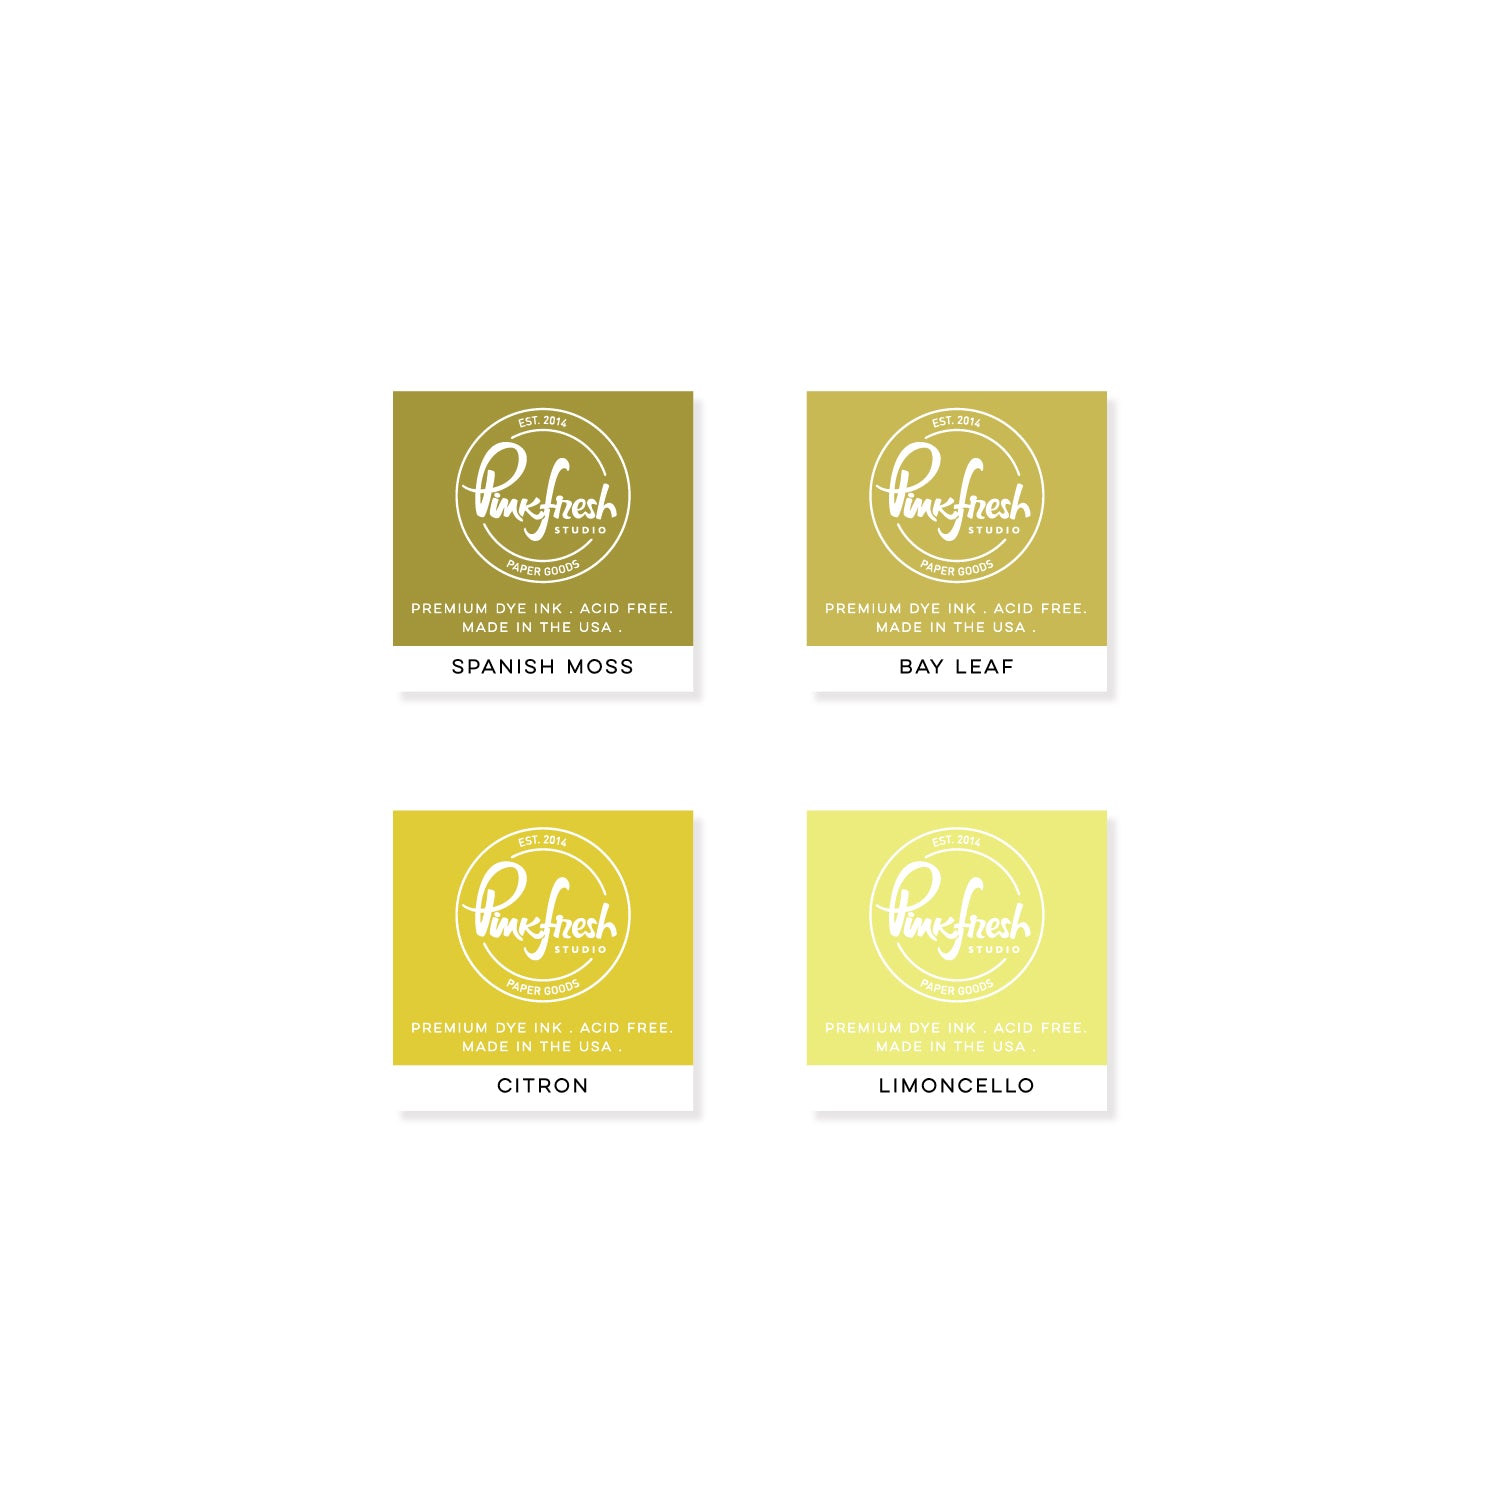
- Stencil 5: Bay Leaf
- Stencil 6: Spanish Moss
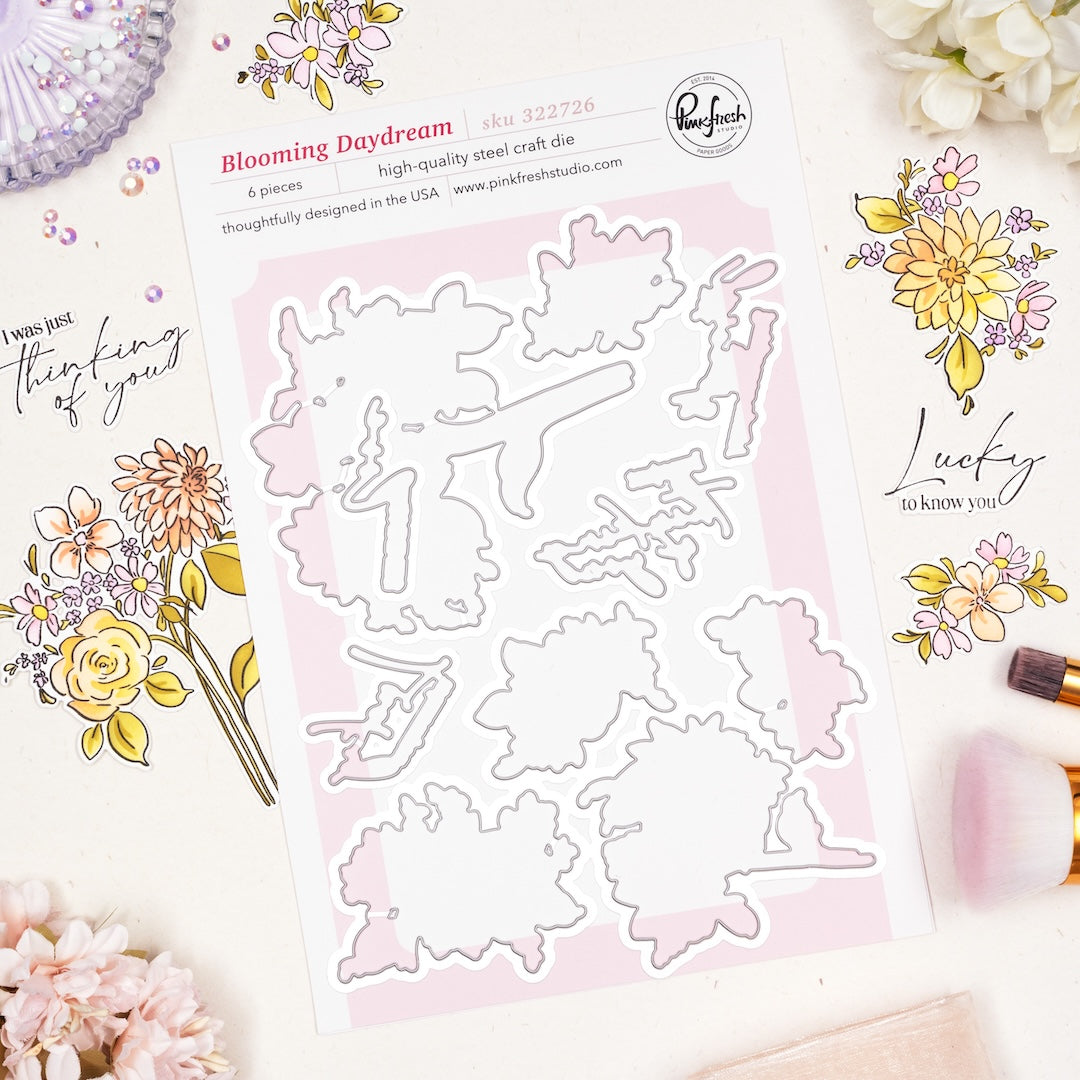
- Die cut using the coordinating die & set aside
- Stamp the Blooming Daydream image stamps in Detail Black on (2) of the A2 panels. Heat set or let dry completely before ink blending.
-
Sentiments:
- Stamp two sentiments from Whispering Daffodils in Detail Black on white cardstock: one larger sentiment with a coordinating die & one smaller for a sentiment strip.
- Die cut the larger sentiment & stack with (2) blank die cuts.
- Cut the smaller one into a sentiment strip as shown in the photos. Ink blend with Soft Lilac.
-
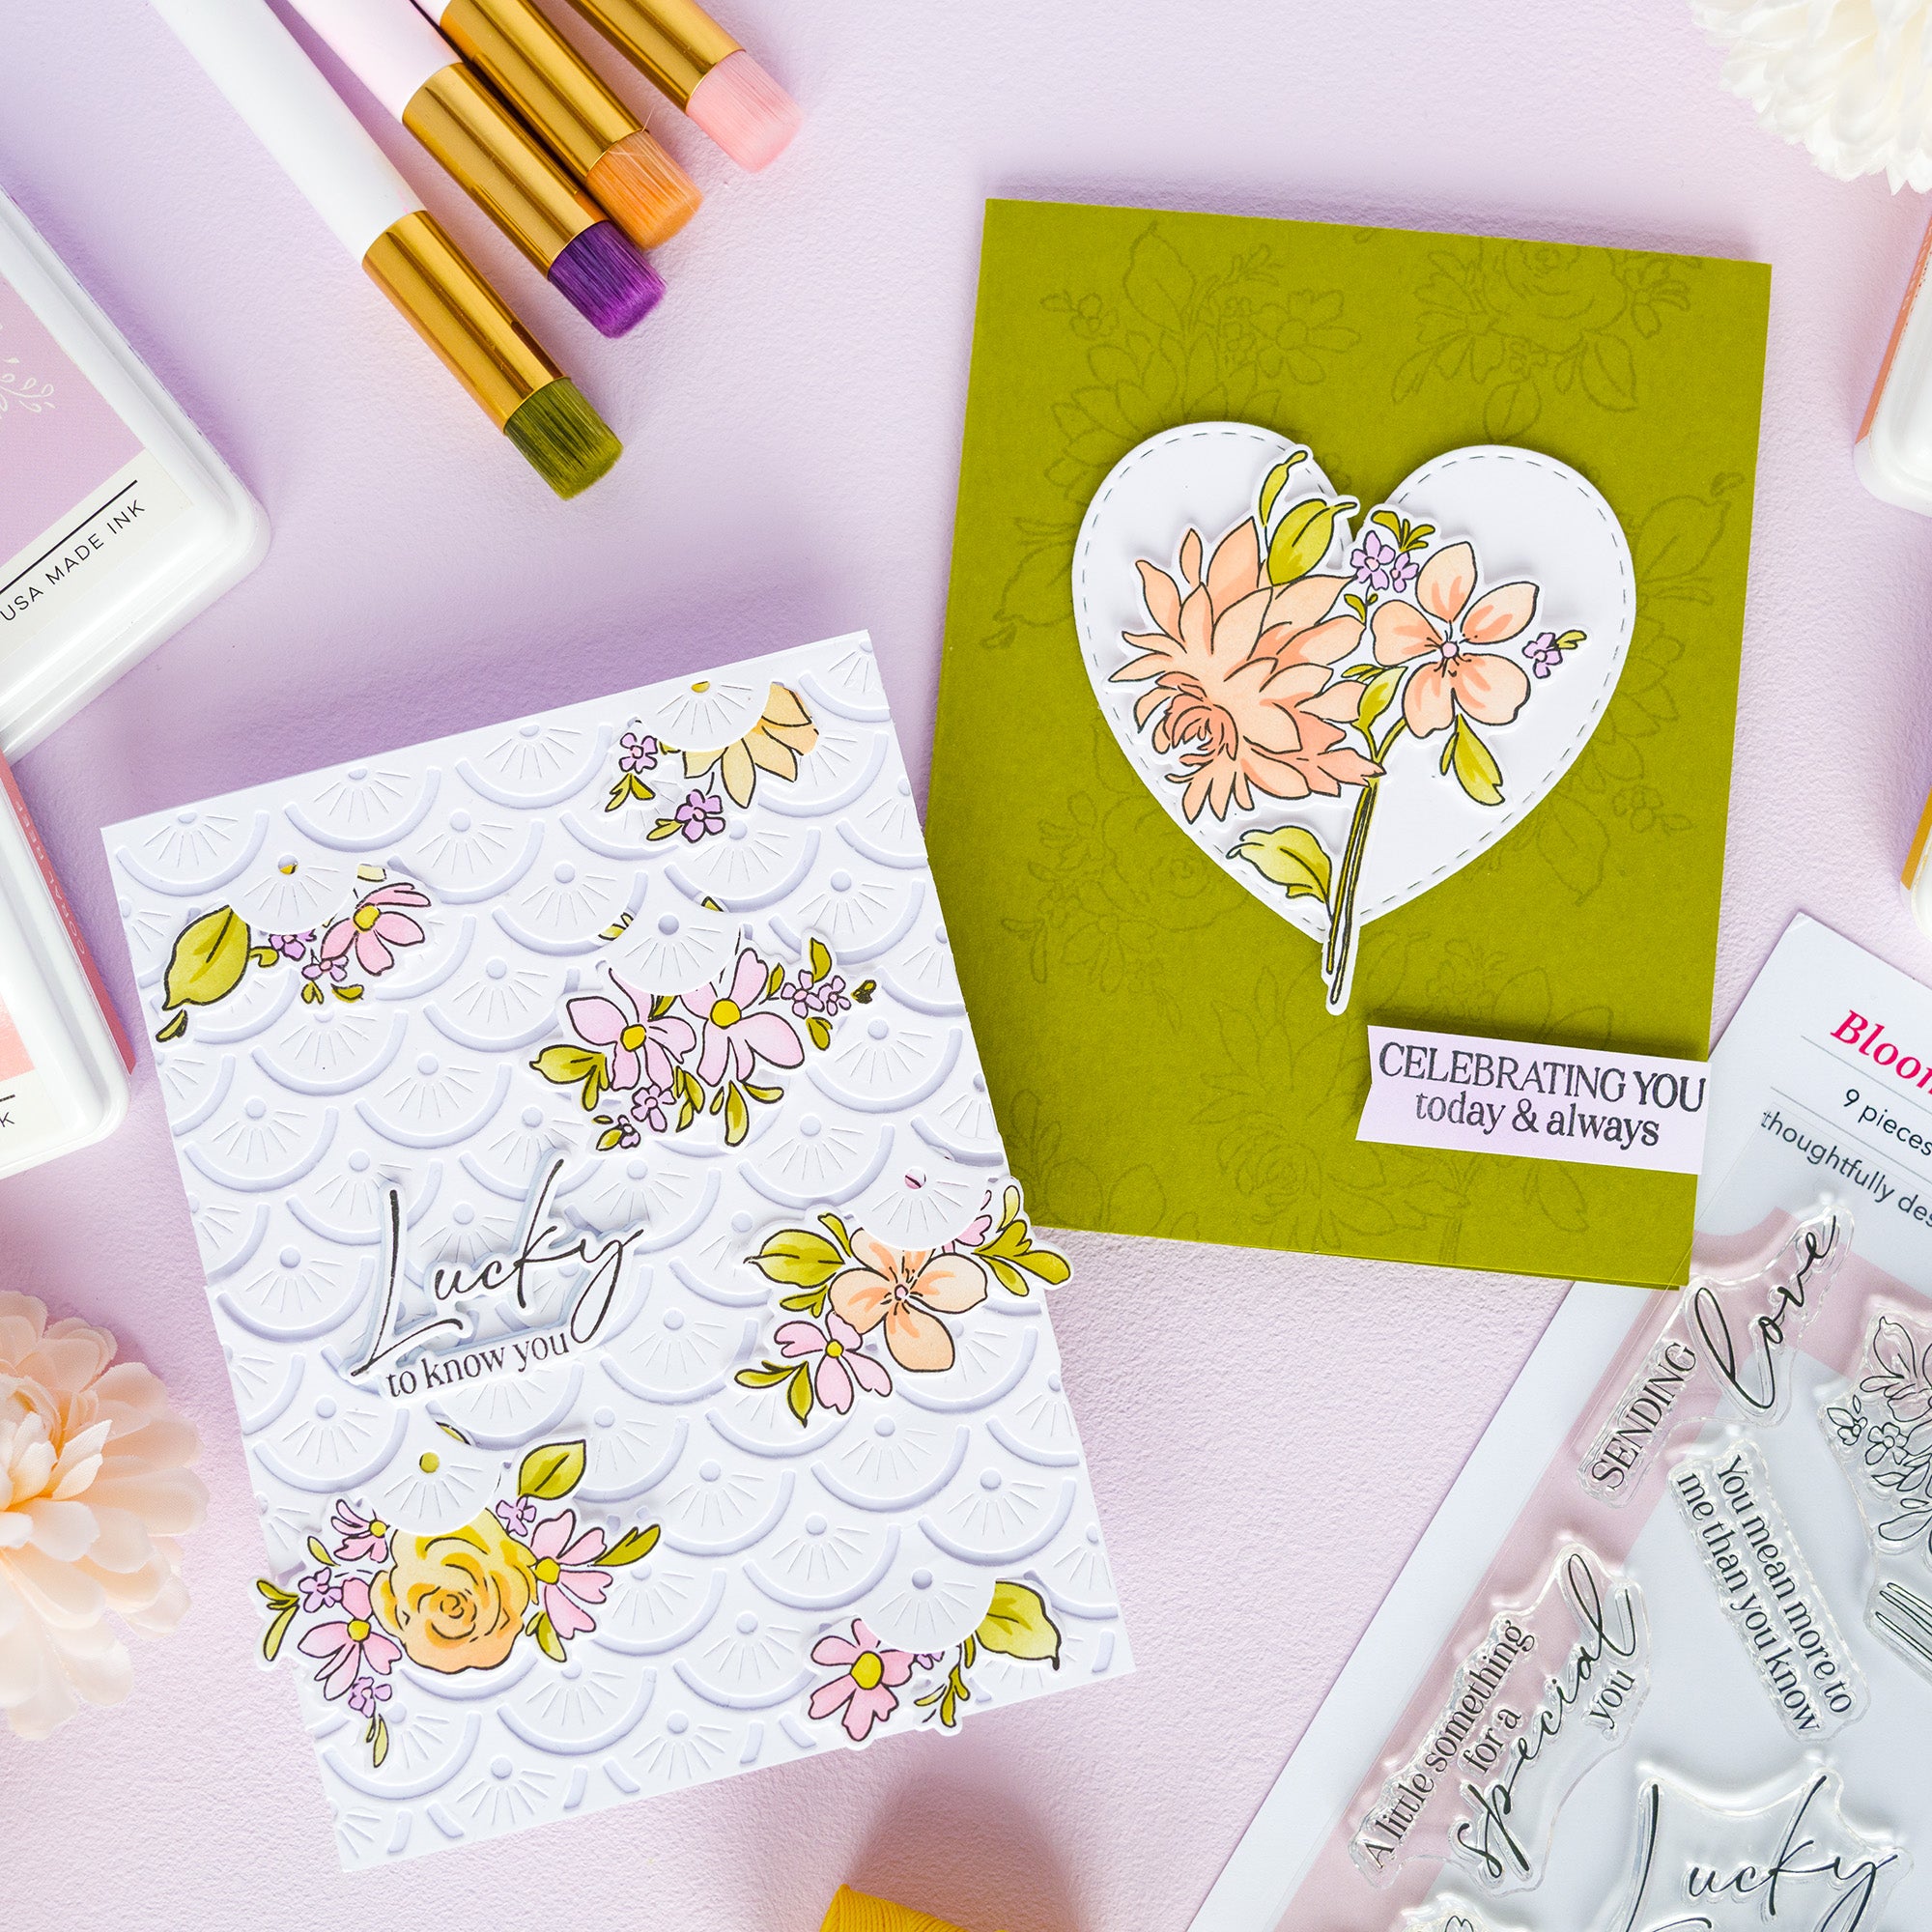
Card 1 (white):
- Cut (1)A2 top-folding card base from light white cardstock.
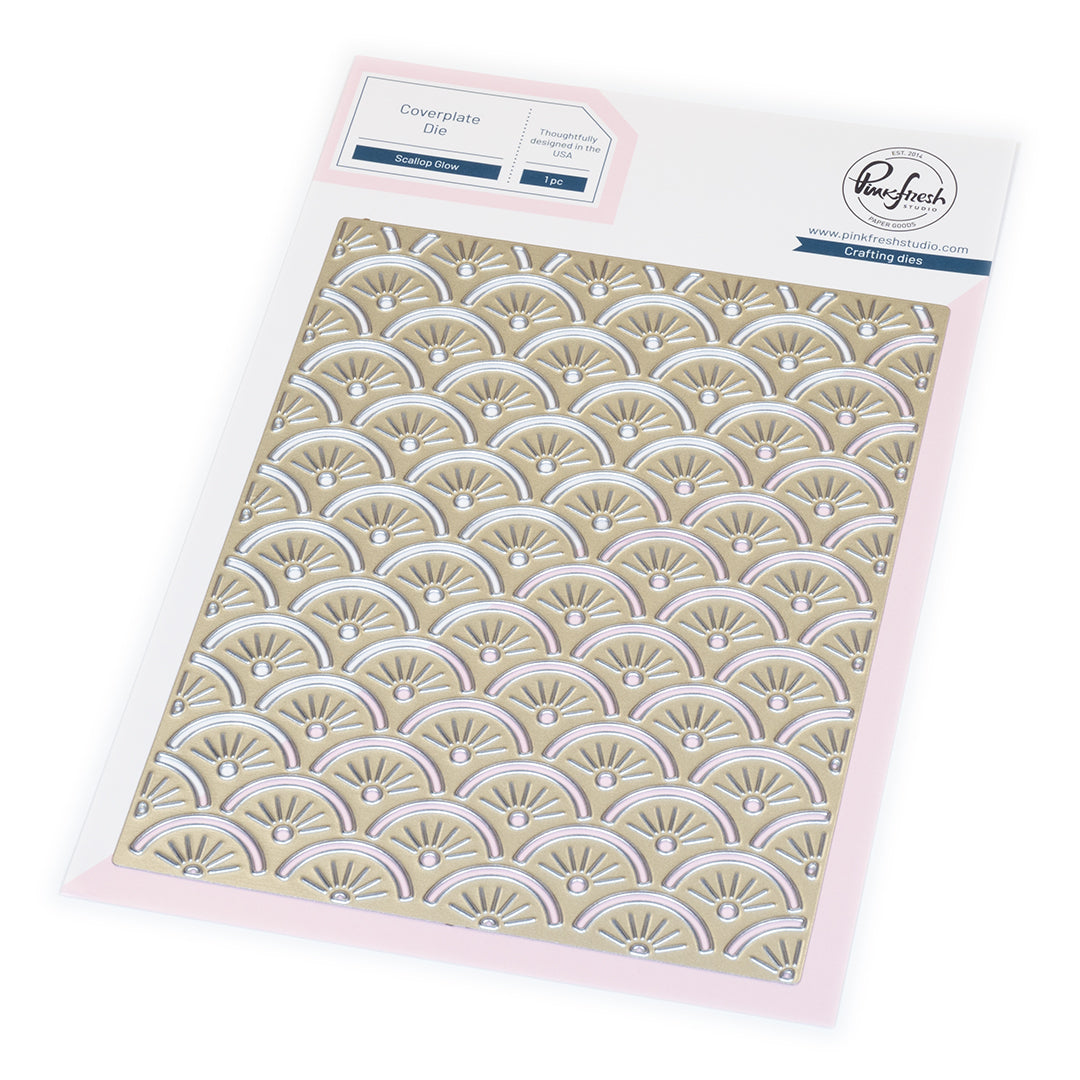
- Die cut an A2 panel of white cardstock with the Scallop Glow coverplate die & adhere it onto the card front. Apply adhesive only along the outer edges and in a few selective spots in the center, leaving areas open so you can tuck flower die cuts underneath the scalloped design for added dimension.
- Tuck some of the ink-blended die cuts underneath the scallops (you might need to cut some larger pieces apart).
- Adhere the large sentiment to the card front.
-
Card 2 (green):
- Cut (1) side-folding A2 card base from olive or chartreuse green cardstock.
Alternative: Ink blend an A2 panel with Spanish Moss/Olive & adhere it to a white A2 card base for a similar look. - Repeatedly stamp the Blooming Daydream image onto the card front using embossing ink, or choose an ink color close to your cardstock for a subtle tone-on-tone effect.
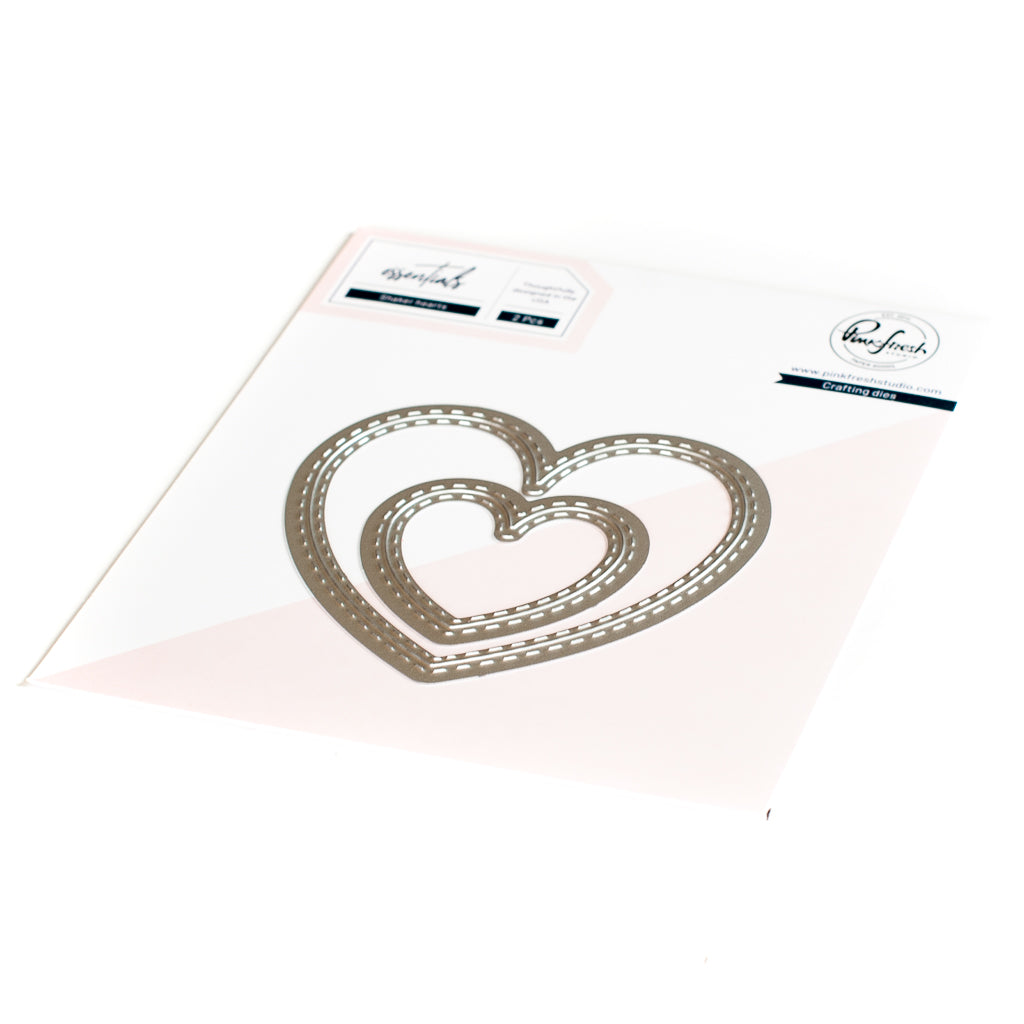
- Die cut the large Shaker Hearts die from a piece of white cardstock & adhere it centered to the card front using thin foam adhesive.
- Adhere the ink-blended bouquet on top using another layer of thin foam adhesive.
- Adhere the sentiment strip to the lower right of the card using foam adhesive.
- Cut (1) side-folding A2 card base from olive or chartreuse green cardstock.
I absolutely love how fresh and bright these cards turned out! You could of course easily adapt the color scheme to fit whatever style you prefer - that's the beauty of the layering stencils!

I hope these cards inspire you and I’d absolutely love to see what you create! Don’t forget to tag us on social media (@pinkfreshstudio and @cardsandconfetti) so we can admire your amazing work.
Thanks so much for stopping by today!
Recommended Products


































Leave a comment
All comments are moderated before being published.
This site is protected by hCaptcha and the hCaptcha Privacy Policy and Terms of Service apply.