
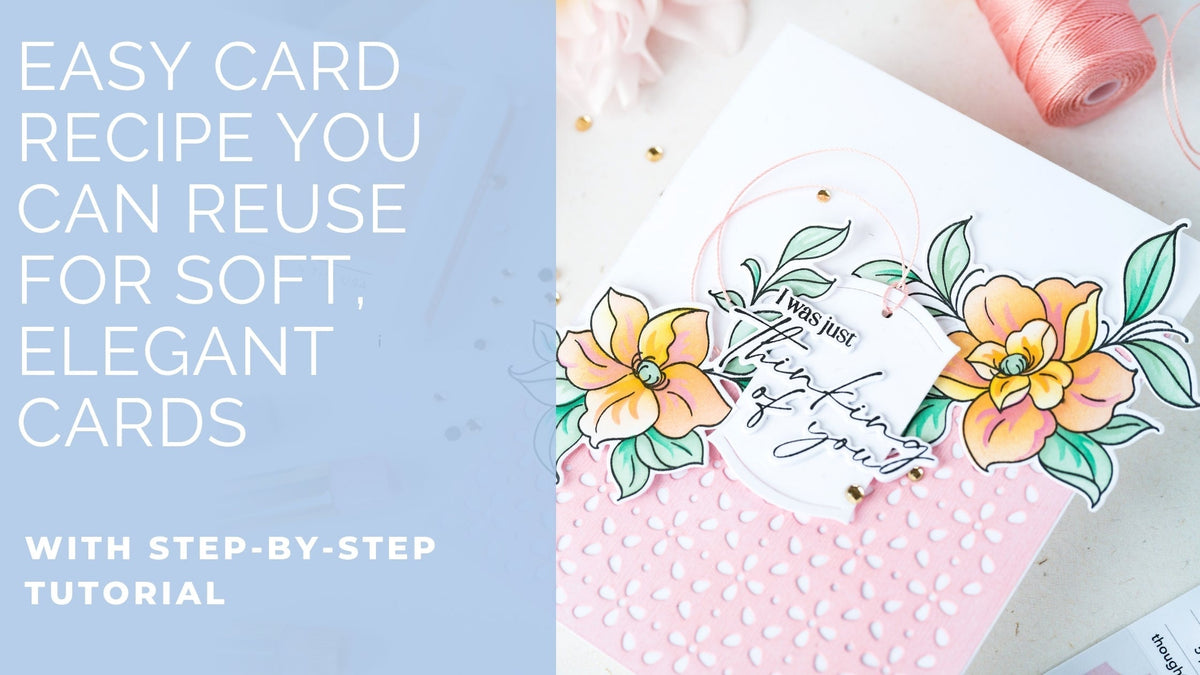
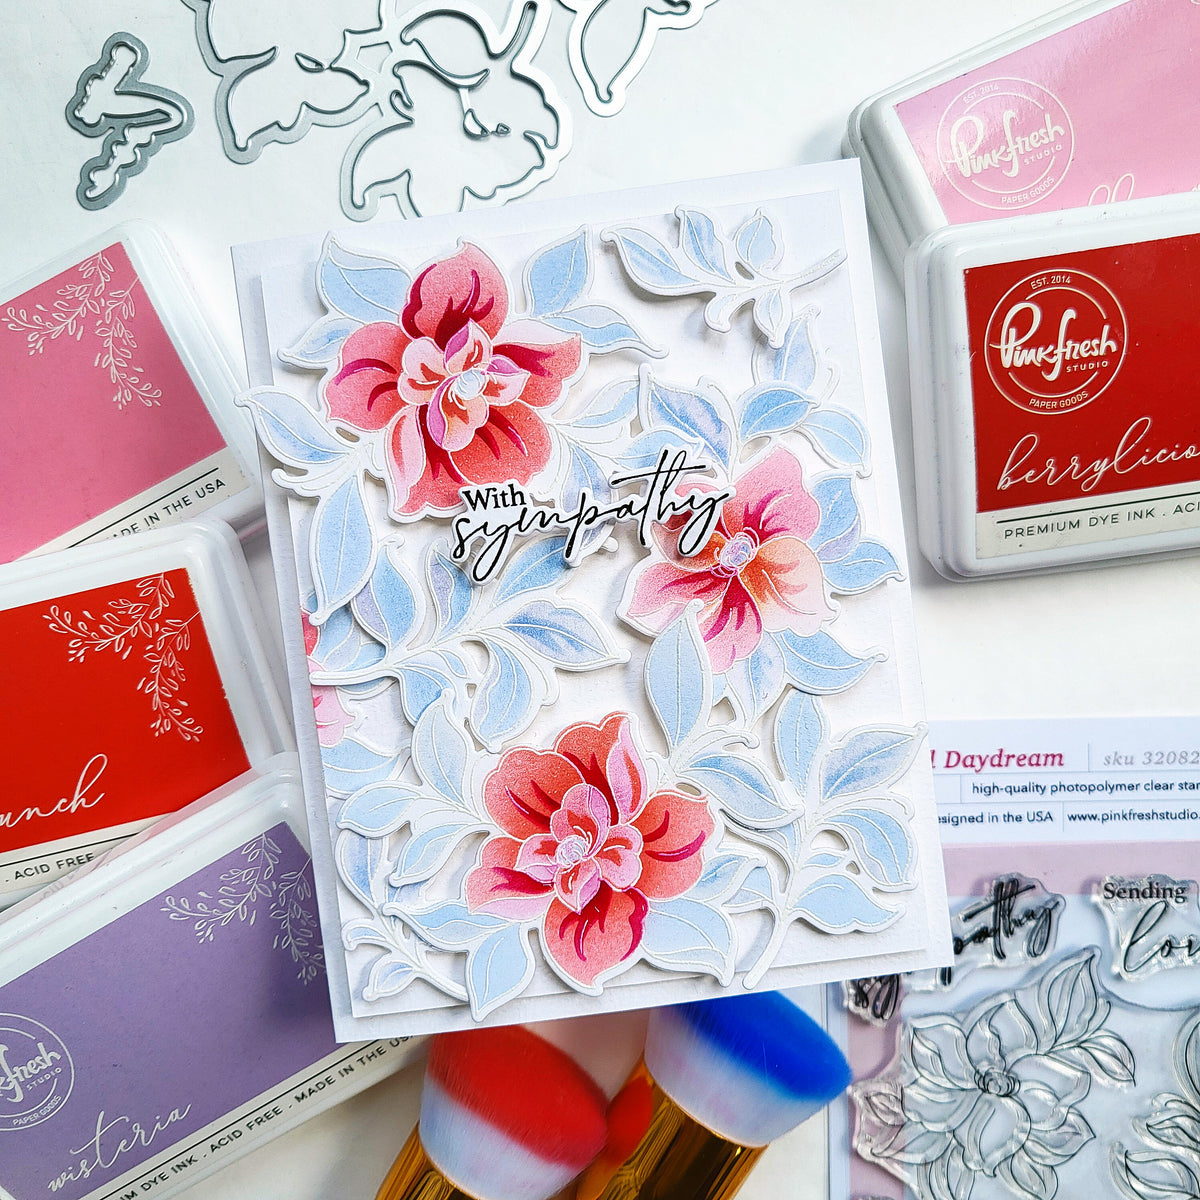
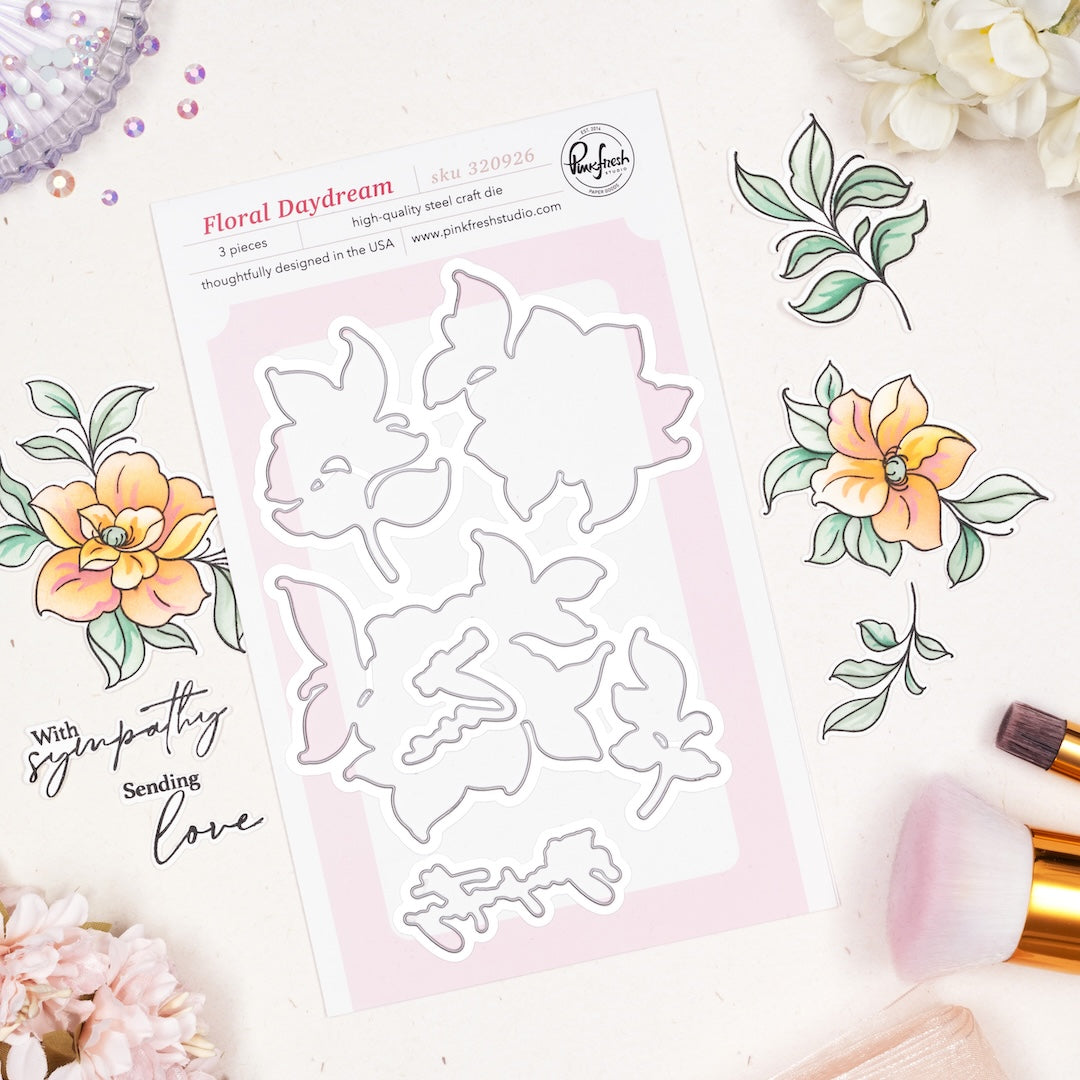
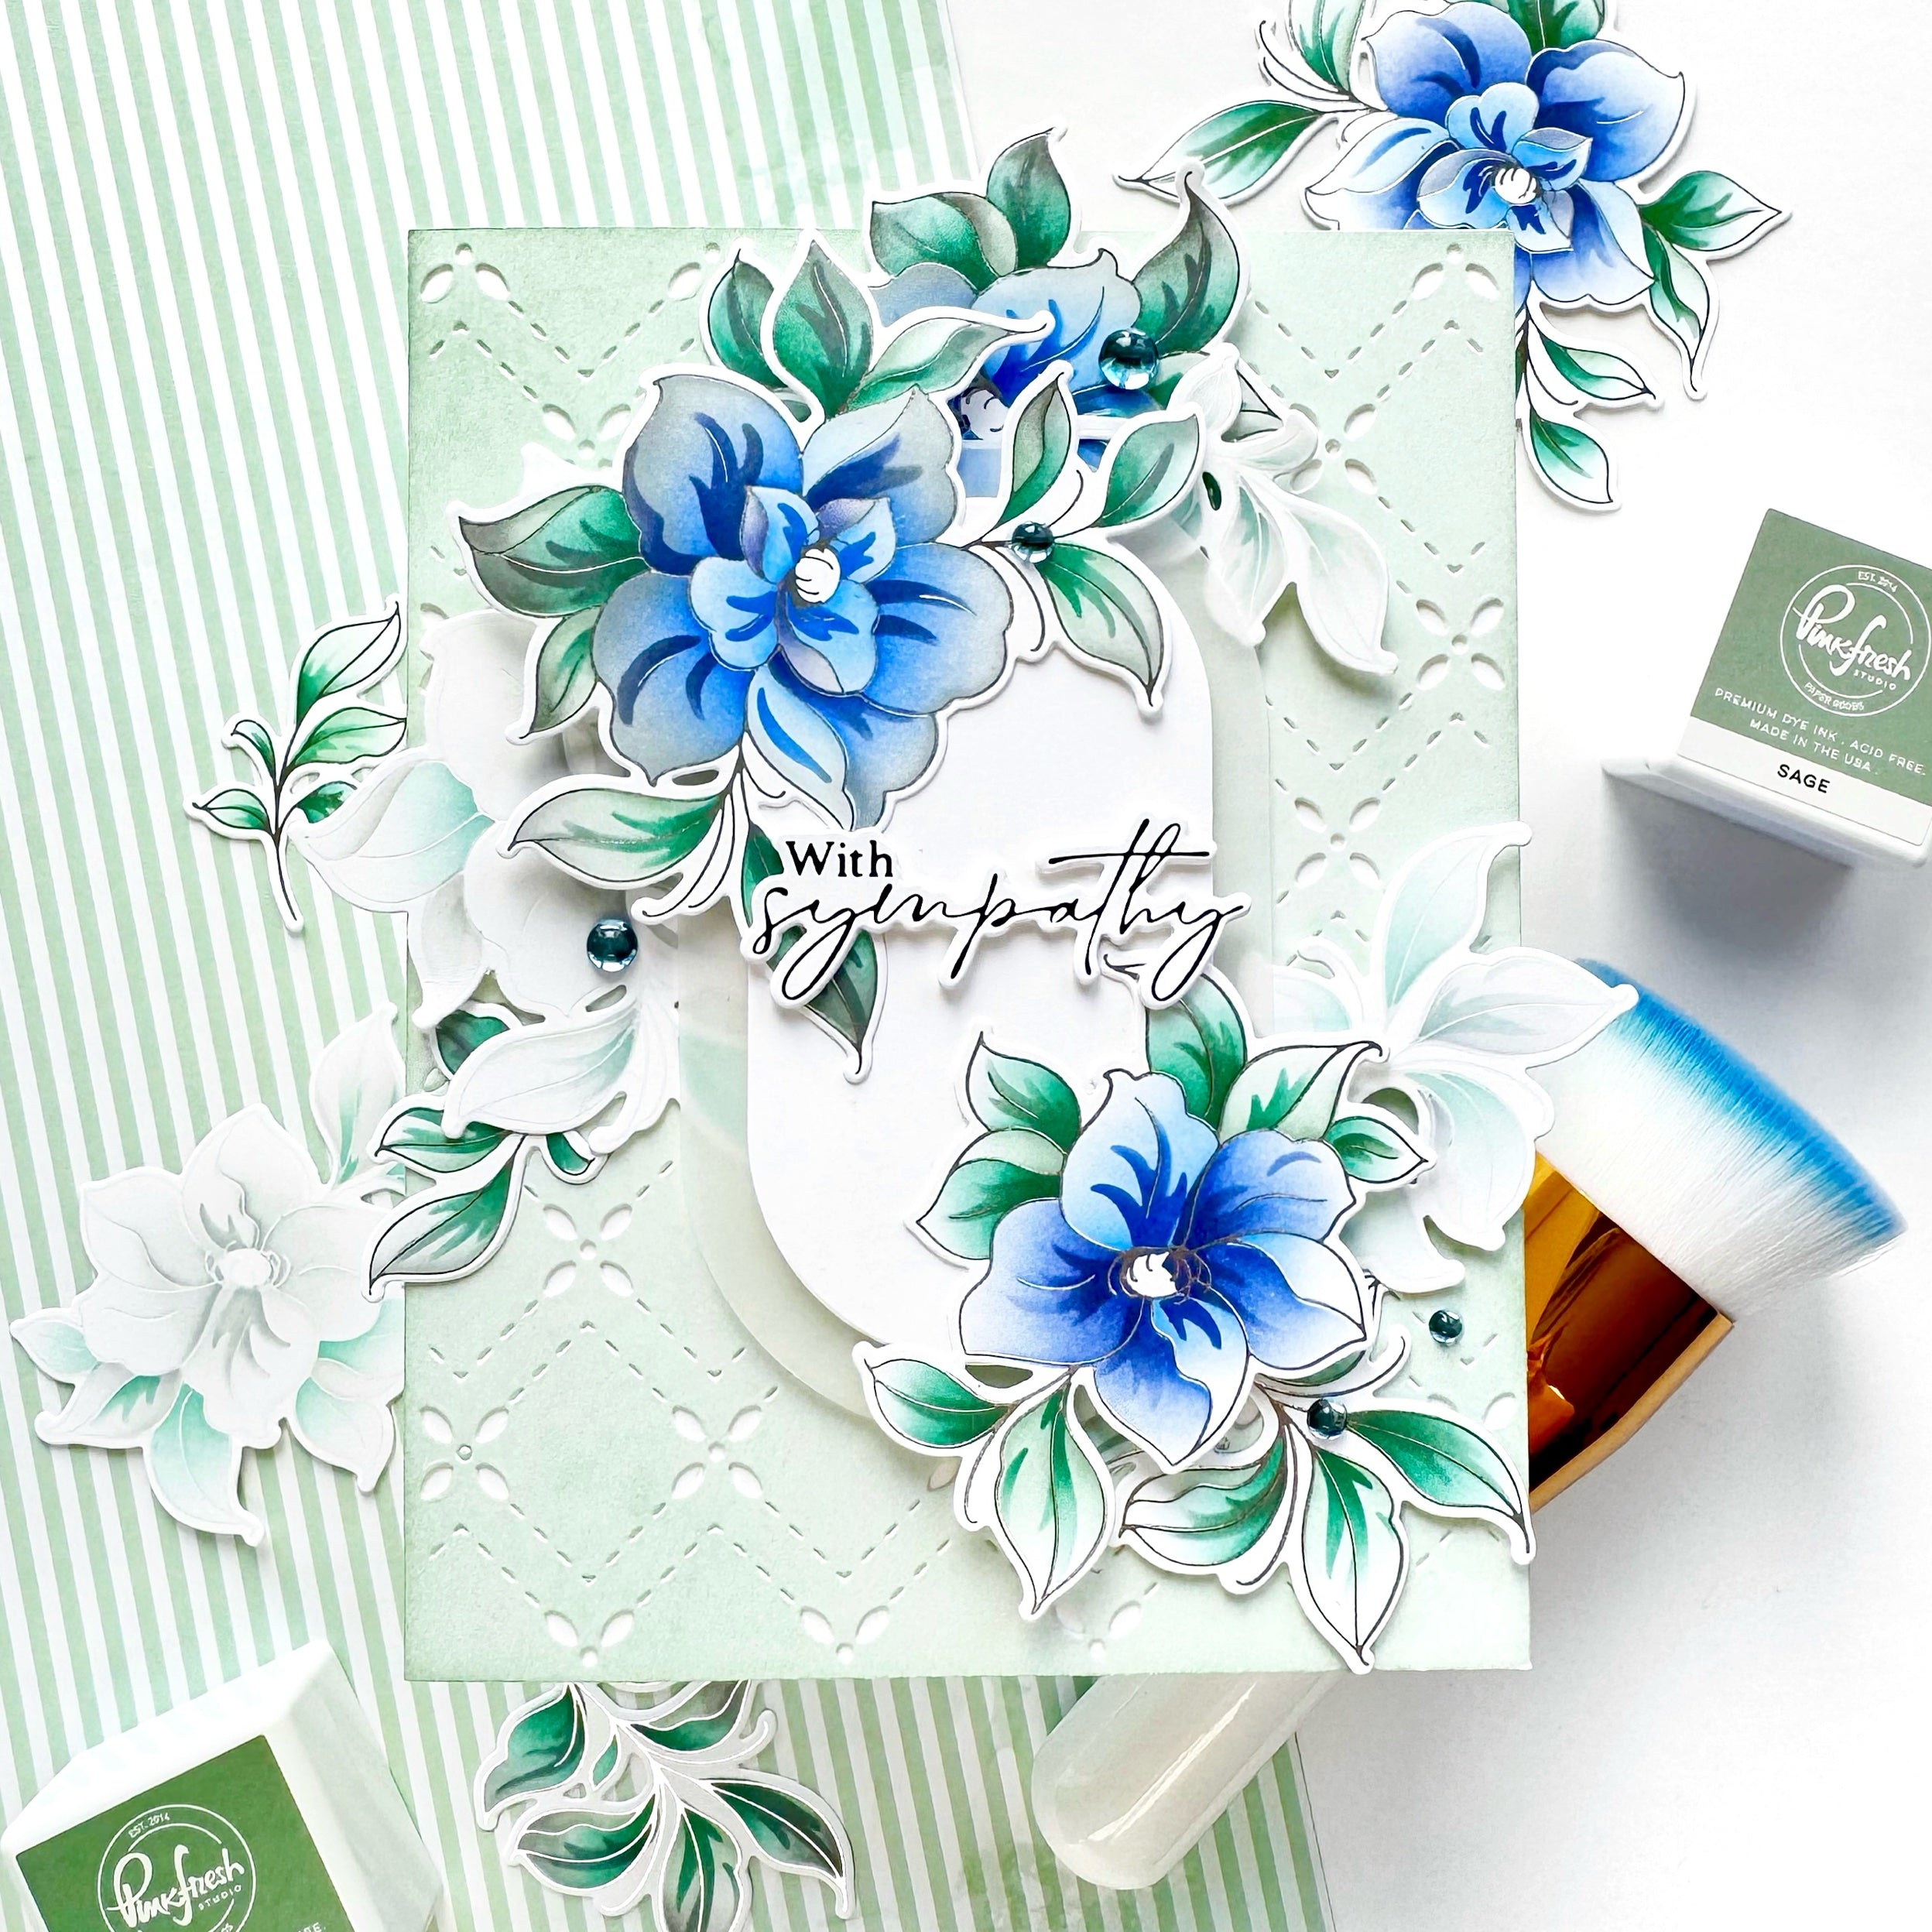
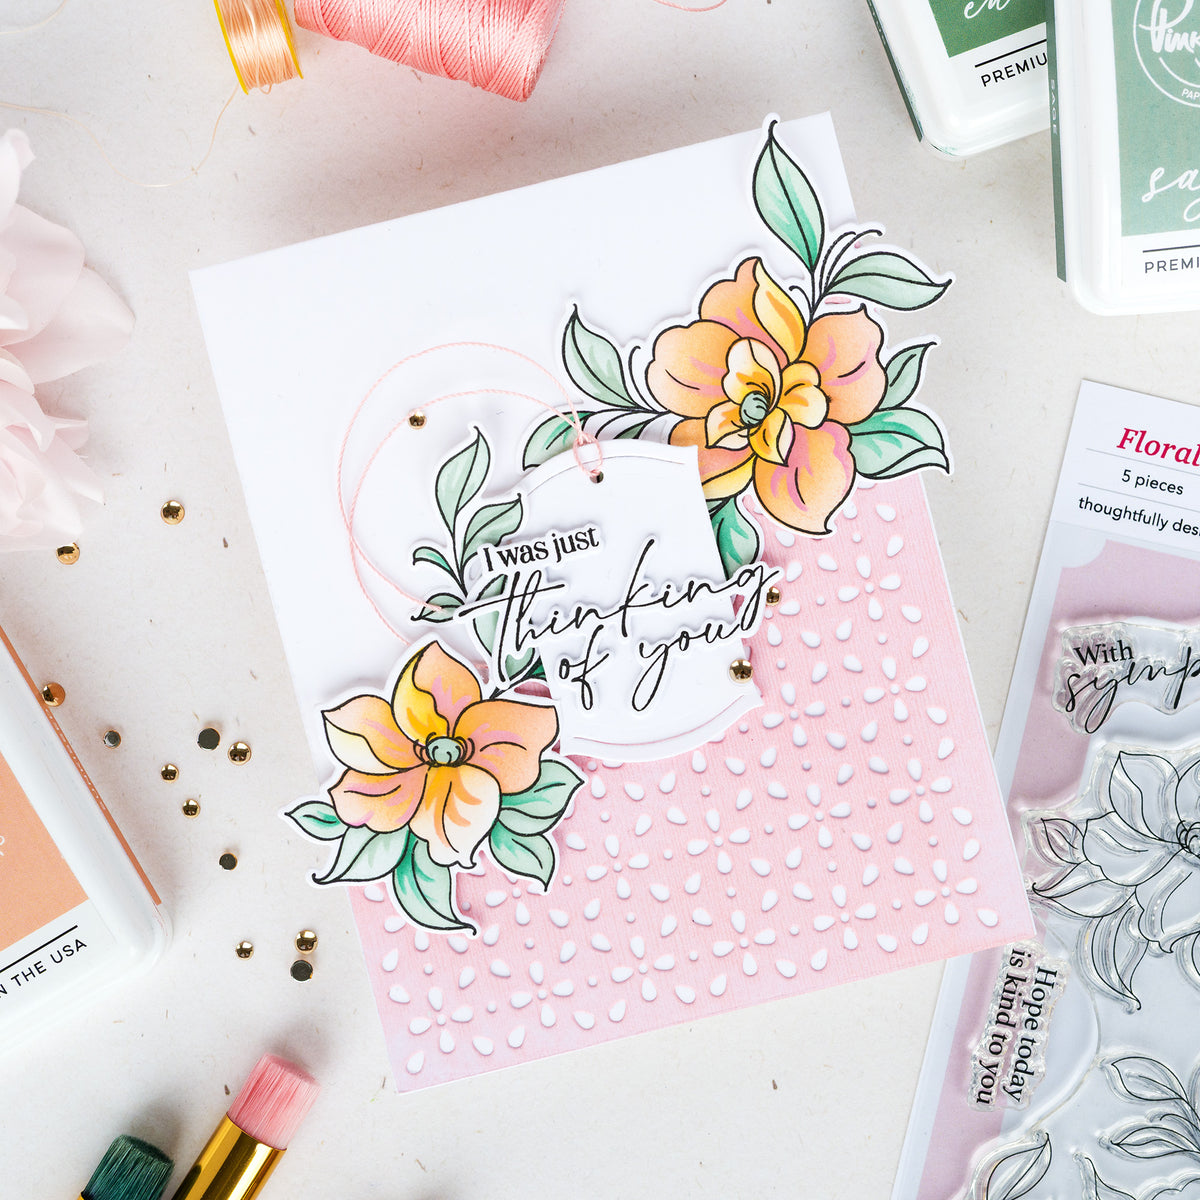
Hi Pinkfresh Studio fans! It's Kathleen here on the blog today with my first card using the gorgeous new The Daydream Edit release. For this card I focused on the new Floral Daydream suite & combined it with some leftover pieces I had in my stash.
The "recipe" I used for this card could easily be used with pretty much any set you already have. All you need is a coverplate die for the background, some florals, a sentiment, and maybe a little tag to put it on.
*Disclaimer: All products used are linked below as clickable images. If a product isn’t listed, it’s been discontinued.


Let's take a look at how you can recreate it:
-
Preparation: Prepare (1) top or side-folding A2 card base & (2) A2 panels from white cardstock.
-
Background:
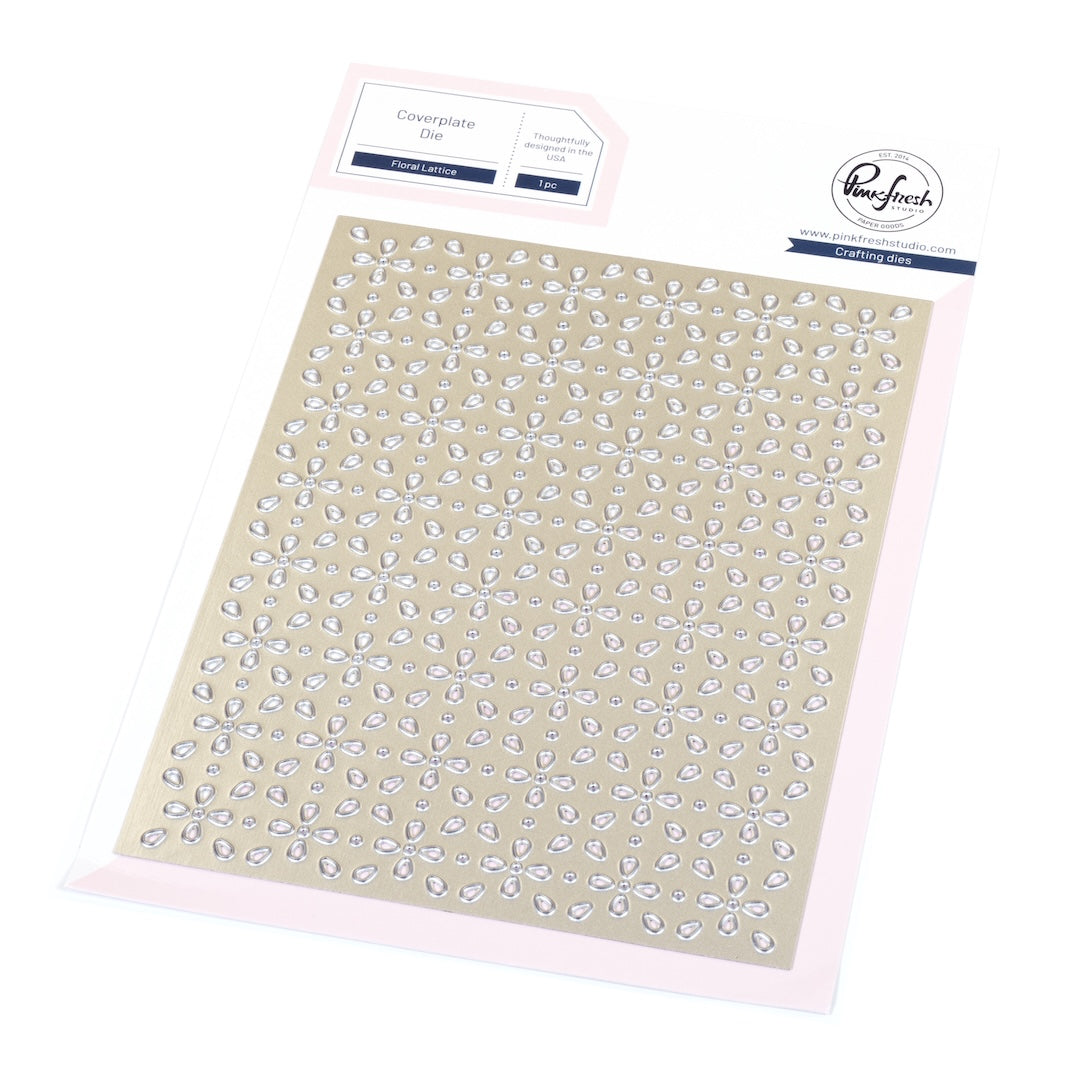
- Die cut (1) A2 panel with the Floral Lattice coverplate die.
- Ink blend the die cut with Cherry Blossom using a 1" blending brush.
- Mark 4.5" on the right edge and 2" on the left edge. Trim the panel by connecting these two marks with a straight cut. Adhere the larger piece to the card front (& save the smaller one for a future project).
-
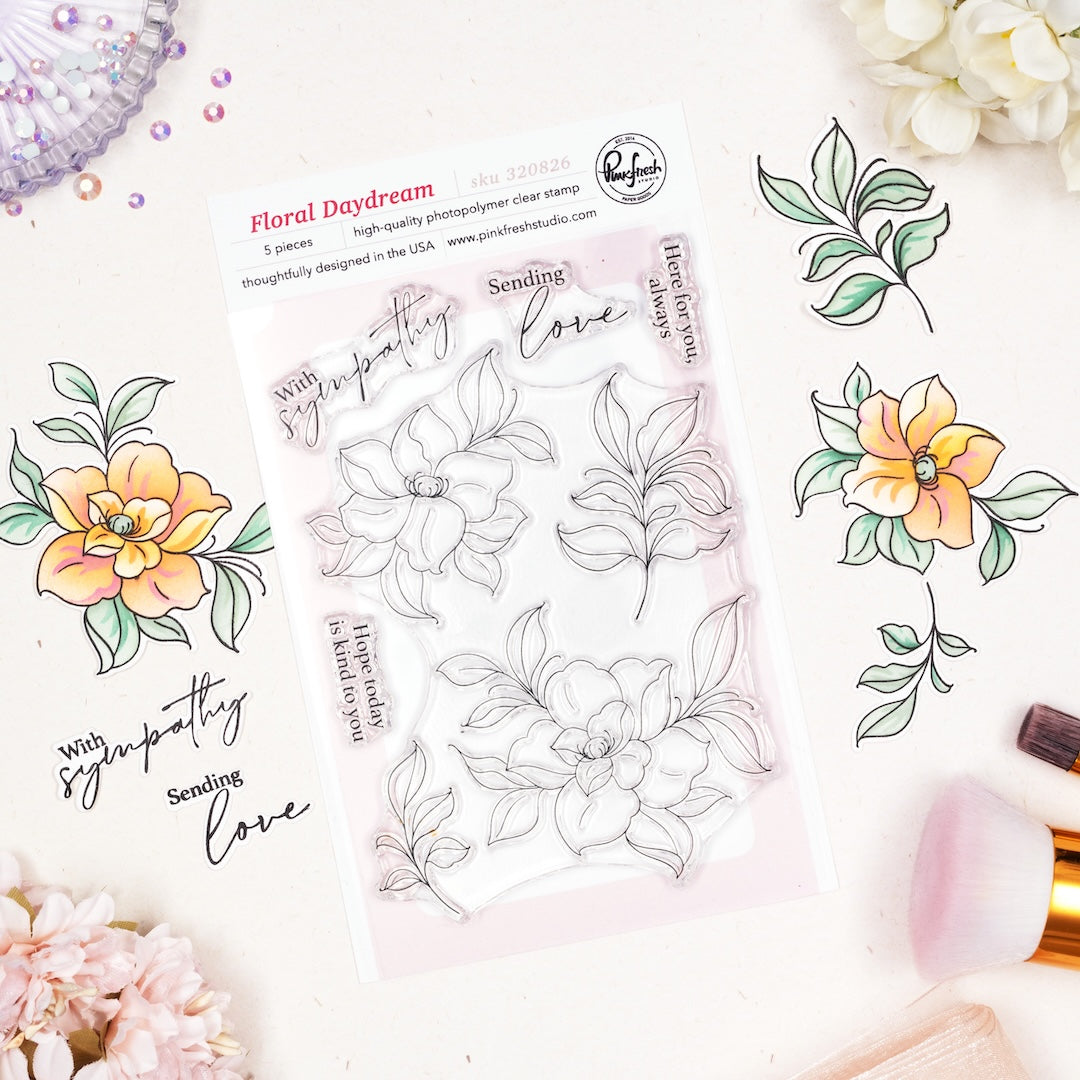
Floral Daydream:
- Stamp the Floral Daydream* image in Detail Black on the other A2 panel of white cardstock. Heat set or let dry completely before ink blending.
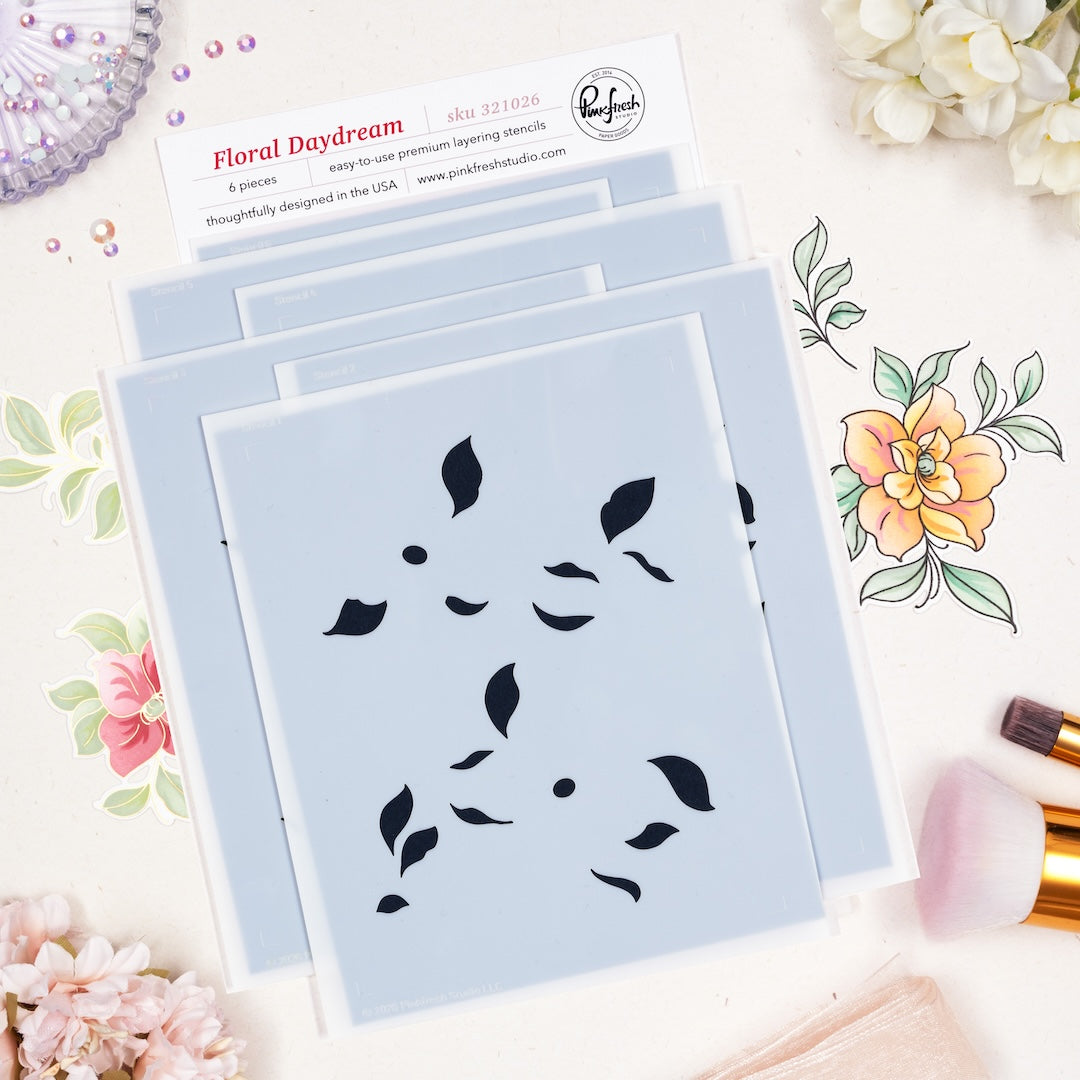
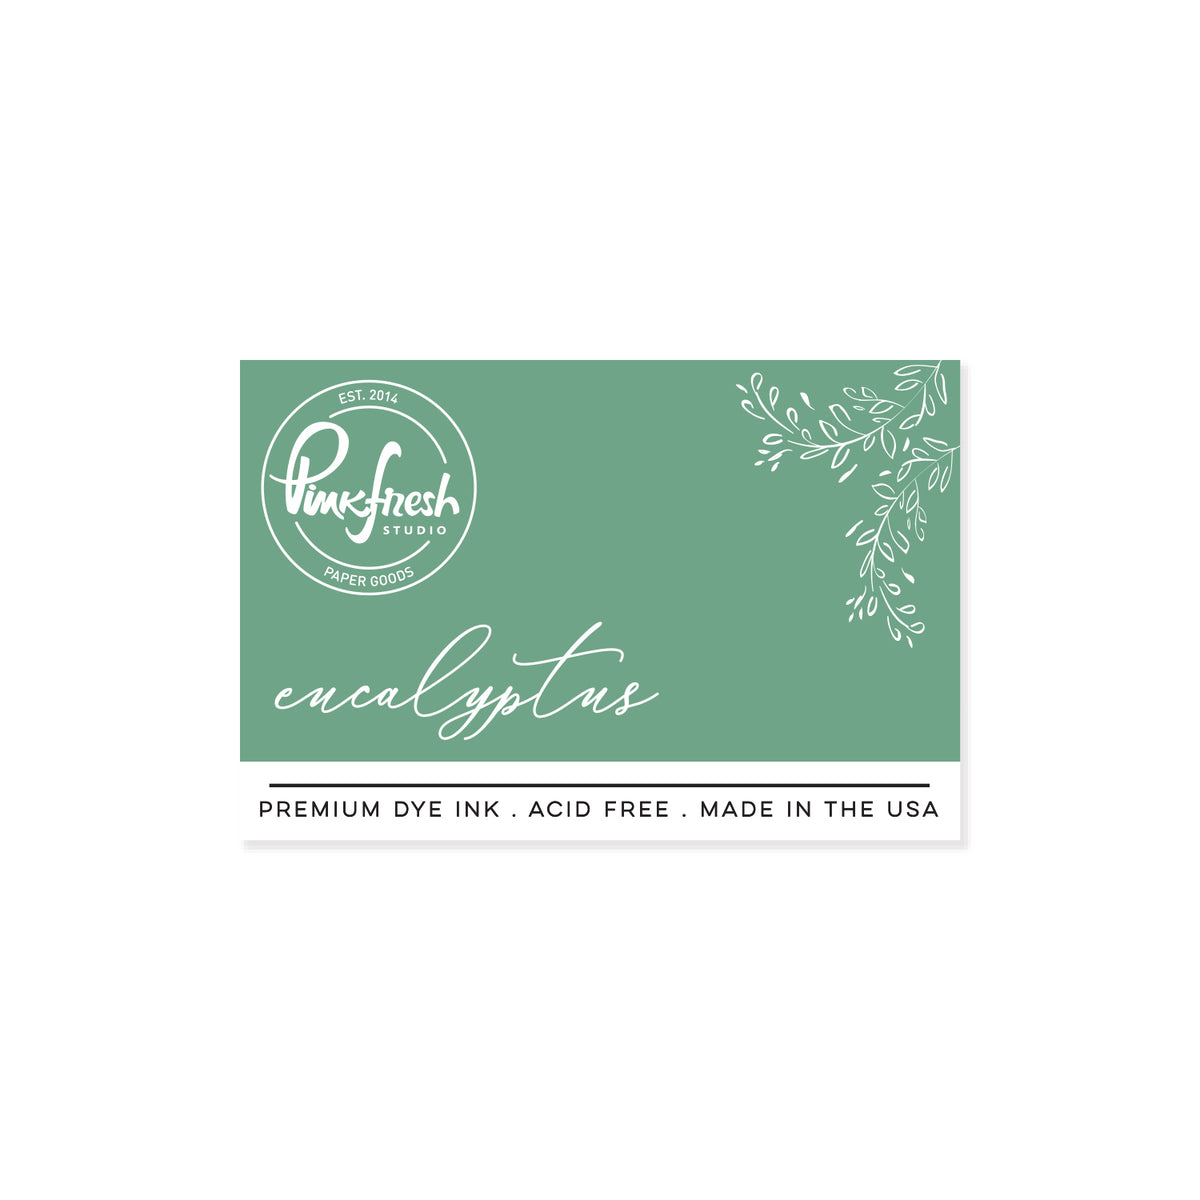
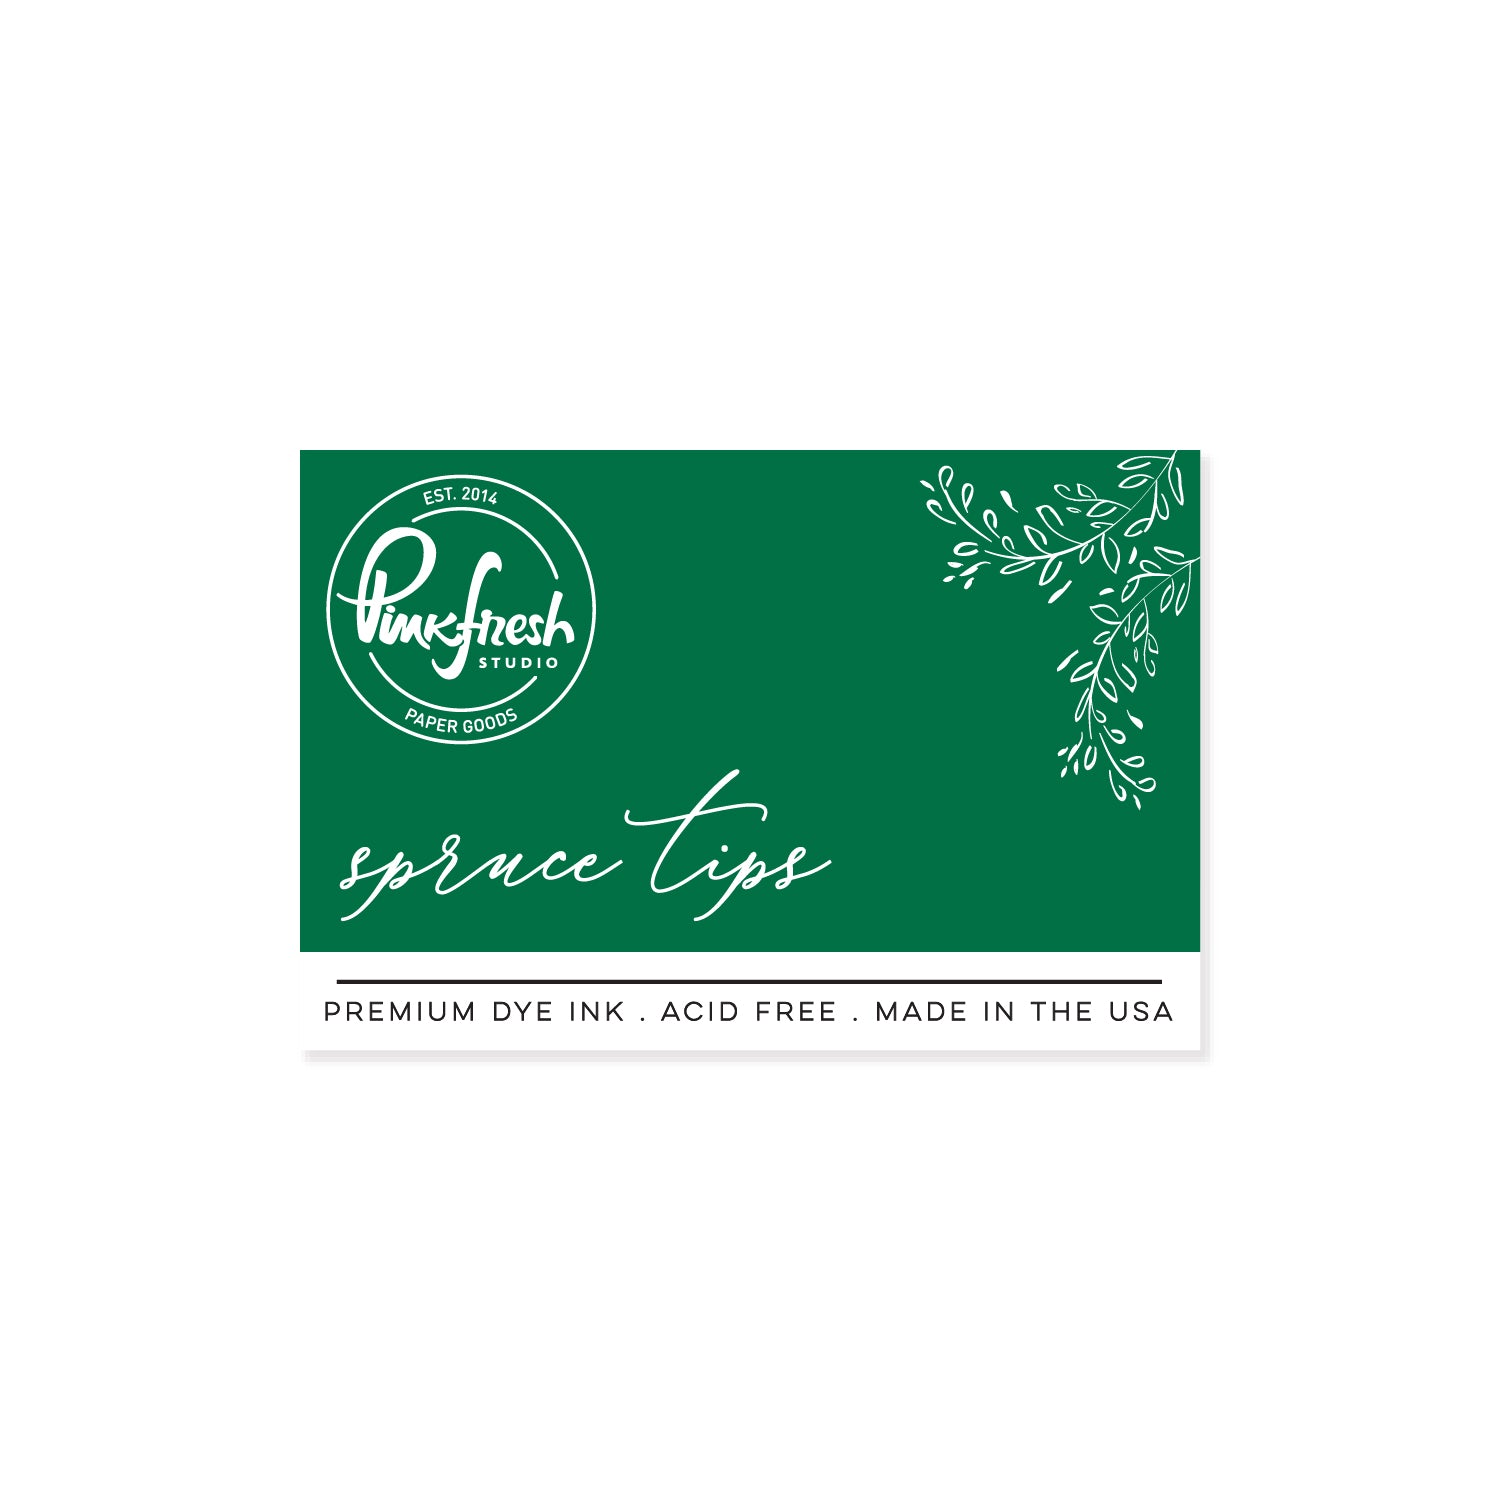
*instead of the stamp, you could use the coordinating press plate for hot foiling or letterpress - Ink blend using the coordinating layering stencils. Use Lemon Whip, Sunkissed, and Sparkling Rose (petals) and Sage, Eucalyptus, and Spruce Tips (leaves).
-
Die cut using the coordinating die & set aside
- Stamp the Floral Daydream* image in Detail Black on the other A2 panel of white cardstock. Heat set or let dry completely before ink blending.
-
Sentiment & Label:
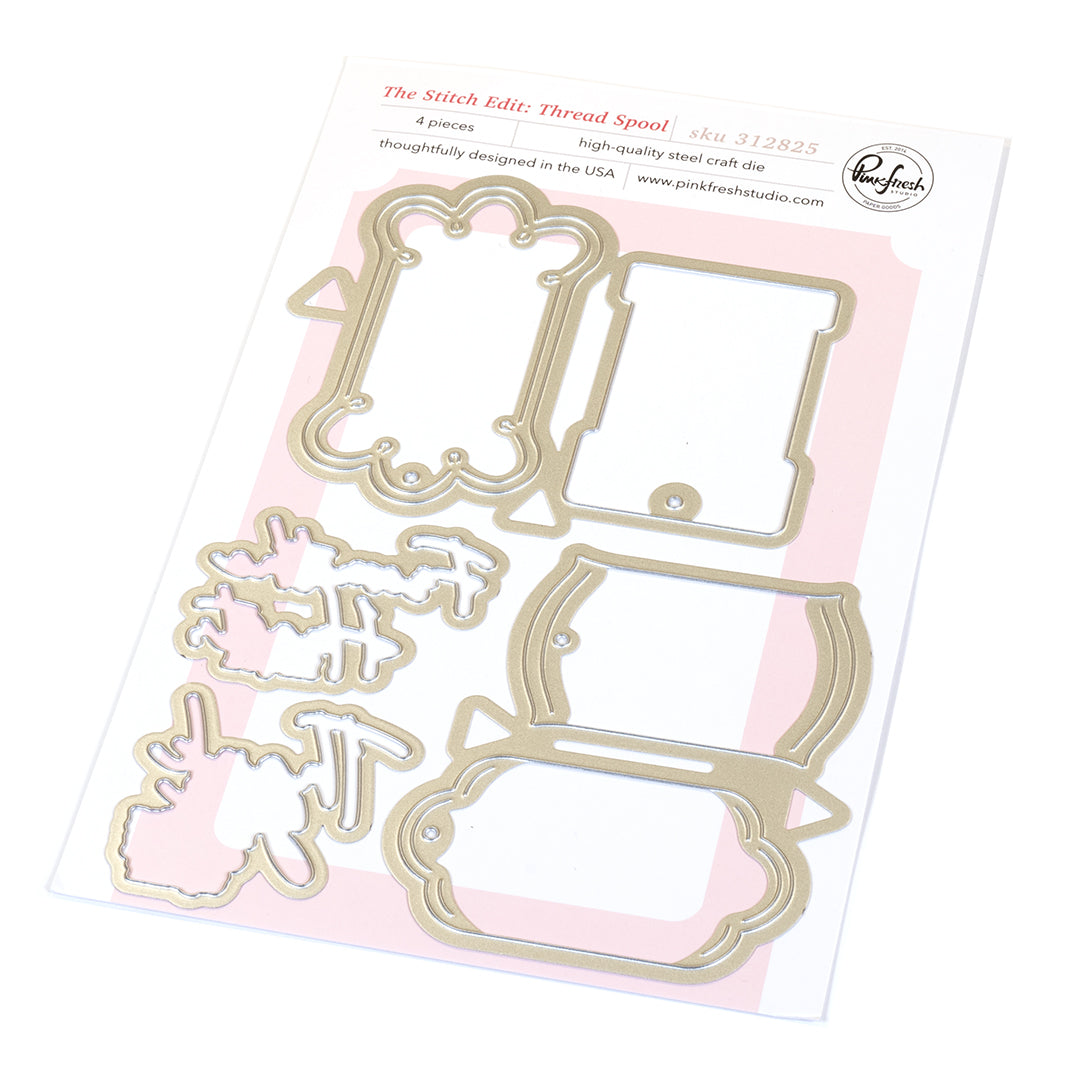
- Die cut one of the spools from The Stitch Edit: Thread Spool die & thread some floss through the hole.
- Stamp a sentiment from Floral Daydream in Detail Black.
- Die cut & stack with (2) blank pieces, then adhere onto the label.
-
Assembling the Card:
- Adhere the die-cut spool centered onto the card front using foam adhesive.
- Arrange the floral die cuts to the left and right, covering the line between the white cardstock & the coverplate die cut. Use foam adhesive for some pieces for added dimension.
Tip: Let some of the leaves/flowers slightly overlap the label for an even more dimensional look.
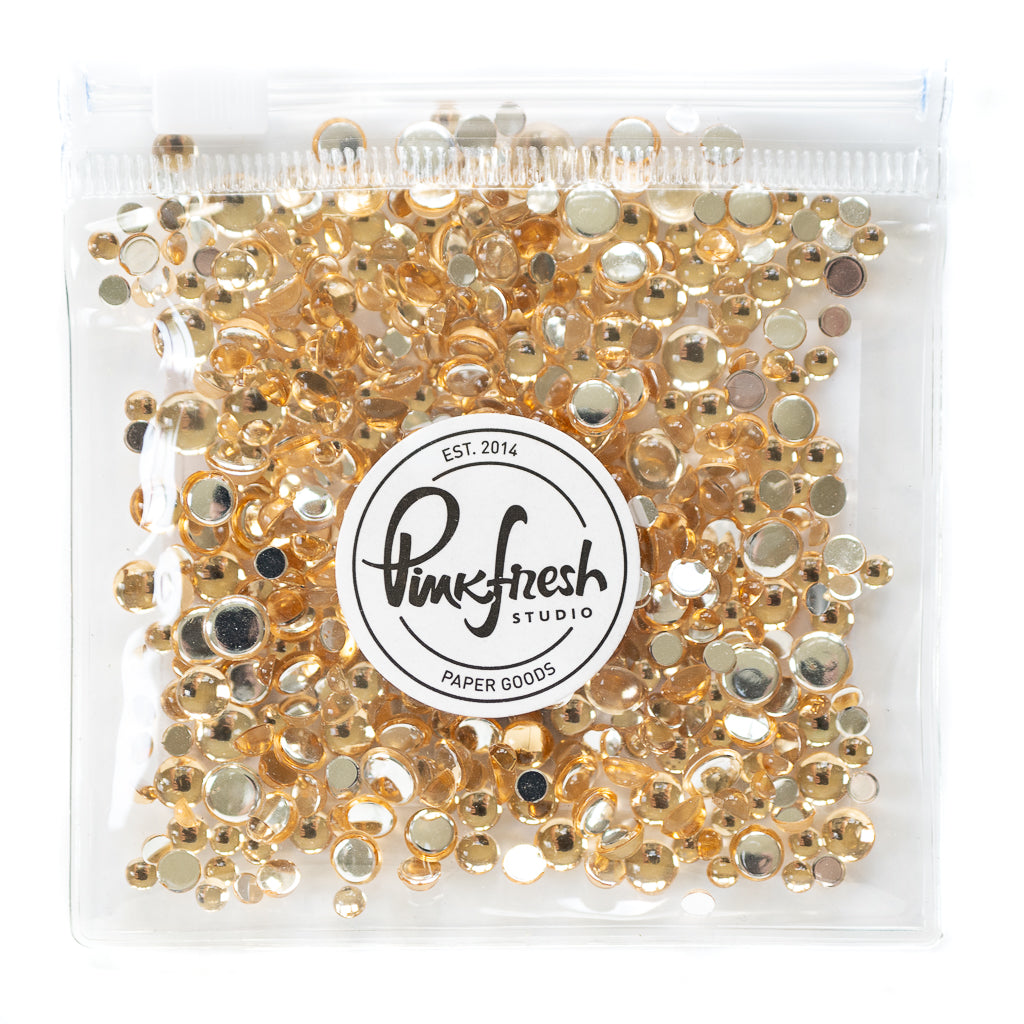
- Embellish to your liking using Clear Drops in champagne.
I’m really happy with how this card turned out, and even more so that I was able to use up some leftover pieces from my stash. If you recreate this card and die cut a new panel with a coverplate die, you’ll end up with extra pieces that can be saved and used for a future project.

I hope this card inspires you to maybe try out this layout or to rummage through your leftover die cuts and see how you can arrange those on a card.
As always, we’d love to see what you create! Don’t forget to tag us on social media (@pinkfreshstudio and @cardsandconfetti) so we can admire your amazing work.
Thanks so much for stopping by today!
Recommended Products
































Leave a comment
All comments are moderated before being published.
This site is protected by hCaptcha and the hCaptcha Privacy Policy and Terms of Service apply.