
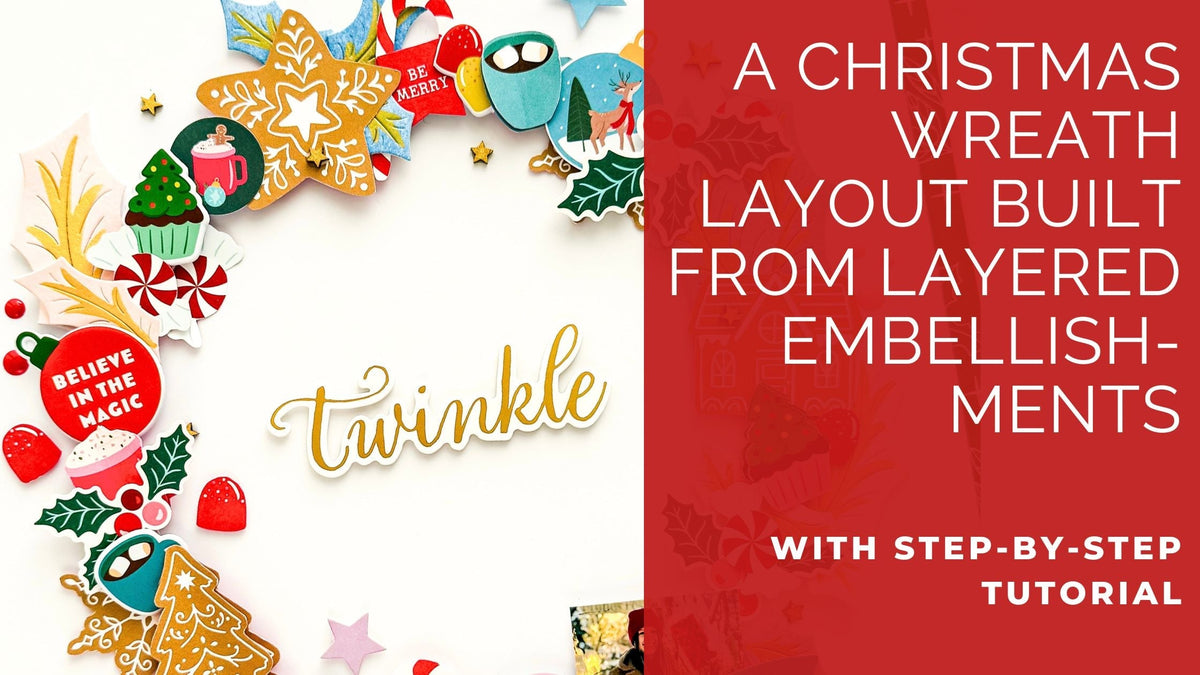
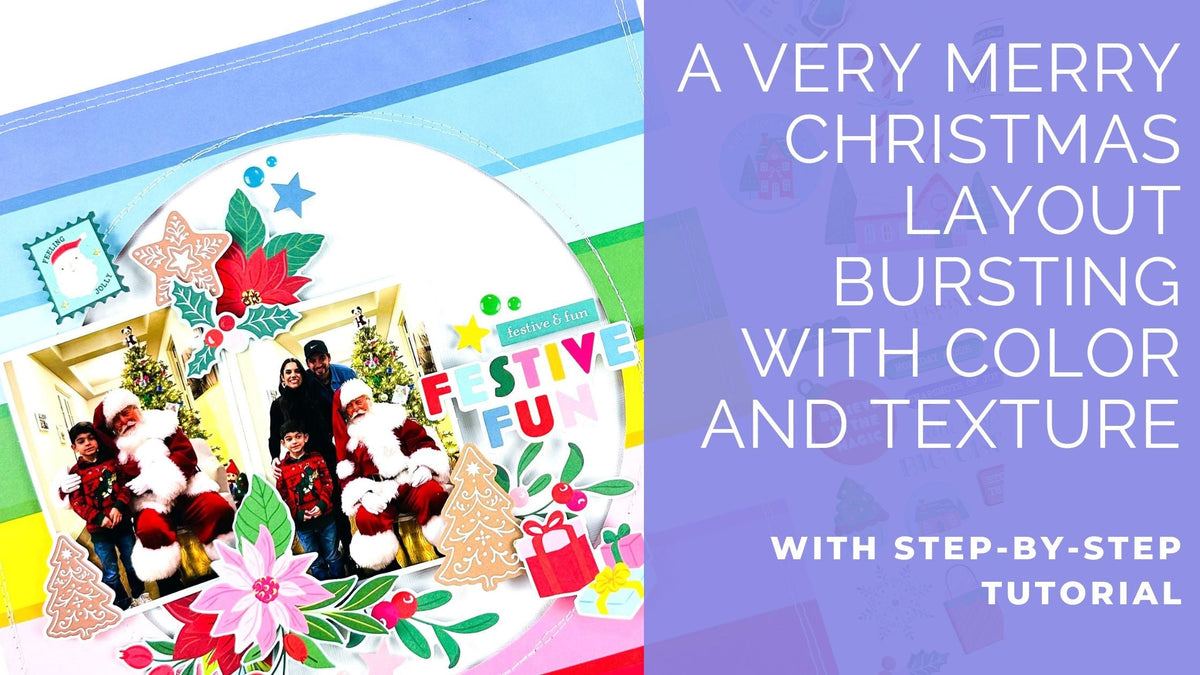
Hello Pinkfresh Friends! Kerstin here today with another Scrapbooking Layout inspiration feat. Very Merry Christmas!
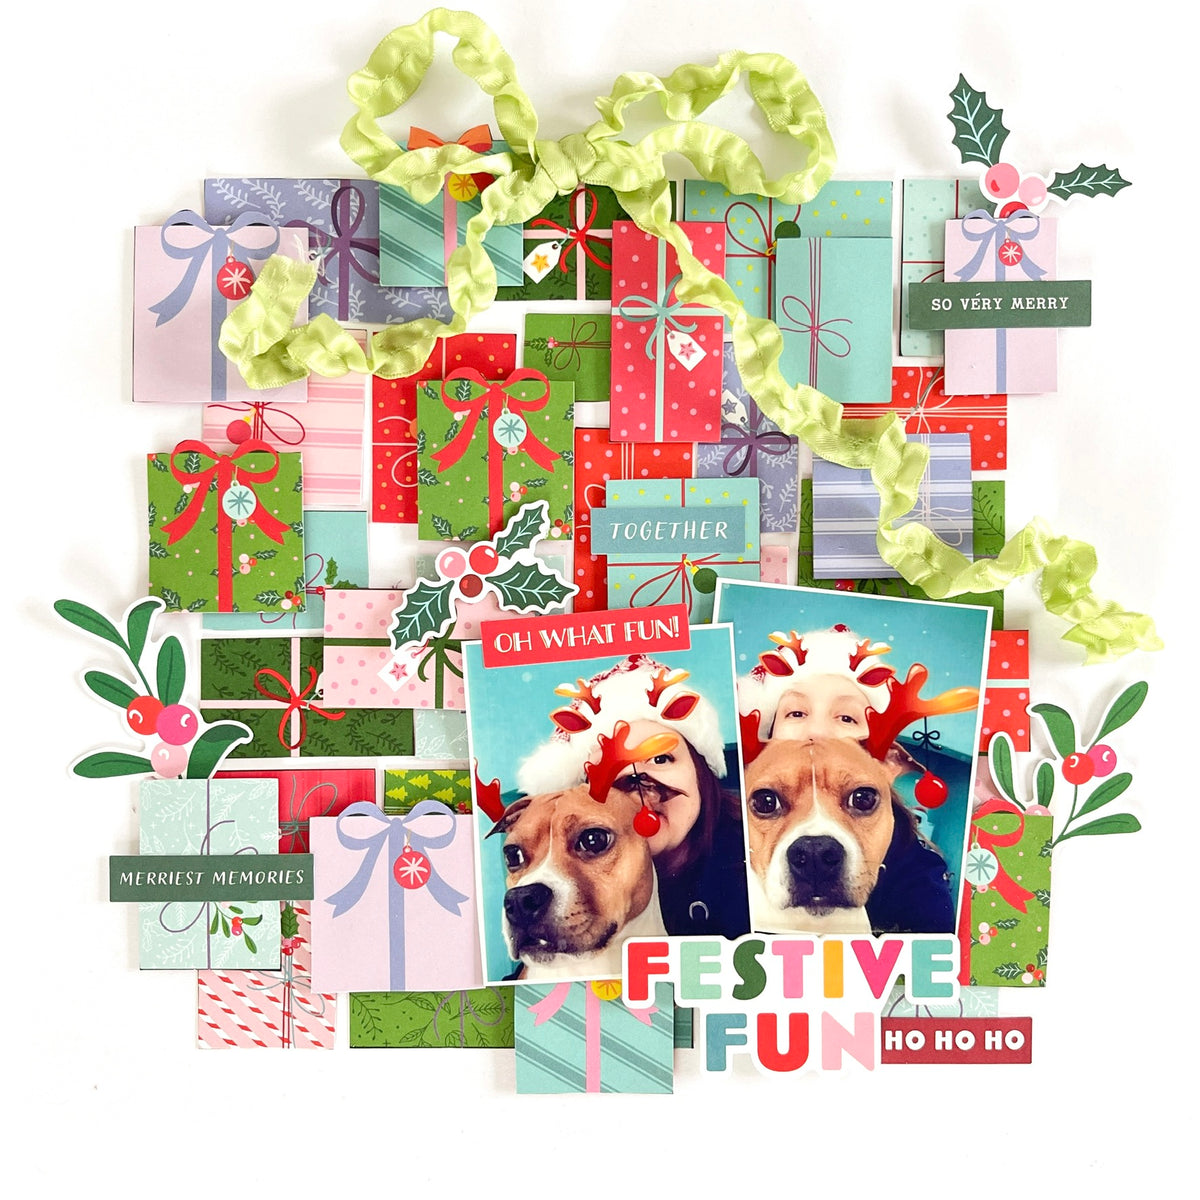
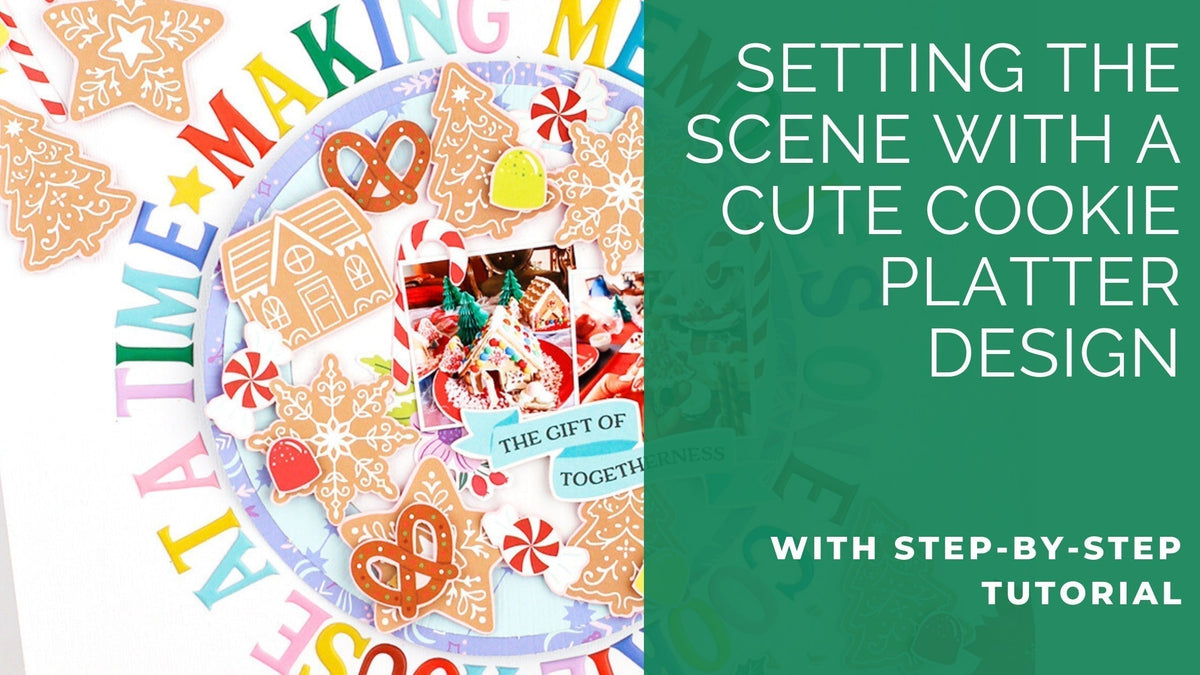
During the Christmas season, there has to be at least one Wreath Scrapbooking Layout—right? With this project, you can go wild. A simple layout that's just a lot of fun!
*Disclaimer: All products used are linked below as clickable images. If a product isn't listed, it's been discontinued.


Step-by-Step Instructions
1. Draw a circle with a diameter of 8 inches on white cardstock.
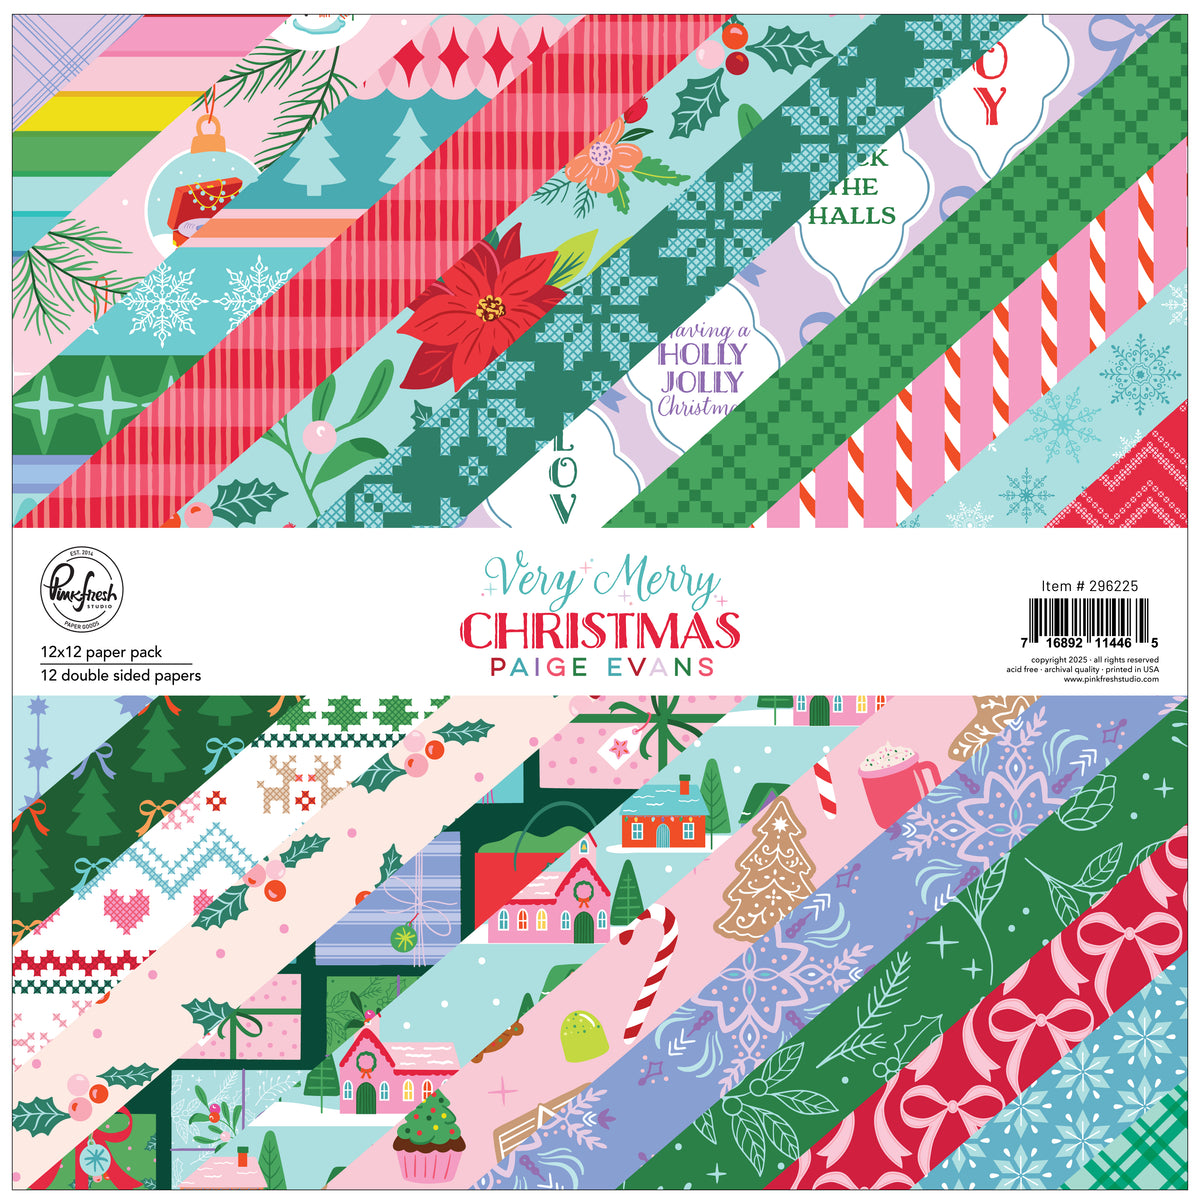
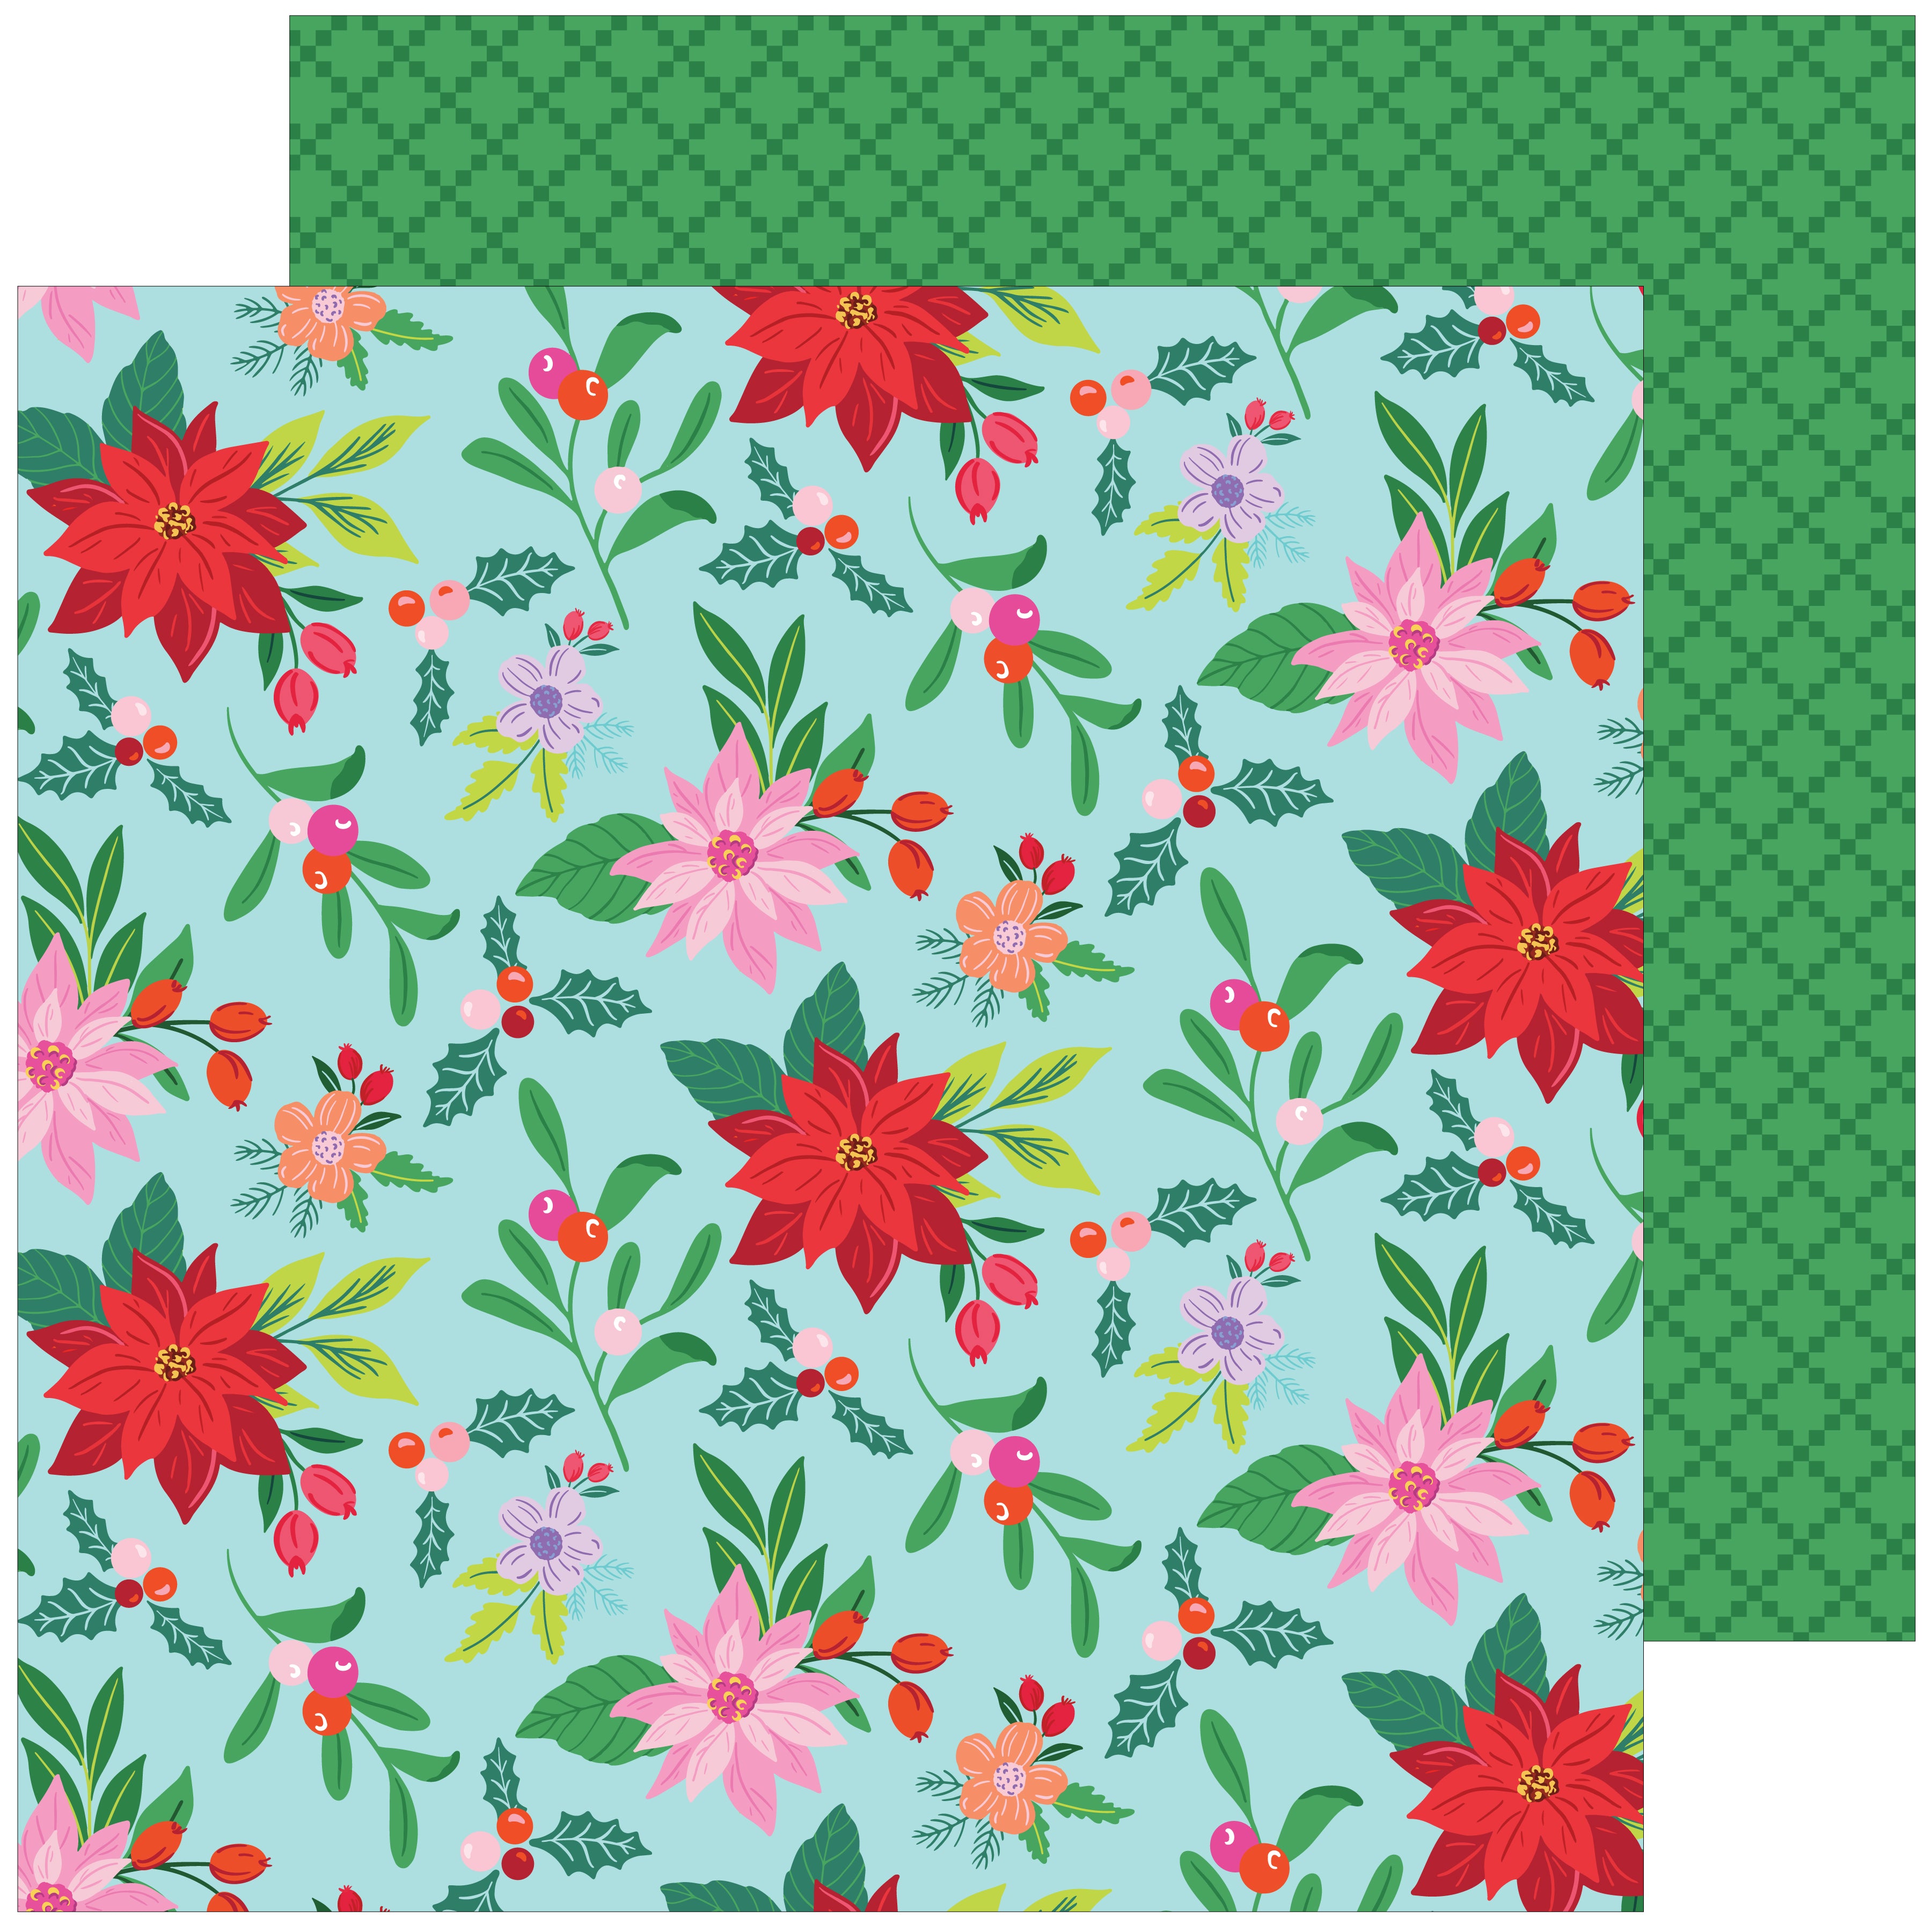
2. Cut out the bits and pieces from the Made-With-Love patterned paper.
3. Glue the fussy-cut embellishments onto the drawn circle using foam adhesive, creating a wreath.
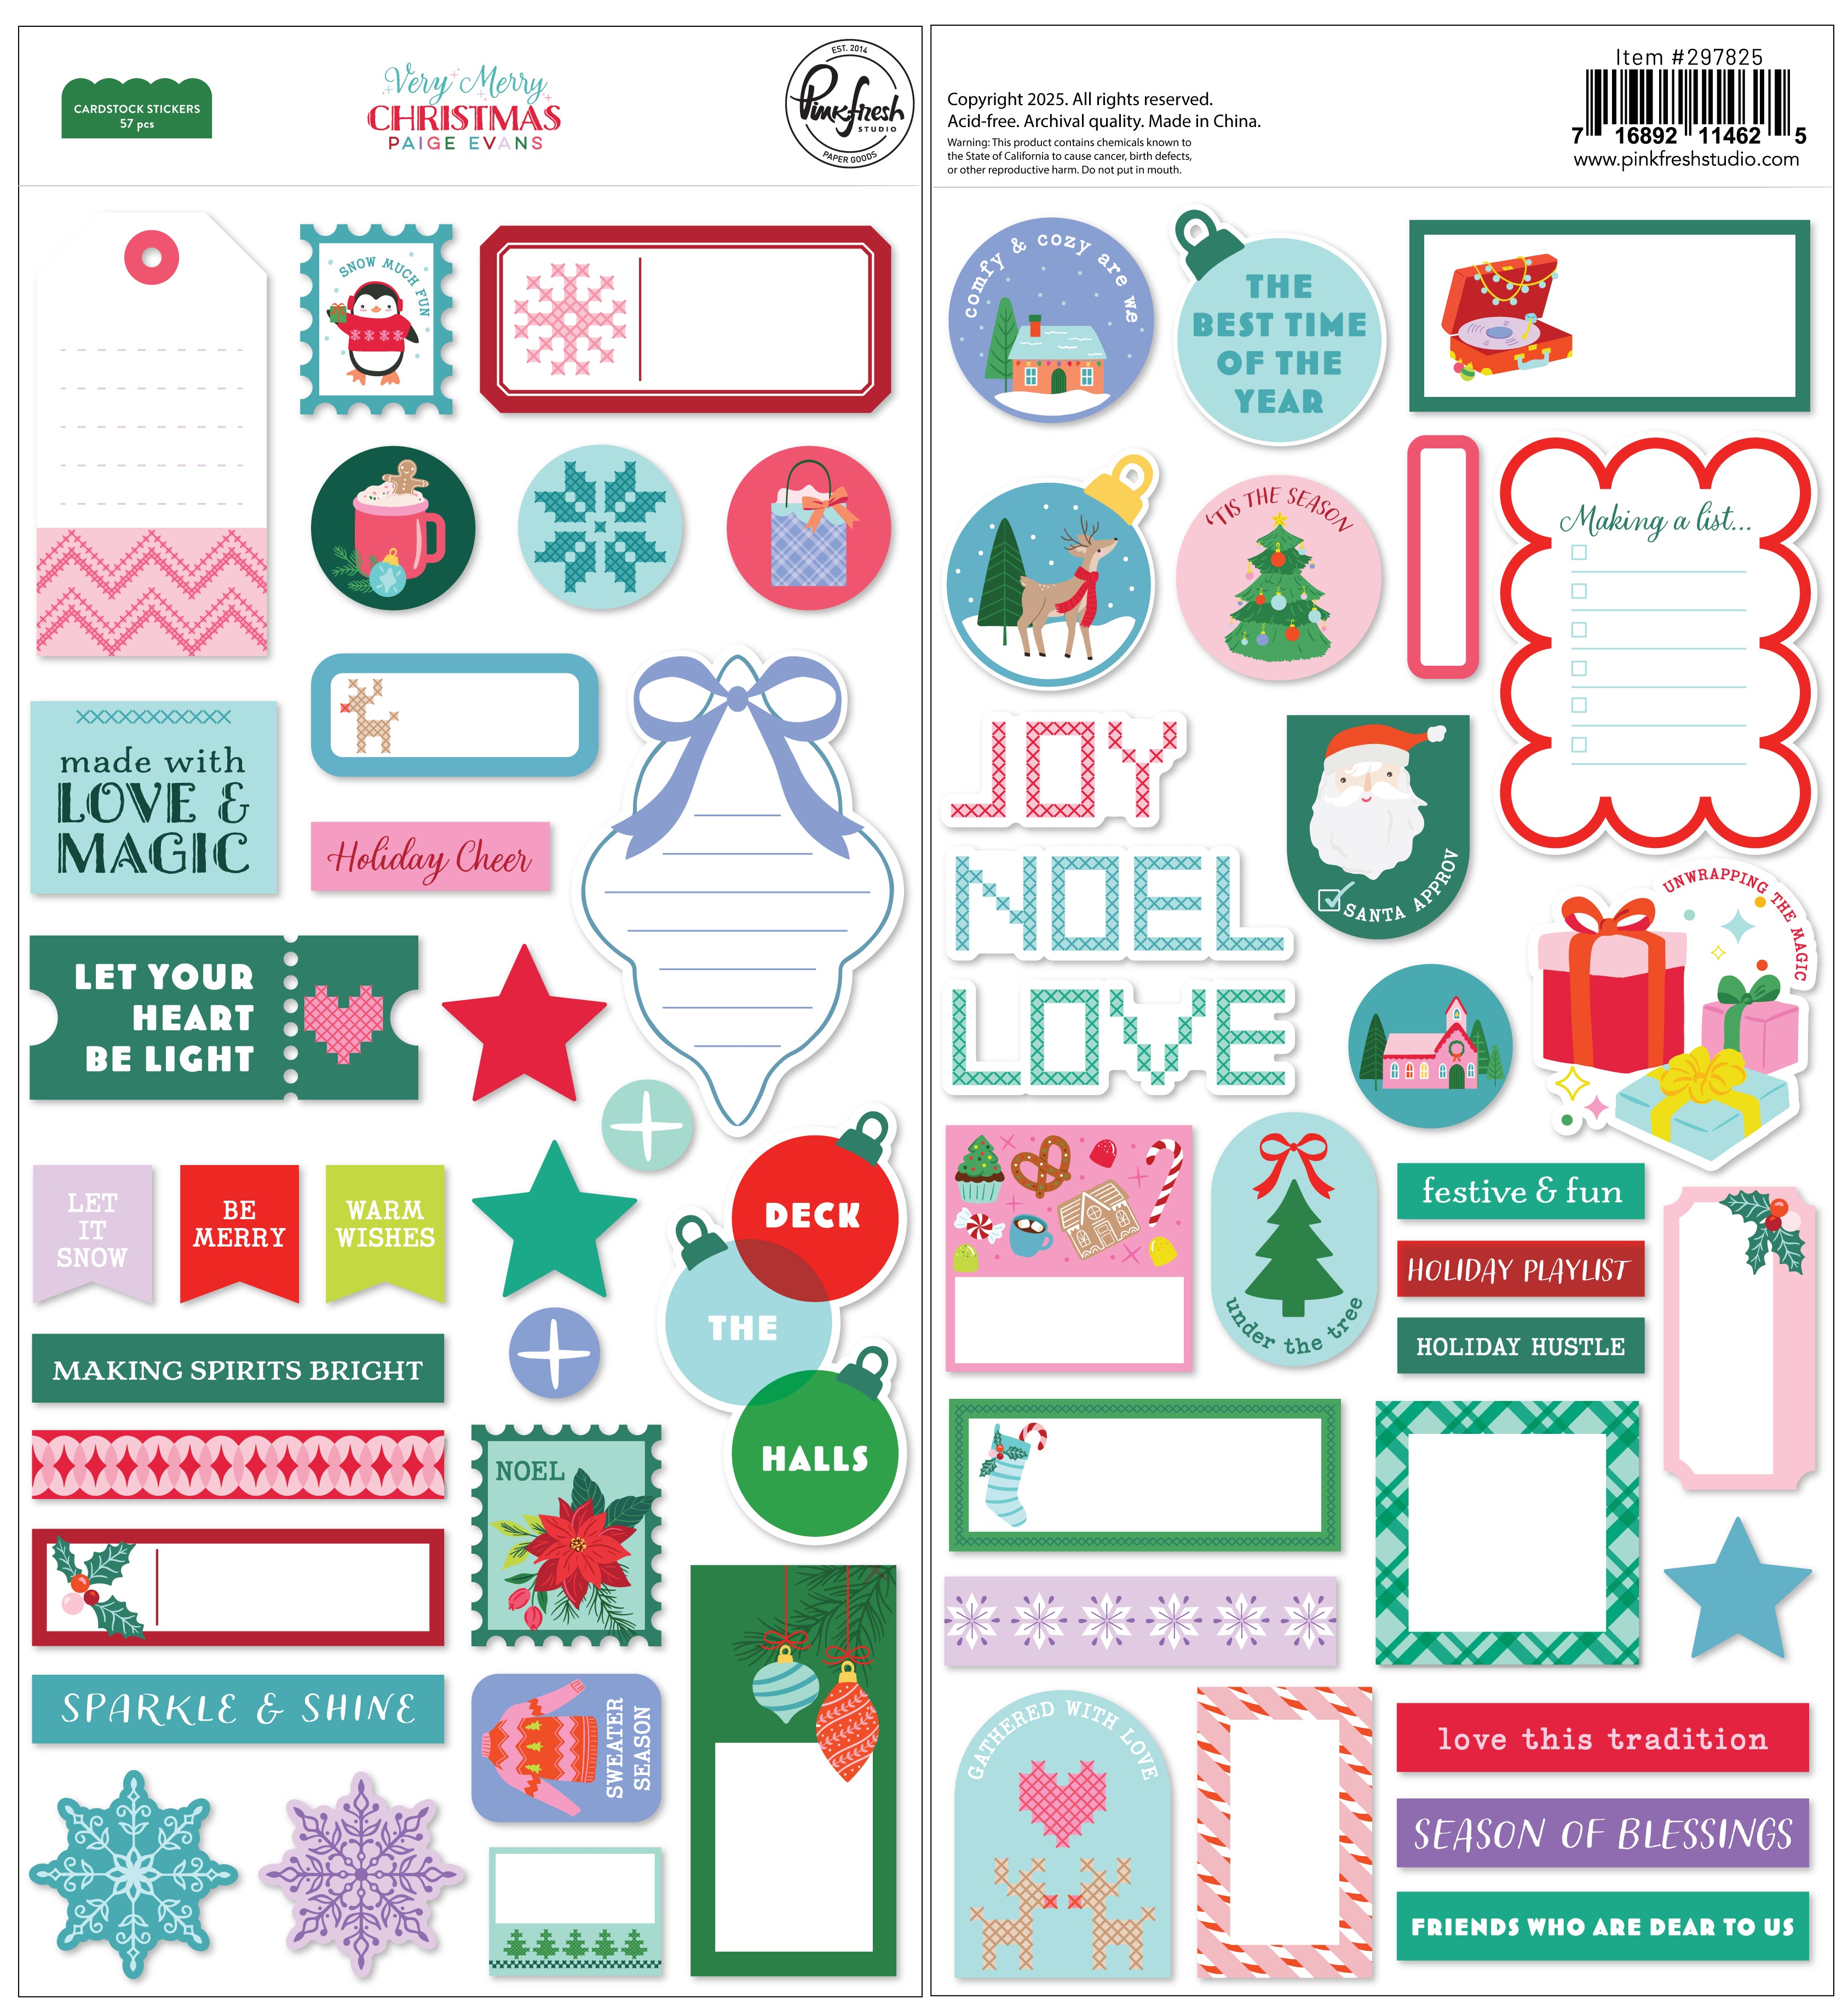
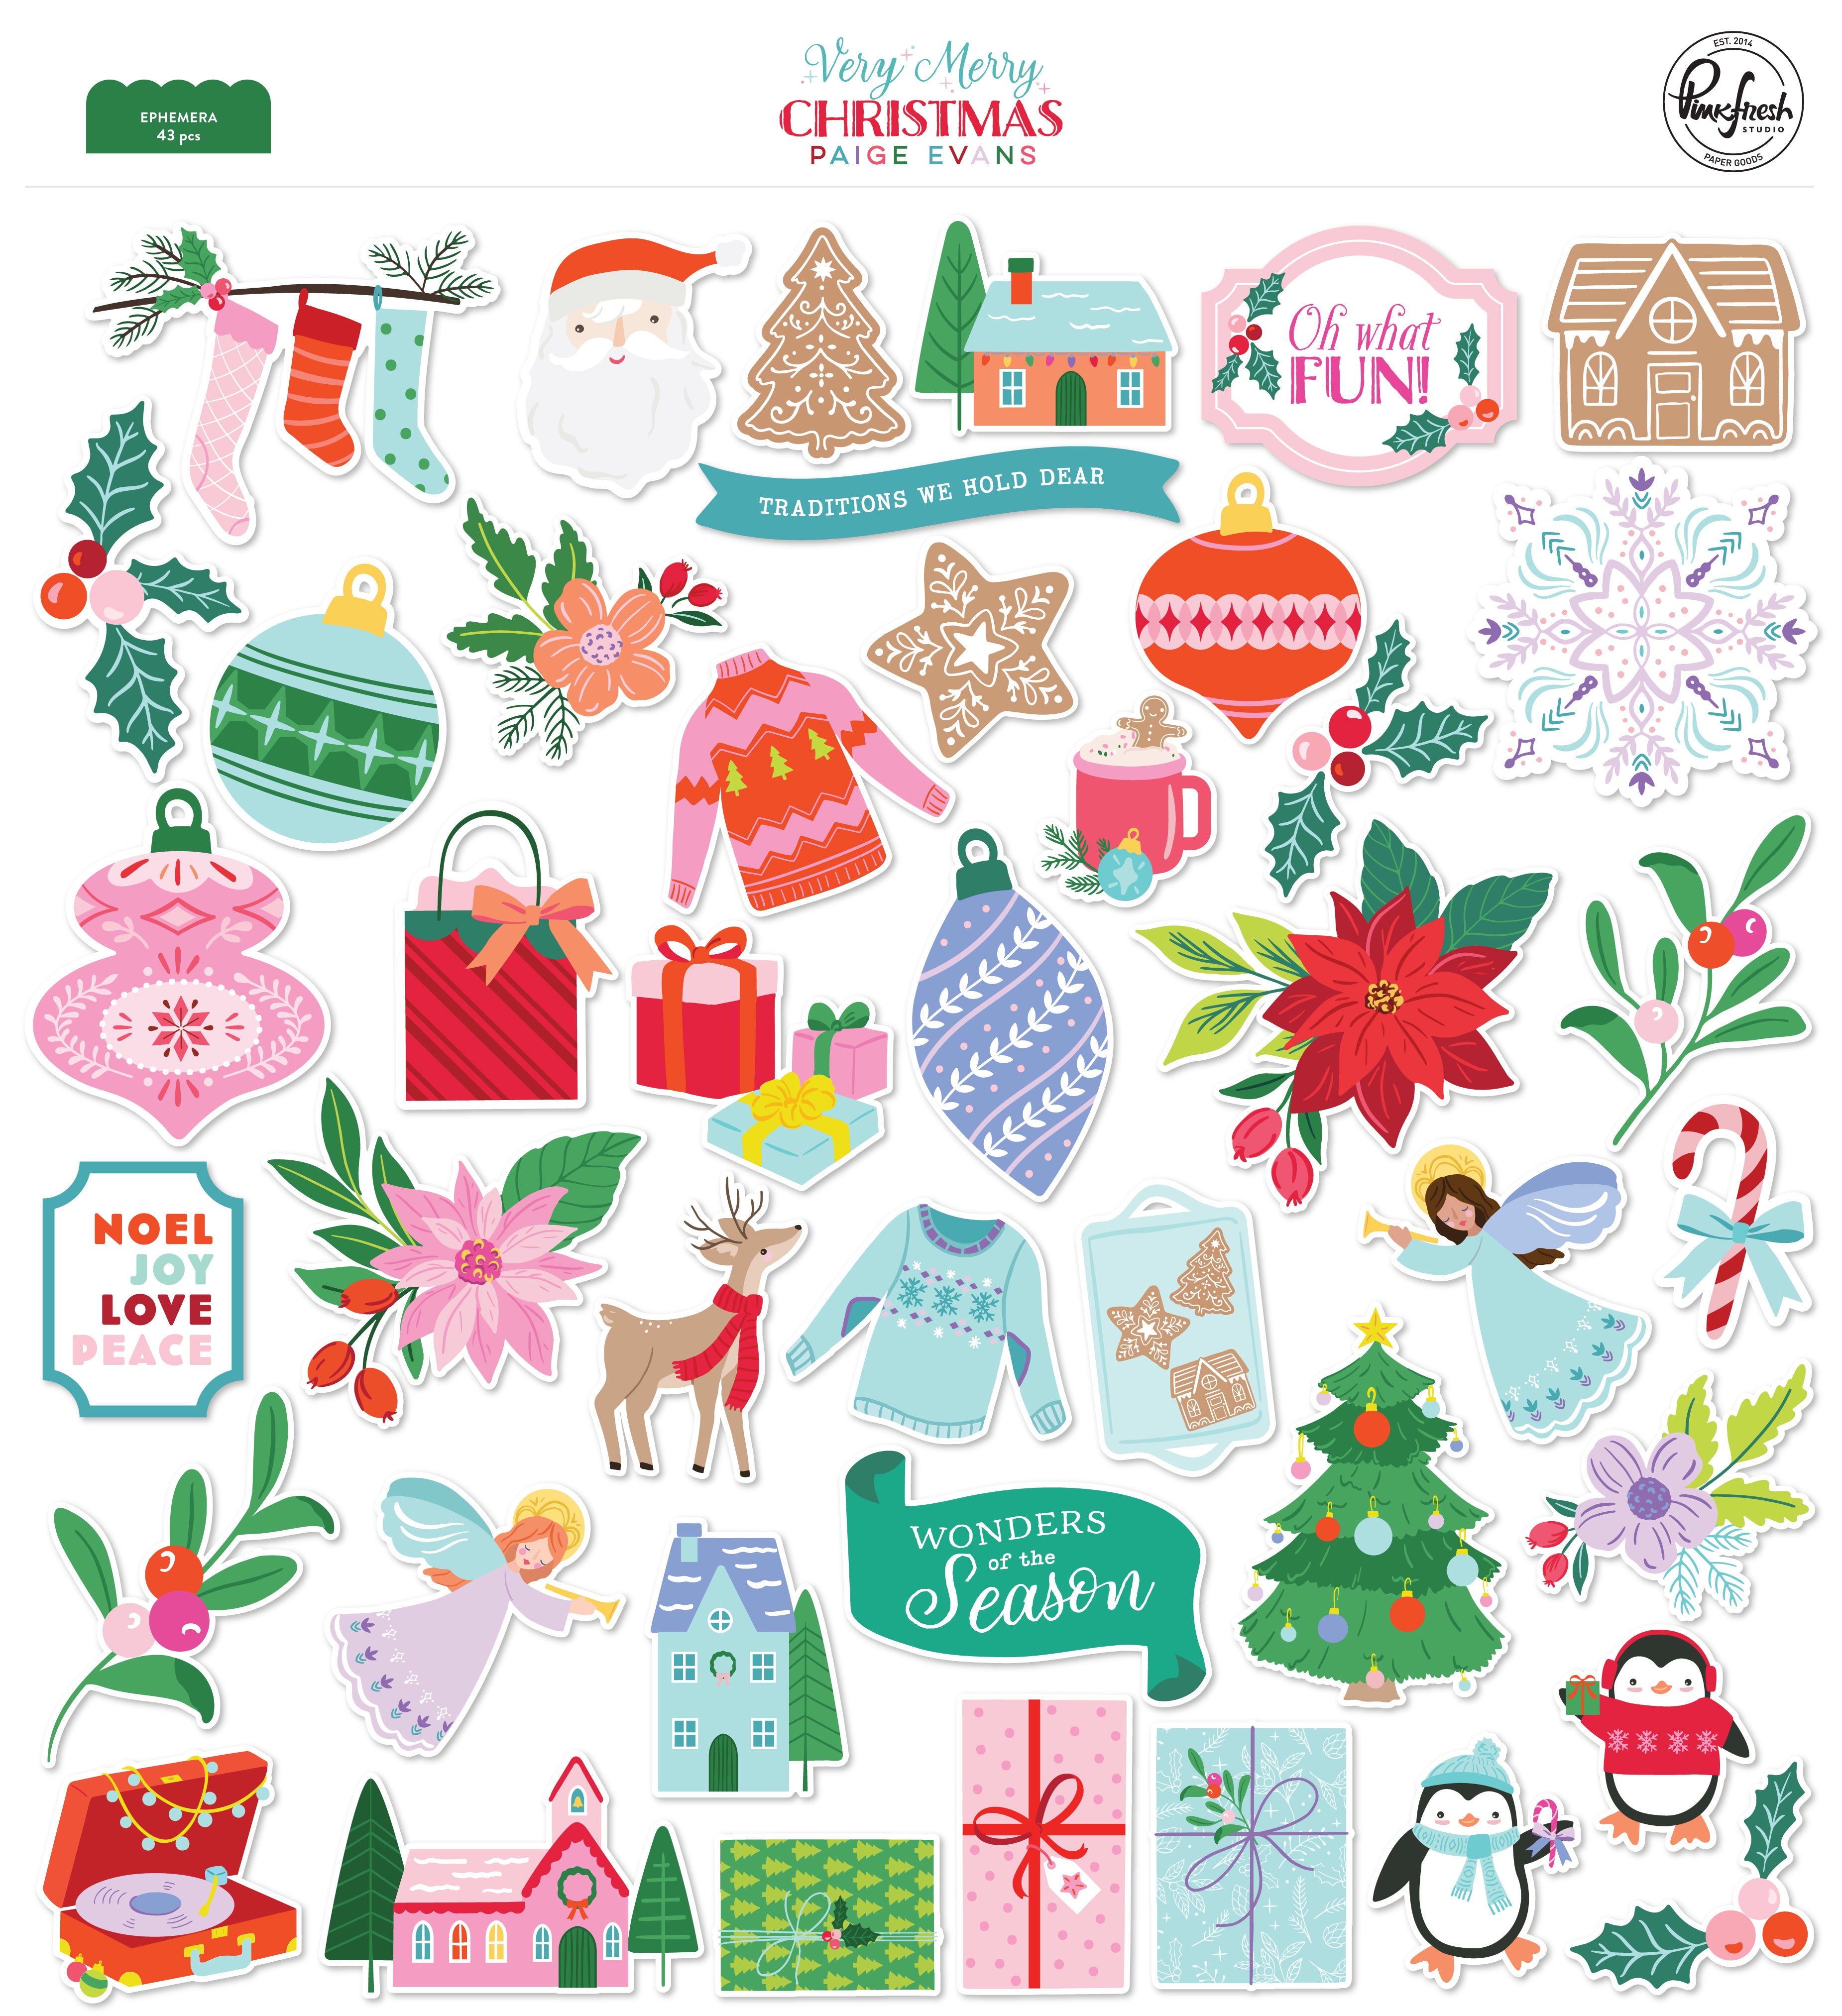
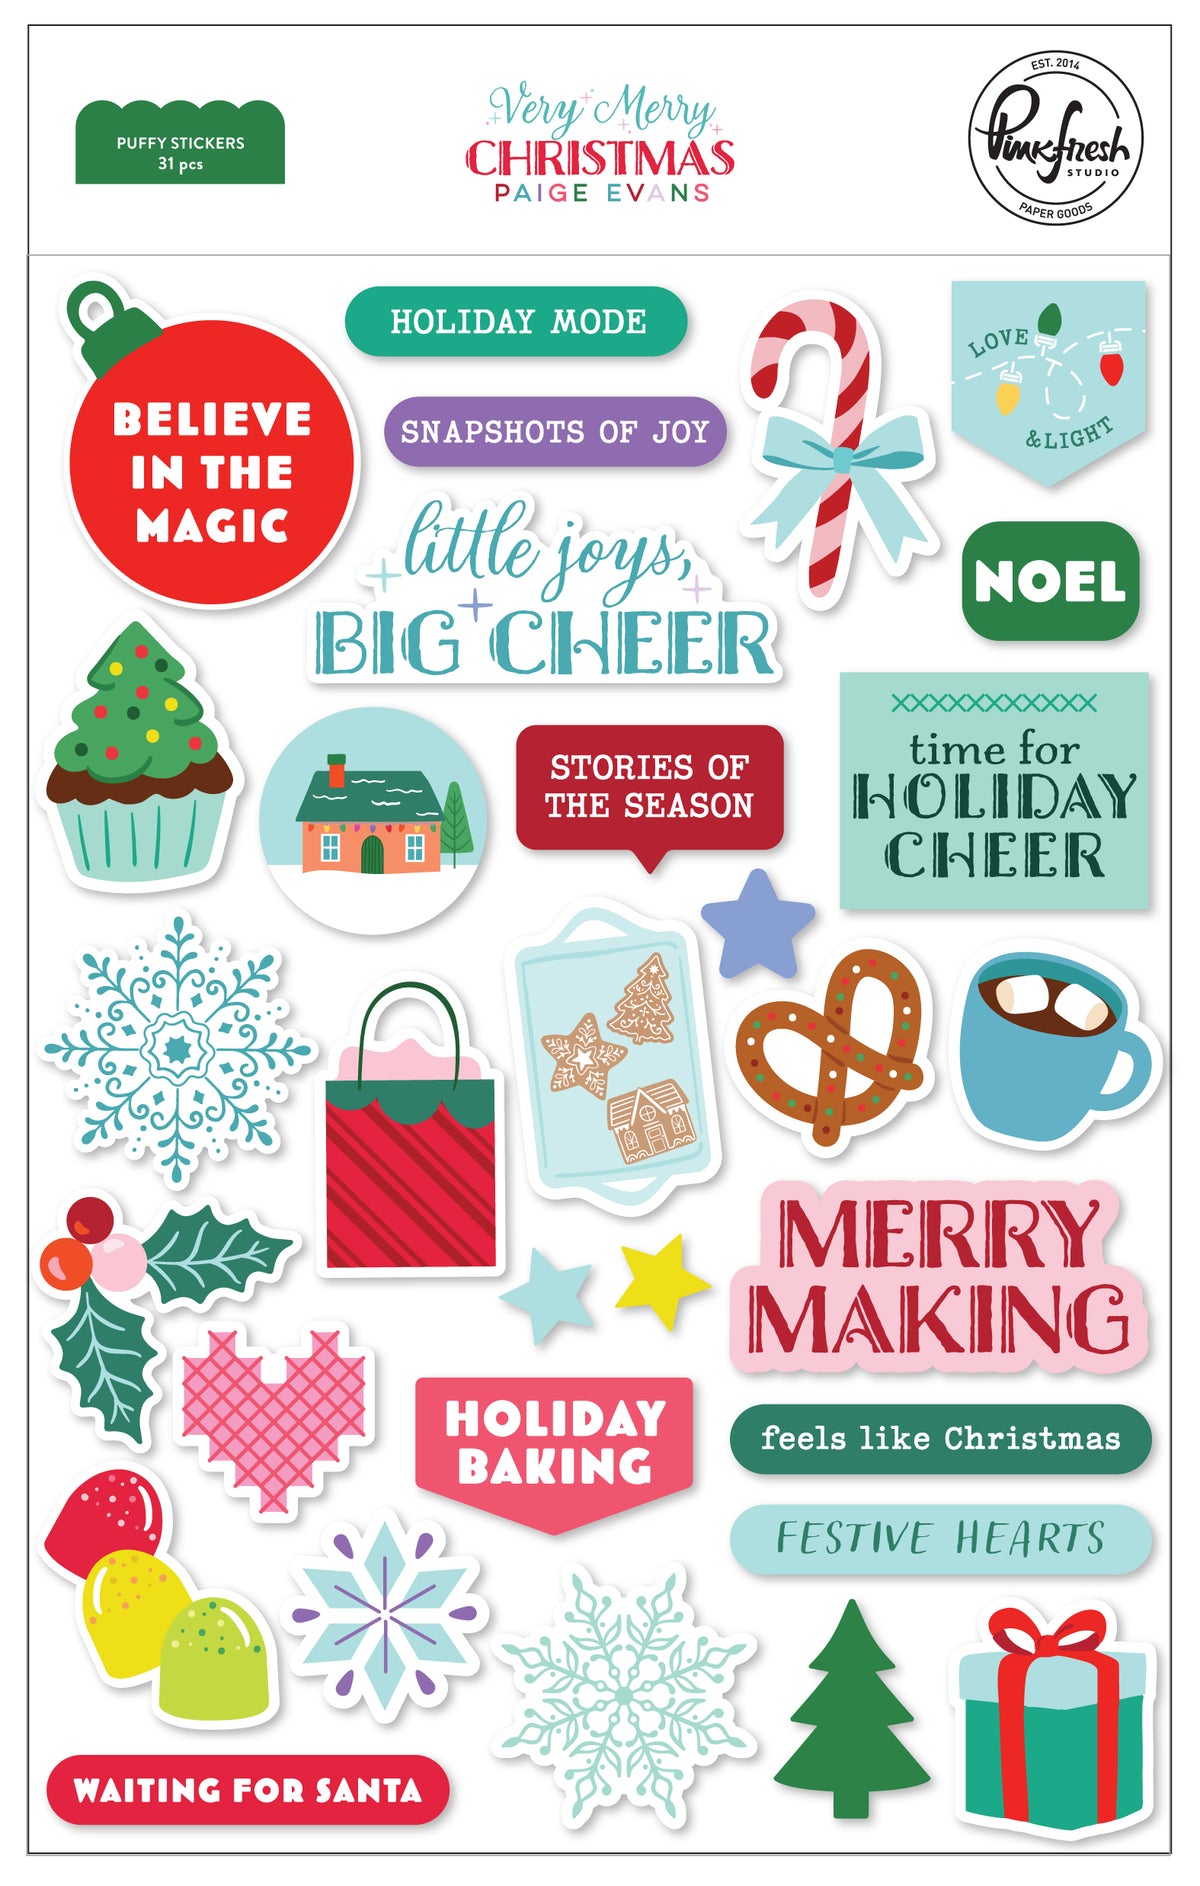
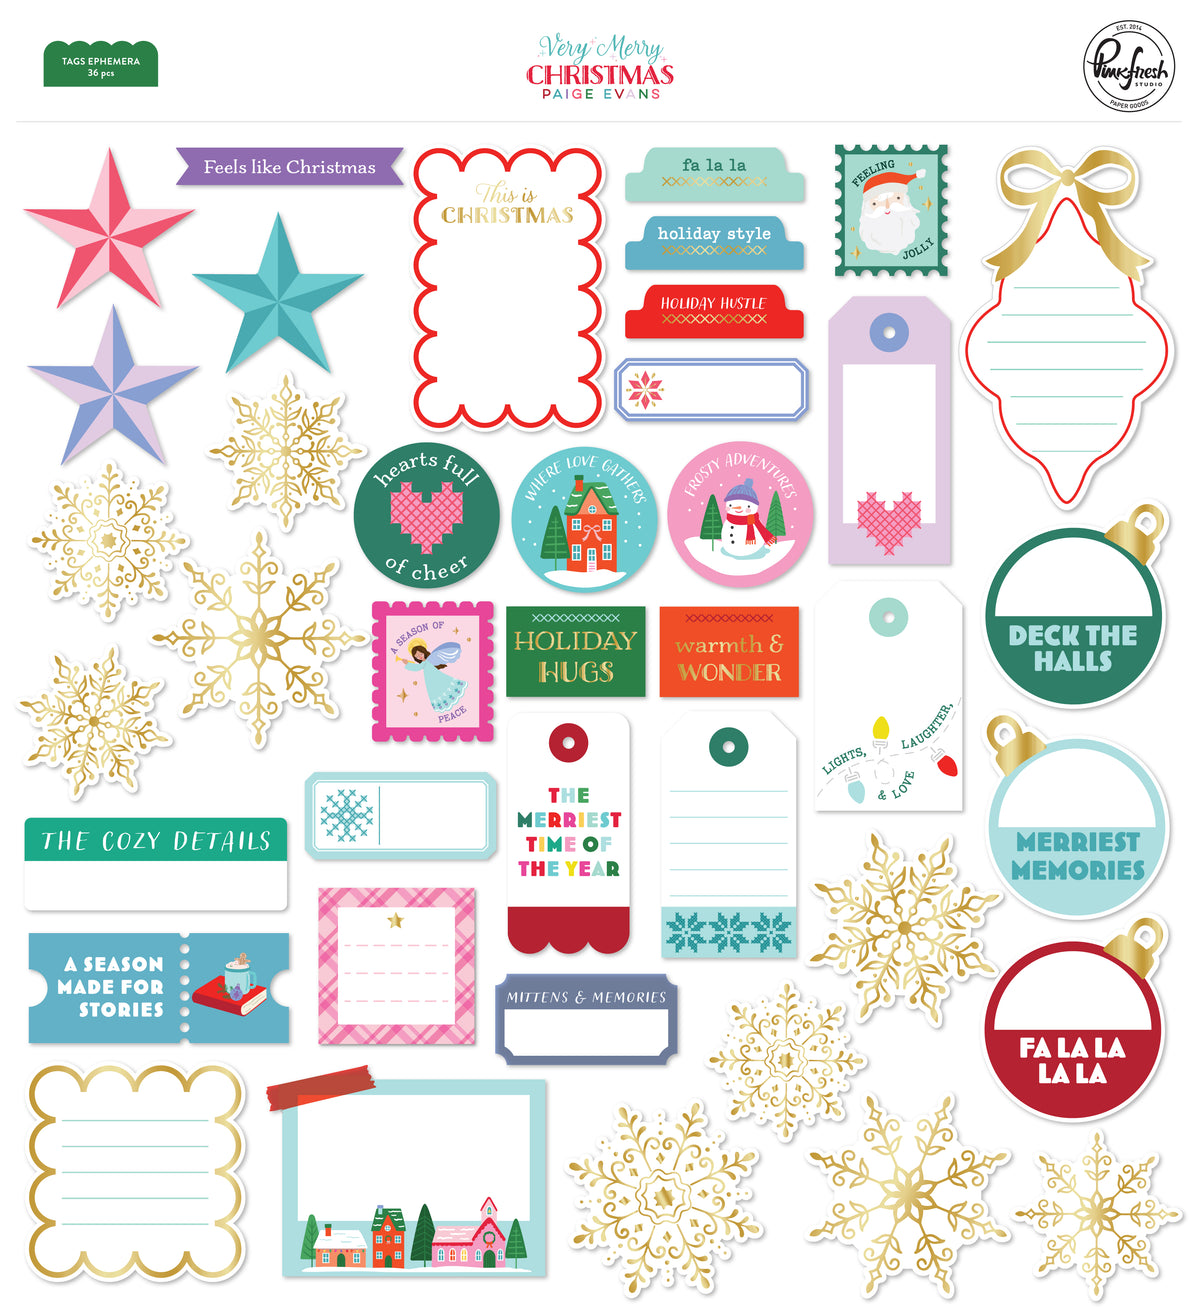
4. Add embellishments from the Ephemera, Puffy Stickers and Cardstock Stickers—use a variety of adhesives for different heights and creating dimension.
5. Add your photo with foam adhesive.
6. Select a title from the Chipboard Titles and place it in the center of the circle.
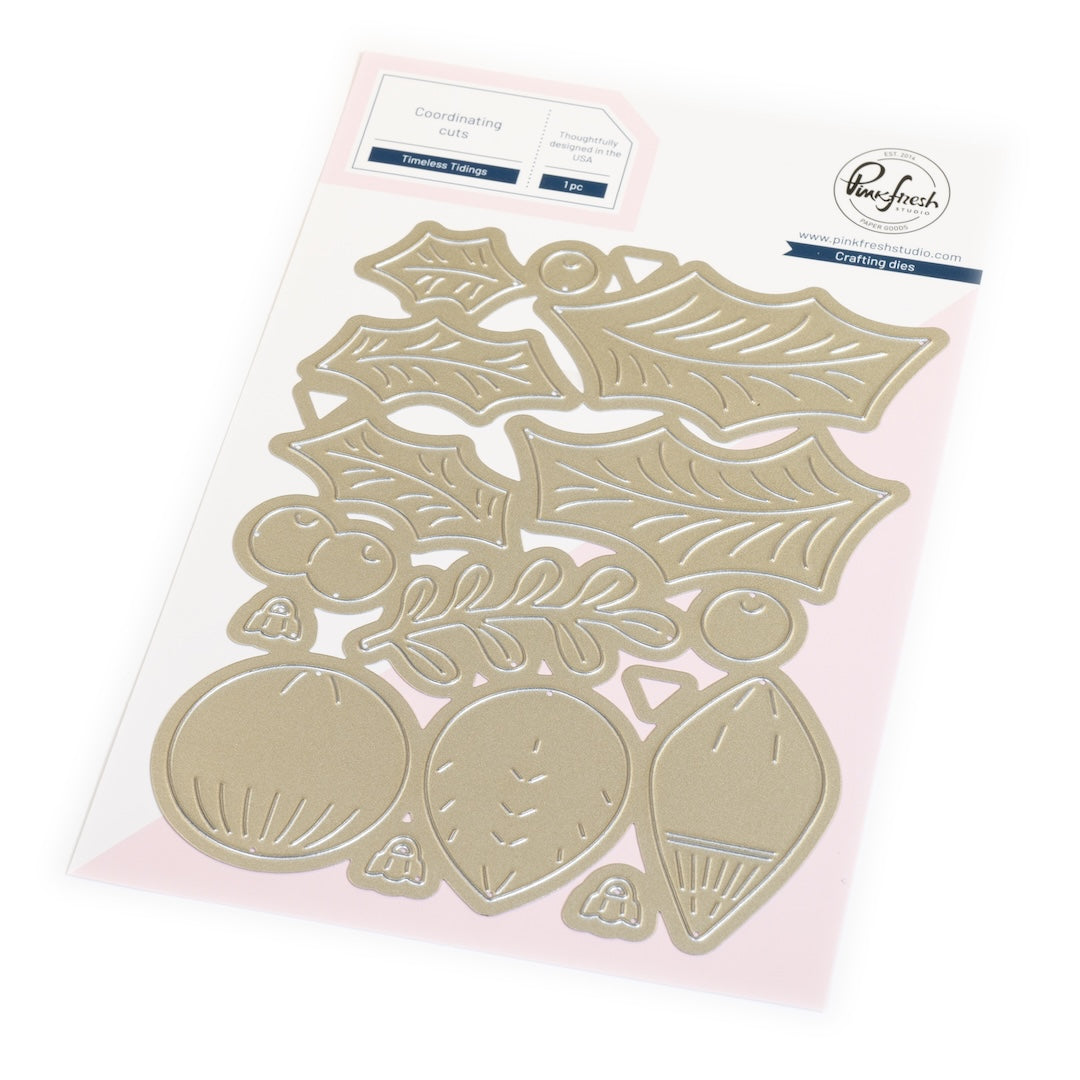
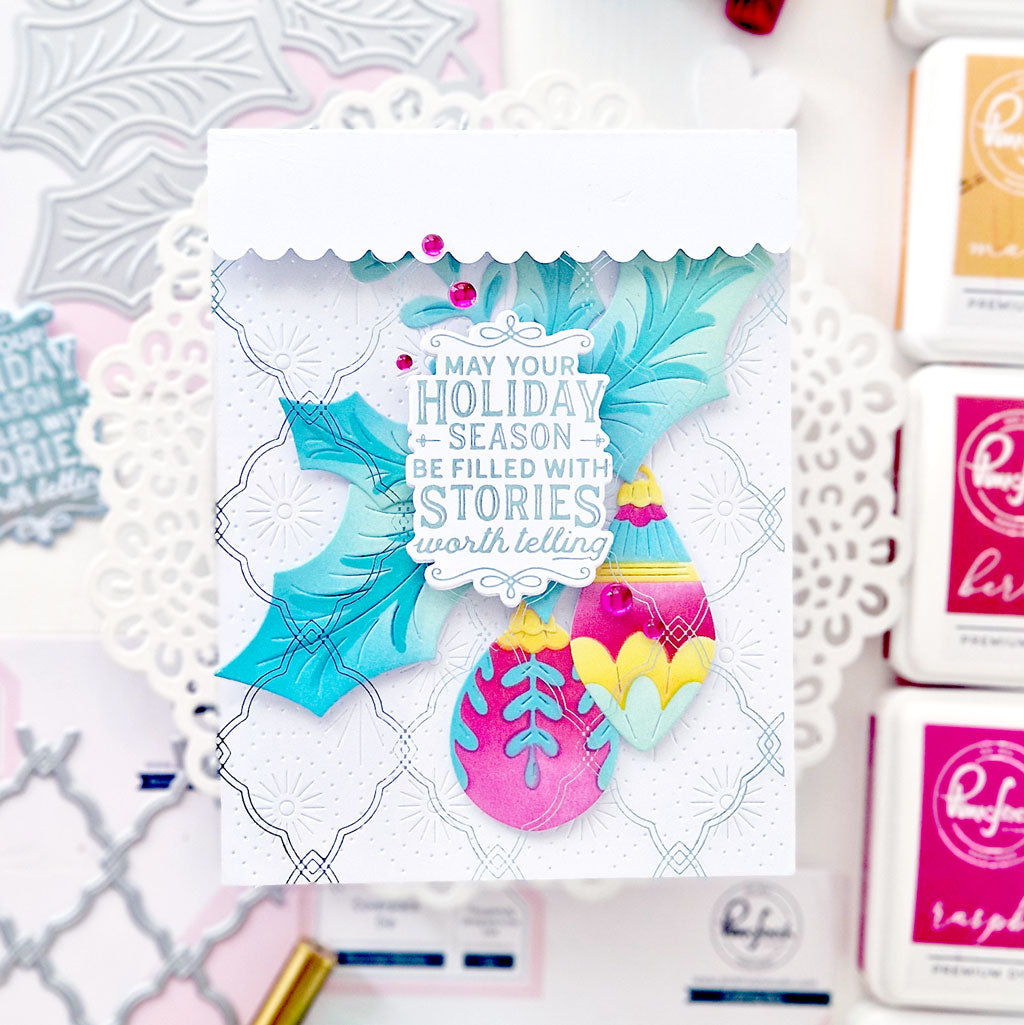
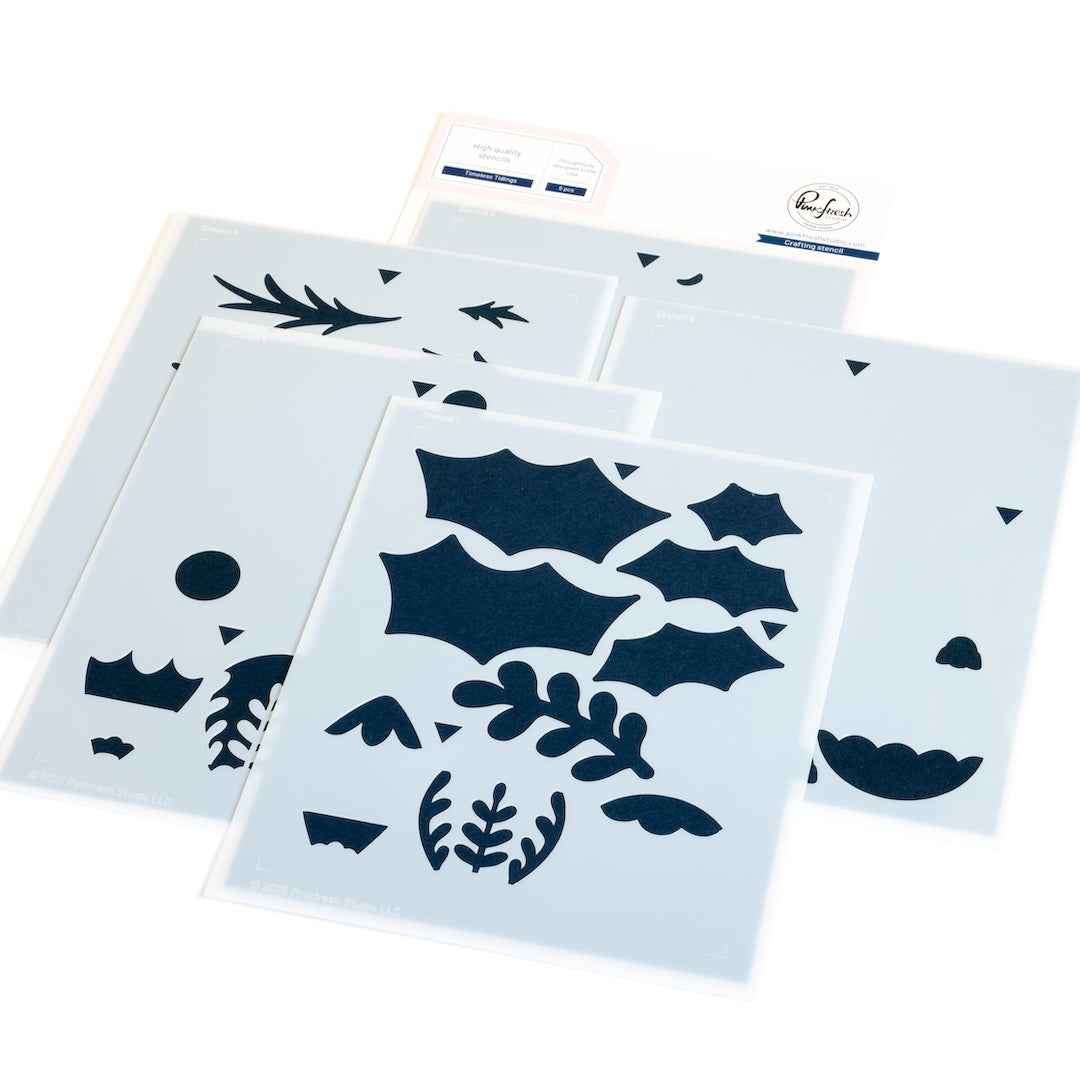
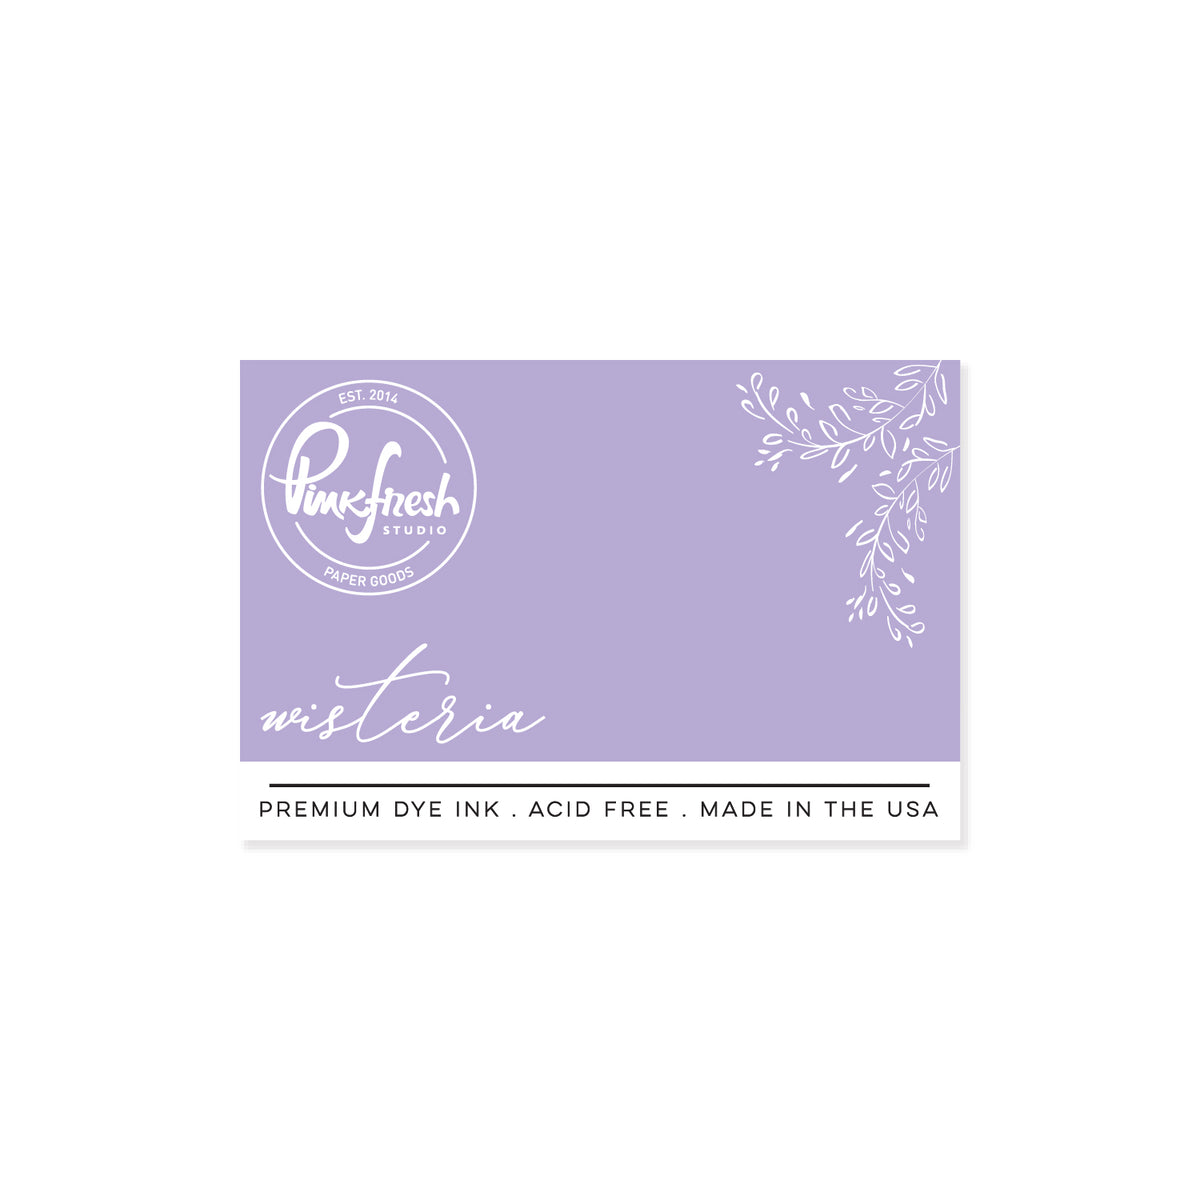
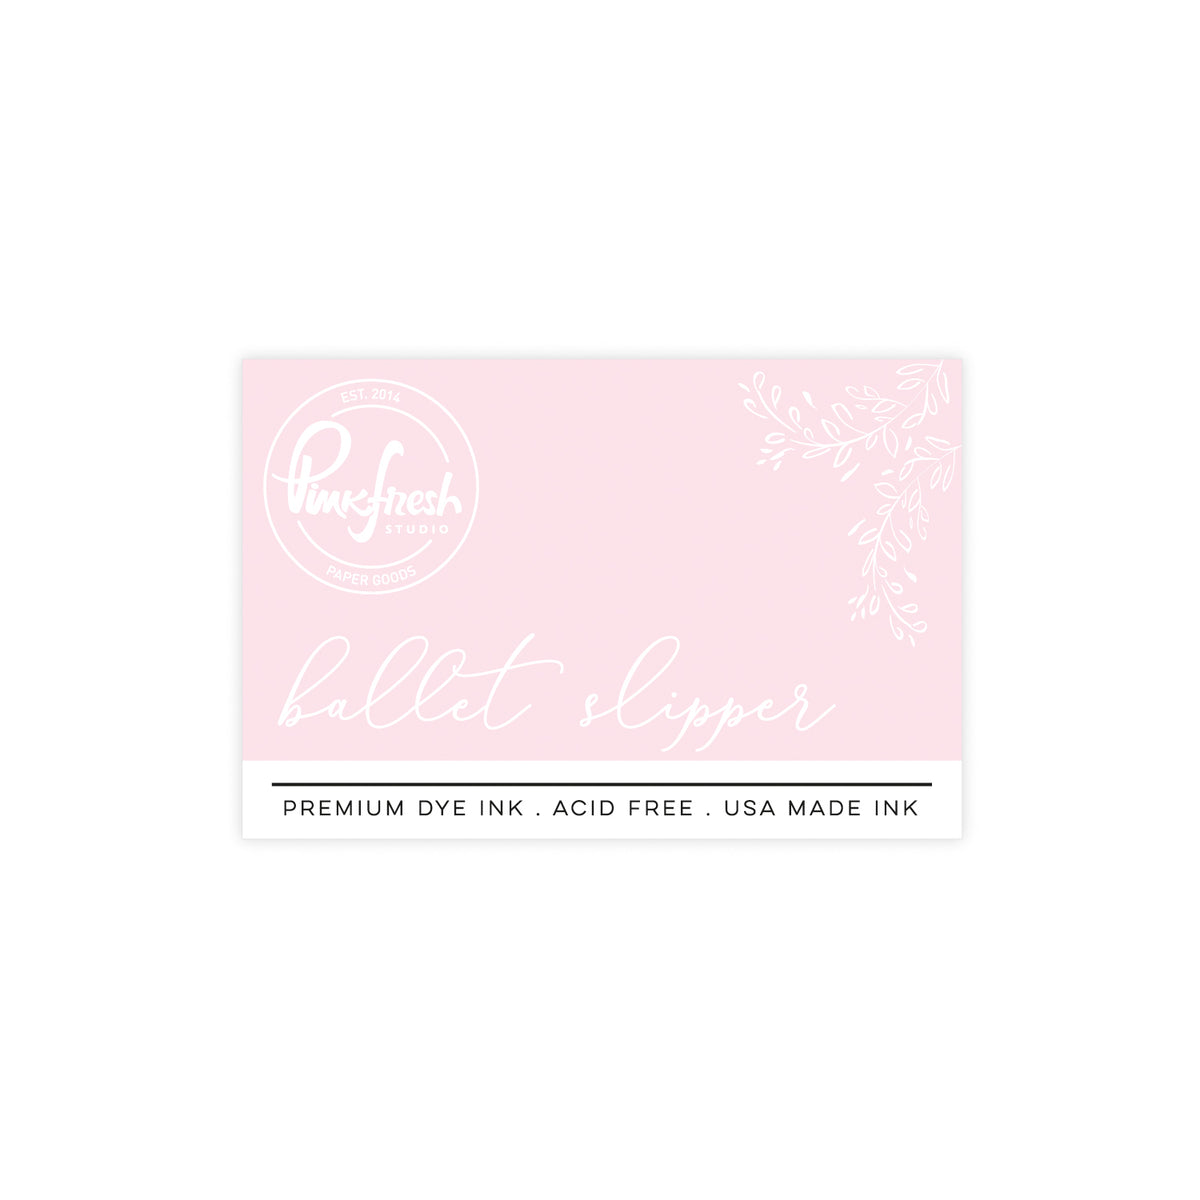
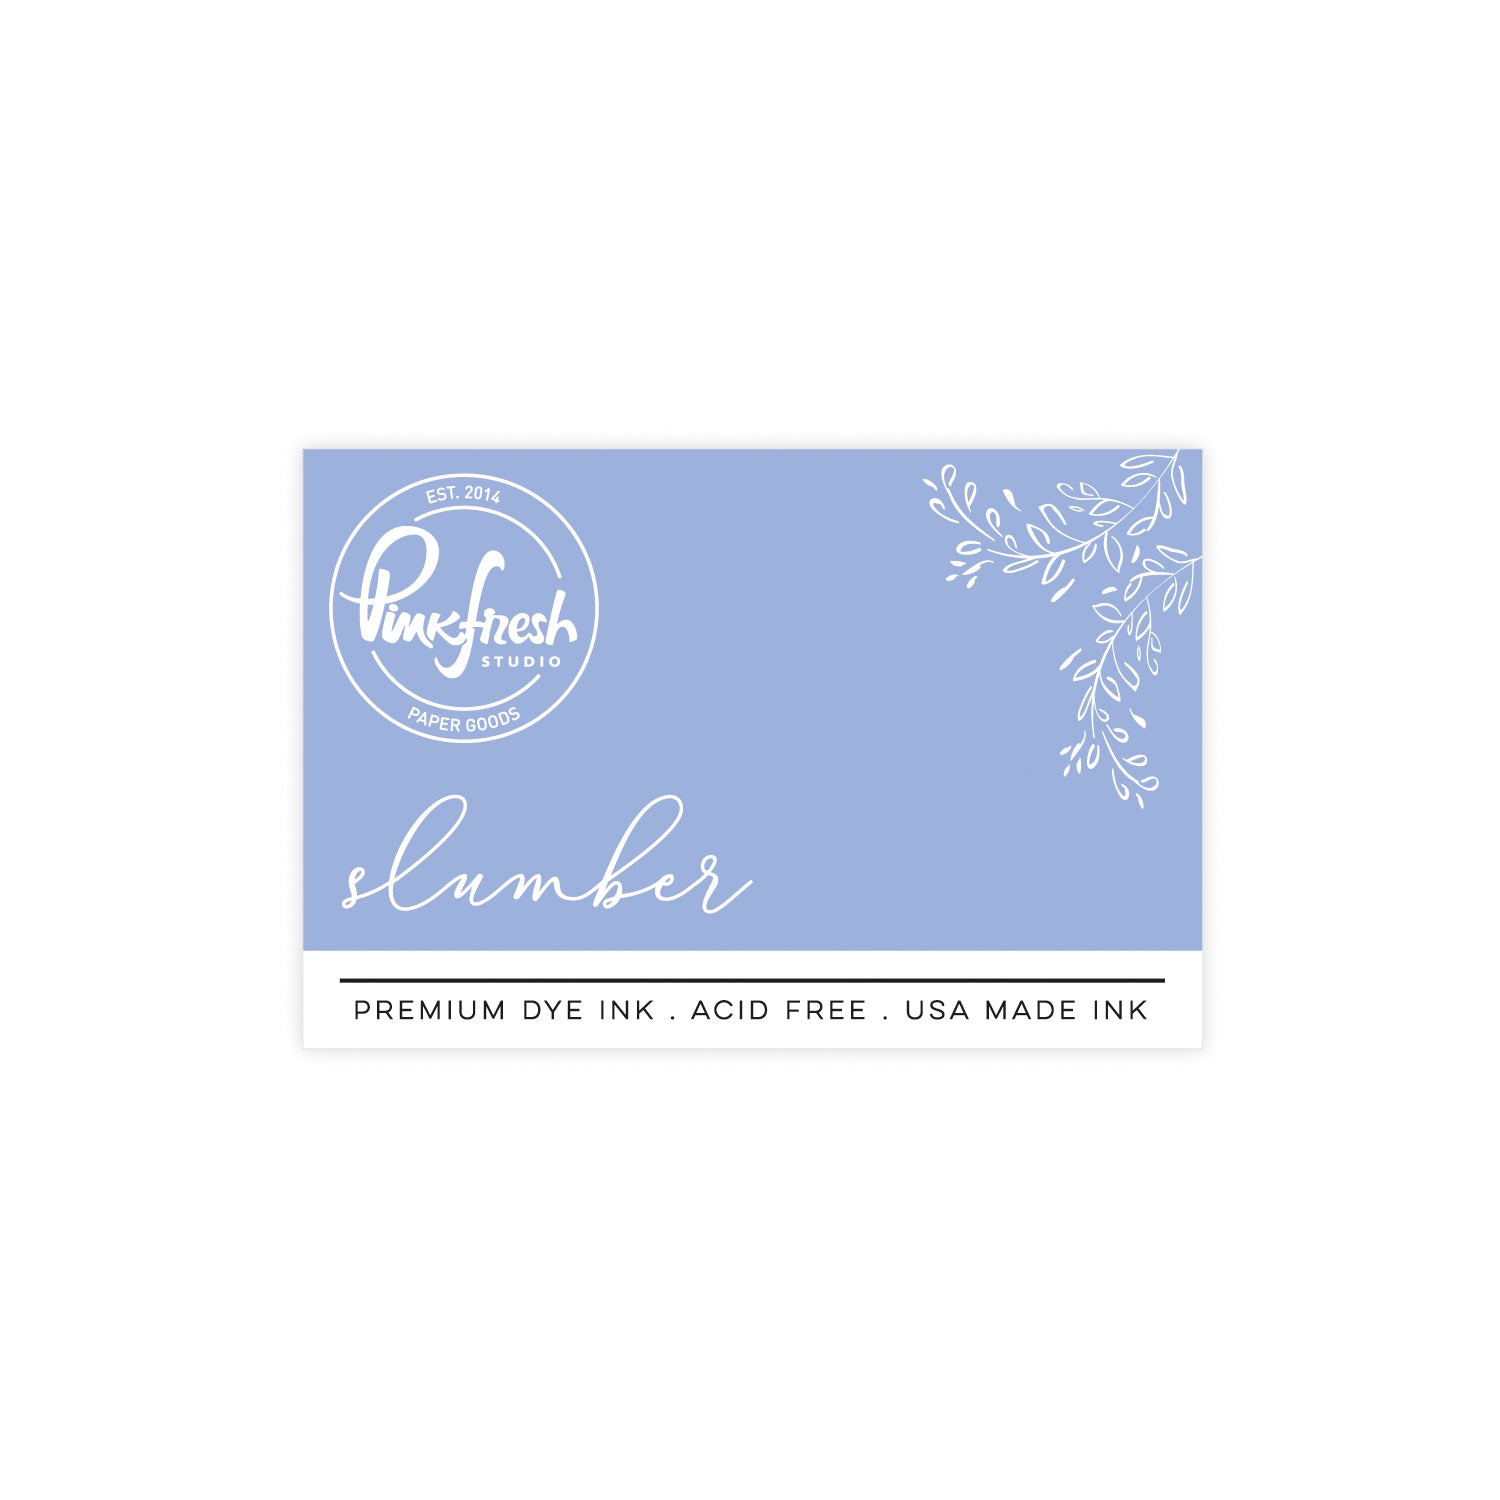
7. For the Christmas wreath effect, ink blend a few leaves with the Timeless Tidings stencil and die cut with the coordinating die. (I used the colors Wisteria, Ballet Slipper, and Slumber.)
8. Add the leaves to the embellishment wreath.
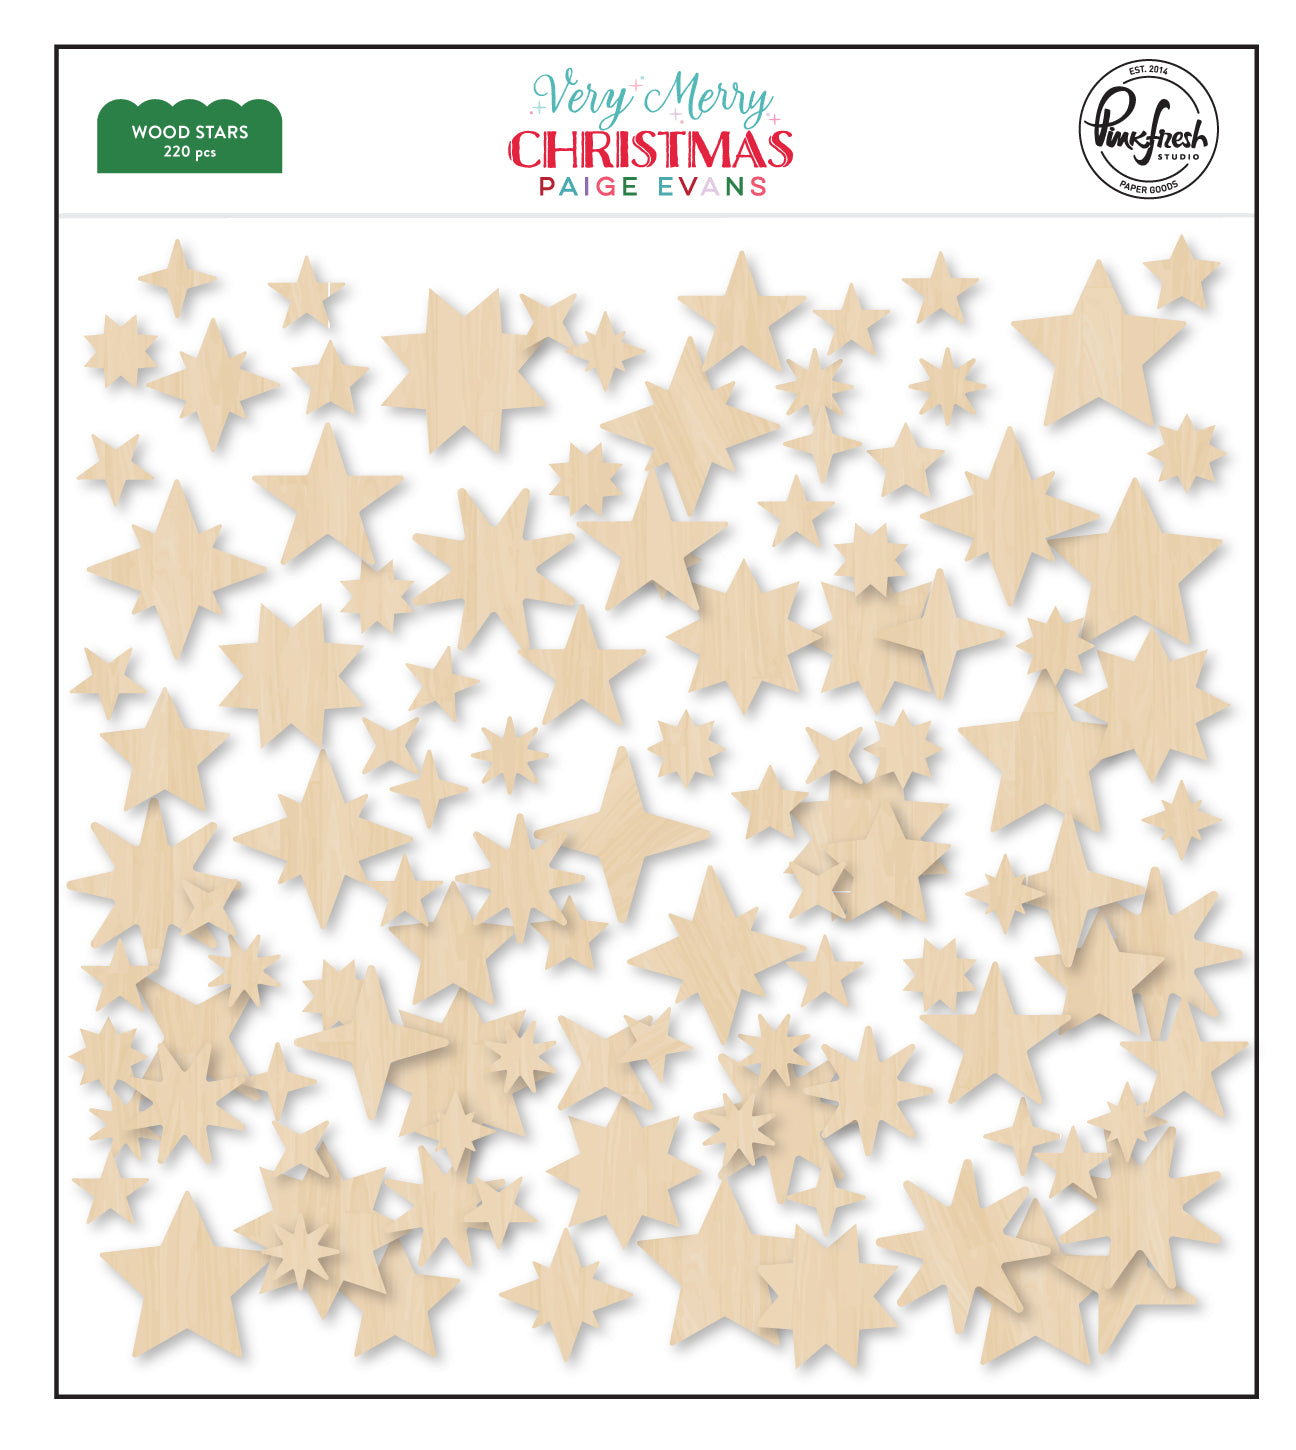
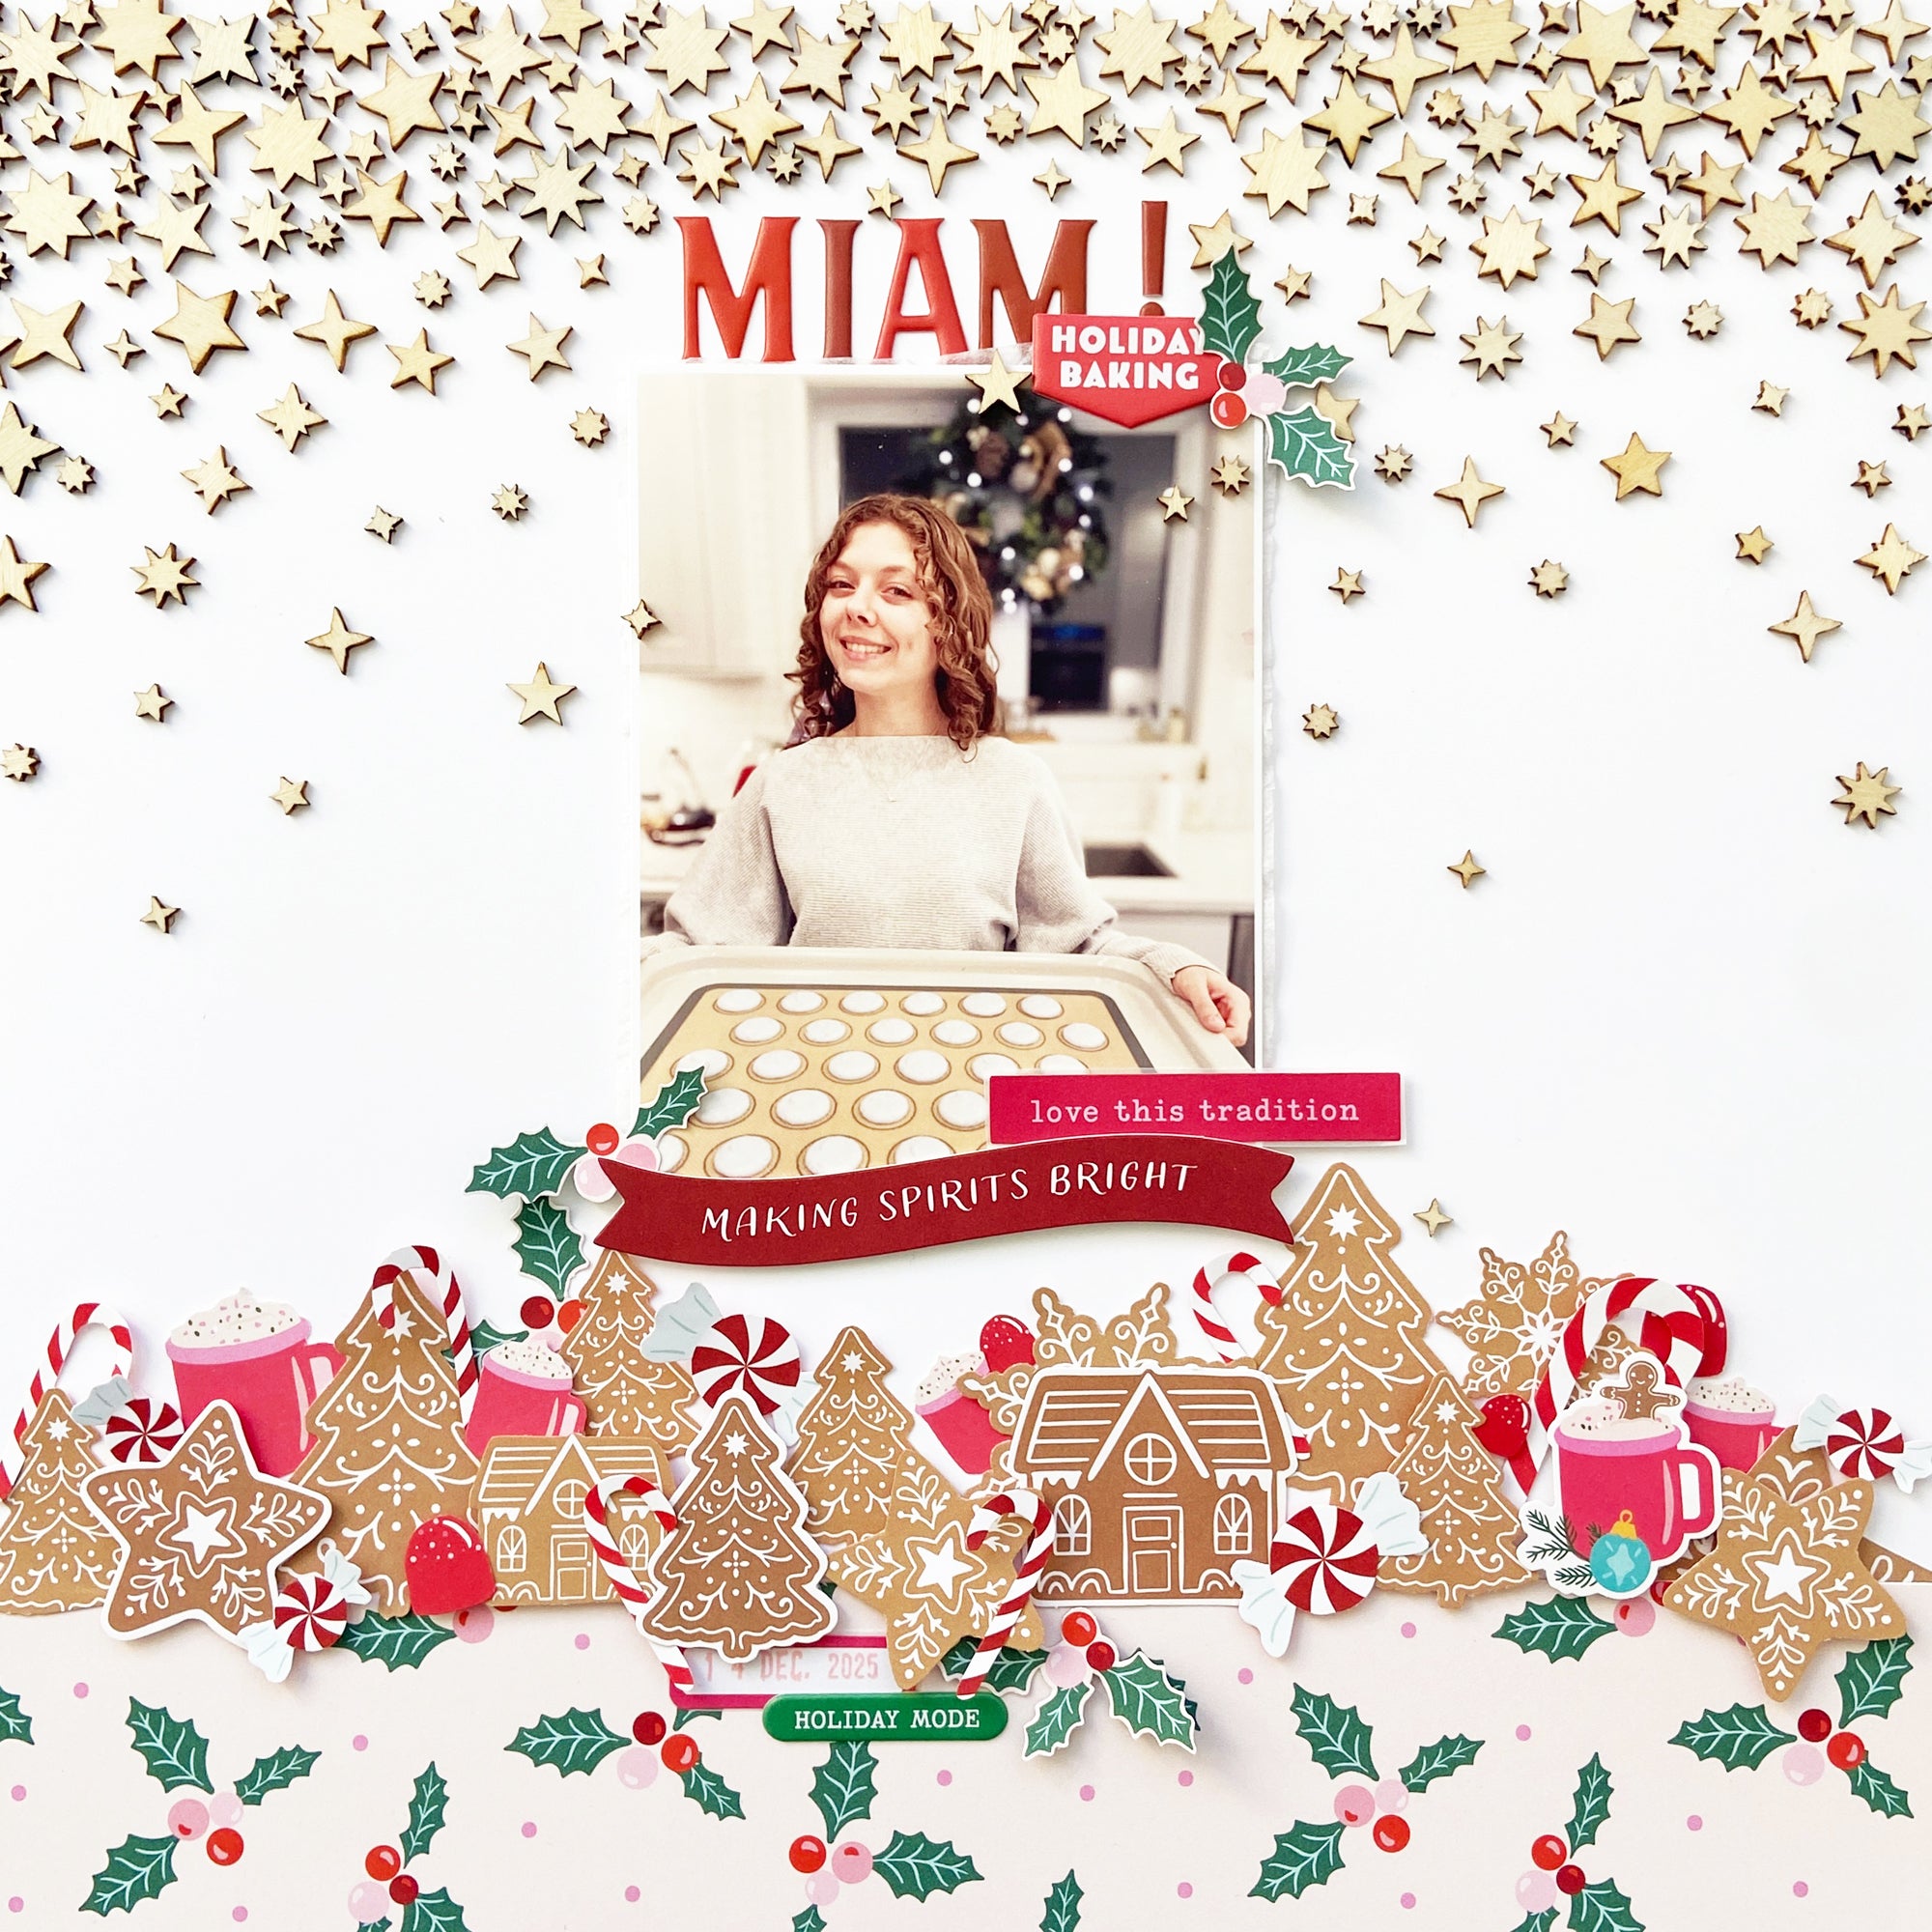
9. For a special touch, I pressed a few wood stars into a gold ink pad, let them dry, and glued them on with liquid adhesive.
10. Embellish with enamel shapes from the Very Merry Christmas collection.
11. Cut the white cardstock to 11" x 11" and adhere it to a patterned paper of your choice. Tip: Cut out the middle of the patterned paper, leaving a frame of approx. 1.5" so you can use the inside of the patterned paper on a different project.


Thanks for stopping by!
I hope you like this Christmas Wreath layout idea! Can't wait to see what your wreath looks like!
See you next time!
Kerstin xx
Recommended Products


























Leave a comment
All comments are moderated before being published.
This site is protected by hCaptcha and the hCaptcha Privacy Policy and Terms of Service apply.