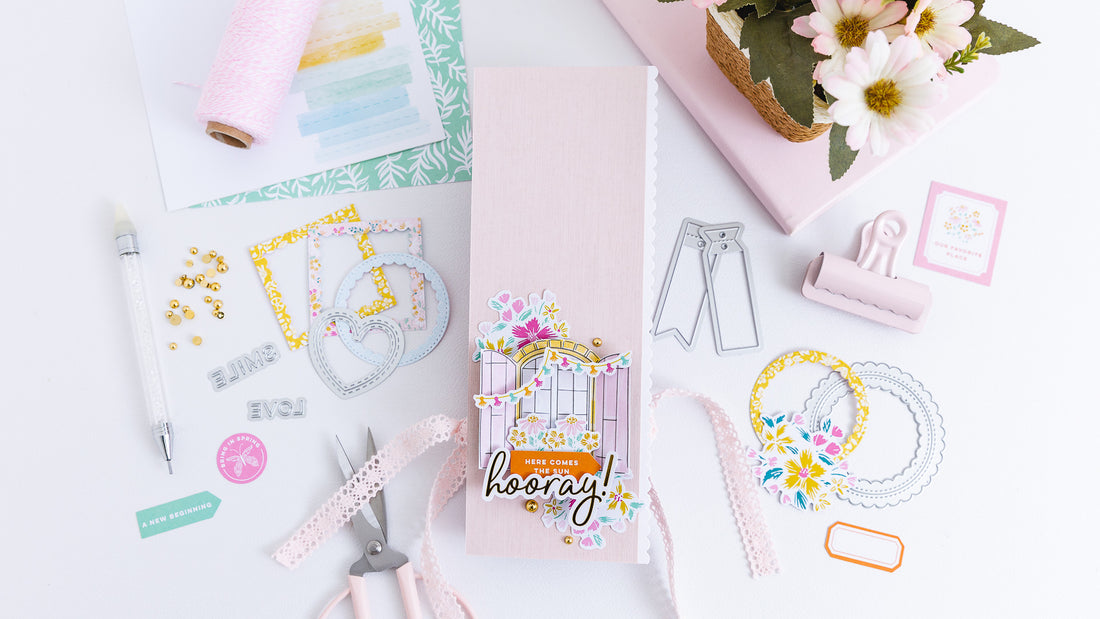
Sweet Flip Book Card | Celes Gonzalo
Hi and Happy Week Pinkfresh Studio 's fans! It's Celes here again ;) Are you ready to make a sweet and easy project? Let's make this adorable flip book card using the lovely Happy Heart Collection :)
 This is a simple and easy idea to make. I love being able to include photos in different sizes.
To make this idea we are going to need with two different cardstock pages: 1- one 12x12 white cardstock and 2- one 12x12 soft pink cardstock. For the base of the flip book card we are going to use white cardstock.
Base: cut a piece of white cardstock of 12" w x 9" h. Score at 3", 6", 9" w (at full height). Also score at 1 1/2" and 10 1/2" w (from 3" to 6" high). Then turn the paper over and cut 3" and 6" h, joining the previously made folds.

Covers: we need to cut two pieces of 3 1/4" w x 9 1/4" h using the soft pink cardstock. To decorate the cover I used some pieces from the Ephemera Pack, Floral Ephemera Pack and the Foiled Sentiments 3 pack. Also I added a detail using the Simple Edgers die set and white cardtstock. Remember to glue the pieces together using 3d foam to build a layered composition.


Another detail was to add the date of the photographs on the back cover. I used a die cut pieces and a date stamp.

Interior details: to decorate the interior of this lovely flip book card I used the Happy Heart 6x6 Paper Pack with many of the embellishments ( Puffy Stickers, Chipboard Frames and Ephemera Pack).


But the most important thing is that I used some sets of shape dies to decorate and I combined them with the design papers. I used the Mini Tags with Fillable Words, Stitched Scallop Circle Set, Stitched Scallop Square Set and the Shaker Hearts.
I also added some cards from the set and photos using sticky velcro. In this way they will be mobile and I will be able to remove them and add them to my flip book as many times as I want. In addition to having a place to add a little journaling.


Once the flip book card structure is ready, you can add it to both covers. Remember to add the closing ribbon before gluing the structure.
I hope you liked it and it inspires you! And I always... thank you for taking the time to see this project ;)
See you next time!


1 comment
Me encanta Celes! Como todo lo que haces!. Quedq en mi lista de hacer..