
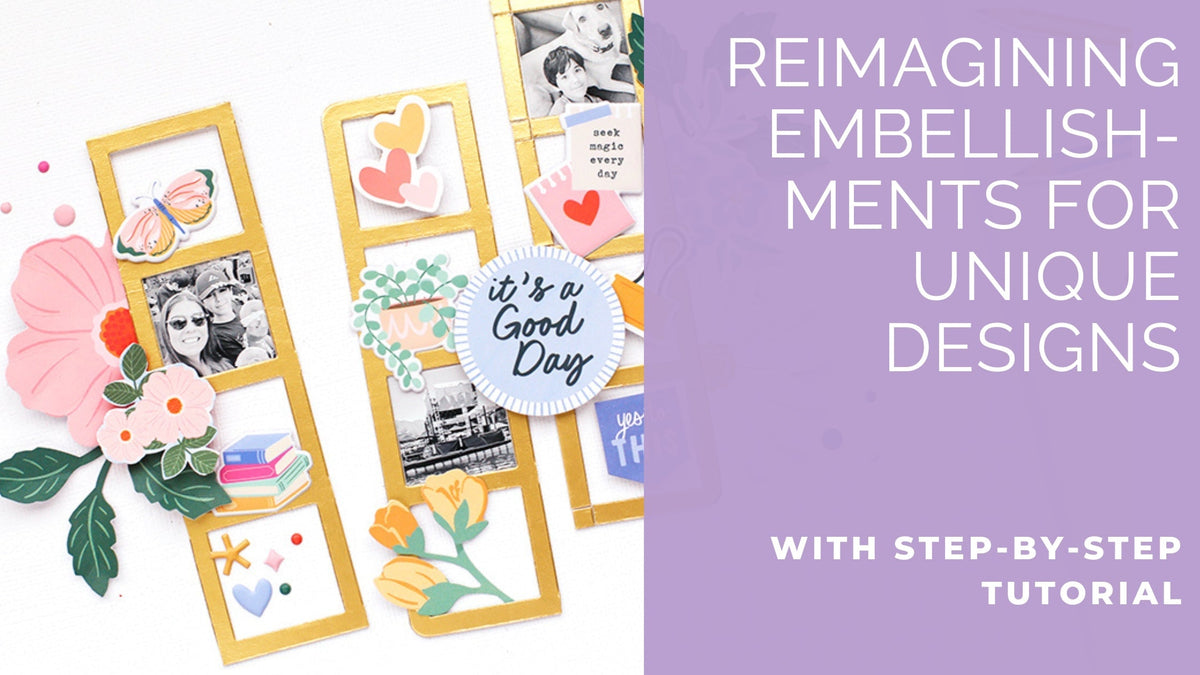
Hi everyone! This is Eva, and today I’m sharing a layout inspired by one of my favorite ways to stretch my supplies: looking at products in new and creative ways.
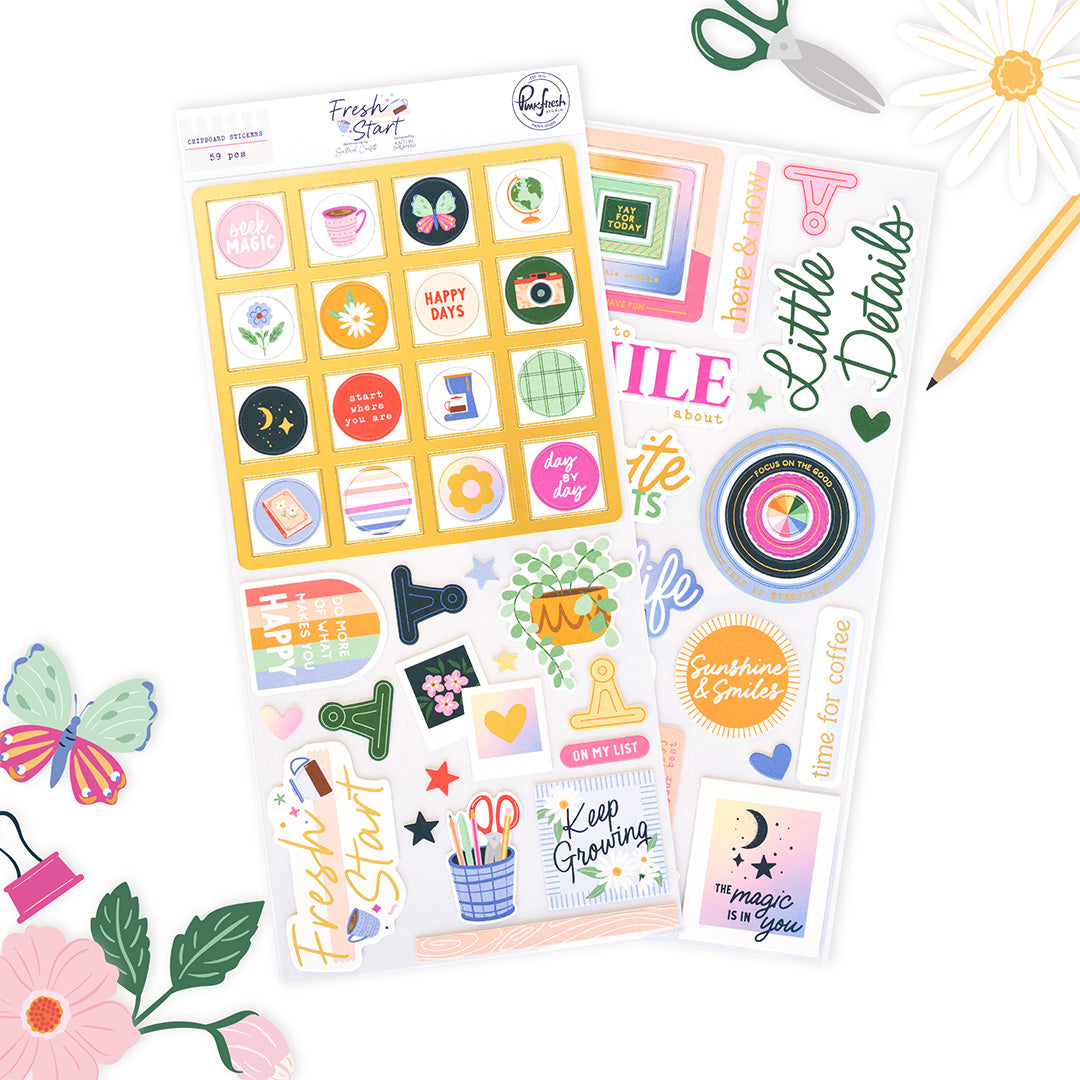
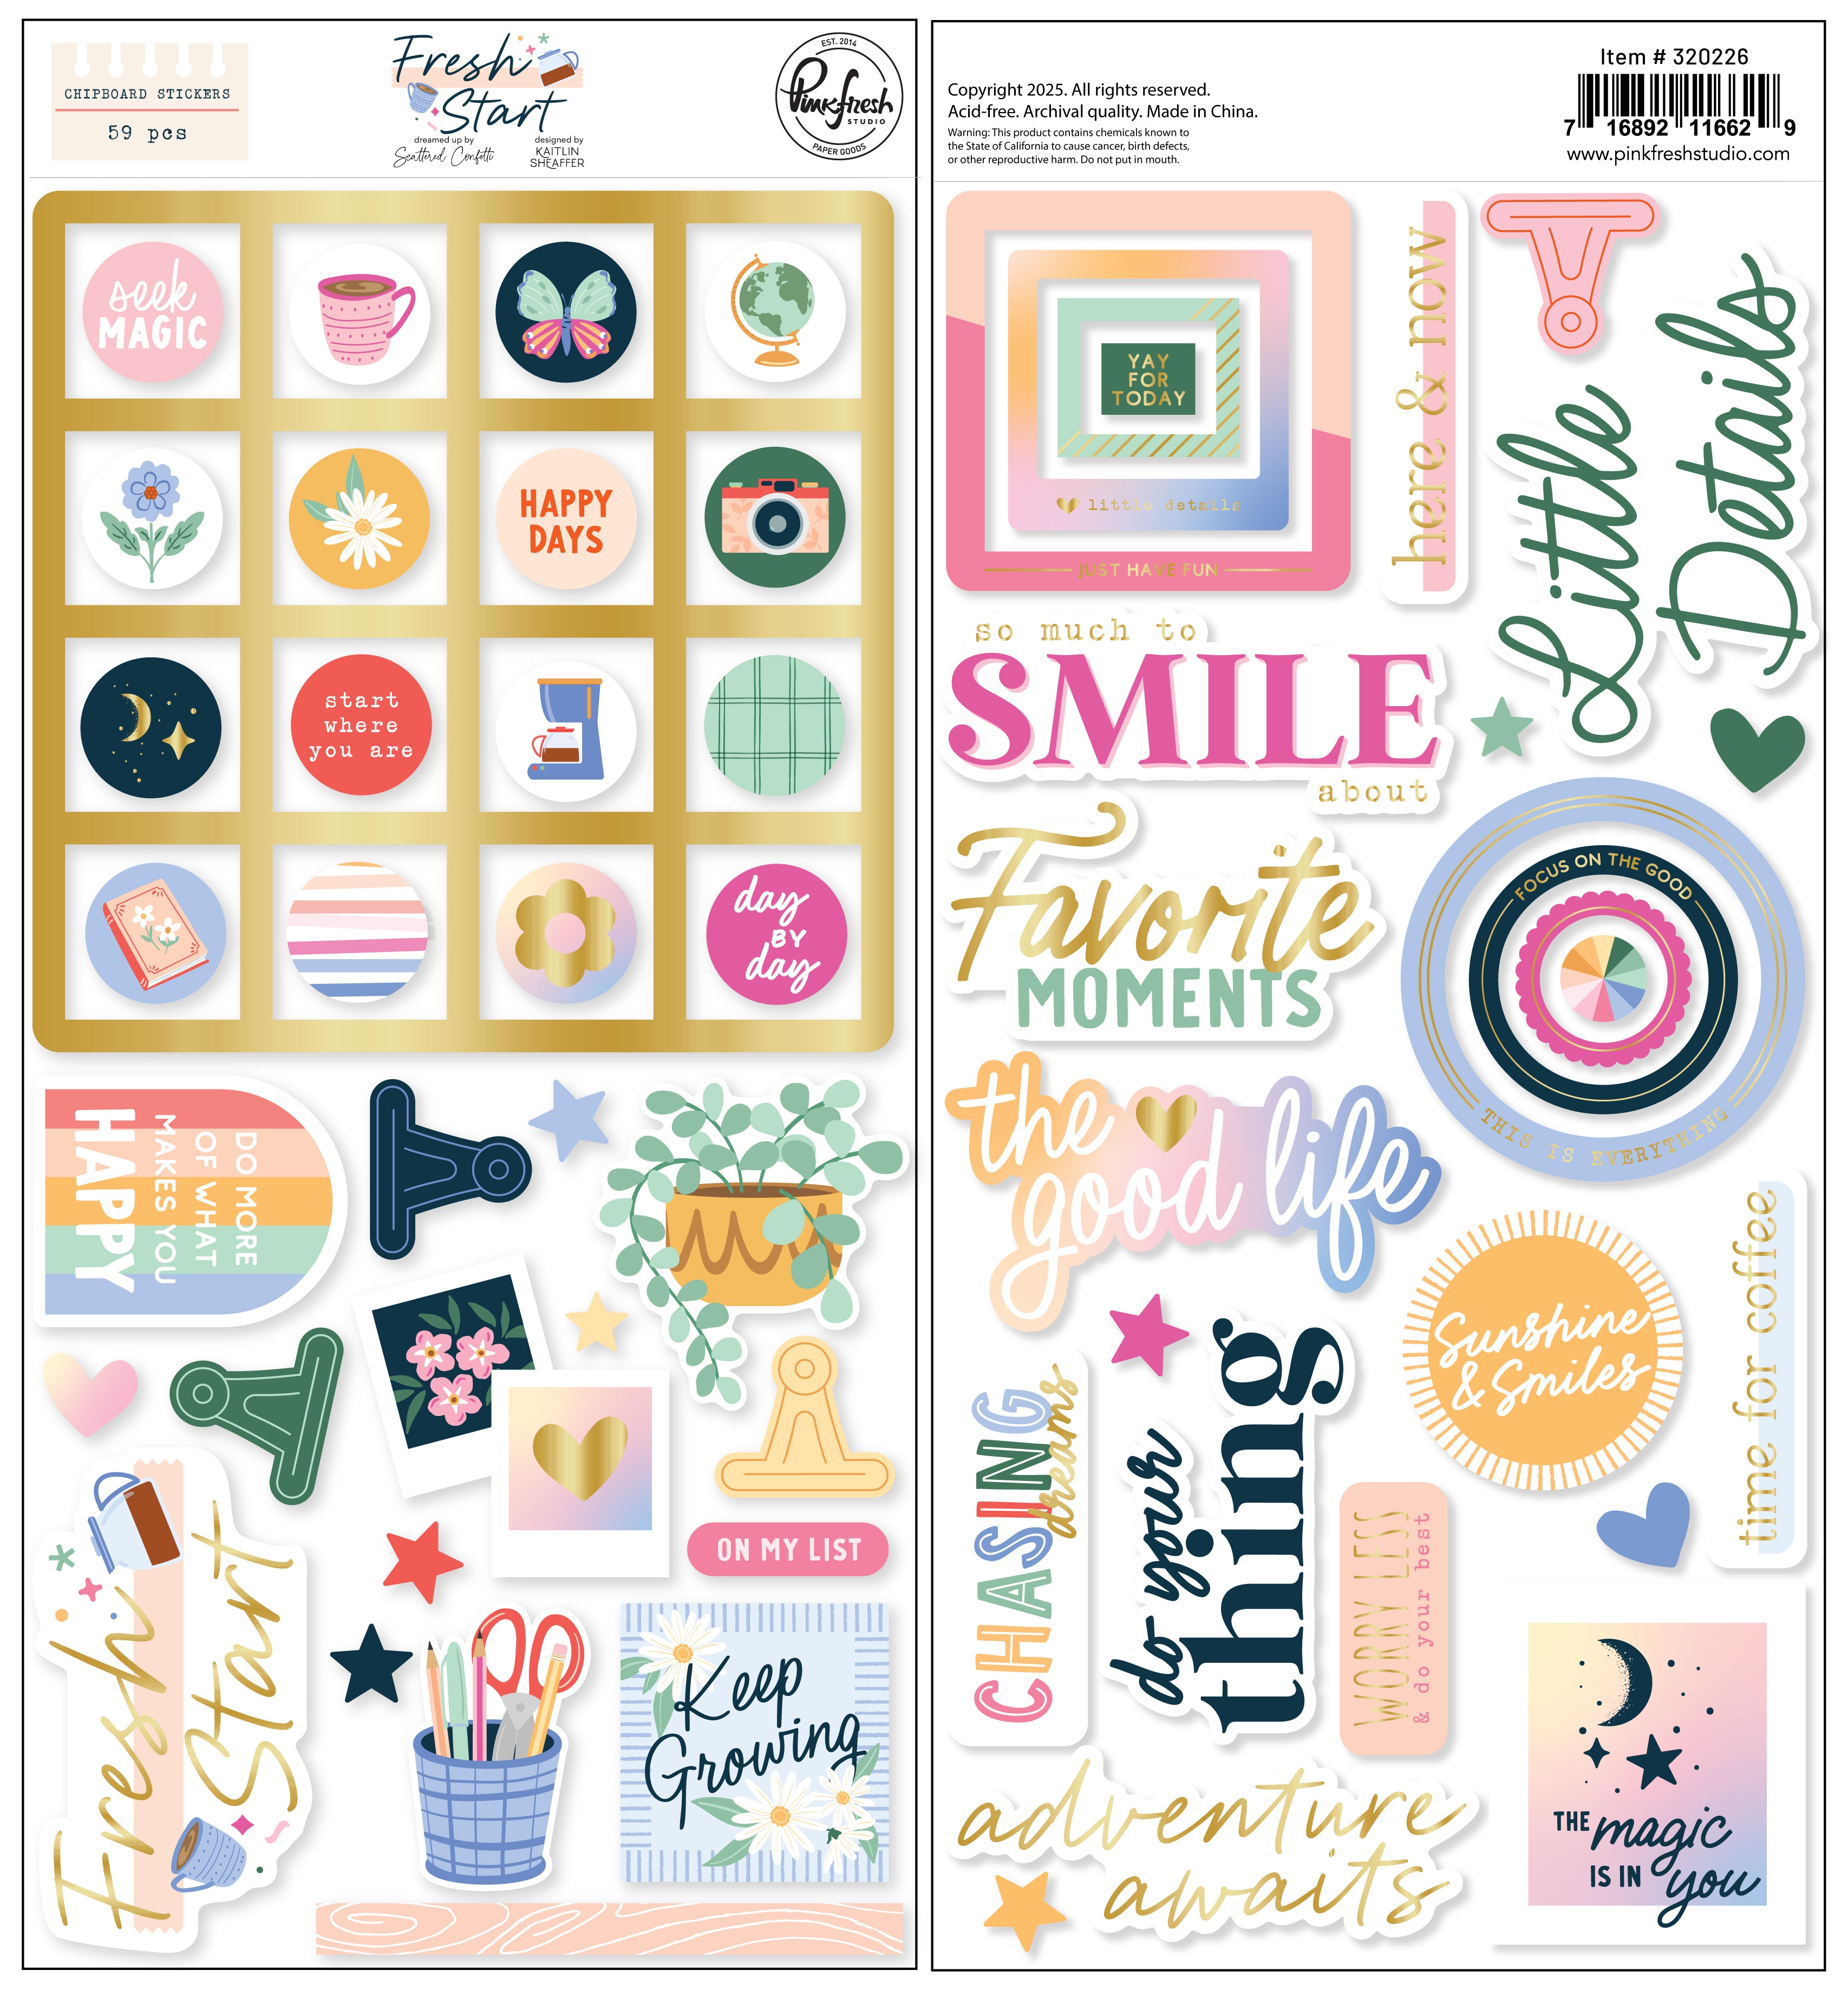
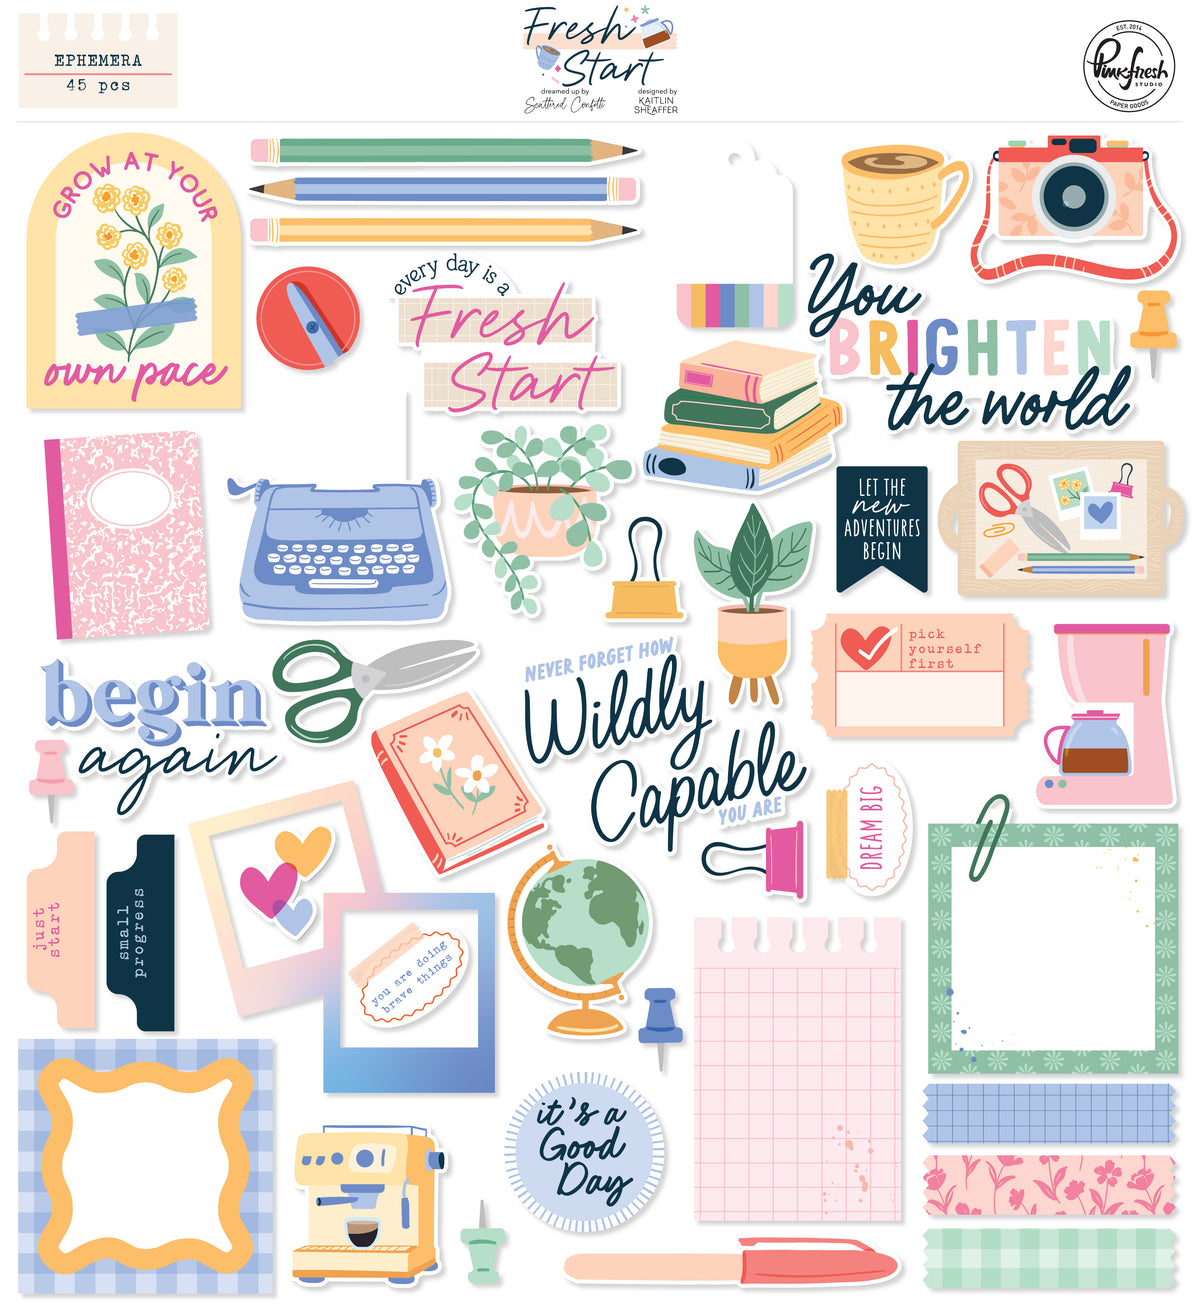
For this project, I used one of the chipboard pieces from the Fresh Start collection and transformed it into the base for a soft, structured multi-photo layout by cutting it into smaller sections.
*Disclaimer: All products used are linked below as clickable images. If a product isn’t listed, it’s been discontinued.


Step-by-Step Instructions
- Start by creating three narrow vertical sections using the large golden chipboard memo board piece. I used the window openings to build a clean grid design that would hold both photos and embellishments.
- Arrange the three sections across the center of your background, slightly varying the height of each strip to create movement while keeping the composition balanced.
- Add photos to each section, creating a balanced multi-photo layout with a soft linear flow across the page.
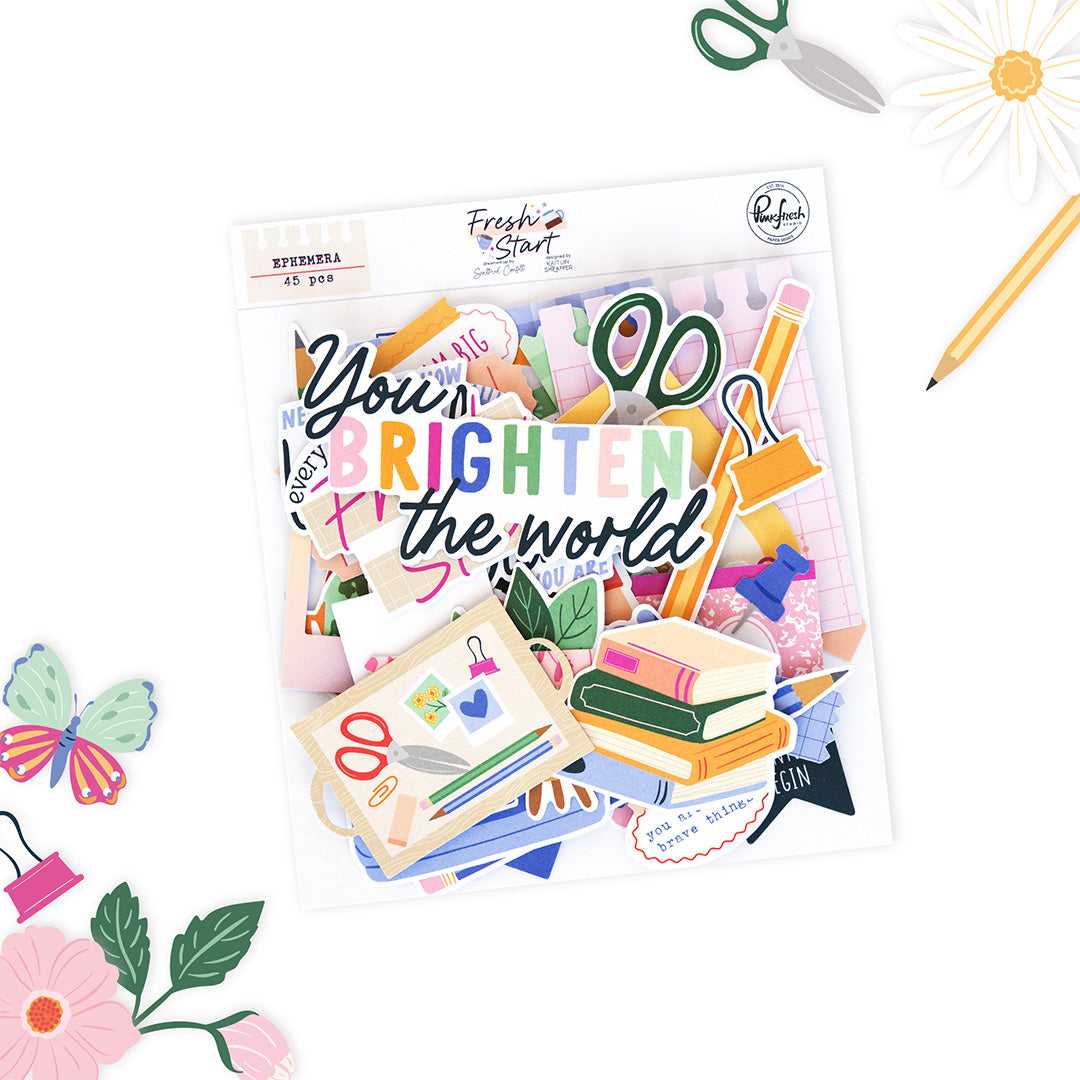
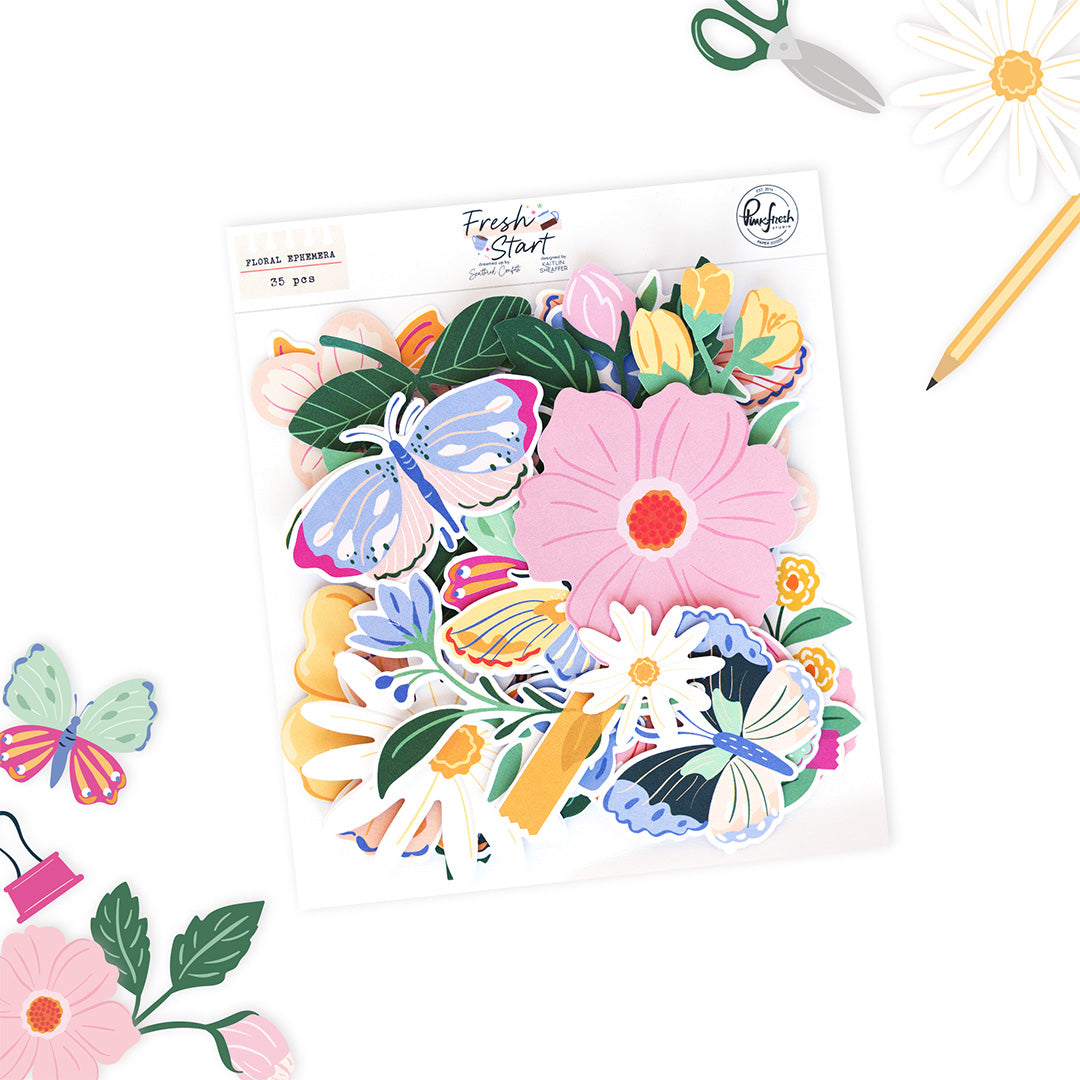
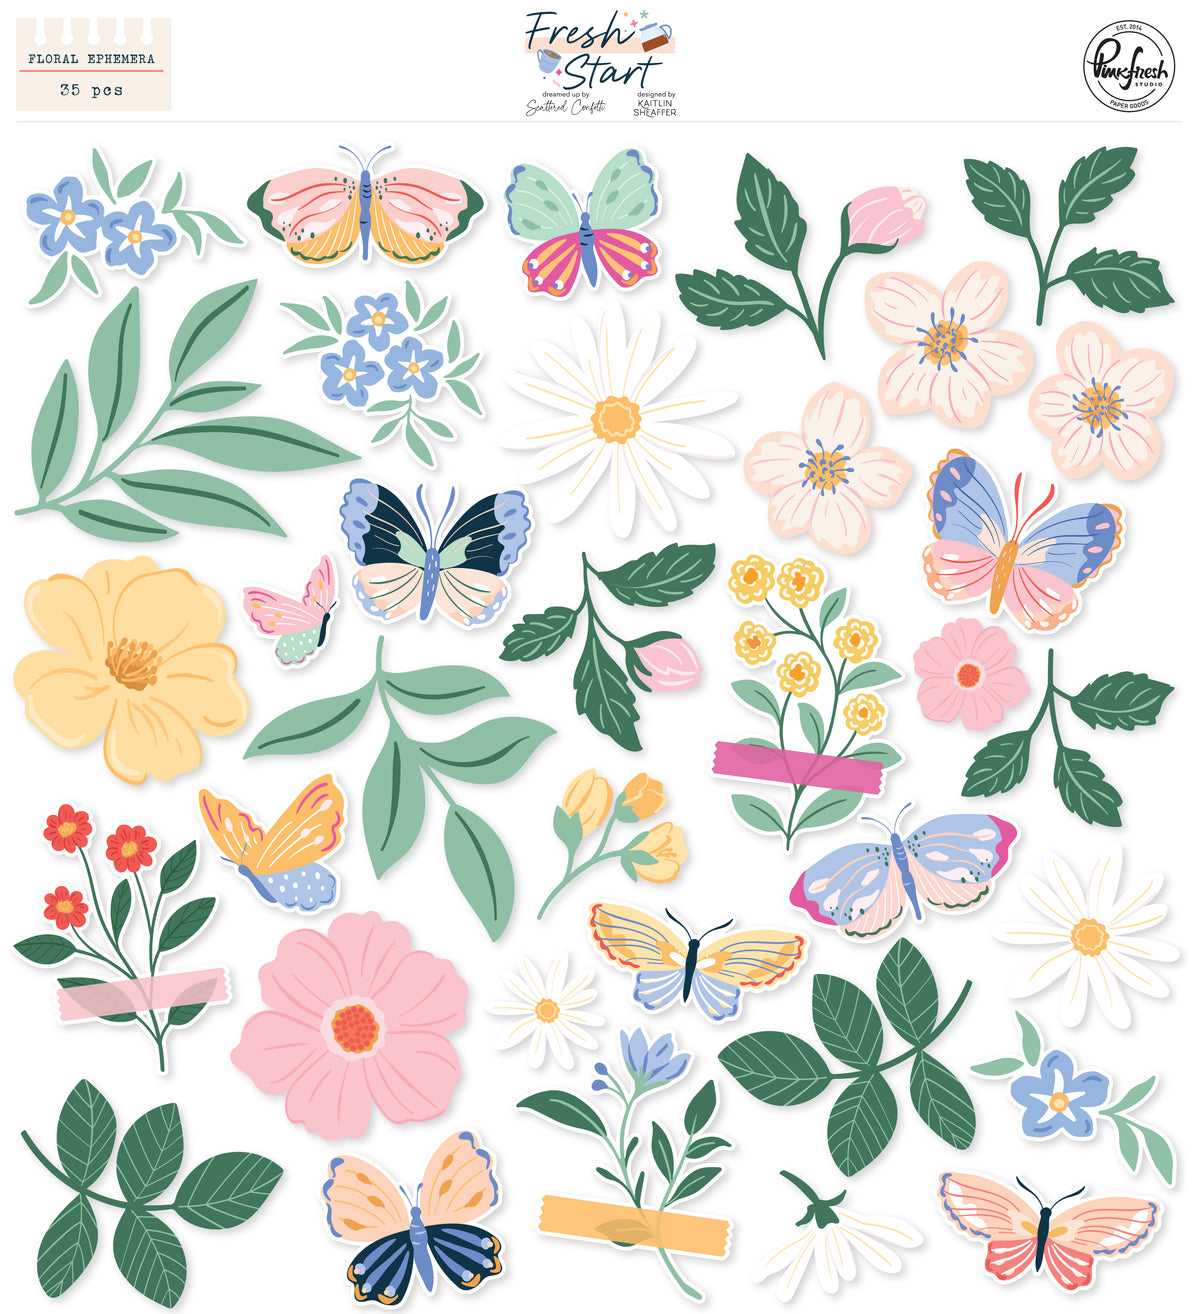
- Begin embellishing around the photos using die cuts, florals, and small decorative elements from the collection. Focus on layering pieces to create dimension without overwhelming the design.
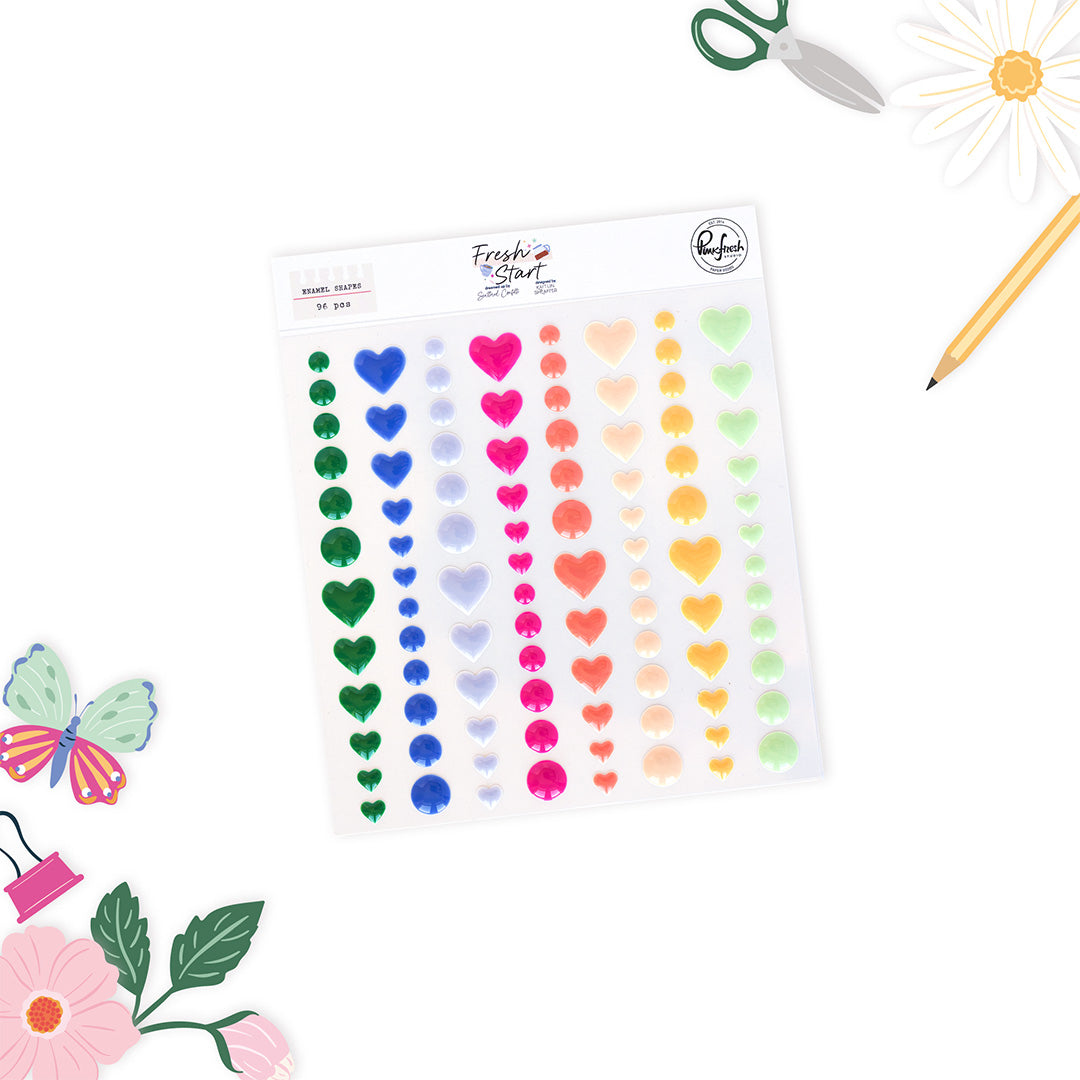
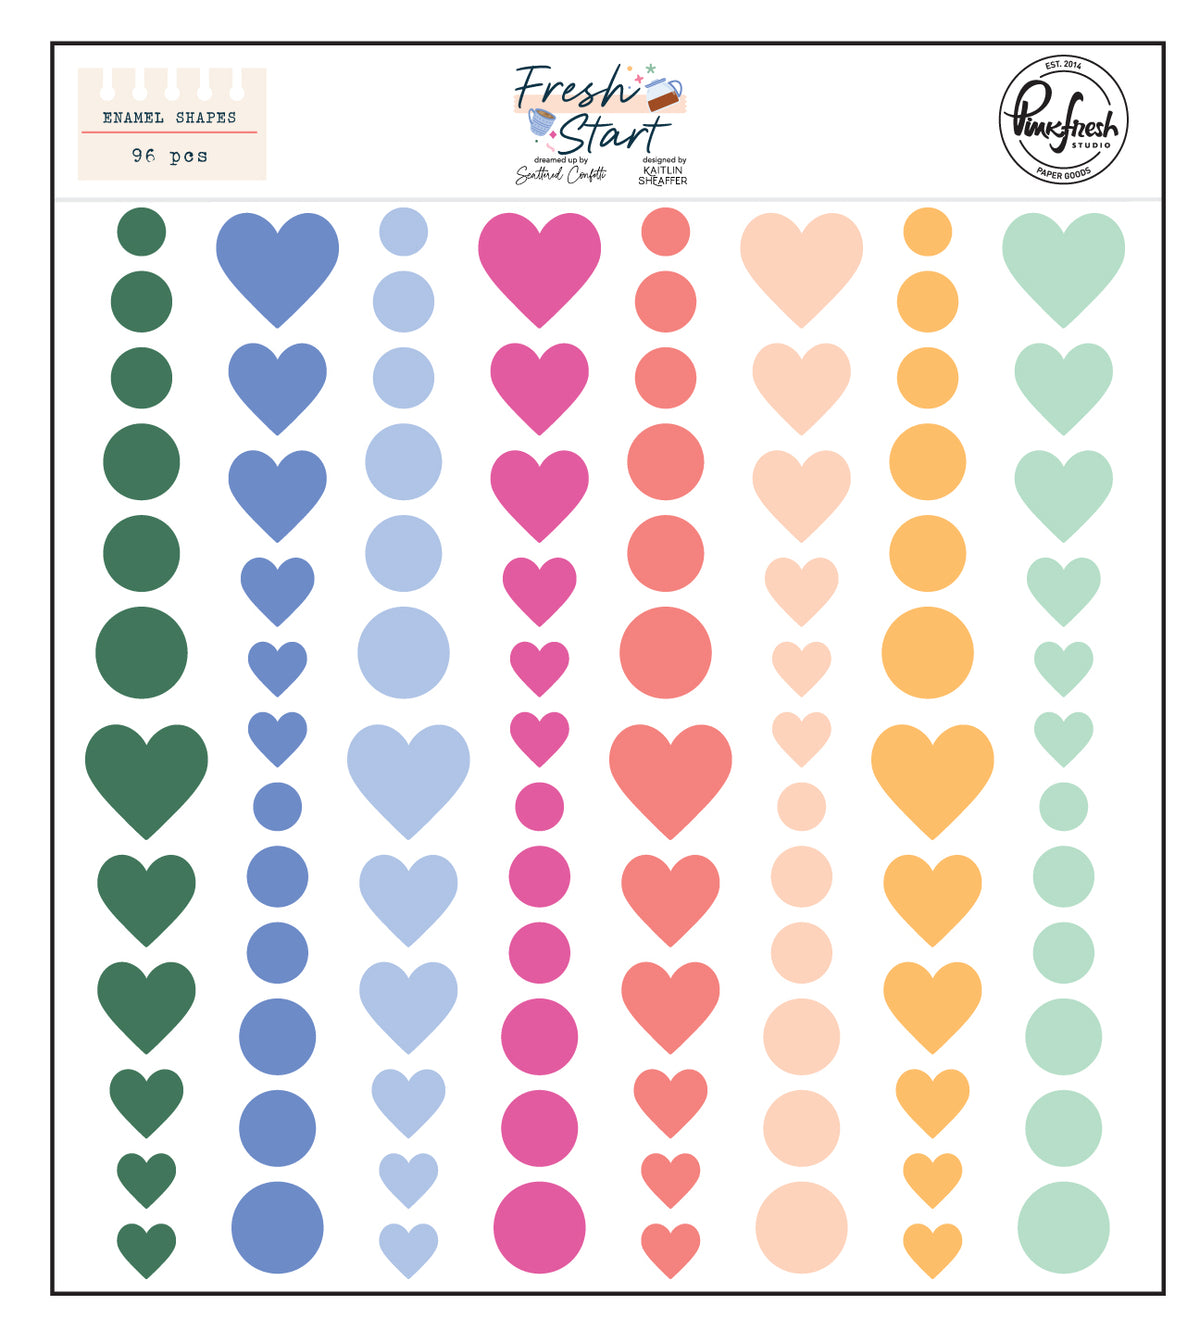
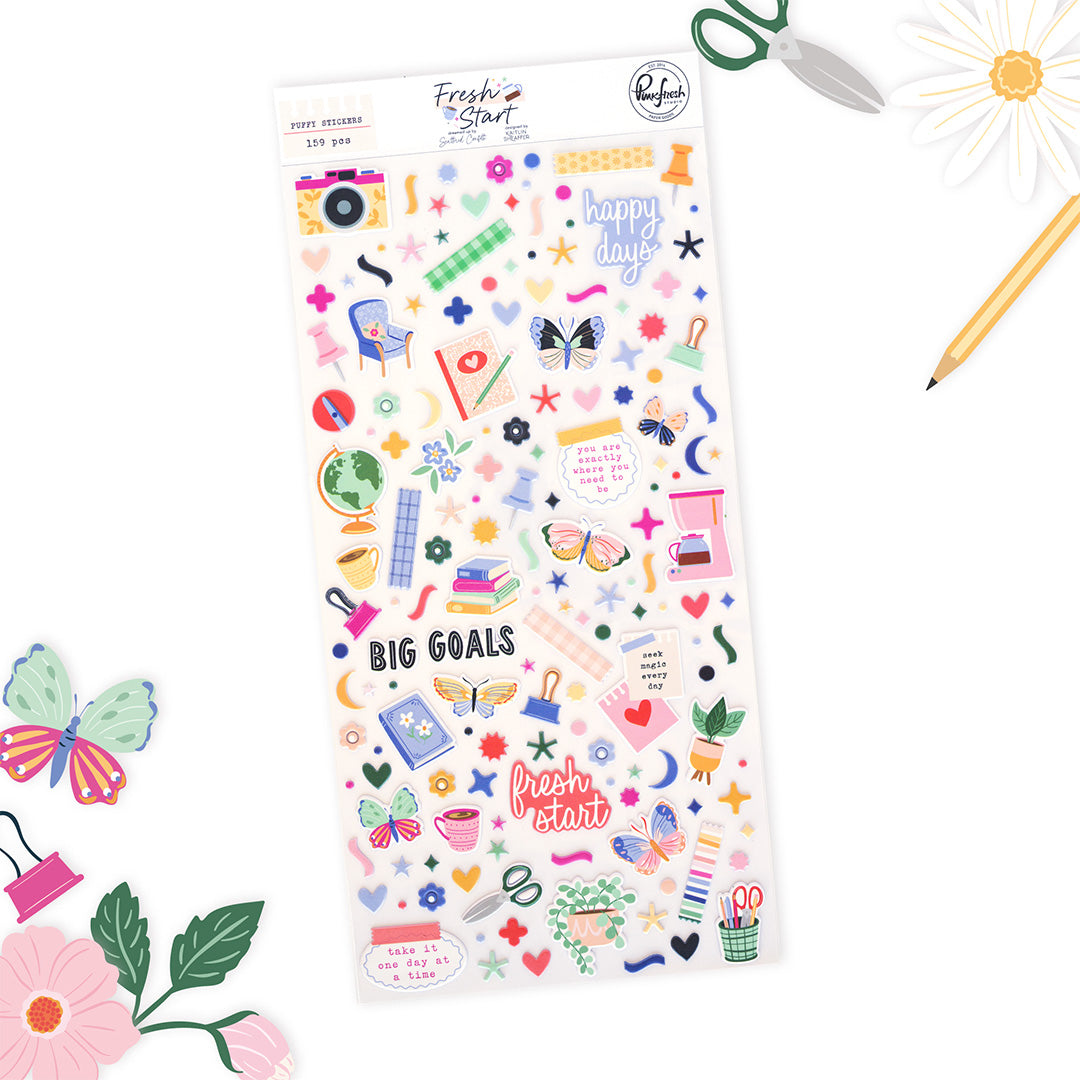
- Finish the page by adding small details like enamel dots or tiny embellishments to visually connect the three sections and bring the entire composition together.

Tip: Try looking at embellishments in a different way! This chipboard piece was originally one large memo board, but cutting it into smaller sections made it perfect for this layout.
Thanks so much for stopping by today. I hope this inspires you to look at your supplies in a new way and experiment with altering pieces to create unique layout designs!
Have a great day,
Eva
Recommended Products

















Leave a comment
All comments are moderated before being published.
This site is protected by hCaptcha and the hCaptcha Privacy Policy and Terms of Service apply.