
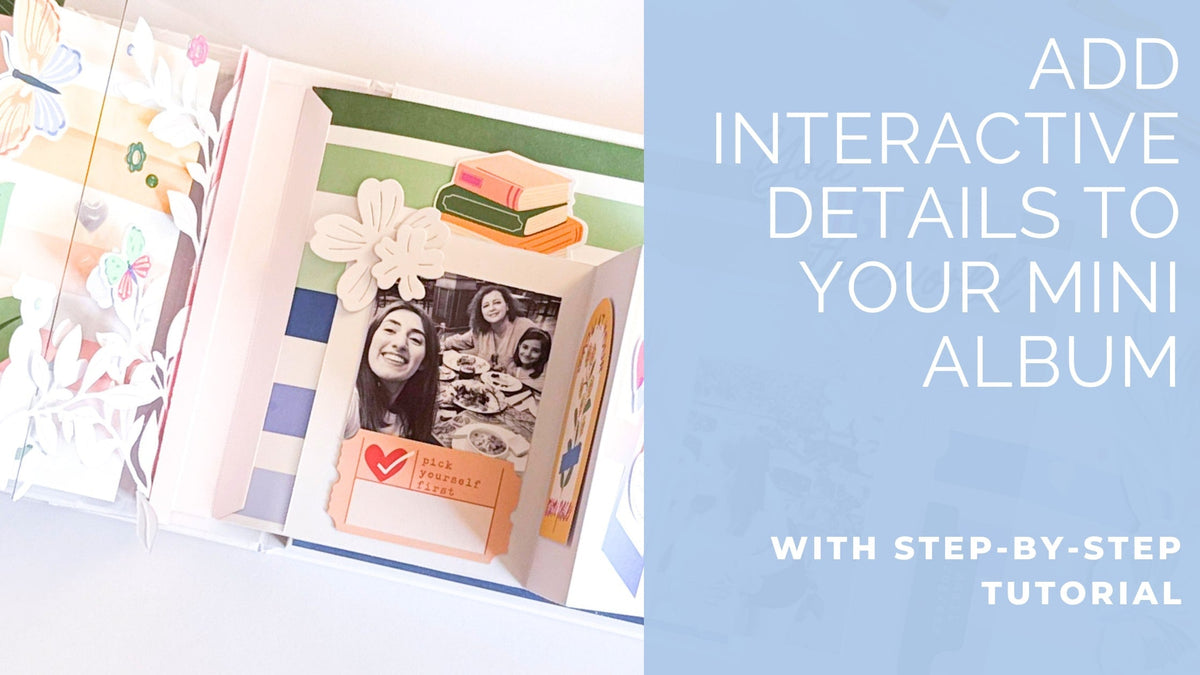
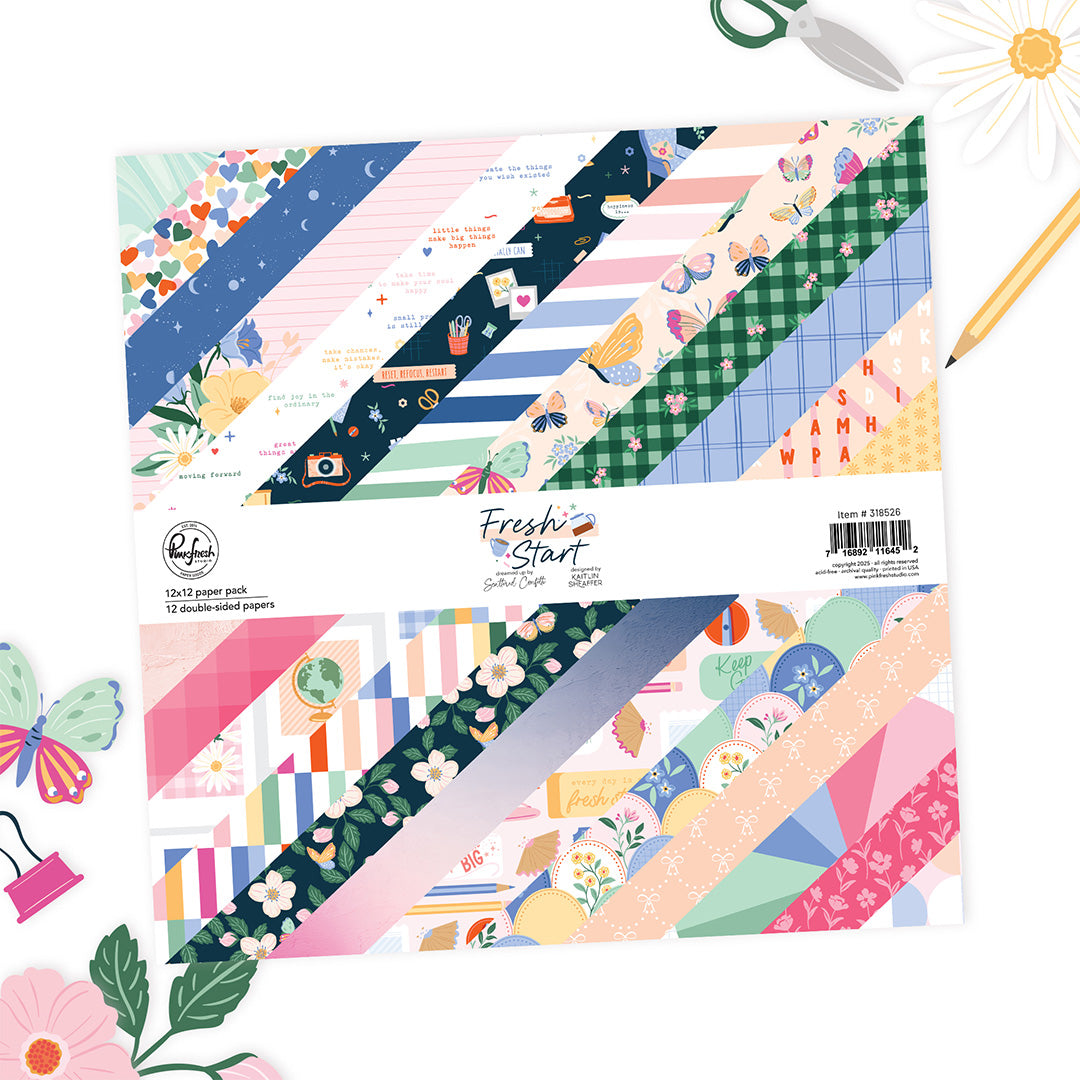
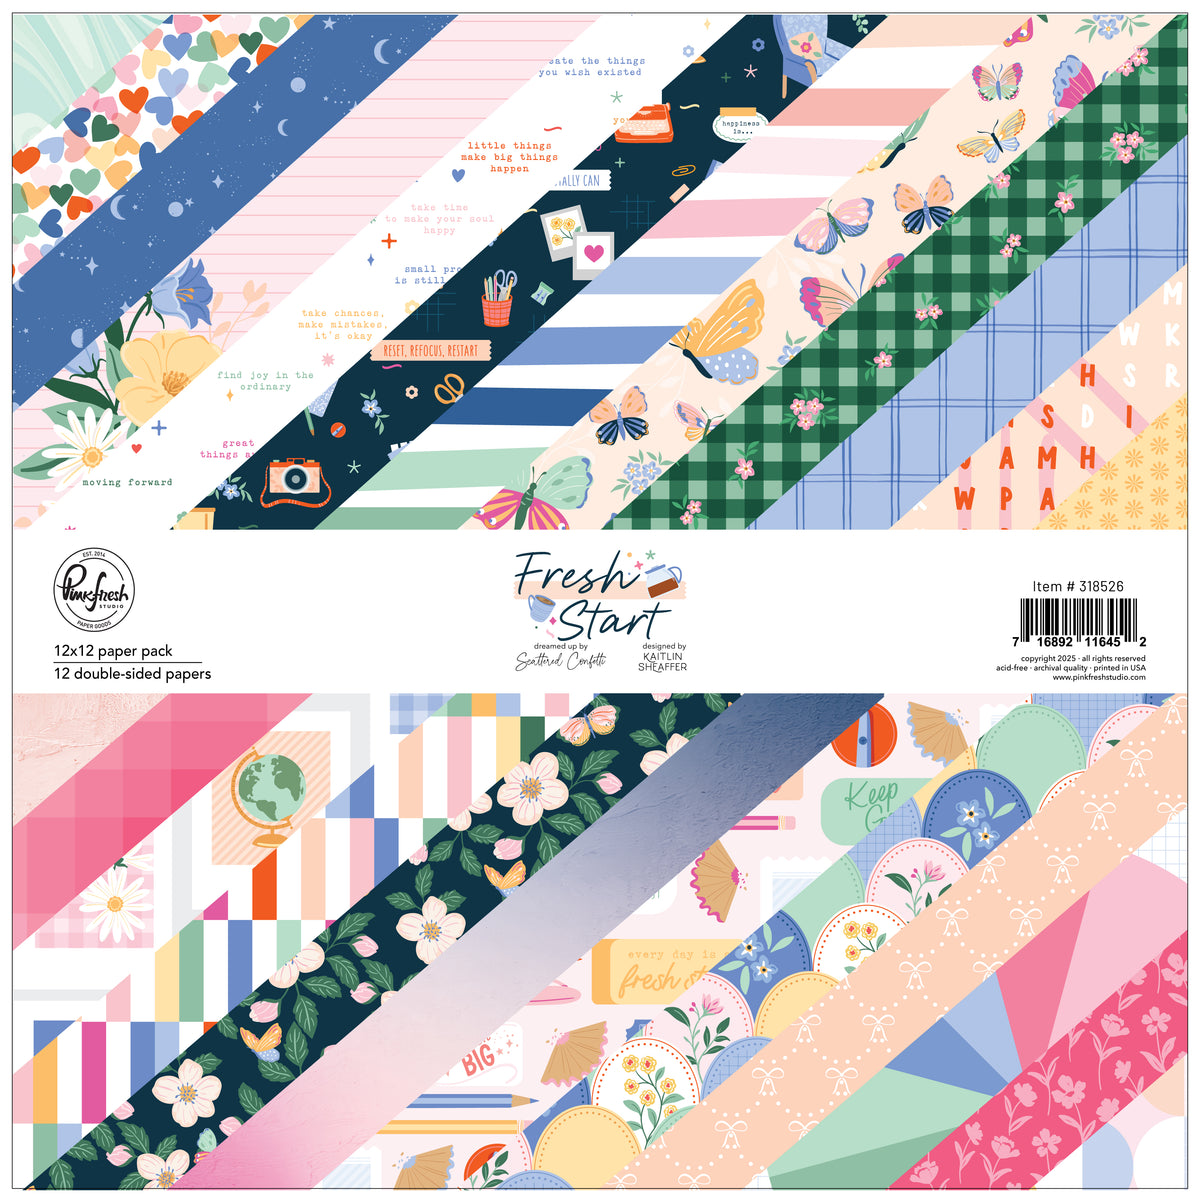
Hello crafty friends! It's Camino here on the Pinkfresh Studio blog. Today I'm sharing my first mini with the new collection Fresh Start by Kathleen (@scatteredconfetti).
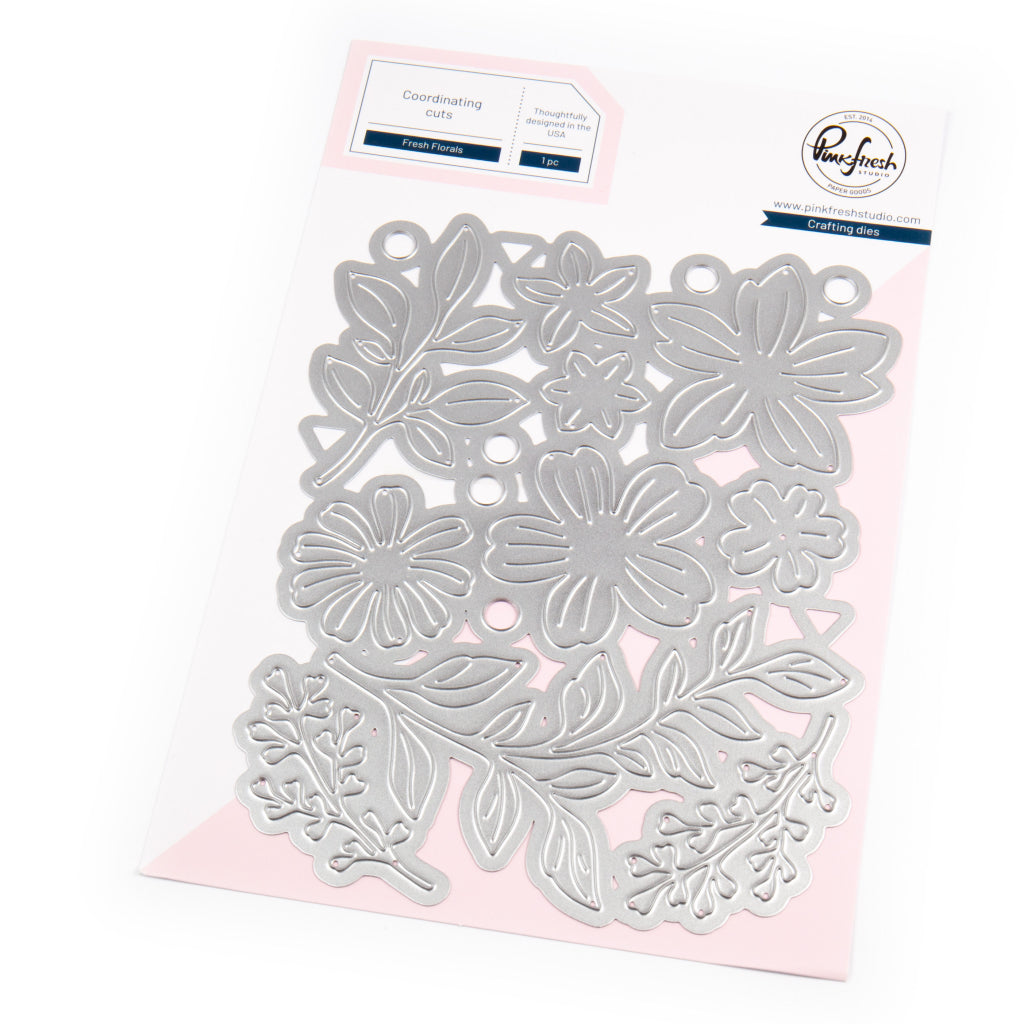
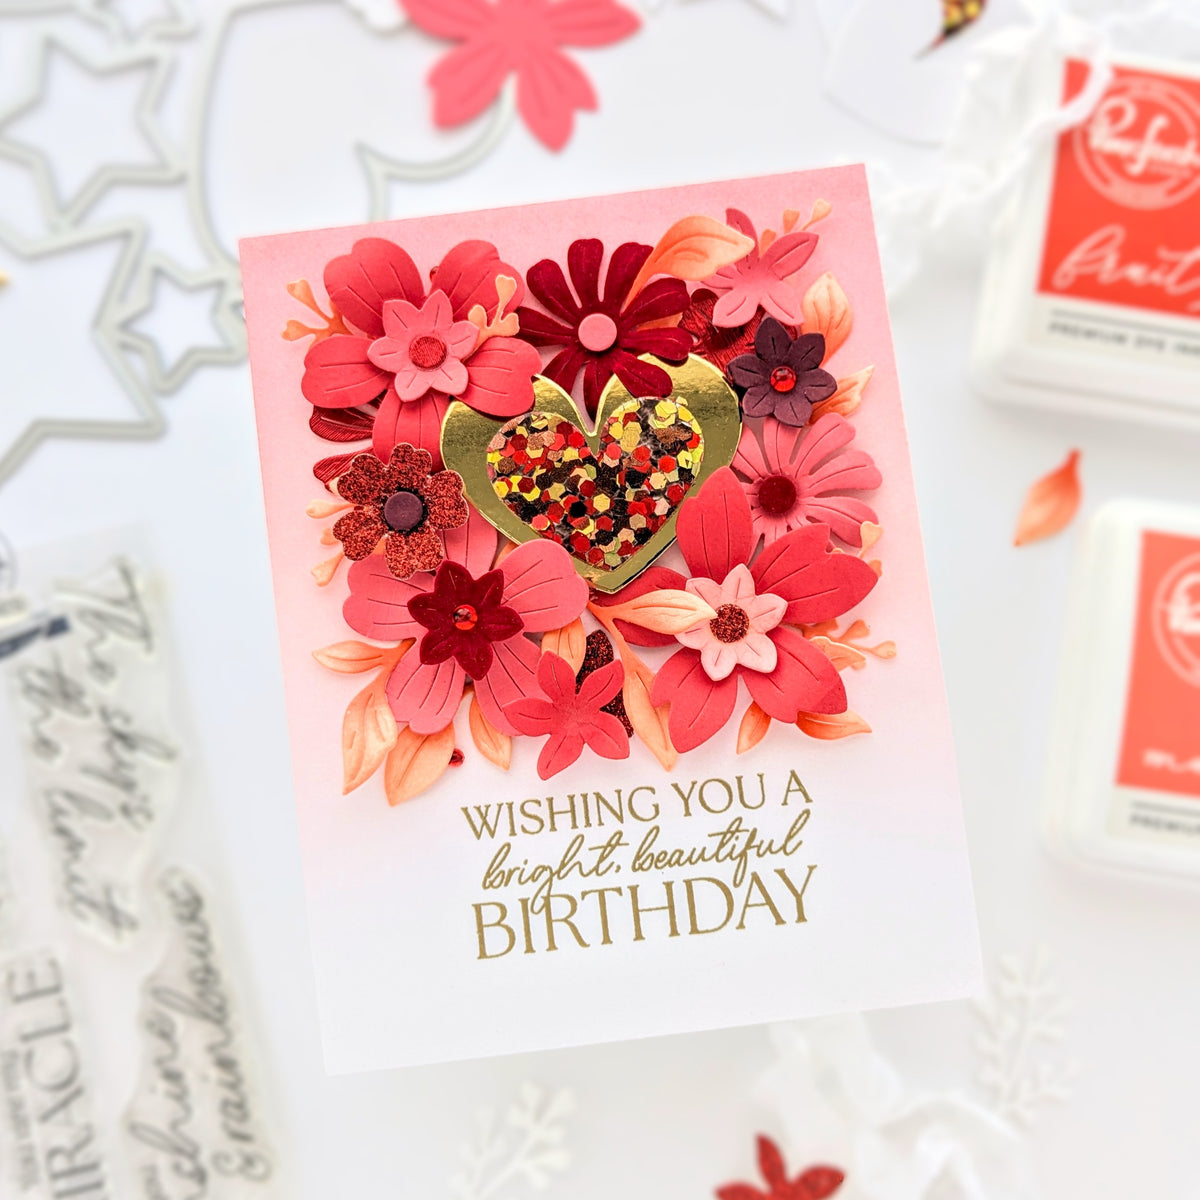
For this project, I'm also using the Fresh Floral Die by Inna Moreva. It is perfect for creating flowers, frames, textures and many other projects.
Disclaimer: For your convenience, all products used are linked below as clickable images.

 Step-by-Step Instructions
1. Create the album structure. For the cover, cut a piece of thick acetate to 6x6 inches and glue the floral paper on top (after cutting out a semicircle on the right side). For the back cover, cut piece of chipboard measuring 6”x 6". For the spine, cut a chipboard piece measuring 6"× 2.5".
2. Cover the structure. Cover the back and the spine with white cardstock. Sew the spine using your favorite stitching design and attach the three parts of the structure with Pinkfresh glue. Once it has dried, add the ribbon to close the album.
3. Spine. Ad a 5.5” spine for four pages.
4. Page 1. The first page will be a 6x6-inch white cardstock envelope. From the side opening will emerge another envelope of the same size, made from vellum and the white cardstock cutout from the flower die.
5. Page 2 and 4. Cut two strips measuring 5.5” x 12” and fold them at 4.5”, 4.5”, and 2.5”. Fold them in a zigzag pattern and glue them to spine 2 and 3 symmetrically.
6. Page 3. Add a piece of thick acetate cut to 3” x 6”. Here, we’ll decorate both sides symmetrically with little elements to bring light and transparency to the project.
7. Cover the pages. Cut two 12" x 4" strips of white cardstock, folding them every 3". These are the inner pockets that attach to pages 2 and 3 for holding the photos.
8. Create a large pocket with a flap and attach it to the inside of the back cover. You can create a little notebook for the inside like I did or simply leave that space for more photos and/or mementos.
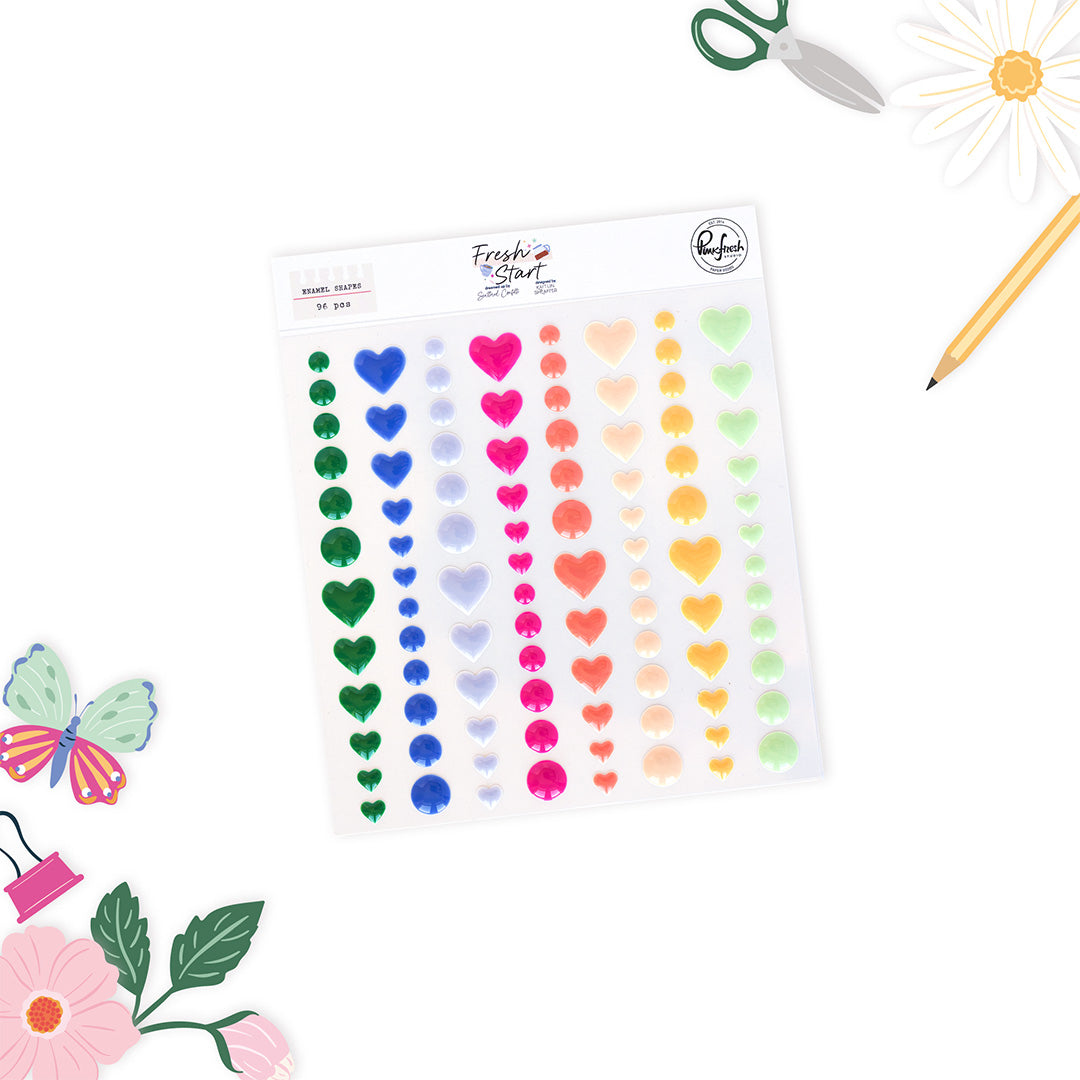
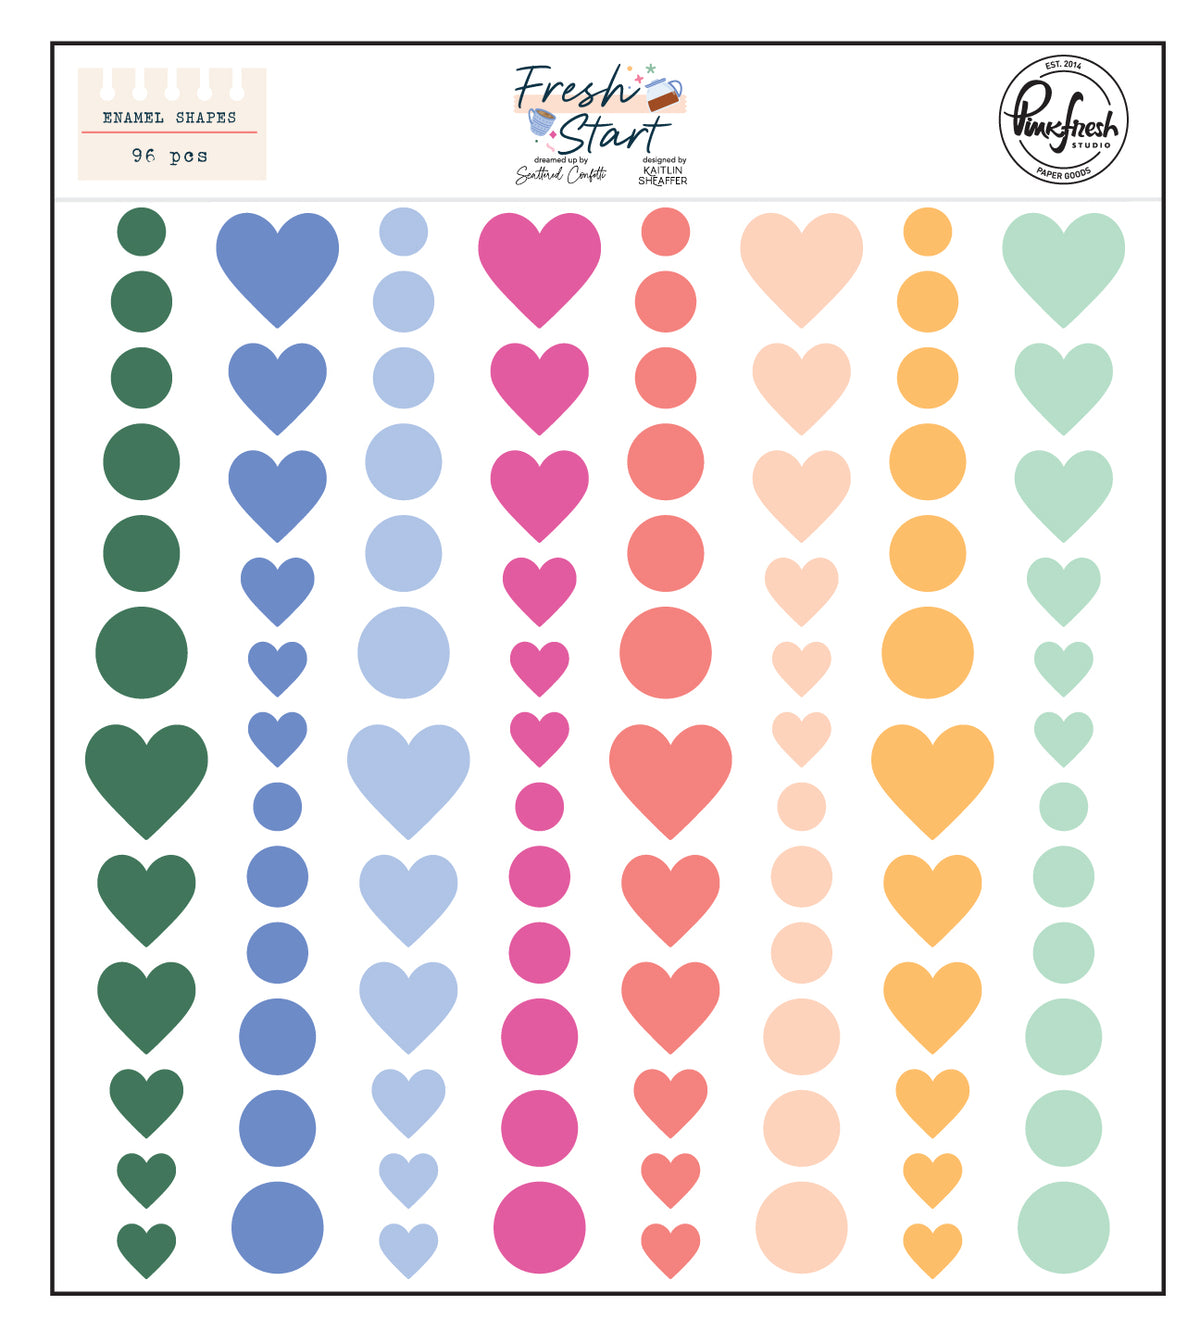
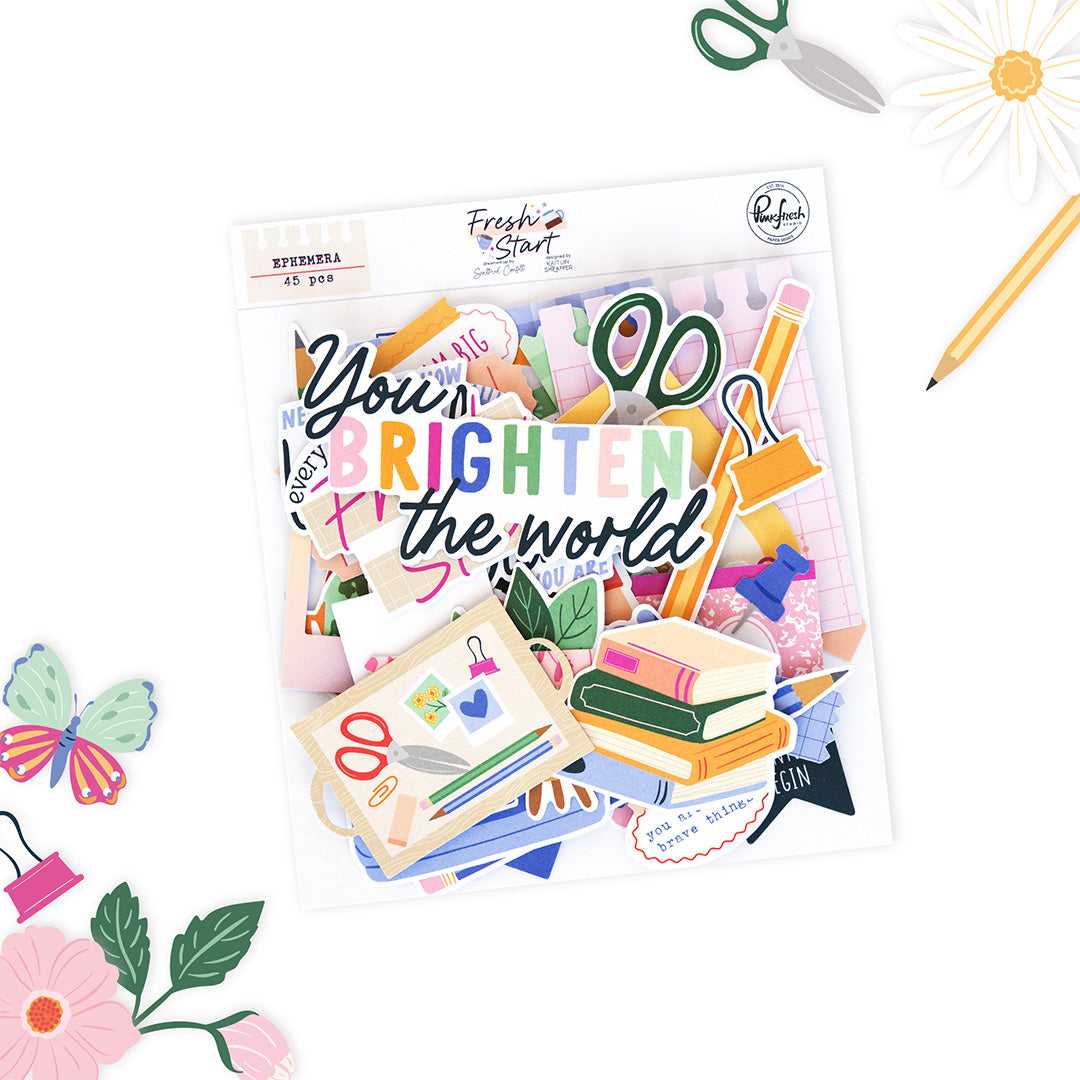
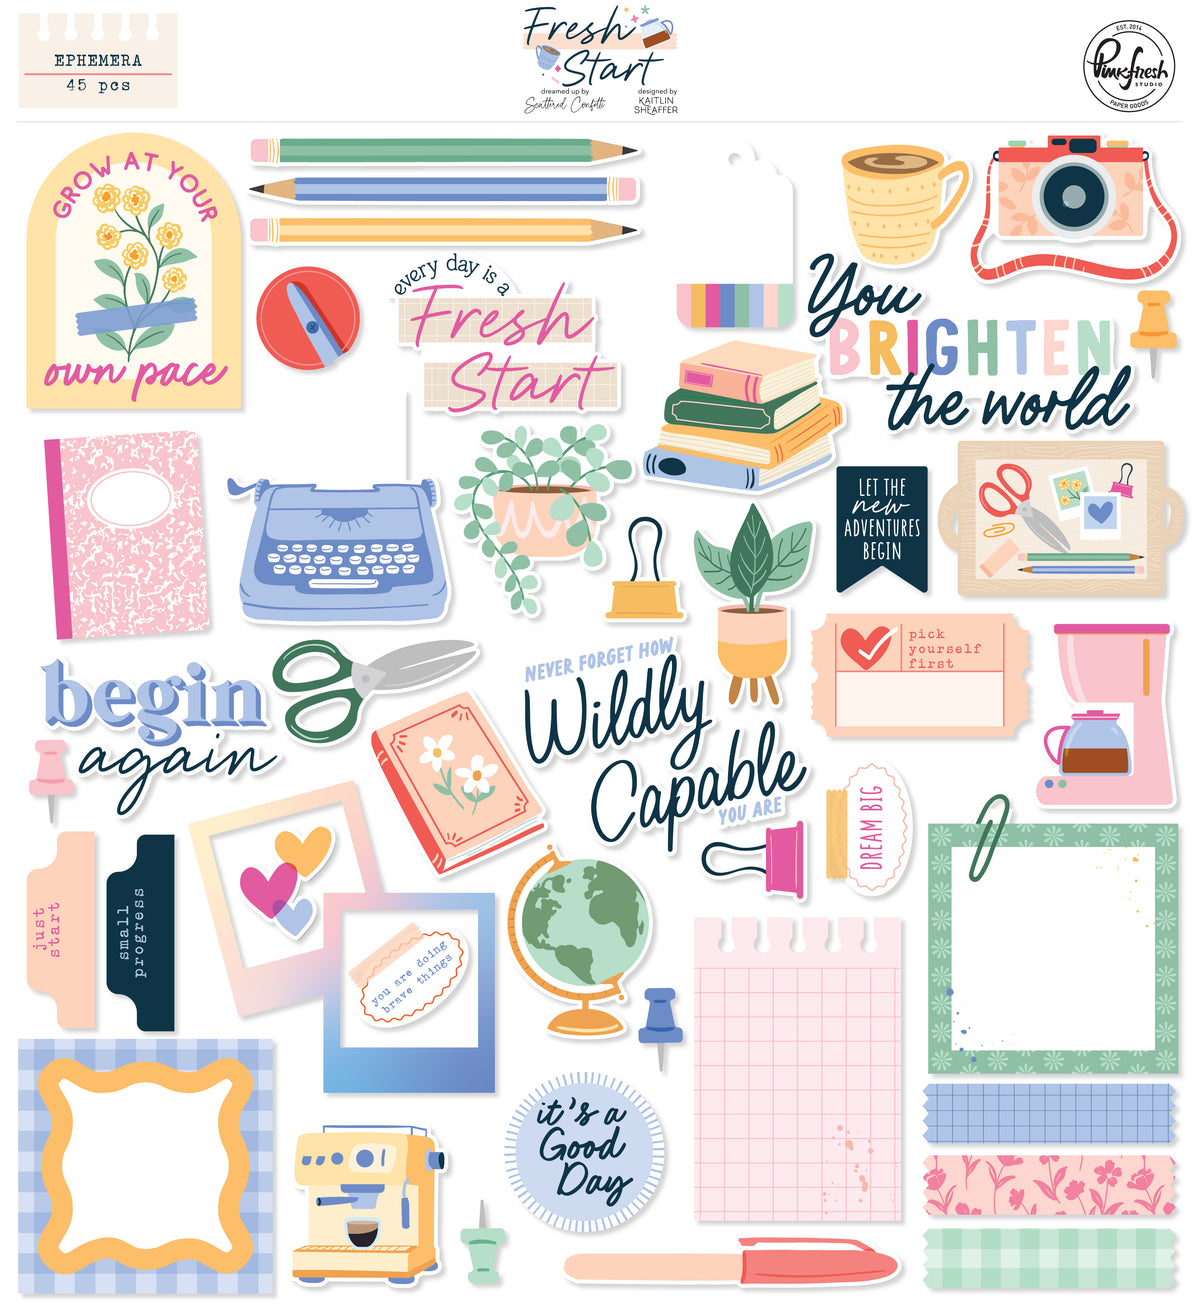
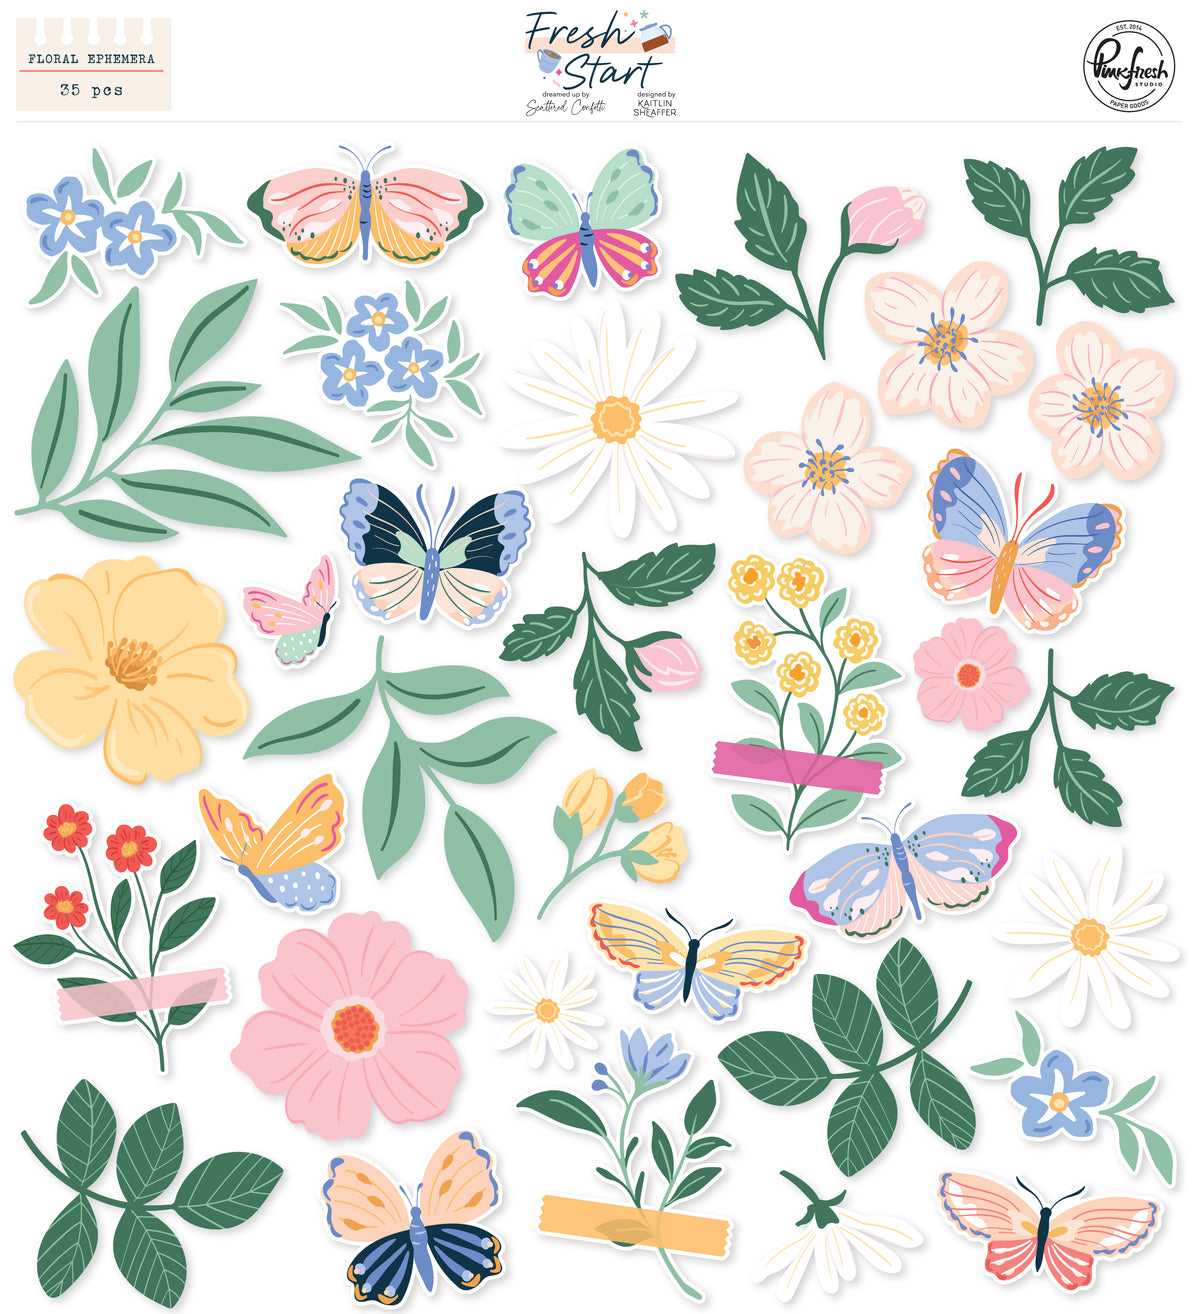
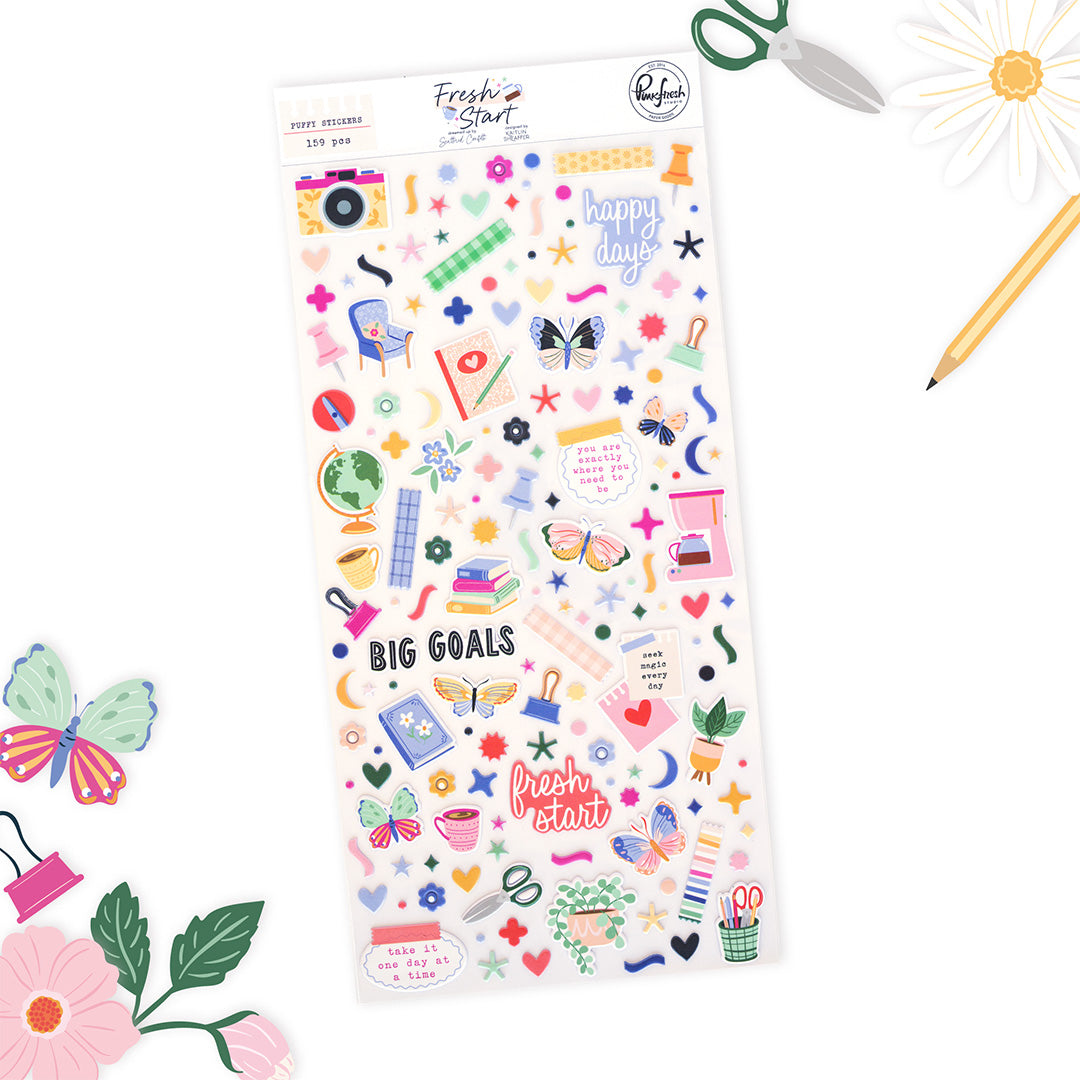
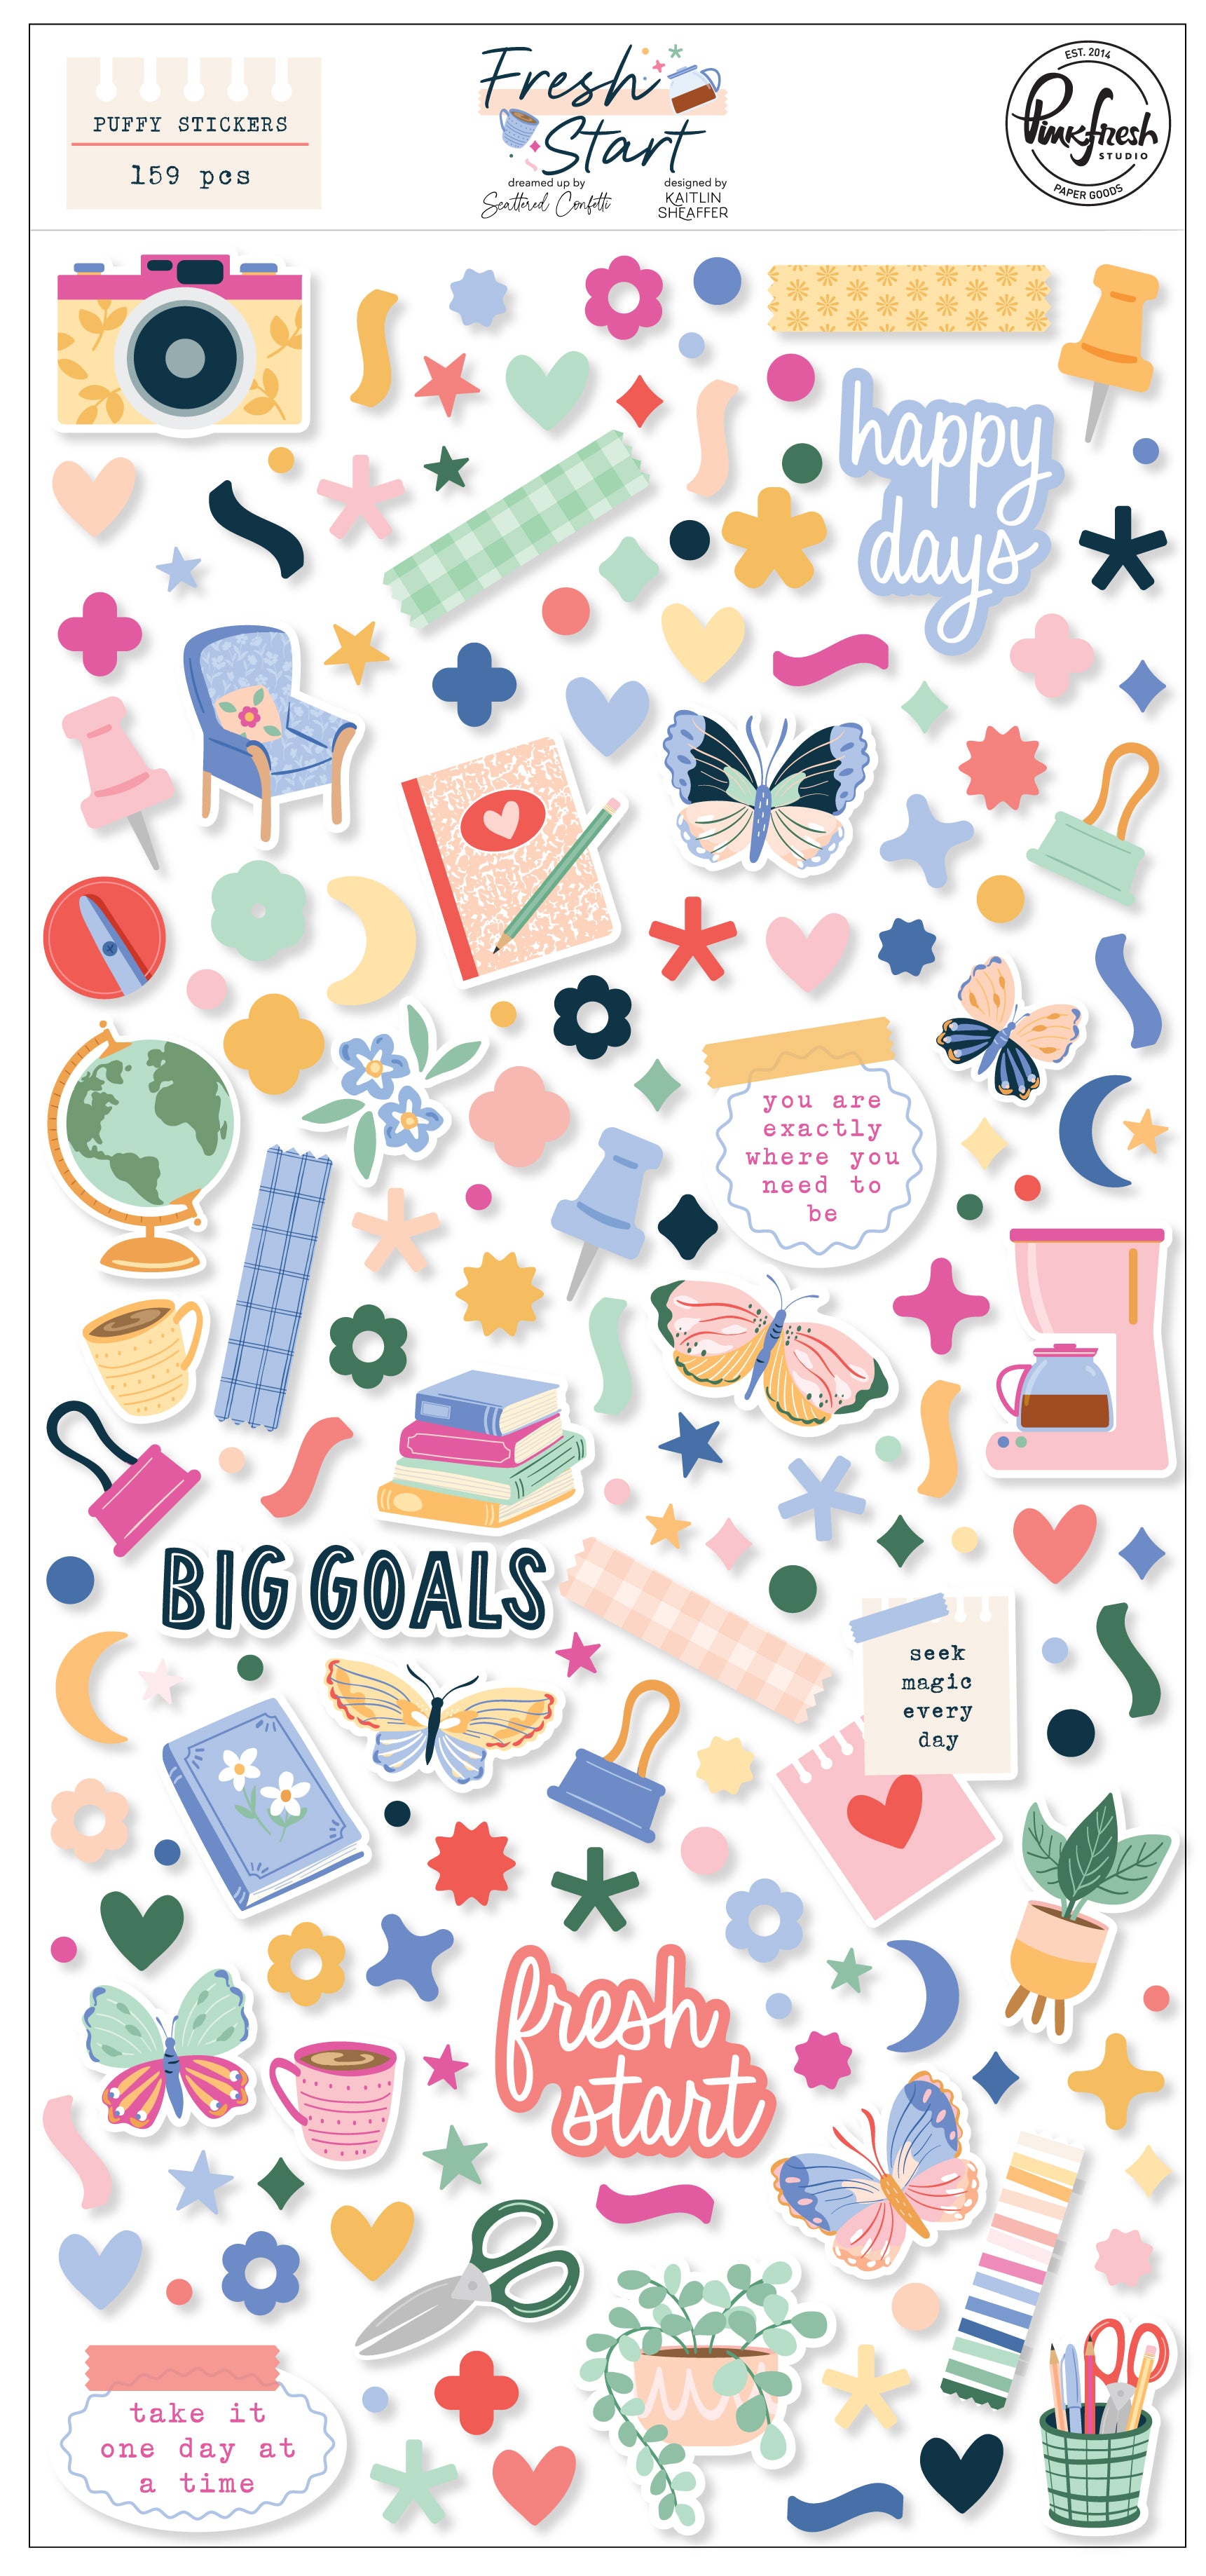
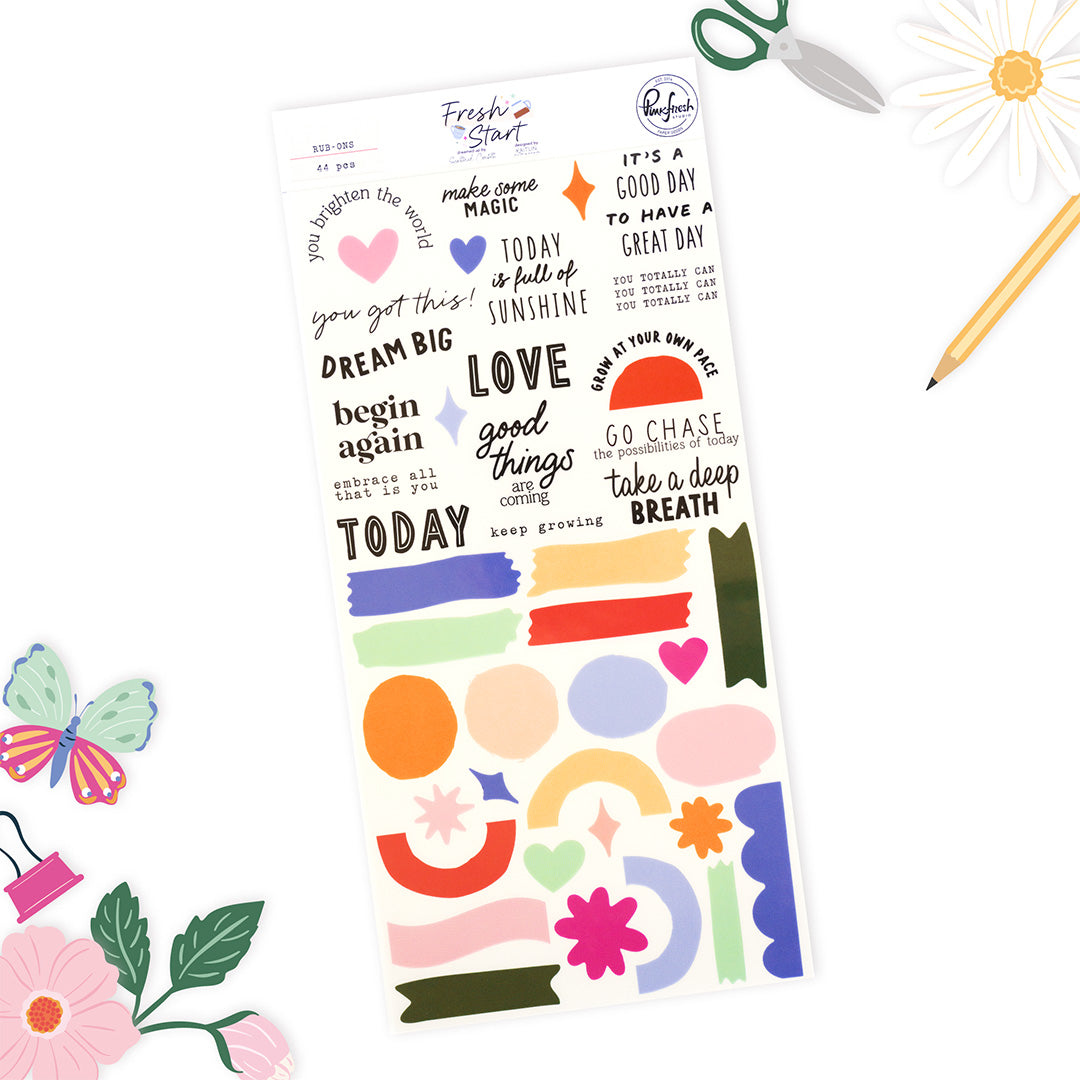
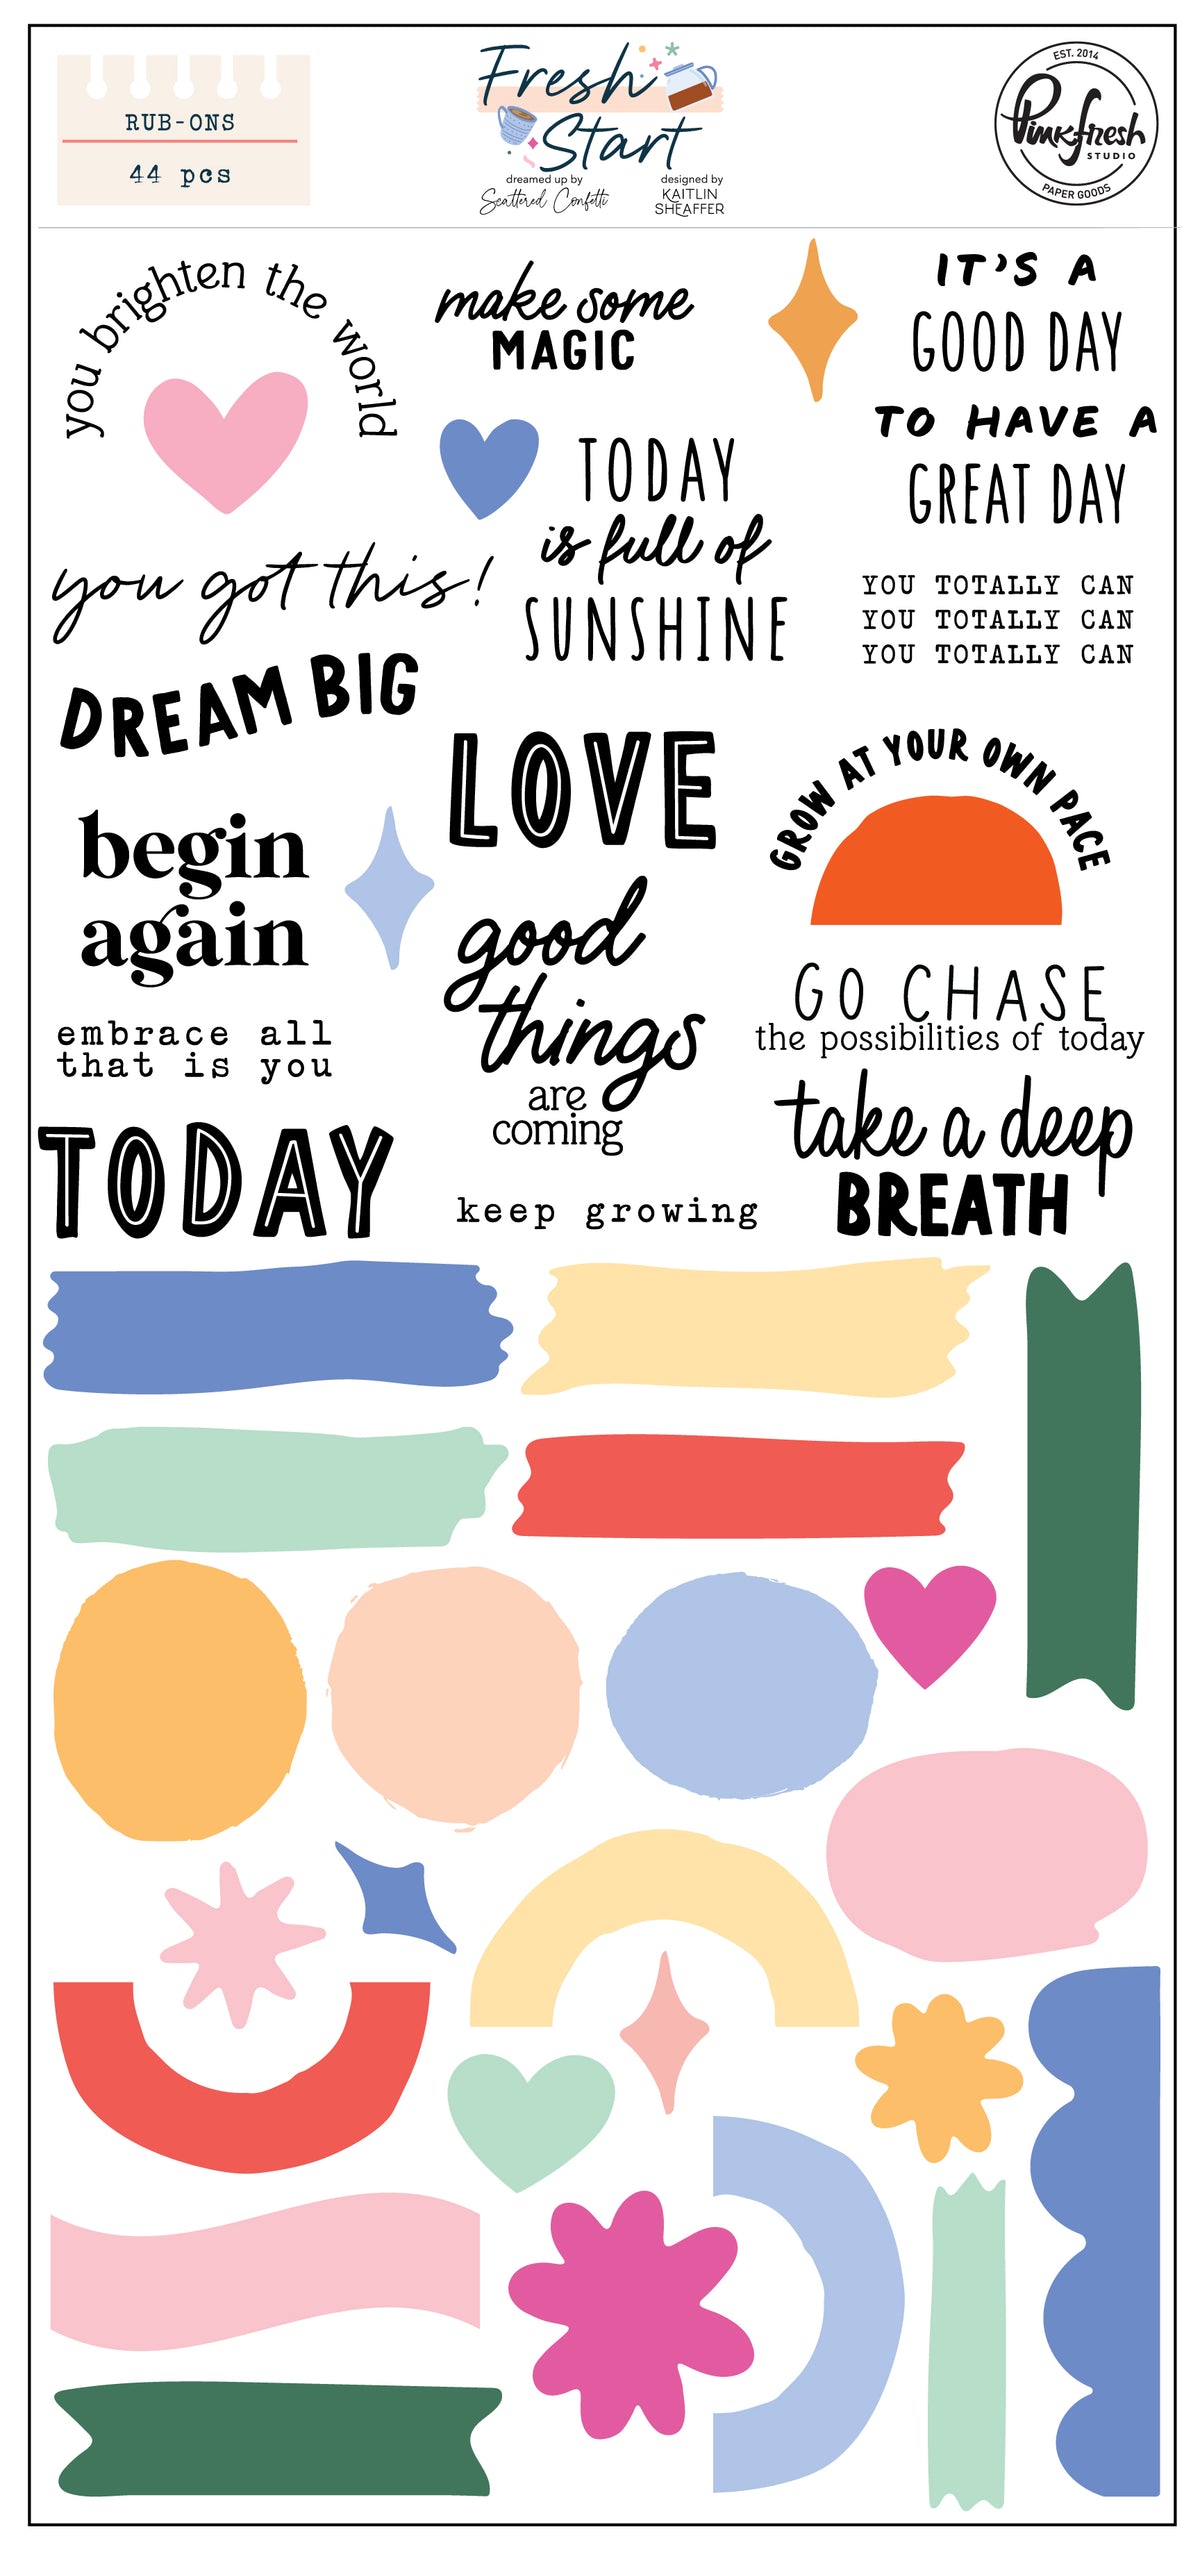
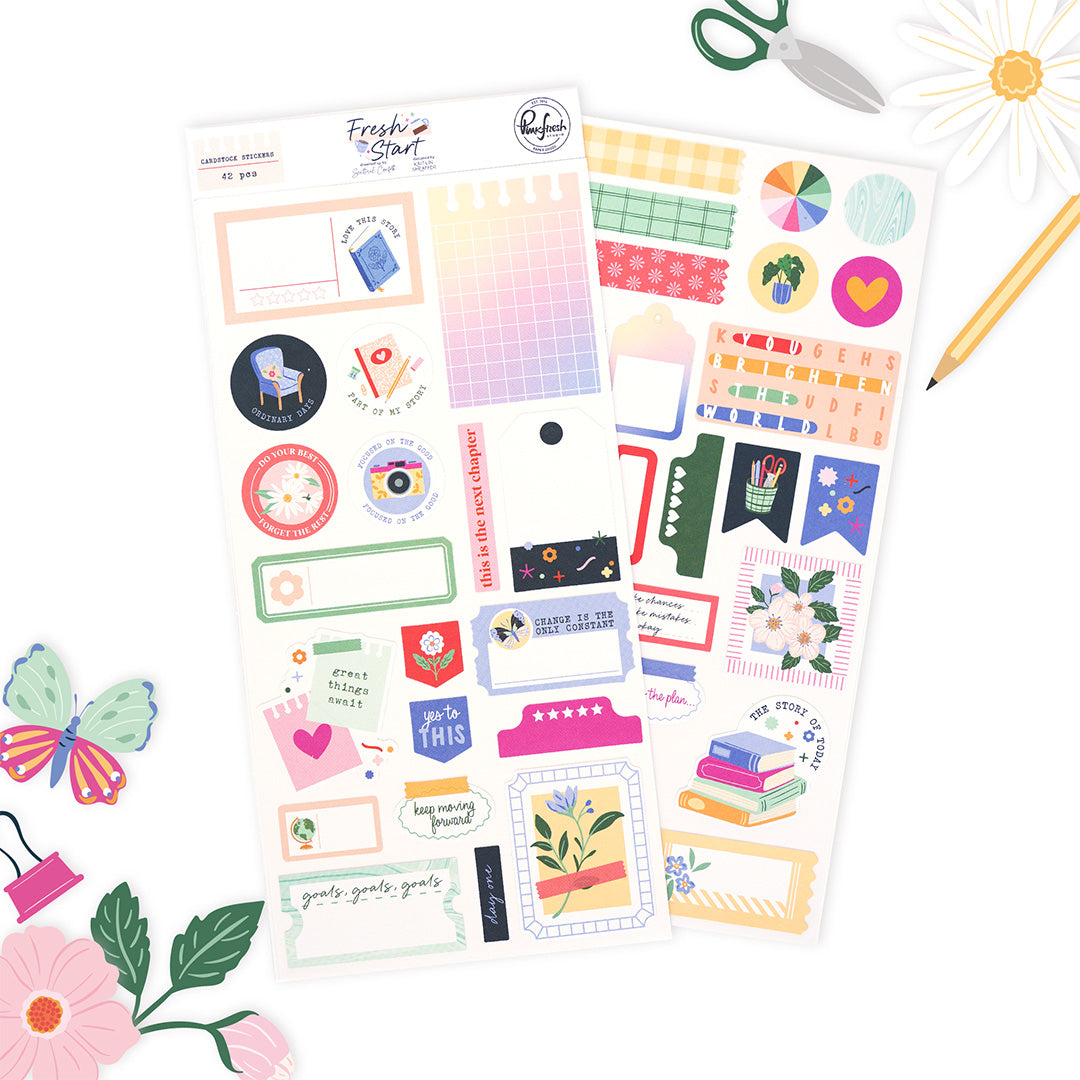
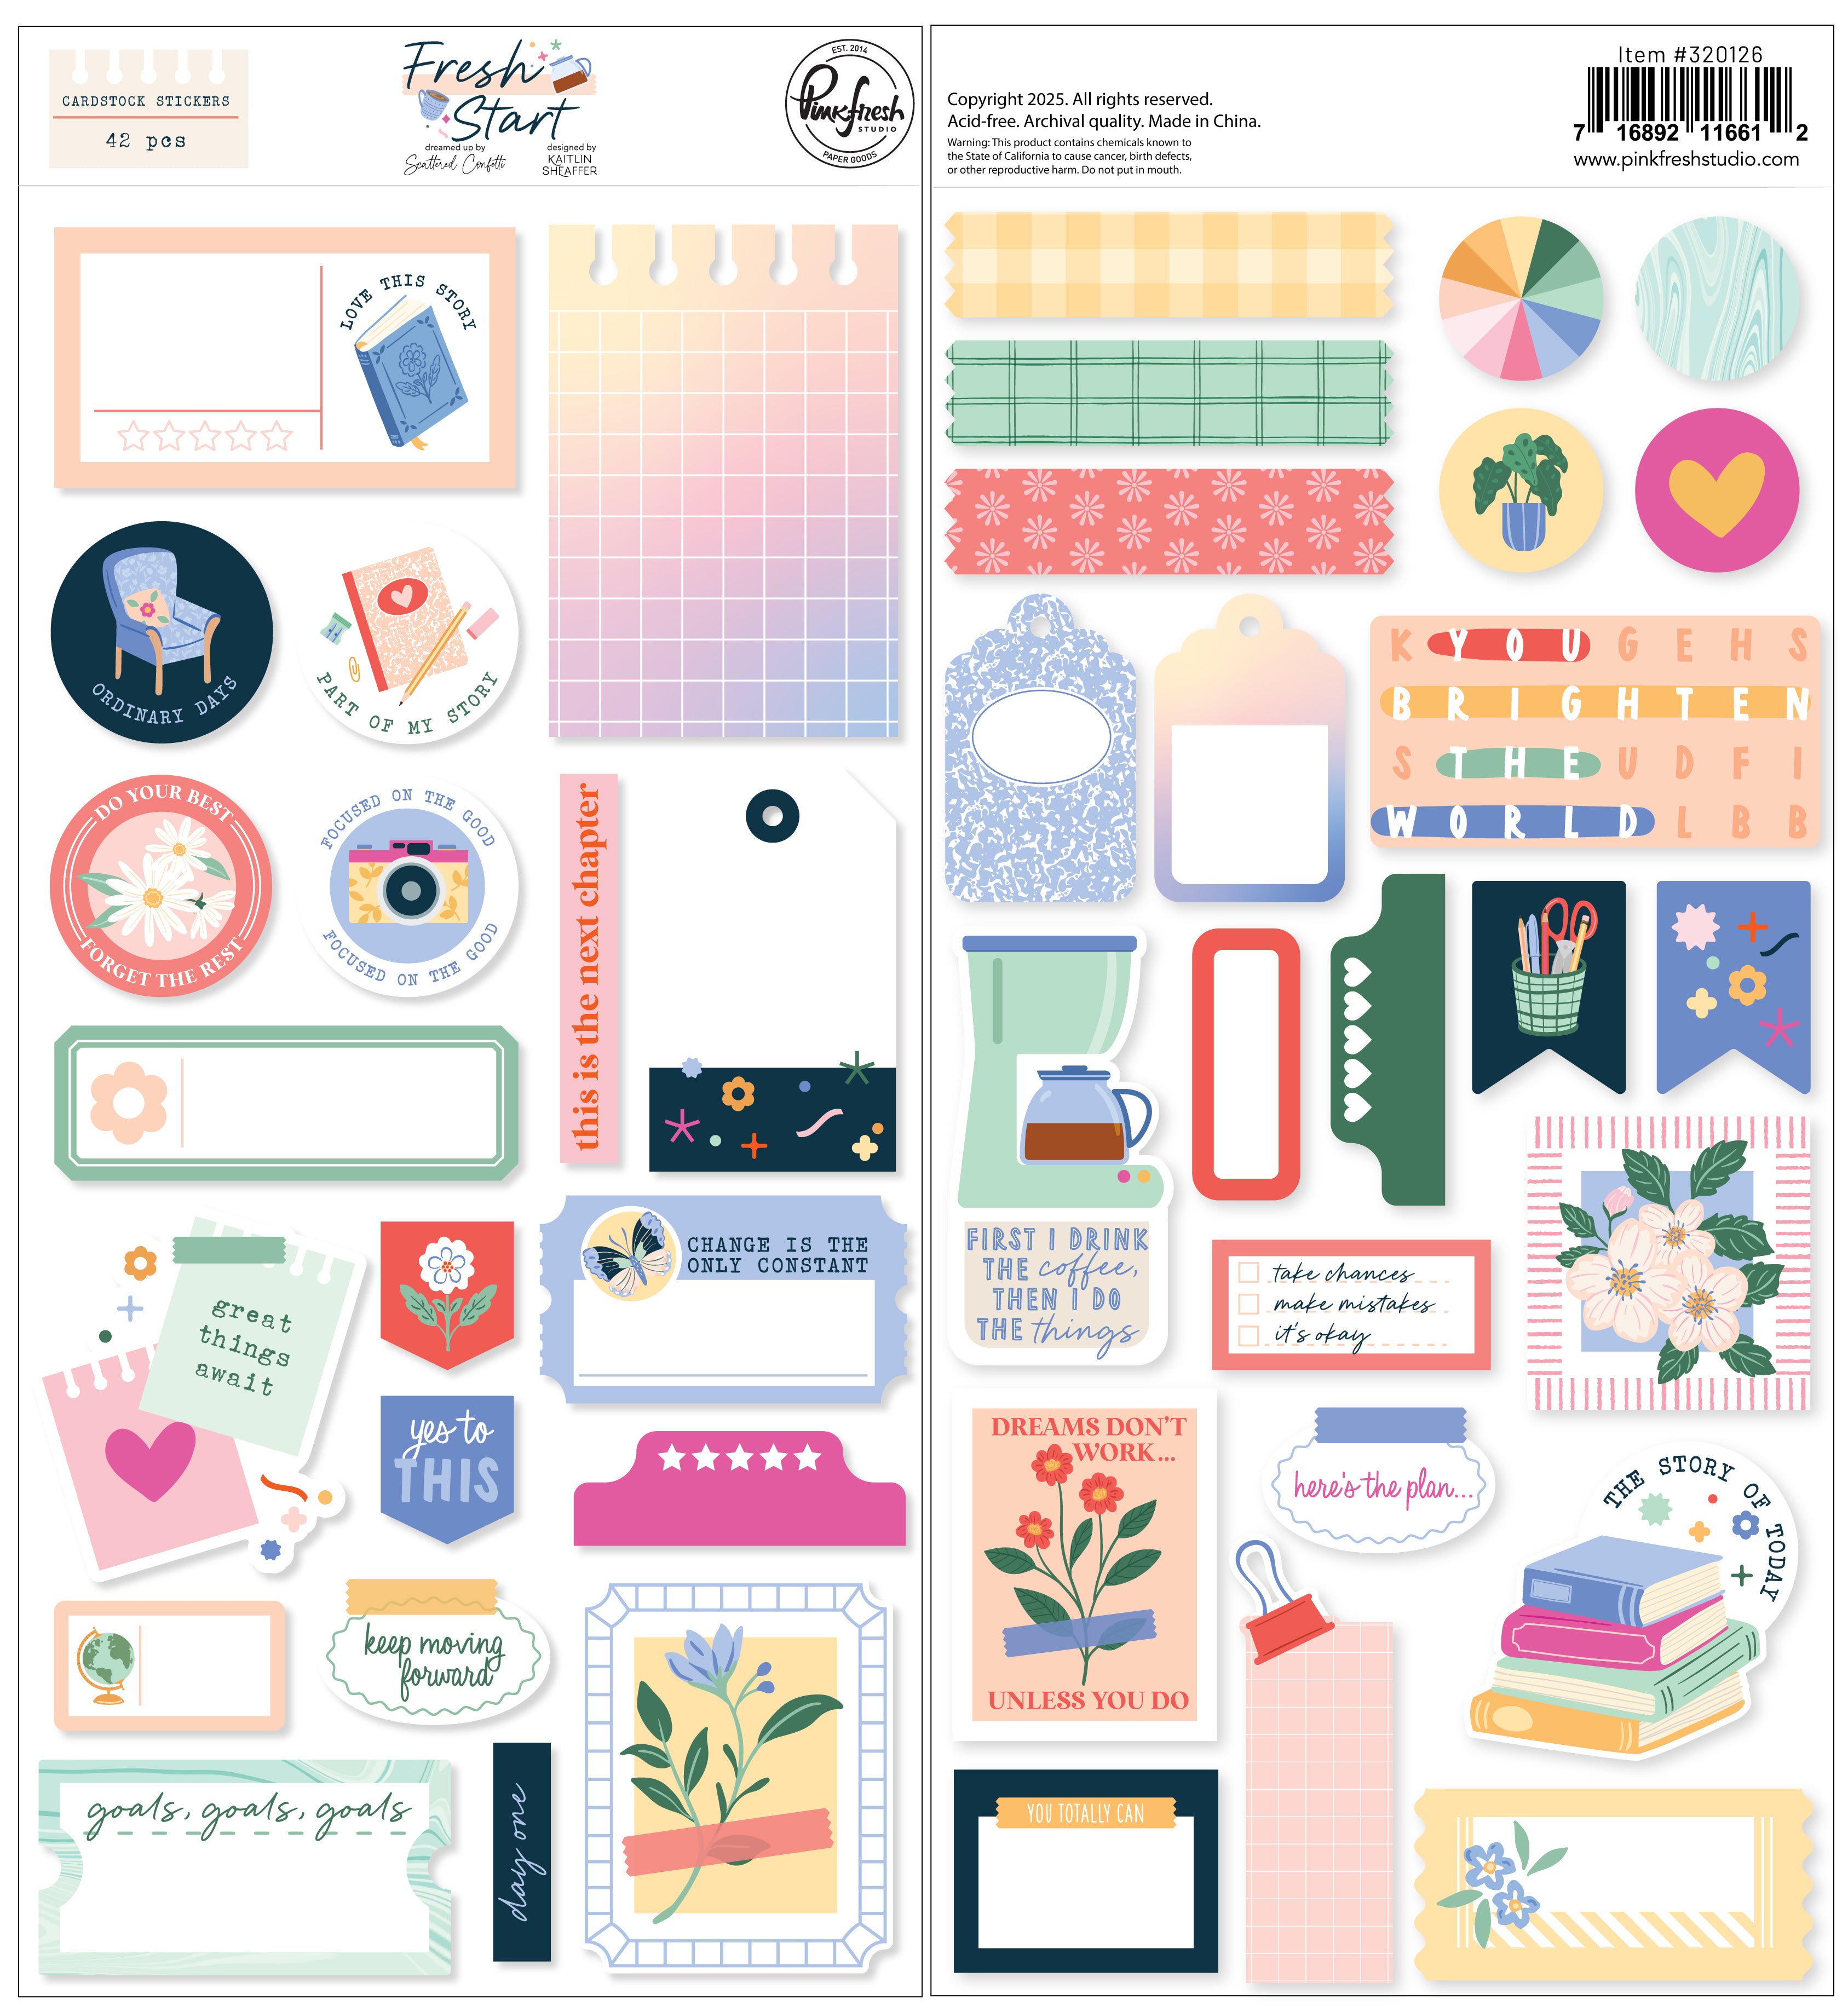
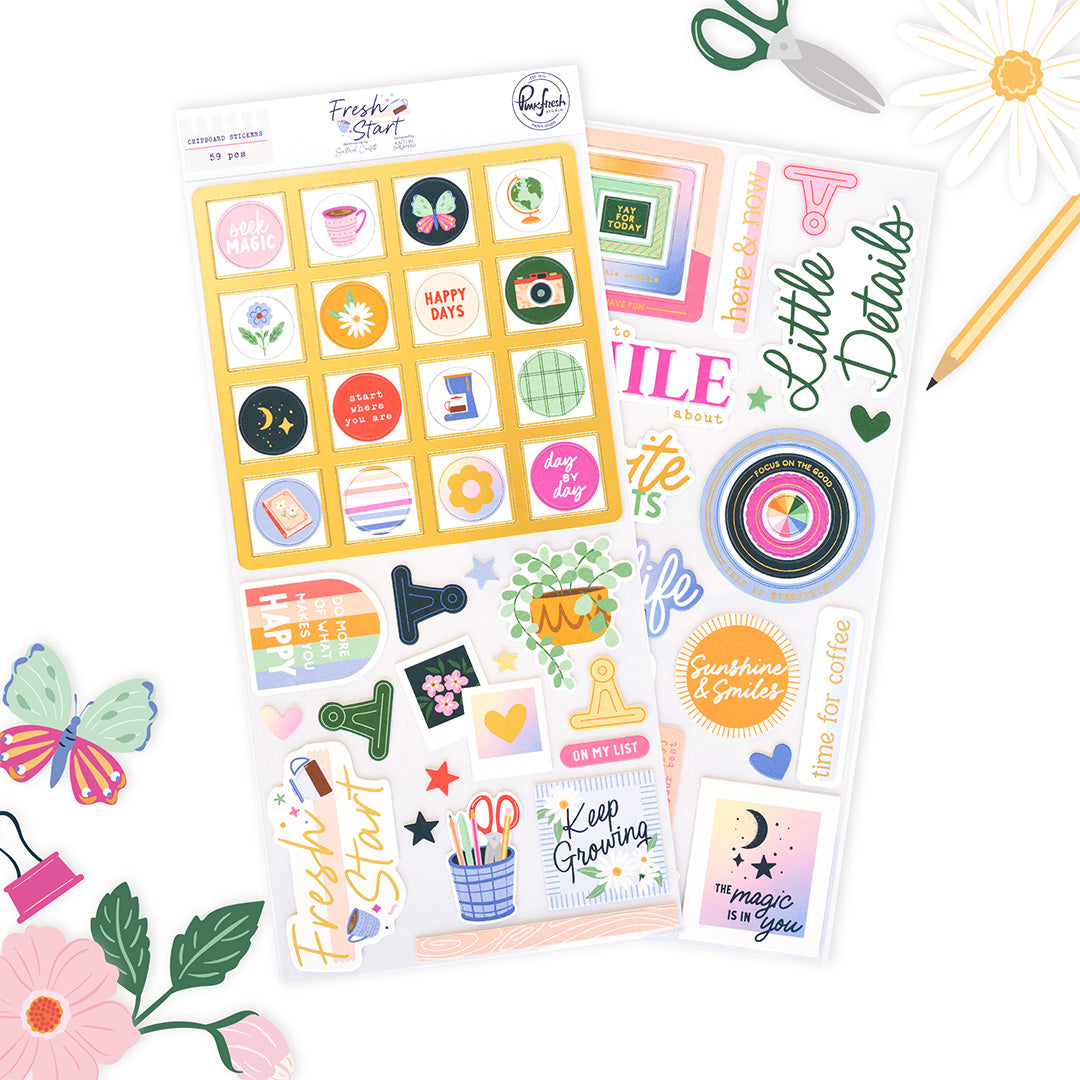
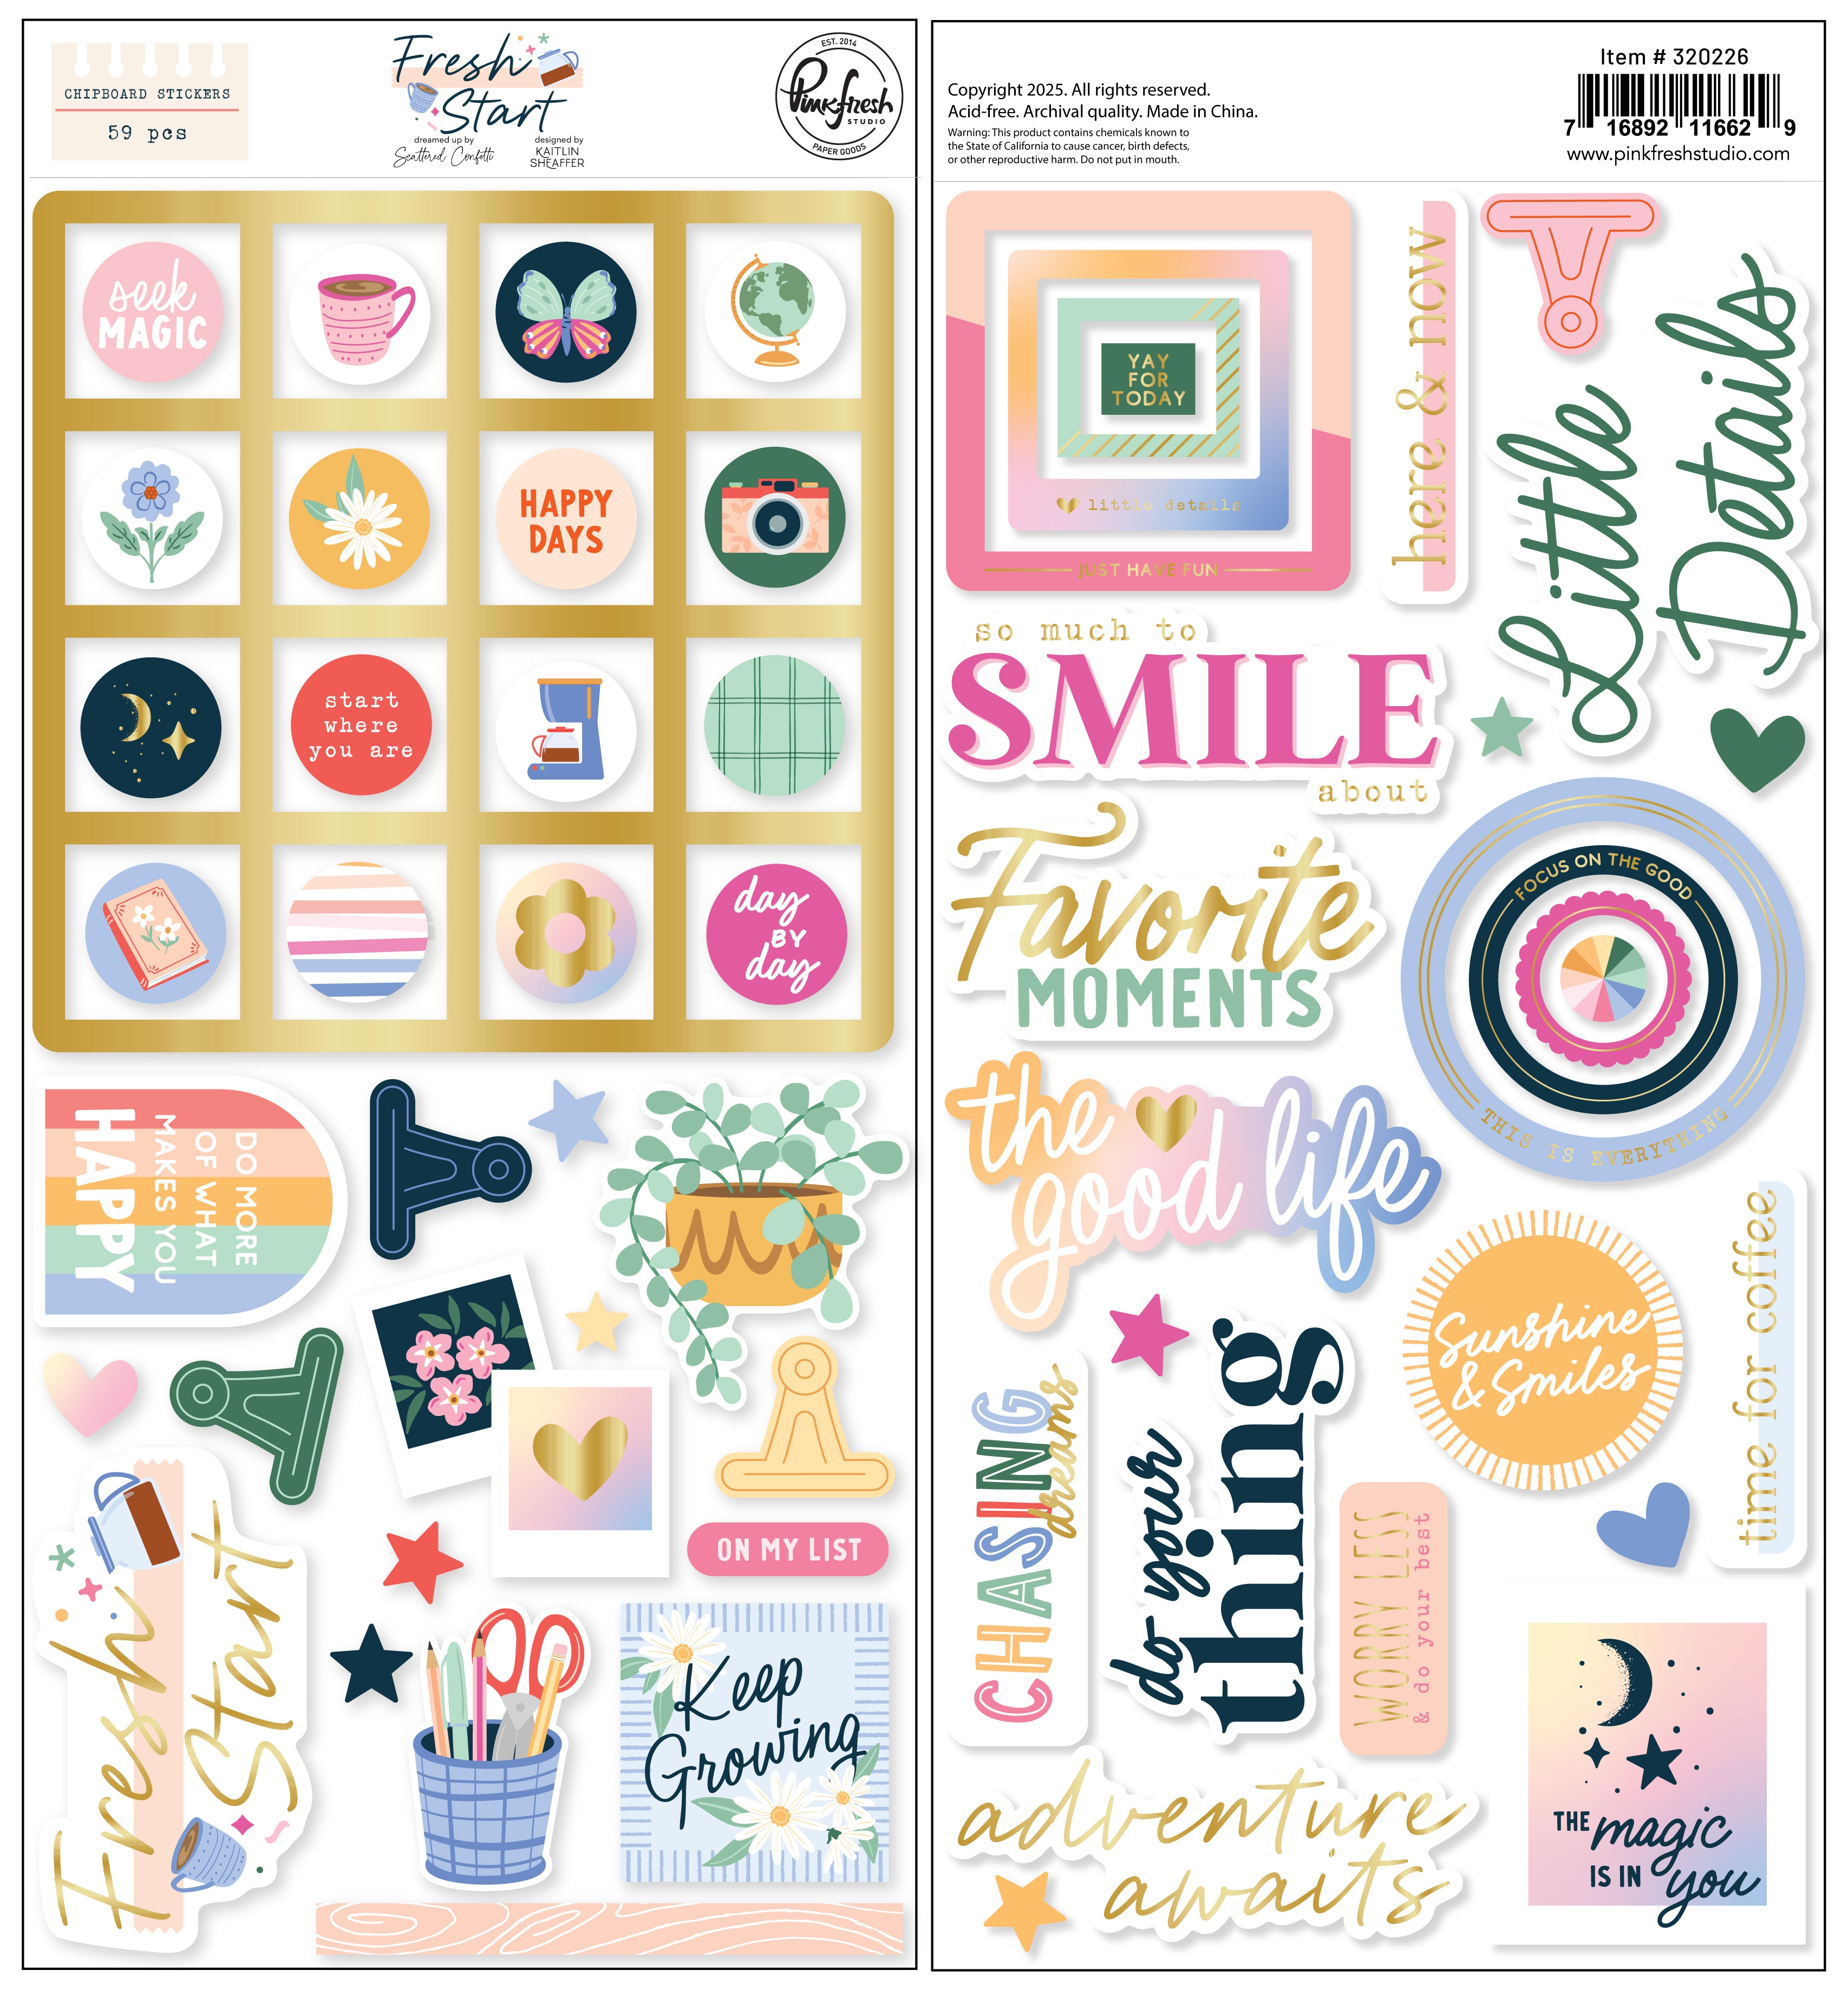
9. Decorate the album. This is the fun part! Decorate the cover and each page using all the gorgeous embellishments from the collection - Puffy Stickers, Ephemera, Chipboard Pieces, Cardstock Stickers, Enamel Shapes, Rub-ons…
Each pocket can hold photos, journaling, or memorabilia.
And here's a closer look at the rest of the inside pages:


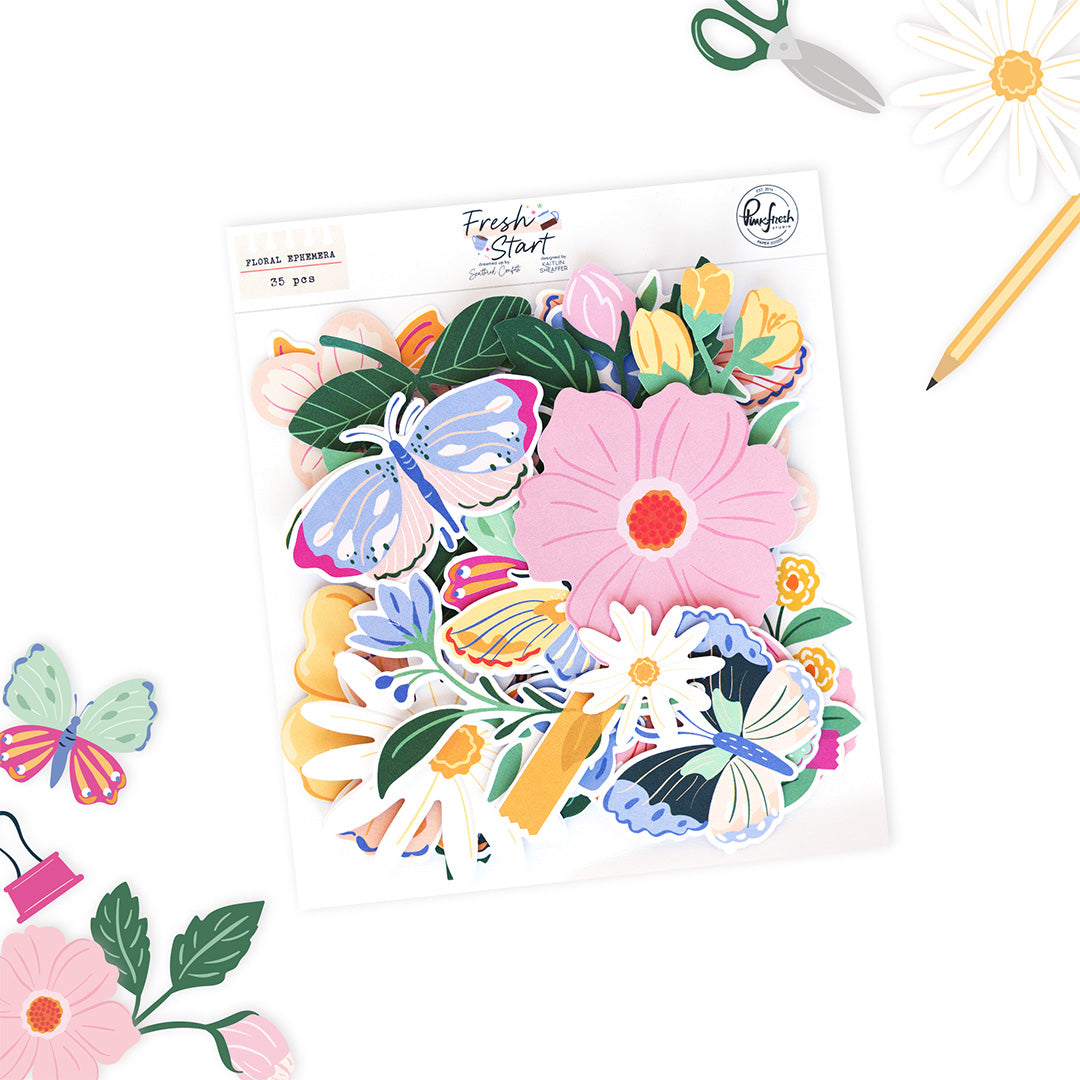
 I also added some dimensional flowers to the cover. These little details can take a project from good to great!
 I hope this project inspires you to create your own mini album with the Fresh Start collection. Thank you so much for stopping by today!
– Camino
Recommended Products






























Leave a comment
All comments are moderated before being published.
This site is protected by hCaptcha and the hCaptcha Privacy Policy and Terms of Service apply.