
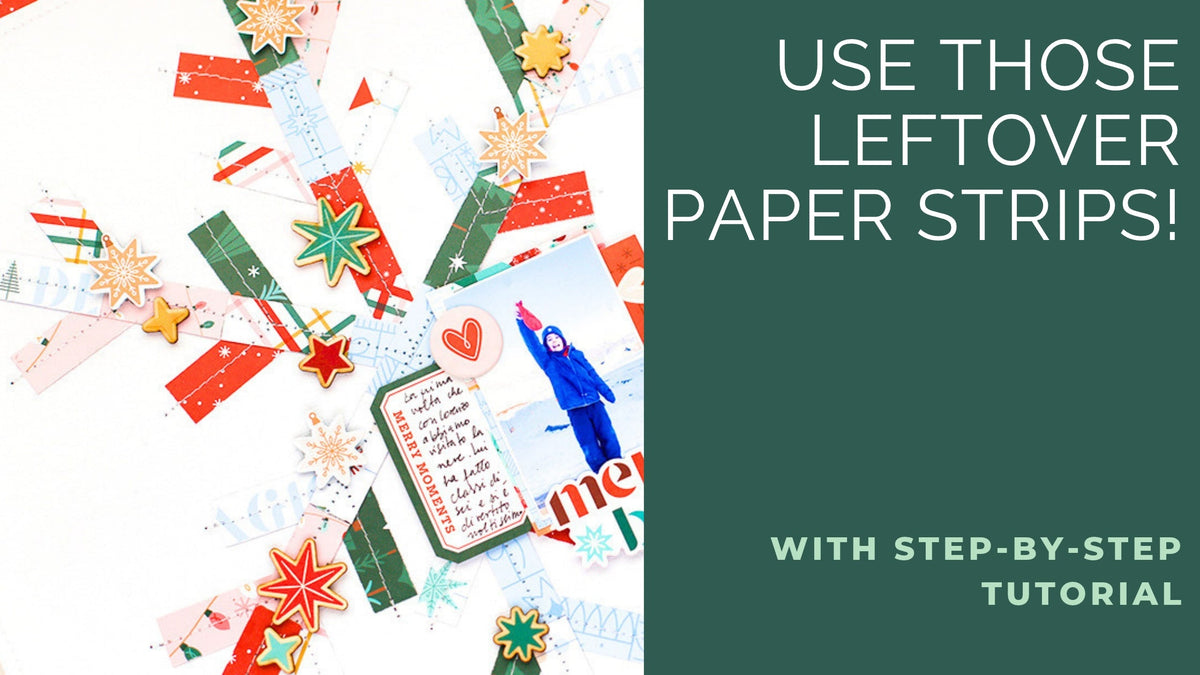
Hello everyone! I’m Eva, and today I’m sharing a Christmas layout using the Festive Fun collection. I wanted to create a playful background that would draw the eye toward my photo, so I decided to use little strips of patterned paper to build an oversized snowflake.
*Disclaimer: All products used are linked below as clickable images. If a product isn’t listed, it’s been discontinued.

Step-by-Step Instructions
- Start by cutting patterned paper strips measuring 5/8" x 3.5" from the Festive Fun collection.
- Arrange the strips on white cardstock in a snowflake-inspired design, layering them in different directions to create a playful, radiating pattern.
- Once you’re happy with the arrangement, glue them and use your sewing machine to stitch over the paper strips. This adds texture and helps secure the pieces in place.
- Layer a few pieces of patterned paper behind your photo, then attach it to the layout using 3D foam adhesive for extra dimension.
- Add the “Merry & Bright” die-cut title next to the photo, making it one of the main focal points of the page.
- Include a journaling spot beside the photo to record the story behind this special memory.
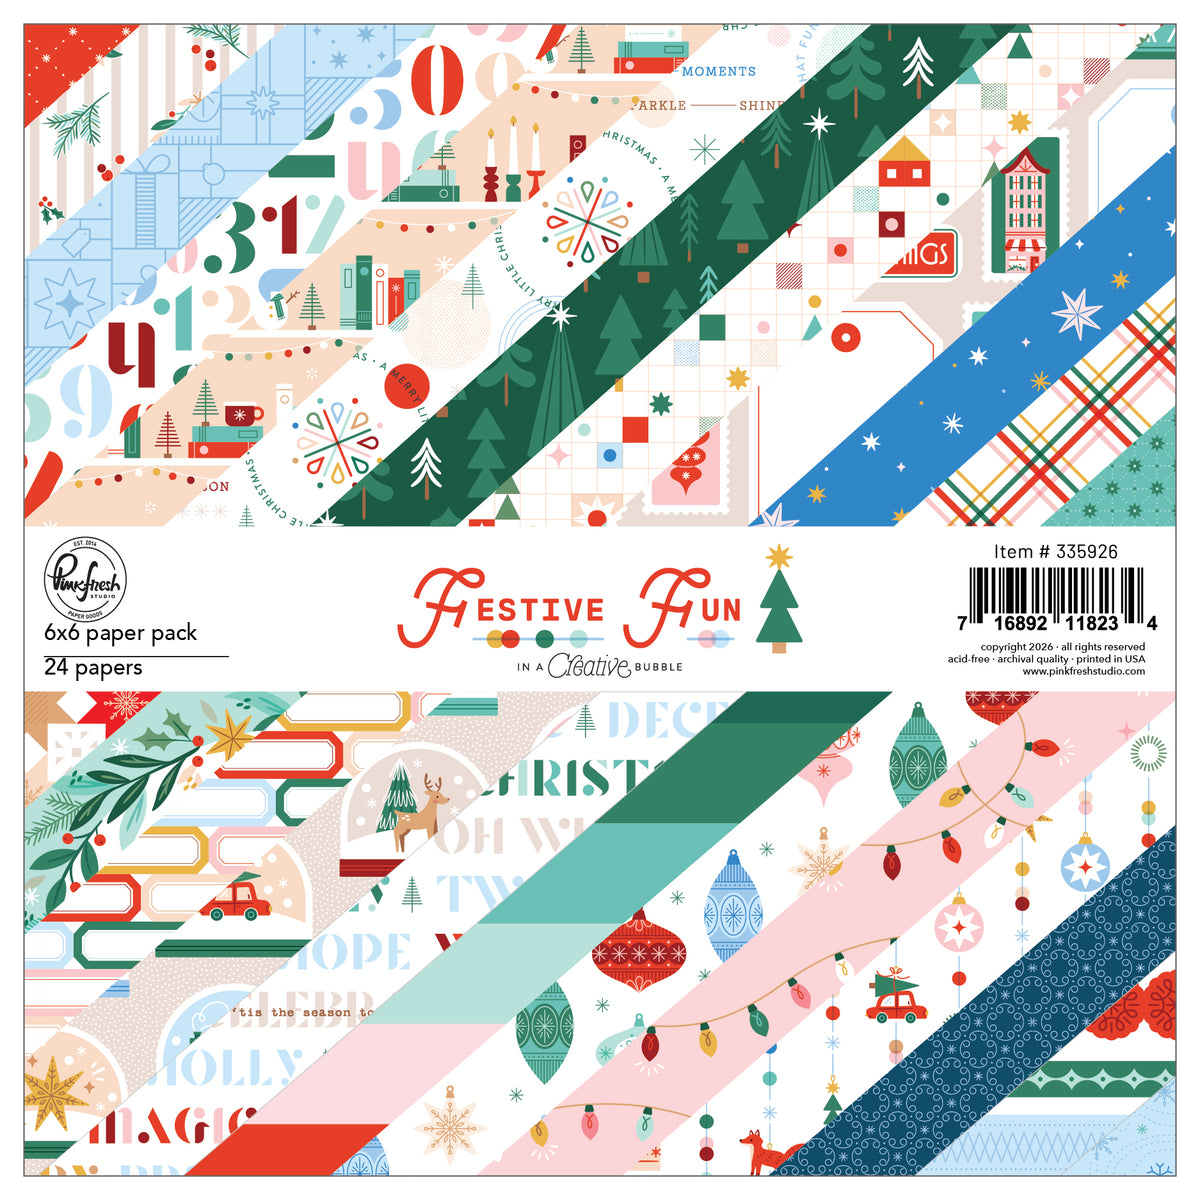
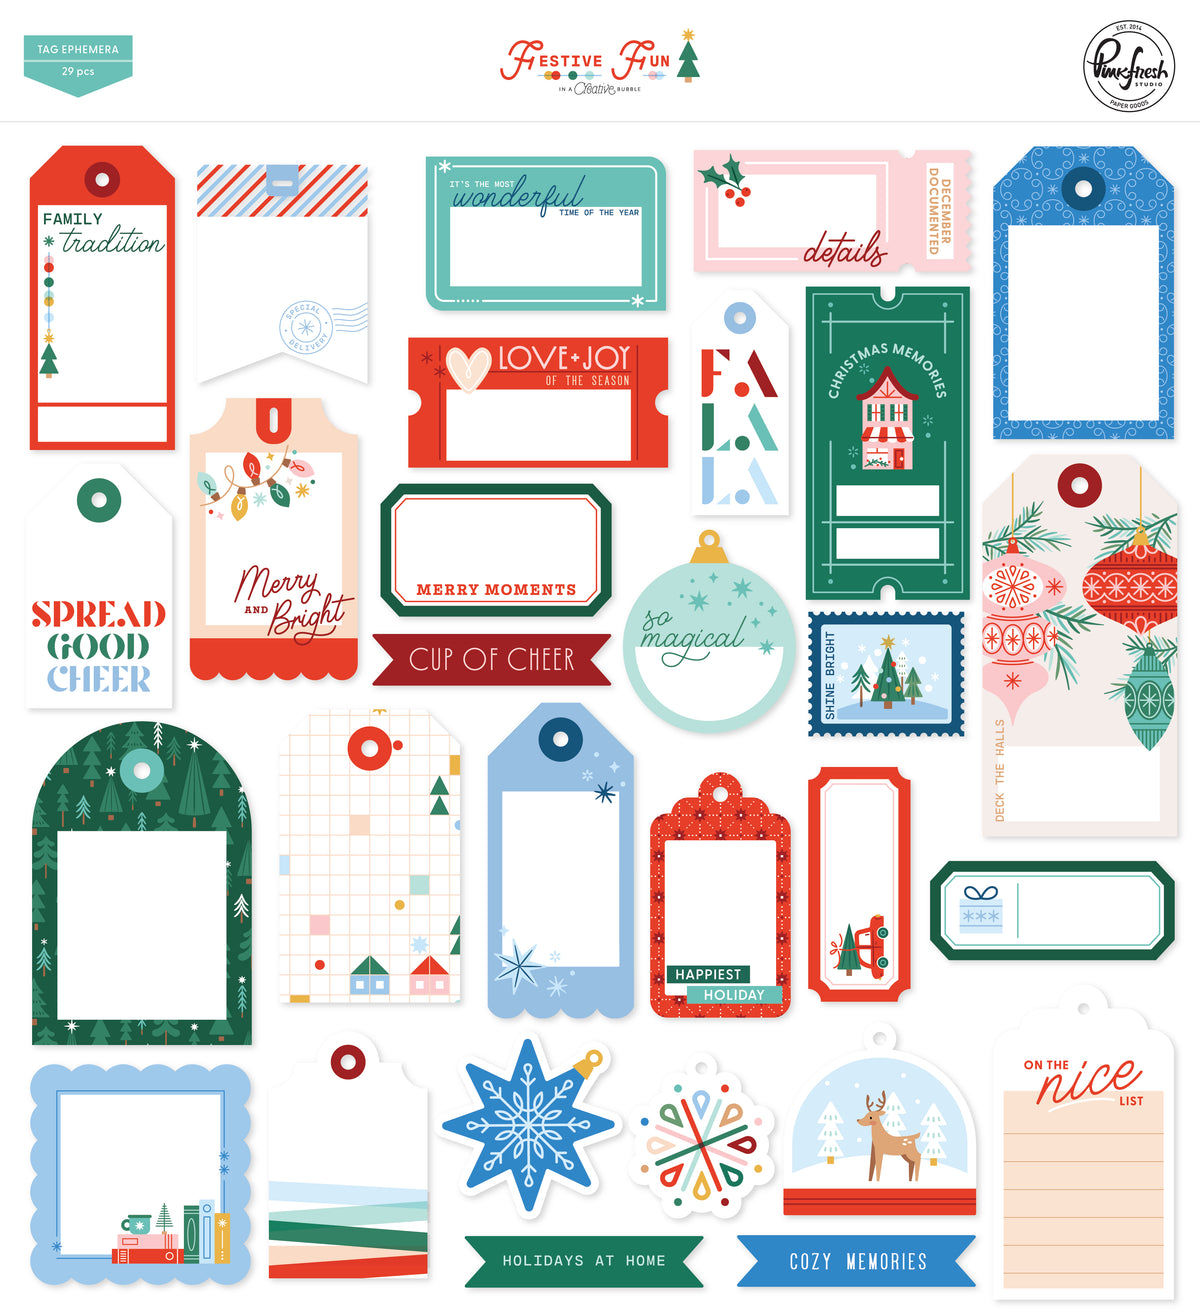
- Finish by decorating the layout with wooden stars and fussy-cut elements from the 6x6 paper pad. Scatter them around the design to add color, detail, and a festive touch.


Tip: Before stitching your paper strips, take a quick photo of your arrangement so you can remember where everything goes. I also recommend using a longer stitch length to avoid tearing the paper.
I hope this gives you an idea for using those little leftover paper strips in a fun way. They’re perfect for creating a unique background for your next holiday layout!
Thanks so much for stopping by, and happy crafting!
Eva
Recommended Products












Leave a comment
All comments are moderated before being published.
This site is protected by hCaptcha and the hCaptcha Privacy Policy and Terms of Service apply.