
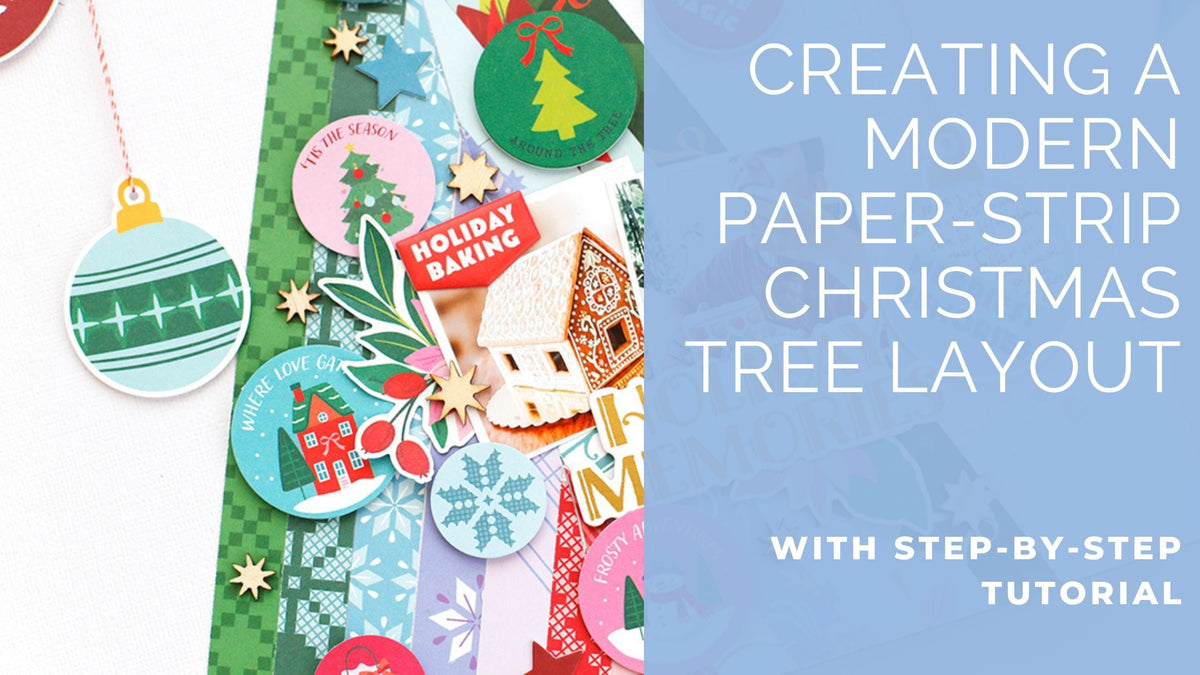
Hello everyone! Eva here on the blog today, sharing my take on this month's Challenge using the Very Merry Christmas collection.
For my project, I decided to create a tree made entirely from paper strips. I stayed close to the challenge's color palette, and of course, I had to include a few charming Christmas ornaments hanging from the top—because they instantly bring the holiday magic!
*Disclaimer: All products used are linked below as clickable images. If a product isn’t listed, it’s been discontinued.


Step-by-Step Instructions
- Cut several 0.5-inch paper strips from the 12x12 paper pad.
- Add two marks, 2 inches from each side at the bottom of your page.
- Start adhering the paper strips from those marks, building the side of your tree.
- Continue layering strips inwards, and once finished, trim any excess using an X-Acto knife.
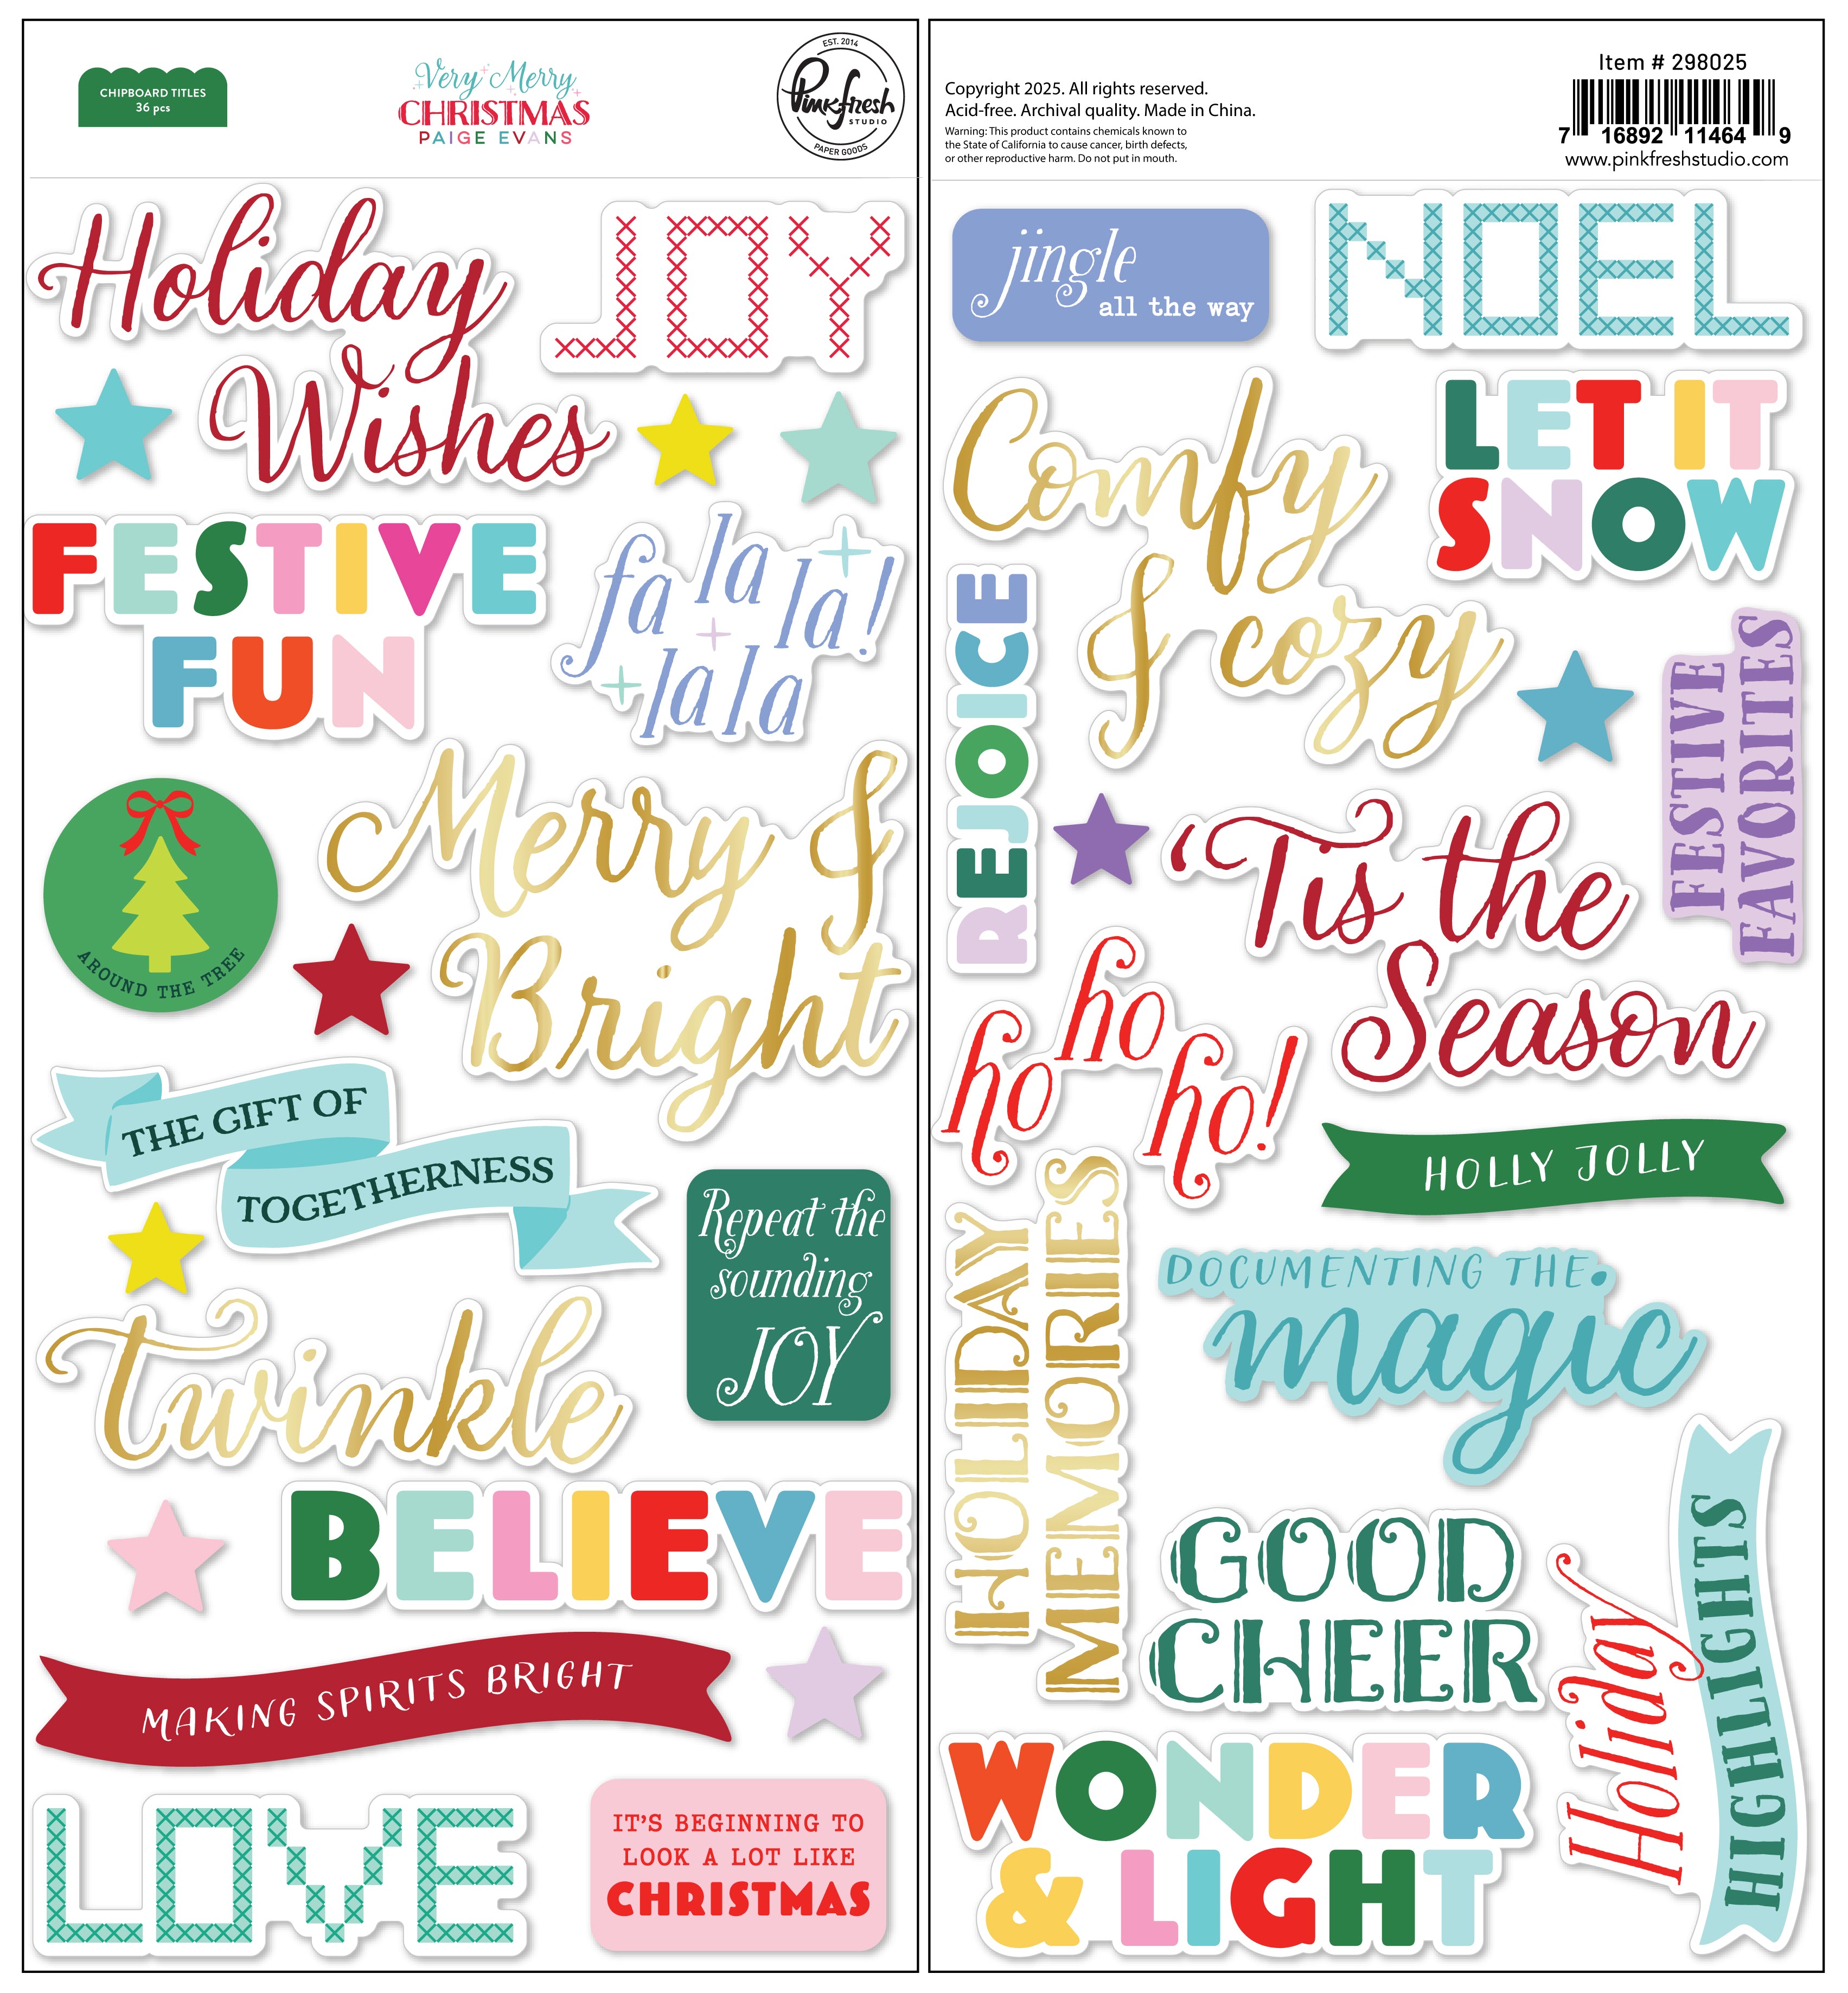
- Add your photos and create your title using a chipboard shape.
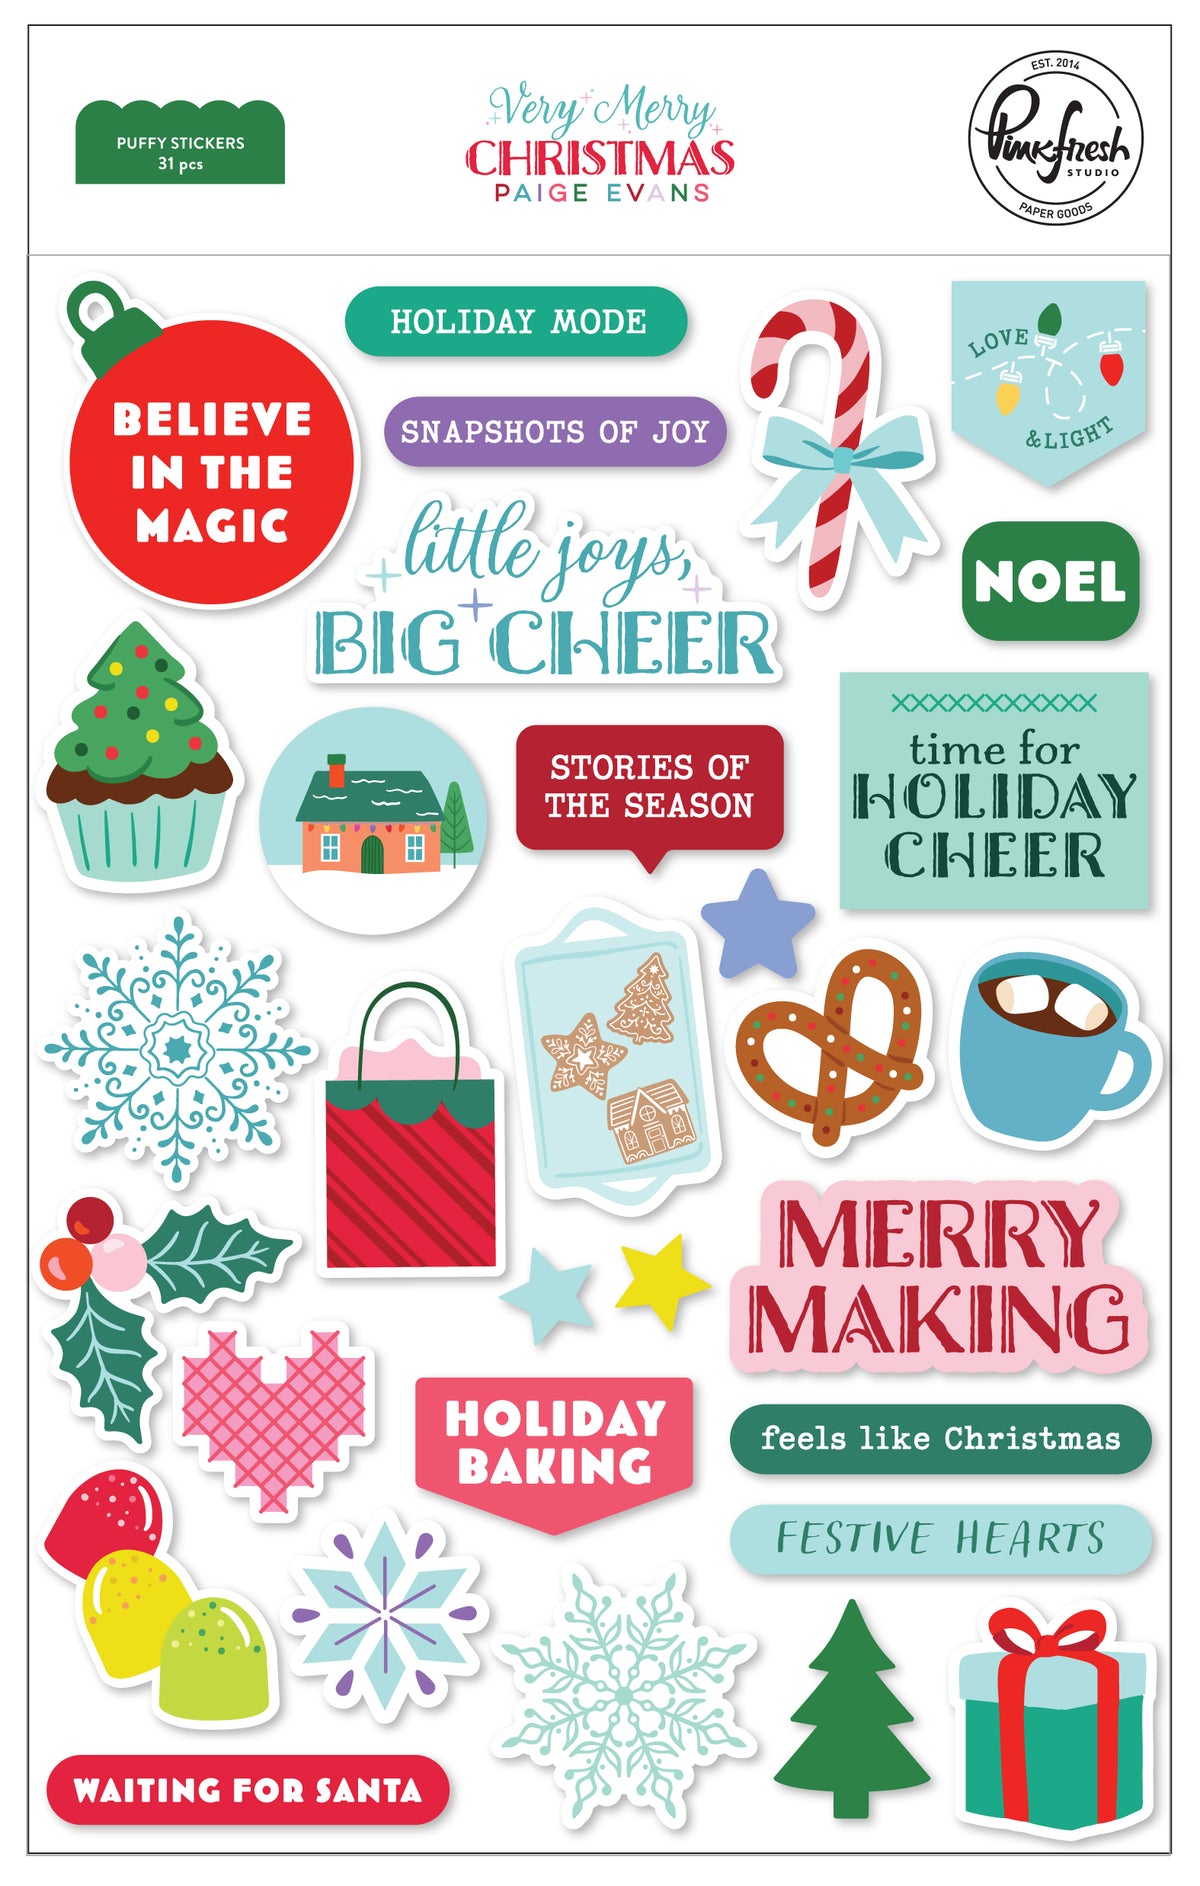
- Decorate your tree with ornaments—I used round stickers and die cuts for mine.
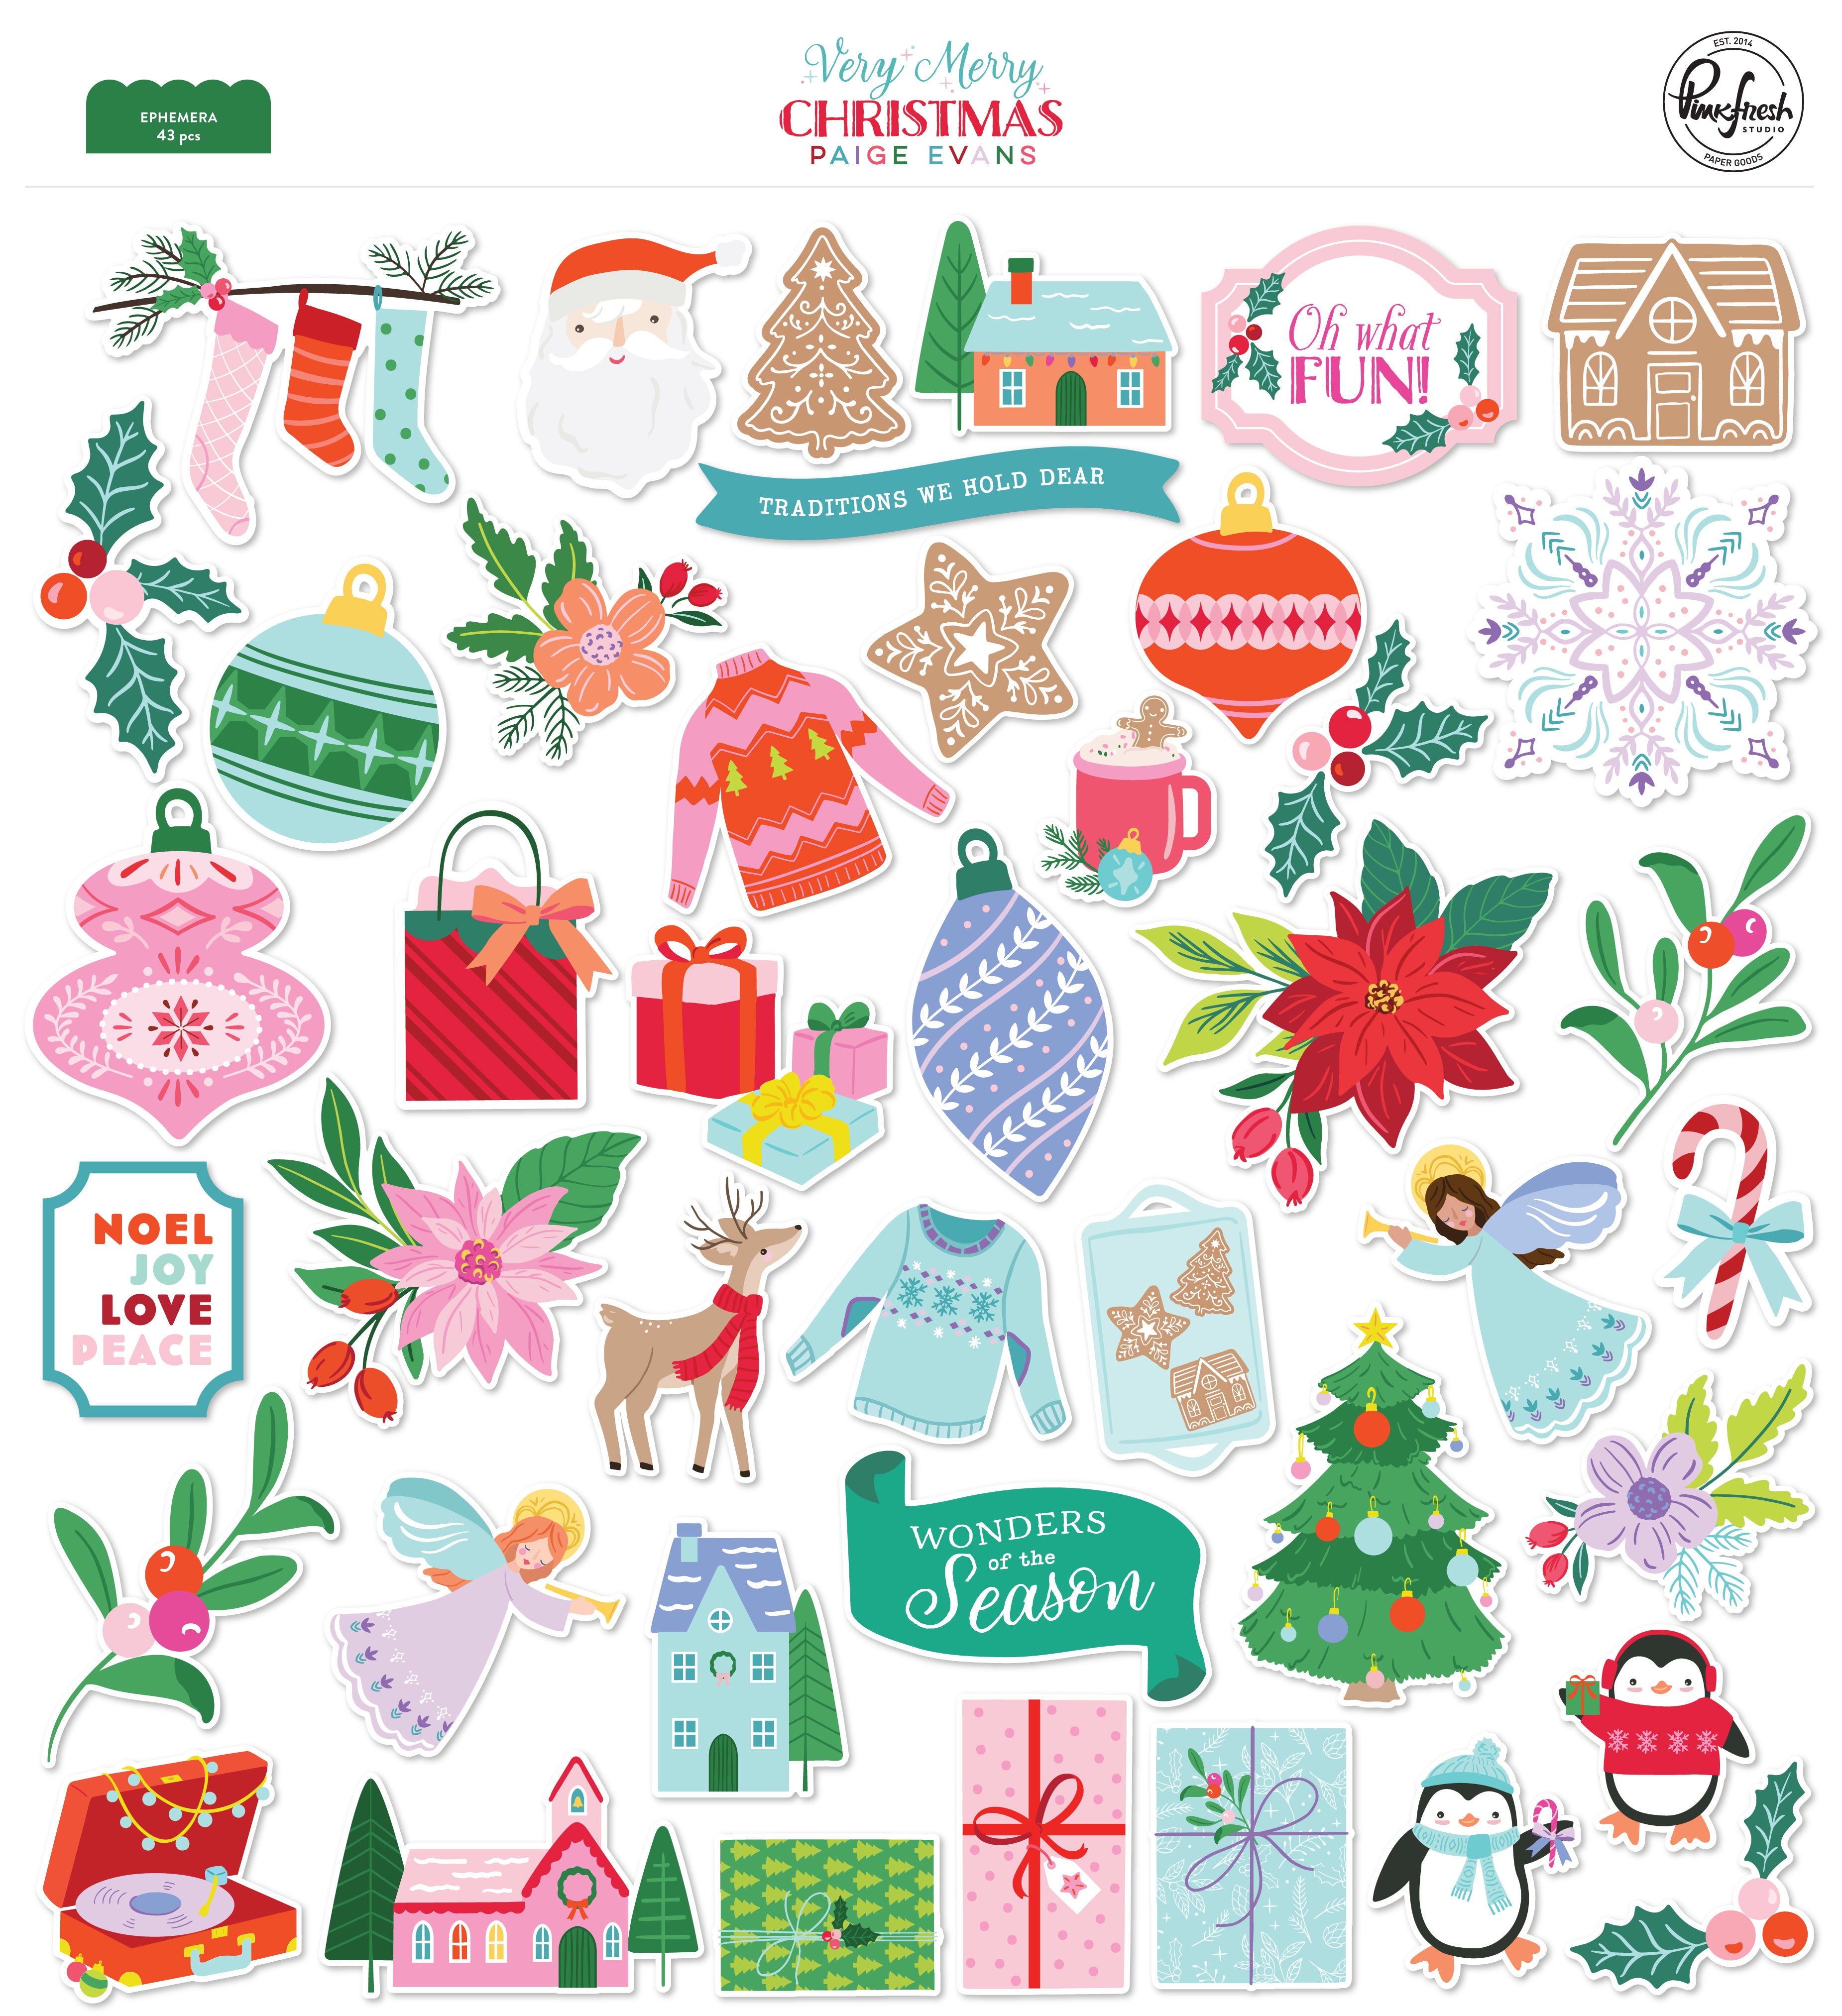
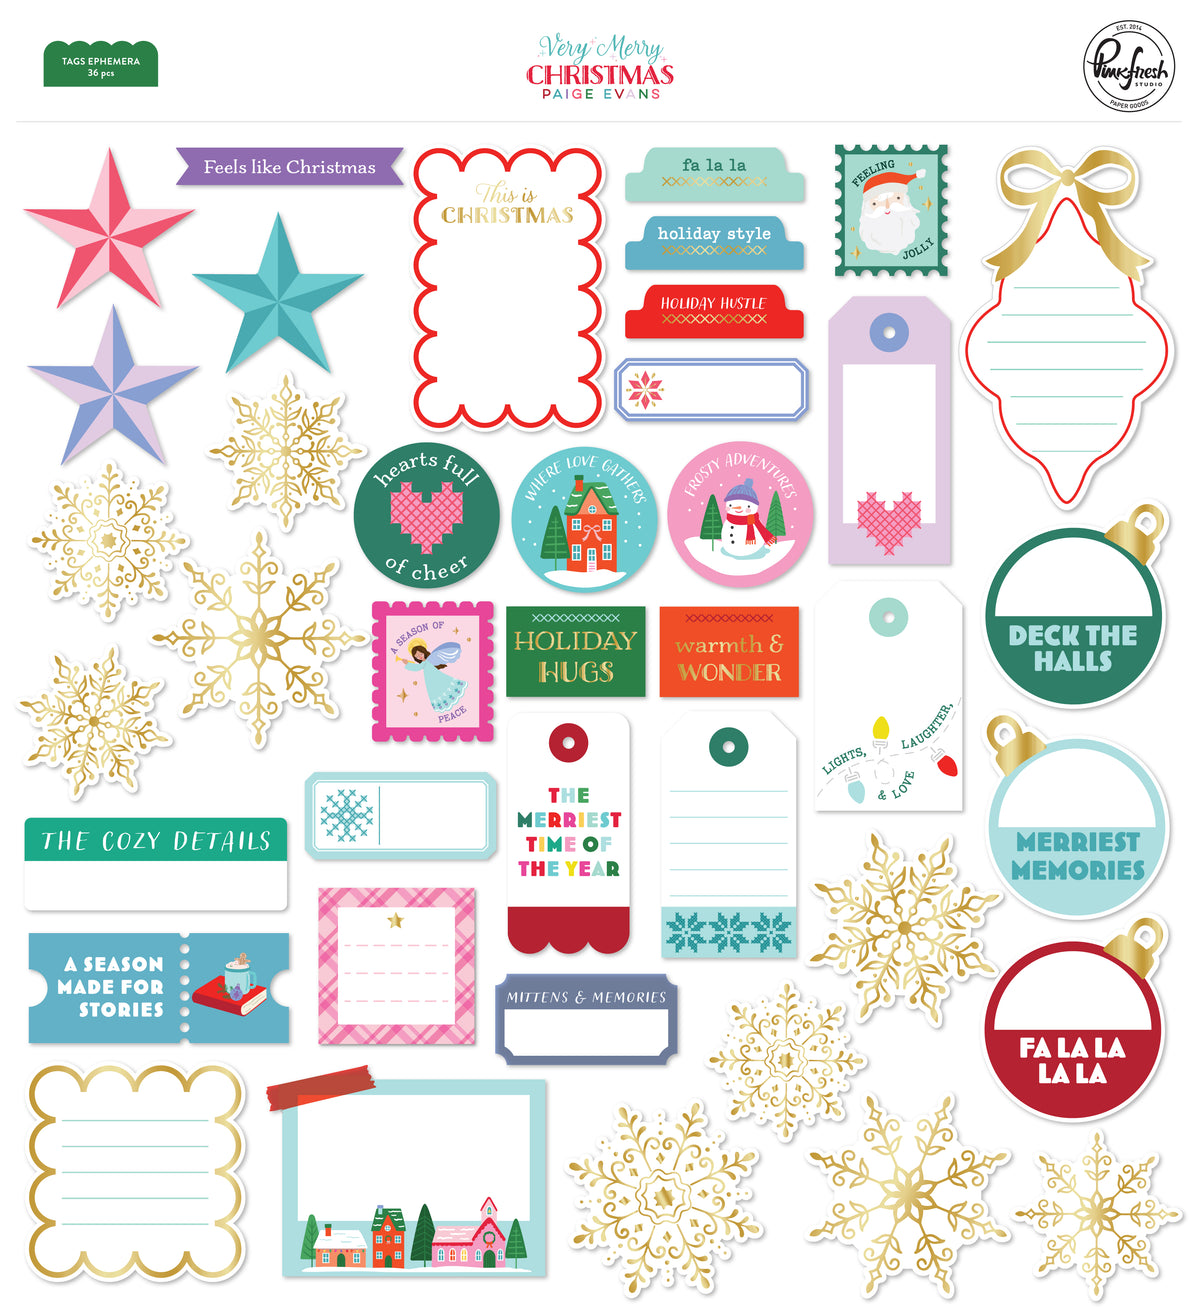
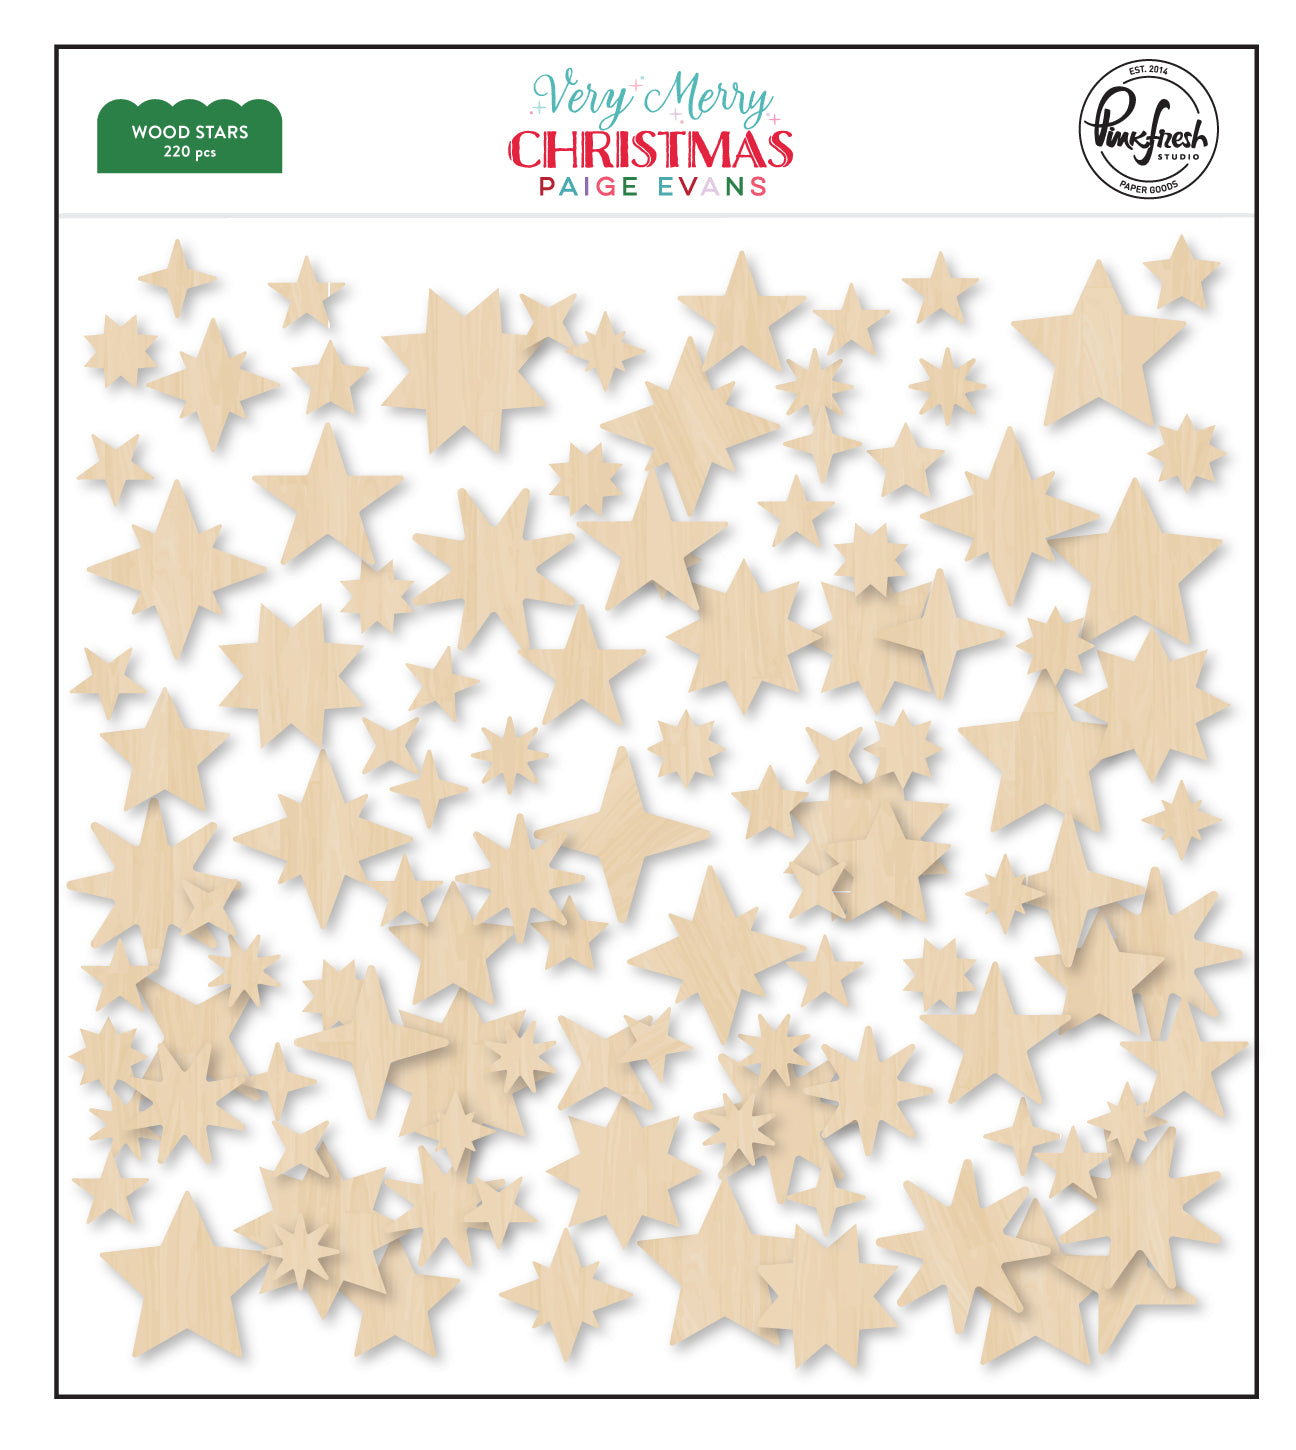
- Add wooden stars and a few pieces of ephemera for extra texture.
- Don't forget the star on top!
- Finally, add some hanging Christmas ornaments using 3D foam dots and thread from the top of the page.
Tip: Run some of your paper strips through a border punch before adhering them. Mixing punched edges with straight cuts adds beautiful texture and makes the layers of your paper-strip tree look much more detailed and festive.
Thanks so much for joining me today!
Eva
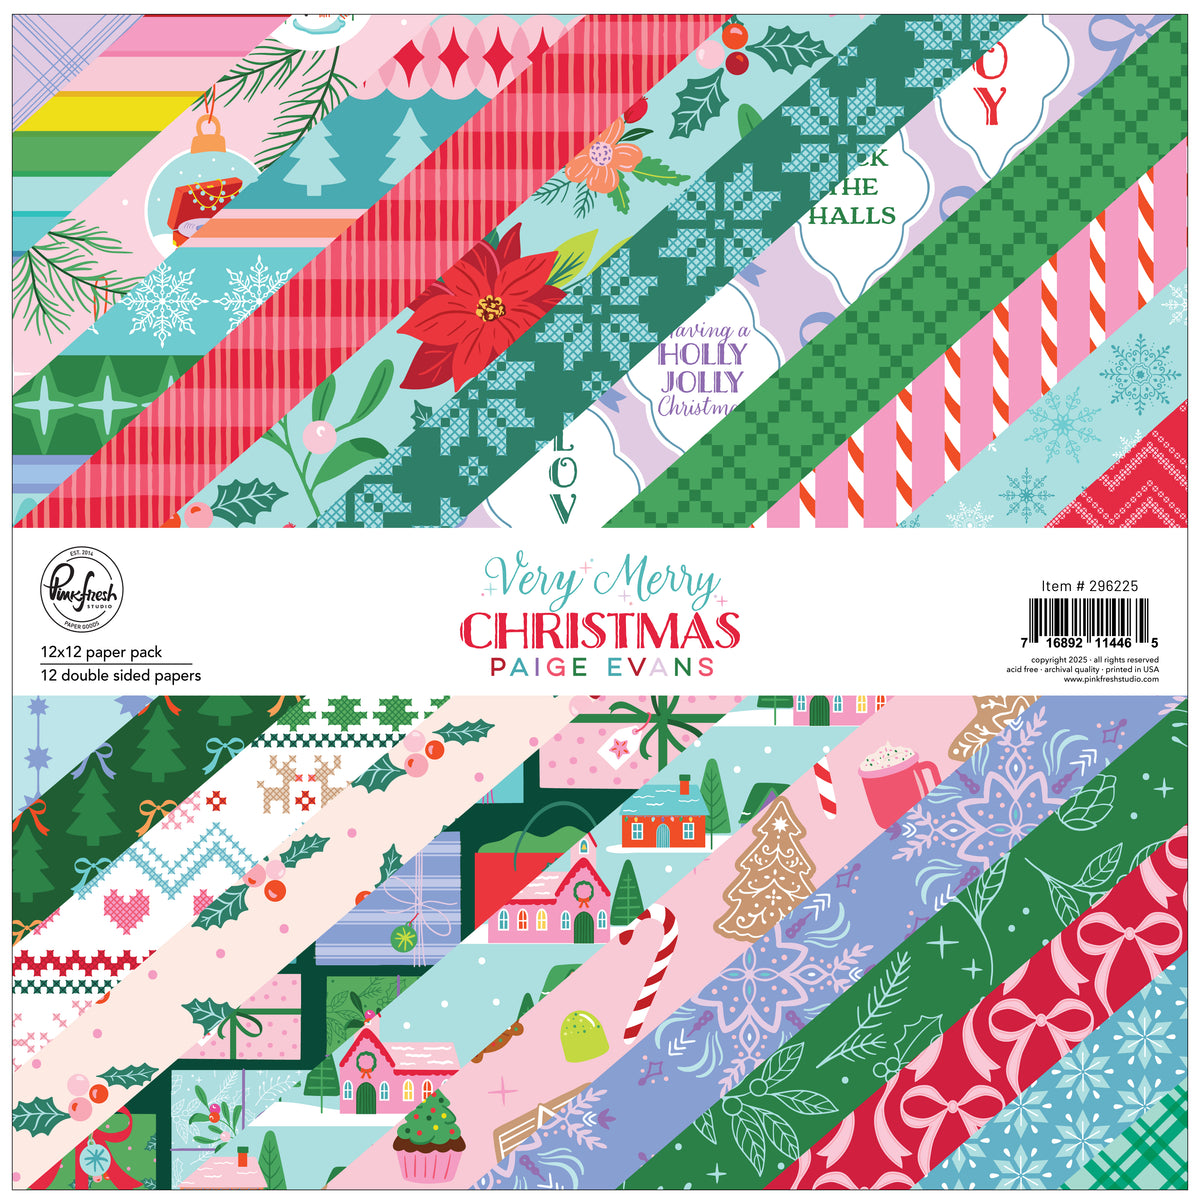
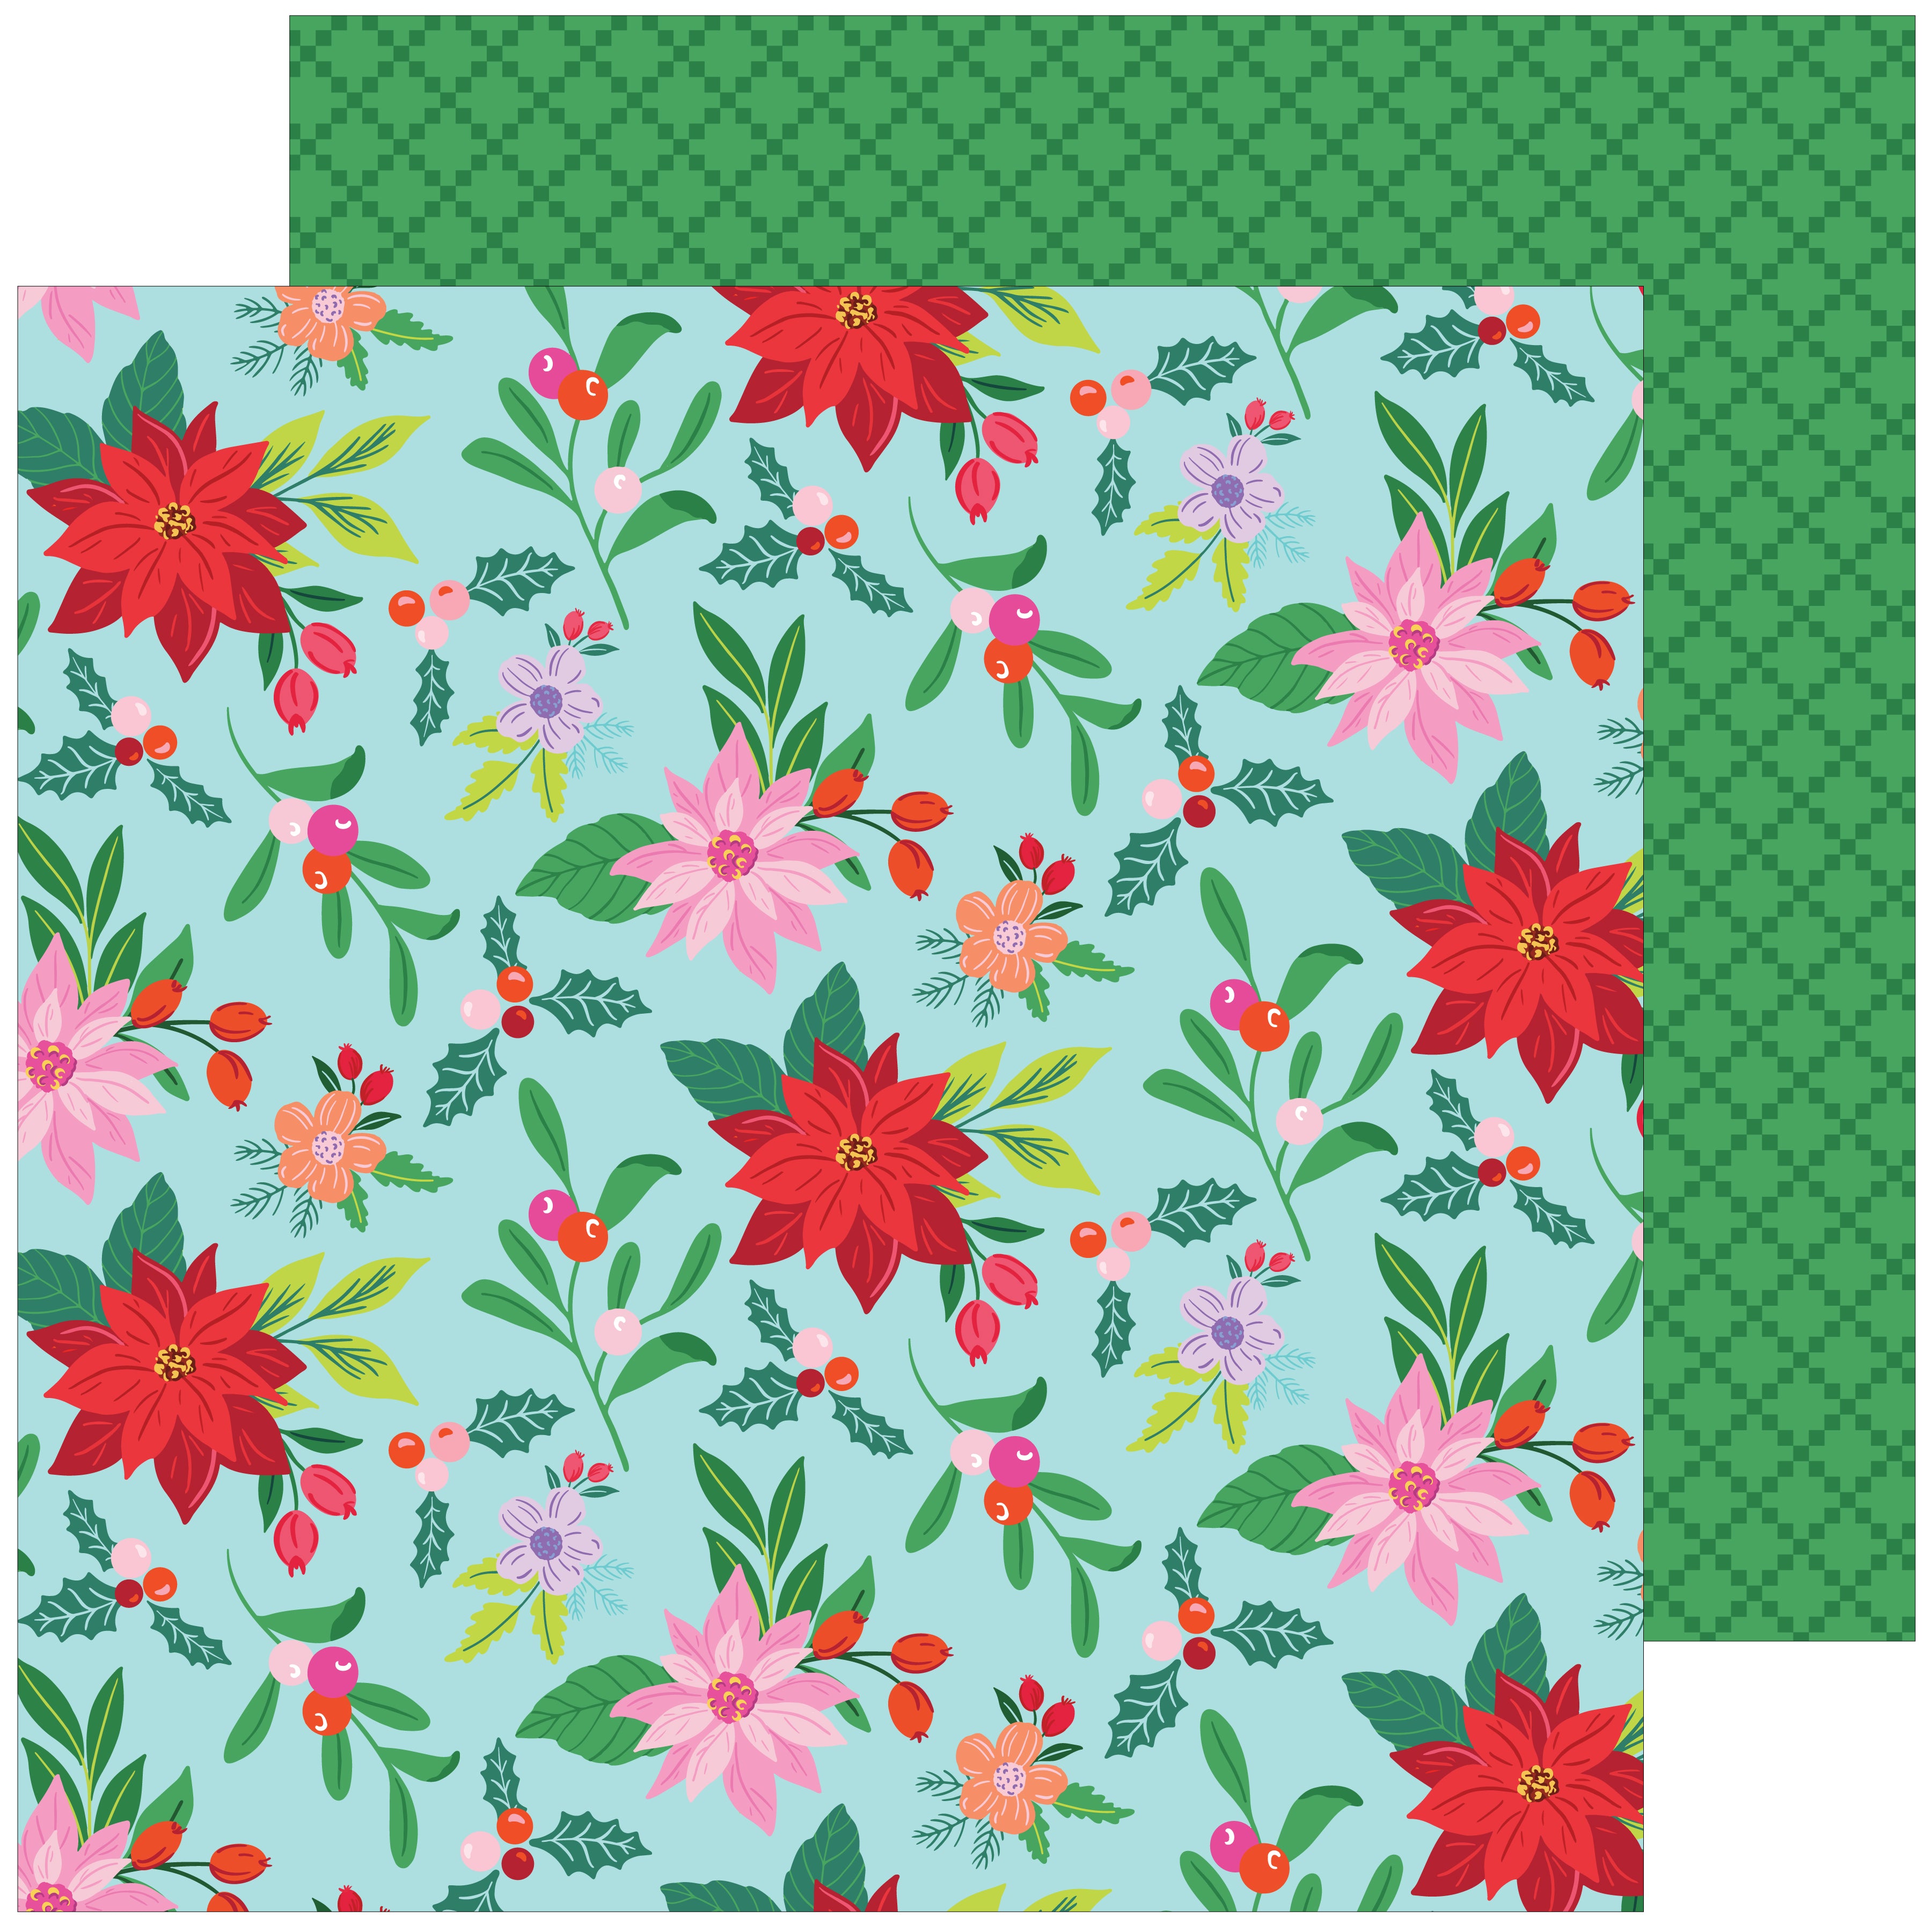
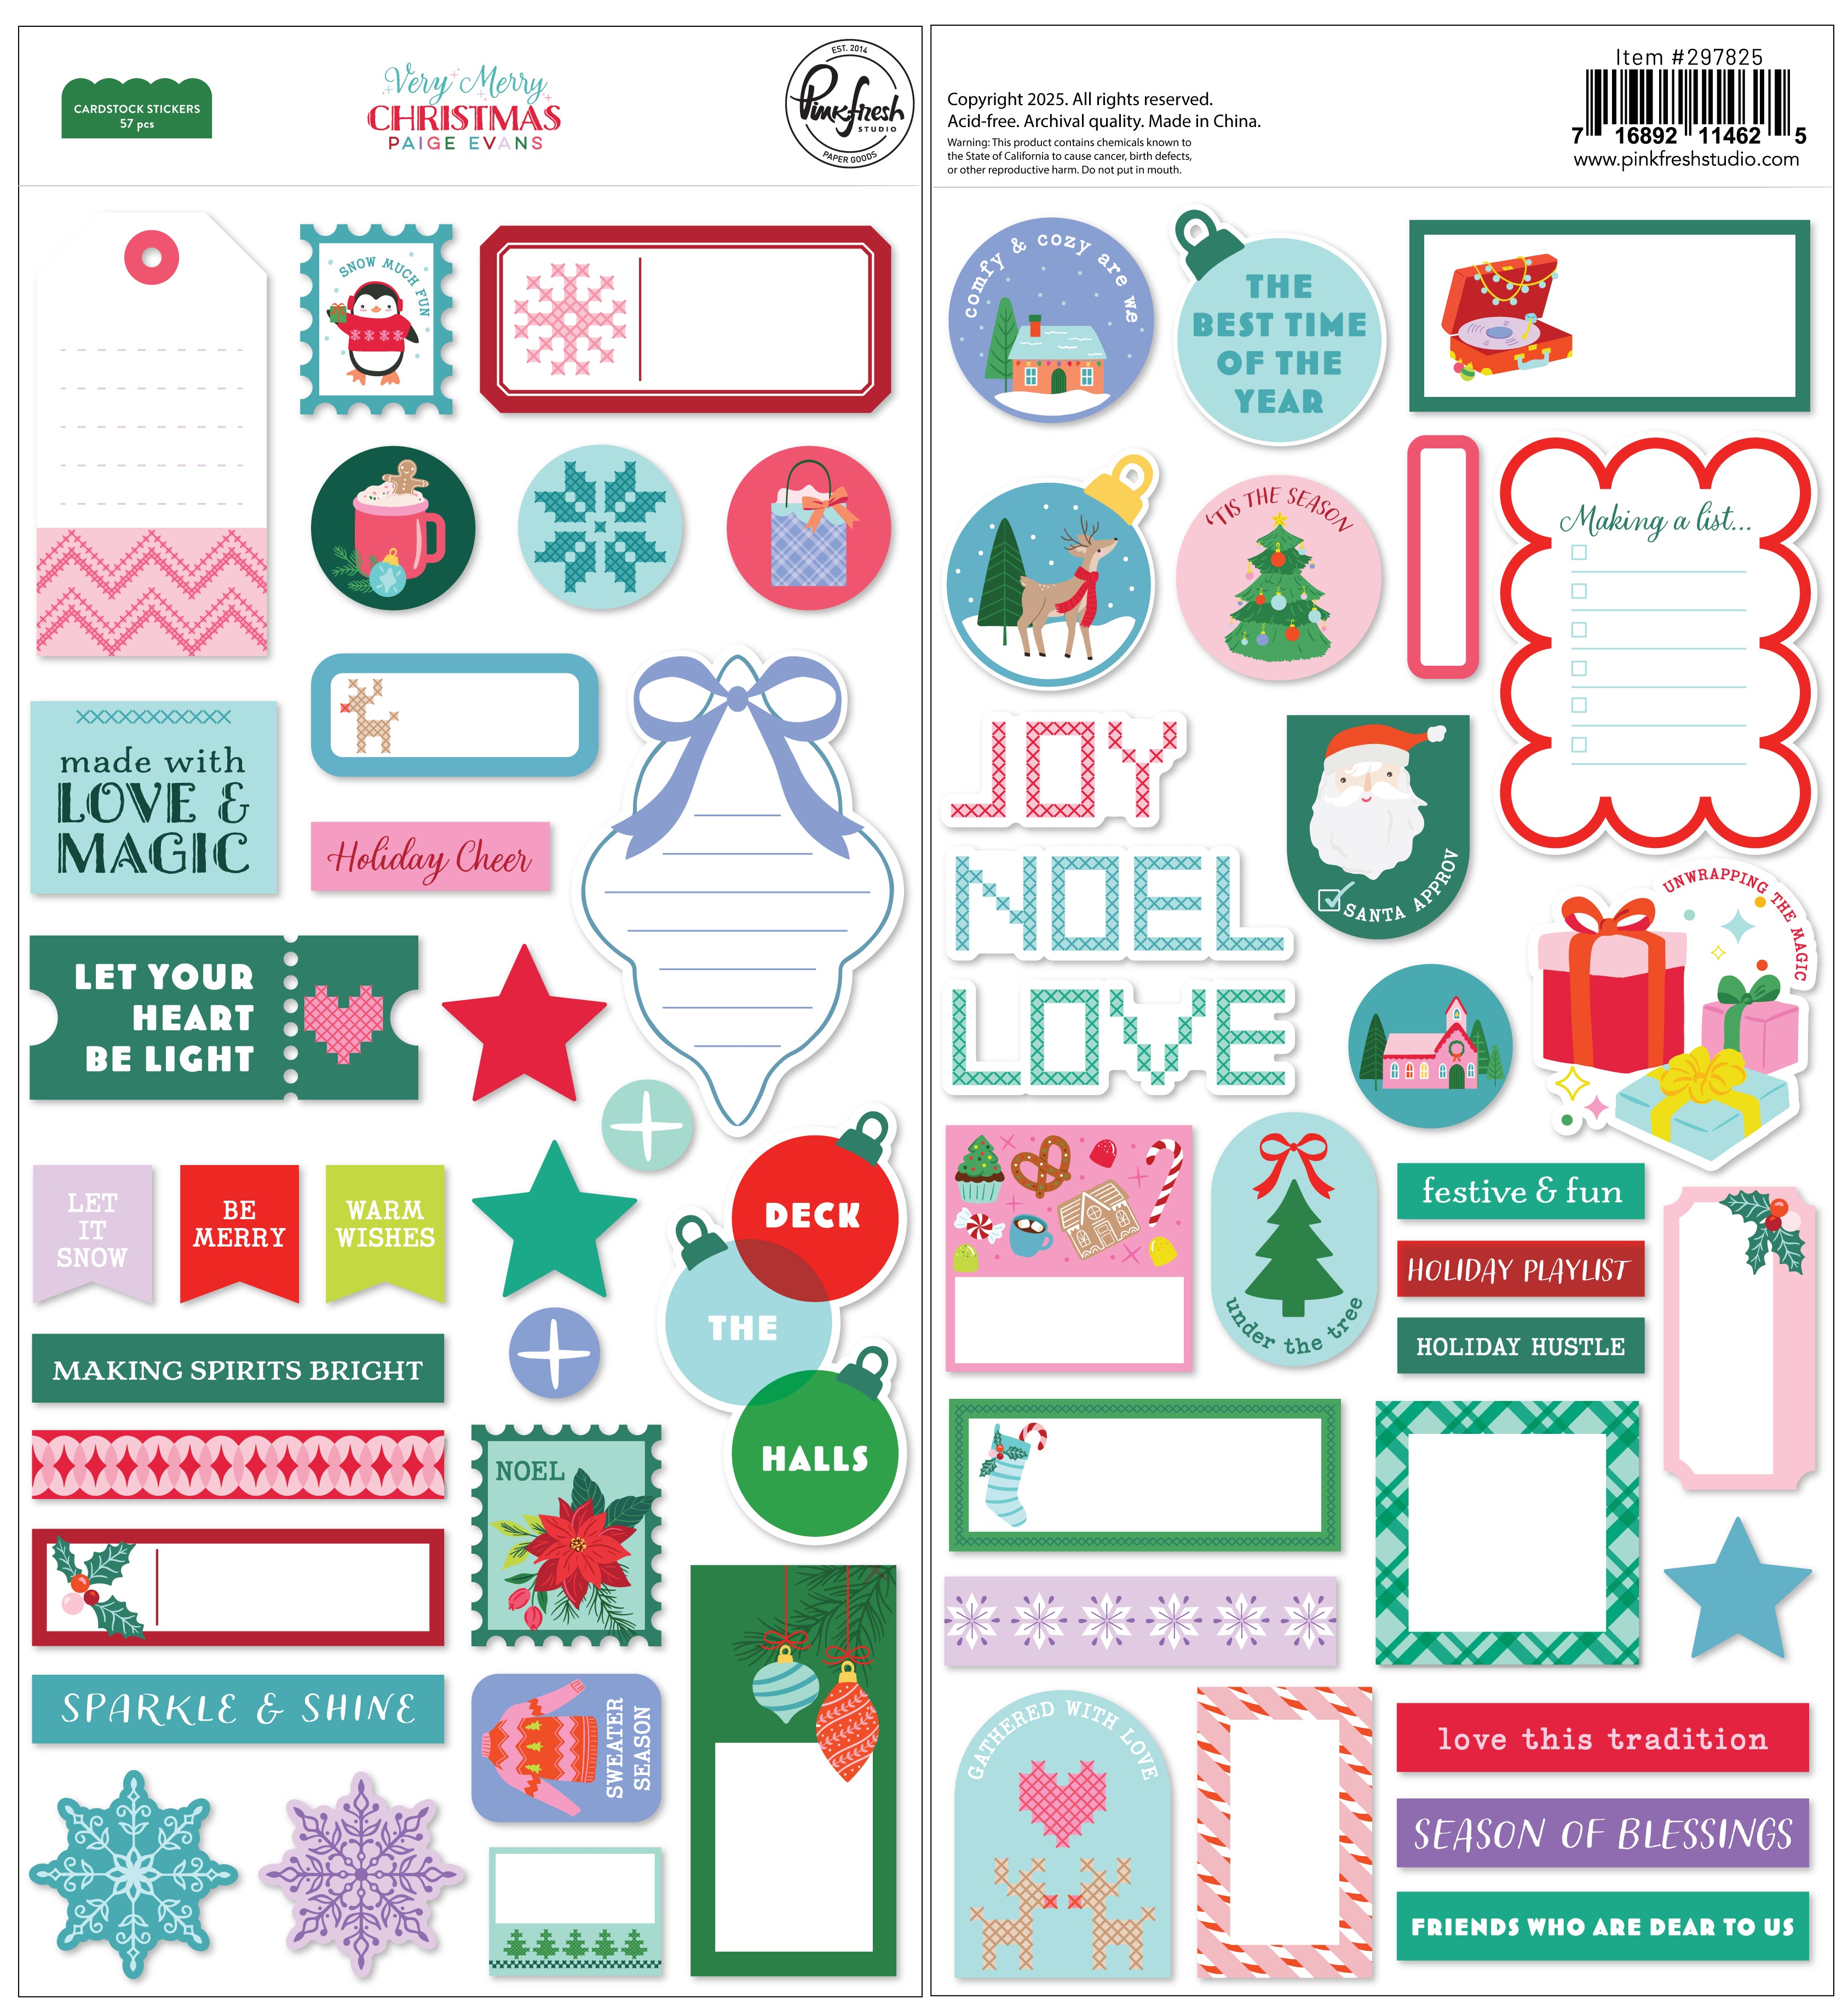
Recommended Products




















Leave a comment
All comments are moderated before being published.
This site is protected by hCaptcha and the hCaptcha Privacy Policy and Terms of Service apply.