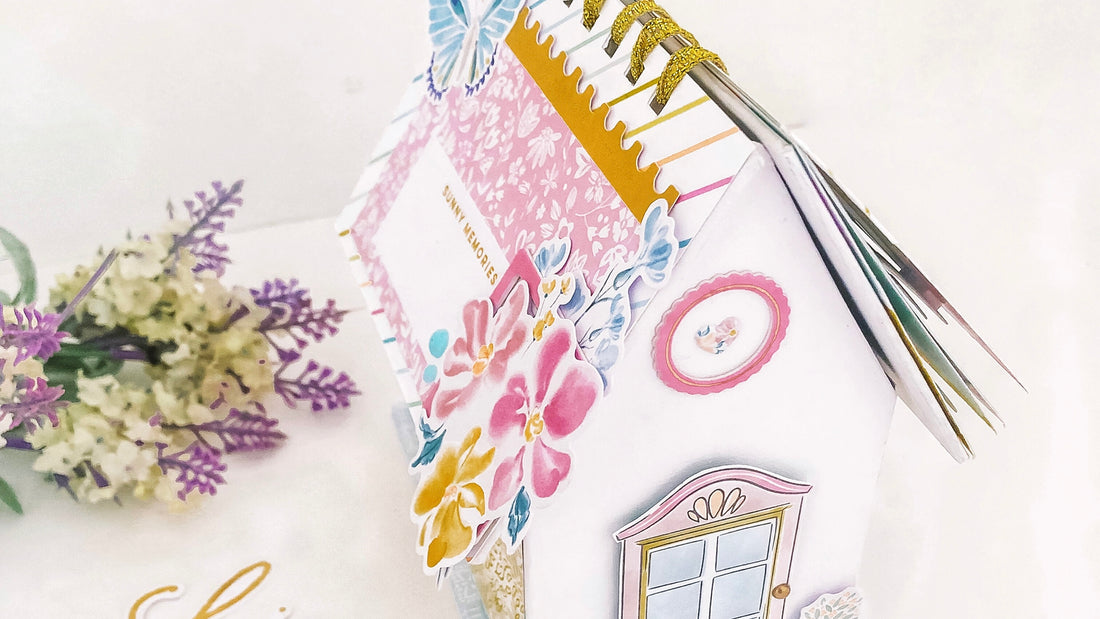
Little house mini album | Susi Becerra
Hello crafty friends! It's Susi here today sharing a new project and I'm soo excited! As you know, I'm in love with Happy Heart collection from Pinkfresh Studio. It's so beautiful and inspiring! This collection invites you to create little houses using the Favorite Place patterned paper. That windows are sooo cool! so I made a little house in which the roof is a mini album! Do you like the idea?
Let's get started!

For the LITTLE HOUSE we're going to need five pieces of cardboard of the following measures:
- 2 pieces of 4 1/2 " w x 3 1/4" h (sides)
- 2 pieces of 3 1/4" w x 5 5/8" h ( fronts)
- 1 piece of 3 5/8" w x 5 5/8" h (base)
We need to cut the front pieces. To make this we'll mark with a pencil the center on the 3 1/4 inches side. Next, we'll mark vertically to 3 1/4 inches. Finally, we'll cut from center to 3 1/4 " marks. We'll get a triangle shape.
Next, we're going to cover the five pieces. I used white cardstock to cover the sides and the fronts and a patterned paper to cover the base (side B of Keep growing paper). Join the pieces (sides and fronts) using liquid glue and finally glue the little house on the base.
Don't forget to line the inside of the little house using patterned paper.
Decorating the little house
It's the moment to get creative with the beautiful embellishments from the Happy Heart collection. I fussy cut a window from the patterned paper and using adhesive foam 3D I pasted it on the front. Now, my little house has a beautiful door.
I also used chipboard frames, elements from Ephemera Pack and Puffy Stickers to complete the decoration.


ROOF-MINI ALBUM
To create the roof we're going to need:
-Two pieces of carboard of 5" w x 3 3/4" h
-Five pieces of 5" w x 3 3/4"h of patterned paper
- Ribbon
Cover the cardboard pieces using white cardstock or patterned paper. Next, punch holes in the cover, back cover and inner sheets. Join all the pieces using the ribbon. You already have your roof and your mini album! Super easy!
Now, decorate it as you like .


To decorate the cover of the mini album I used the gorgeous chipboard frames, and the word Unforgettable from Title Ephemera pack.


Inside the house you can store photos, more pages, washi tape.... or sweets! I put my little house on my desk and it looks great! I hope you like it. Thanks for stopping by and have a great and creative day.
See you next time!


