
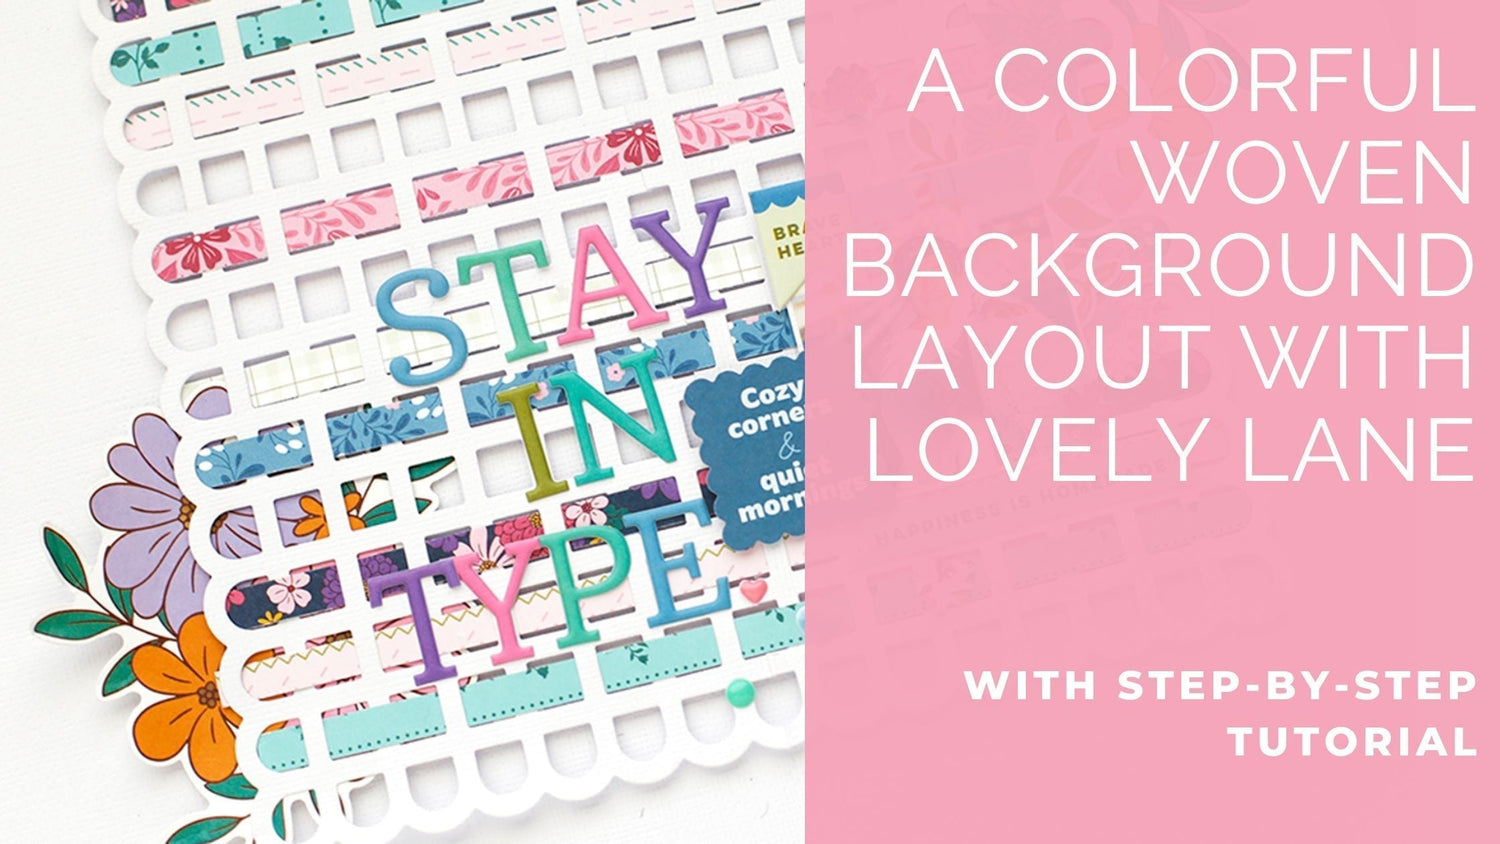
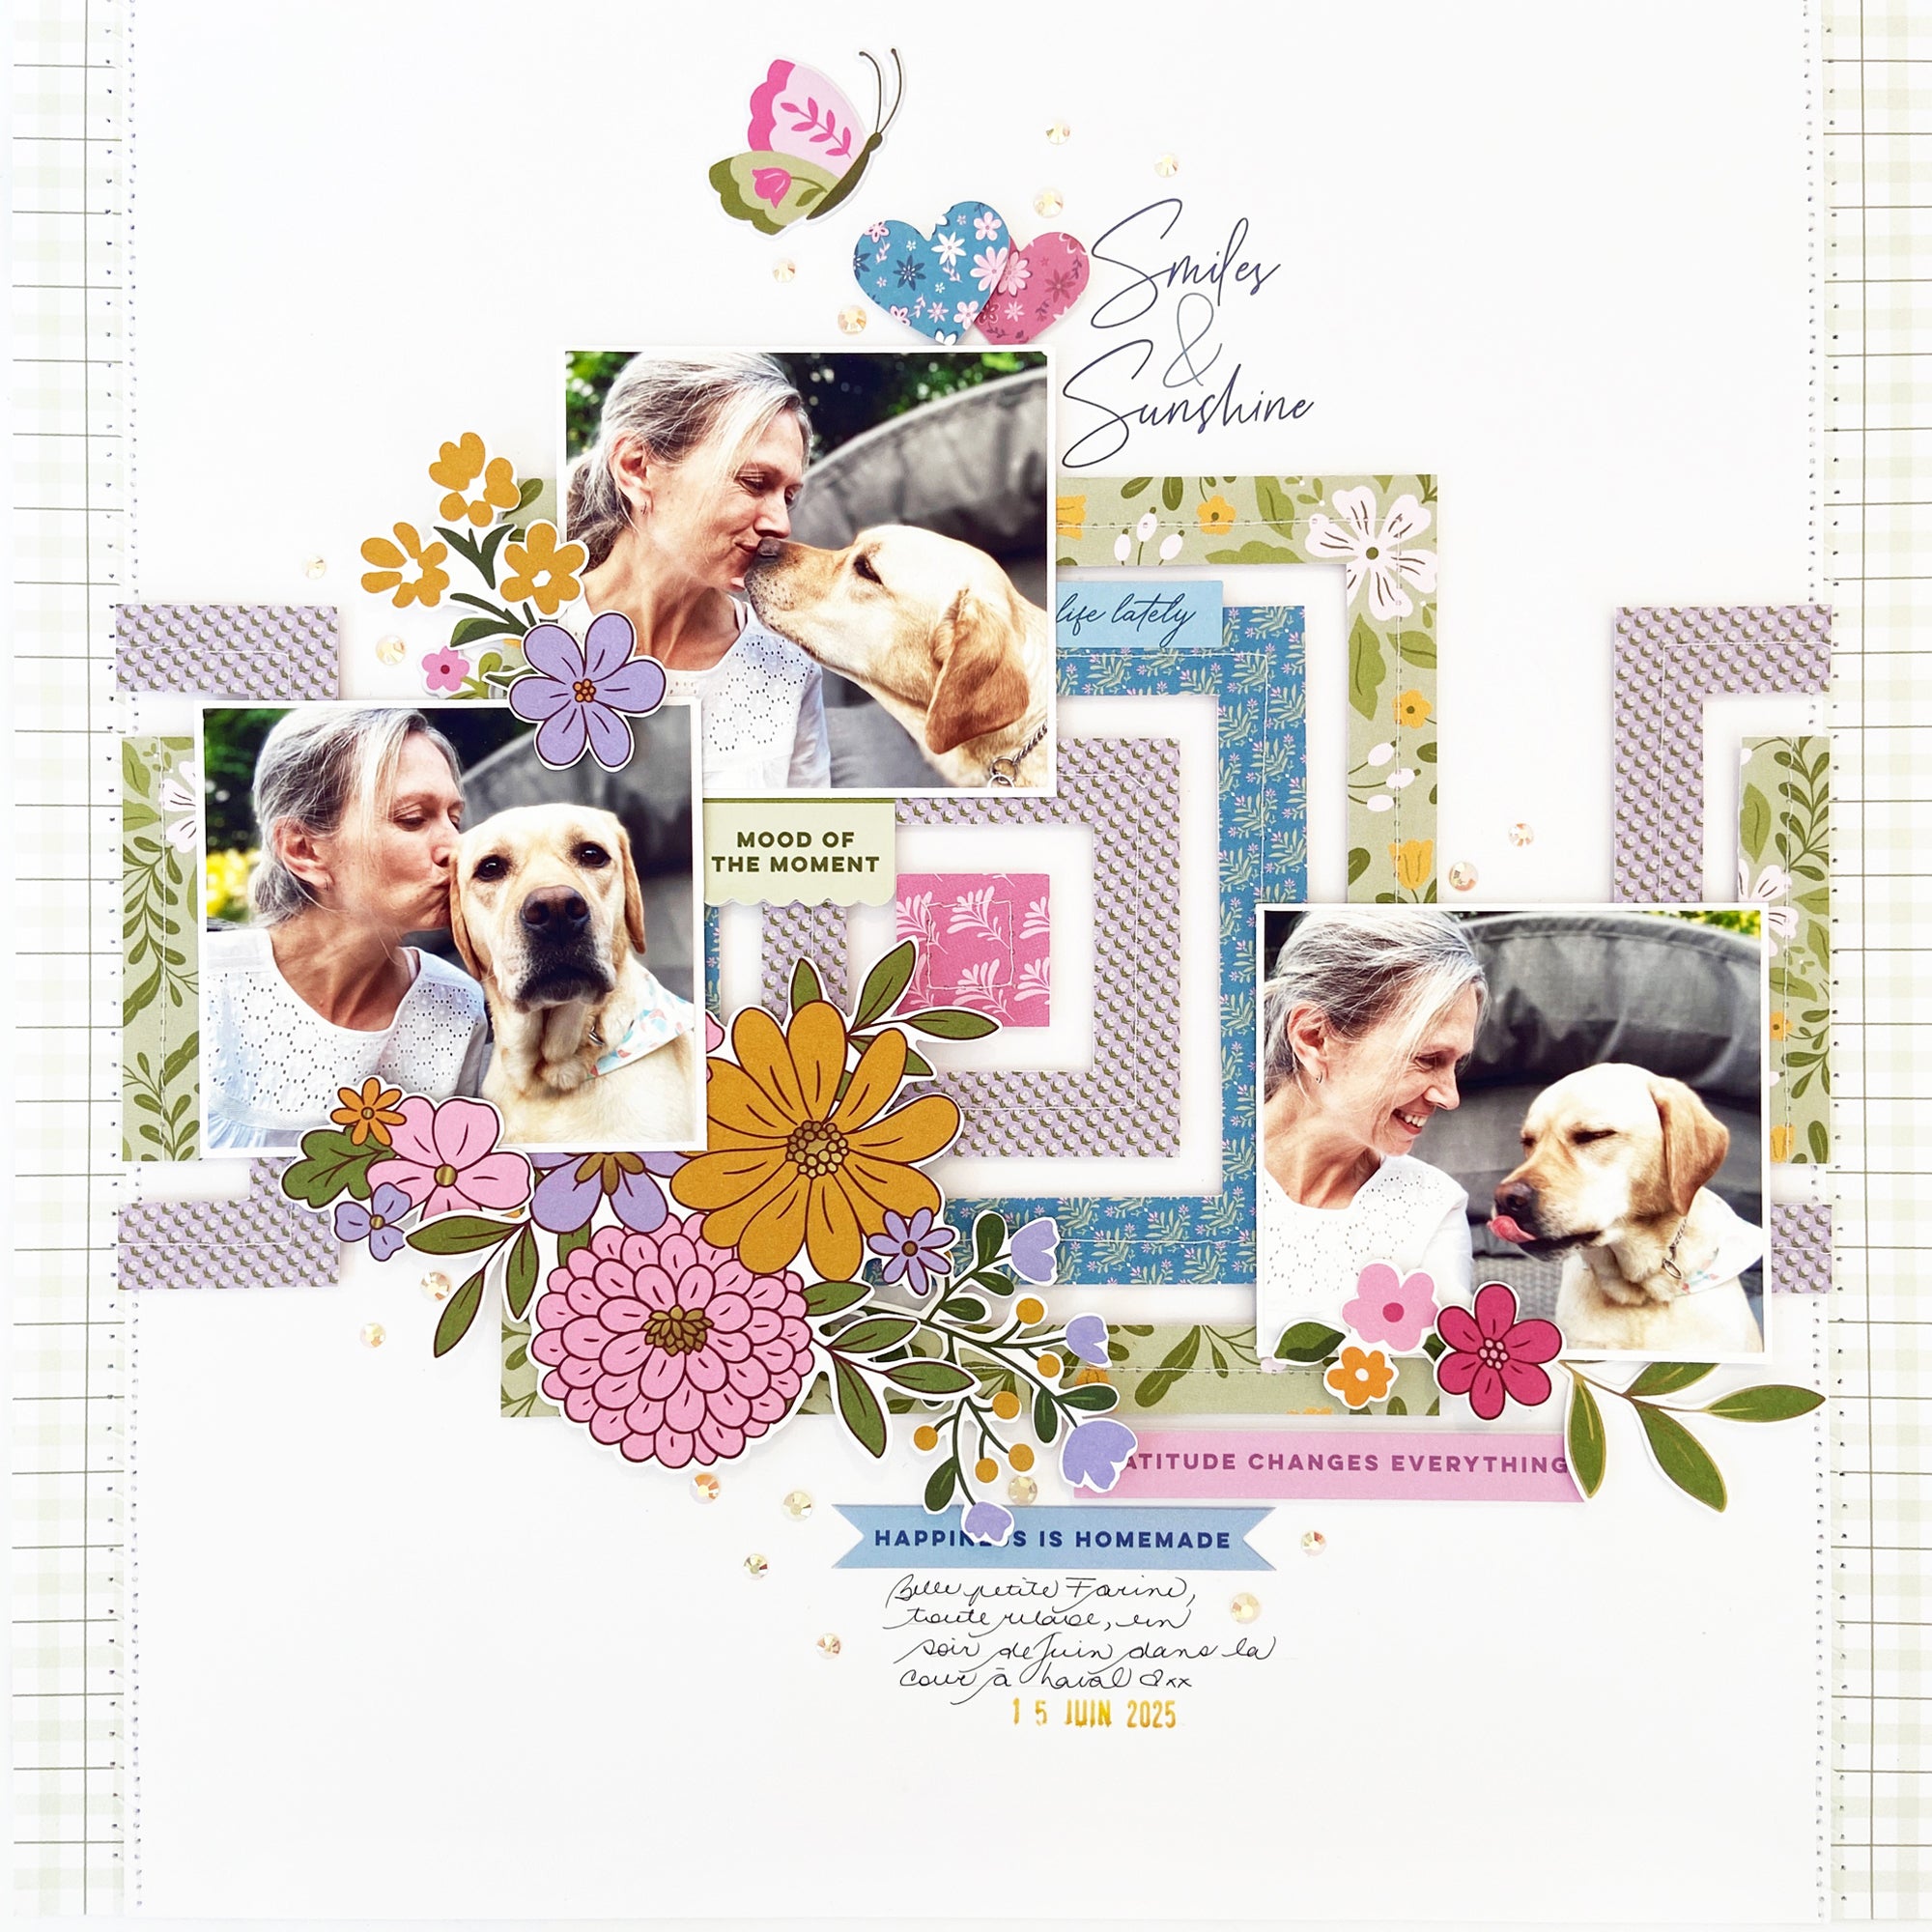
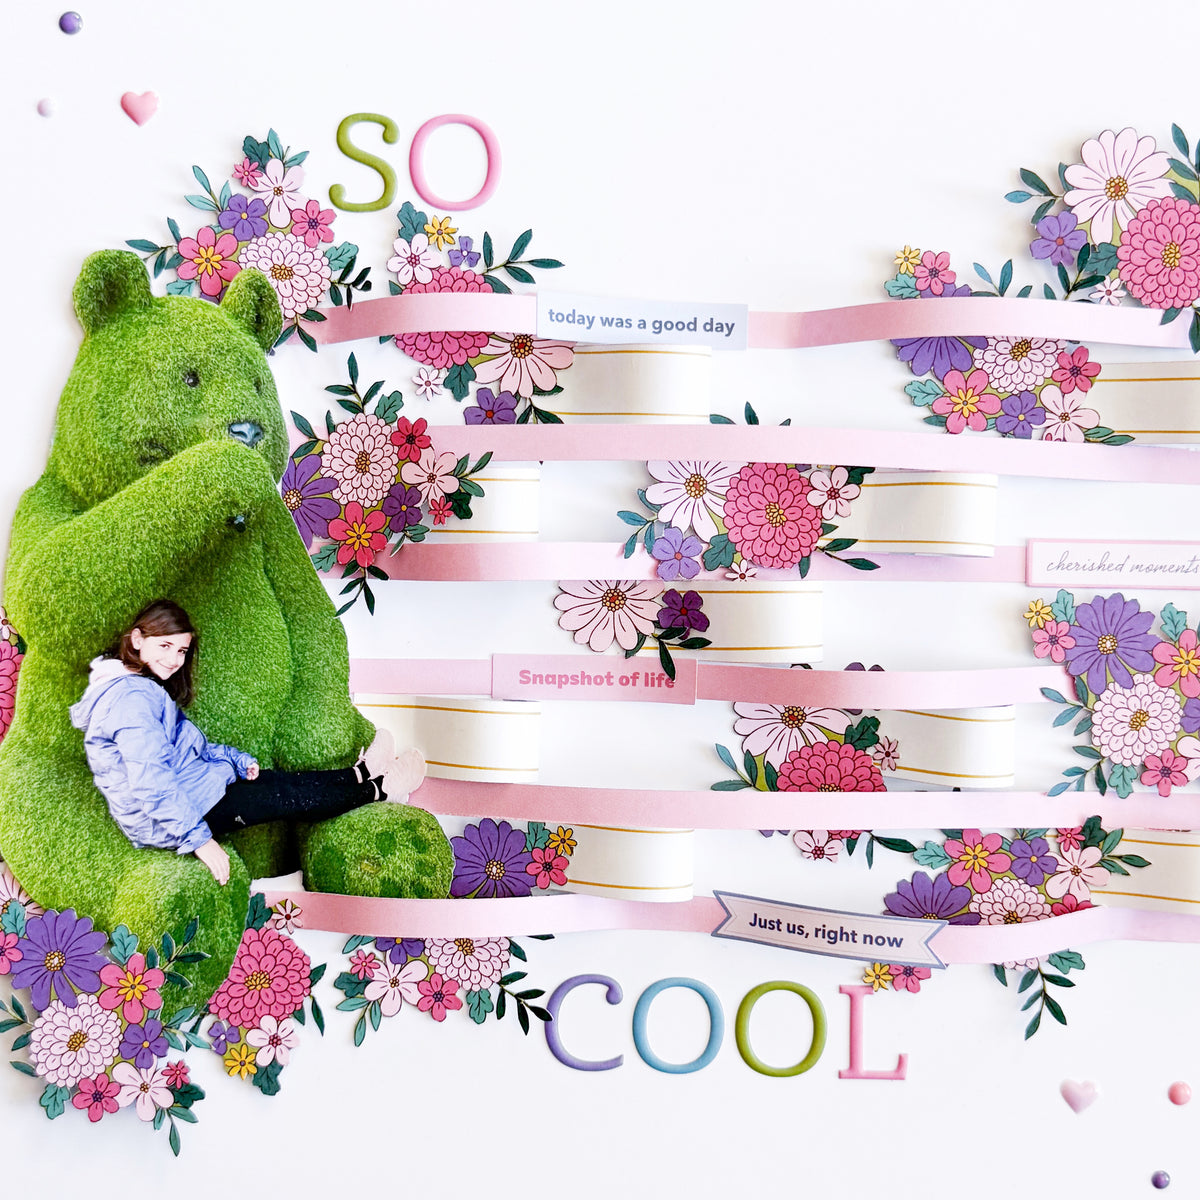
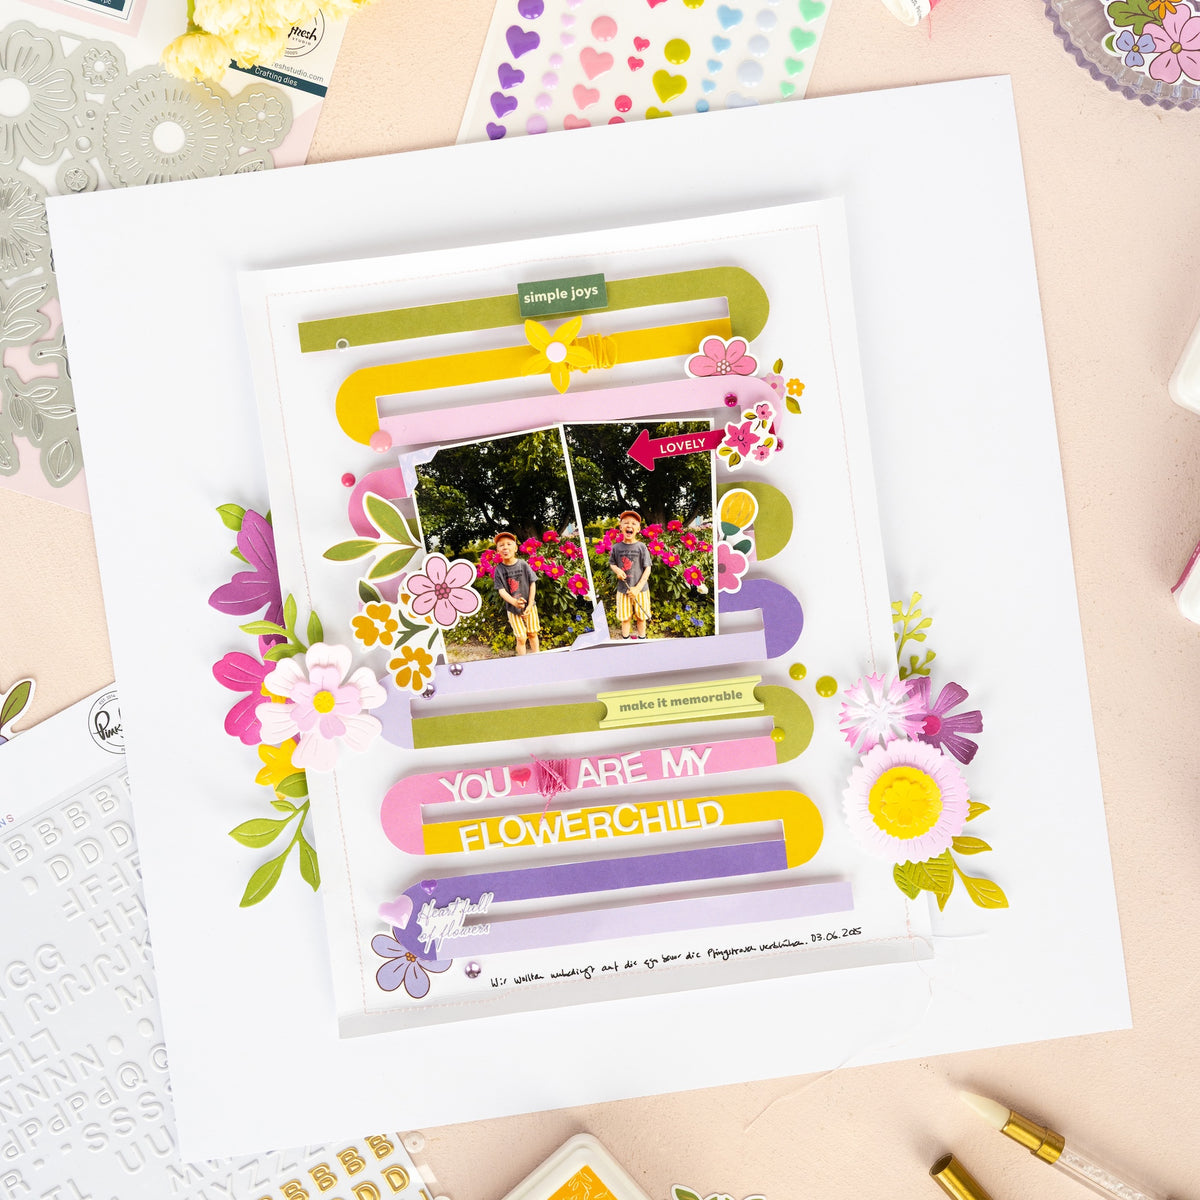
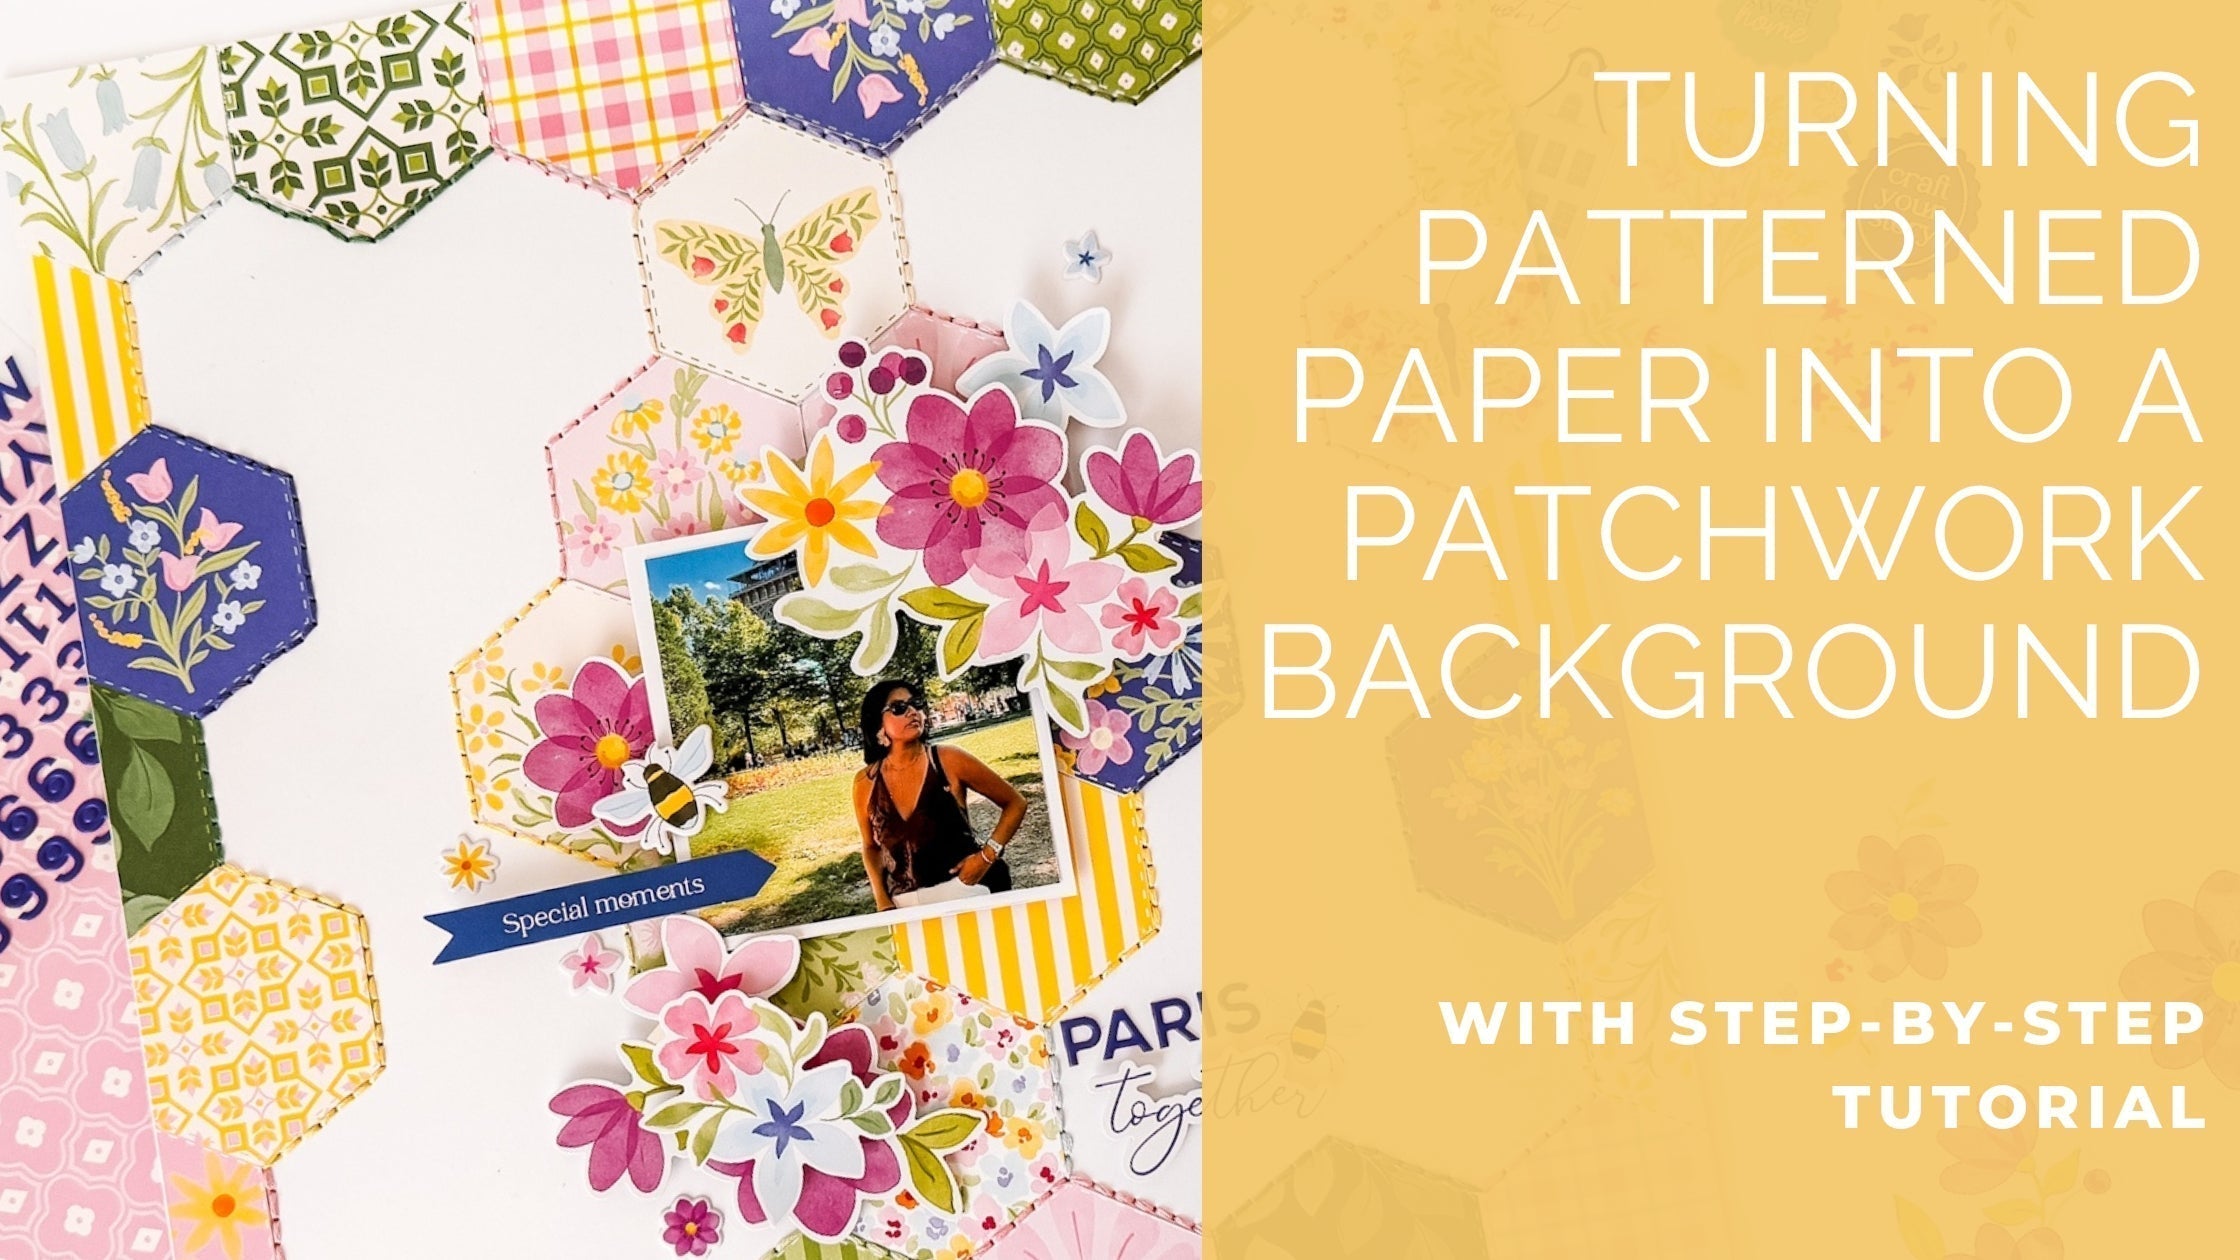
Hello everyone! It’s Eva here today, sharing a layout where the background takes center stage using a Coverplate Die and the Lovely Lane collection.
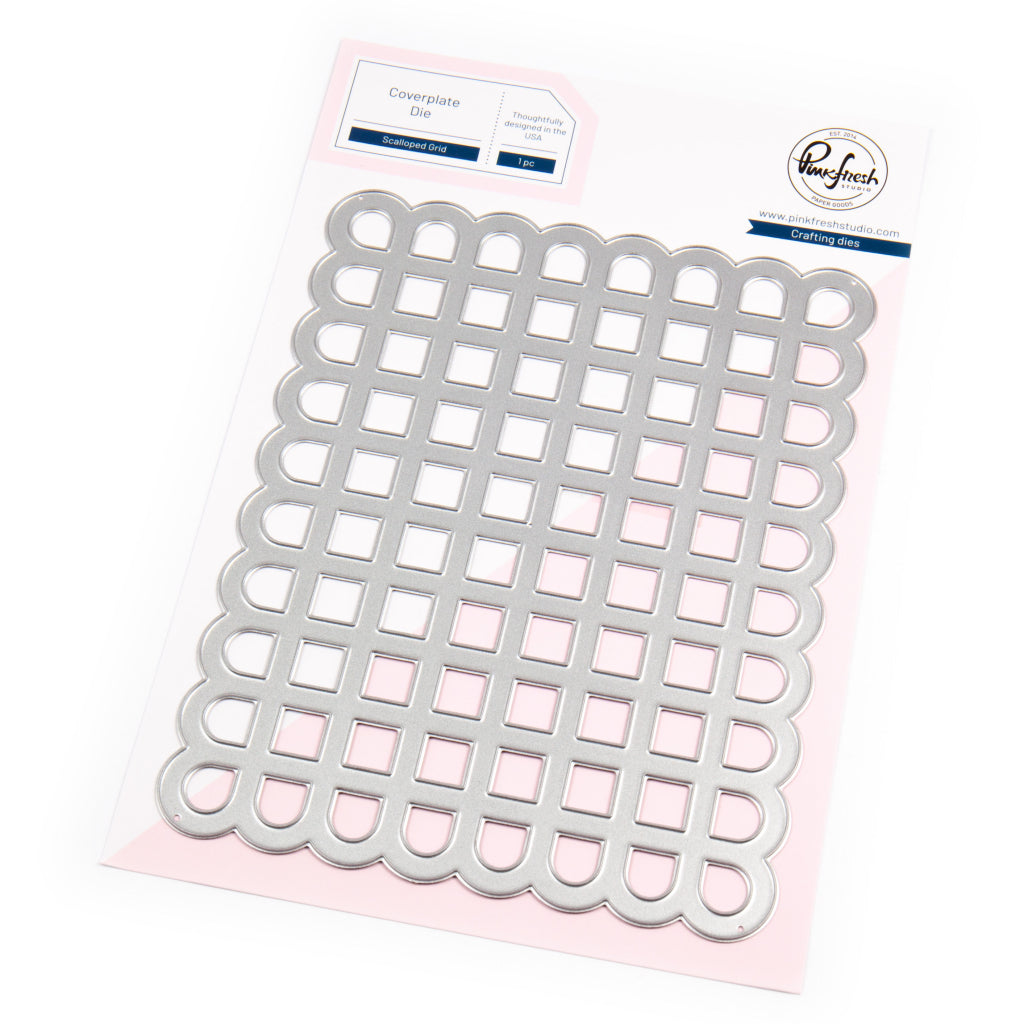
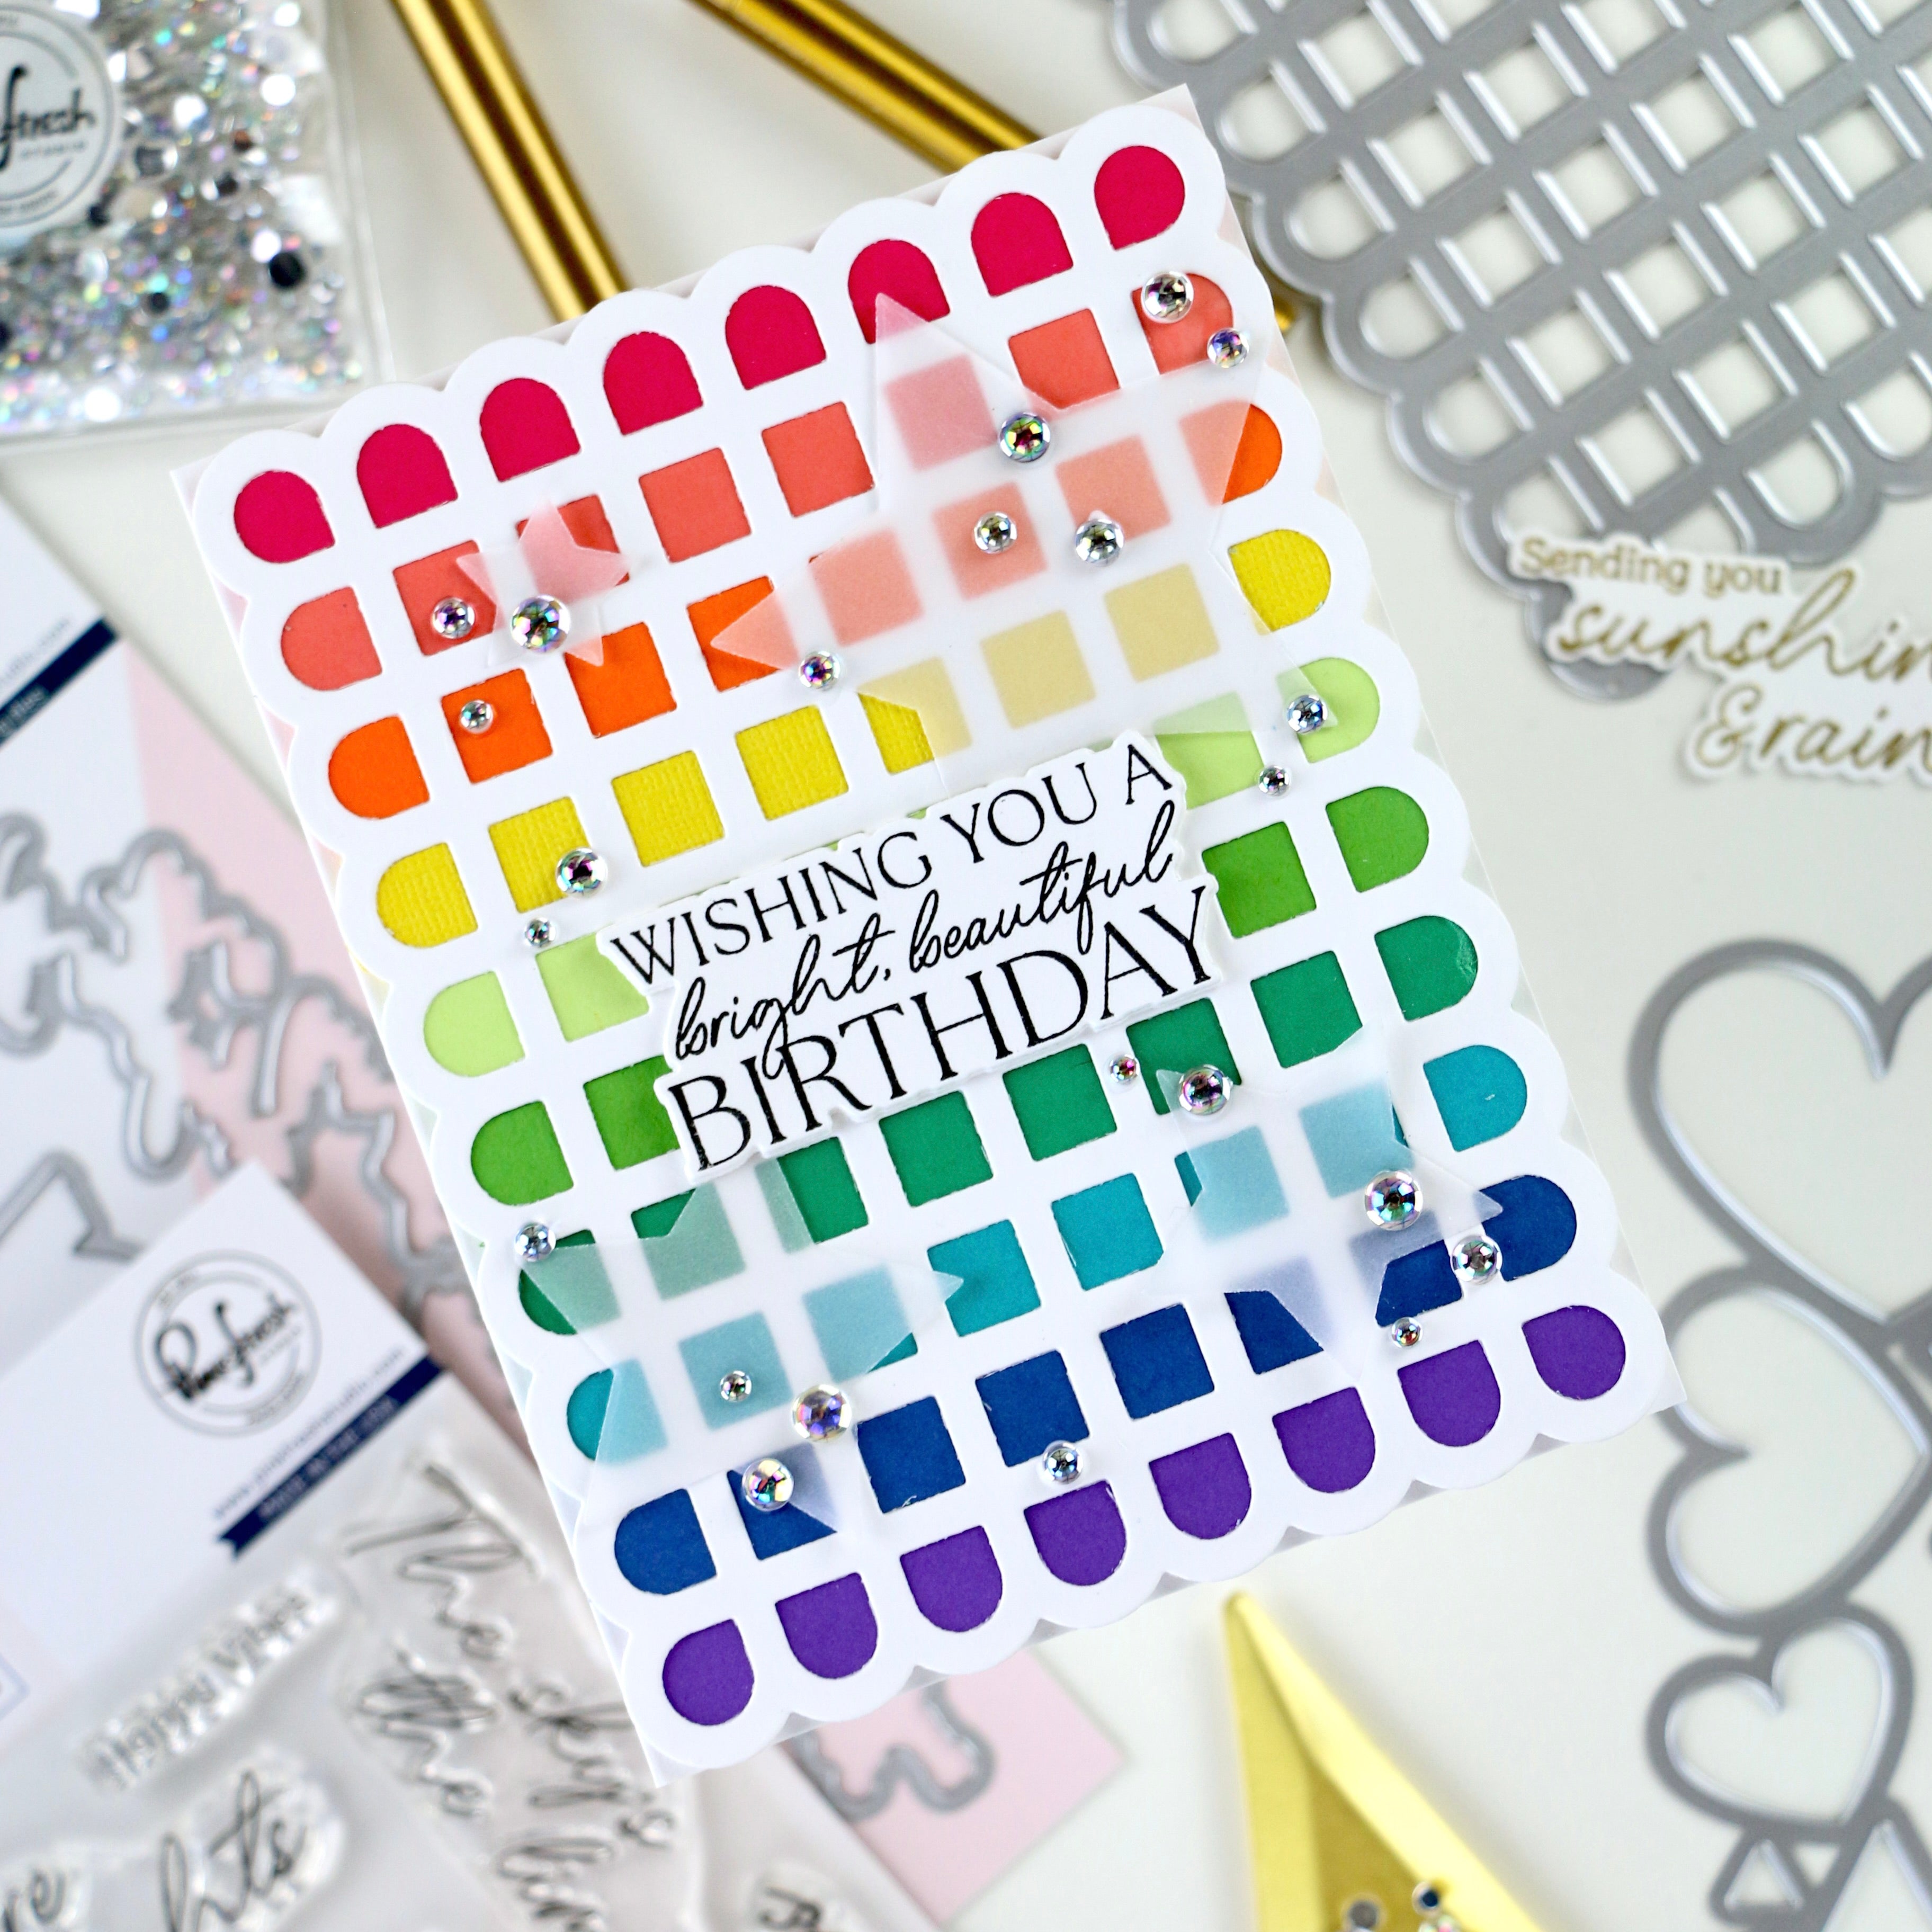
For this design, I used the Scalloped Grid Coverplate Die to create a detailed and textured background. This is one of my favorite ways to add interest to a layout without overwhelming the photos. By backing the open spaces with patterned papers from the Lovely Lane collection, you can easily bring in color and repetition in a clean and cohesive way.
*Disclaimer: All products used are linked below as clickable images. If a product isn’t listed, it’s been discontinued.


Step-by-Step Instructions
- Die cut the Scalloped Grid Coverplate Die 3 times using white cardstock to create your base background.
- Divide one of the grids in half and create a square.
- Choose a selection of patterned papers, cut narrow strips and weave them into the Coverplate Die design.
- Trim off any excess paper from the edges.
- Attach the completed panel to your layout base using foam adhesive for added dimension.
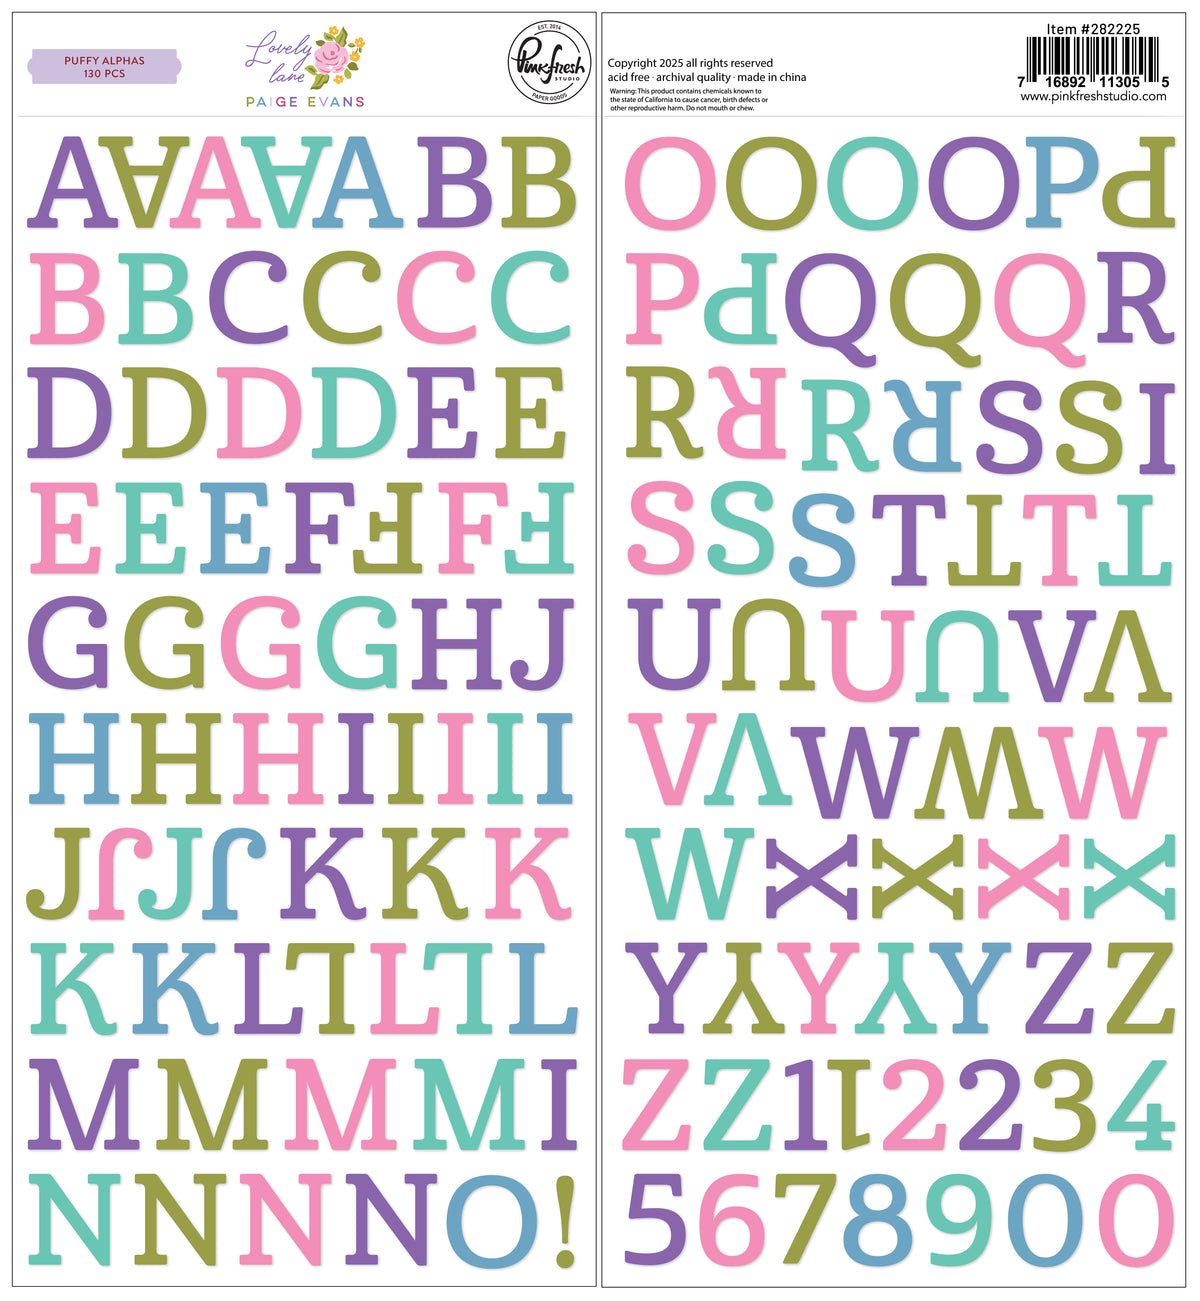
- Add your photos and title, keeping the embellishments minimal so the background remains the focal point.
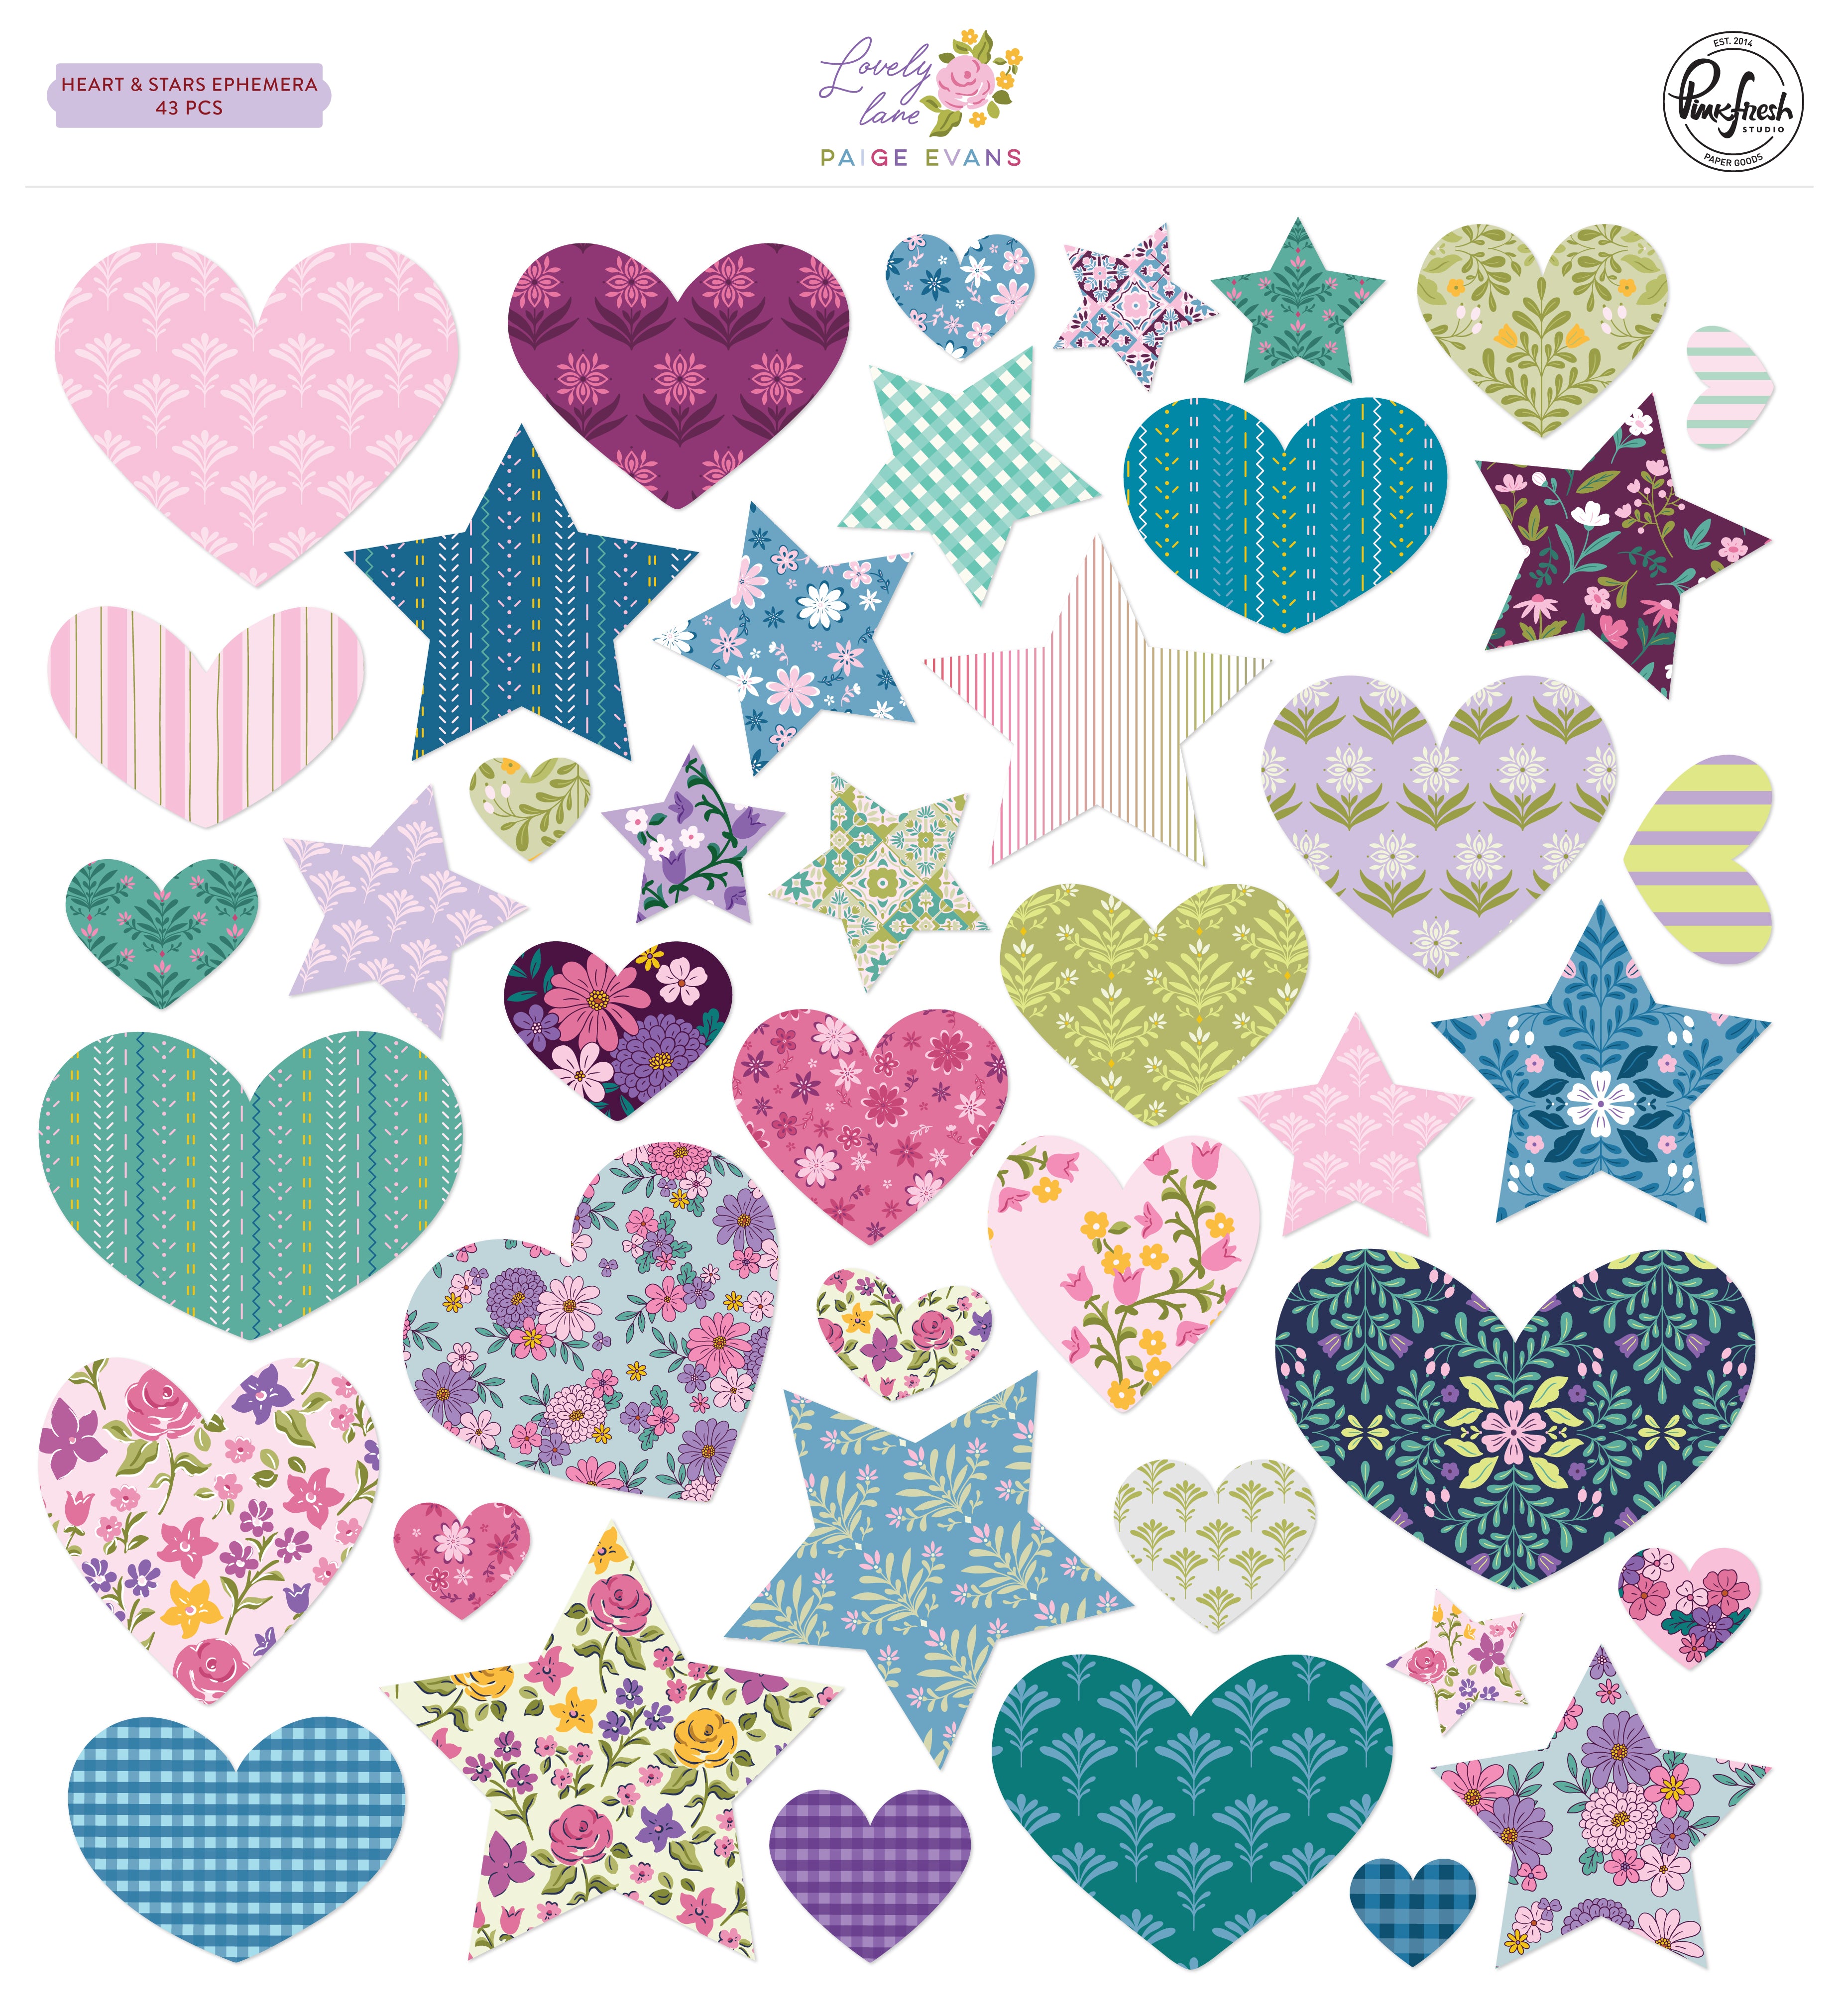
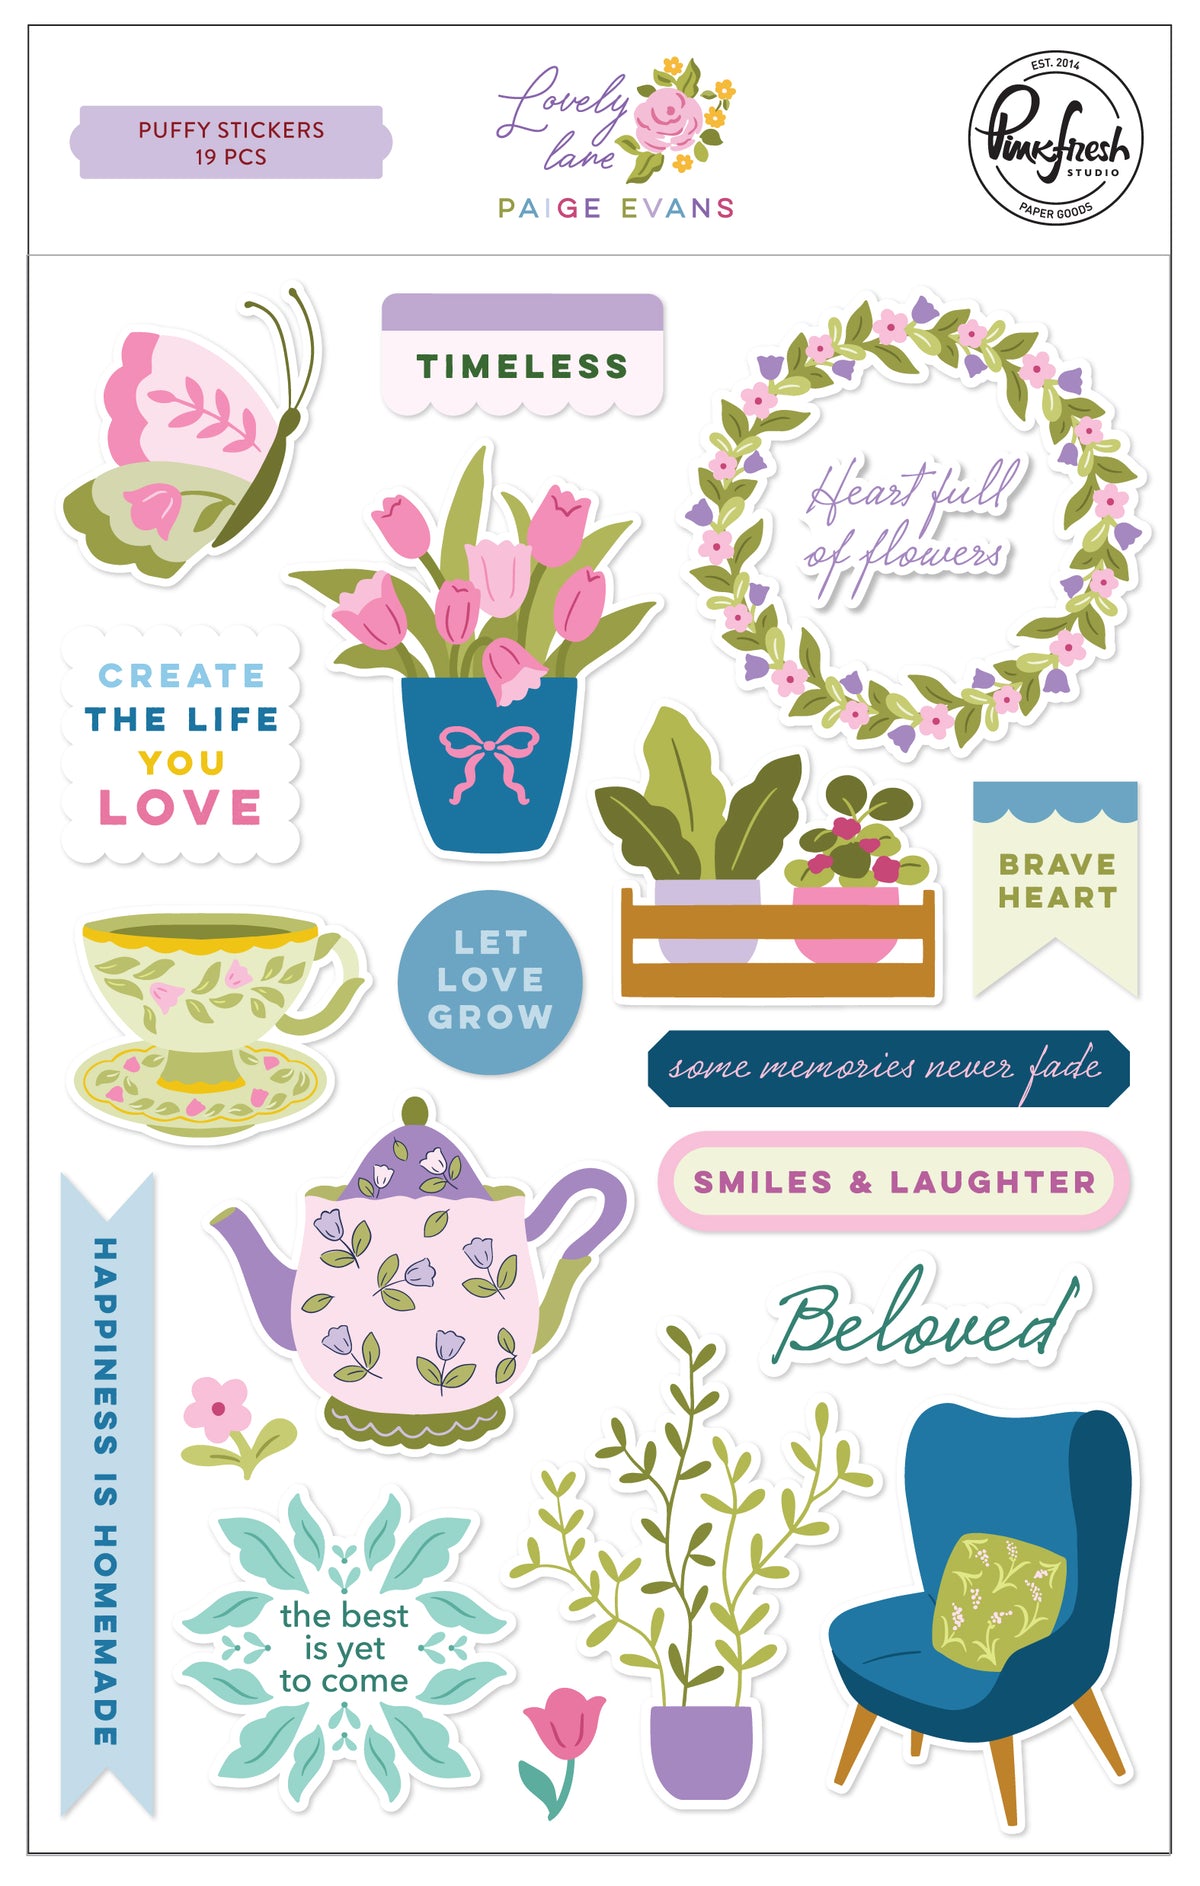
- Finish with a few small embellishments, like enamel dots or die cuts, to complement the design without overpowering it.
Tip: Instead of cutting full strips of patterned paper, try using small scraps behind each section of the Coverplate Die. This is a great way to use leftover pieces and gives you more flexibility when mixing colors and patterns.

Thanks so much for stopping by today. I hope this layout inspires you to experiment with Coverplates Dies and create beautiful, textured backgrounds!
Have a great day,
Eva
Recommended Products


















Leave a comment
All comments are moderated before being published.
This site is protected by hCaptcha and the hCaptcha Privacy Policy and Terms of Service apply.