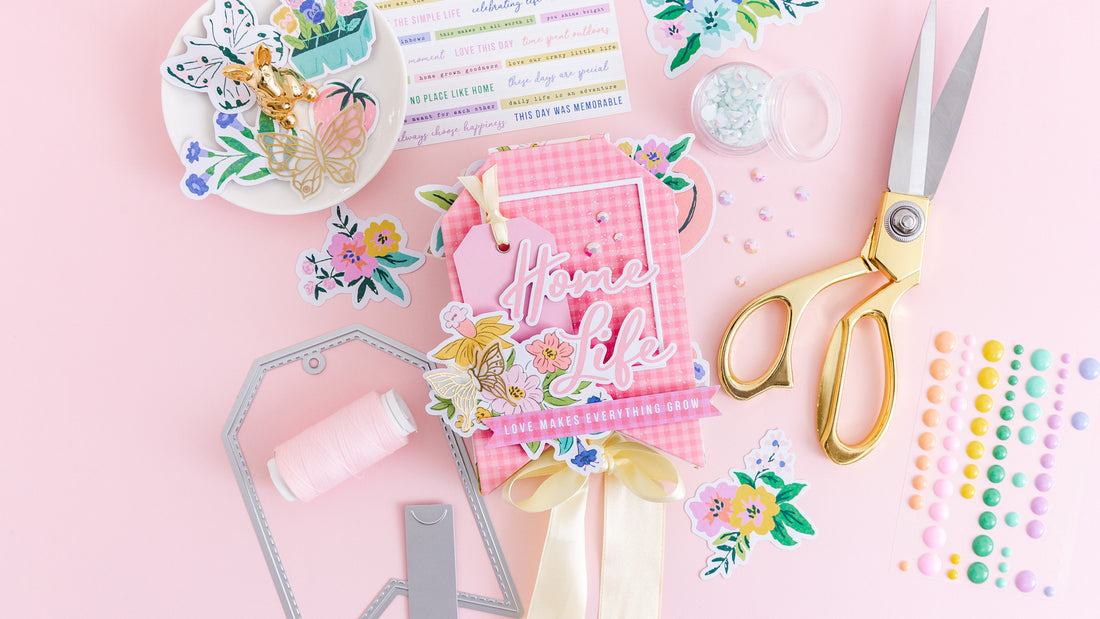
Home Life Tag Mini Album with Happy Blooms | Celes Gonzalo
Hi crafters! It's Celes here! It's so good to be back on the PinkFresh blog! ;) Are you ready to create something beautiful with the Shaker Tags Die Set? Using this set and the Happy Blooms paper pack we are going to create a coloful and fun mini album... yes! A mini album! Let's get started :)

The big tag from the set will be the base for our mini album design. First thing to do is to cut one paper tag. This one will be the pattern for the mini album. Cut two cardboard tags using this pattern. Also, cut an extra piece of cardstock of 1 3/4" w x 1 1/2" h for the spine.
Choose 3 papers from the Happy Blooms 6x6 paper pack and use them to cover the 3 pieces of cardboard. For the spine piece leave 1 "extra on both sides (1 3/4" w sides). These will serve you to be able to join the spine to the mini album covers.
Once you have the 3 pieces ready and glued together forming the structure of the mini album, it's time to decorate the cover.

To decorate the cover I used: pieces from the Happy Blooms Ephemera pack, flowers from the Happy Blooms Floral Ephemera pack, one tag from the Happy Blooms Journaling Bits , a frame from the Shaker Tags Die Set and some white jewels from the Jewel Mix. I also made a white watercolor background to give the cover texture and color.
To cover the inside of the covers and make the mini album pages we are going to use the same tag die. Cutting white cardstock for the inside of the covers and design paper for the pages.
To join the pages to the structure we will prepare a traditional 5 hinge spine for the mini album. Cut a piece of white cardstock of 8 1/2" w x 1 1/4" h. Score in 1 1/4", 1 3/4", 2 1/4", 2 1/2", 3", 3 1/2", 3 3/4", 4 1/4", 4 3/4", 5", 5 1/2", 6", 6 1/4", 6 3/4", 7 1/4". Assemble the spine and glue it to the spine. Also choose a ribbon to make the closure of the mini album and glue it on the inside.
Once you have all of the above ready, you can paste the white paper tags inside the covers. The structure and cover is ready! Time to decorate the interior of the mini album! YAY!

I have used: Happy Blooms Puffy stickers, Ephemera pack, Floral Ephemera pack, Cardstock Stickers and Enamel Dots.

Decorate every page using all you have. Remember to leave enough free space for photos and use the notch die for tucking photos your pages.

You will see that I also added sewing details on the pages. They can be done by hand or with a sewing machine.


You can see in detail here how the finished mini album looks... isn't it beautiful?

I hope you like this idea! Go ahead and create mini albums using your die sets ;)

See you next time!


3 Comments
Beautiful tag book!
Thank you so much Dee!
I love this album. It is perfect for so many of life’s wonders!