Home, featuring Oh What Fun! | Jung A
Hello crafty friends! It's Jung here, and I'm back with
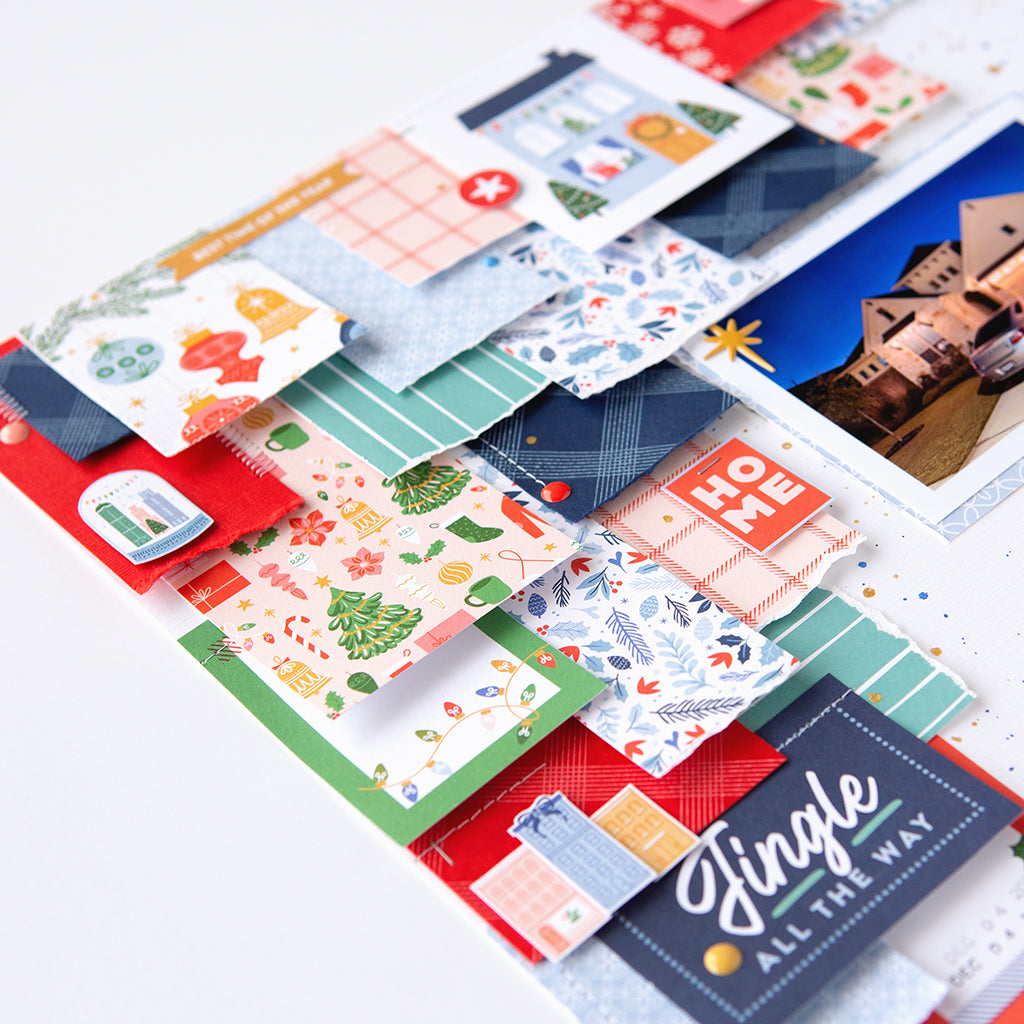
a layout using Pinkfresh Studio’s holiday collection Oh What Fun! I really wanted to showcase all the lovely pattern papers in this collection, so I revisited a technique that I had tried a couple years ago, and it's inspired by I post-it notes.

I started off by cutting strips of pattern paper from the 6×6 paper pad in various widths, anywhere between 1-2 inches. I also fussy cut some pieces from the Merry Everything and Good Tidings pattern paper. I arranged these pieces of papers on a piece of white cardstock in a diagonal, creating layers. Once I had the papers laid out how I wanted, I pushed the papers aside a little bit, and added some splatters to the white cardstock. I used sapphire watercolor, as well as some gold from my stash. Once dry, I began attaching the pattern paper pieces, keeping the adhesive only at the top, just like a post-it note.

This took a bit of time, but I think the end result is so worth it! I wanted to add a little more red and dark blue colors to the layout, so I made my own pattern paper with cardstock and stamps. I used the Pinkfresh Studio Diamond Tiles background rubber stamp along with a white pigment ink pad to add subtle texture to the red and blue cardstock.
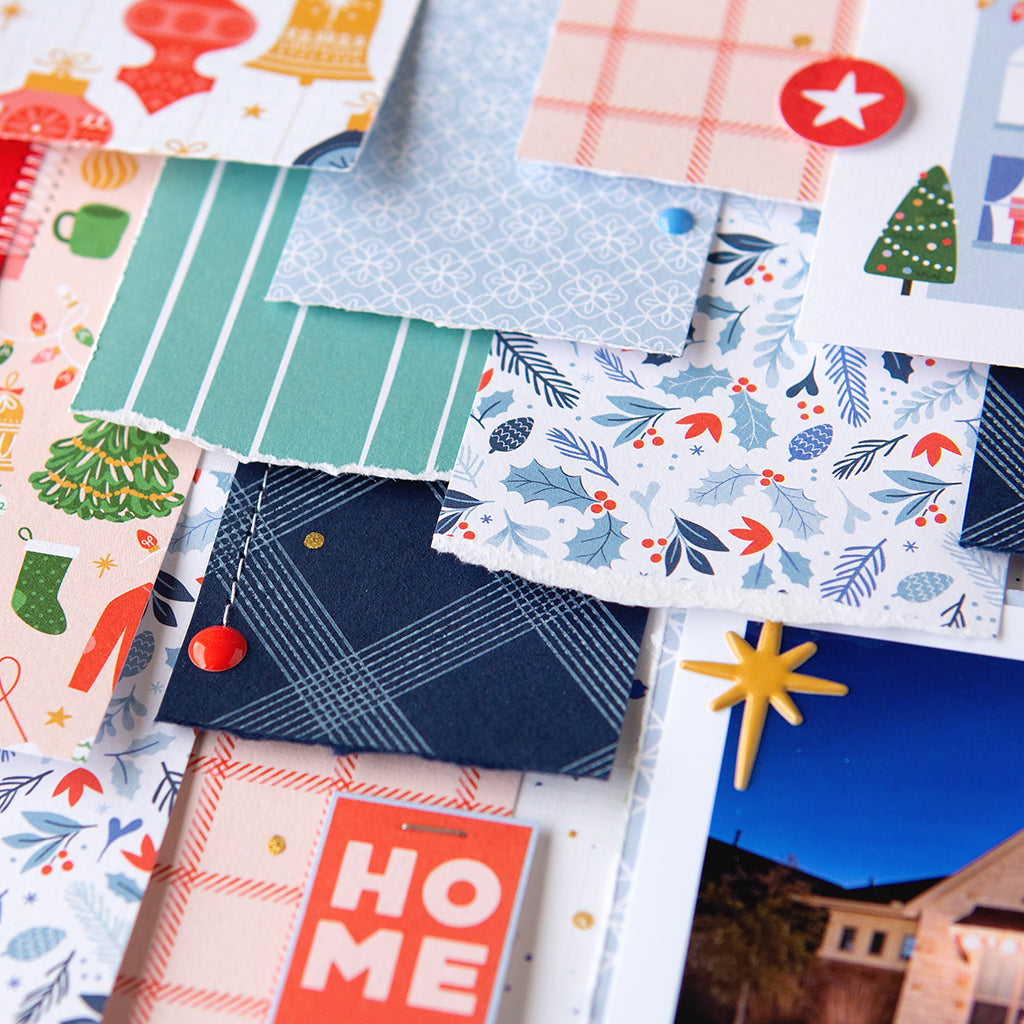
I also made a red cardstock piece, and I heat embossed the snowflakes from one of my favorite Pinkfresh Studio stamp sets: Home for the Holiday.

Once my post-it paper layers were adhered to the layout, I decided on the placement for my photo. I backed the photo with the Holiday Walk pattern paper. Next, I wanted to add a title, and I thought the "Home for the Holidays" sentiment from the stamp set I used earlier was perfect for 2020. I stamped and heat embossed the dotted banner on red cardstock with gold embossing powder. Then I stamped and heat set the sentiment with light pink embossing powder. I added a few puffy stickers, and typed journaling strips.

To finish off my layout, I added some machine stitching. Then, I embellished slightly with cardstock stickers, fussy cut pieces, and enamel dots to the paper layers.

I am so happy with how this layout turned out! I think the stamped pieces added just that extra pop of colors that this layout needed. I hope you were inspired by my project, and I would love to see you use the post-it technique on your projects.
Thank you for stopping by, and have a magical day!