Hexagonal Pyramid Mini Album for my sweetheart | Celes Gonzalo
Happy Tuesday! Hello everyone! I'm Celes and I'm sharing my first idea with the new Simply The Best Collection. It's such a beautiful collection that you can create any type of idea with it.
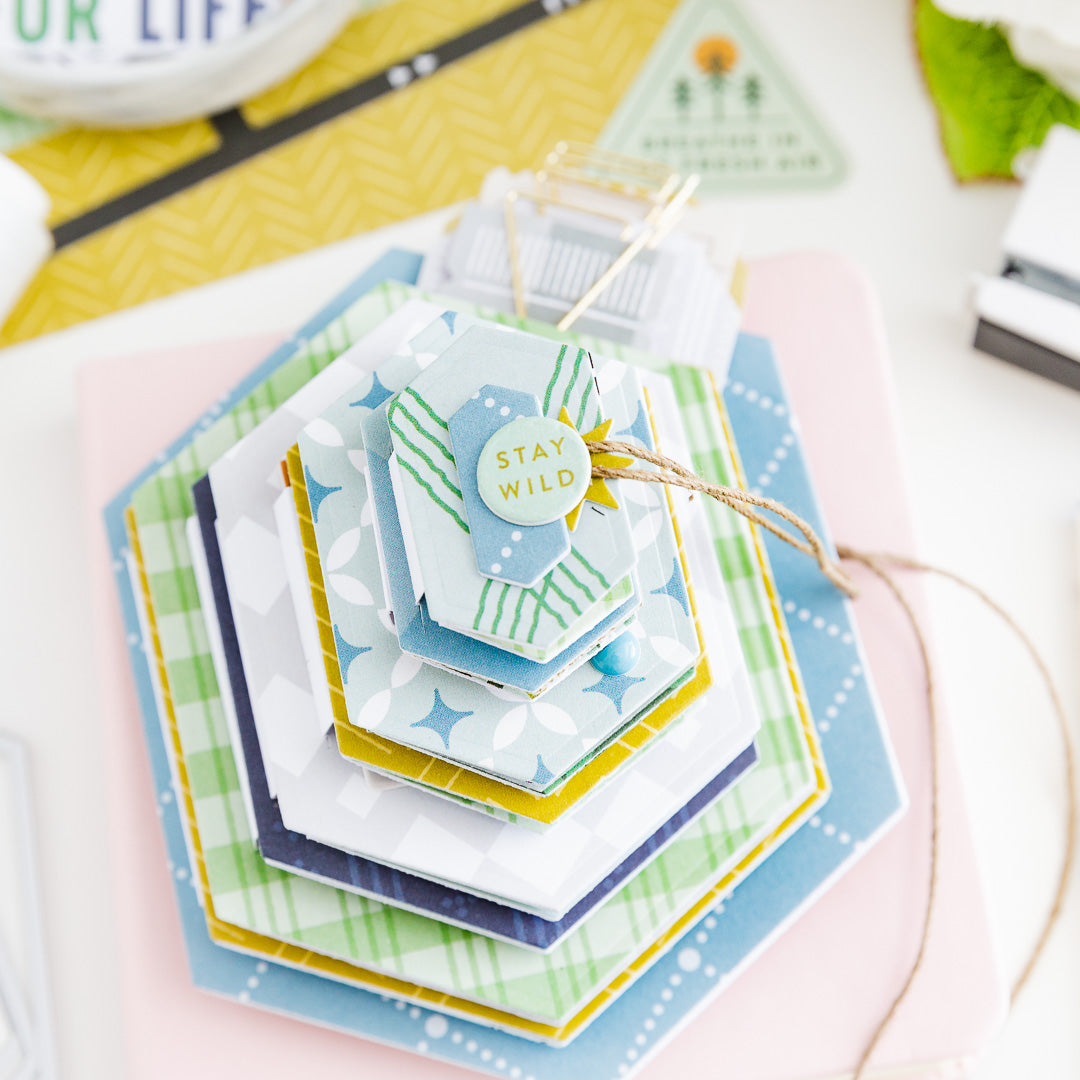
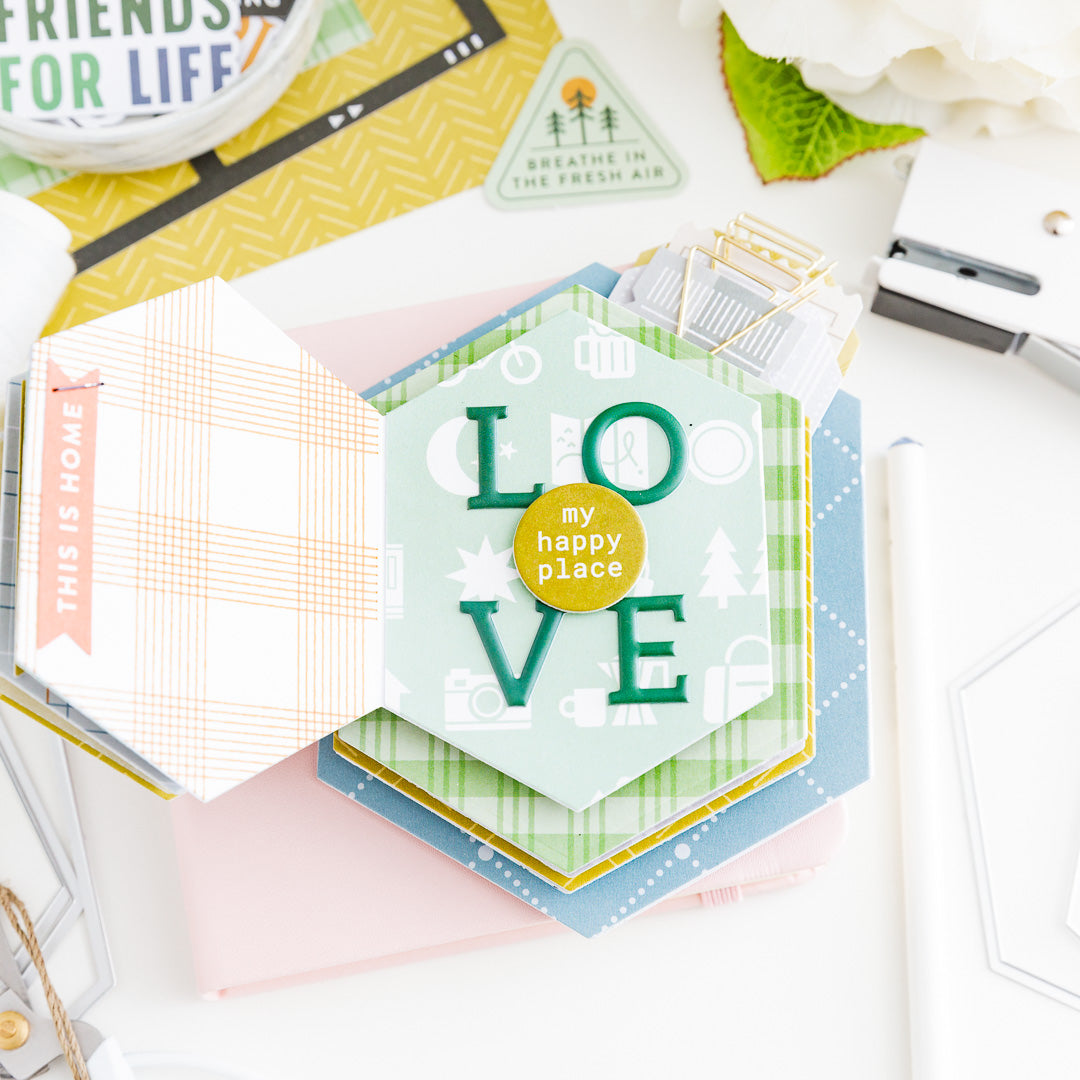
 This time I'm going to make a lovely pyramid mini album using the Nested Hexagons Die Set. Yes! It's a hexagonal pyramid mini album for my sweetheart... Sebas. Let's get started.
 We are going to need white cardstock as base and we are going to use the 10 pieces of the die set. We will use each piece to cut double pages.
 Double pages: cut pieces of white cardboard considering twice the size of the die (you have 10 different sizes). Score and fold each paper in half and cut every doble page.
 Important: leave left side of each die off of paper to cut. So you will get the double pages.
 Small spines: to join the double pages together, we will cut small pieces of paper (except to join the smallest of all). The size depends on the height of each double page. But they should always be a "U" with a 1/4" bend depth. To join them: glue each one to the back of each double page. Then, make a cut in the piece of design paper from the double page that continues in size so that you can join it. Repeat the same with all the pieces.
Remember that the smallest is only glued without a spine.
 As you can see, it is a structure in which we must work at the same time in the decoration. We will have our double pages but we will have to cut all the pieces of design paper with which we are going to decorate each one of them.


Once we have the entire structure assembled and decorated with the papers from the collection, we only have to use all our embellishments to decorate.

 One detail that you have probably already noticed is that I used vellum paper to make an extra decoration on some of the pages. Simply cut extra pieces out of the vellum paper you like best and stick them on with a thin line of glue.

 Another idea to do is to create pockets by gluing the design papers of the larger pages (but not completely) Leave the top-right edges unglued. You can add tags with some paper clips (extra space for journailing or photos).


Closure of the mini album: the smallest page we will paste without a piece of spine. Inside it we will glue the closing hemp cord. The closure will be on the back of the last page using a brad and a piece of chipboard flair.

Thank you for taking the time to see this project. I hope you liked it and it inspires you!
See you in a few days! Have a great week!


2 Comments
Maravilhoso! Criativo! Parabéns!
This is wonderful! So cute! I’m going to be trying it for sure.