
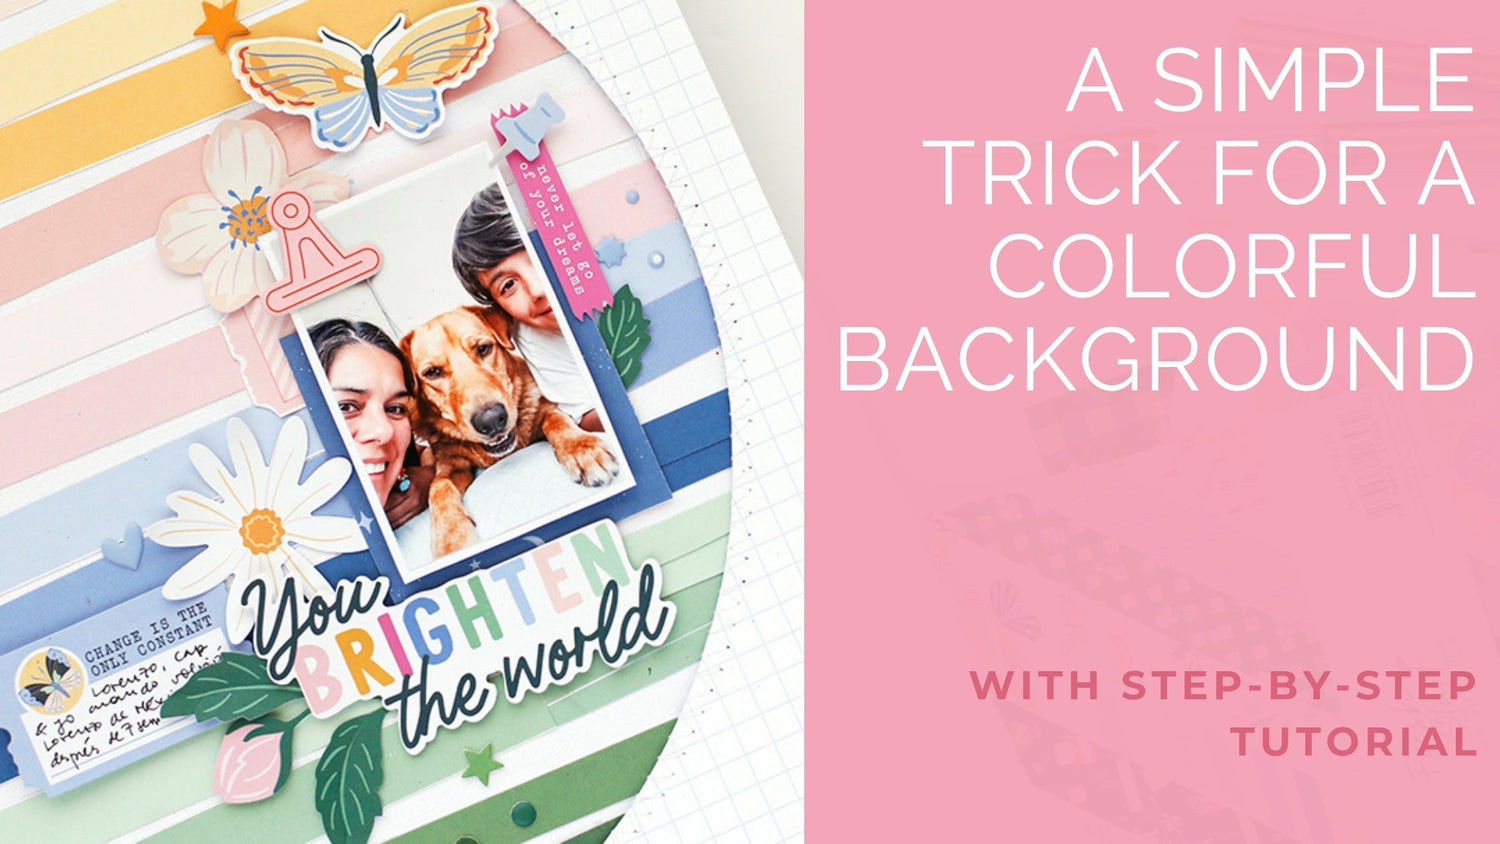
Hello everyone, this is Eva and today I’m sharing a new project created with the lovely Fresh Start collection.
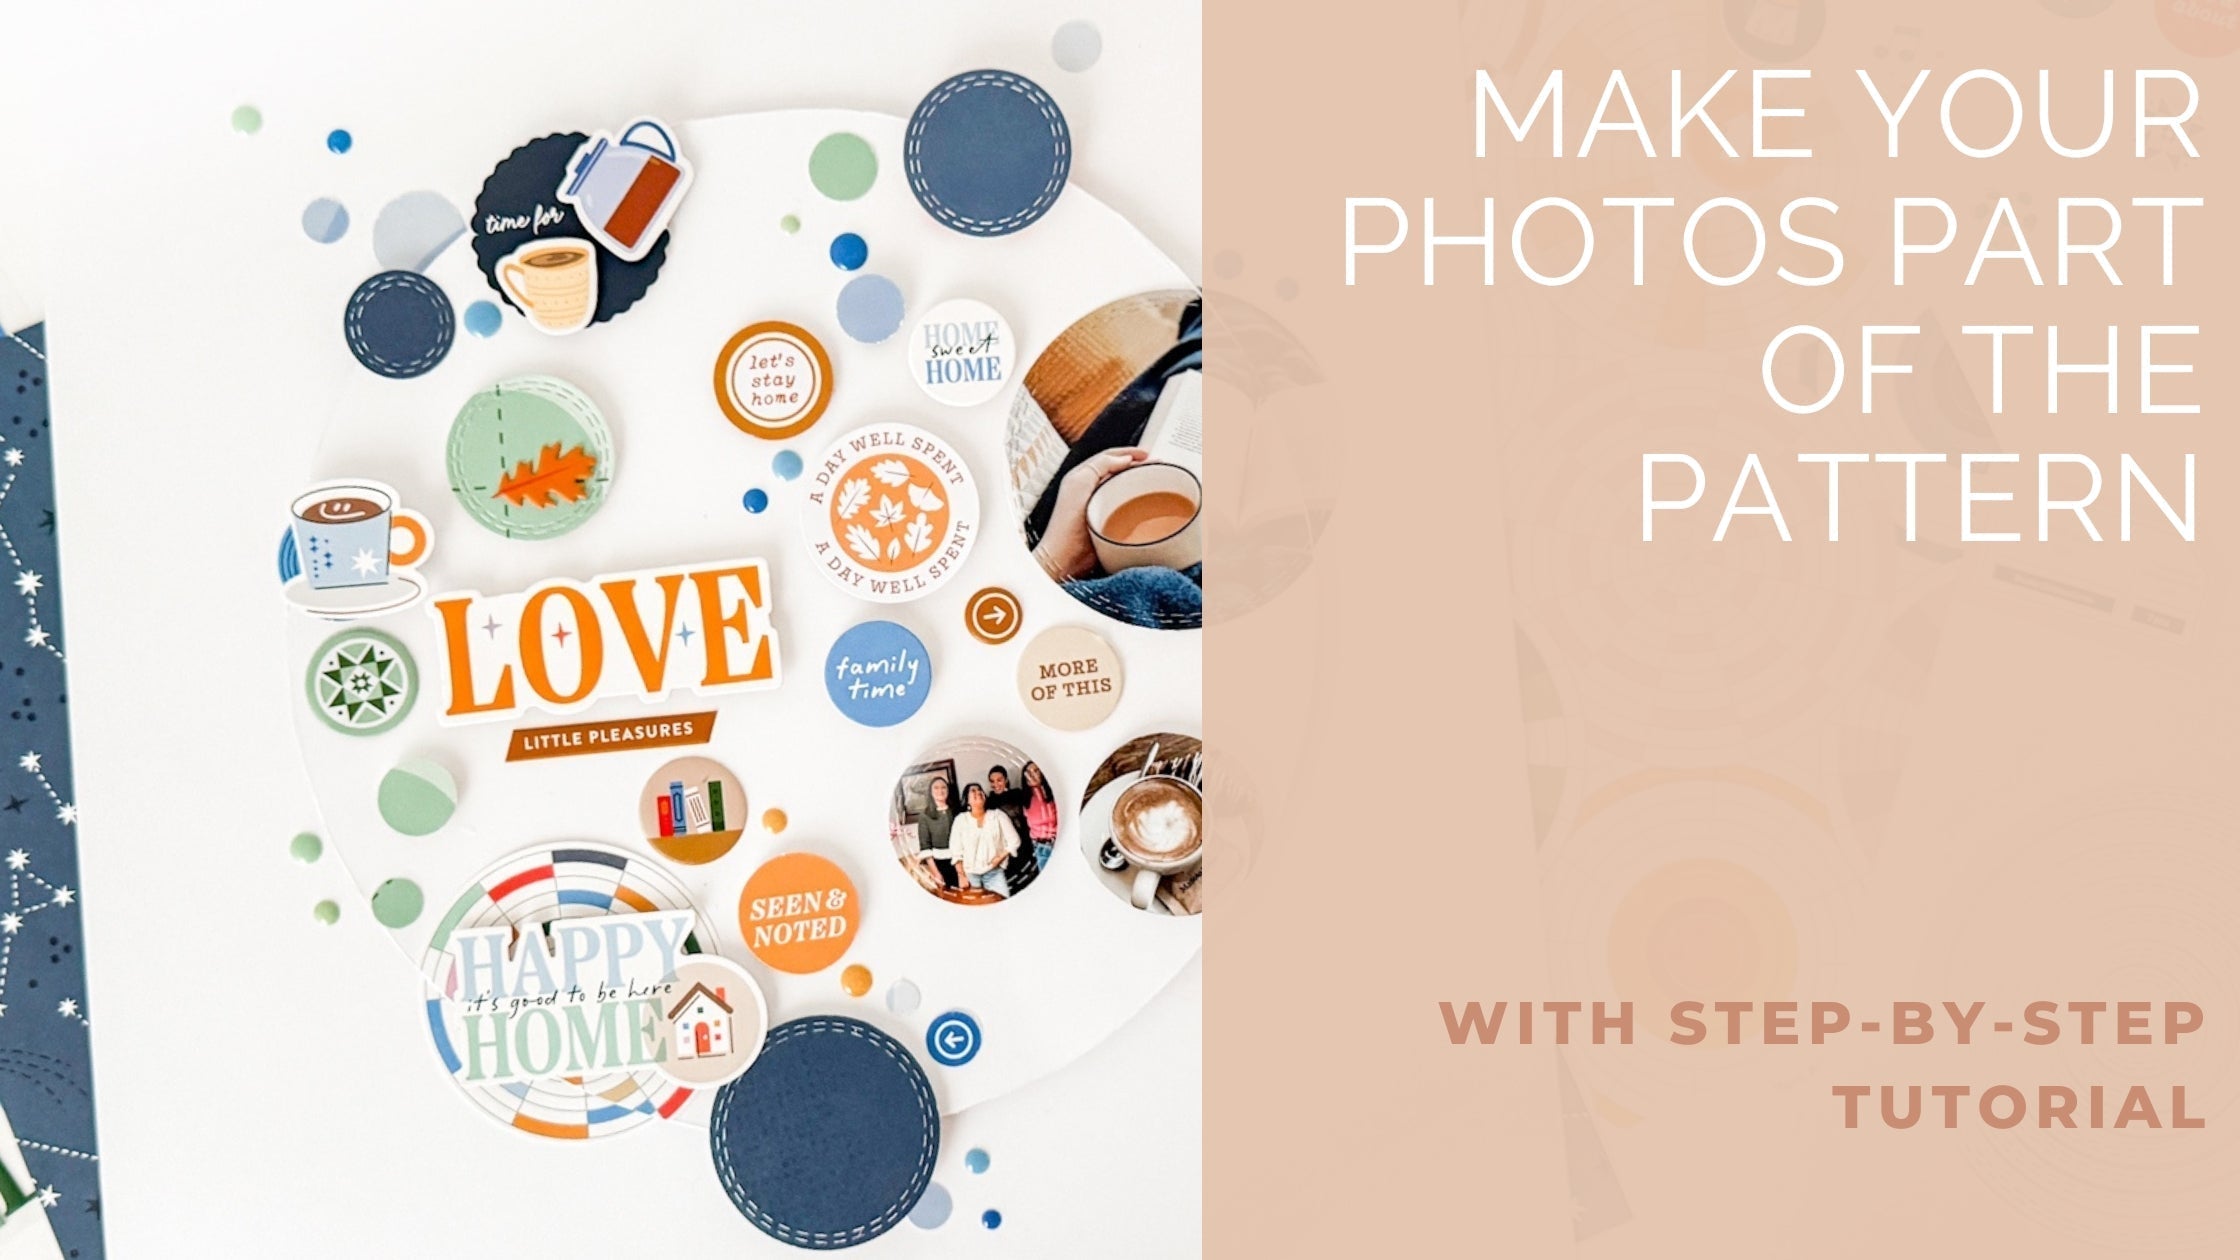
For this layout, I wanted to create a colorful and playful background using one of the patterned papers in a slightly different way. Here’s how I made it!
*Disclaimer: All products used are linked below as clickable images. If a product isn’t listed, it’s been discontinued.

Step-by-Step Instructions
- Cut the colorful stripes from the "You Got This" paper.
- Cut a large circle from the "Next Chapter" paper.
- Stitch around the edge of the cut-out circle using a sewing machine.
-
Adhere this circle frame paper to a sheet of white cardstock using 3D foam adhesive.
Tip: Don't put the adhesive right along the circle's edge - leave a bit of room for the next step. - Add the colorful strips (step 1) inside the circle, placing them slightly crooked to create movement.
- Add the photo and build the design on the right side using die cuts, a journaling spot, chipboard stickers and puffy stickers.
- Finish with a few small embellishments to balance the design.

Tip: Don’t be afraid to cut your patterned papers apart! Sometimes using just one small element from a paper in a different way can completely transform your project.
I love how this simple technique turned a patterned paper into a fun and colorful background! I hope you give it a try.
Thanks so much for stopping by, and happy crafting!
Eva
Recommended Products
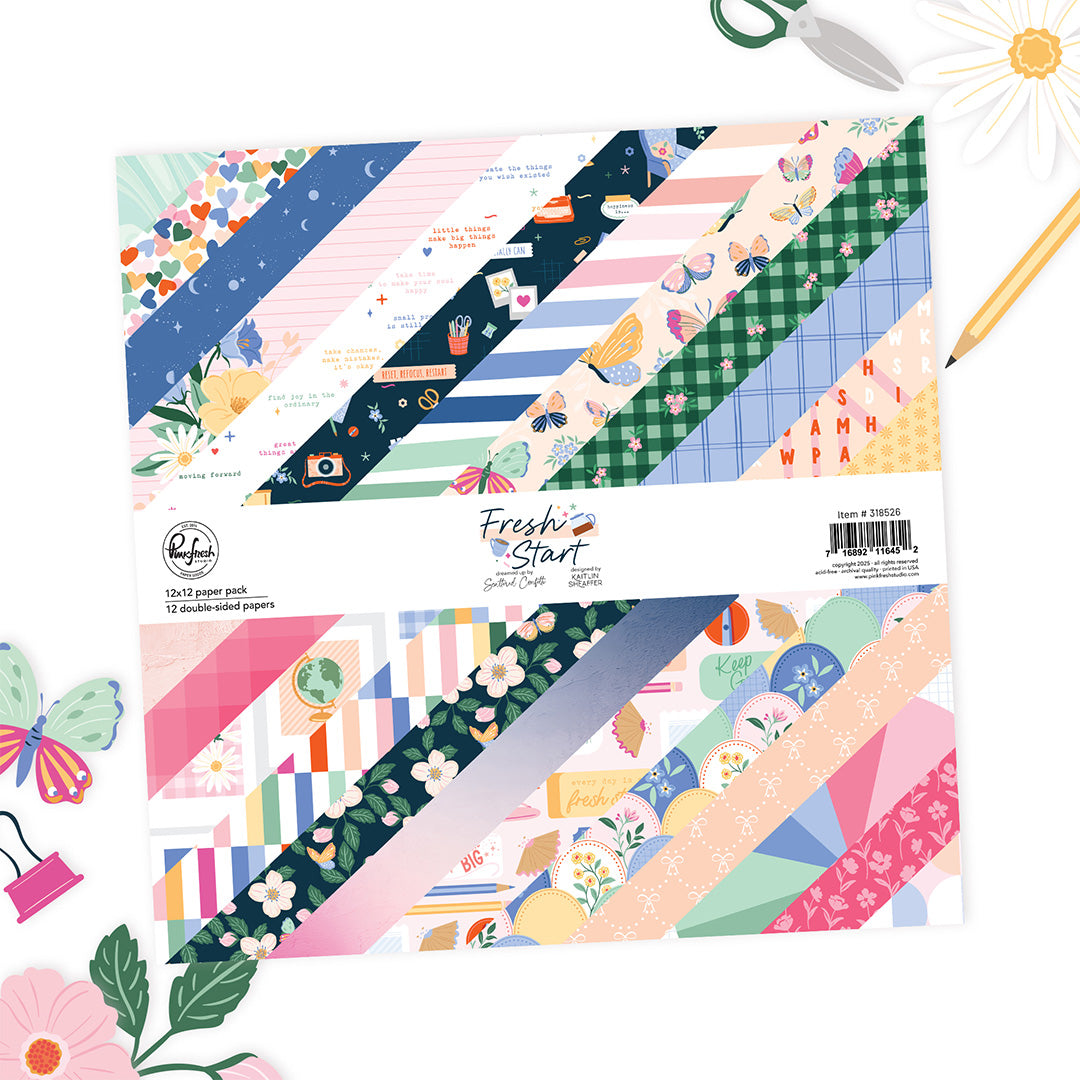
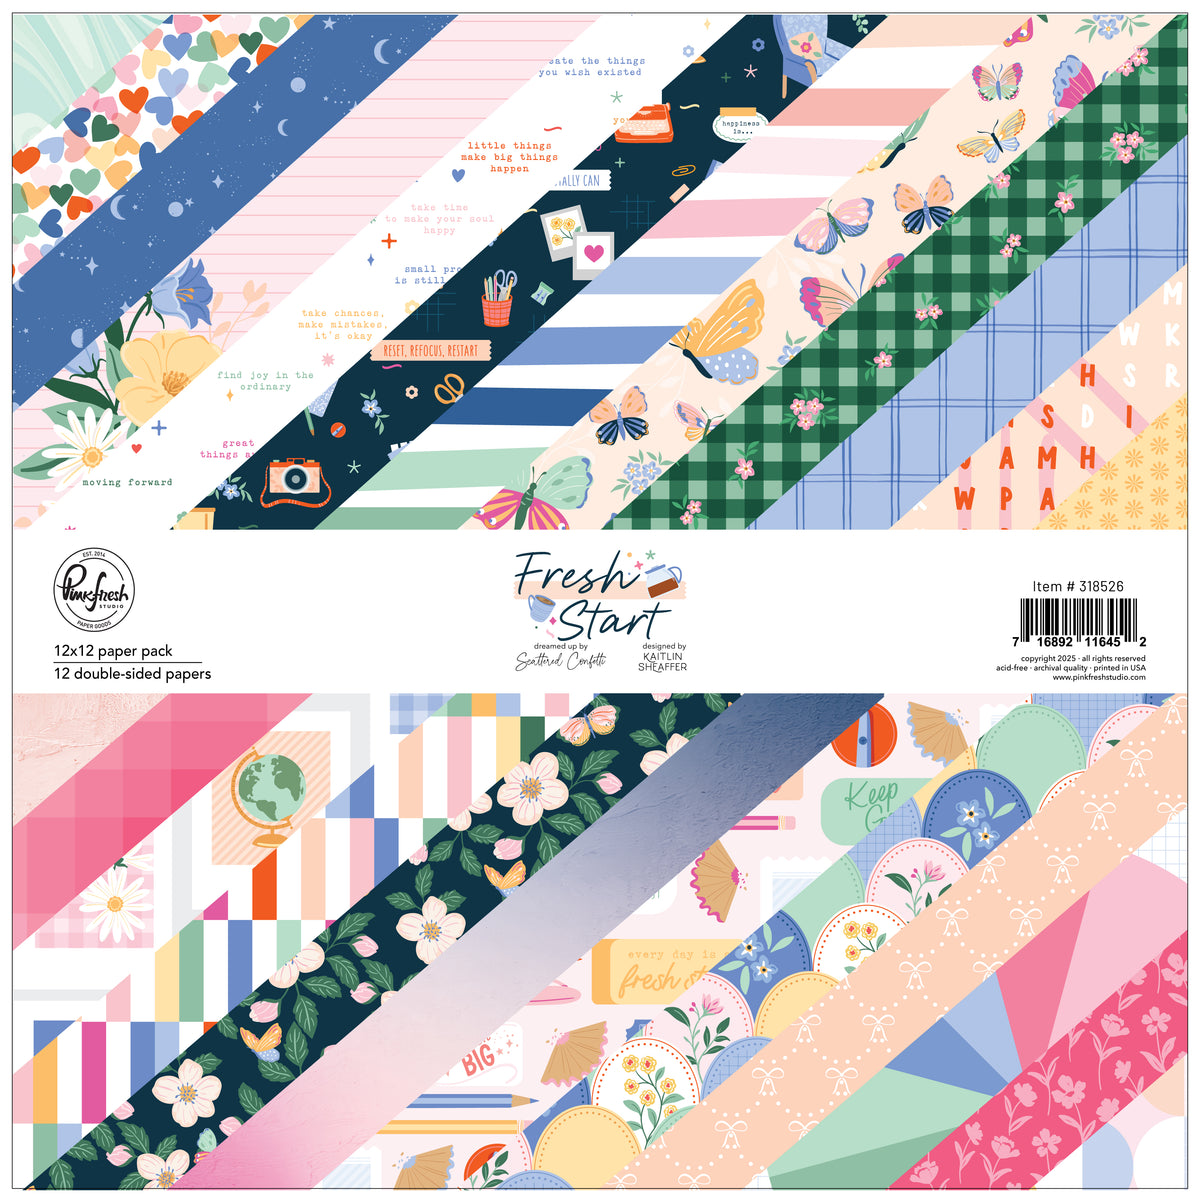


Fresh Start: 12x12 Paper Pack
Sale price$15.00
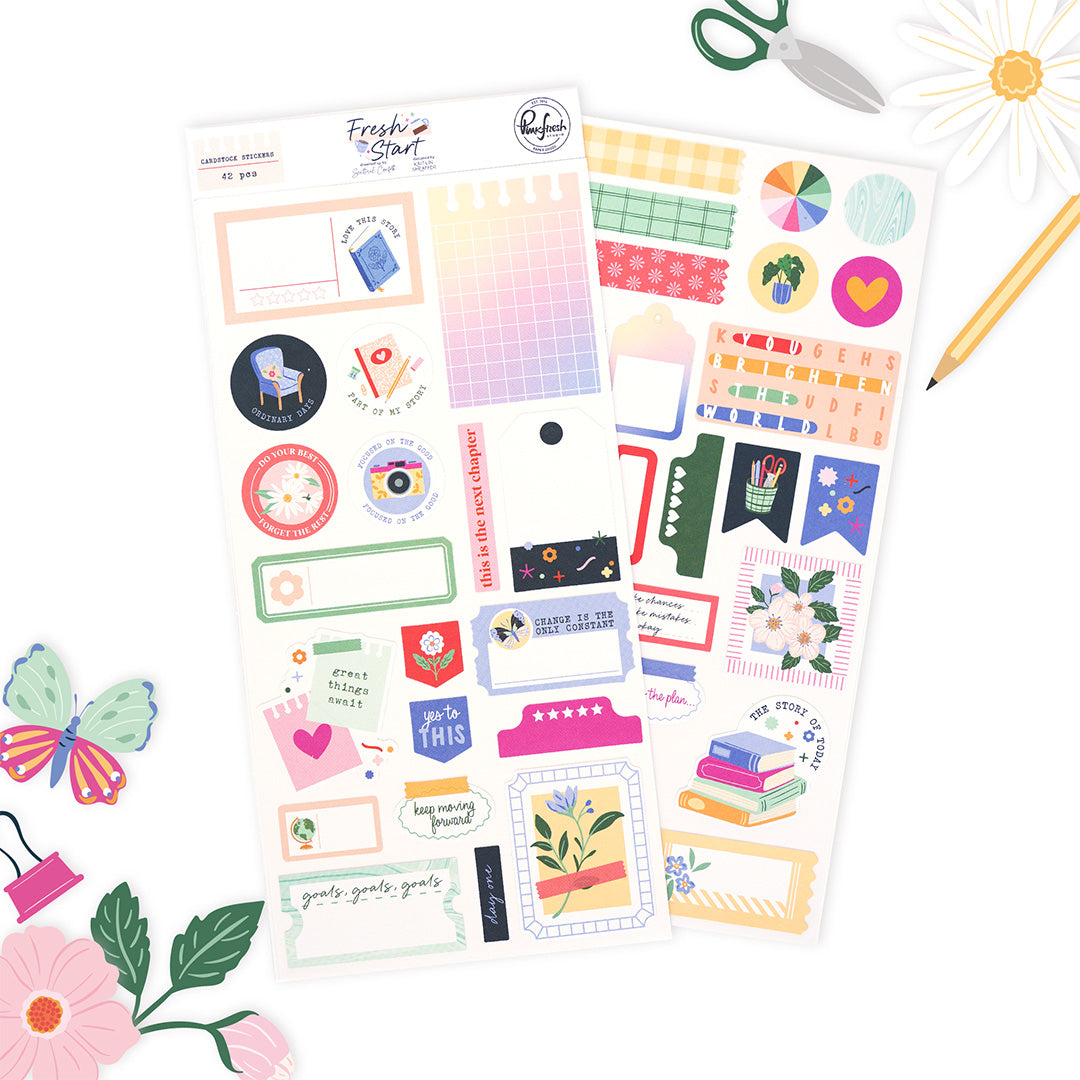
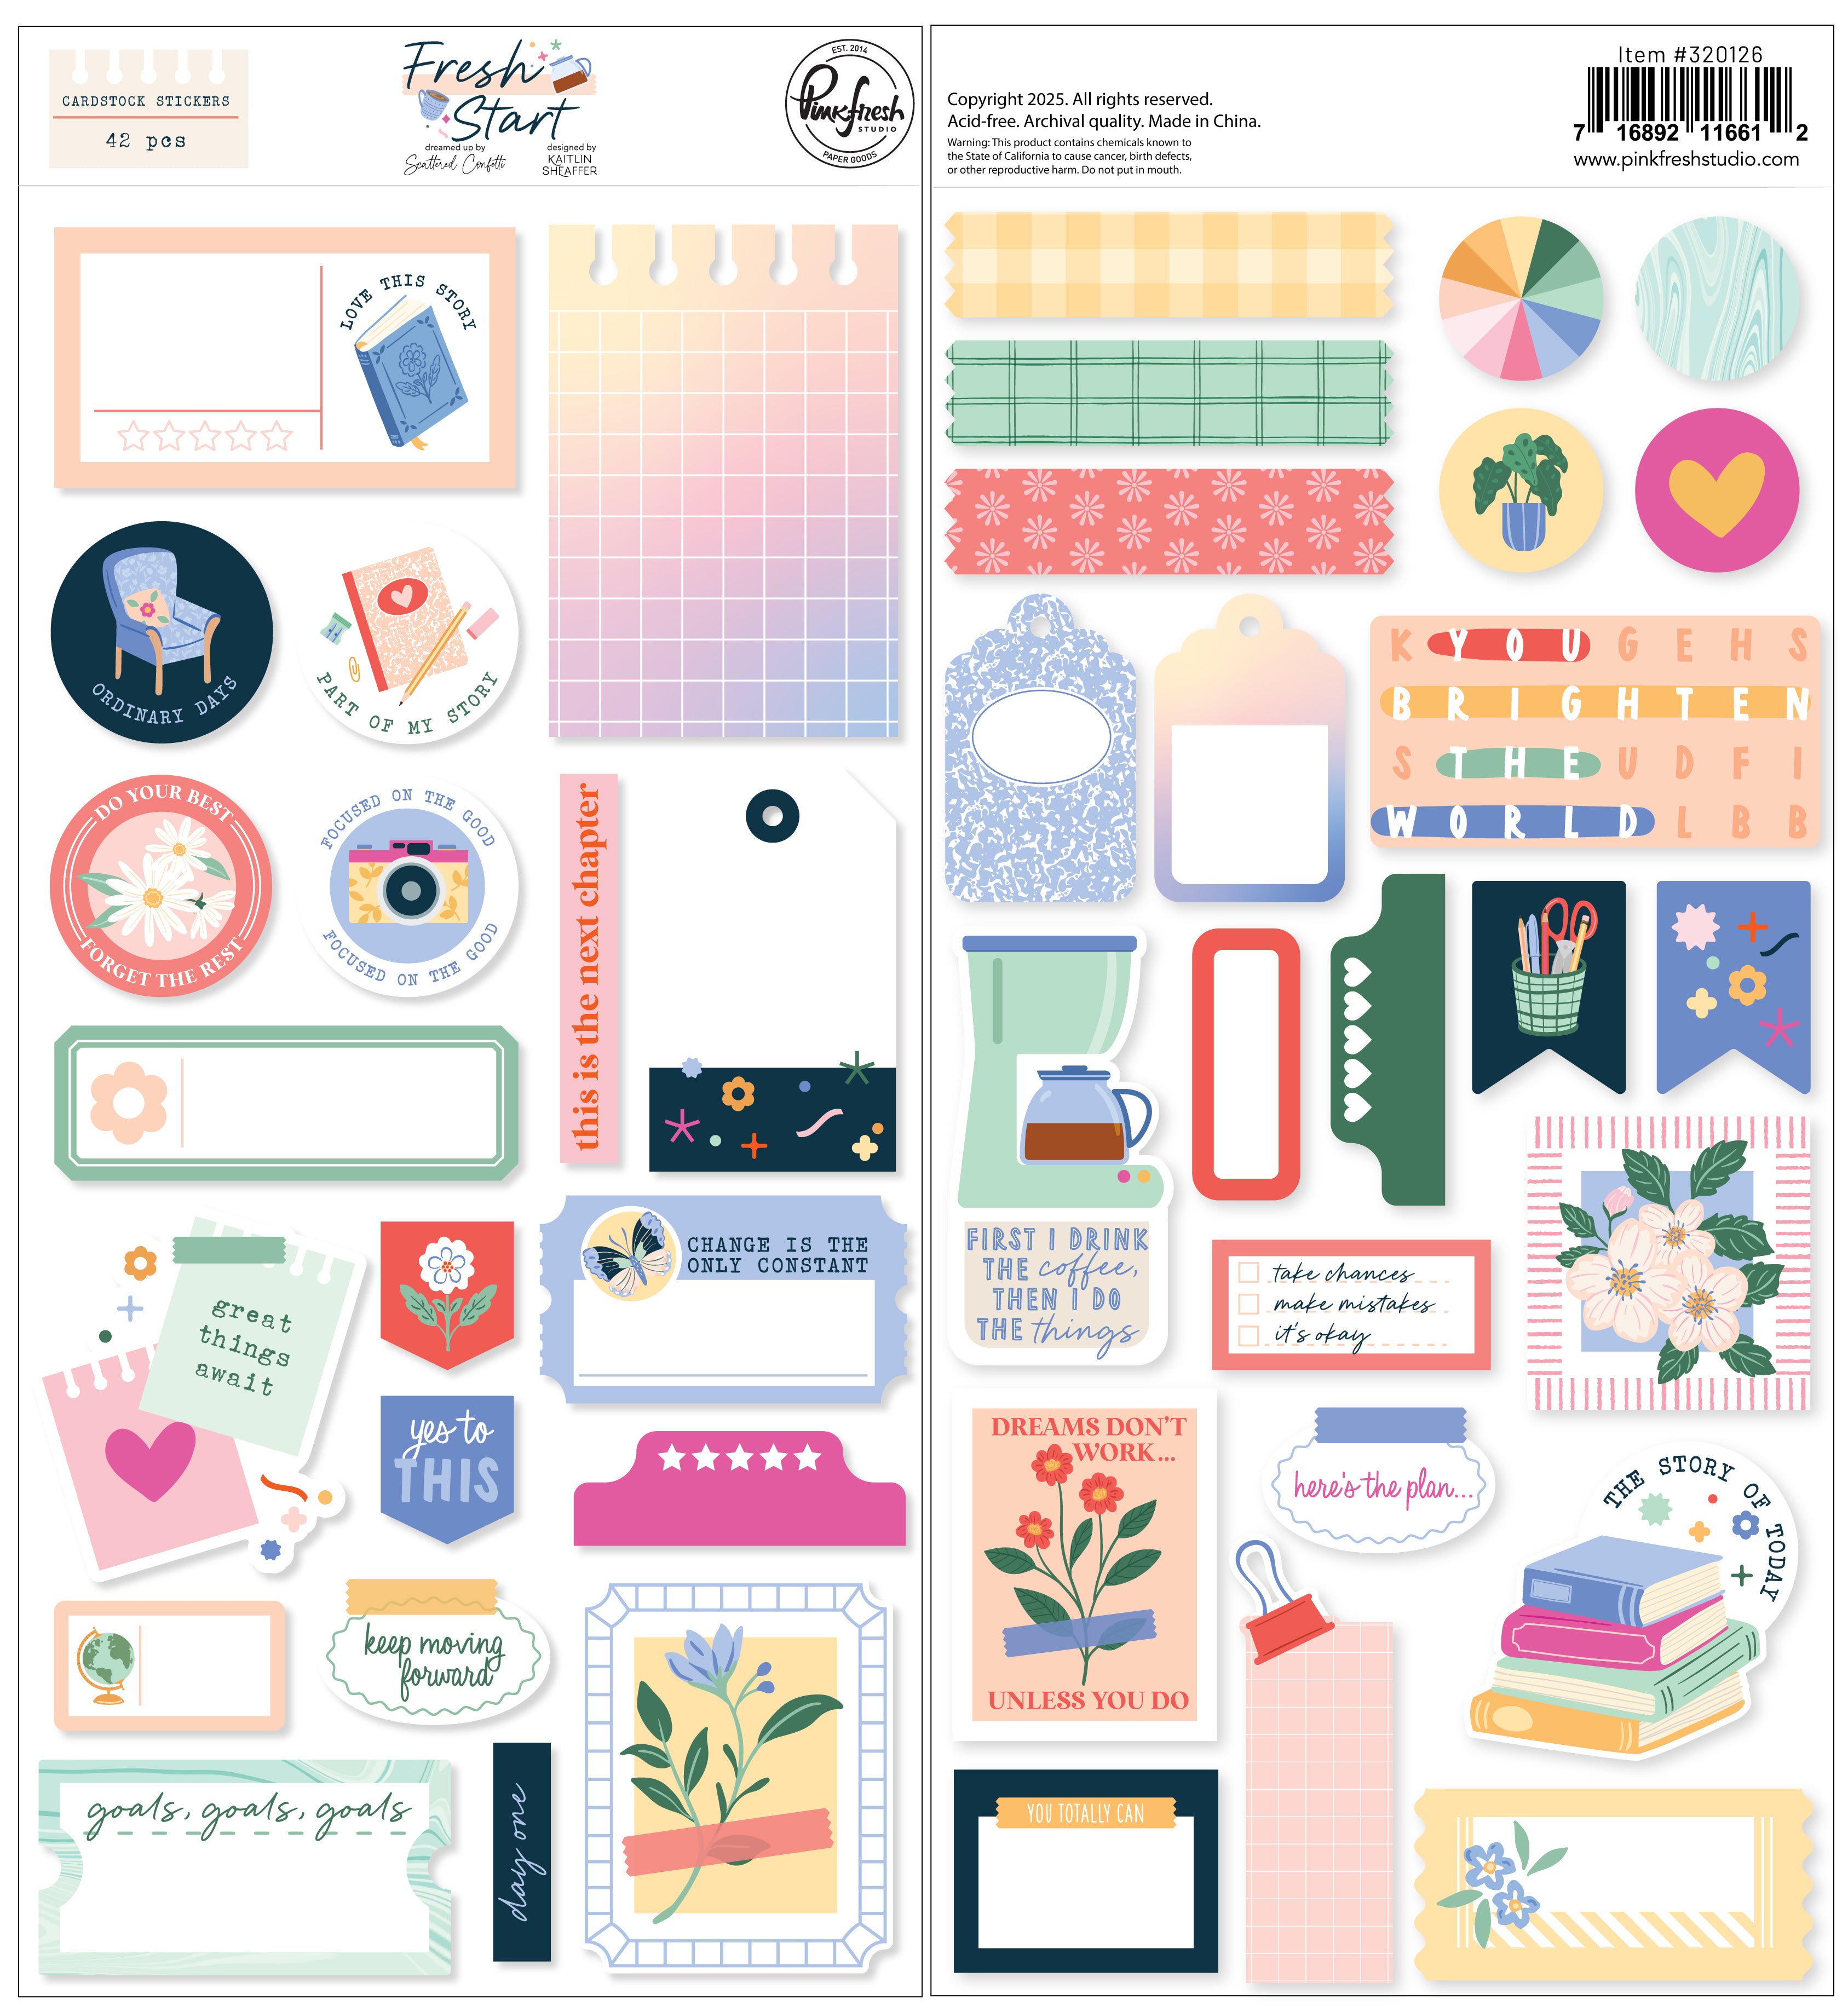


Fresh Start: Cardstock Stickers
Sale price$6.00
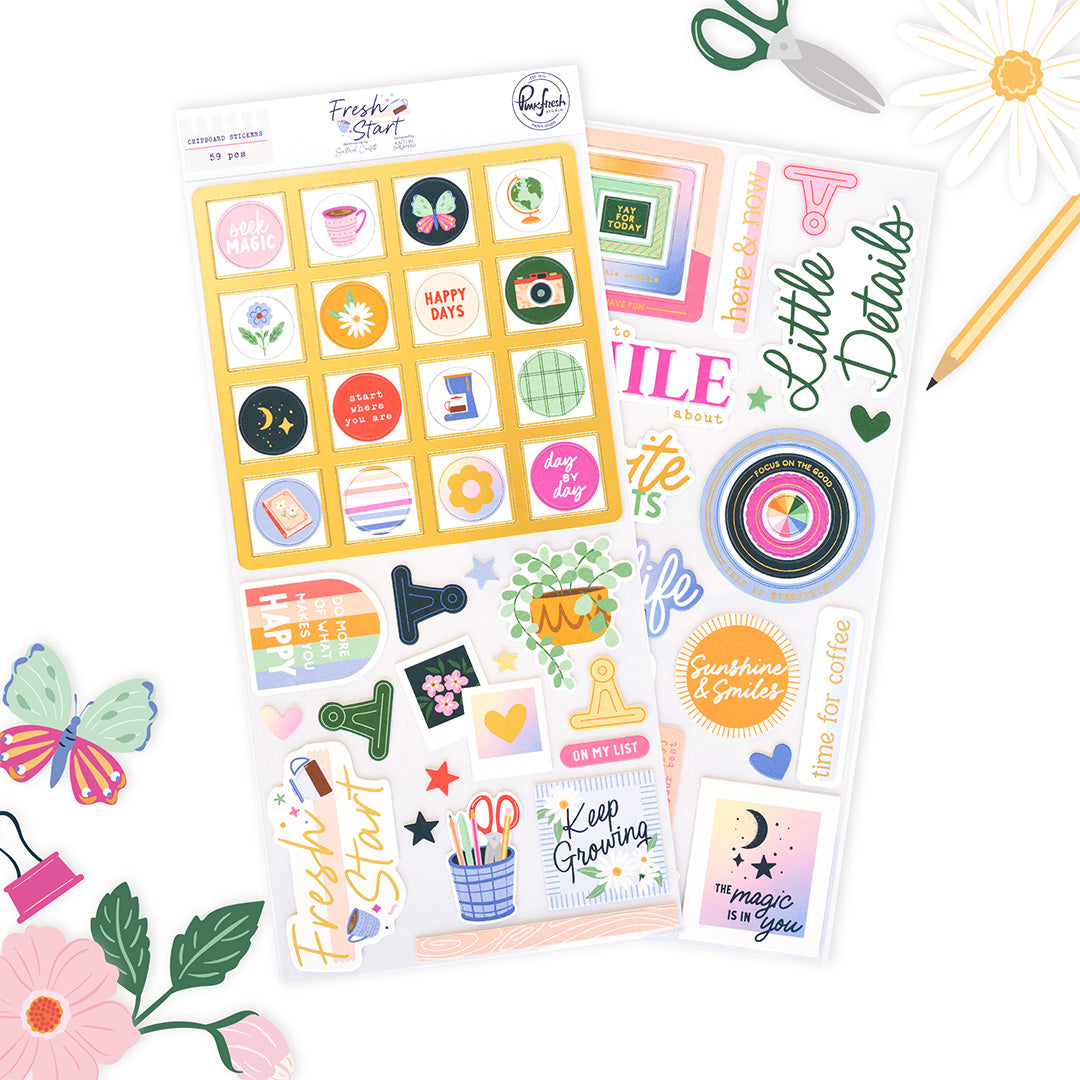
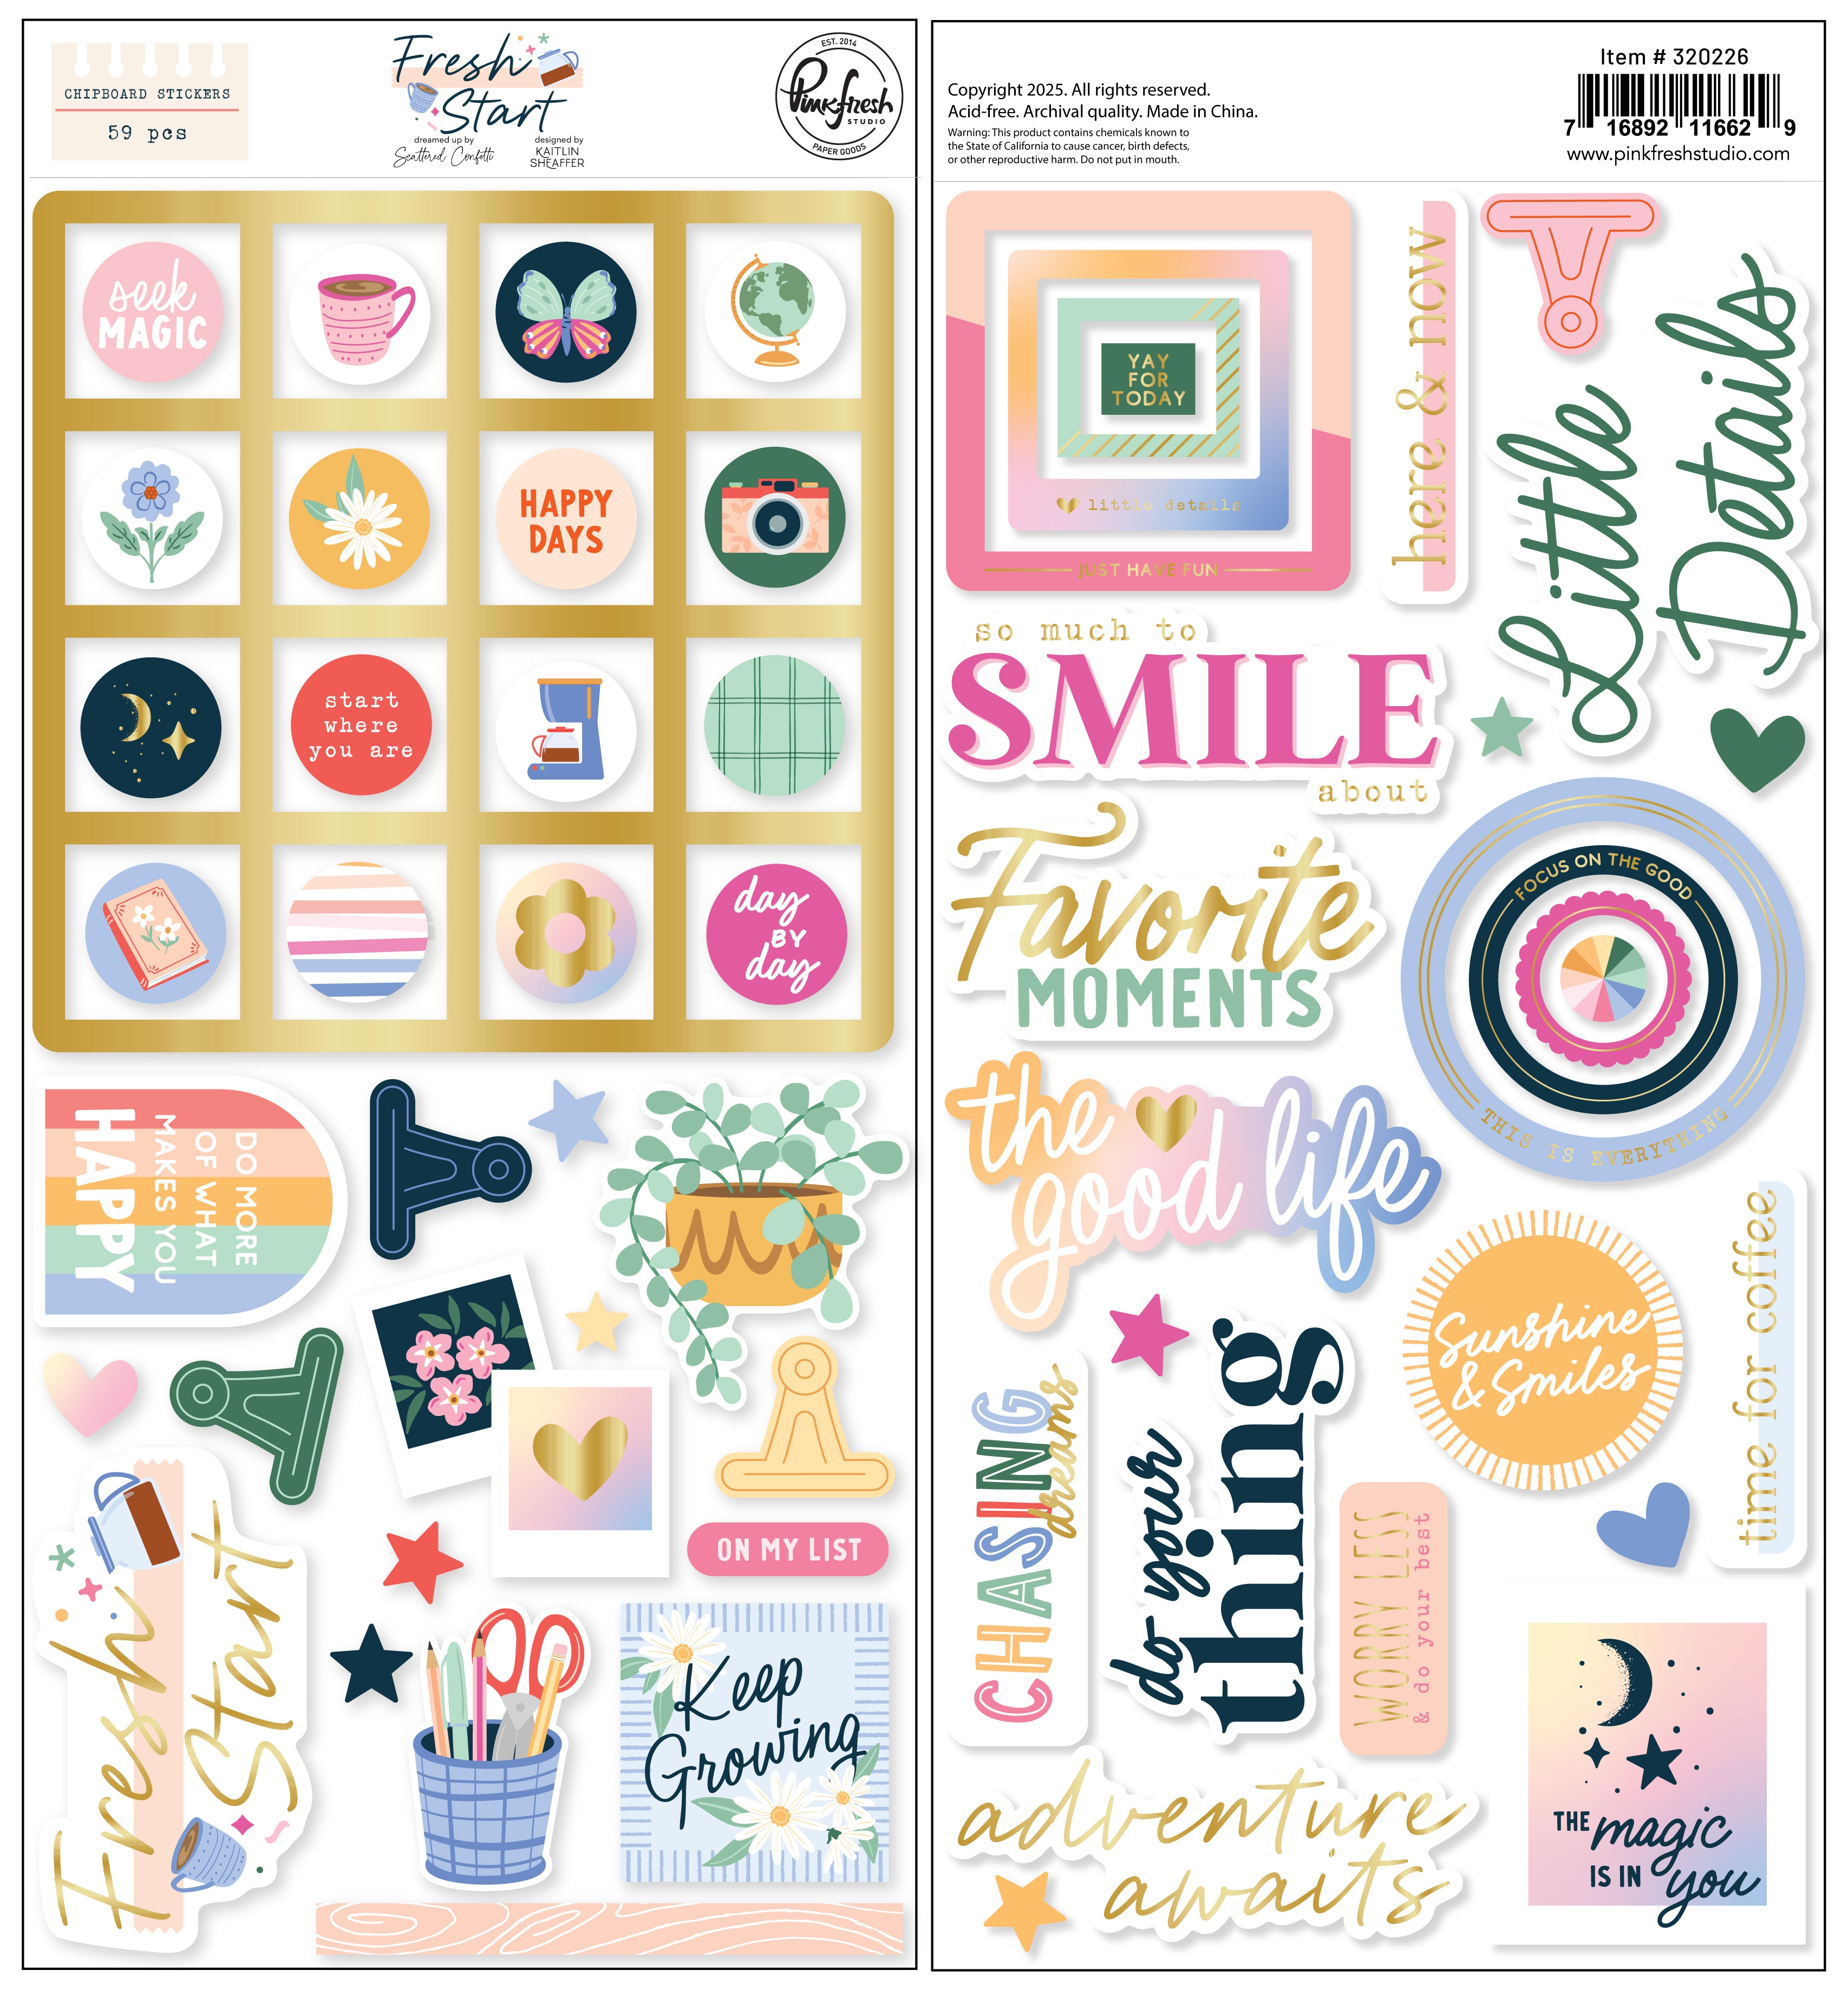


Fresh Start: Chipboard Stickers
Sale price$7.50
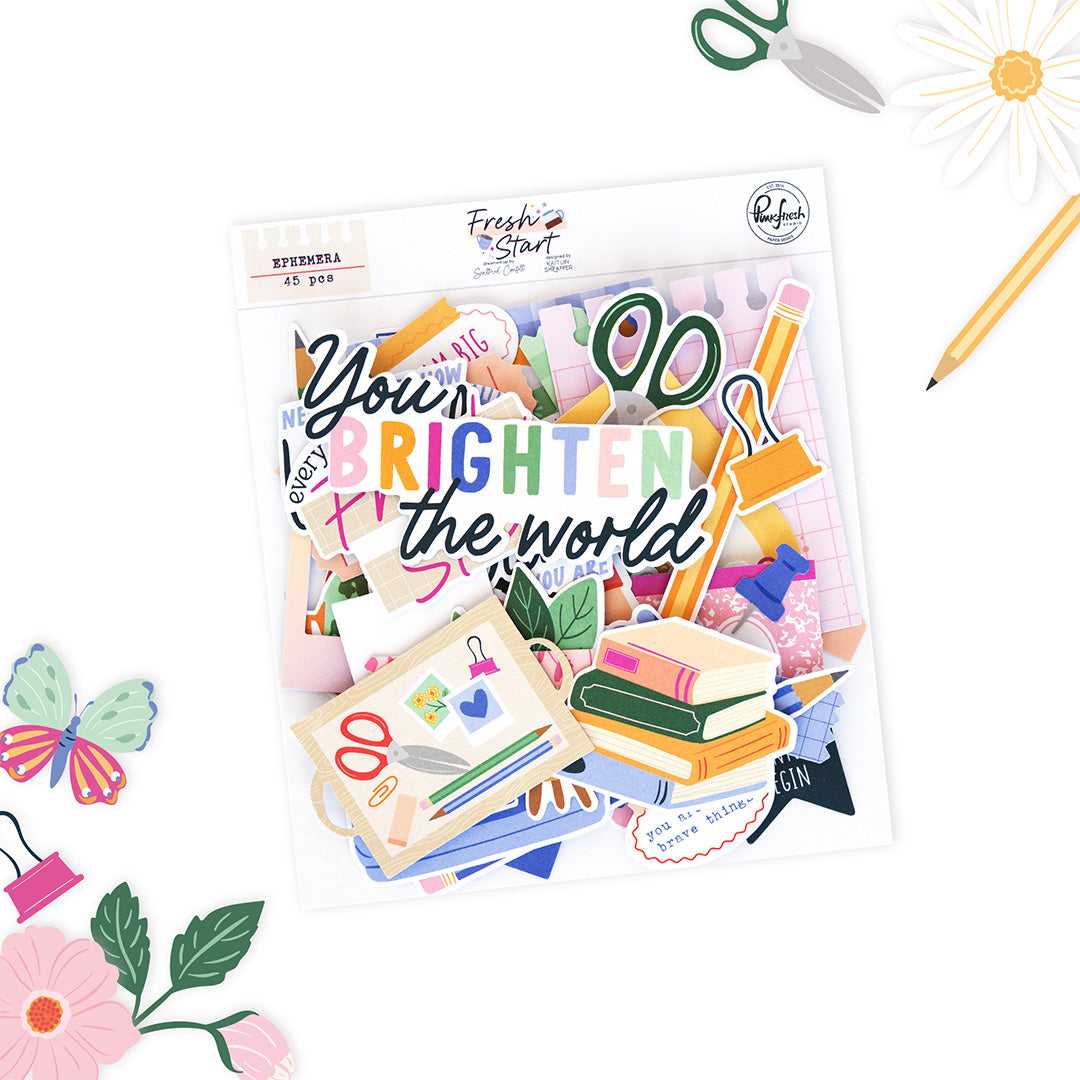
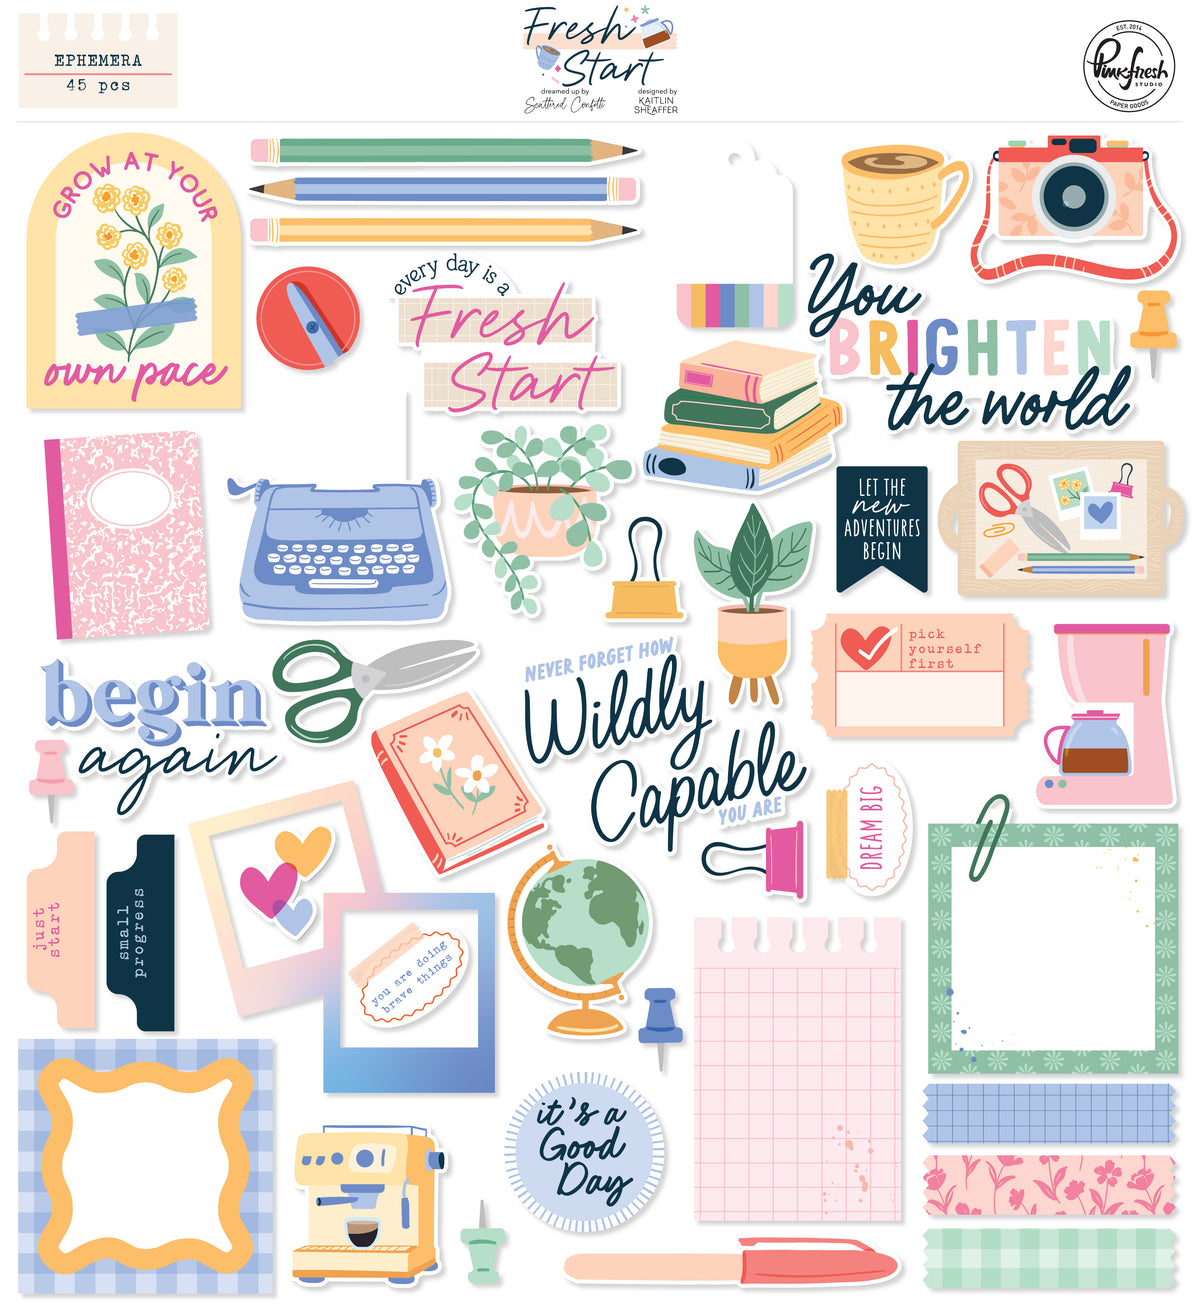


Fresh Start: Ephemera
Sale price$6.50
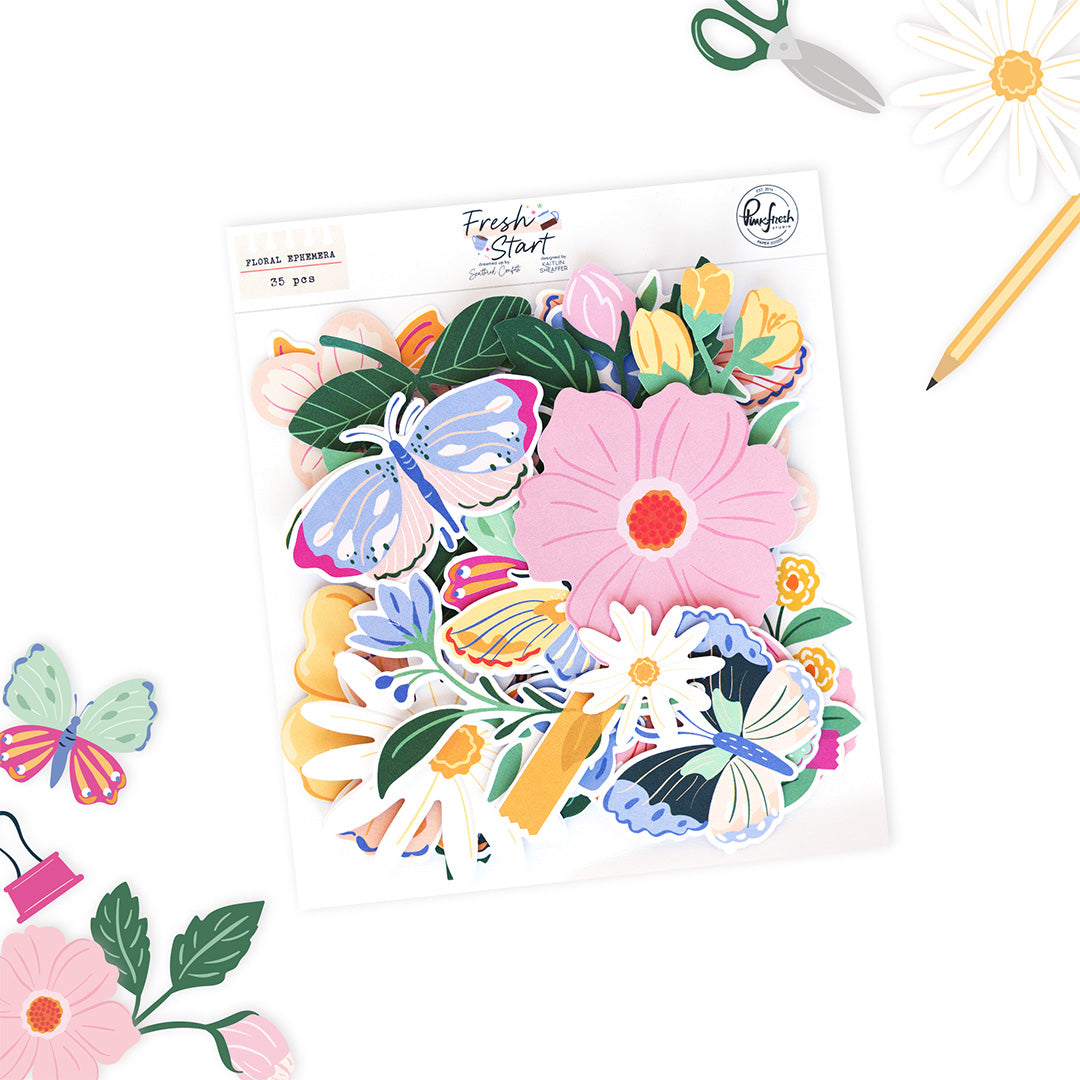
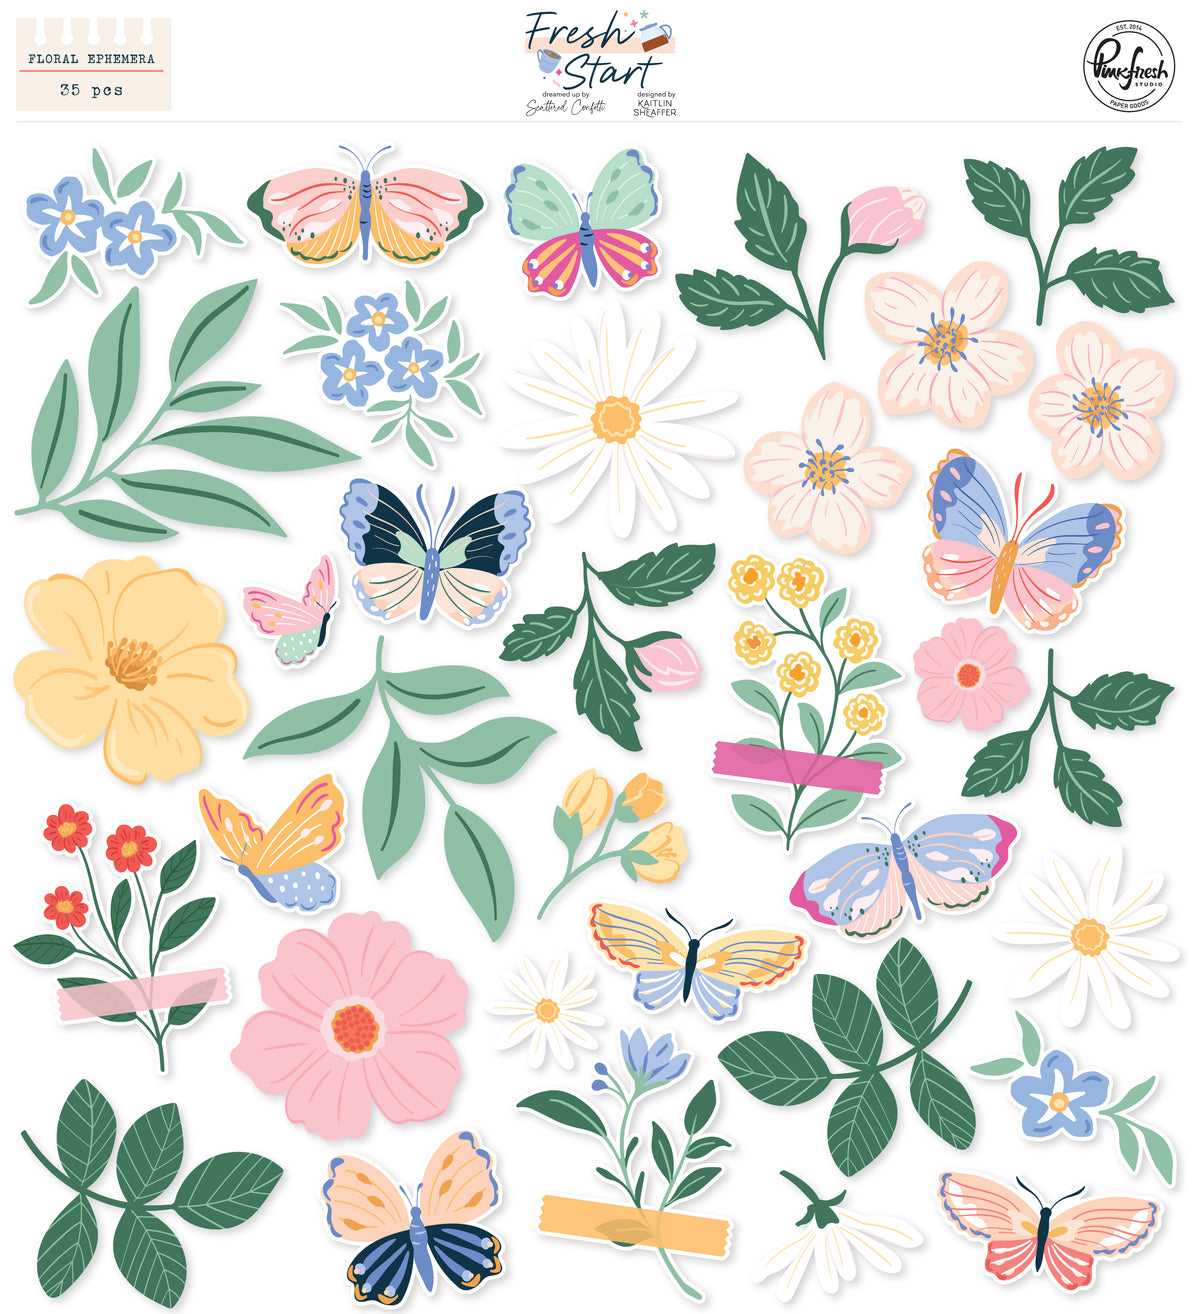


Fresh Start: Floral Ephemera
Sale price$6.50
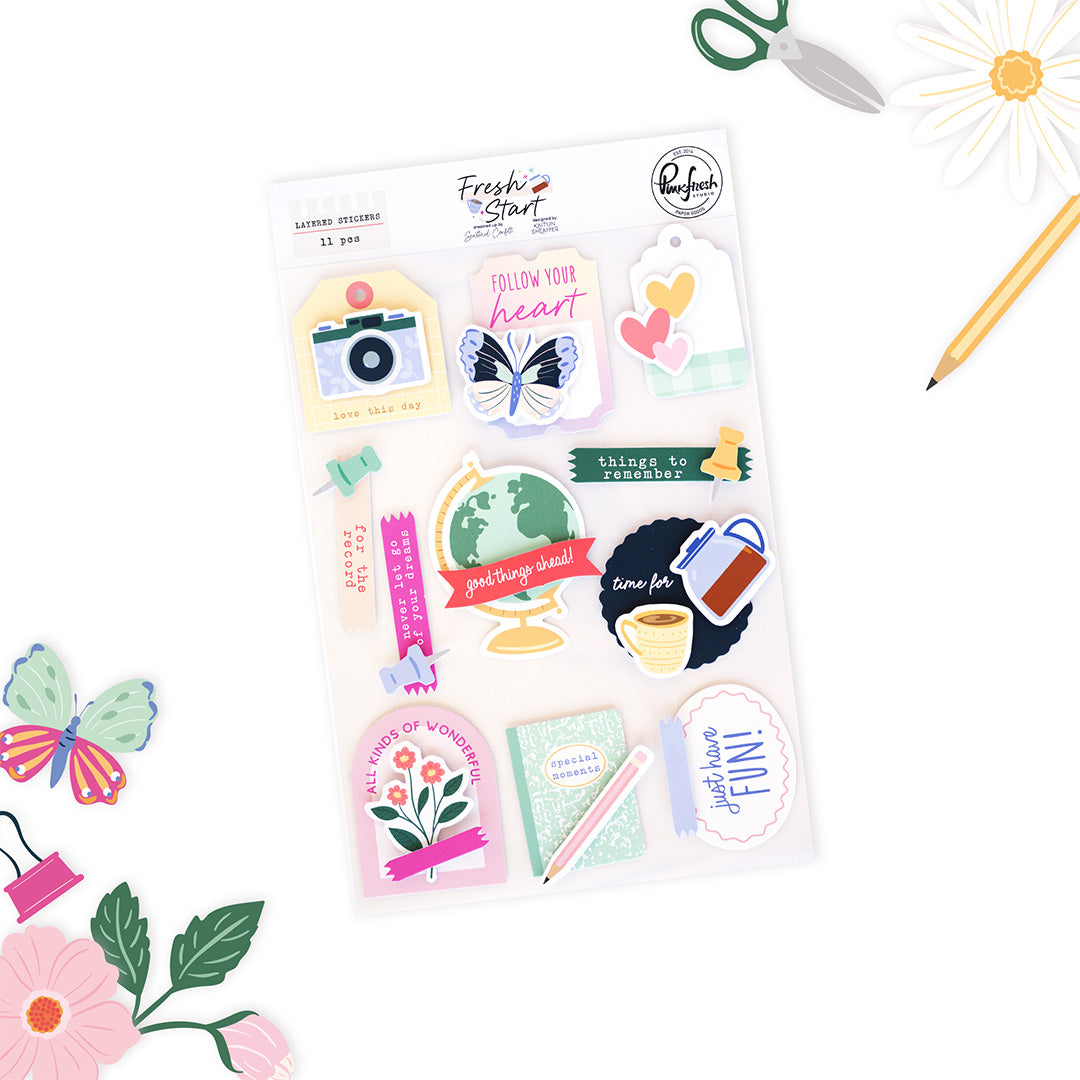
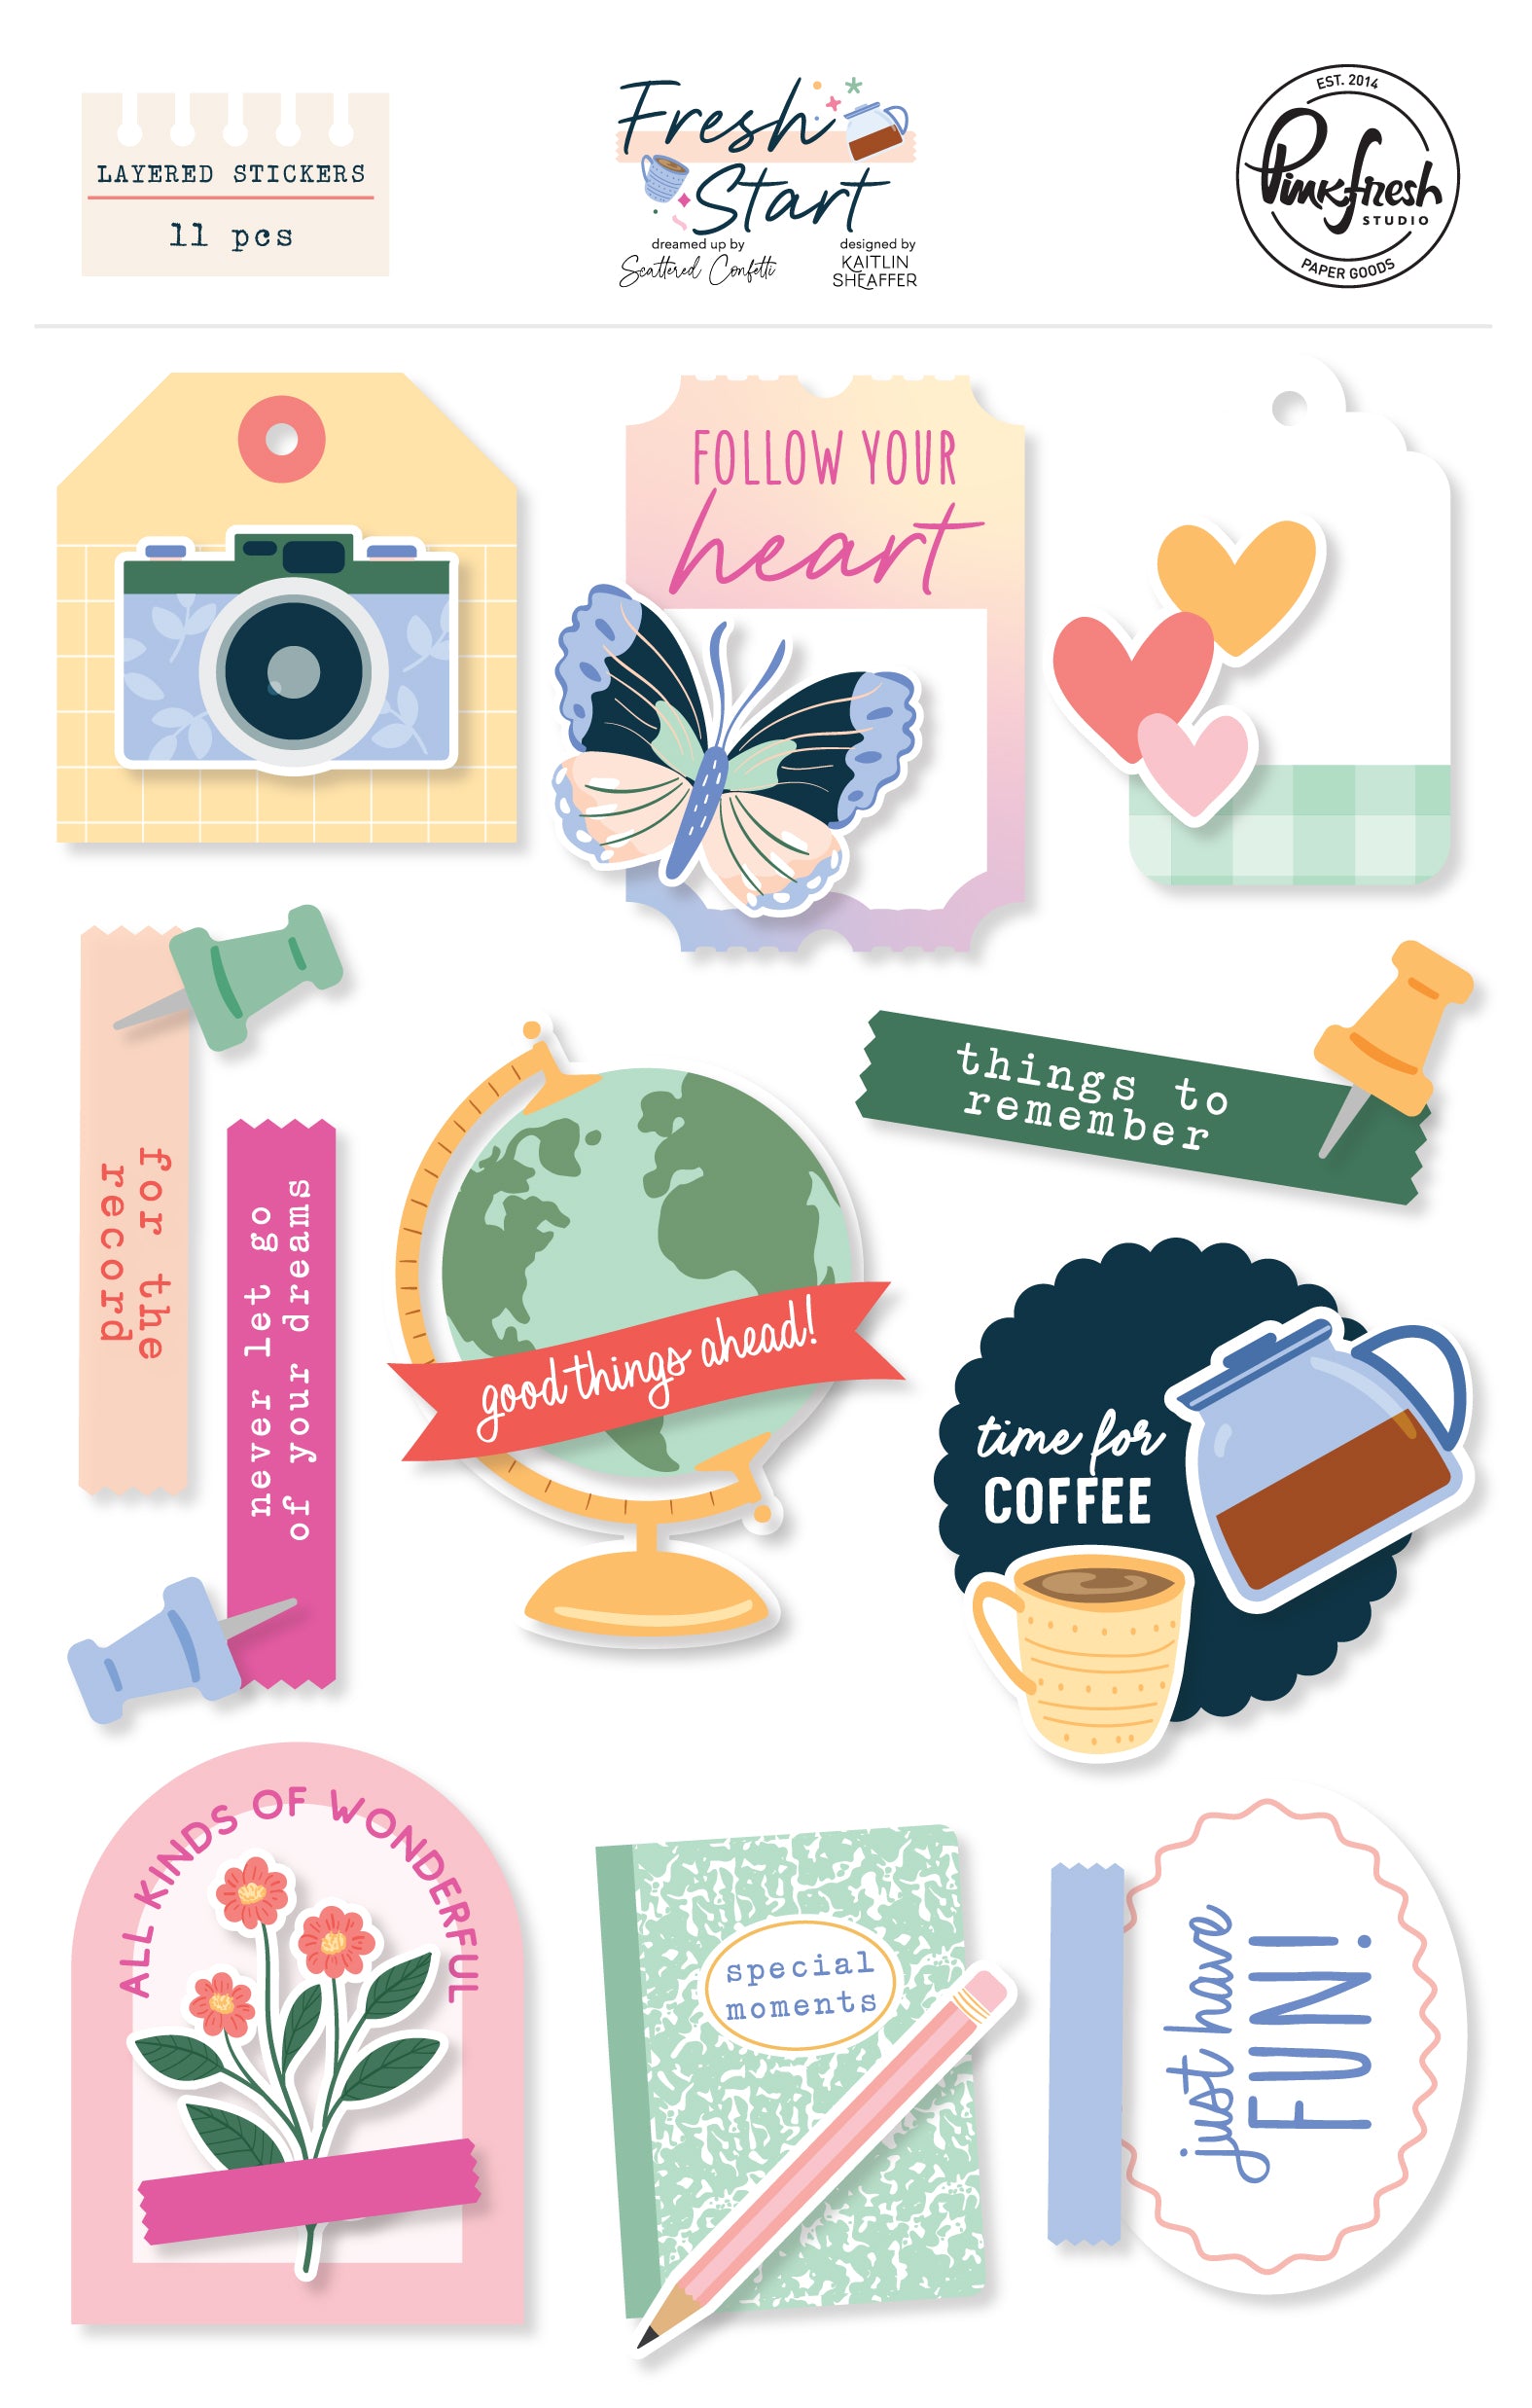


Fresh Start: Layered Stickers
Sale price$6.00
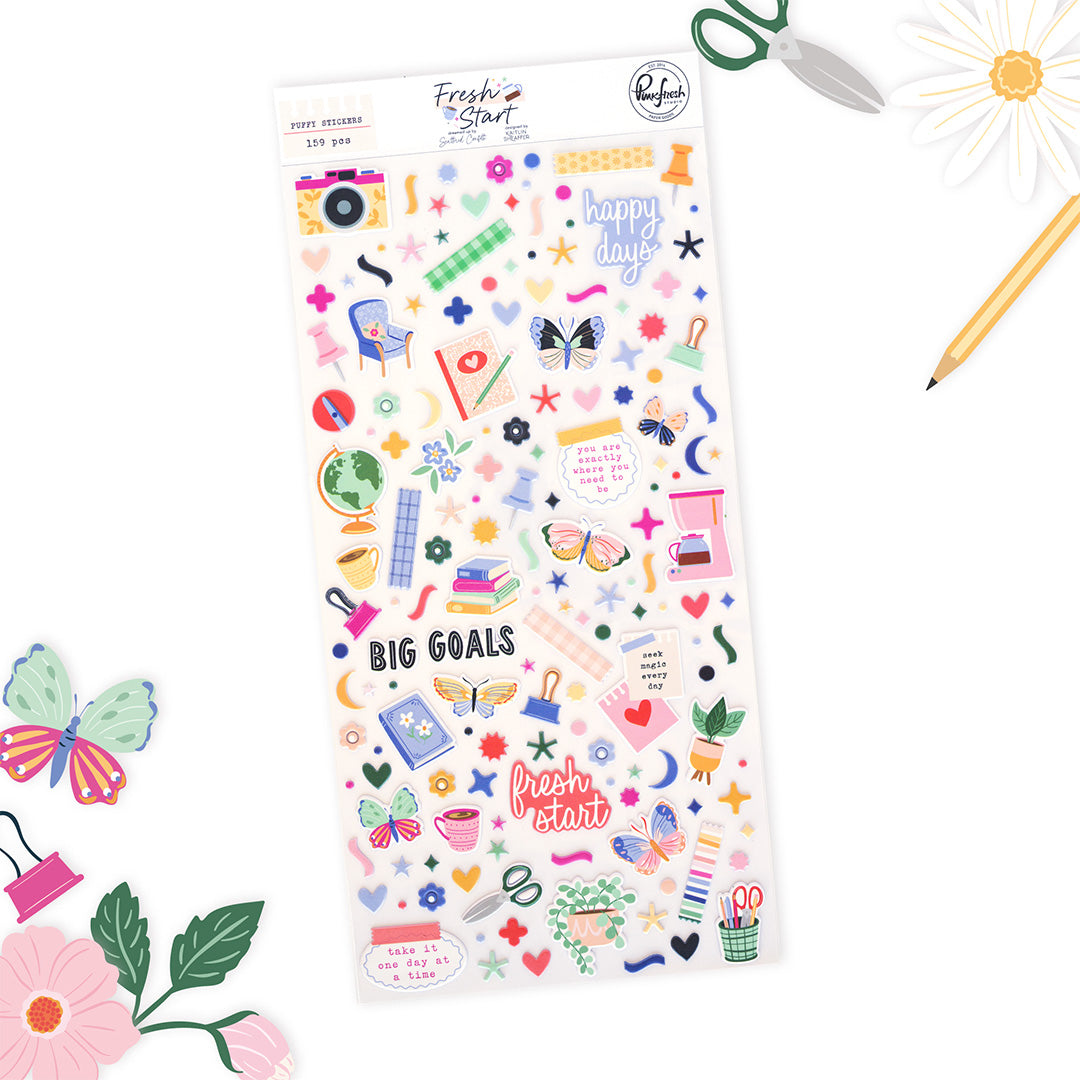
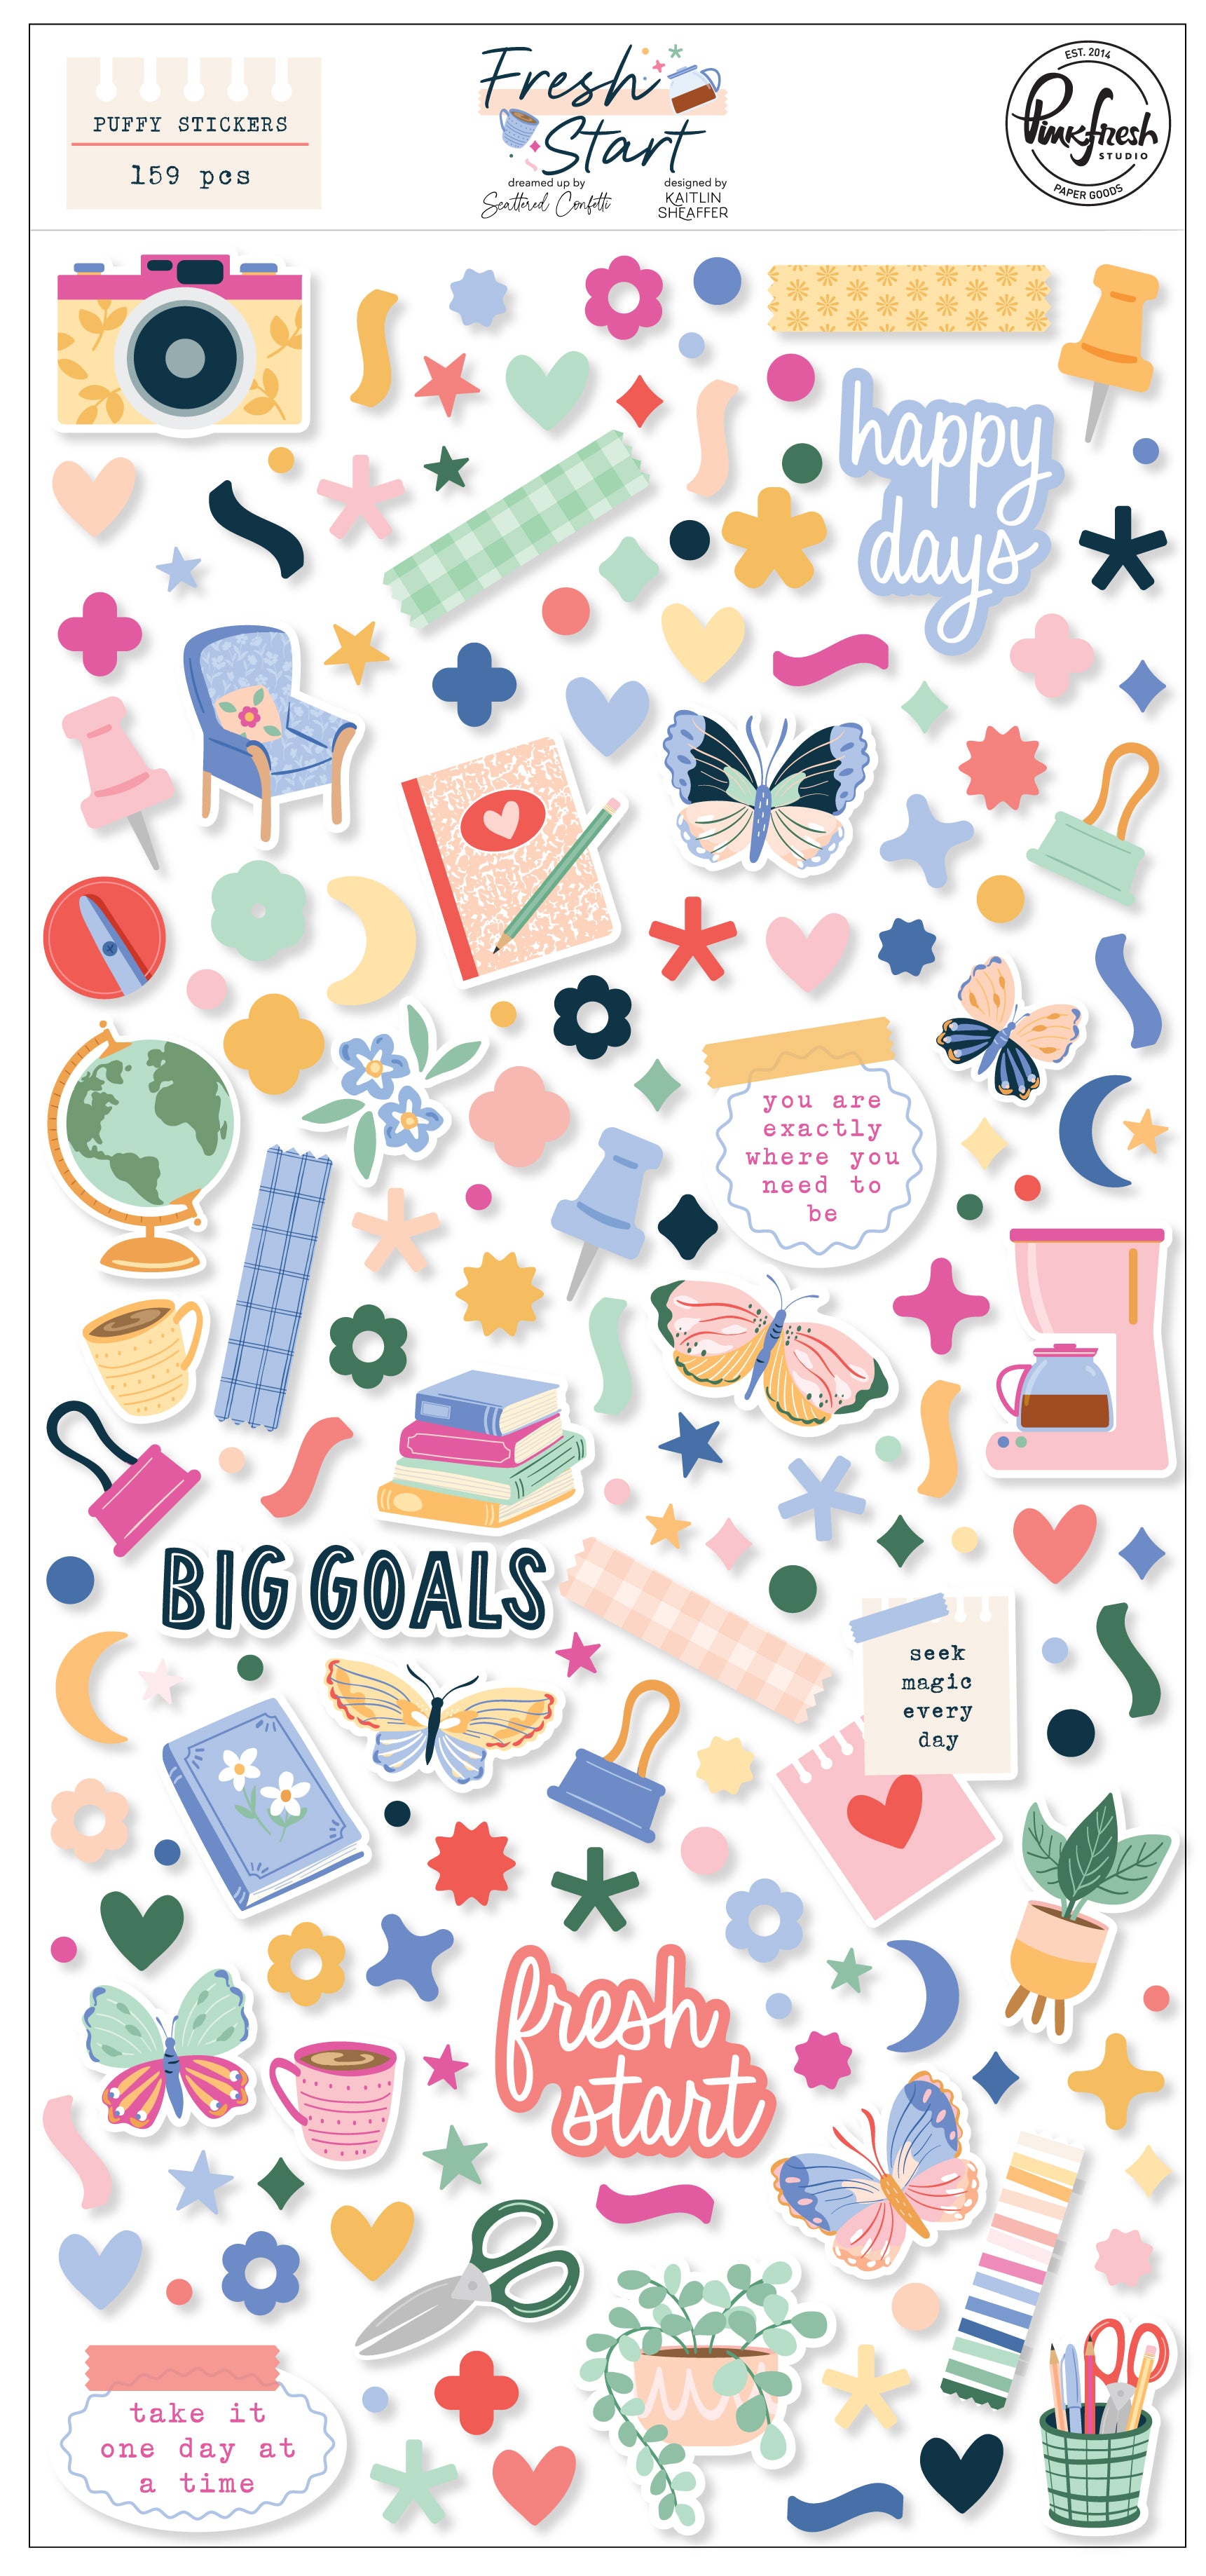


Fresh Start: Puffy Stickers
Sale price$5.50


Precision Clear Craft Glue .5 oz
Sale price$5.00


Precision Clear Craft Glue 2 oz
Sale price$10.00

Leave a comment
All comments are moderated before being published.
This site is protected by hCaptcha and the hCaptcha Privacy Policy and Terms of Service apply.