Floral Rainbow | Susi Becerra
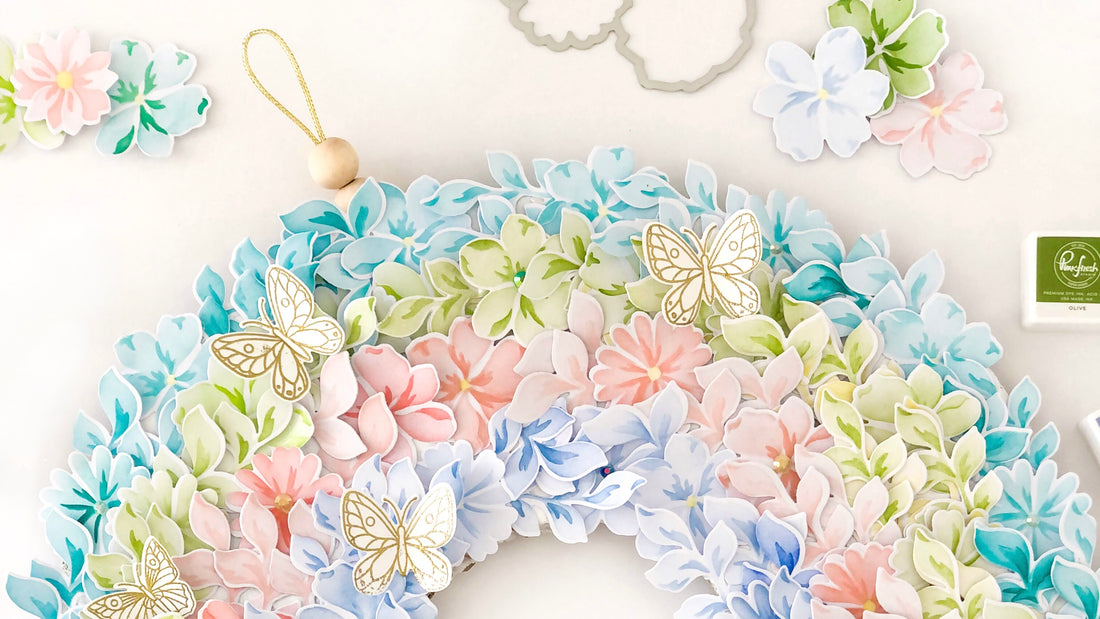
Hello friends! It's Susi here on scrapbook Blog Pinkfresh Studio. I'm so excited to share this super fun and amazingly cute DIY with you today!. Who doesn't love rainbows? This DIY rainbow is very easy to make so if you have few hours free, definitely give it a try.
Let's take a look at how we can make it.

1. THE BASE
Draw a rainbow on a cardboard to create a base for your flowers and leaves. My rainbow measured 14 1/2 inches wide by 10 1/2 inches high.
It can be as big or small as you would like. You could do this any size. Next you'll cut out your cardboard out. Using white acrylic paint you'll paint the base of the rainbow. Probably you'll need to apply two coats of paint. This way the base looks nice.
2. PREPARING YOUR MATERIALS: Flowers and leaves
Now we are going to use the gorgeous layering stencils from Pinkfresh Studio and the ink cubes. First, choose your favorite colors for your rainbow. I used four colors: turquoise, green, coral and blue. Inks used:
Tidal Pond, Olive, Coral Reef and Slumber
Create a lot of flowers and leaves using the Brighter Days Layering Stencils with your favorite colors. I used the same ink color for each stencil intensifying the color with each layer. It takes awhile and you will need more than you think.
Once you've finished your flowers and leaves ( four or five hours later hahaha) cut all of them using the Brighter Days die.
Be patient! The hard work is already done! YAY!
3. CREATING THE RAINBOW
Now, you gotta cut a lot of flowers and leaves, start by attaching them with a hot glue. Continue adding more and more flowers and leaves filing the rainbow completely.
TIP: Start with the outer most stripe on the rainbow and then more inward.
You have already finished!


When you are happy with your final rainbow, flip it over and attach a piece of ribbon or twine as a hook. I used a hot glue and a piece of felt to secure my twine.
4. OPTIONAL.
If you want your rainbow looks great you can added tassels, pompons, ribbons...
I made a lot of tassels using yarn and also added butterflies using the Small butterflies stamp set .


Congrats! Your rainbow is finished! Now you can rest in on a shelf, mount it to the wall or even frame it with a shadow box (it depends on the size haha!). And that's it! Enjoy your floral rainbow. I hope you like it! Thanks for stopping by and have a great day! See you next time!


2 Comments
Wow. It’s brilliant idea. Looks like absolute fun. Makes me wanna try something like this soon.
Priya
https://simpleartcraft-tips.blogspot.com
Just STUNNING! Thank you for sharing!!!