
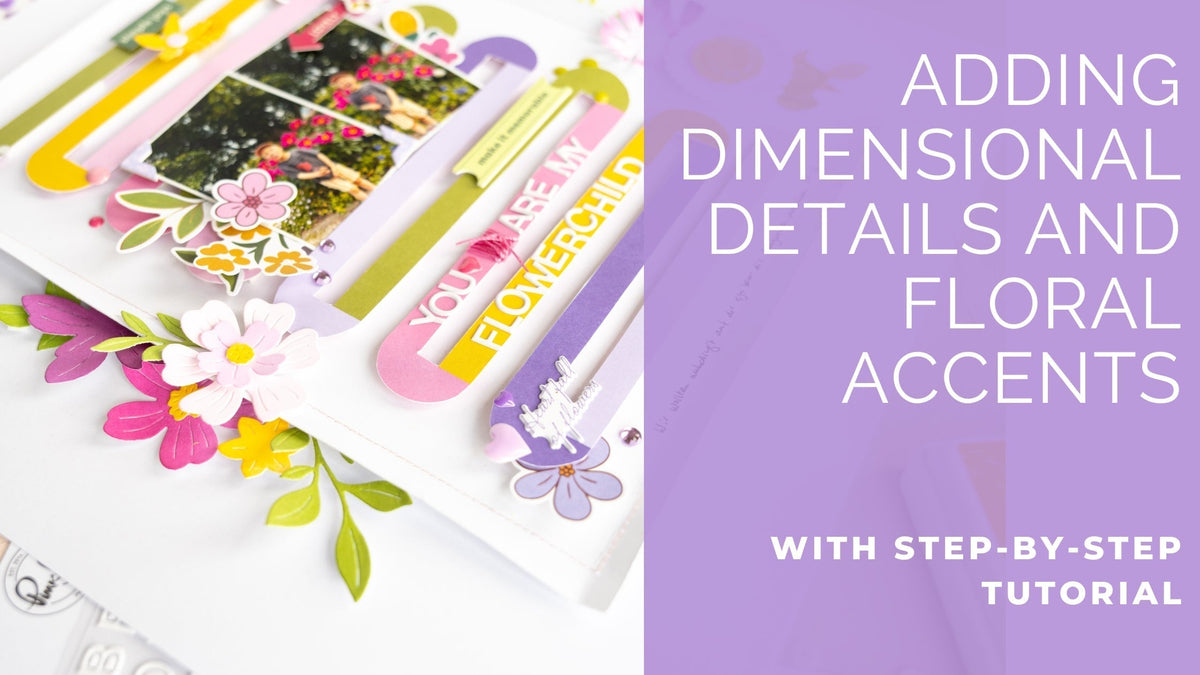
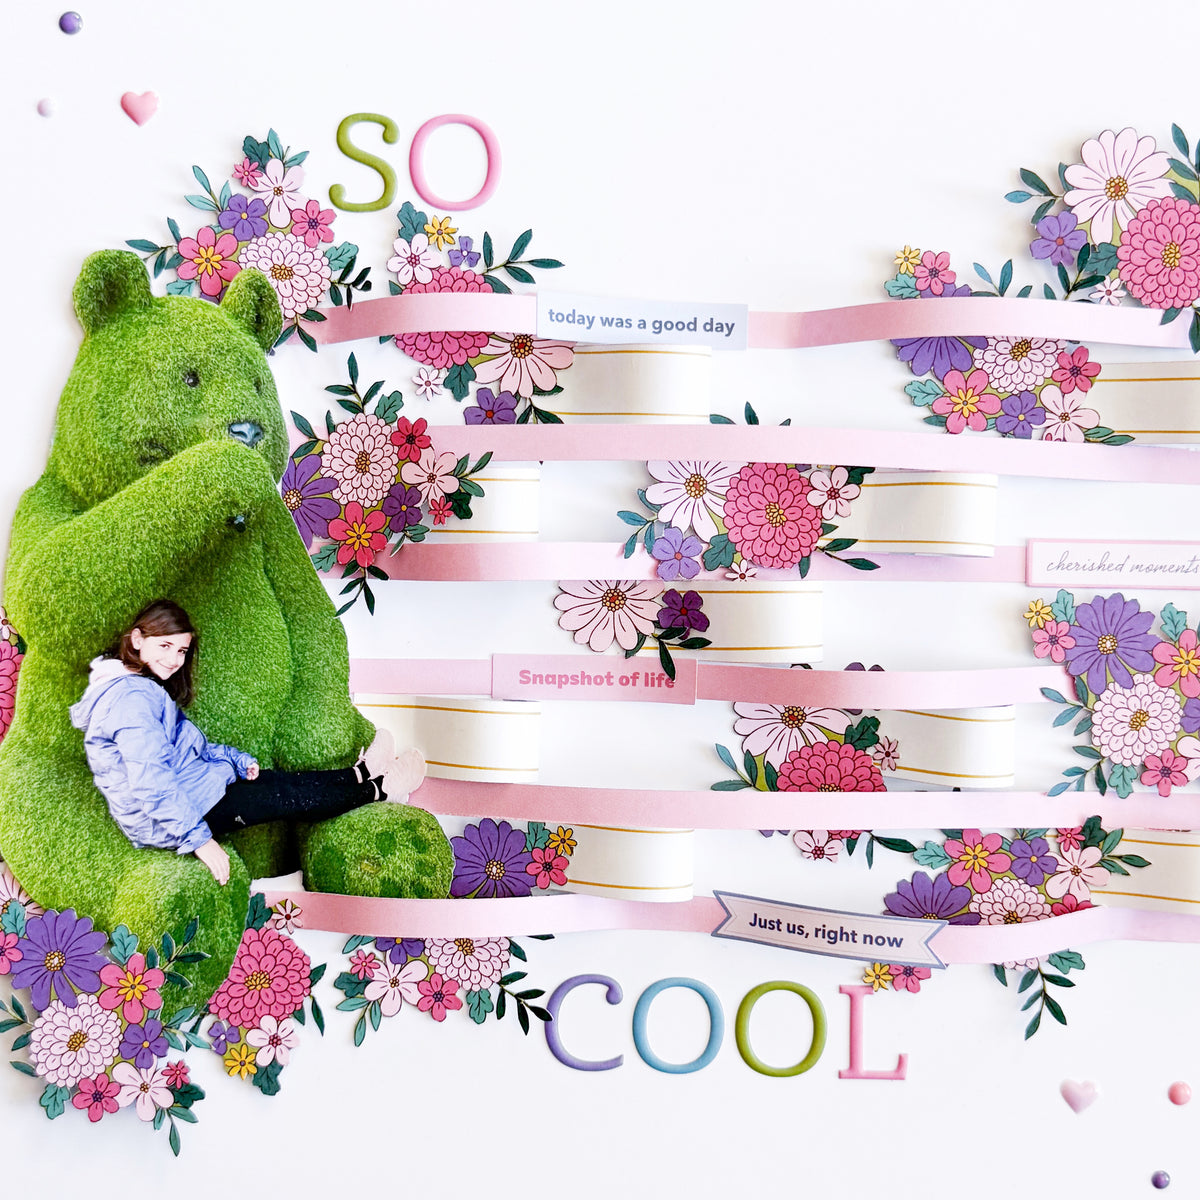
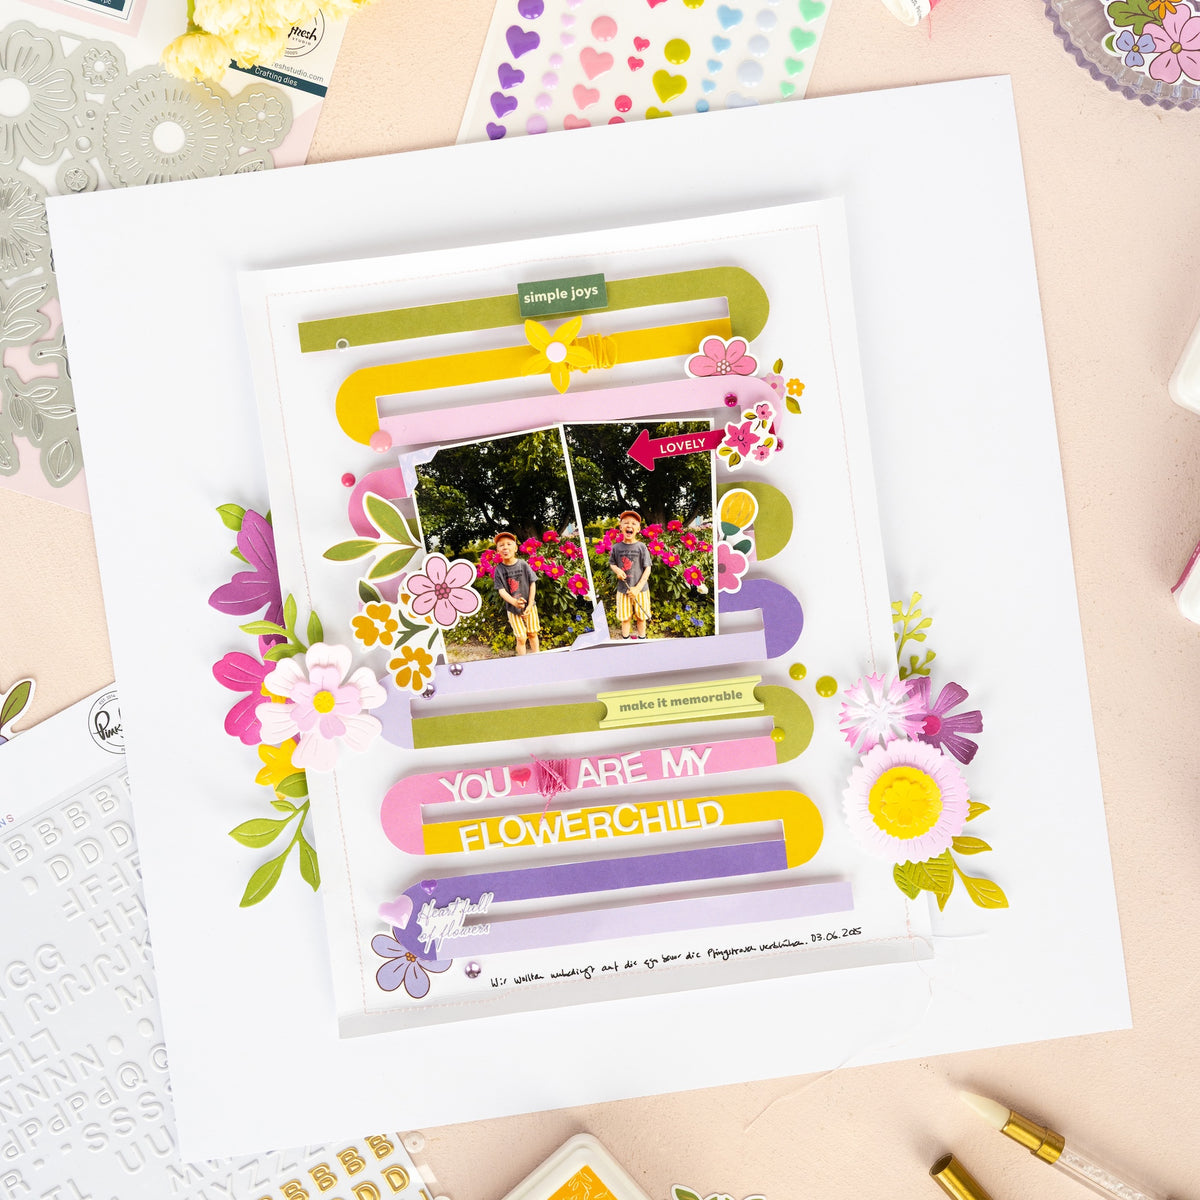
Hey friends! It's Kathleen here again and today I have a scrapbook layout made with the Lovely Lane collection for you. This was actually the first layout I created after months of only working on cards. The second I saw the wavy pattern on the "Life you Love" paper, I knew I wanted to fussy cut it!
I know, fussy cutting isn't for everyone, but I hope that you can still find some inspiration from this layout. For example, have you ever tried including cardmaking supplies in your scrapbooking?
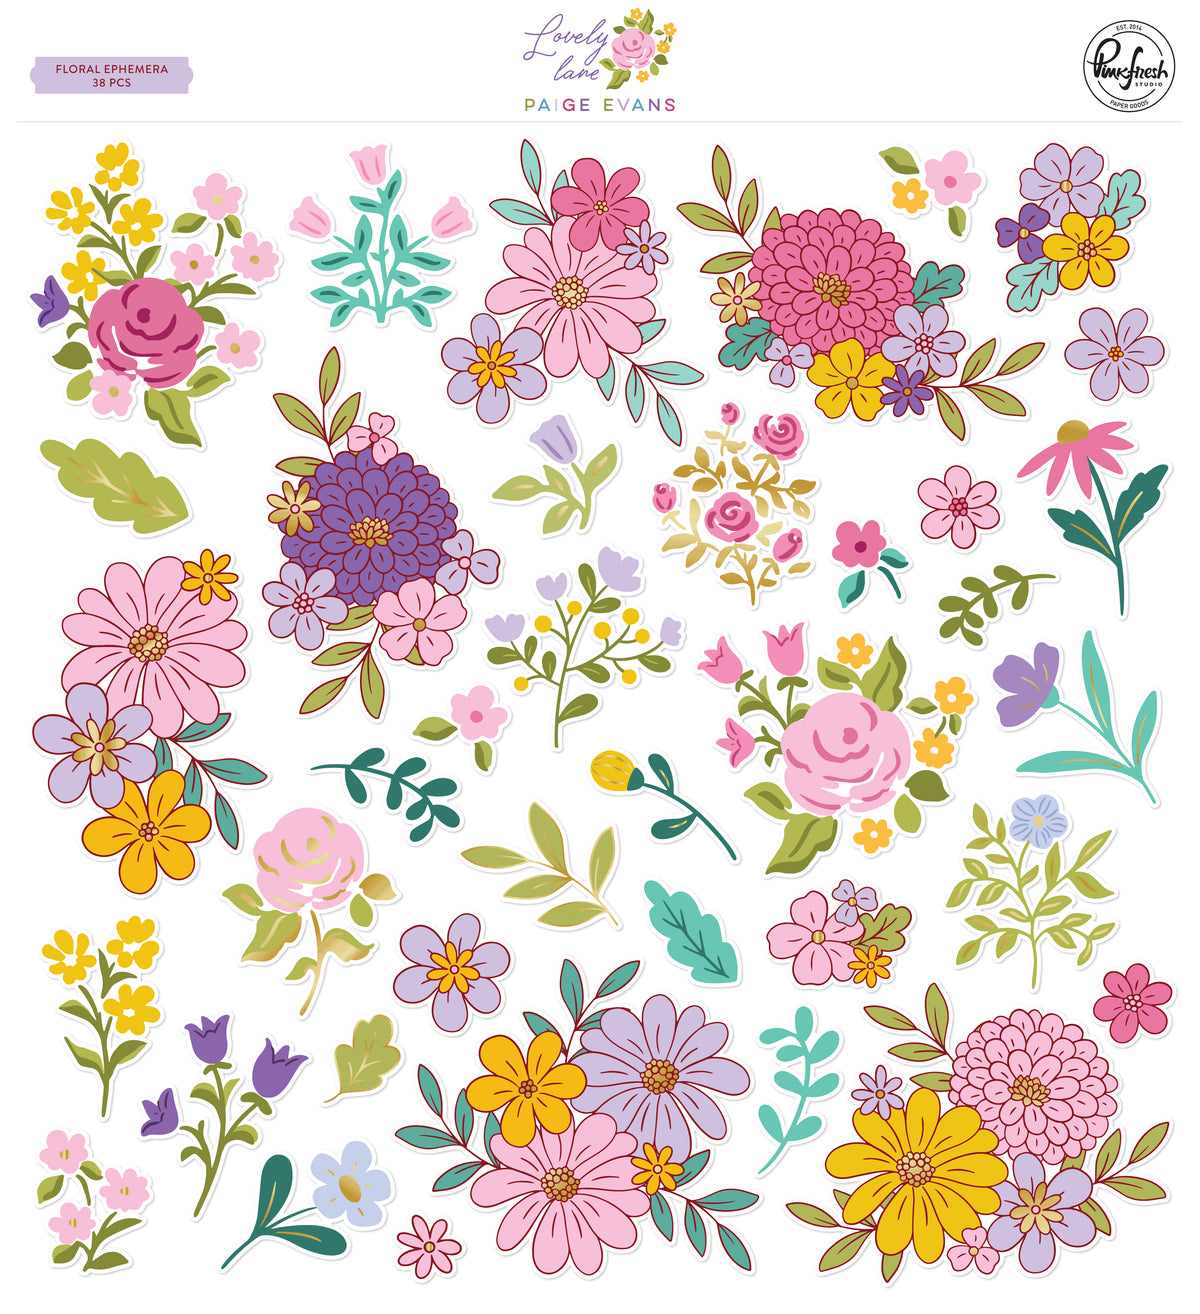
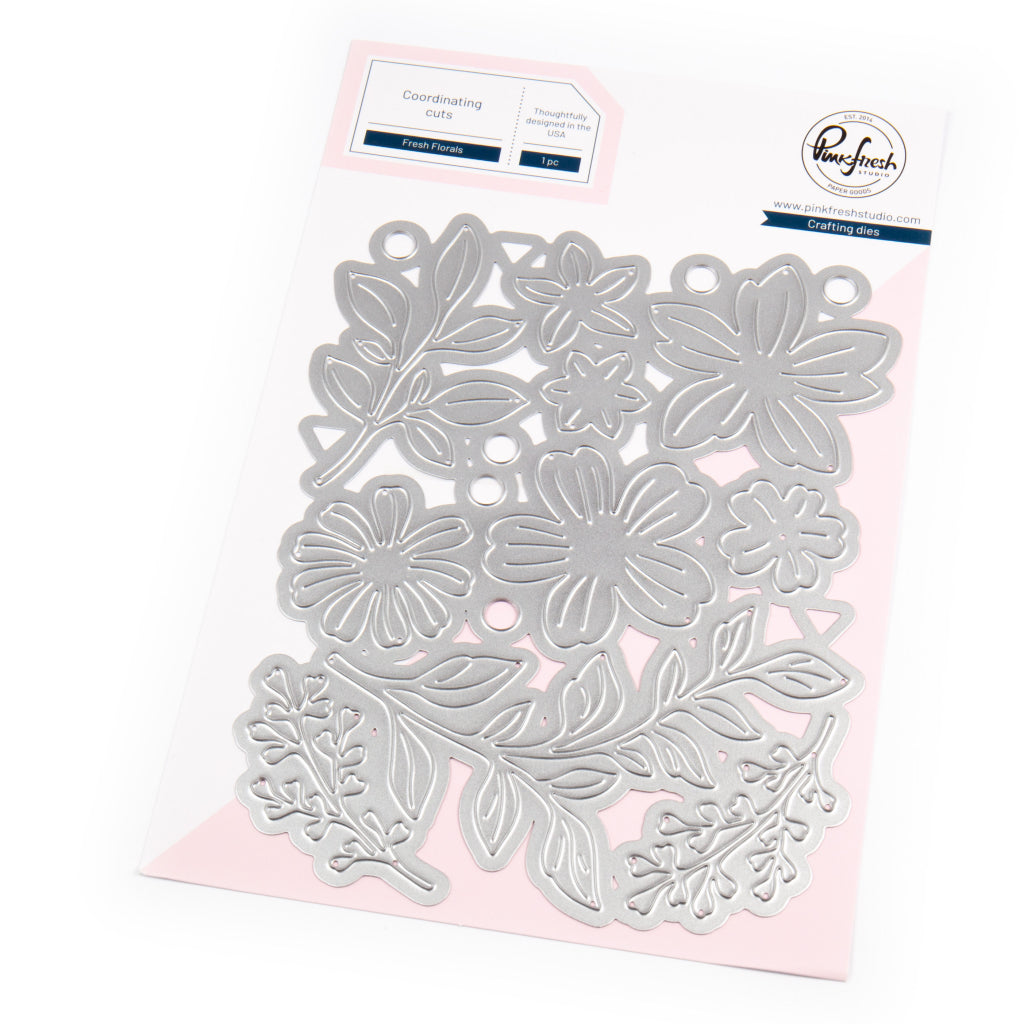
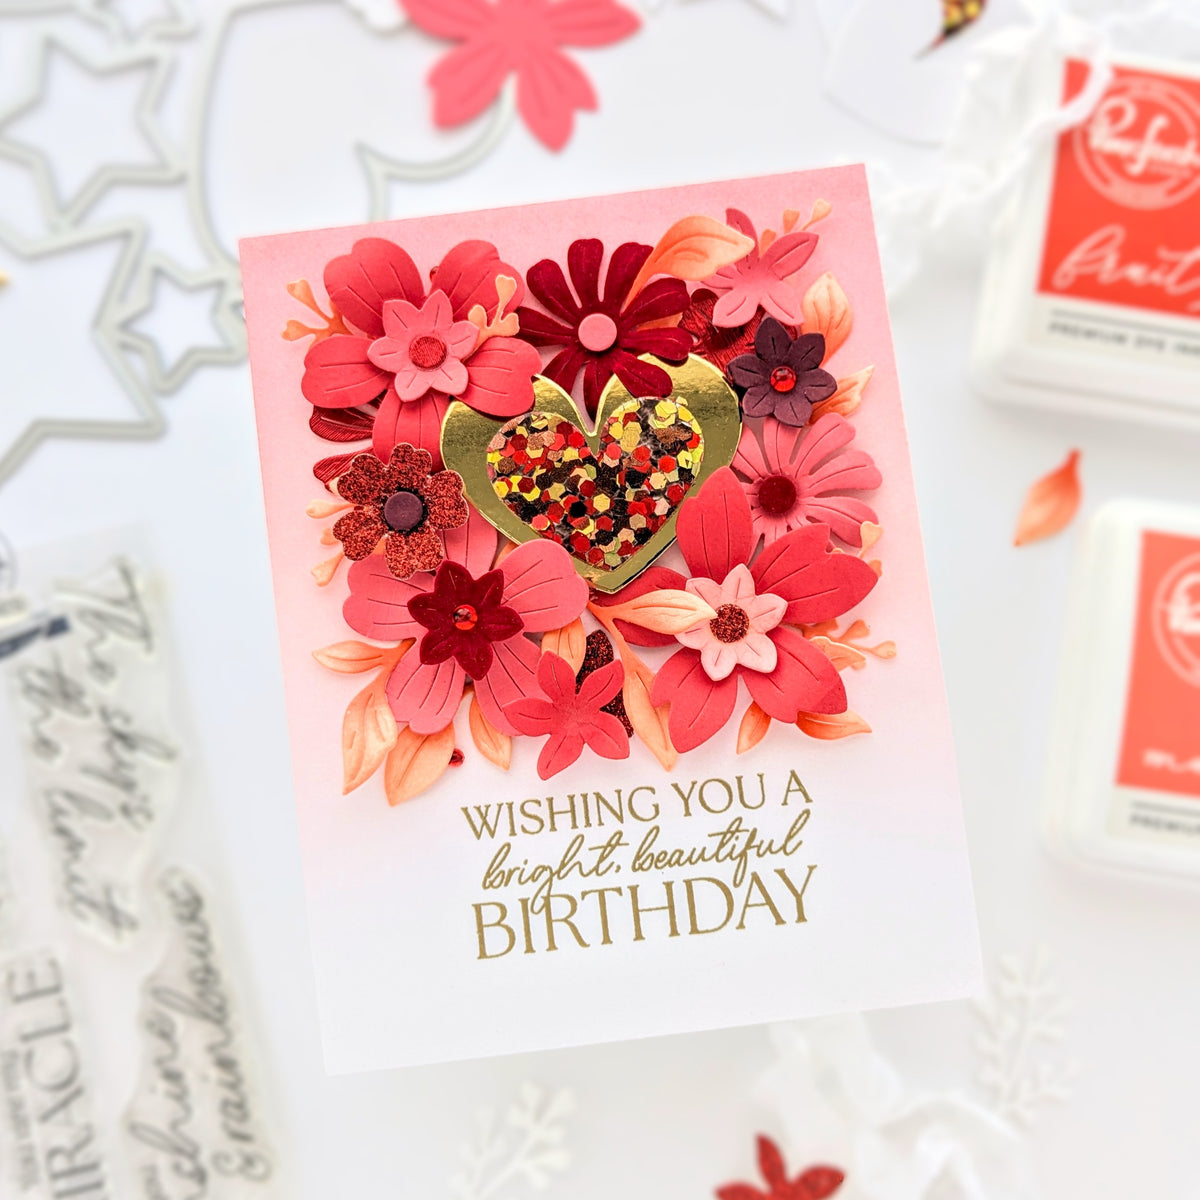
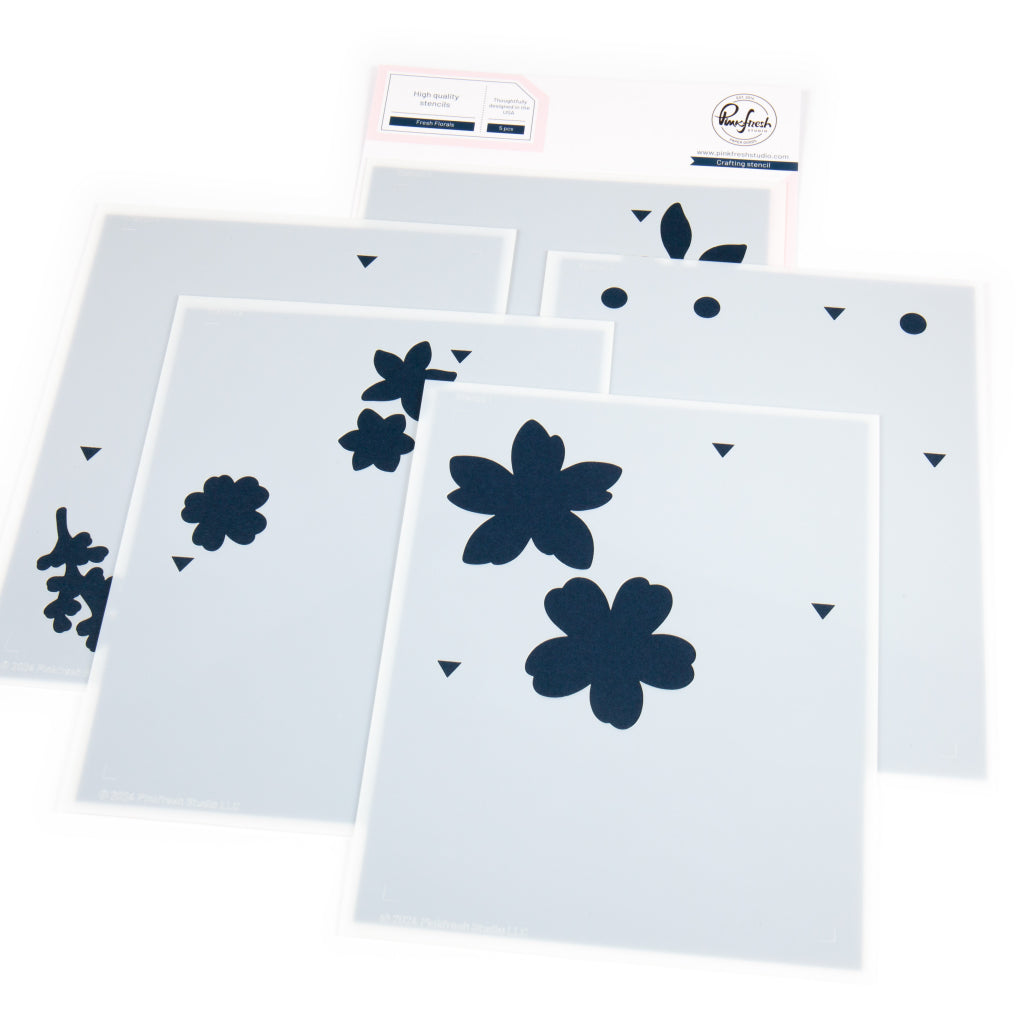
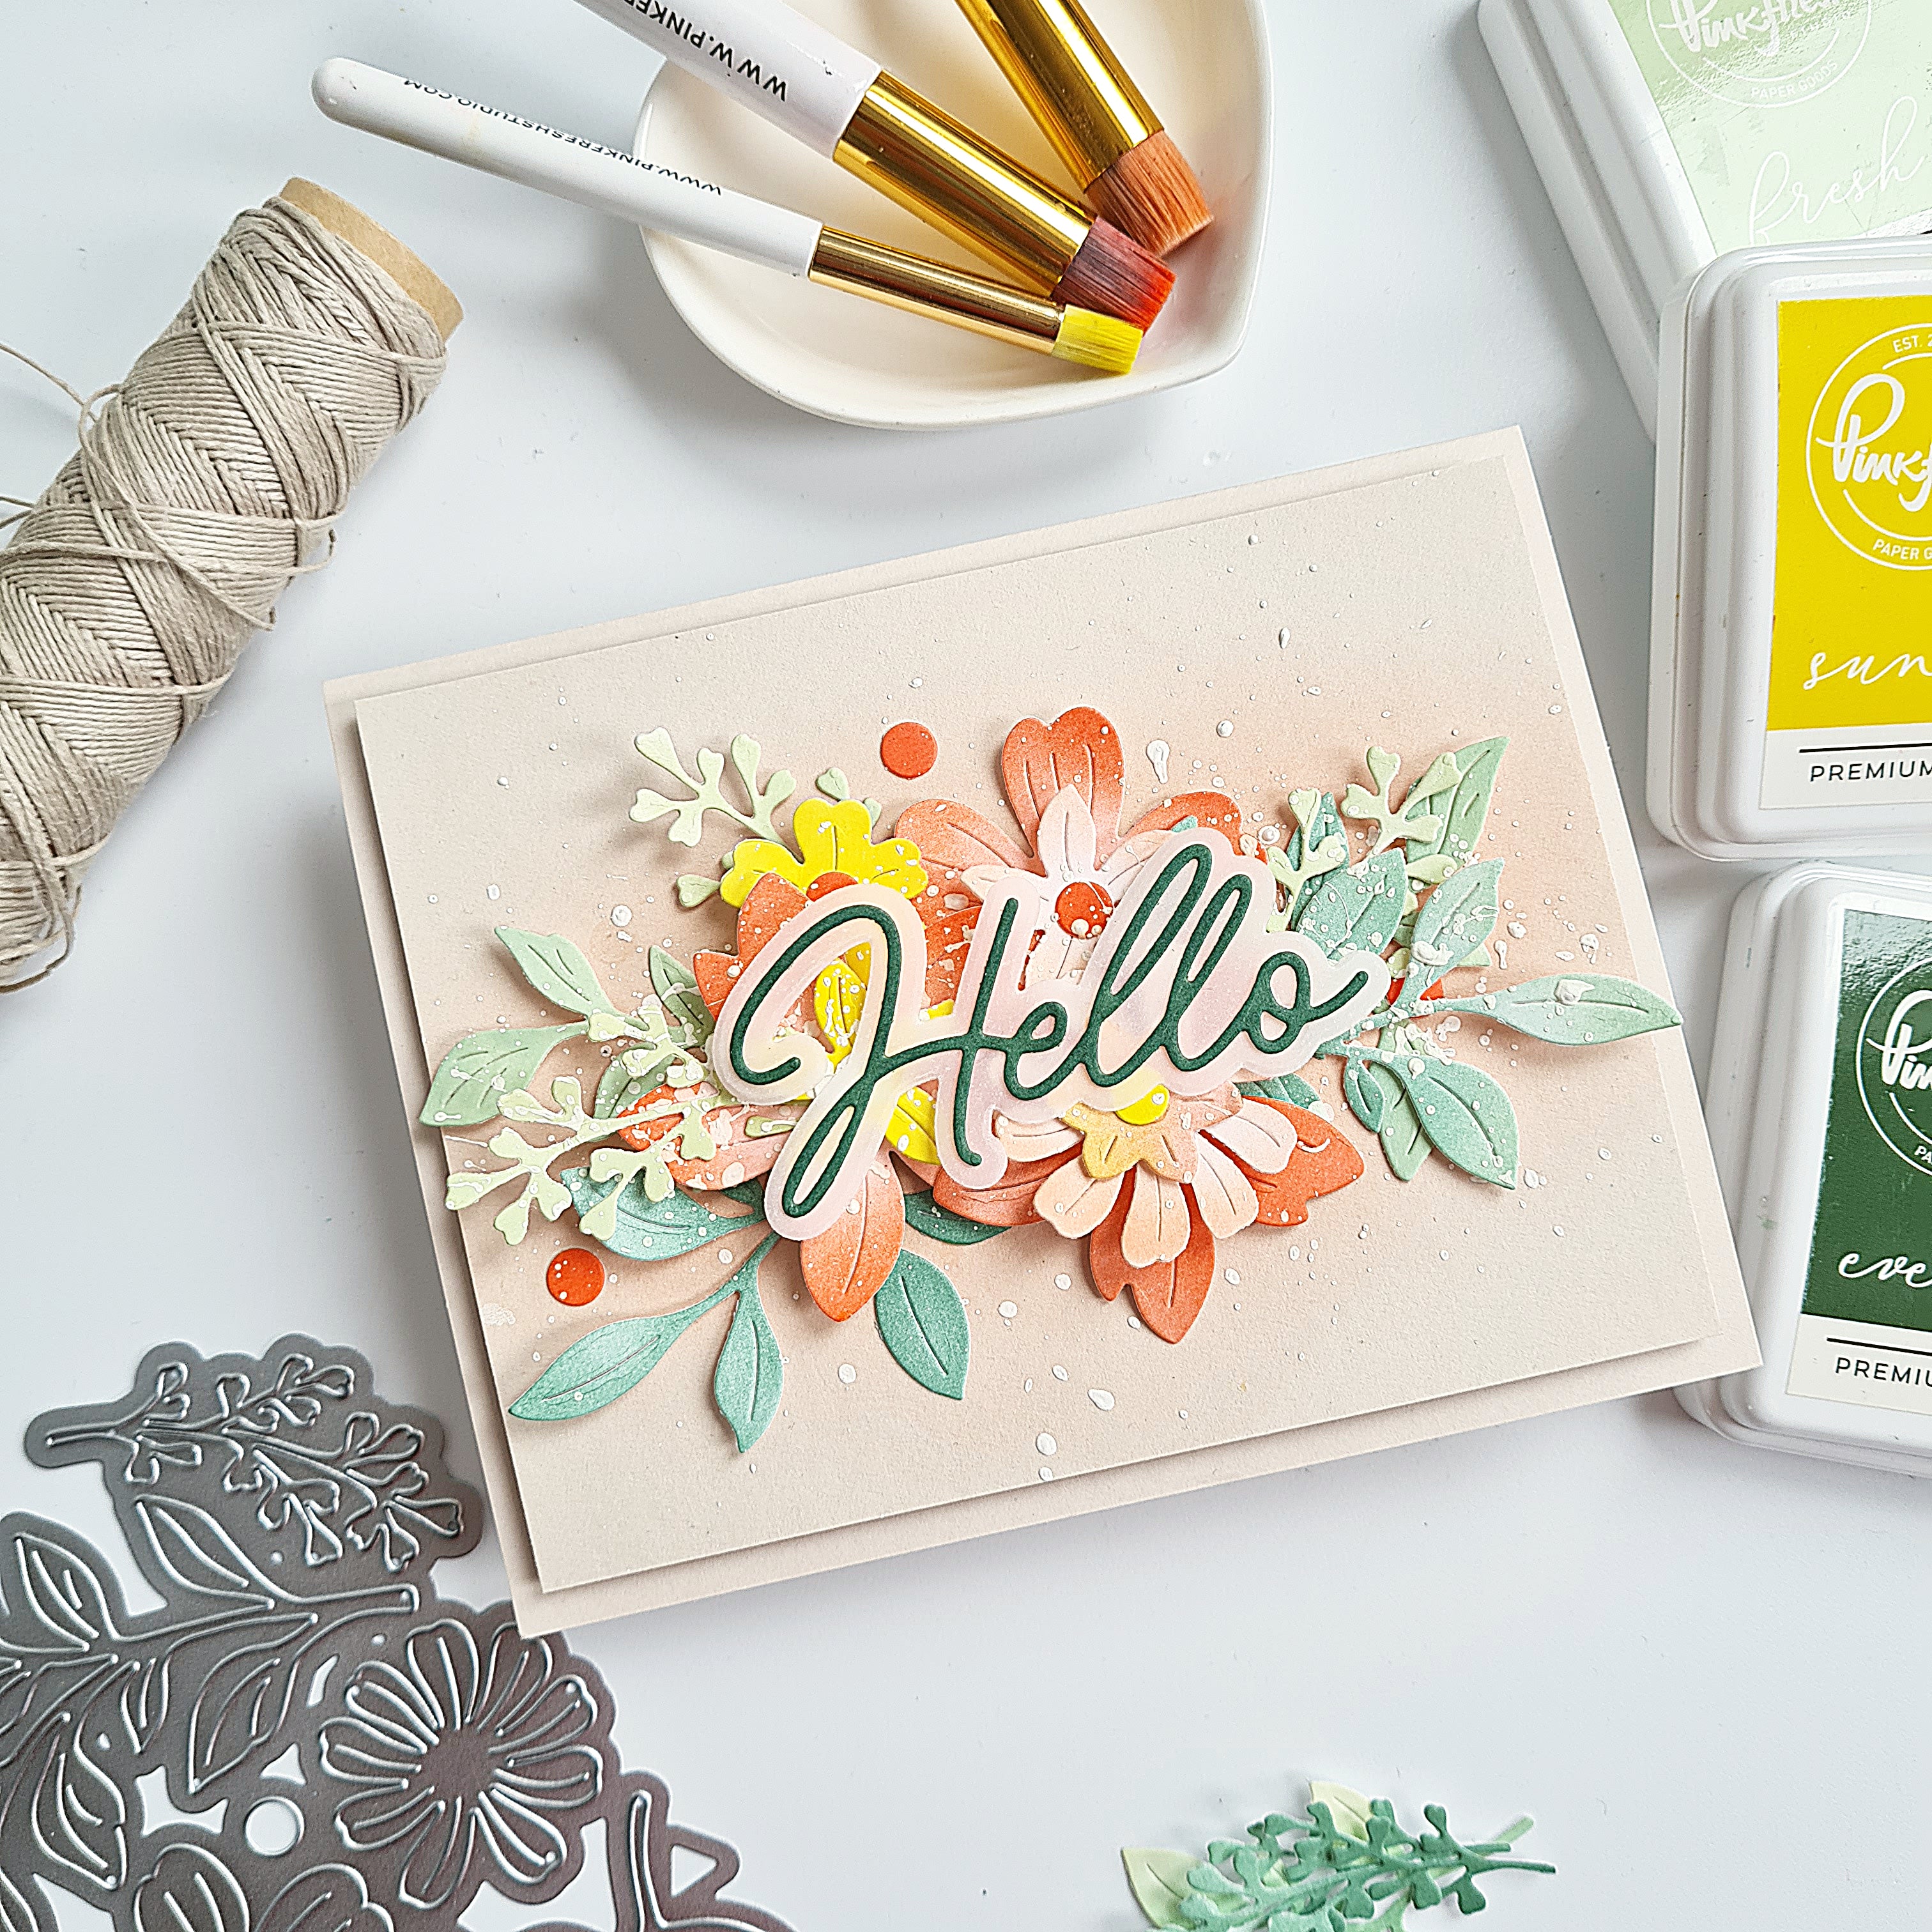
On this layout about my son (who enjoys looking at beautiful flowers just as much as I do), I wanted to include lots and lots of flowers without using up the whole pack of Floral Ephemera 😄. So I decided to make my own with the Fresh Florals & Garden Party stencil and die-only product suites and some inks!
* Disclaimer: All products used are linked below as clickable images. If a product isn't listed, it's been discontinued.


Let's take a look at how you can recreate this layout:
- Cut a piece of white cardstock to 7.5" x 9.5". Cut (2) pieces of white cardstock slightly larger than A2 size (4.25" x 5.5").
- Fussy cut the wavy pattern from the "Life you Love" paper from the 6"x8" paper pad. Optional: Wrap some color-coordinated twine around the fussy cut element in some places.
- Adhere it to the white cardstock piece using foam adhesive.
- Sew around the edges of the white cardstock with a matching color of thread, then curl up the edges for more dimension.
- Adhere the assembled panel centered onto a 12"x12" sheet of white cardstock, using foam adhesive. Tip: Leave some space between the adhesive & the outside edge so you can later tuck embellishments behind it.
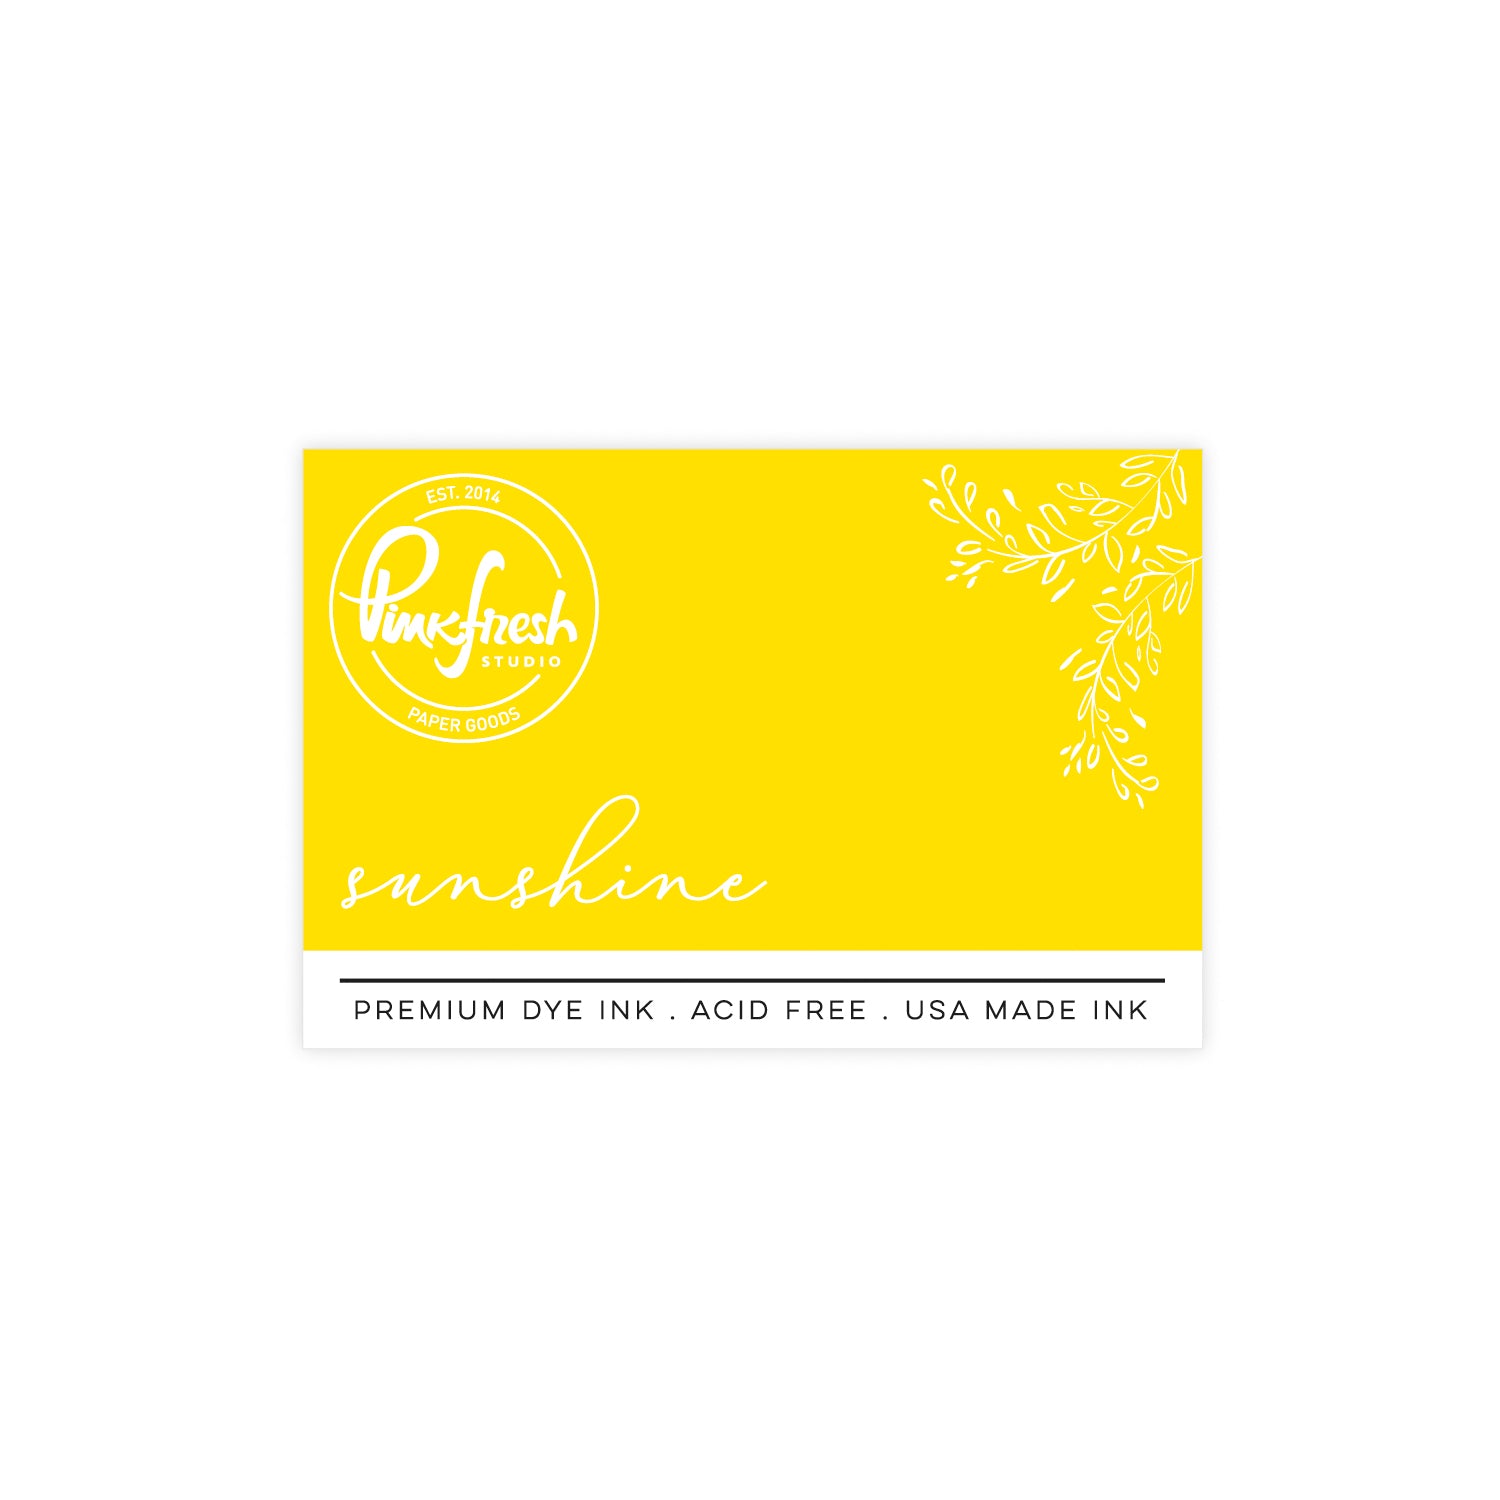
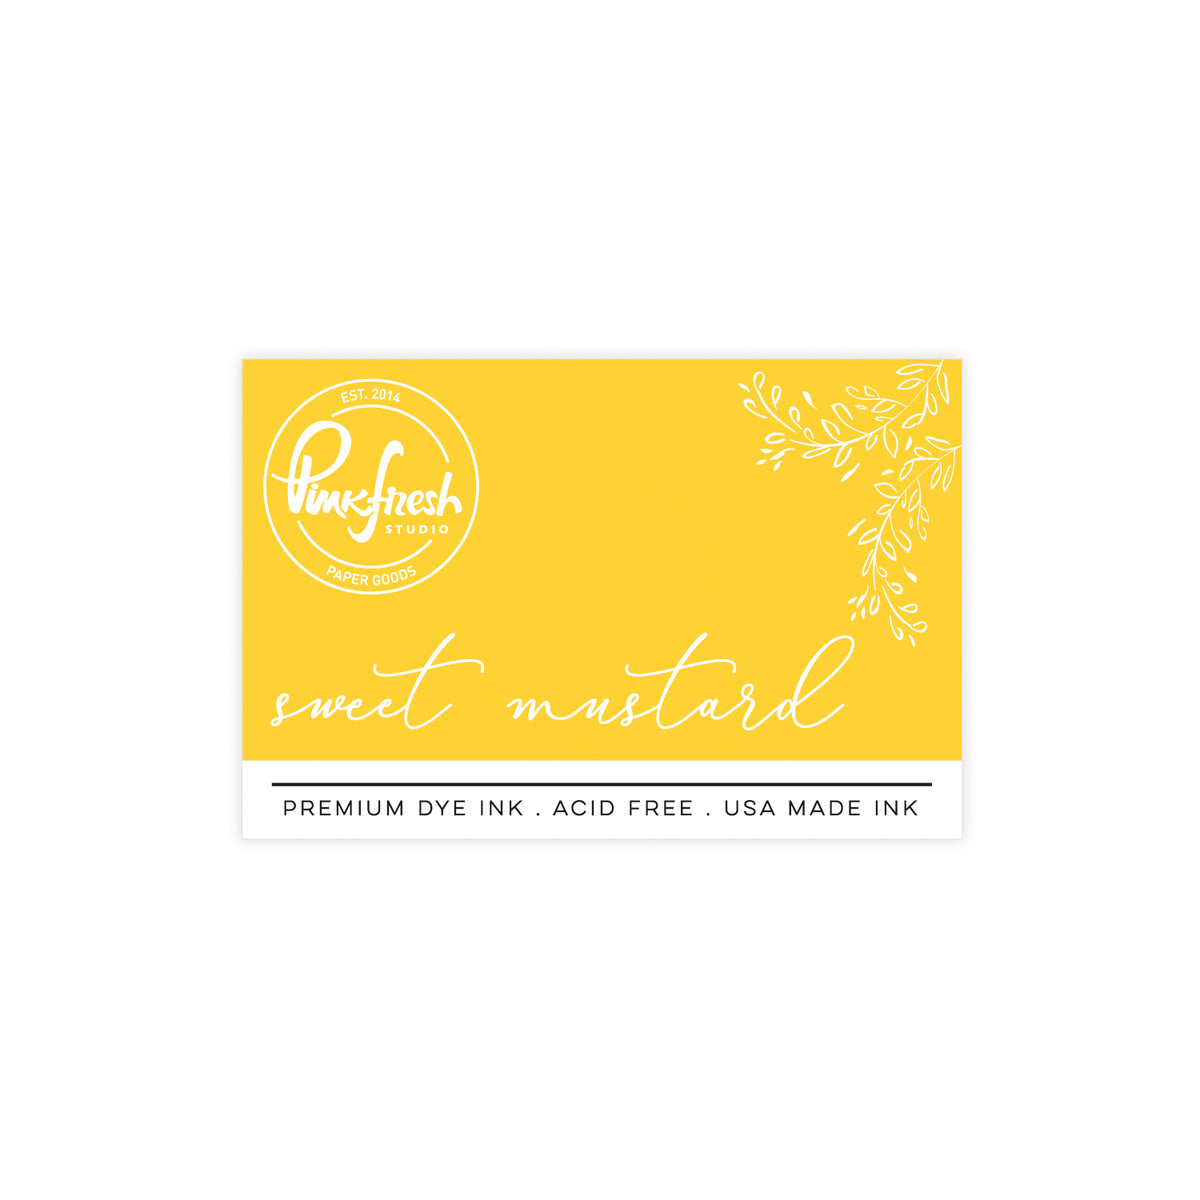
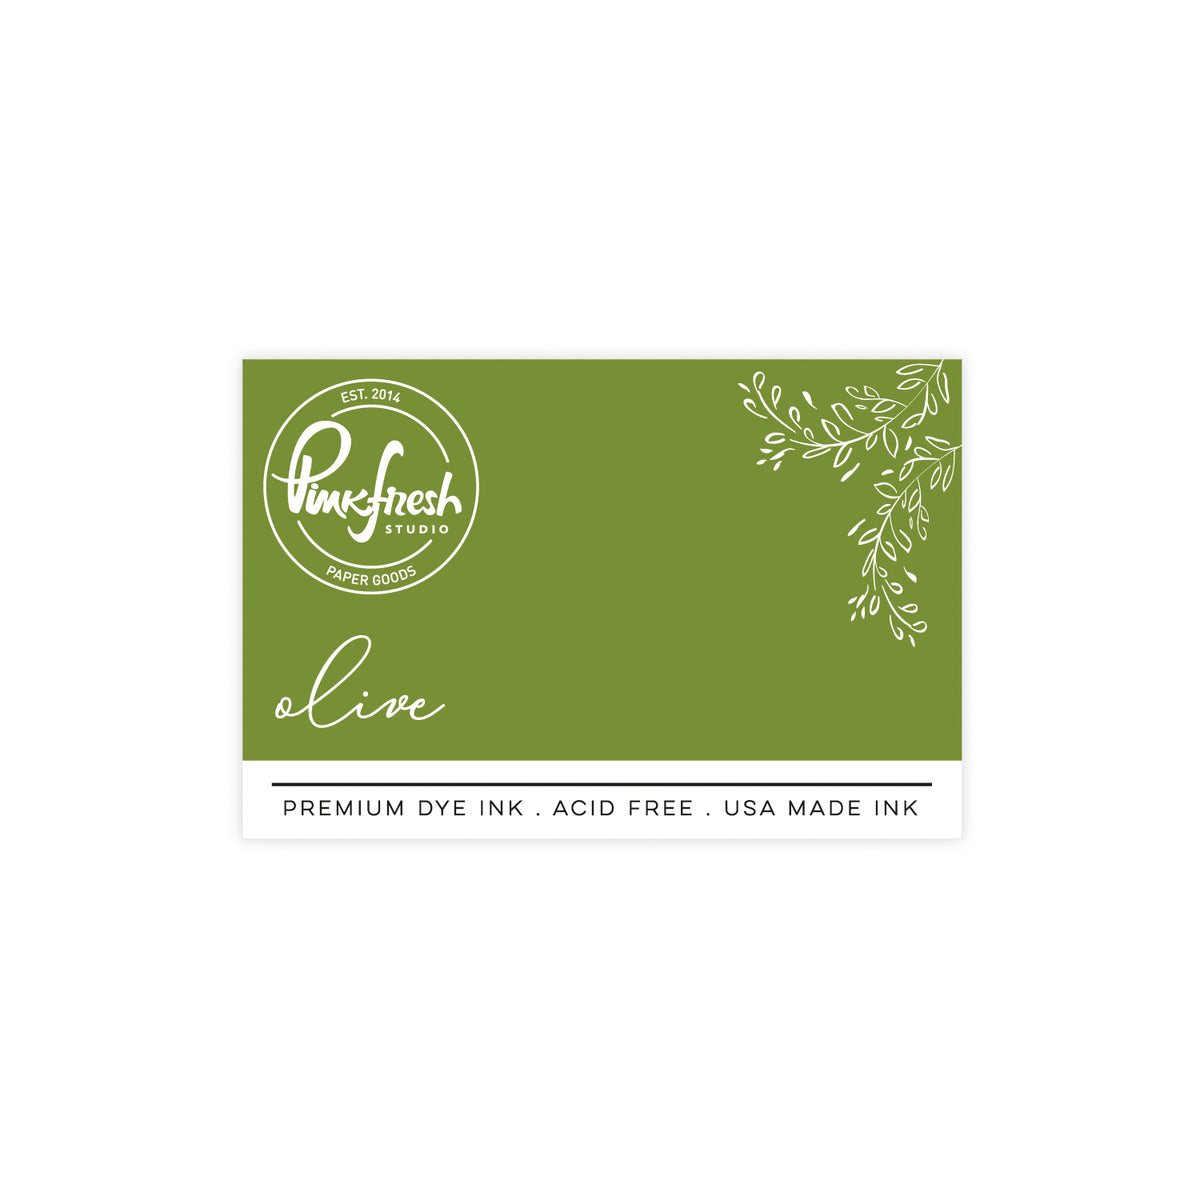
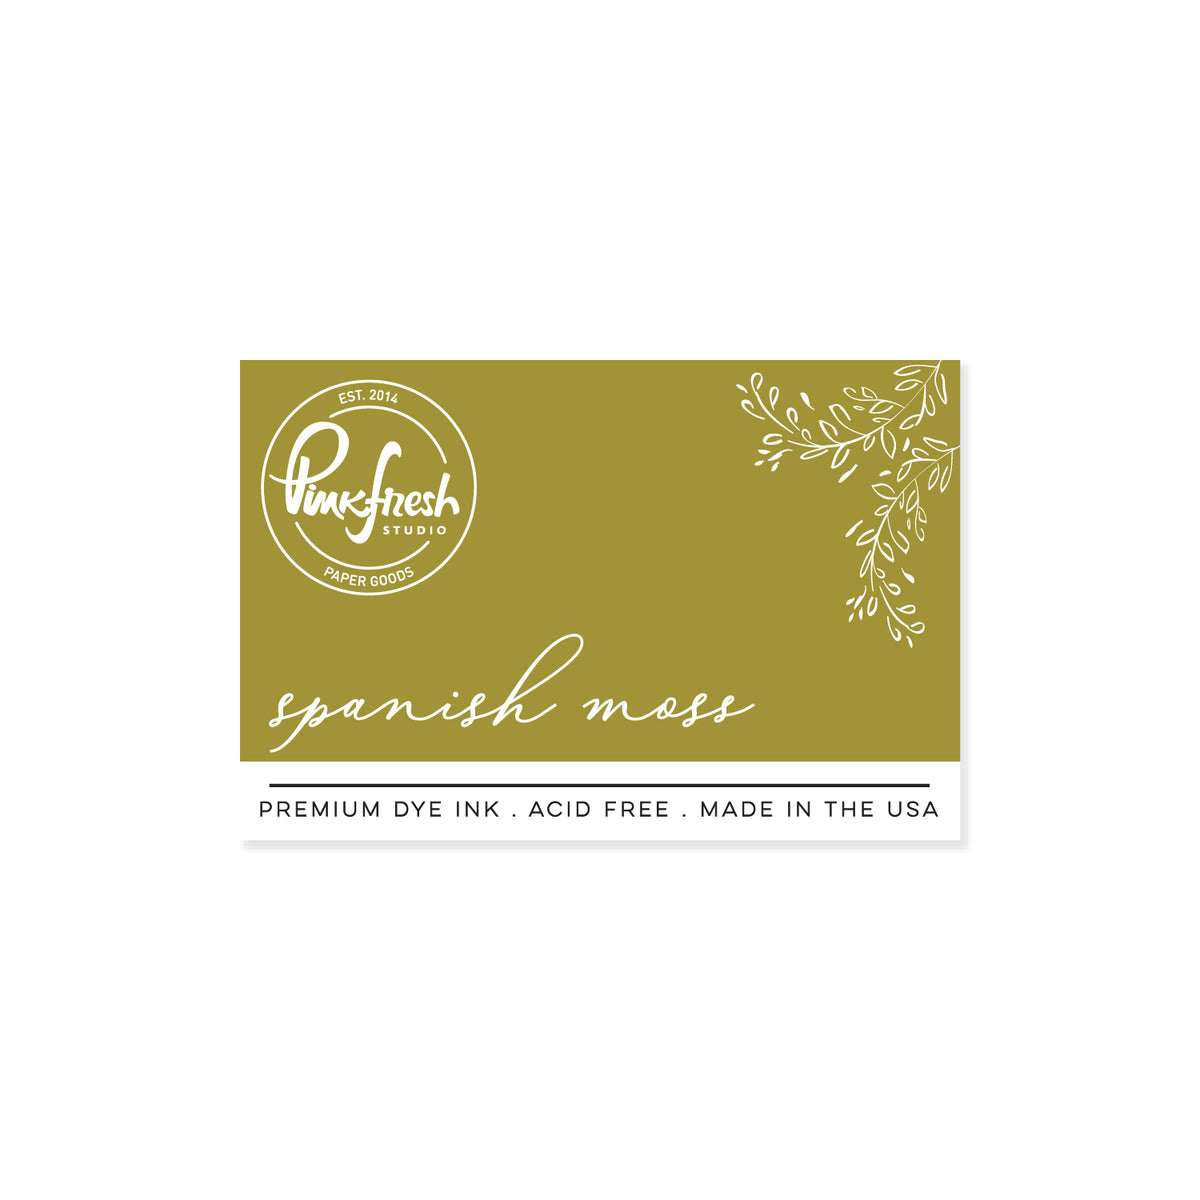
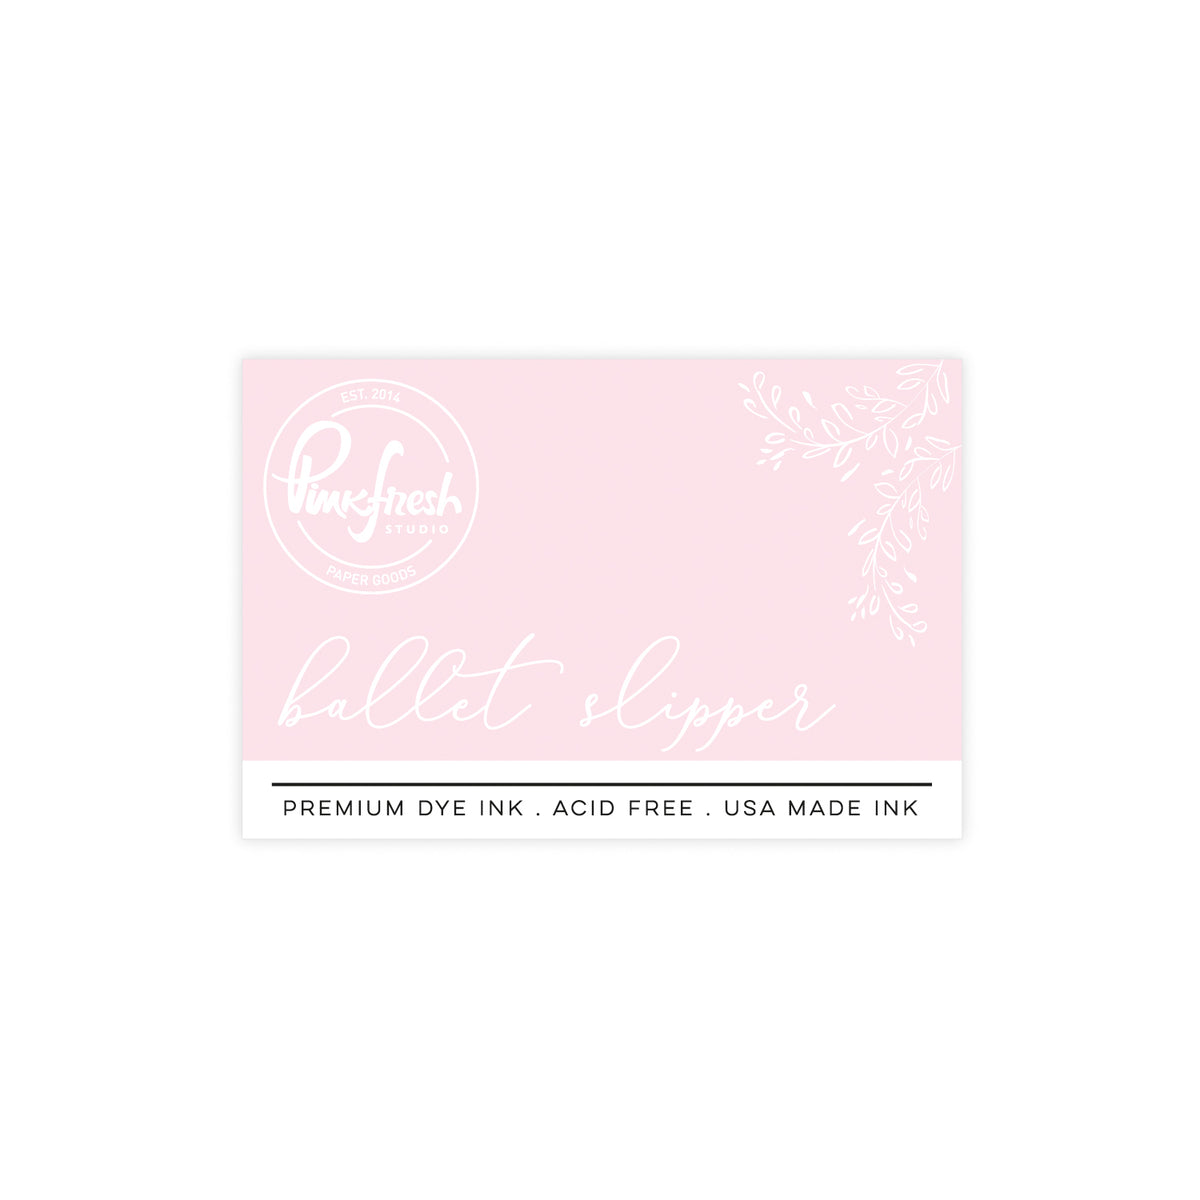
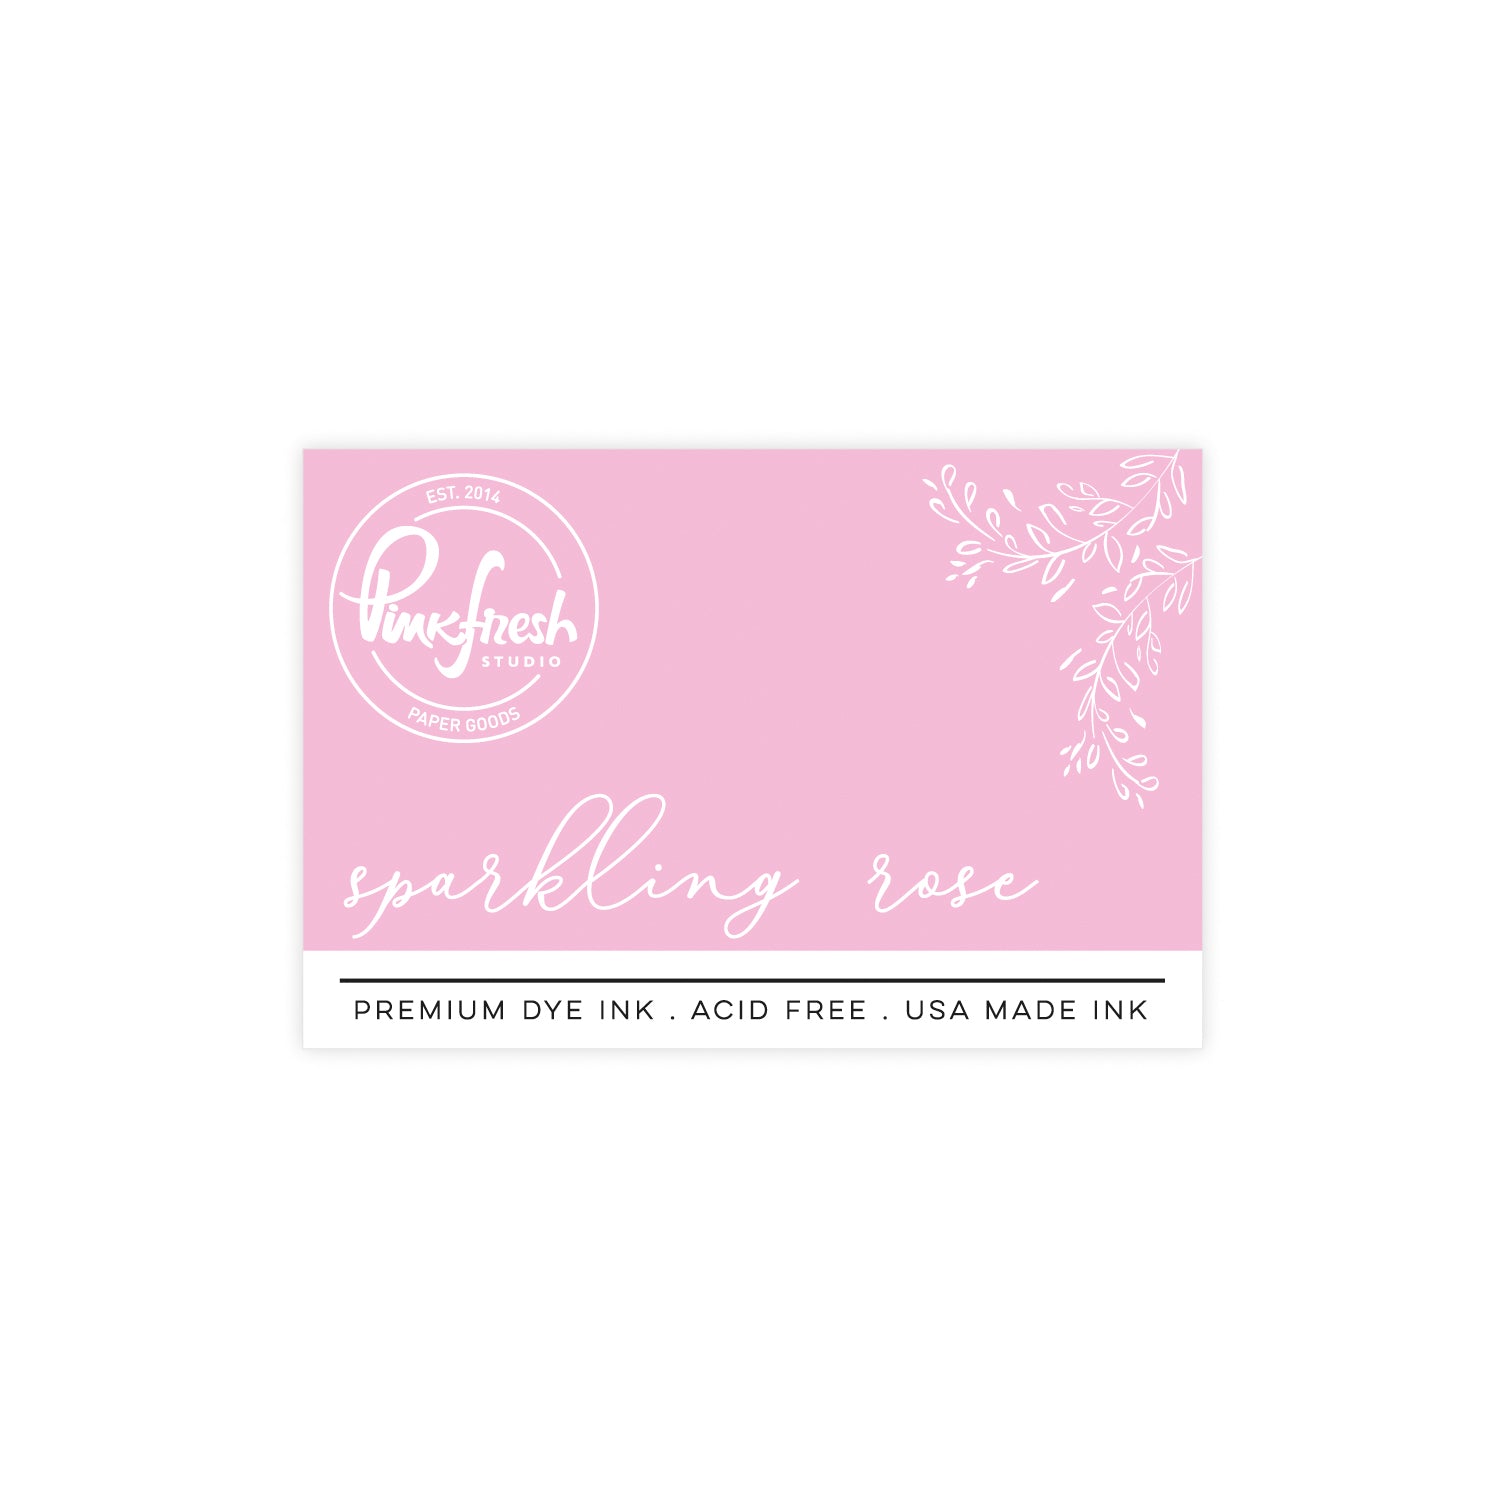
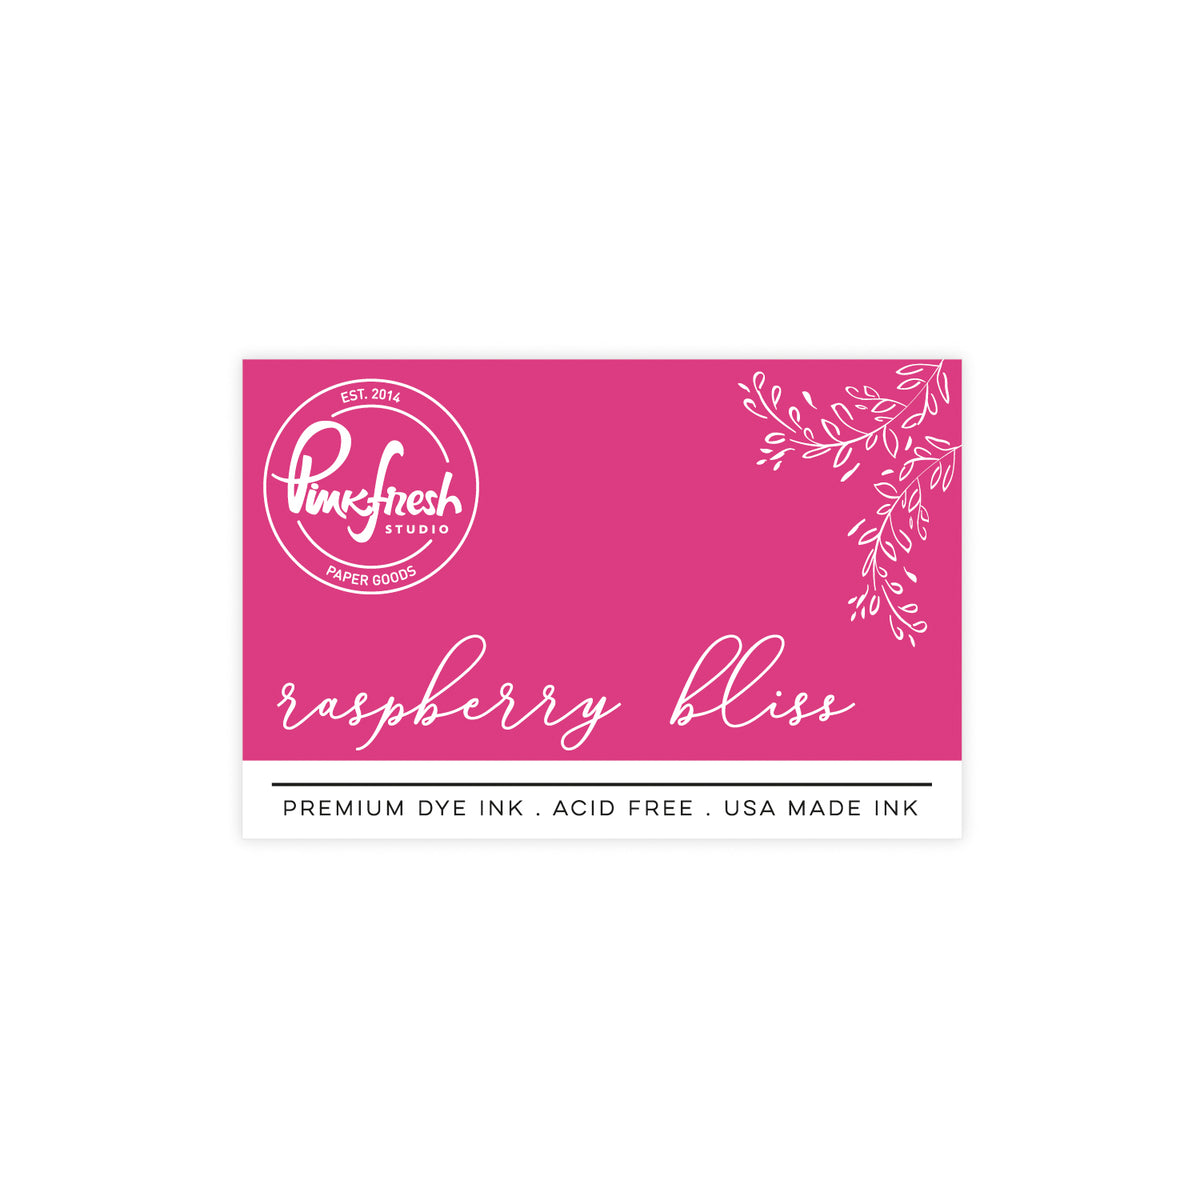
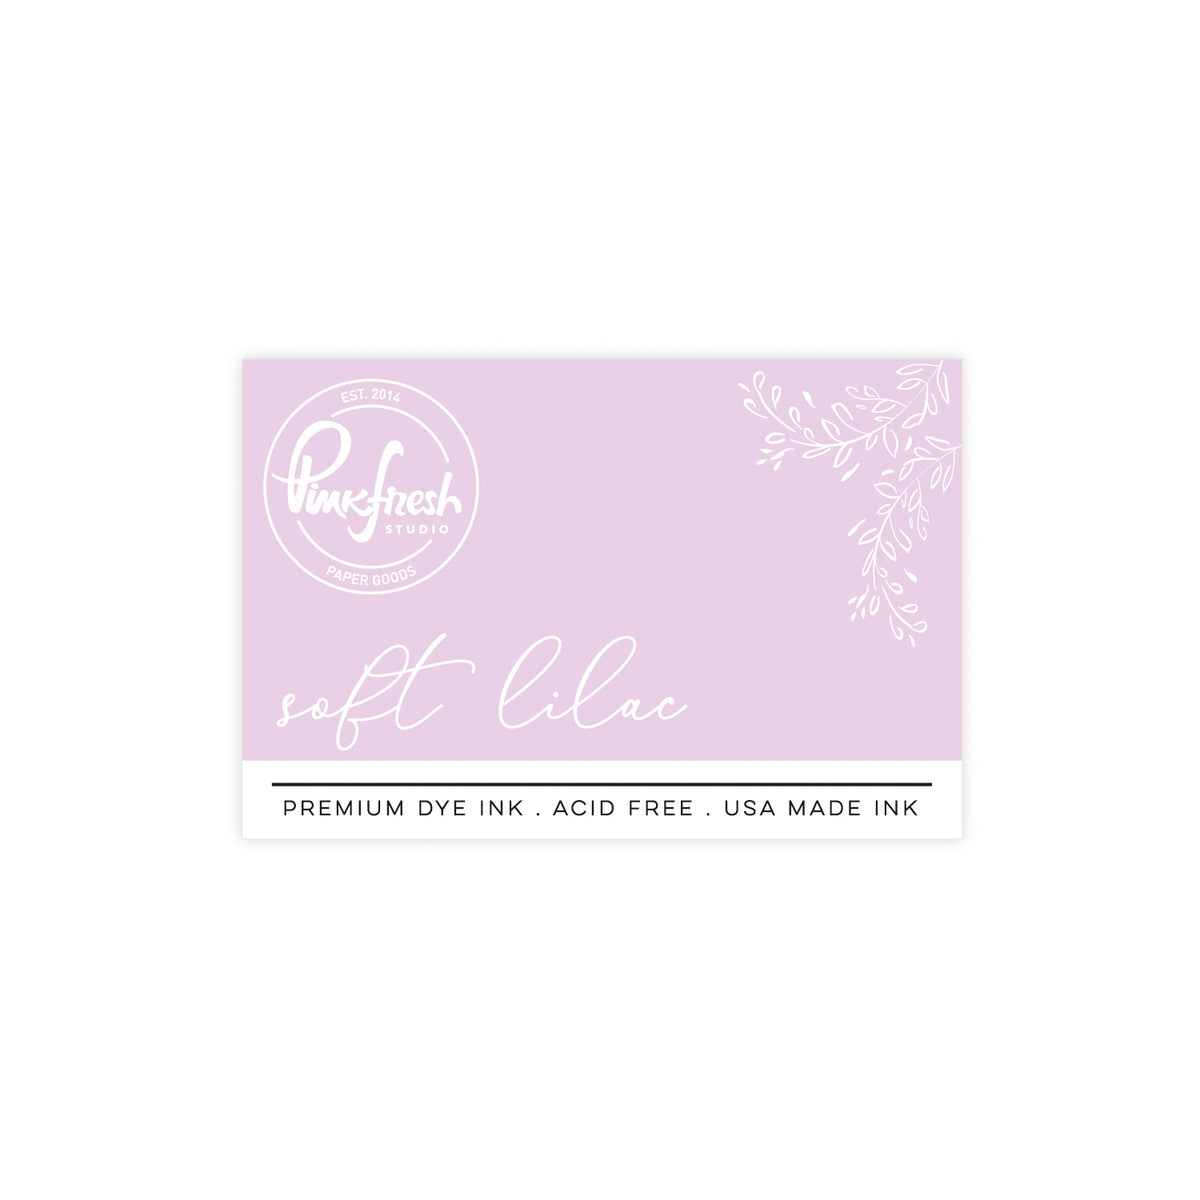
- Ink blend the Garden Party & Fresh Florals stencils on the (2) small pieces of white cardstock, then die cut using the coordinating dies. Colors I used: Sunshine, Sweet Mustard, Ballet Slipper, Sparkling Rose, Raspberry Bliss, Soft Lilac, Regal Kiss, Spanish Moss, Olive.
- Embellish the layout using a mix of ink-blended floral die cuts and pieces from the Floral Ephemera. Tuck some of them behind the photo and the popped-up center piece for even more dimension.
- Add more embellishments in a tone-on-tone fashion (i.e. yellow on yellow, green on green, etc.).
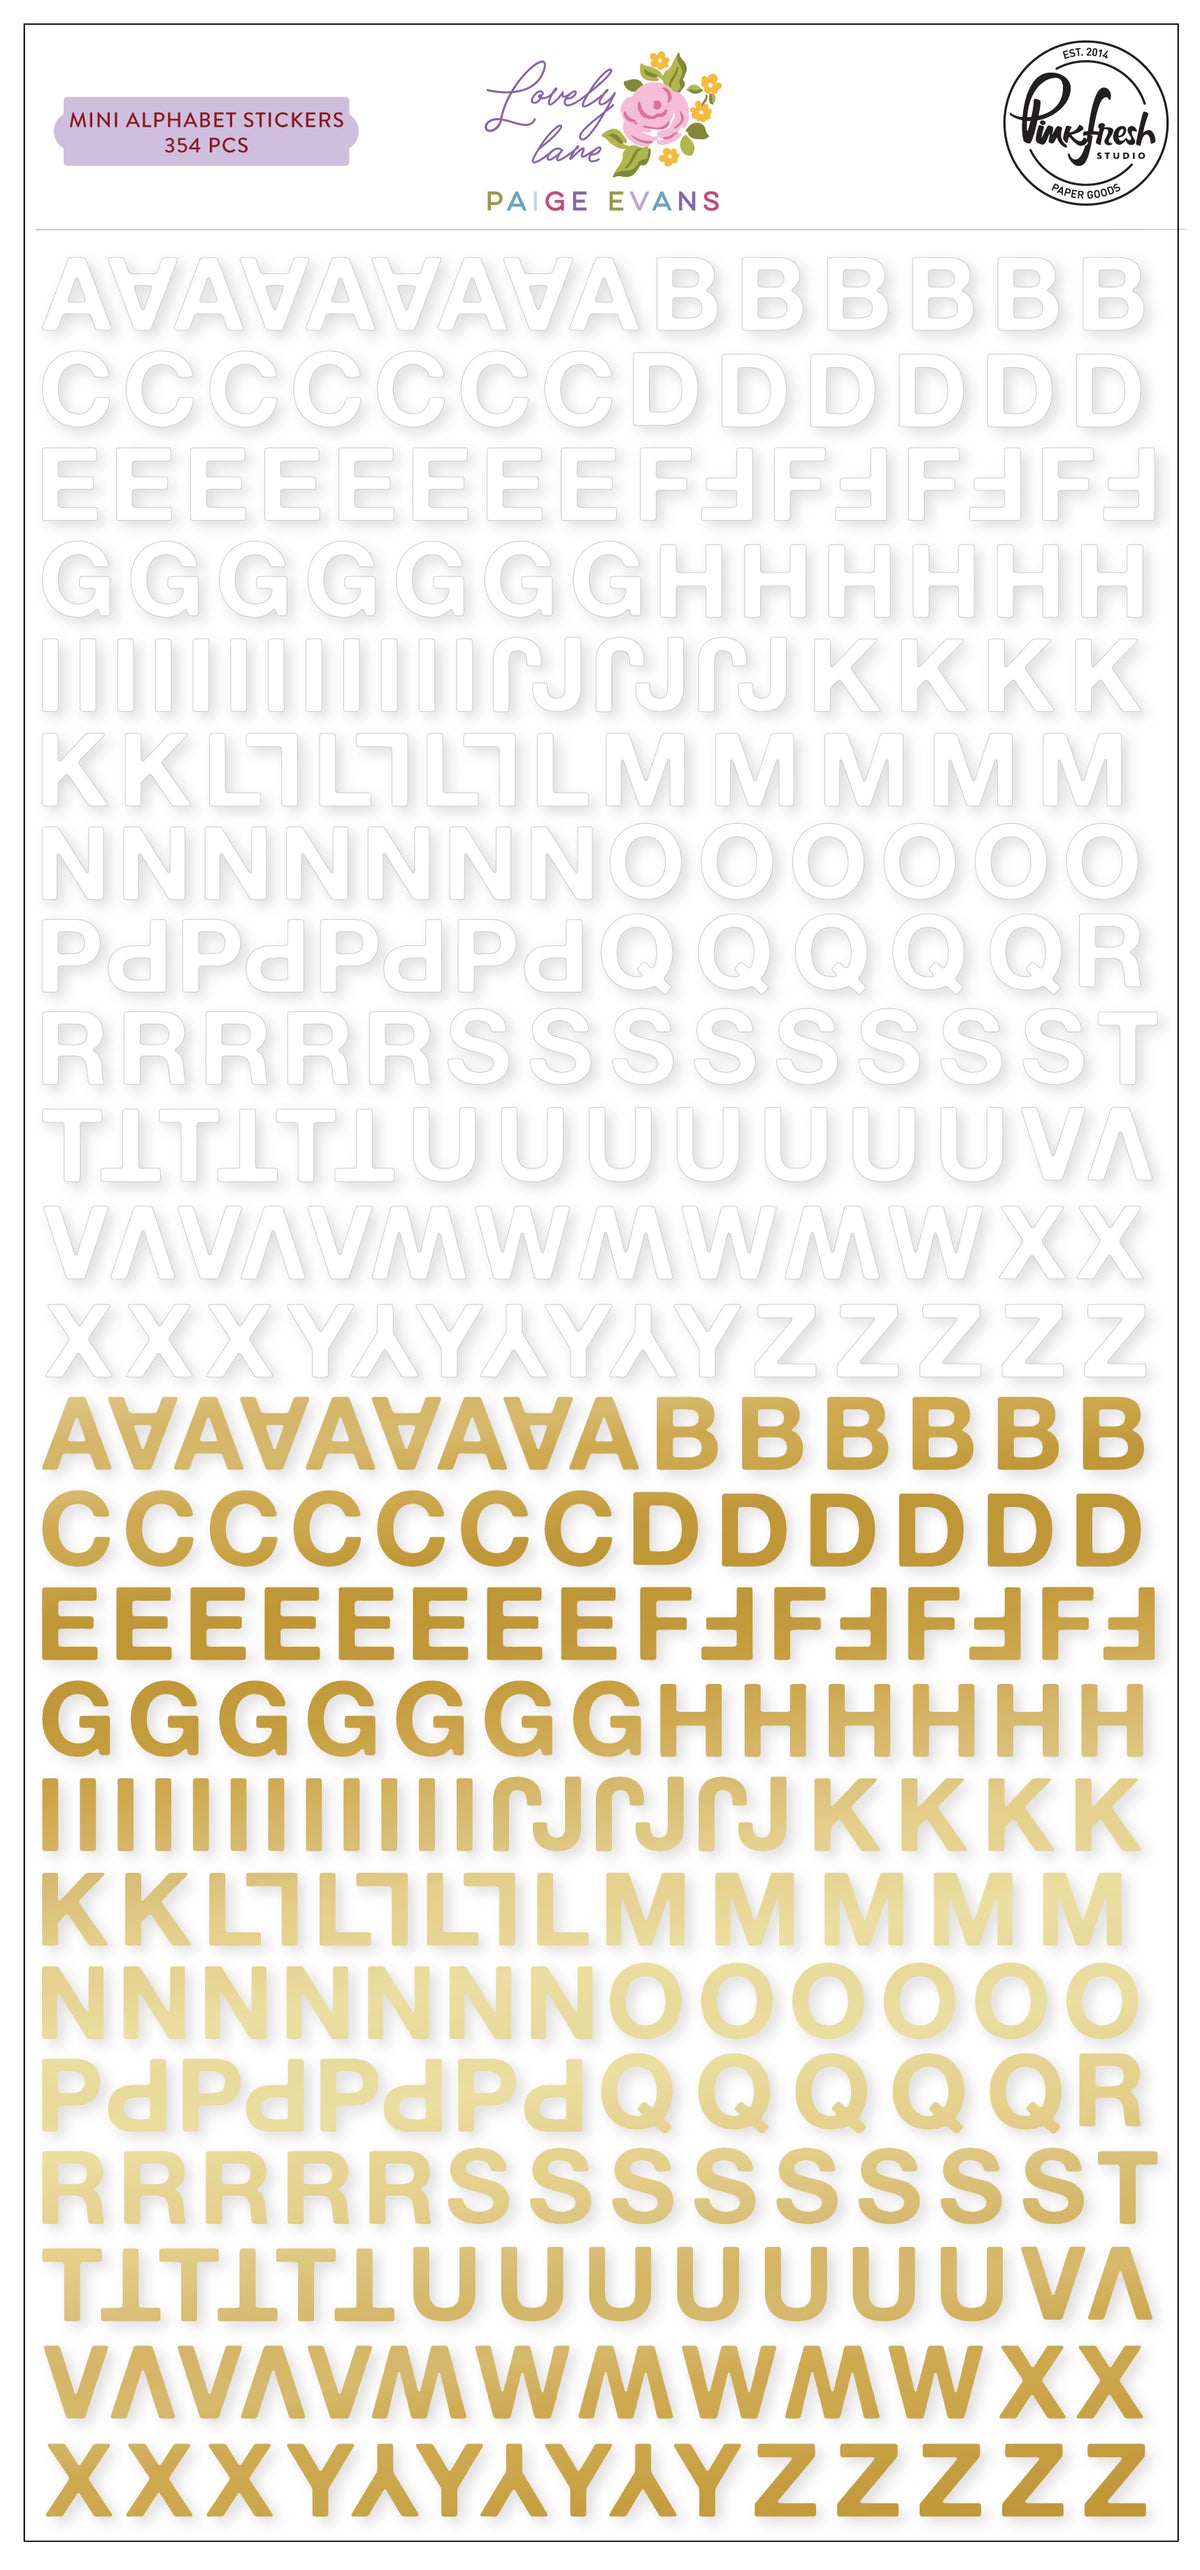
- Add your title on the wavy pattern using the small Alpha Stickers.
If you don't like working with white cardstock as your base, you can also adhere the smaller panel onto a patterned paper. I was torn between using white or the beautiful wine-colored "Happy Together" paper, but then decided on white to keep it light & bright.

I know this layout is a little bit more time-consuming, but in my opinion it's totally worth it for the final result!
If you don't want to spend so much time fussy cutting, you could also adhere the 6"x8" patterned paper without cutting it first, and then simply embellish with some ink-blended and die-cut flowers!
Thanks for stopping by today!
-Kathleen
Recommended Products
















































Leave a comment
All comments are moderated before being published.
This site is protected by hCaptcha and the hCaptcha Privacy Policy and Terms of Service apply.