Fall Love Mini Album | Celes Gonzalo
Hi Pinkfresh Studio fans! It's Celes here today on the PinkFresh Studio blog! We are going to keep creating with "The Best Days" collection. It's such a beautiful collection. We are going to create an original mini album using one of my favorite dies from Pinkfresh Studio. Are you ready? Let's get started :)

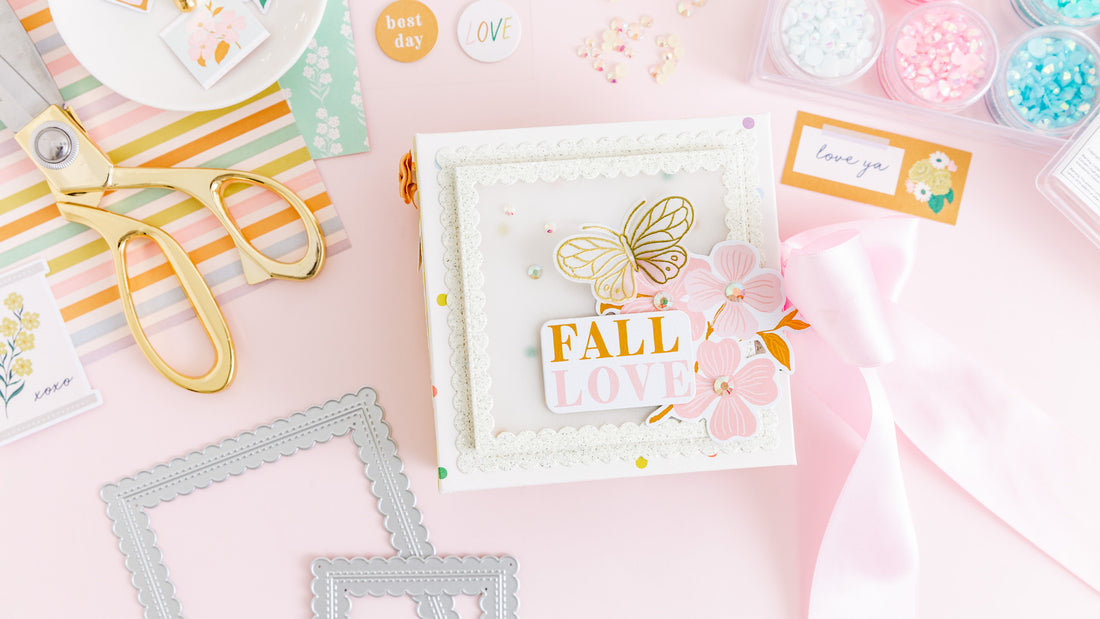
For the structure I used one special die set: Essential Stitched Scallop Square Die Set. Also you will need 3 pieces of cardboard of: 1- two pieces 4 1/2" x 4 1/2", 2- one piece 1 1/2" w x 4 1/2" h.
Choose two design papers from "The Best Days" Paper Pack (could be the 12x12 paper pack or 6x6 paper pack) to cover both covers and the spine of the structure. Glue them together to form the structure. Remember to add the ribbons for the mini album closure before pasting the paper.
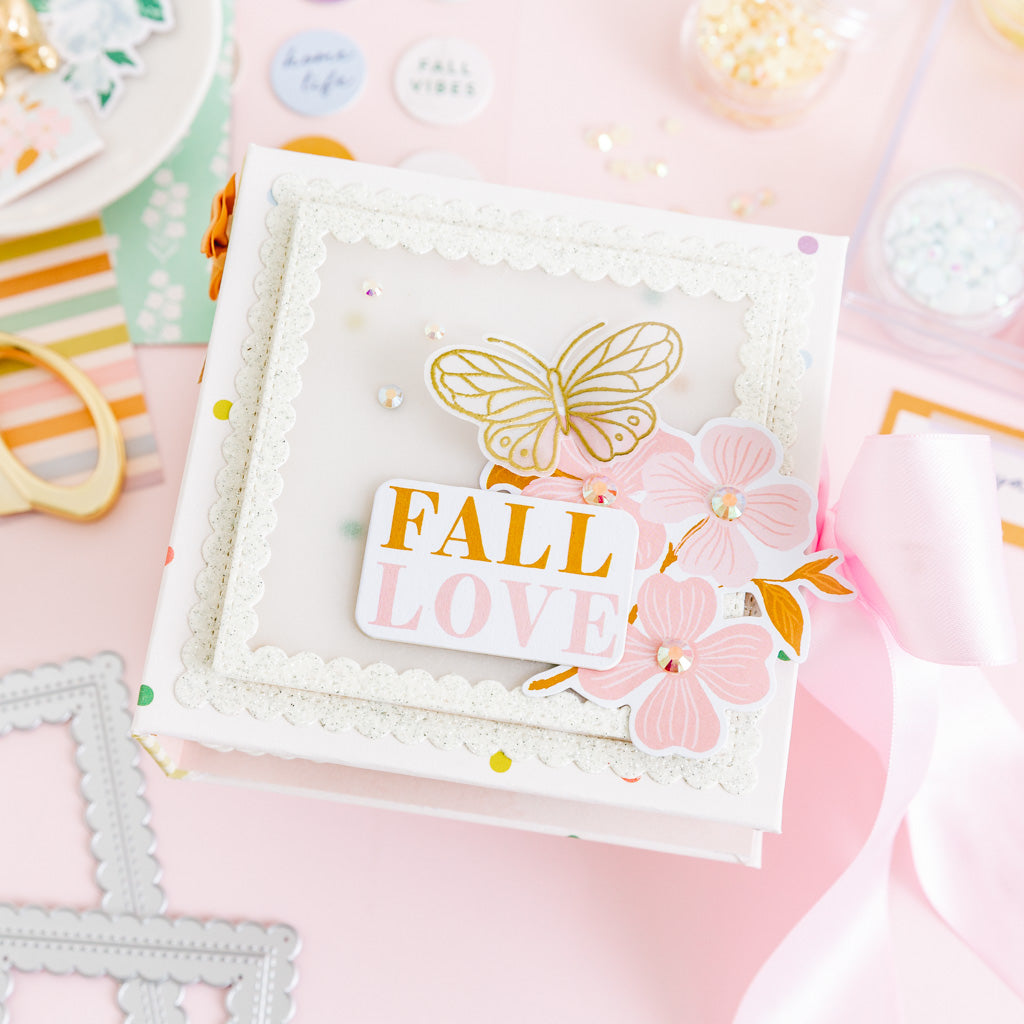
For the cover: I cut one piece of the bigger die using a Soft White Glitter paper. Also I cut a piece of vellum for the inner piece. I glued the bigger piece on the cover but I used foam 3d to add the inner piece. So you get a more diffuse view of the background. As decorative accessories I used: 1- one piece from the Chipboard Frames, 2- one die cut from the Floral Ephemera Pack , 3- a butterfly stamped on vellum with gold embossing (Small Butterflies Stamp Set), 4- colored jewels from the Jewel Mix.

For the spine: punch 3 pairs of holes, 1" away from edge (top / bottom). You can also add other decorative details.

For the pages: cut 3 pieces of acetate of 1 1/2" w x 3 1/2" h, score in 3/4" (wide). In addition we will cut 12 frames using the largest die from the Essential Stitched Scallop Square Die Set (I used Soft White cardstock). The ideal is that the pieces do not separate, but if they do separate you can join them using double-sided tape when assembling the structure of each page. Also, we need to cut square interior pieces of designer paper of 3 3/4" or 3 7/8".

For each page we need two Stitched Scallop Square pieces and two square interior pieces of designer paper. We glue a piece of design paper with a frame and then we glue both pages together adding one of the acetate pieces on the left side (it must be centered at the height). For each piece of acetate we will have two full pages (4 frames and 4 inner pieces of paper).

When we have all the pages ready, we can decorate them using all the "The Best Days" embellishments: Puffy Stickers, Ephemera Pack, Cardstock Stickers, Floral Ephemera, Chipboard Frames, Chipboard Flair, Enamel Dots .


When we finish decorating the pages, we only have to fix them to the structure of the mini album. For this we must make holes in the center of the acetate spine of each group of pages. Keep in mind to check that they are centered and all at the same height.


Then we just have to pass a thread through them and fix them to the spin. Super simple and quick to do! Our mini album is ready ;)


Isn't it lovely? I hope you like this idea!
Thanks for stopping by! See you next time!