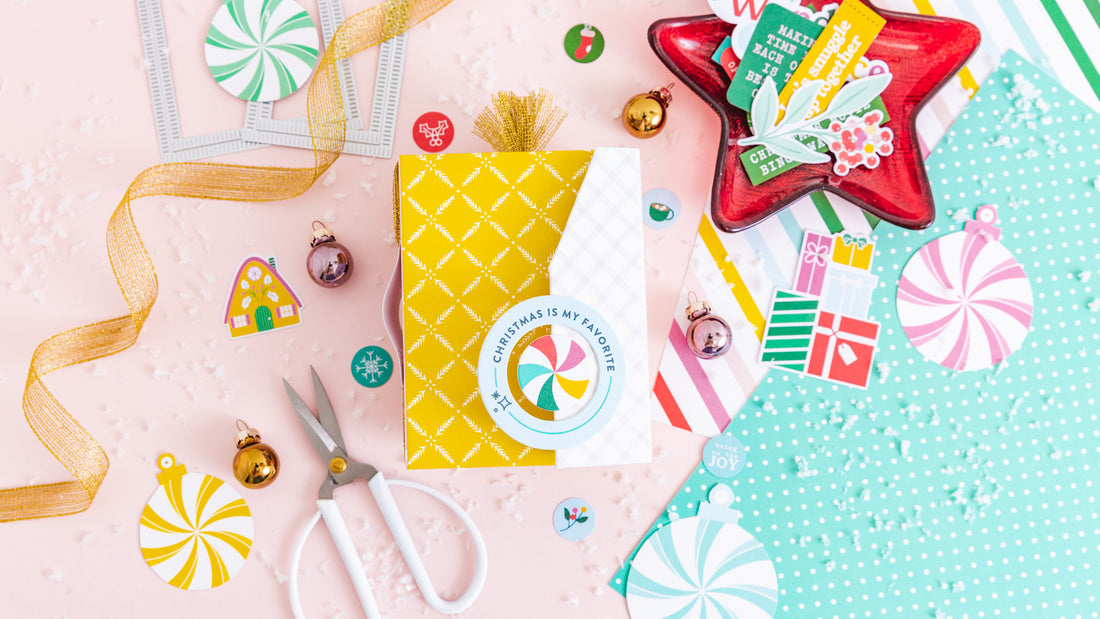
Christmas Magic Mini Album | Celes Gonzalo
Hello PinkFresh fans! It's Celes here and today I'm going to share with you my last idea for this 2021. Christmas is coming! And I feel so happy... Don't you love "Holiday Magic" Collection ? It's so colorful, so happy and I've enjoyed working with it! My last idea with it is a mini album to document the most special moments of Christmas... Christmas Magic is here!

I combined an accordion structure with tags. Also I base my design to the new Essentials: Blanket Stitched Rectangles Die Set. For the tags I used the Essentials: Foldable Shaker Tags Die Set.

For the structure: we are going to need 5 pieces of cardboard for the mini album and white cardstock to make the accordion.
Accordion: cut 8 pieces of 6 5/8" w x 4 1/2" h. Score in 3 1/4", 3 3/8" (width). You have to glue them togehter to form an accordion but leave a pocket between pages (we are going to use the to add the tags).
Mini Album: cut 5 pieces of cardboard (I'm listing them in order and from left to right) : 1- one of 3 1/2" w x 4 7/8" h, 2- one of 1" w x 4 7/8" h, 3- one of 3 1/2" w x 4 7/8" h, 4- one of 1 1/8" w x 4 7/8" h, 5- one of 1 1/2" w x 4 7/8" h. Choose 3 design papers from the "Holiday Magic"12 x 12 Paper Pack and cover all pieces. For the smallest piece of the cover, you can cut it diagonally to give it a different look. Once you have assembled the structure of the mini album, remember not to glue the inside paper (we have to decorate the spine first)

For the mini album spine: to decorate the spine I used one of the pieces of the Die Cut Tags. Also I added gold ribbon. You will see that I passed the ribbon on both sides and glued it in relief. You need to glue the ribbon inside the structure on both sides. Isn't it a lovely detail? :)
Once you have done this, you can glue the inside paper ;)

For the cover: I prepared a simple but colorful idea. I used some pieces of the "Holiday Magic" Chipboard Frames. Note: I cut the cardboard piece having in mind this design.
To make the closure of the mini album I used adhesive velcro. Could be one or two pieces ;)

For the pages: as we have our structure, cover and spine ready... time for some fun with the pages! I love this part of the process! To decorate you can use the "Holiday Magic" 6 x 6 Paper Pack or/and th 12 x 12 Paper Pack.


The most important thing to remember is that we are going to use the new Essentials: Blanket Stitched Rectangles Die Set to decorate the pages. As you will see, one of the dies have the same size of our pages ;) Cut as many pieces as you need and use everything you have to decorate: Ephemera Pack , Title Ephemera Pack , Puffy Stickers , Enamel Dots , Metallic Enamel Dots , stamps and more.


For the pockets between the pages, cut some tags using the Essentials: Foldable Shaker Tags Die Set. Also, I used the shaker frames to cut some "windows" and add edfoam to create an extra pocket for a some tags.


Extra detail: I made removable decorations for some of the pages. How you can make it? Use some small velcro dots ;)
All the die cuts, tags and decorations are glued only by one edge to be able to place photos and memories.

Once the accordion is complete decorated, you can glue the structure to the interior of the mini album. I love how it looks! It's amazing! And with a lot of space for our Christmas memories.
I hope you like this idea. I would love to see your version of this mini album.
Have a wonderful Christmas and a happy new year!
See you!


2 Comments
Hermoso mini, gracias por compartirlo quienes estamos aprendiendo este arte.
Soy de Argentina, así que este verano pasaré las medidas a cm y lo haré sin lugar a dudas.
Felices fiestas!!!
Chin, chin…
@Lorisben.
Thank you for sharing. Love it. Your idea will make fabulous gifts for my work mates.