Using Shading to Highlight Light Sources and Shadows | Jody Morrow

Using Shading to Highlight Light Sources and Shadows | Jody Morrow

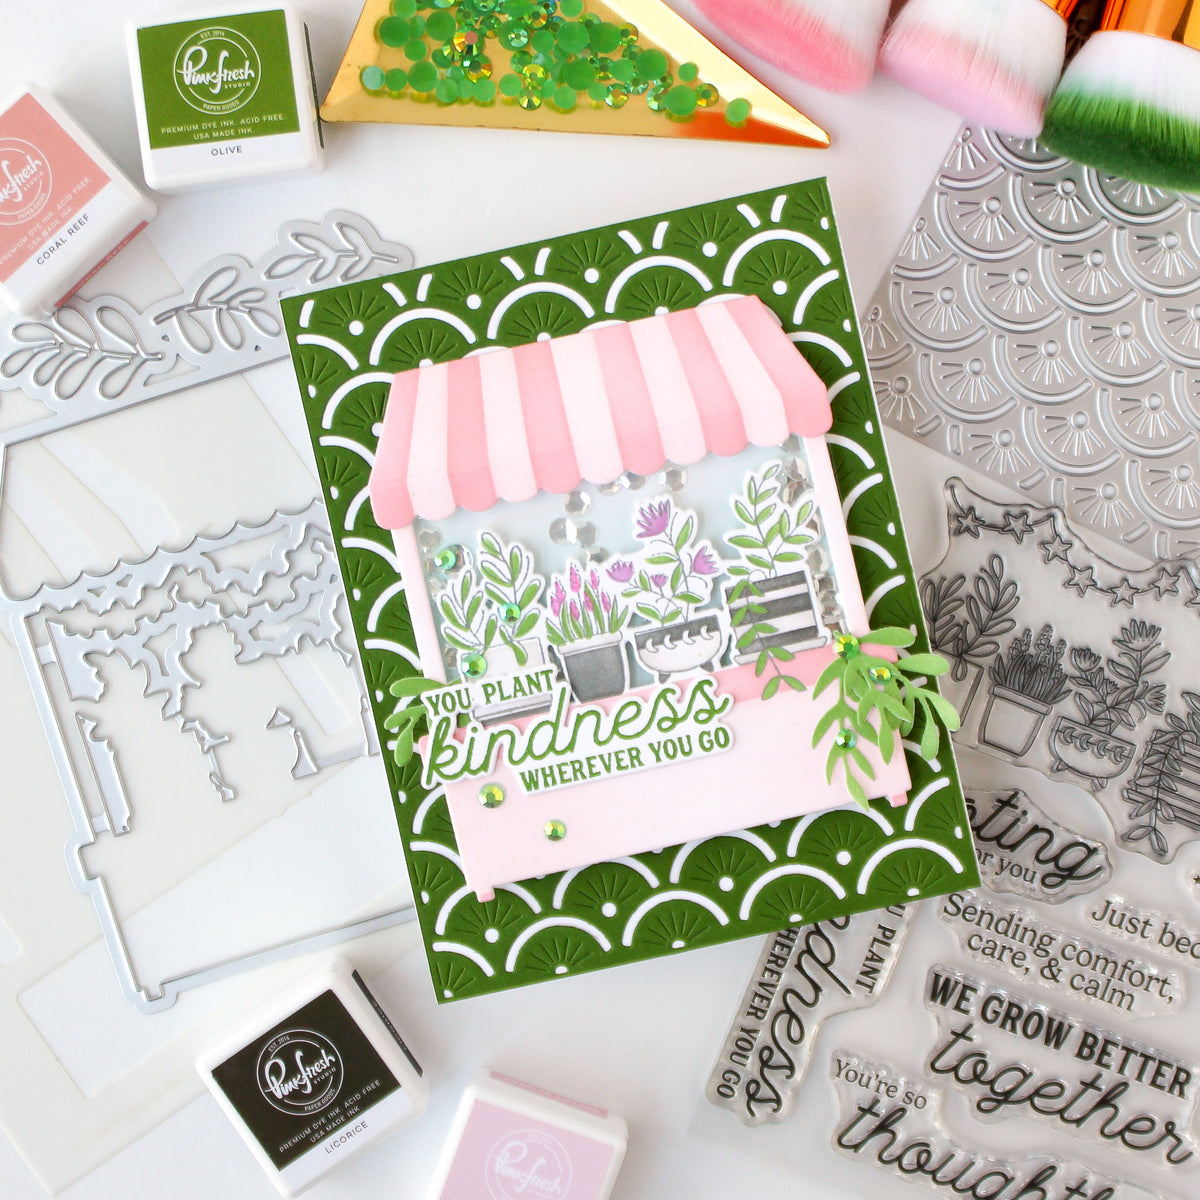
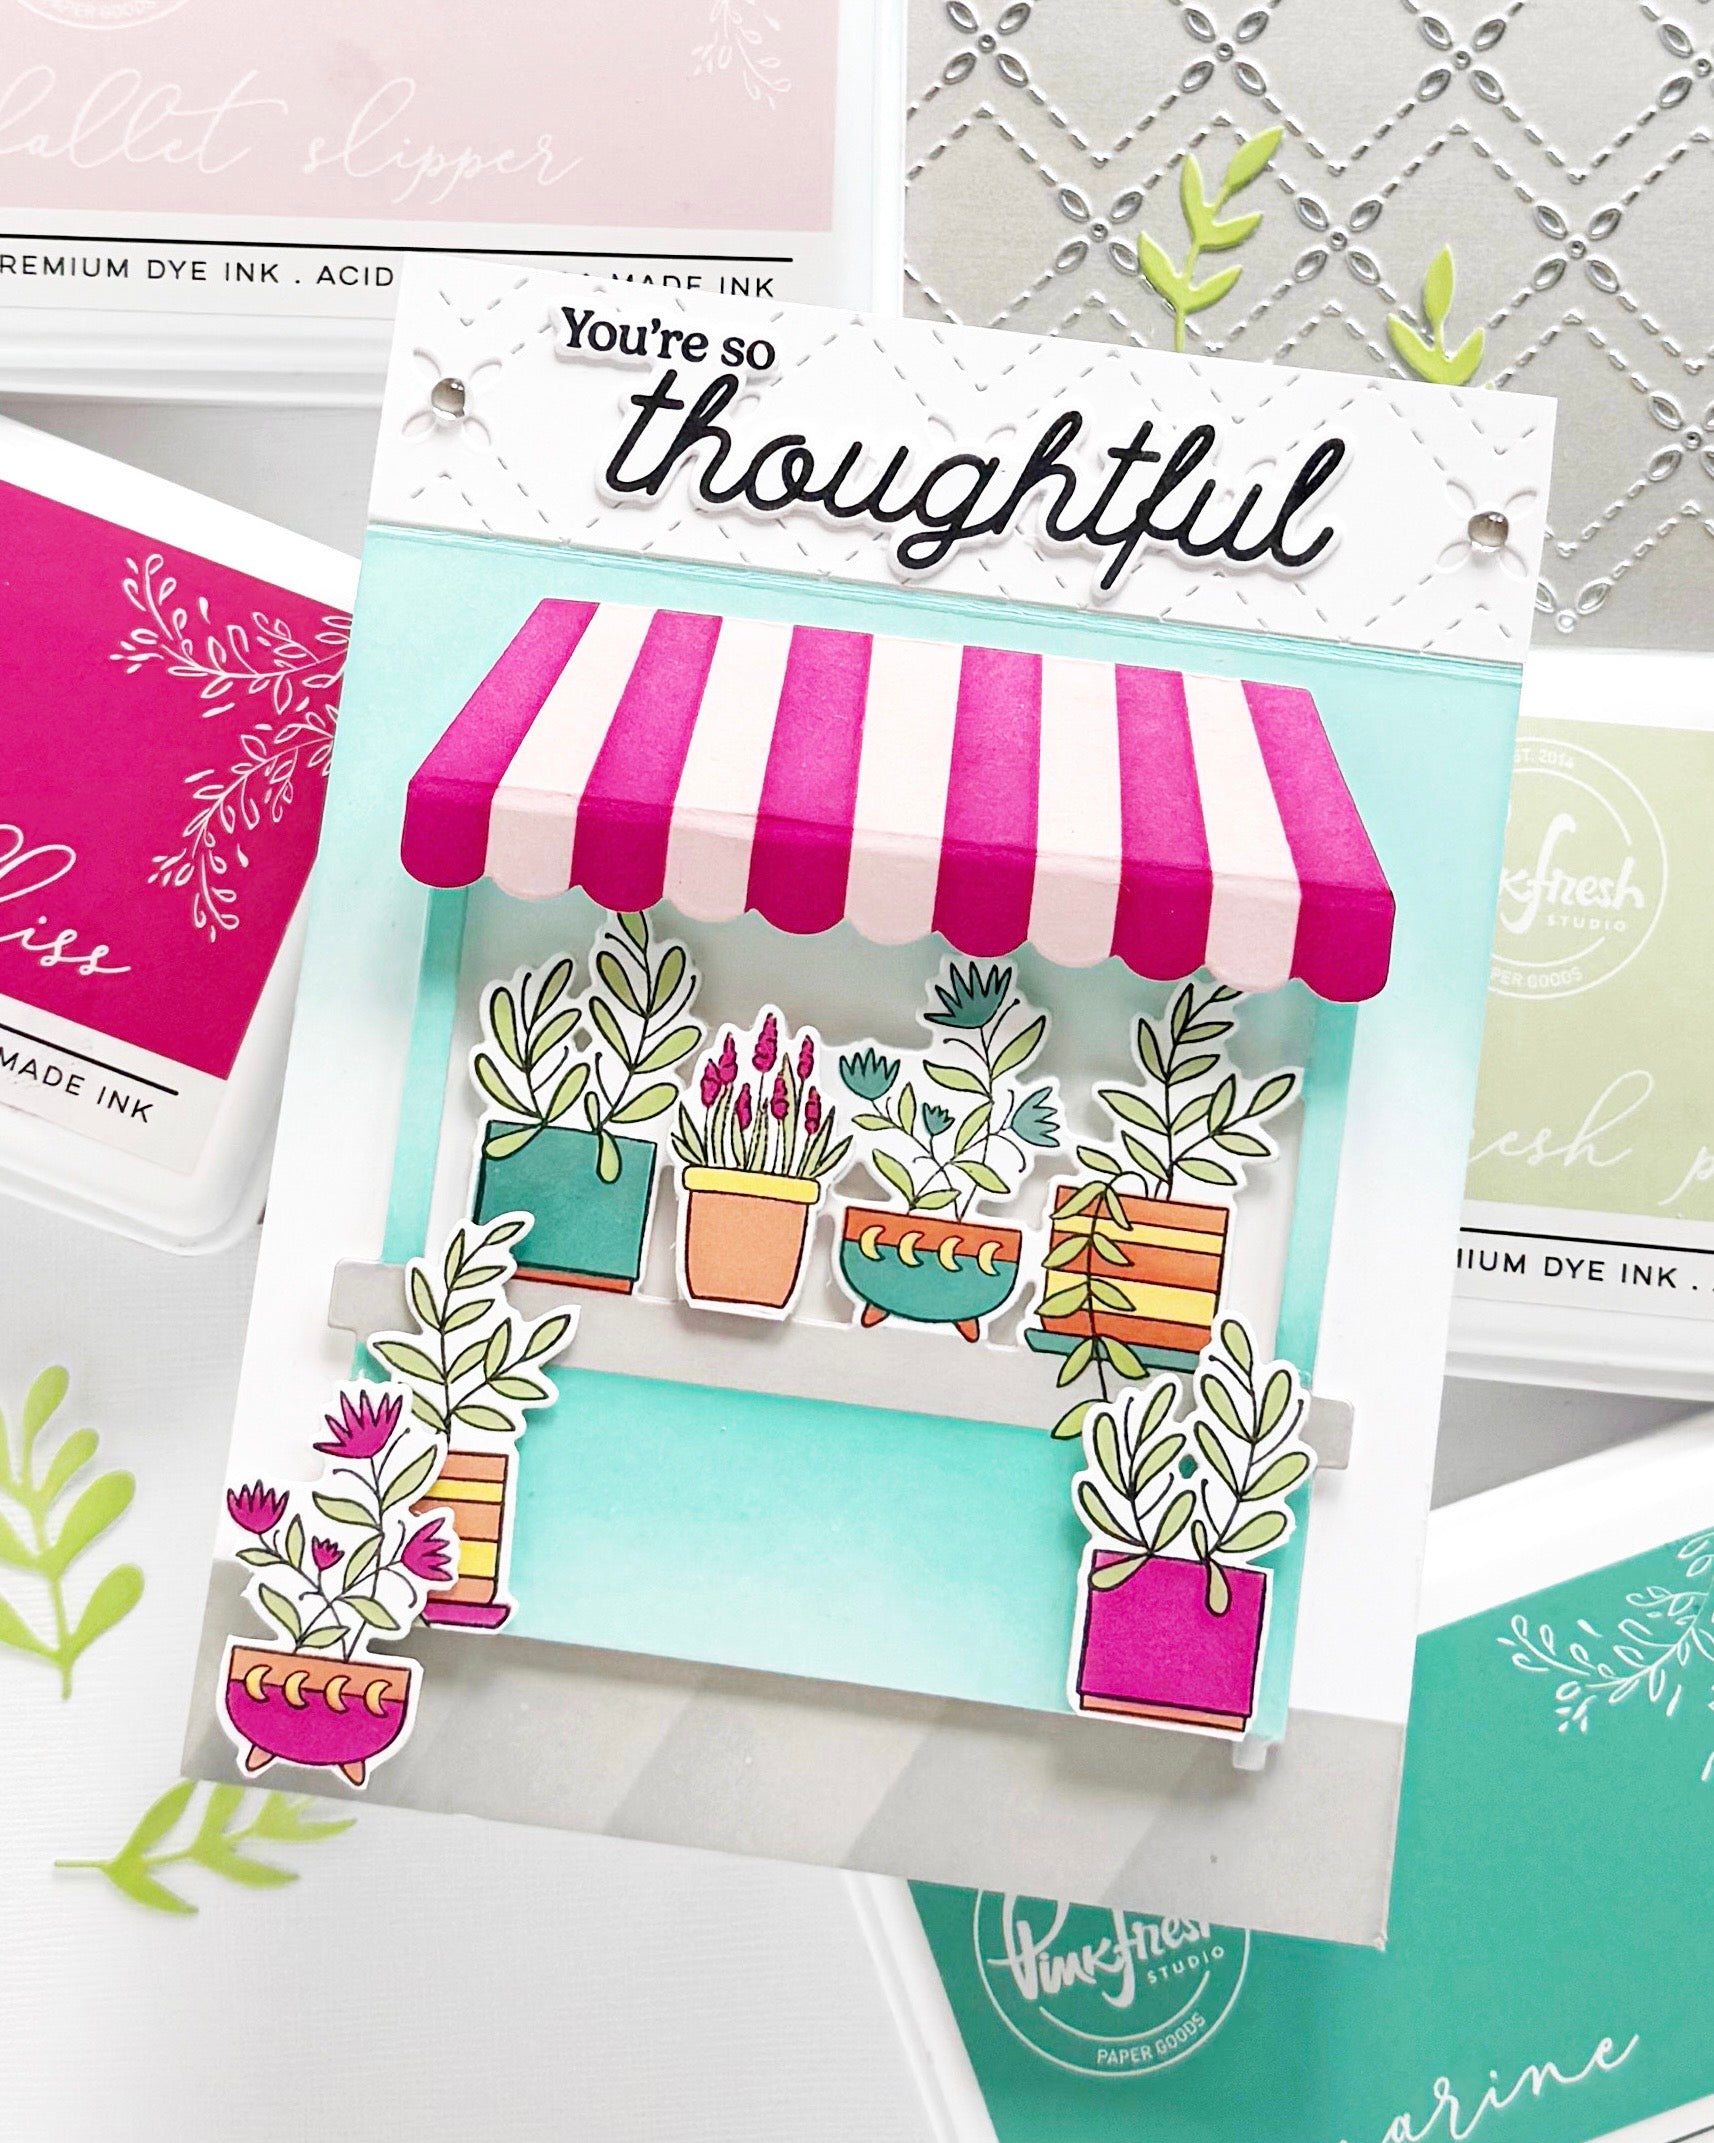
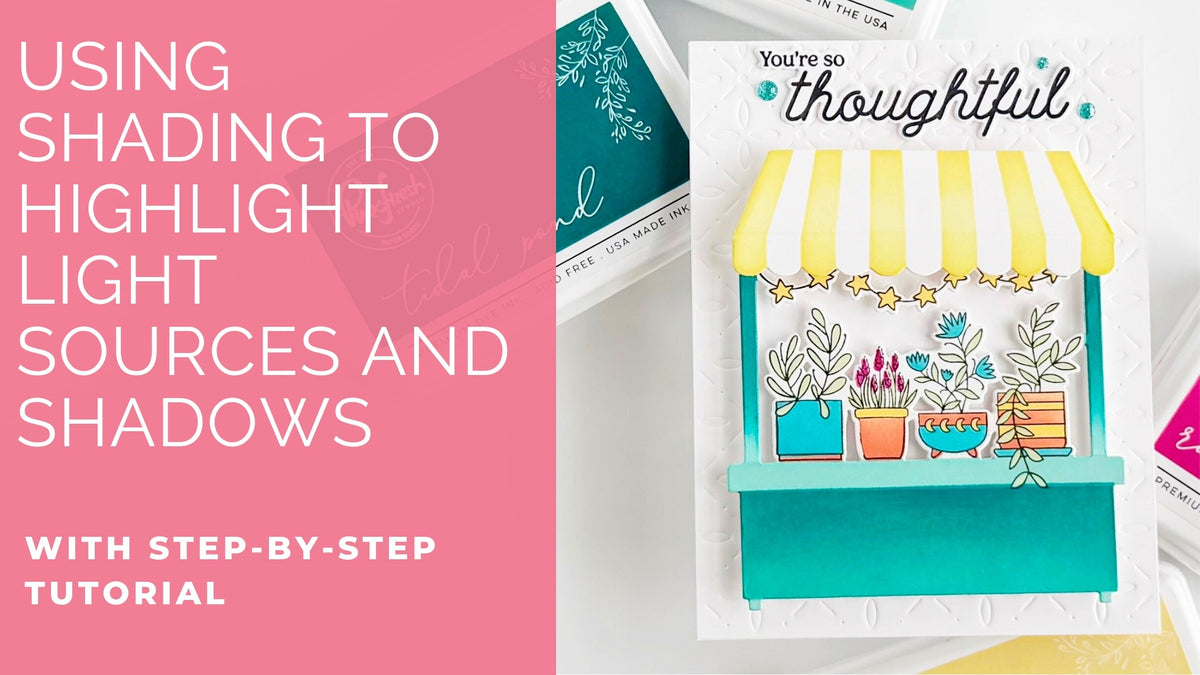
Great design isn’t just about color—it’s about light. In this Flower Market card, I used shading and directional blending to create depth, realism, and a warm story all at once. The awning fades from bright yellow at its center to deeper tones at the edges, mimicking how sunlight naturally falls. Shadows under the awning and countertop add realism and help ground each element, while soft highlights make the card feel radiant and full of life. This particular card holds a special place in my heart—I made it for my daughter, who built me an herb garden so I could harvest fresh herbs while cooking. It’s a small thank-you, but one filled with love and sunlight.

*Disclaimer: All products used are linked below as clickable images. If a product isn’t listed, it’s been discontinued. 

How to recreate this card:

  1. Create a top-folding card base from white cardstock. 
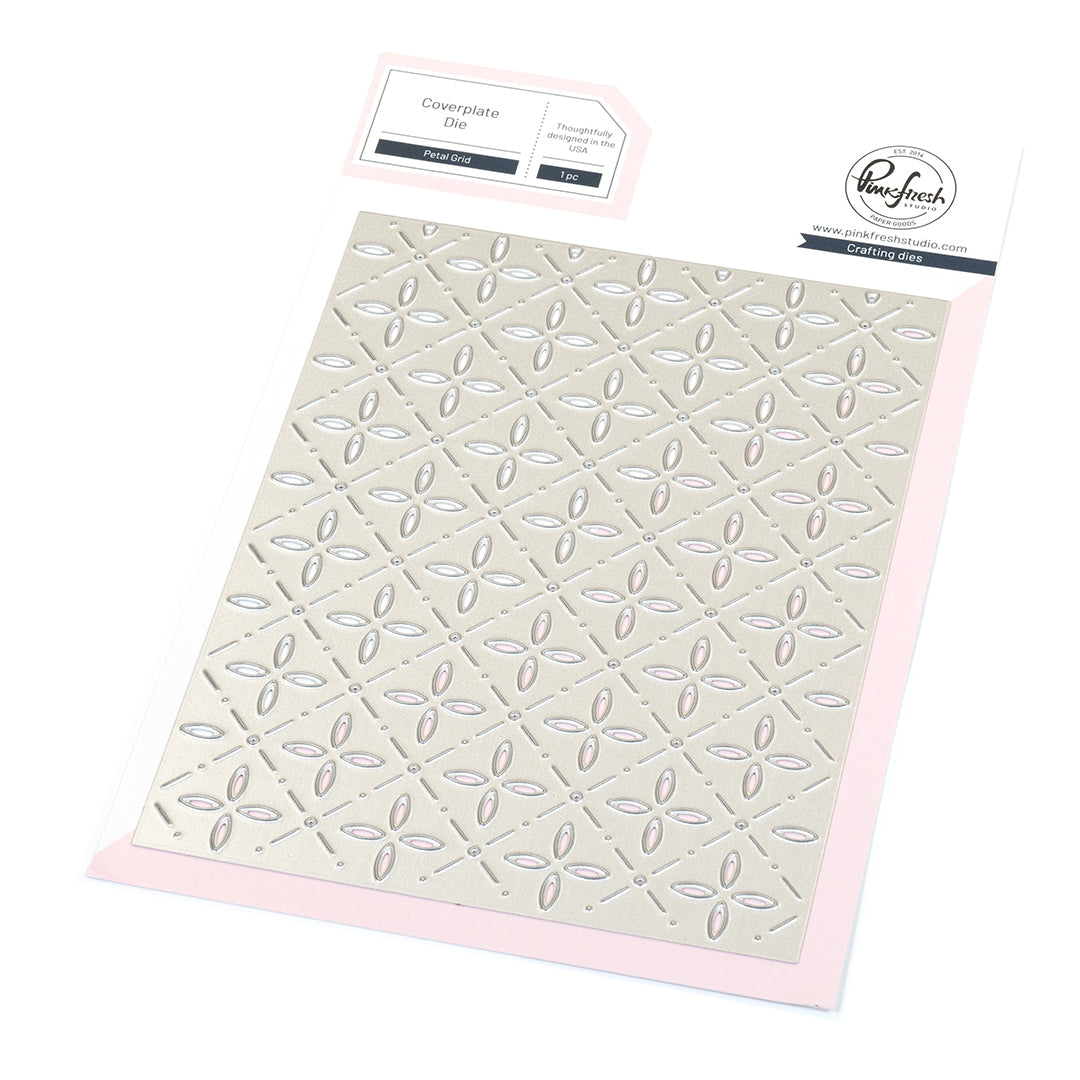
  2. Dry emboss a white A2 panel using the Petal Grid coverplate die. Adhere to card base.
  3. Stamp the sentiment and images with Detail Black. 
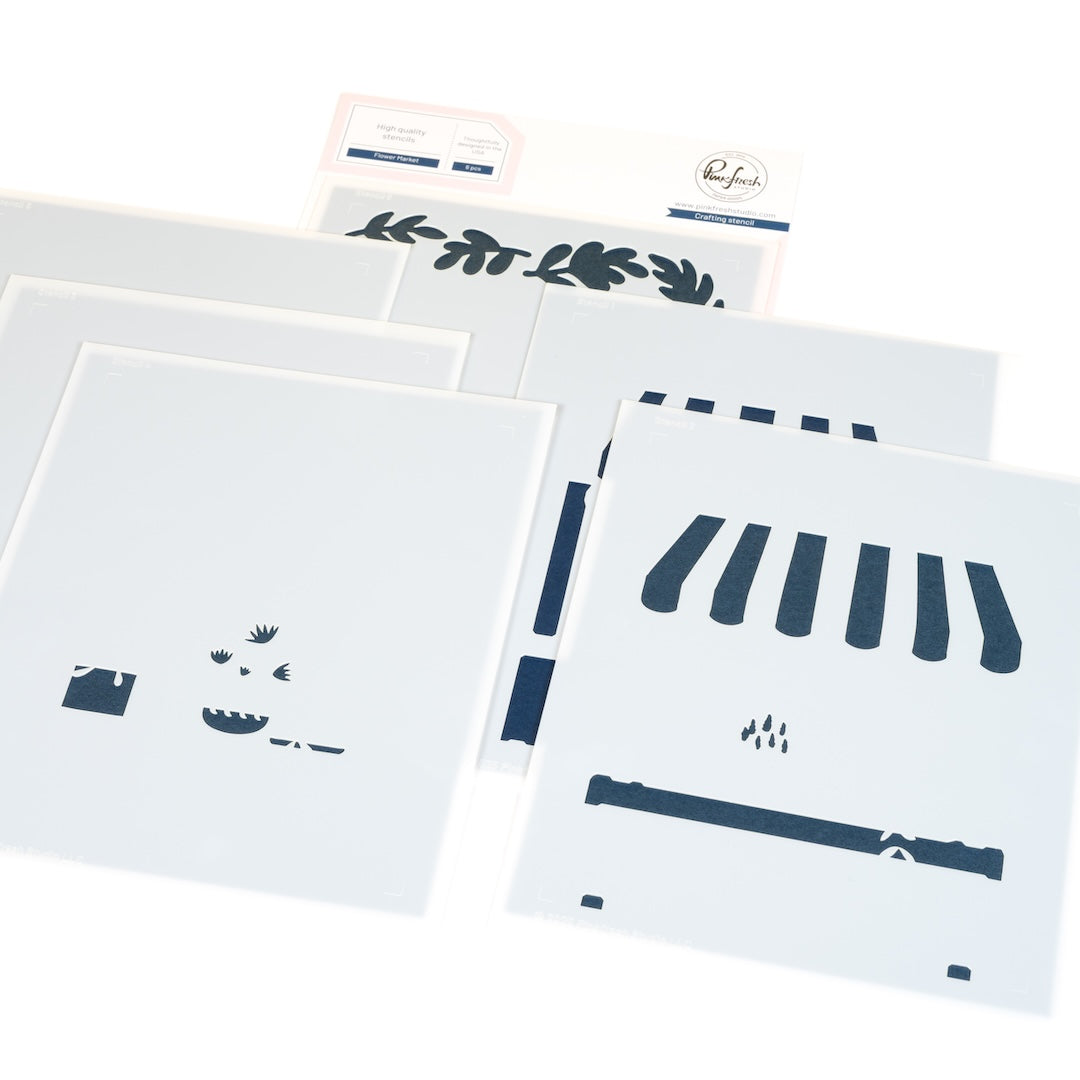
  4. Add color with the coordinating stencils:
    1. Stencil 1: Skip awning, Ocean Breeze, Aquamarine, Meermaid, Tidal Pond
    2. Stencil 2: Lemon Whip, Ocean Breeze, Aquamarine
    3. Stencil 3: Peach Fuzz, Clementine
    4. Stencil 4: Turquoise, Paradise
    5. Stencil 5: Lemon Whip, Sweet Mustard
    6. Stencil 6: Fresh Pear
  5. Die cut the sentiment and images, and stack with one blank (except awning). 
  6. Add a layer of thick foam tape behind the flower stand and adhere a piece of white cardstock behind it so that the area inside the stand is plain white and the debossed pattern is hidden. 
  7. Adhere to the card with thin foam tape. 
    Score the awning at 3/8" and fold to add dimension. Put a single layer of foam tape along the top of the awning, and a double layer above the score line, below it. Adhere to the card (it will be slanted on the card). 
  8. Adhere the sentiment with glue.
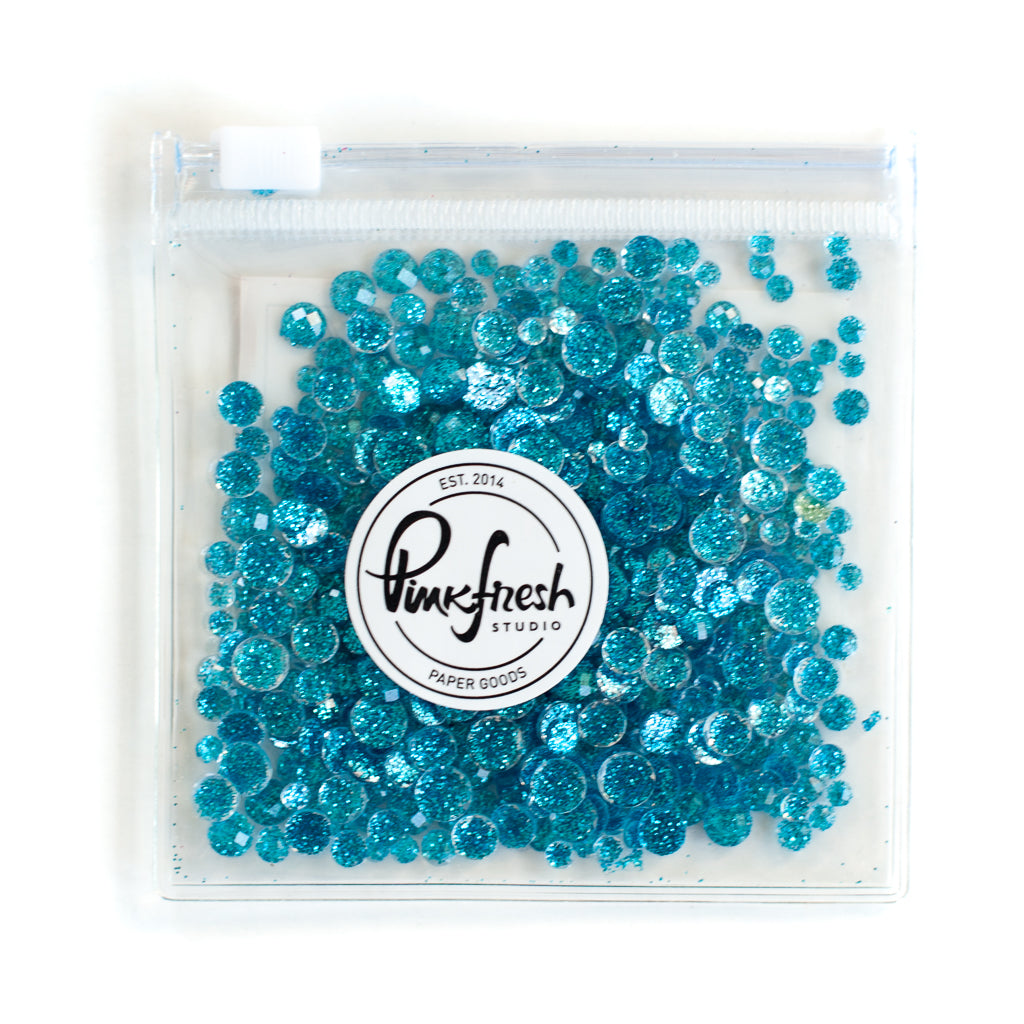
  9. Embellish with glitter drops. 

I hope this project inspires you to experiment with lighting and shading in your next card! I’d love to see your creations—tag us on Instagram or leave a comment below sharing your favorite part of this technique!

Recommended Products
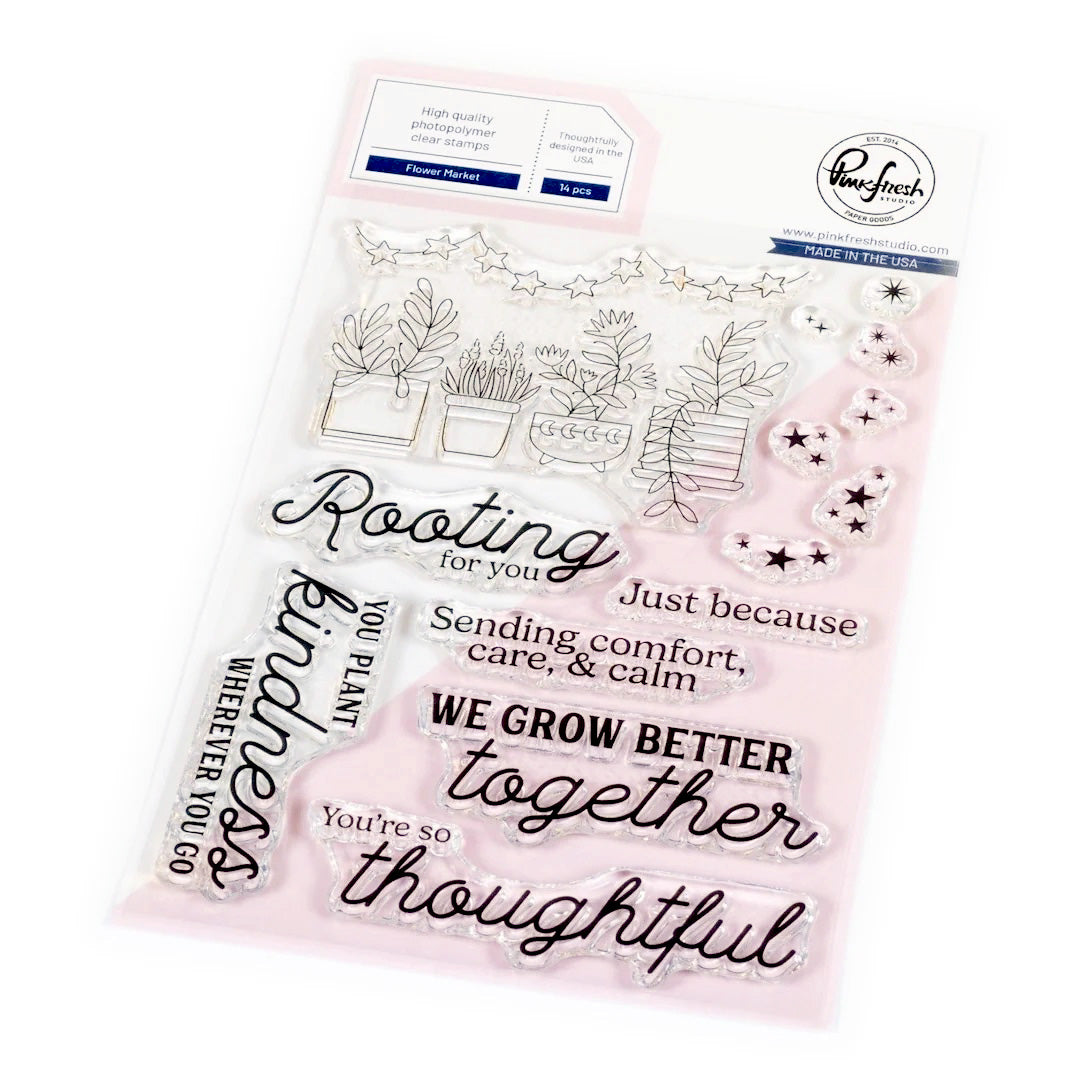
Flower Market stampFlower Market stamp
Flower Market stamp
Flower Market stamp
Flower Market stamp
Flower Market stamp
Flower Market stamp
Flower Market stamp
Flower Market stamp
Flower Market stamp
Flower Market stamp
Flower Market stamp
Flower Market stamp
Flower Market stamp
Flower Market stamp
Flower Market stamp
Flower Market stamp
Flower Market stamp
Flower Market stamp
Flower Market stamp Sale price$16.00
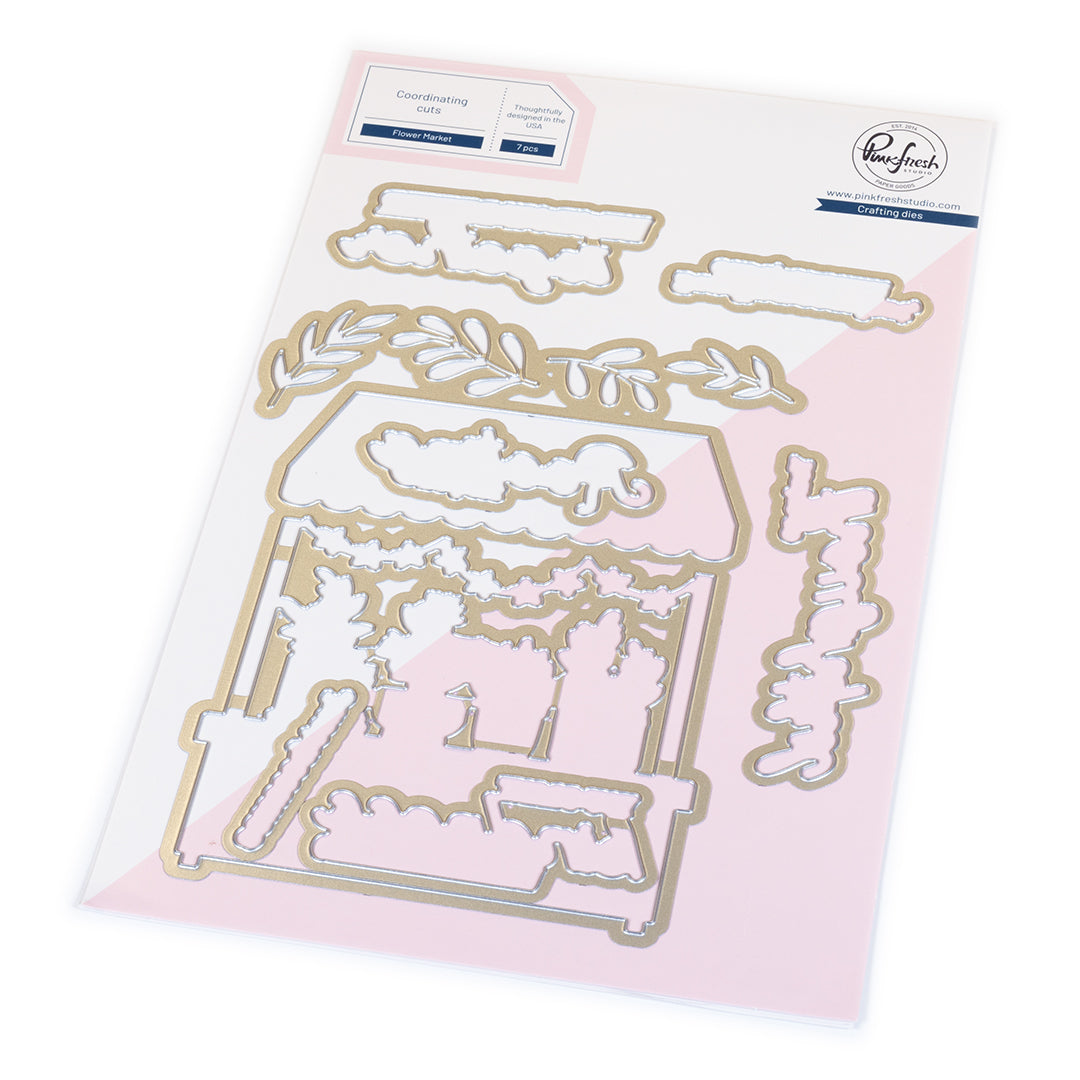
Flower Market dieFlower Market die
Flower Market die
Flower Market die
Flower Market die
Flower Market die
Flower Market die
Flower Market die
Flower Market die
Flower Market die
Flower Market die
Flower Market die
Flower Market die
Flower Market die
Flower Market die
Flower Market die
Flower Market die
Flower Market die
Flower Market die
Flower Market die Sale price$28.00
Flower Market stencilFlower Market stencil
Flower Market stencil
Flower Market stencil Sale price$21.00
Petal Grid coverplate die Sale price$22.00
Premium Dye Ink Pad : Peach Fuzz
Premium Dye Ink Pad : Peach Fuzz Sale price$5.63 Regular price$7.50
Premium Dye Ink Pad : Clementine
Premium Dye Ink Pad : Clementine Sale price$5.63 Regular price$7.50
Premium Dye Ink Pad : Sweet Mustard
Premium Dye Ink Pad : Sweet Mustard Sale price$5.63 Regular price$7.50
Premium Dye Ink Pad : Aquamarine
Premium Dye Ink Pad : Aquamarine Sale price$5.63 Regular price$7.50
Premium Dye Ink Pad : Mermaid Cove
Premium Dye Ink Pad : Mermaid Cove Sale price$5.63 Regular price$7.50
Premium Dye Ink Pad : Tidal Pond
Premium Dye Ink Pad : Tidal Pond Sale price$5.63 Regular price$7.50
Premium Dye Ink Pad : Turquoise
Premium Dye Ink Pad : Turquoise Sale price$5.63 Regular price$7.50
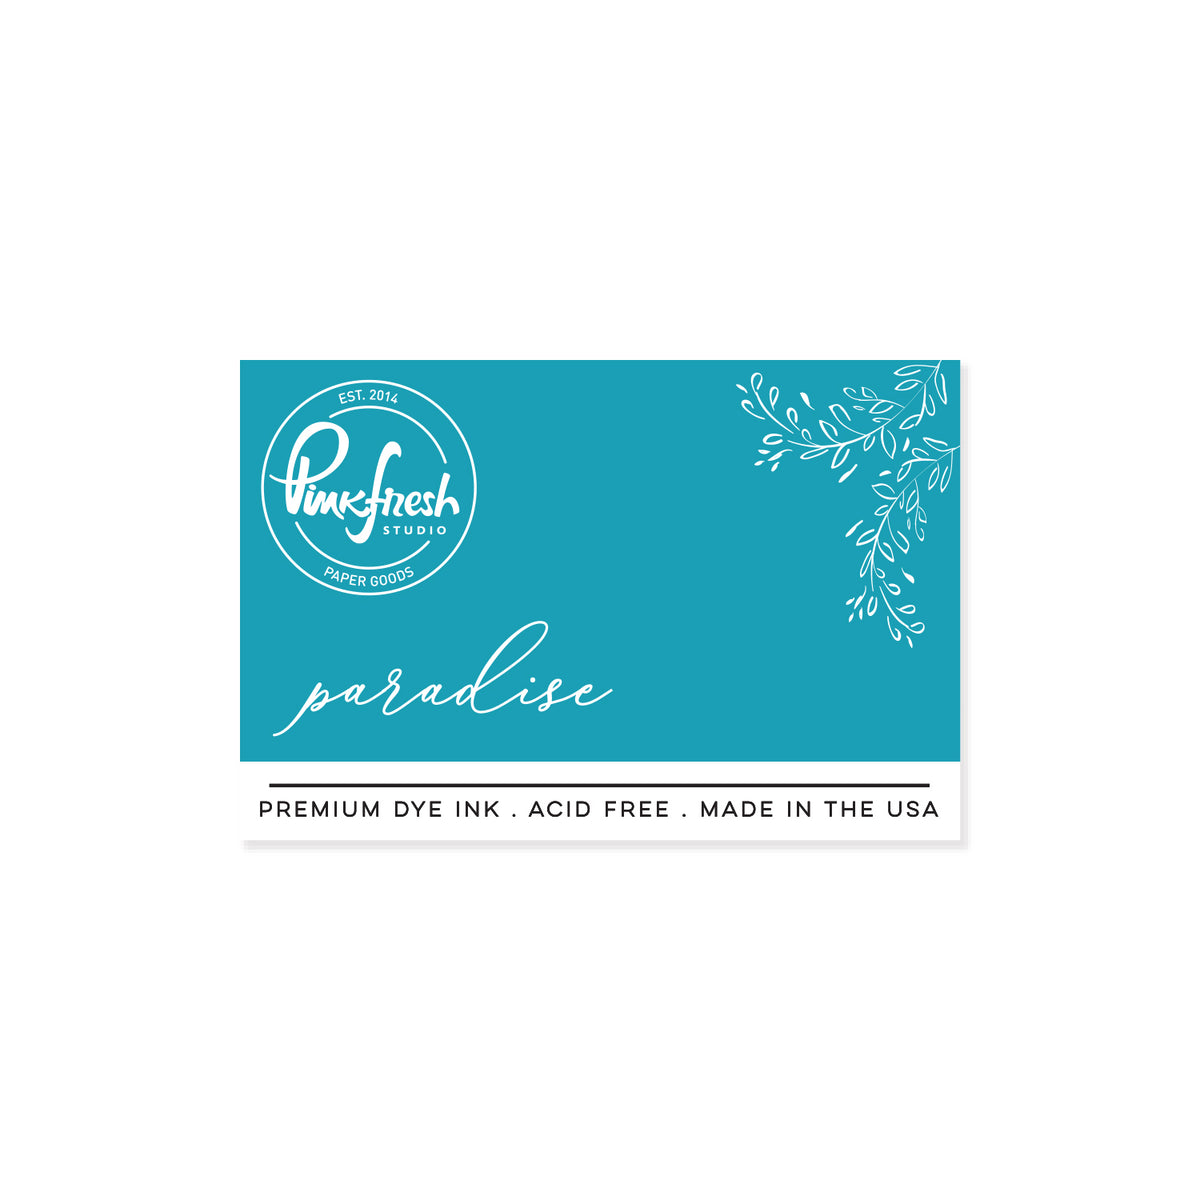
Premium Dye Ink Pad : Paradise
Premium Dye Ink Pad : Paradise Sale price$5.63 Regular price$7.50
Glitter Drops: Lagoon
Glitter Drops: Lagoon Sale price$5.50
1” blending brushes1” blending brushes
1” blending brushes
1” blending brushes
1” blending brushes
1” blending brushes Sale price$18.50
1/2" Blending Brush set1/2" Blending Brush set
1/2" Blending Brush set
1/2" Blending Brush set Sale price$16.50
Reverse Craft TweezersReverse Craft Tweezers
Reverse Craft Tweezers
Reverse Craft Tweezers Sale price$10.00
Stamp Press ToolStamp Press Tool
Stamp Press Tool
Stamp Press Tool
Stamp Press Tool
Stamp Press Tool Sale price$20.00
Triangle Brass TrayTriangle Brass Tray
Triangle Brass Tray
Triangle Brass Tray
Triangle Brass Tray Sale price$10.00
Precision Clear Craft Glue .5 oz
Precision Clear Craft Glue 2 oz

Reading next

Elevate Your Greenery with Bold, Dark Ink Blending & Shading | Rachel Alvarado
Holiday Card with a Non-Holiday Floral Wreath

1 comment

Sue Crease

Sue Crease

Love this, I’ve still to use my set but I think I will keep this in mind when I do

Leave a comment

All comments are moderated before being published.

This site is protected by hCaptcha and the hCaptcha Privacy Policy and Terms of Service apply.