
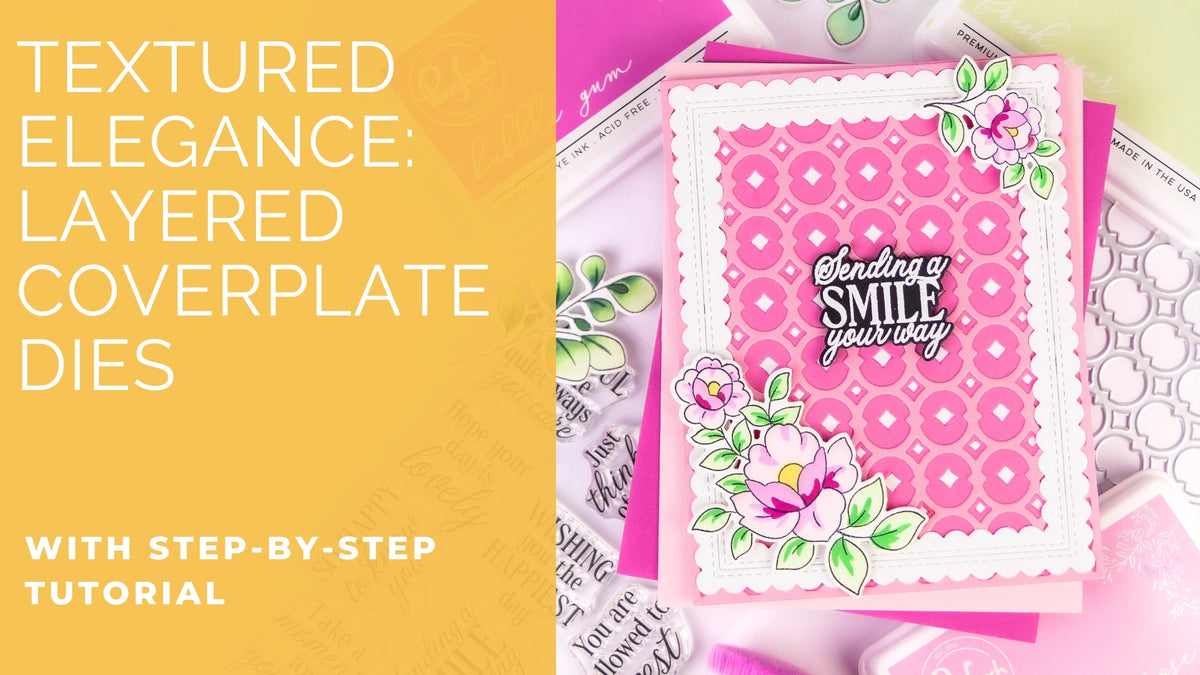
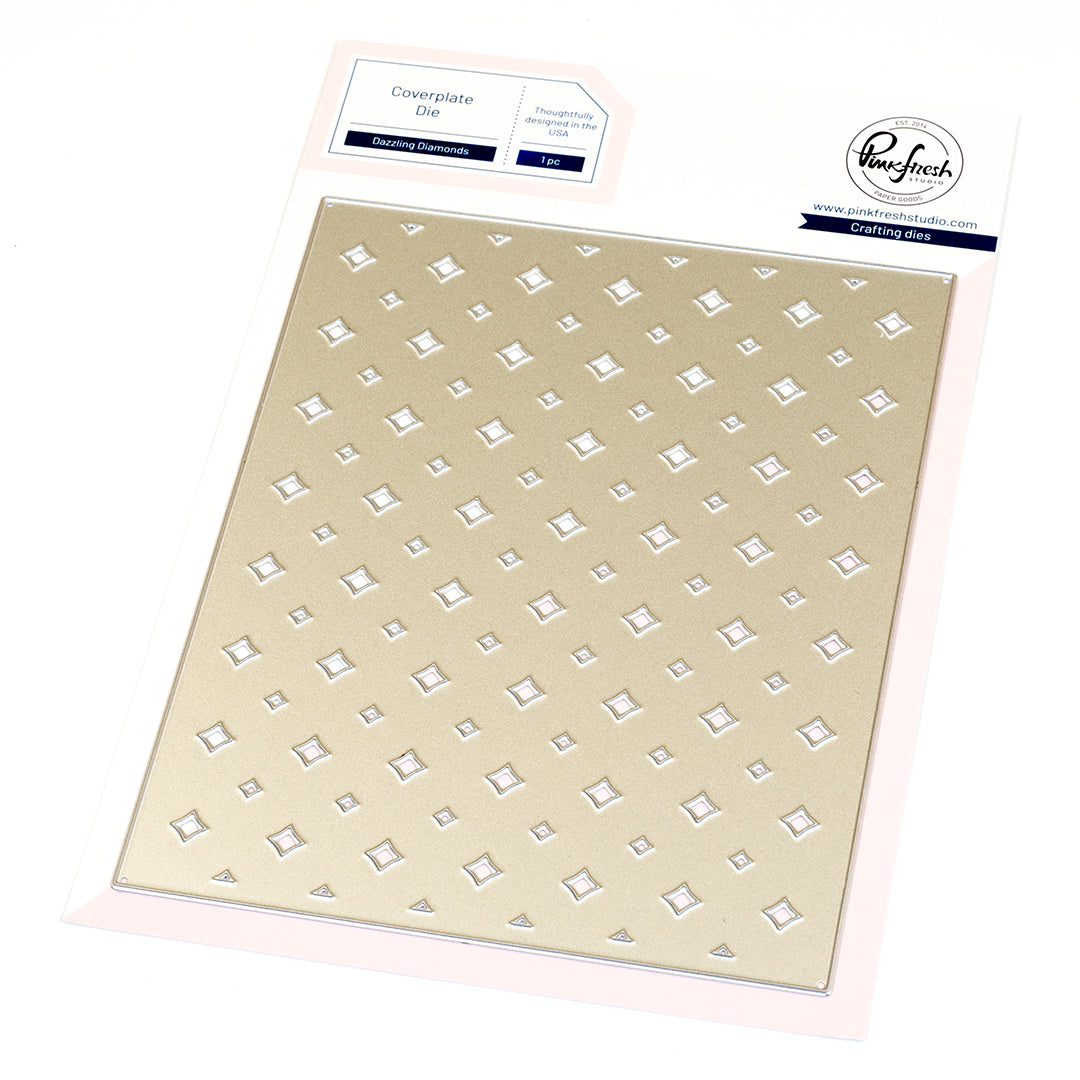
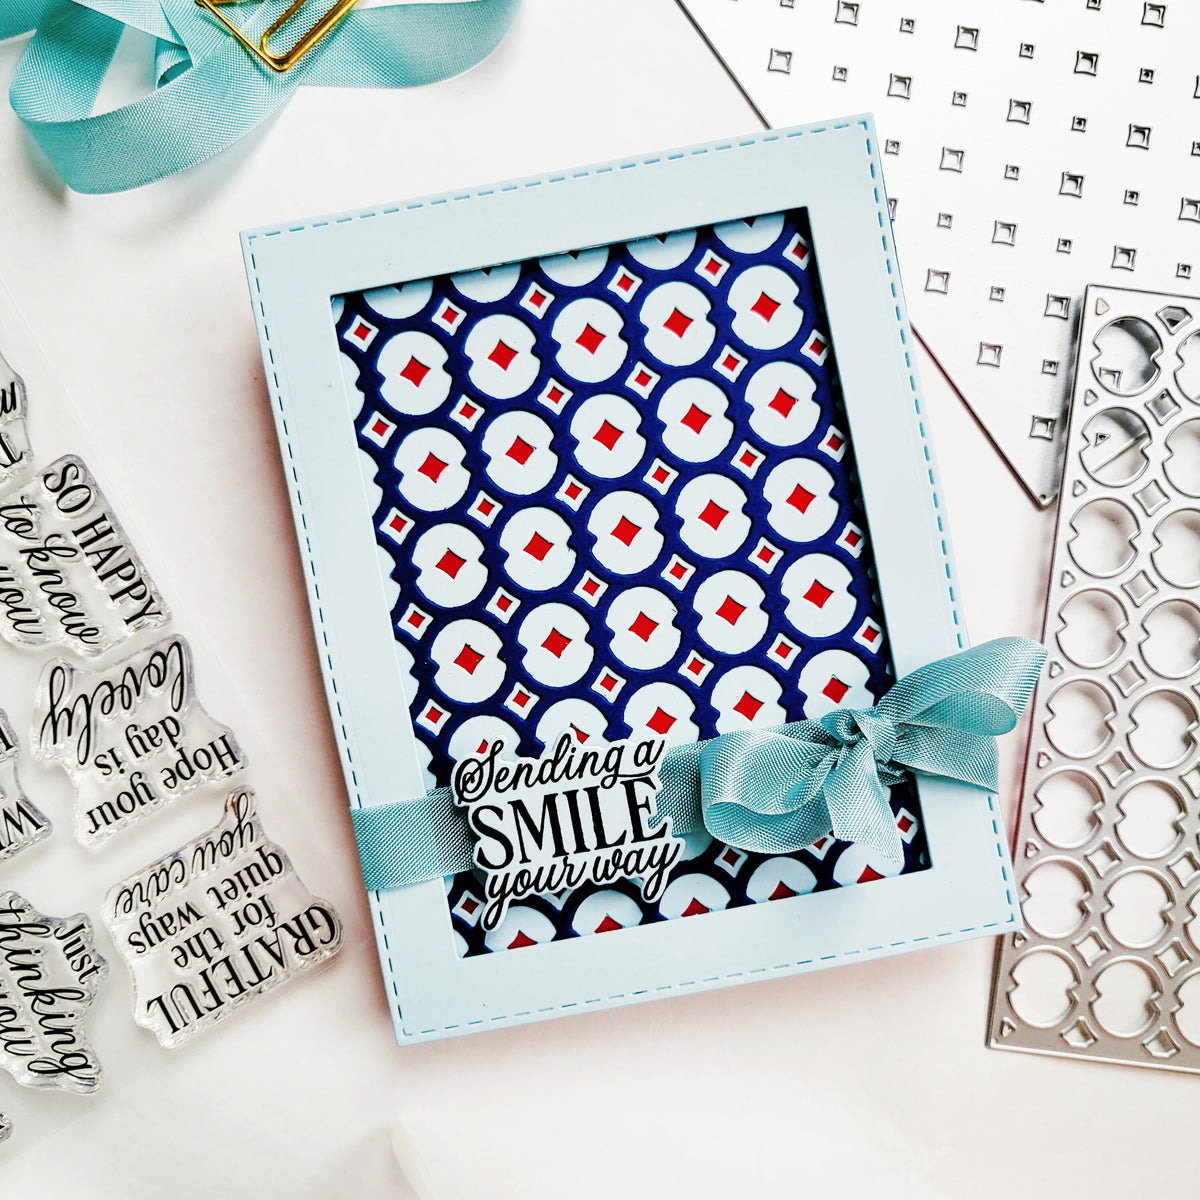
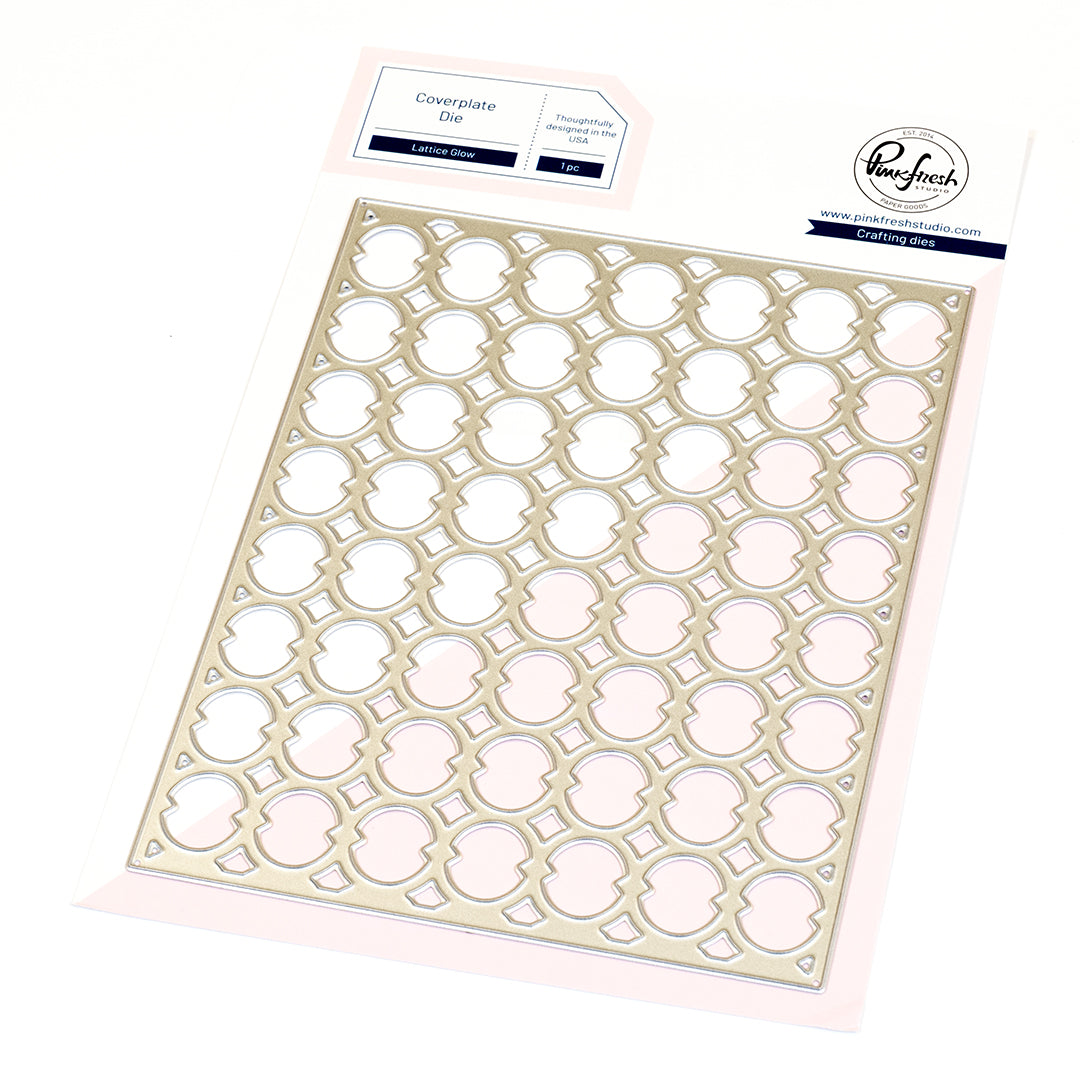
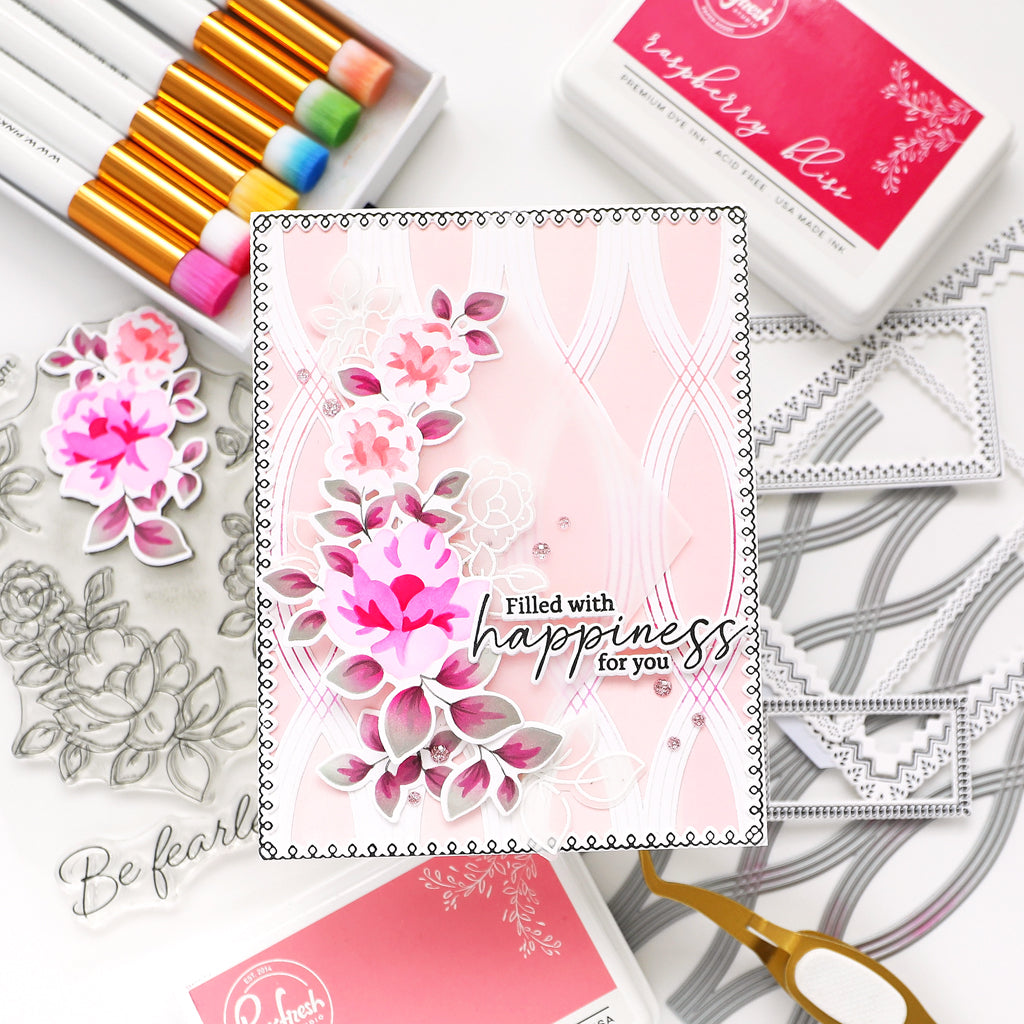
Hello friends! It's Rachel here with a "dazzling" card that showcases the Dazzling Diamonds and Lattice Glow Coverplate Dies. I love how the cutout diamond shapes look like they're twinkling and pair perfectly with the geometry of the Lattice Glow Die.
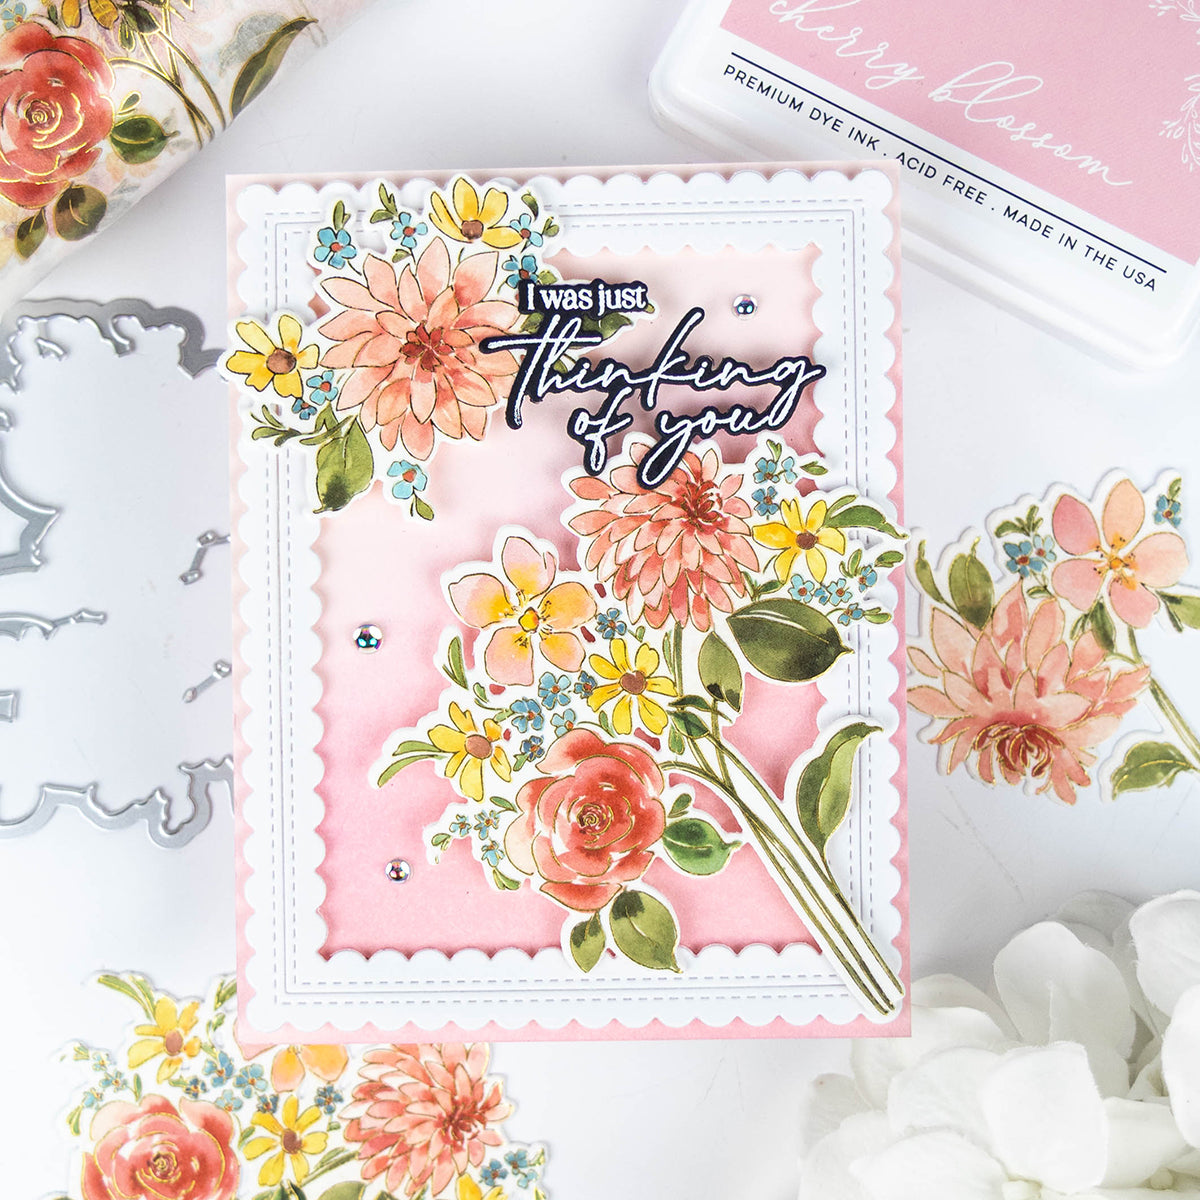
These background dies are elegant enough to stand alone but also pair well with florals and other accents. I combined these background dies with some lovely florals from the Be Fearless Stamp Set (one of my favorites!).
Disclaimer: All products are linked below as clickable images. If a product isn't listed, it's been discontinued.

How to recreate this card:
1. Trim a piece of white card stock to 4.25" x 11" and score it at 5.5" along the 11" side to create a top-folding, vertical card base.
2. Die cut some dark pink card stock with the Dazzling Diamonds Coverplate Die and layer it on top of the white card base with liquid adhesive.
3. Die cut a lighter piece of pink card stock with the Lattice Glow Coverplate Die and layer this piece on top of the last two pieces from steps 1 and 2.
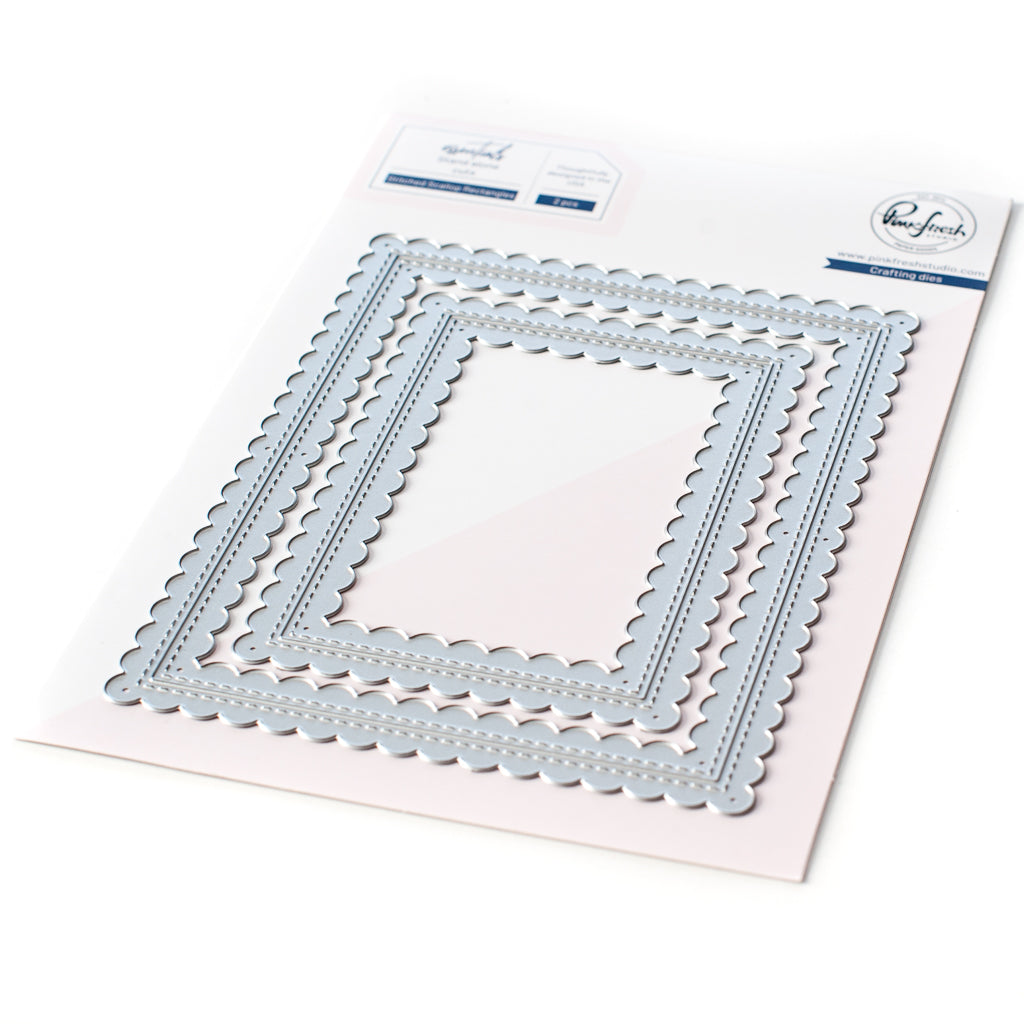
4. Add a white scalloped frame by die cutting some white card stock with the Essentials: Stitched Scallop Rectangles Die Set.
5. Use Detail Black Ink to stamp the florals from the Be Fearless Stamp Set onto a piece of smooth white card stock. (I used Neenah Solar White 110lb card stock.)
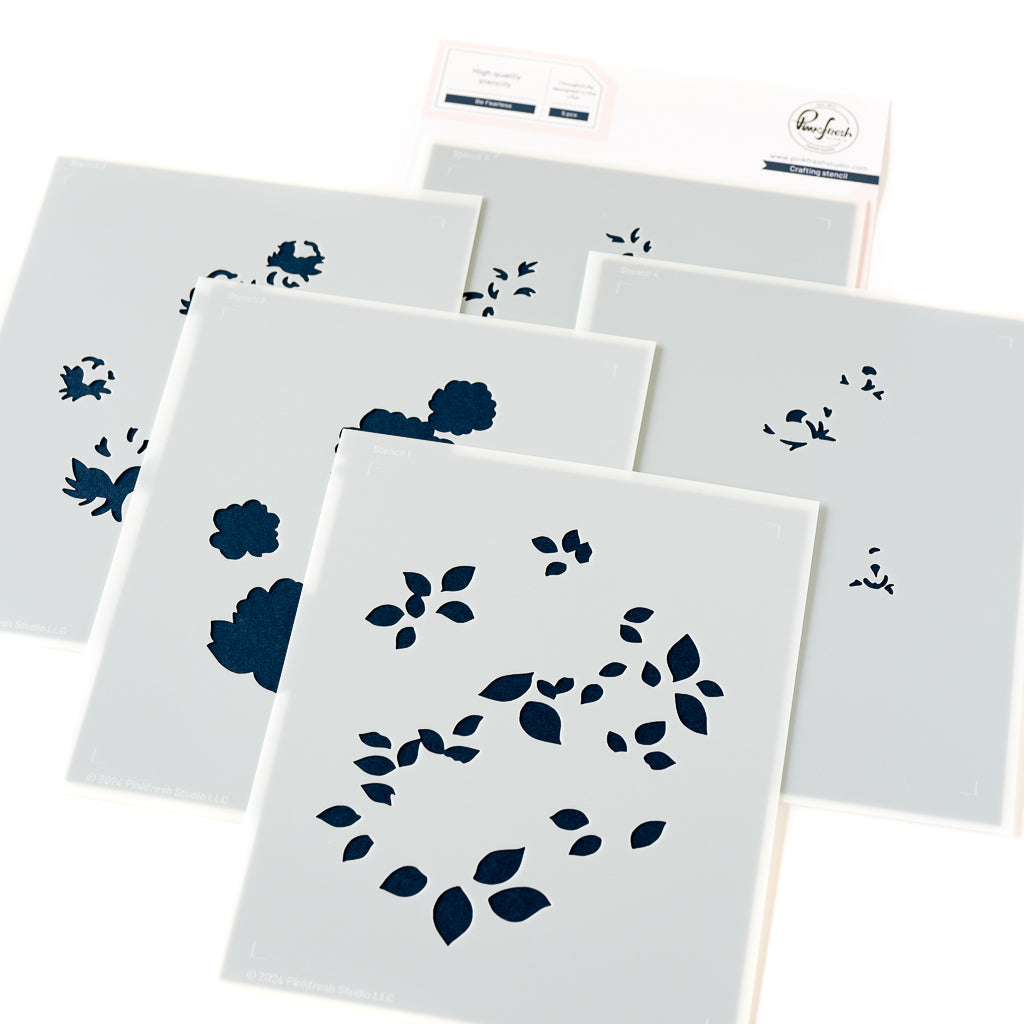
6. Use the coordinating Be Fearless Stencils and Pinkfresh Inks to ink blend some color onto the florals.
- Stencil 1: Fresh Pear
- Stencil 2: Ballet Slipper
- Stencil 3: Sparkling Rose
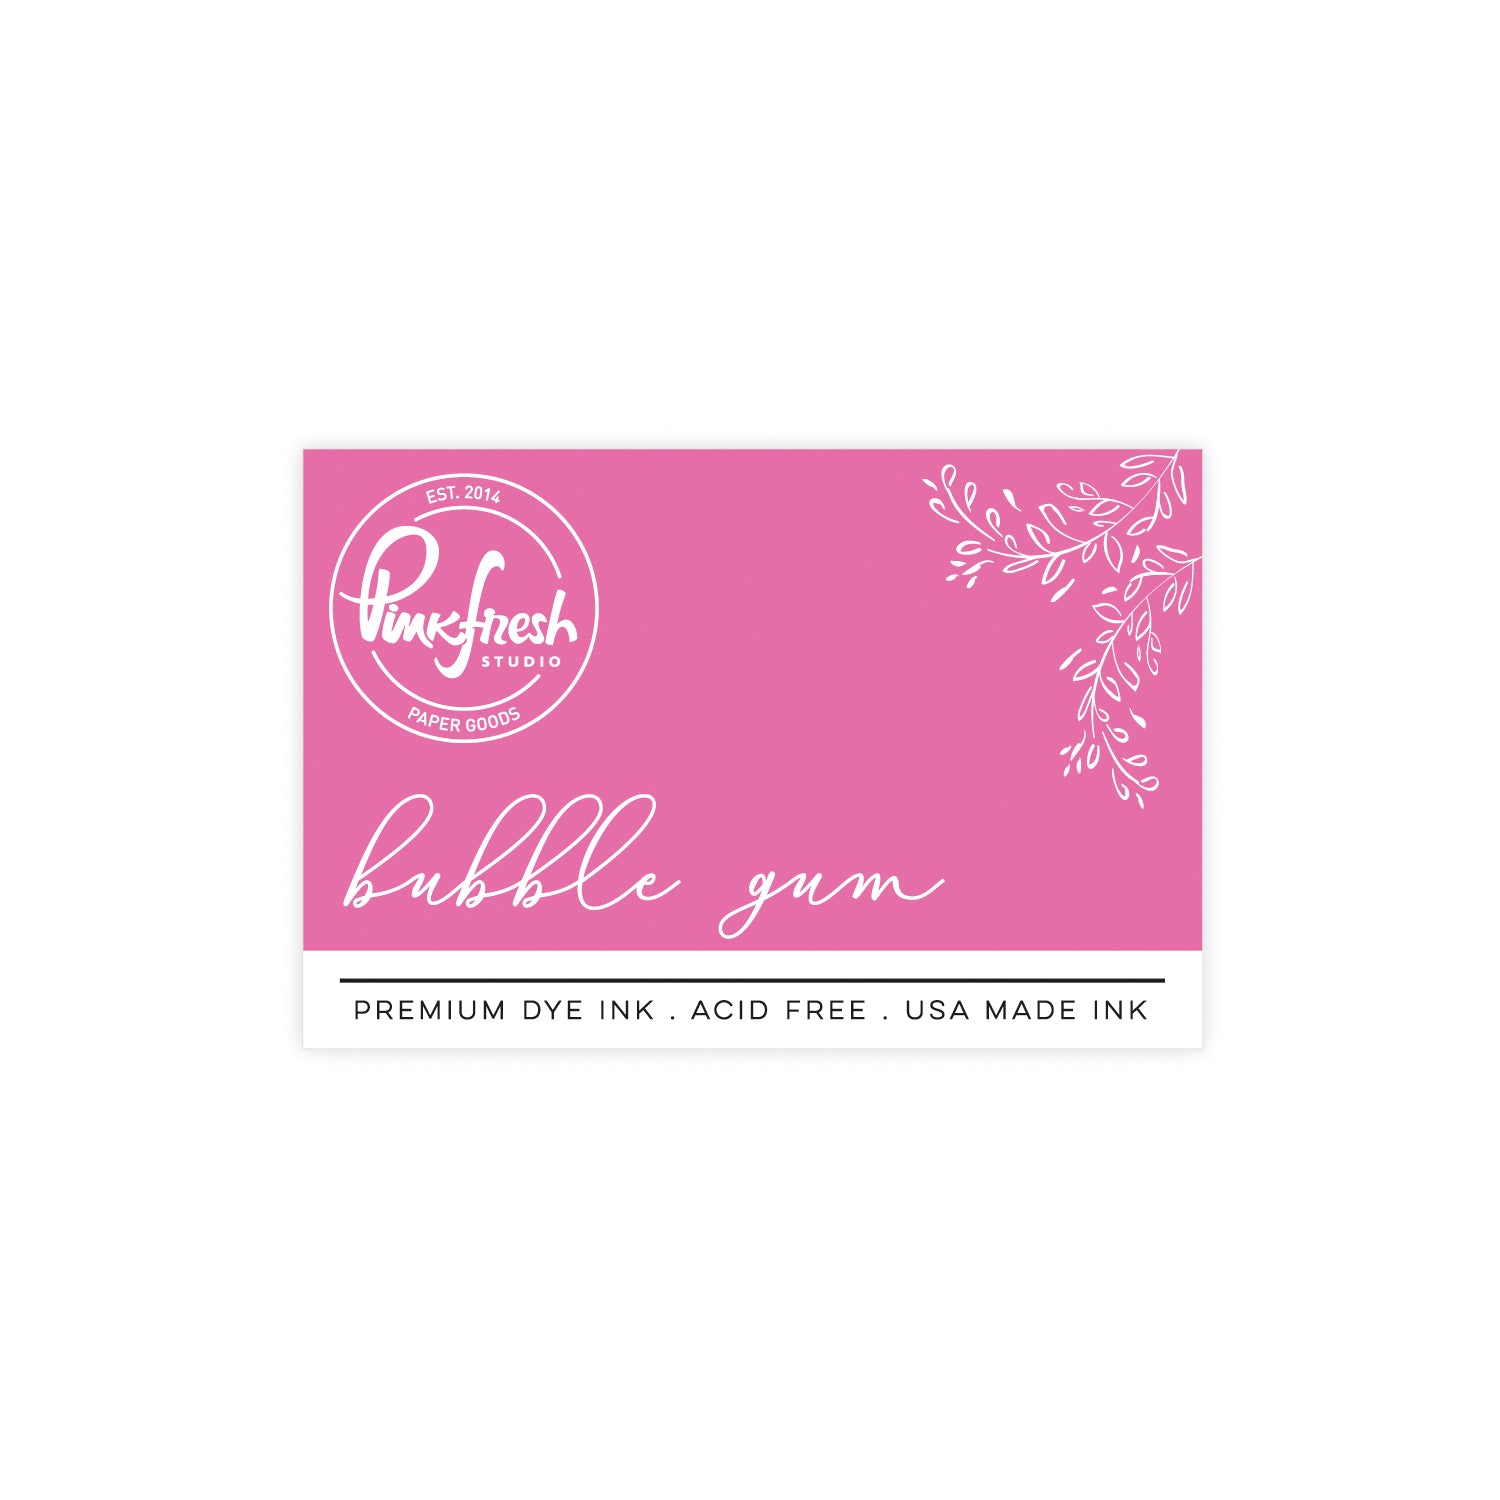
- Stencil 4: Bubble Gum
- Stencil 5: Key Lime
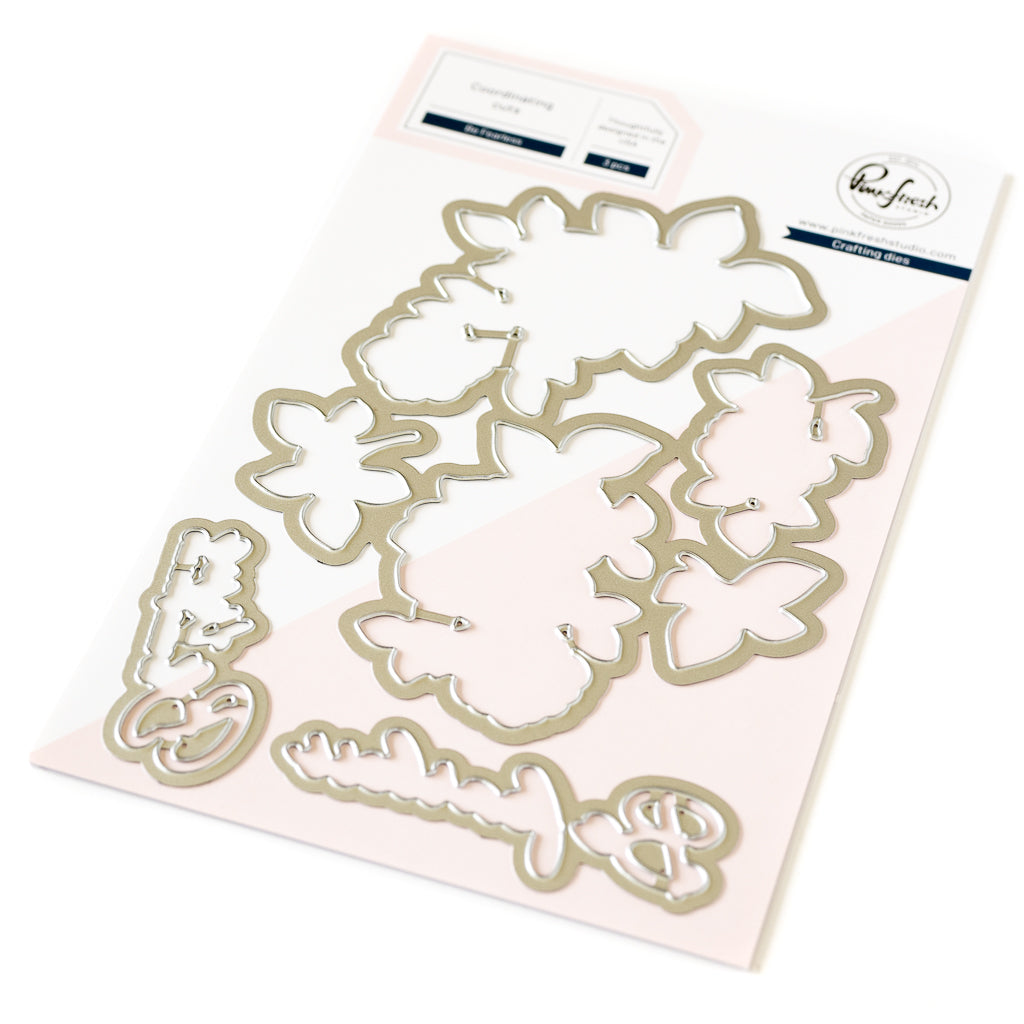
7. Use the coordinating Be Fearless Die Set to die cut the ink-blended images.
8. Add the florals to the lower left and top right corners of your card with 3D foam adhesive tape for a pop of dimension.
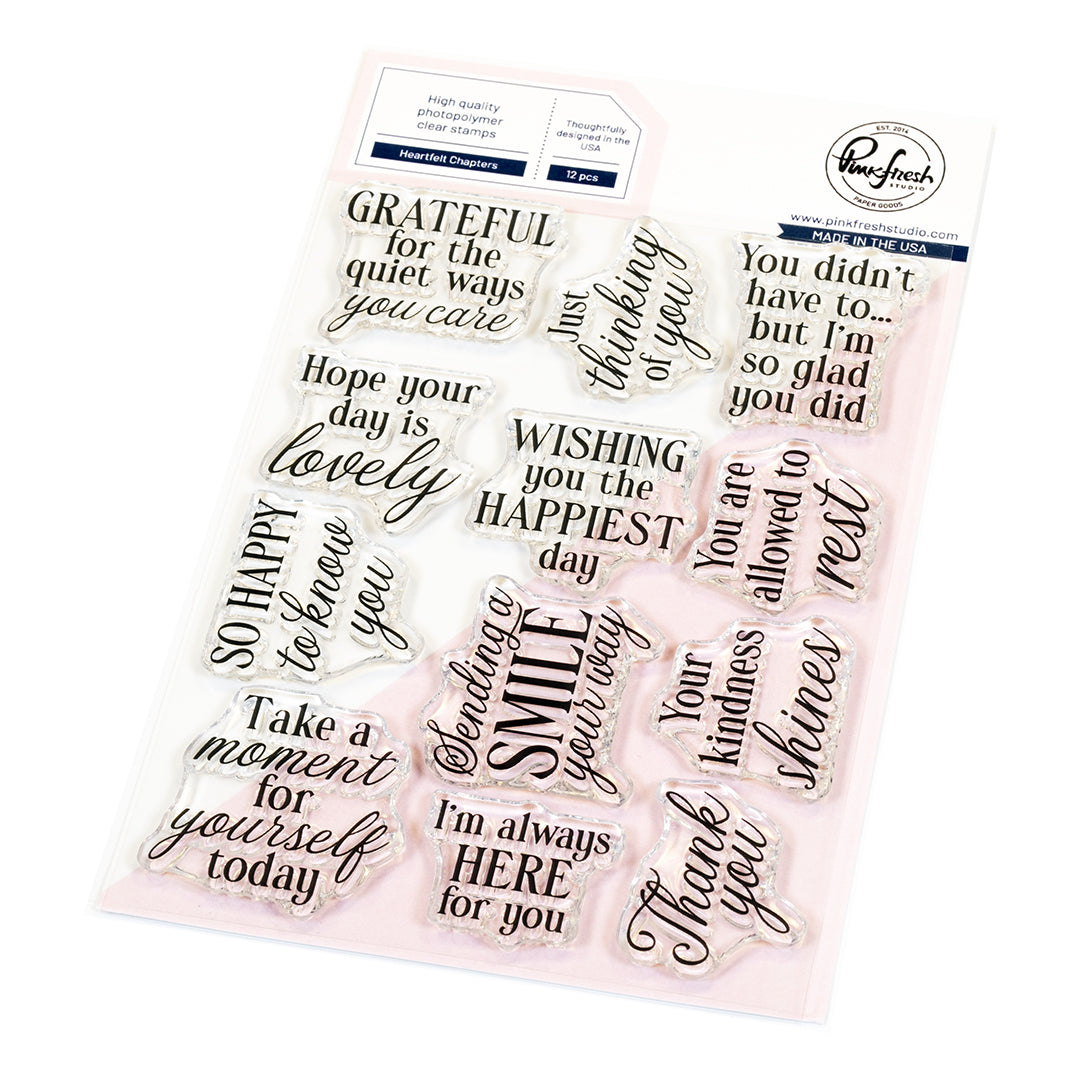
9. Heat emboss your sentiment (I used one from the Heartfelt Chapters Stamp Set) with Fine Detail White Embossing Powder onto a piece of black card stock.
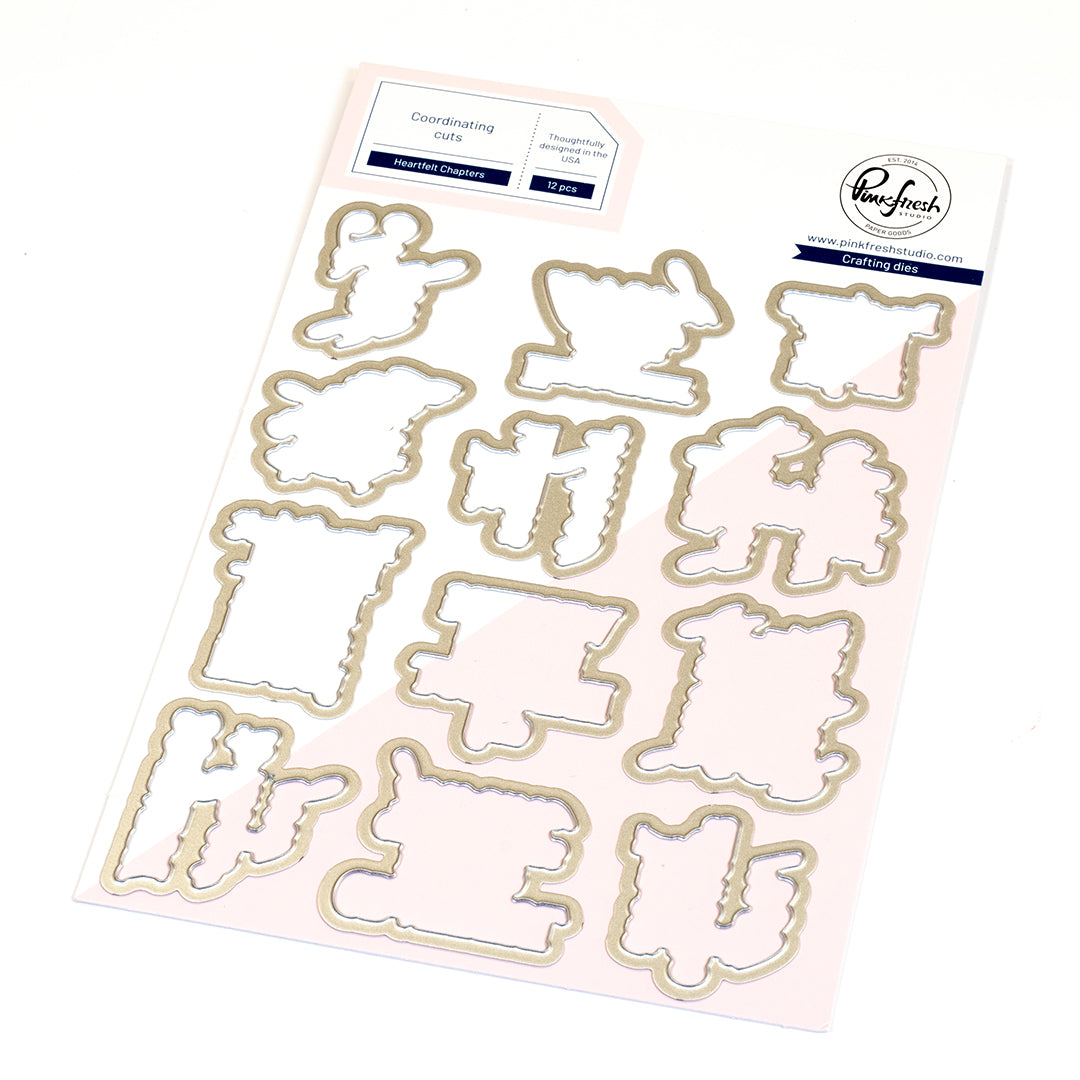
10. Die cut the sentiment with the coordinating Heartfelt Chapters Dies and use more dimensional foam tape to add it to the center of the card.

I hope you enjoyed my card today! I adore this combination for the background, and love how much texture and interest it adds to the card. Using florals are optional as the background is stunning on its own.
I would love to see what you create! Make sure to tag us on Instagram with your personal creations using these products!
Please feel free to leave a comment below as well as any questions you may have.
- Rachel
Recommended Products

























Leave a comment
All comments are moderated before being published.
This site is protected by hCaptcha and the hCaptcha Privacy Policy and Terms of Service apply.