
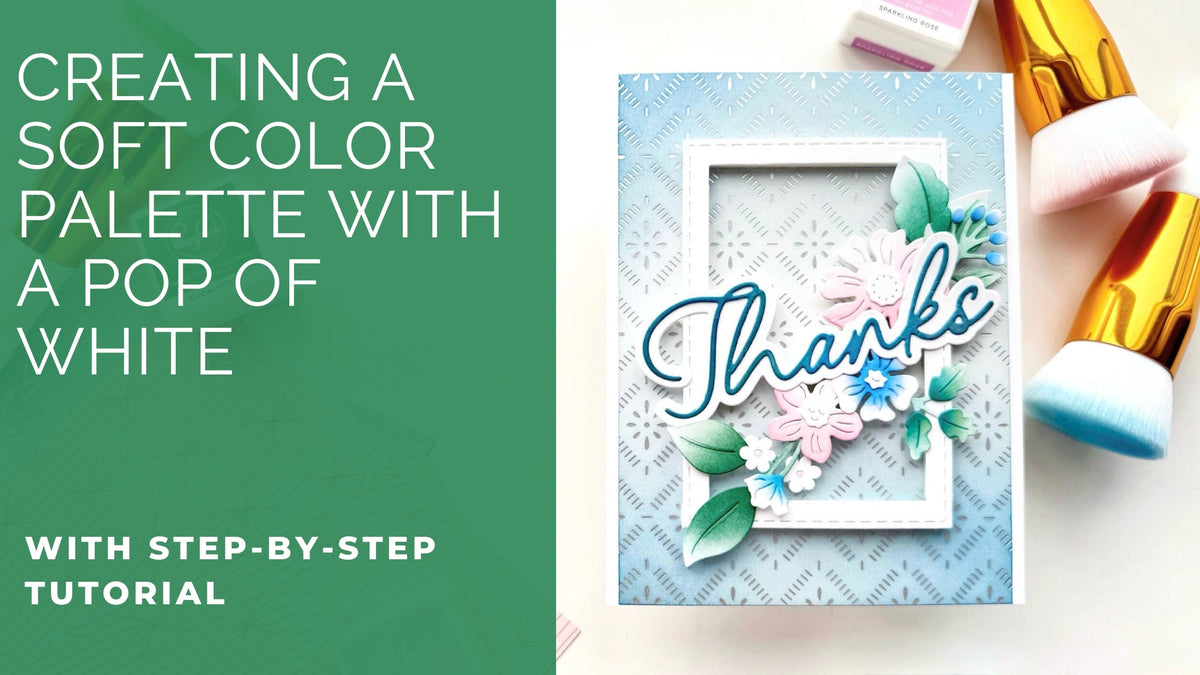
Hello everyone, it’s Steph here, back with another card for you. Today, I’m focusing on a soft and subtle colour palette of blue, green, and a hint of pink, but also adding pops of white to make those soft colours really stand out!
I love white space on a project and enjoy experimenting with new ways to incorporate it for a fresh pop.
*Disclaimer: All products used are linked below as clickable images. If a product isn’t listed, it’s been discontinued.

How to create this card:
-
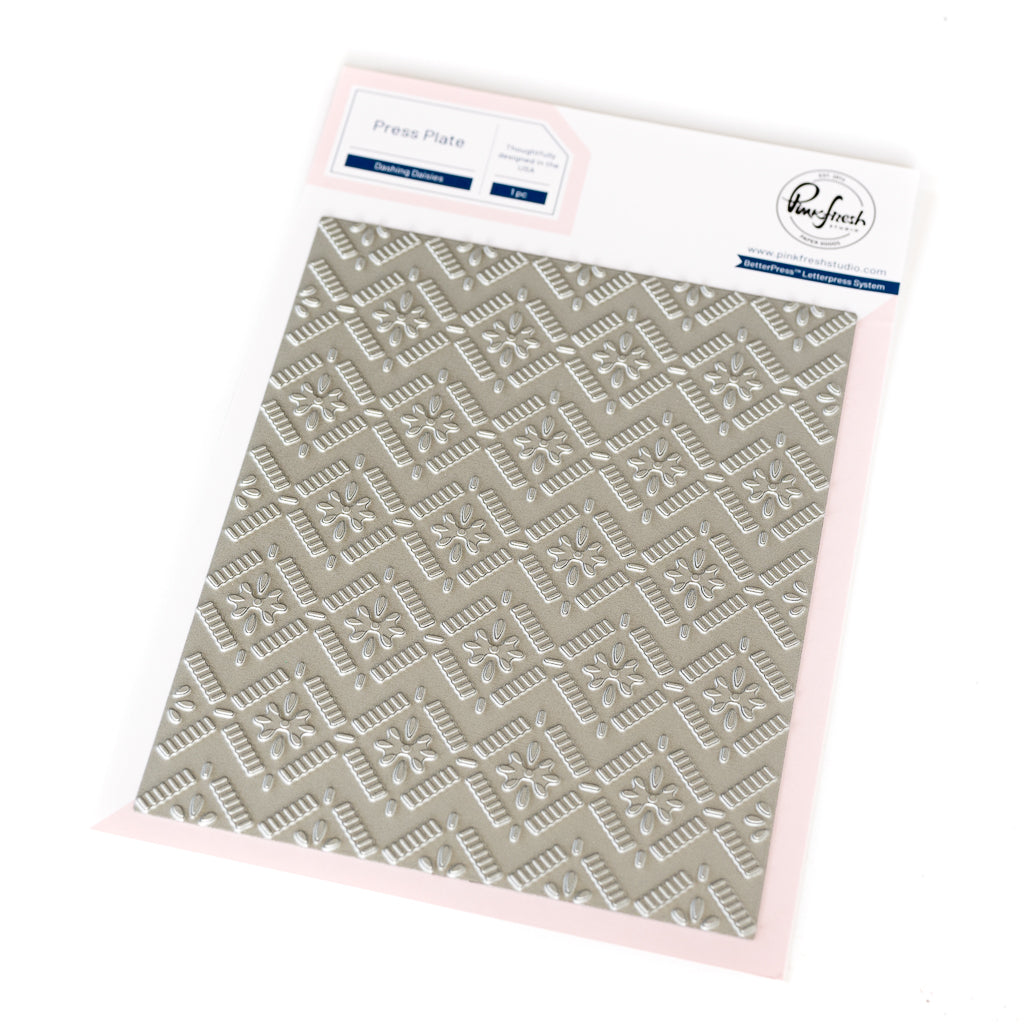
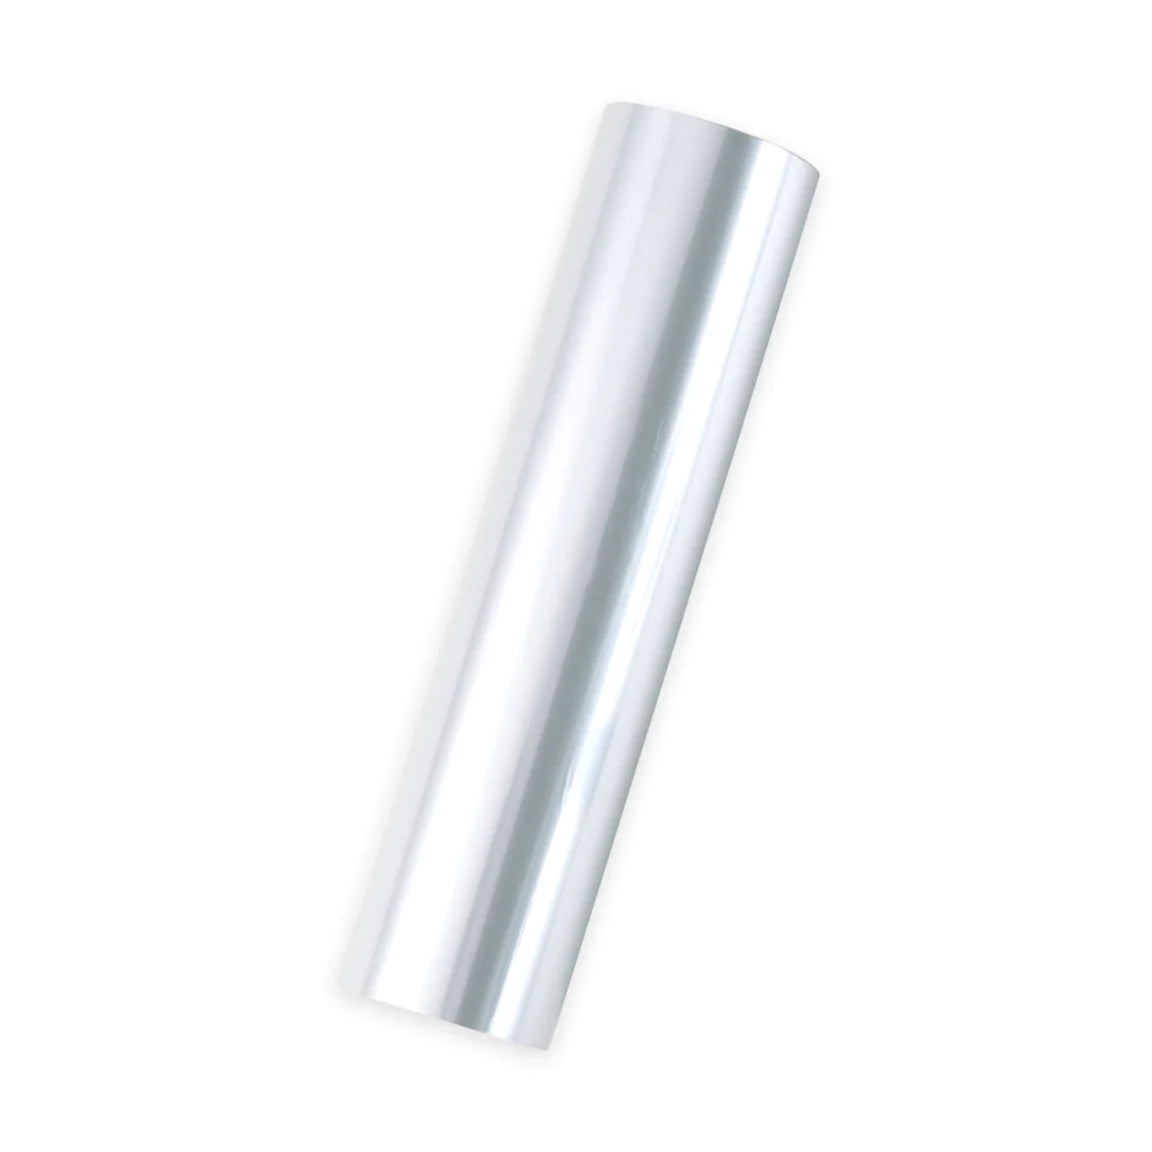
Cut a panel of white cardstock measuring 4”x 5 ½”. Then, use the Dashing Daisies press plate to hot foil with Matte Silver foil.
-
Lightly blend Misty Coast from the bottom up and the top down, leaving a white space in the center of the background. Repeat this step overtop using Storm and a very light hand.
-
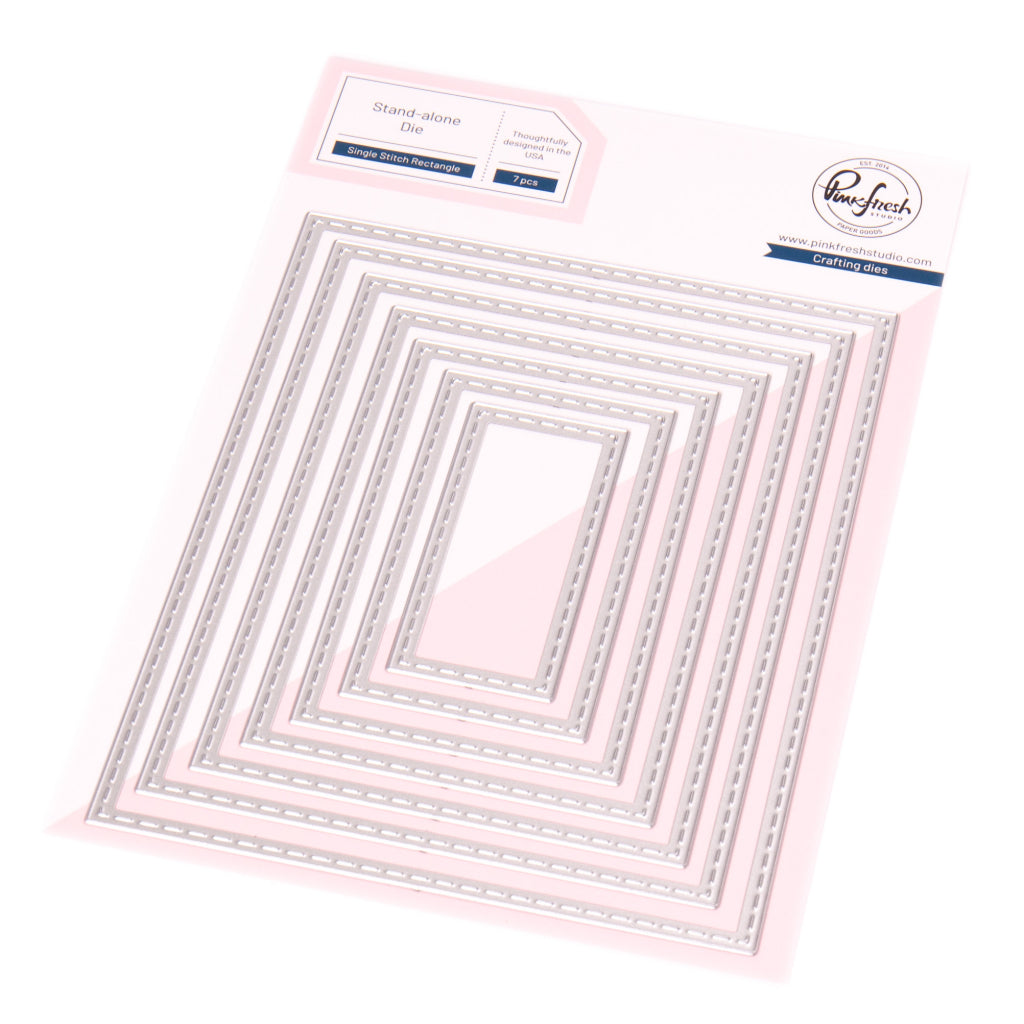
Use the Essentials: Single Stitch Rectangle die to create a frame from white cardstock using the third and fourth smallest rectangles in the set.
-
Ink blend Stylized Florals using the coordinating stencils.
-
Stencil 1: Sage, Eucalyptus (leaves)
-
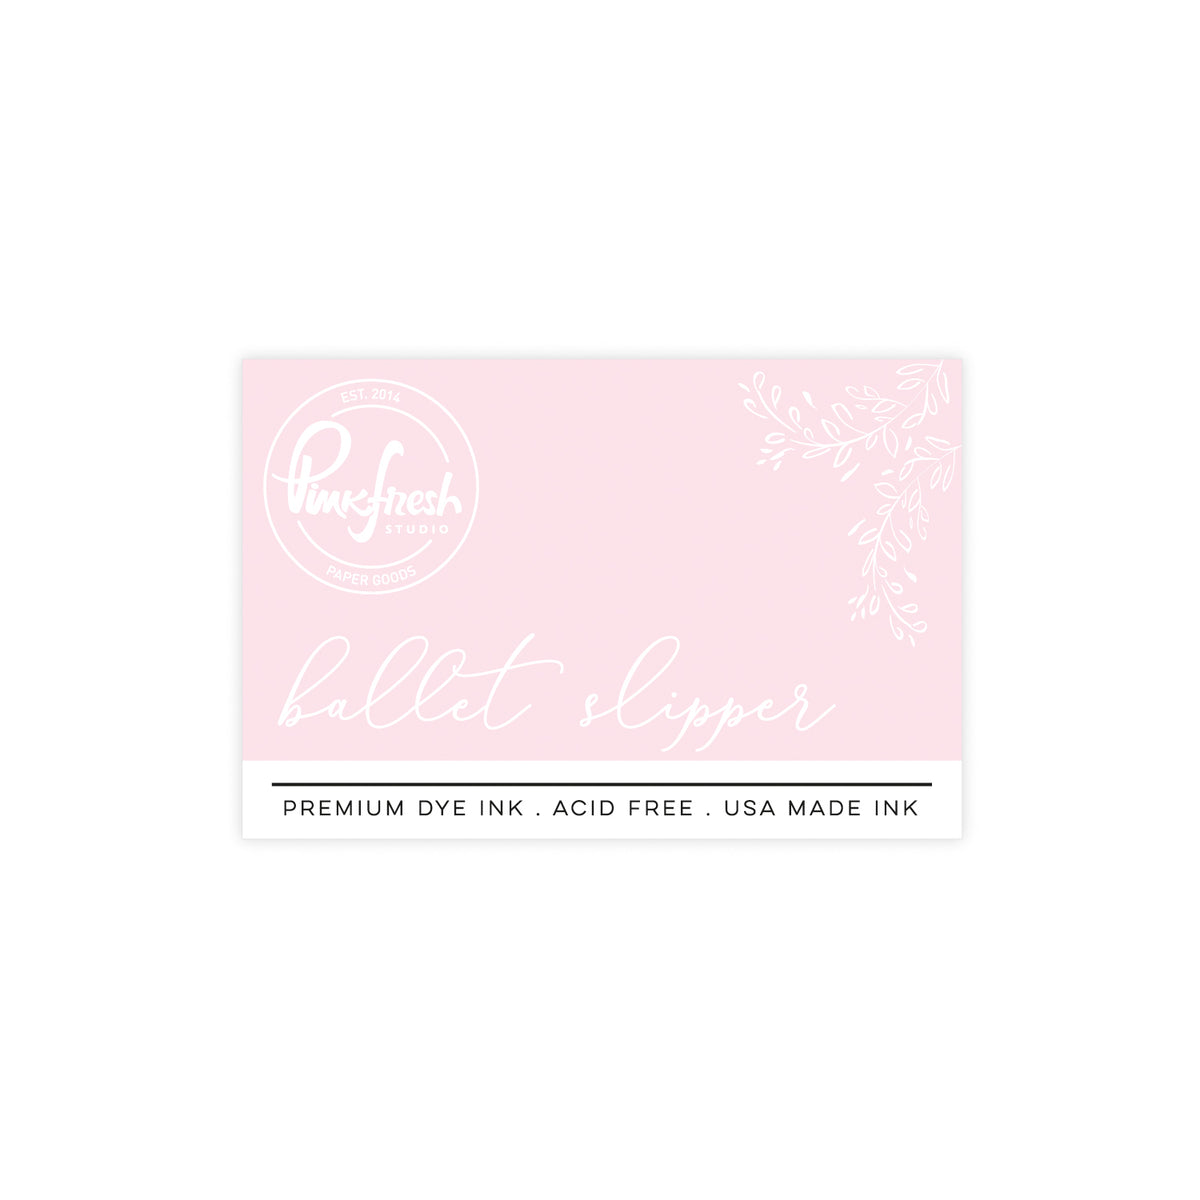
Stencil 2: Ballet Slippers, Coral Reef (large flowers, and tiny flower centers), Slumber (small flowers and berries)
-
-
When Ink blending, leave tips of leaves, tops of flowers, and flower centers white to add another pop of white.
-
Die cut using coordinating dies.
-
Snip apart the floral pieces and arrange them in a swag pattern, then adhere them to the top of the white frame.
-
Use foam tape to adhere the floral frame to the center of the hot foiled 4” x 5 ½” panel.
-
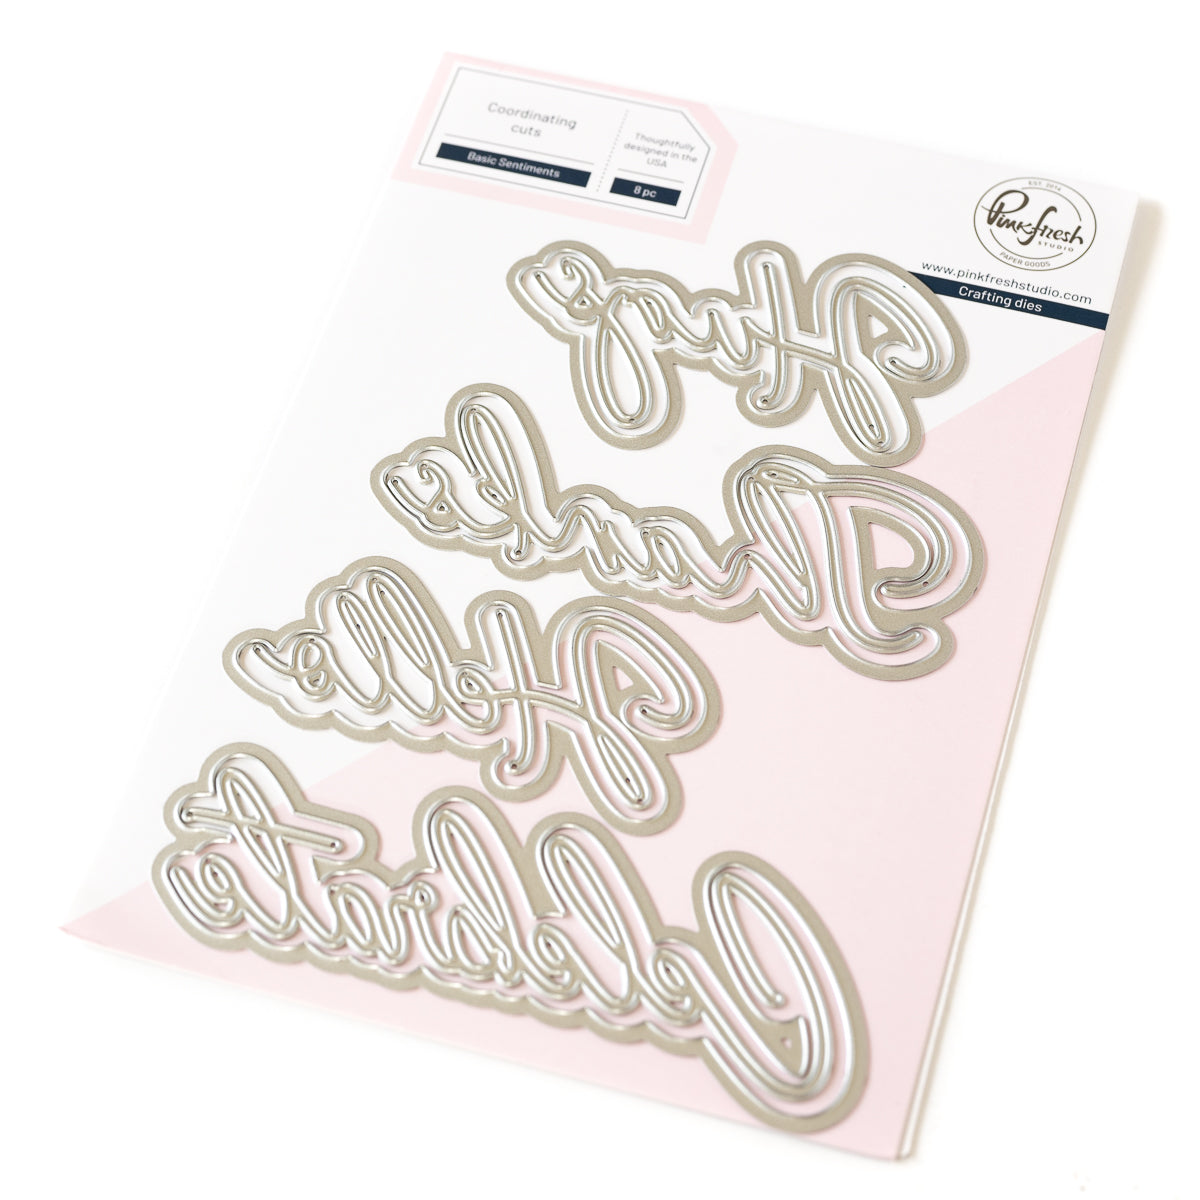
Die cut the “Thanks” from the Basic Sentiments die from white cardstock.
-
Ink blend Eucalyptus over the thanks word.
-
Use liquid glue to adhere the thanks die cut to the white shadow layer.
-
Use liquid glue to adhere the finished thanks die cut on the floral frame.
-
Center and adhere your completed 4” x 5 ½” panel on an A2 white card base, leaving a ⅛” of white space on the left and right sides of the card.

I hope you enjoyed the subtle colour palette I used today and also found a few new ways of adding white space to your cards. If you try any in your next card project, please tag us on social media so we can see them!
Happy crafting!
Steph
Recommended Products




















Leave a comment
All comments are moderated before being published.
This site is protected by hCaptcha and the hCaptcha Privacy Policy and Terms of Service apply.