
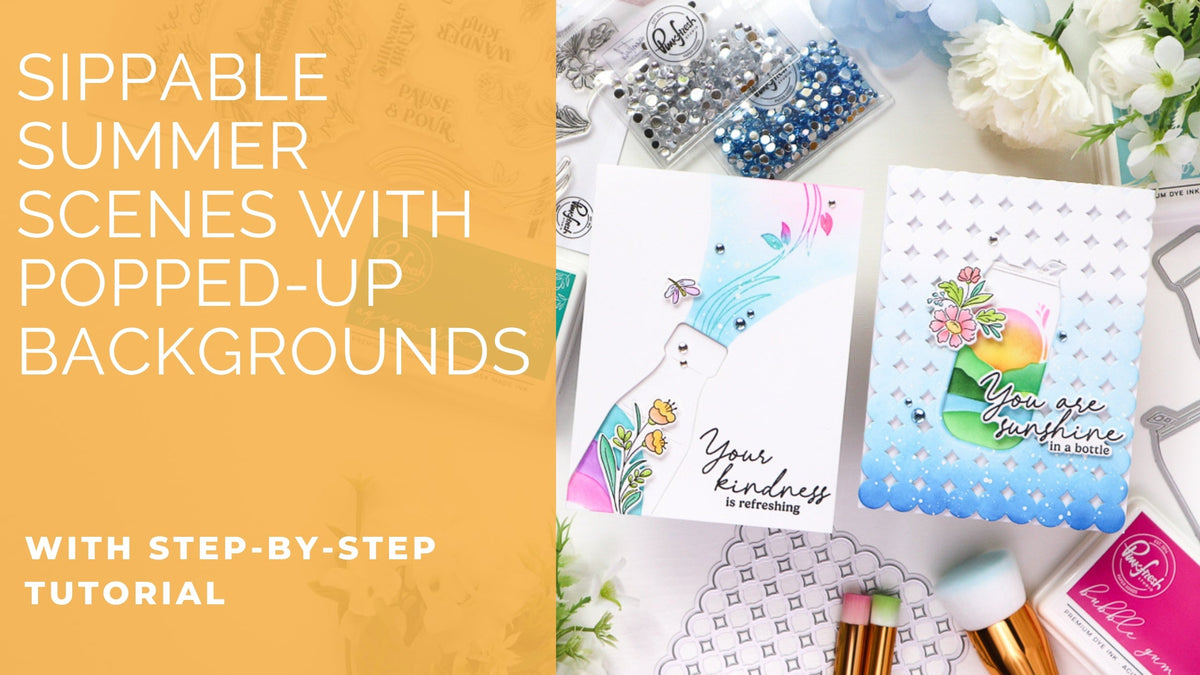
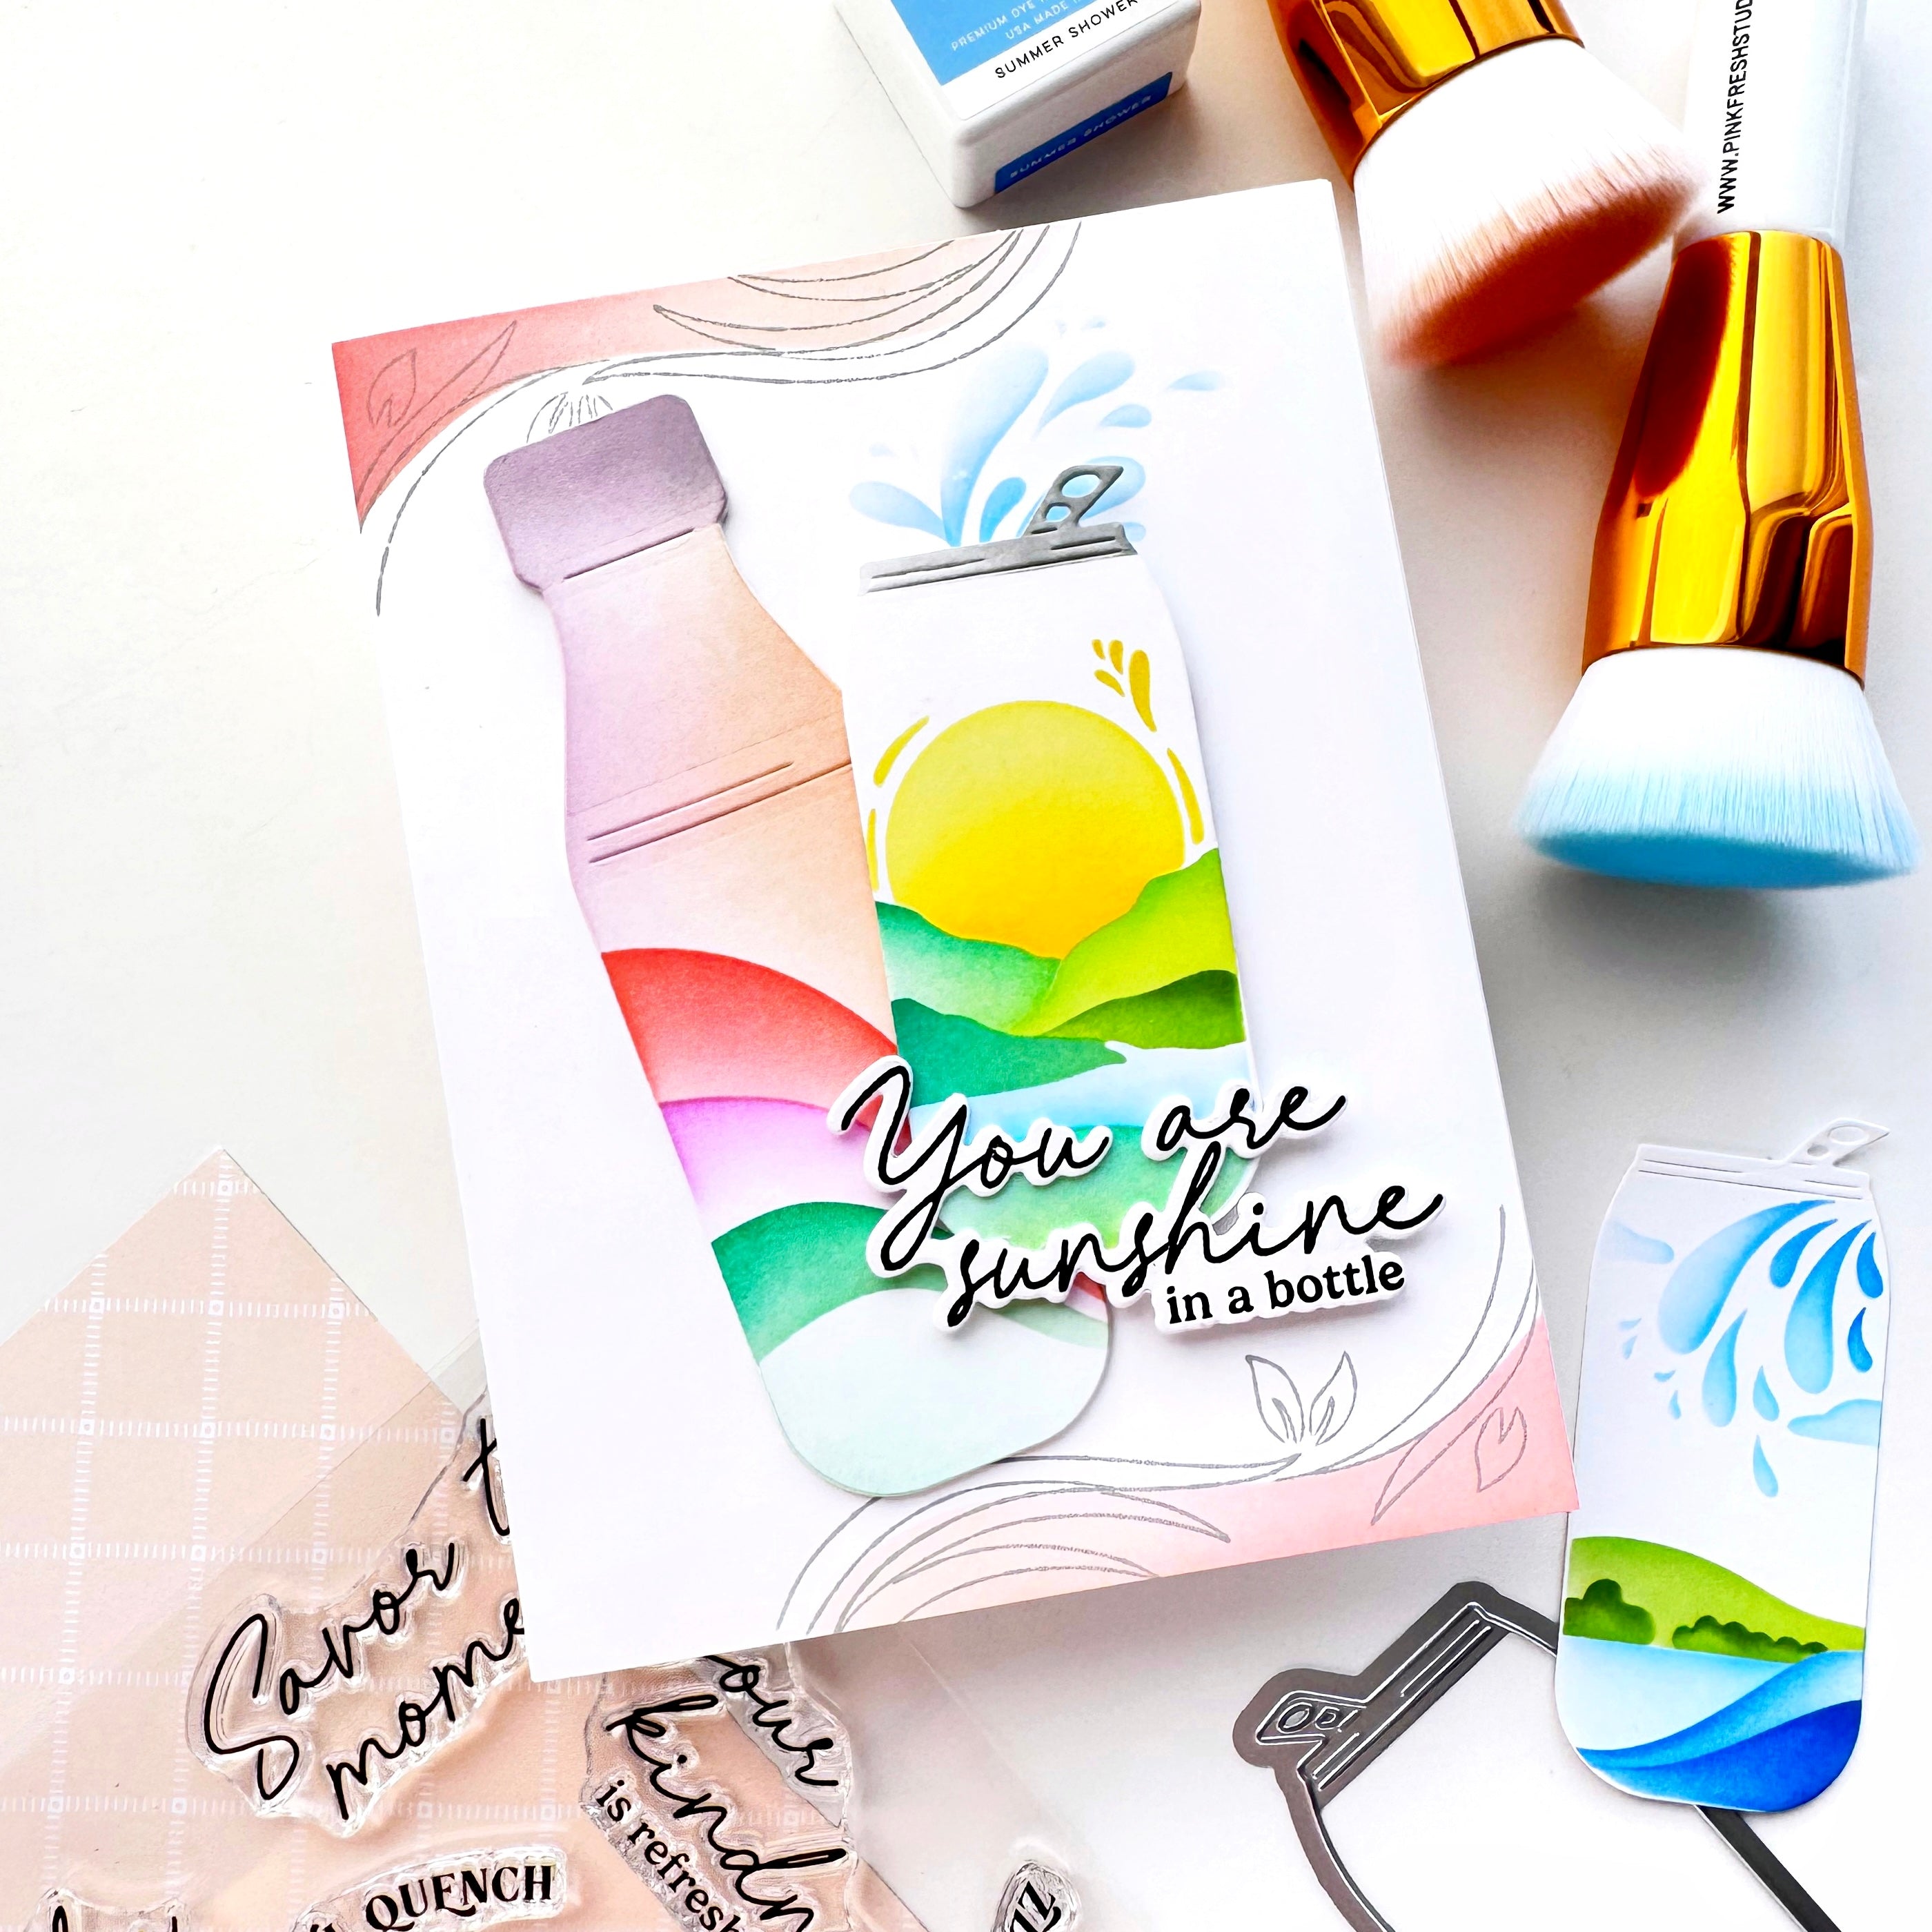
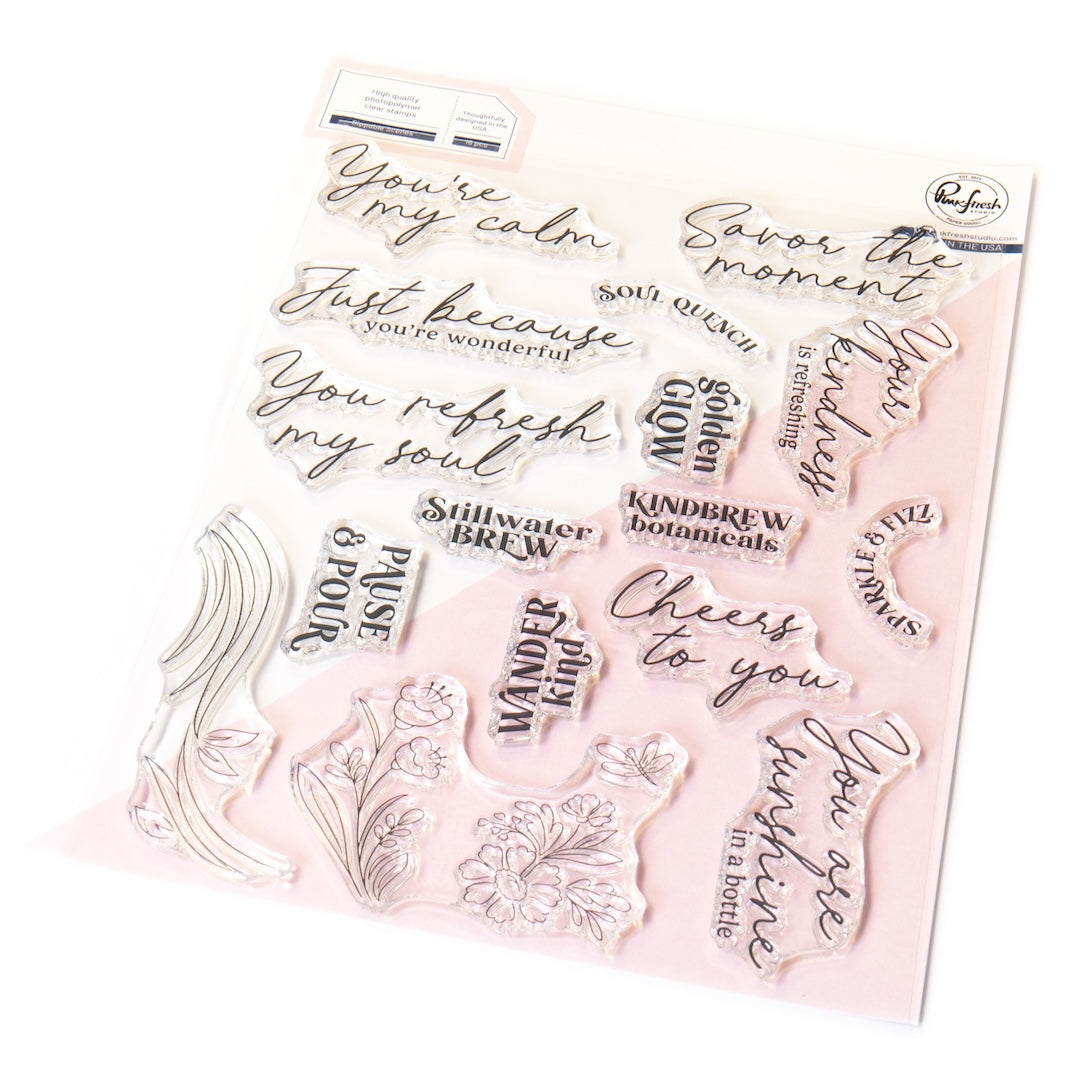
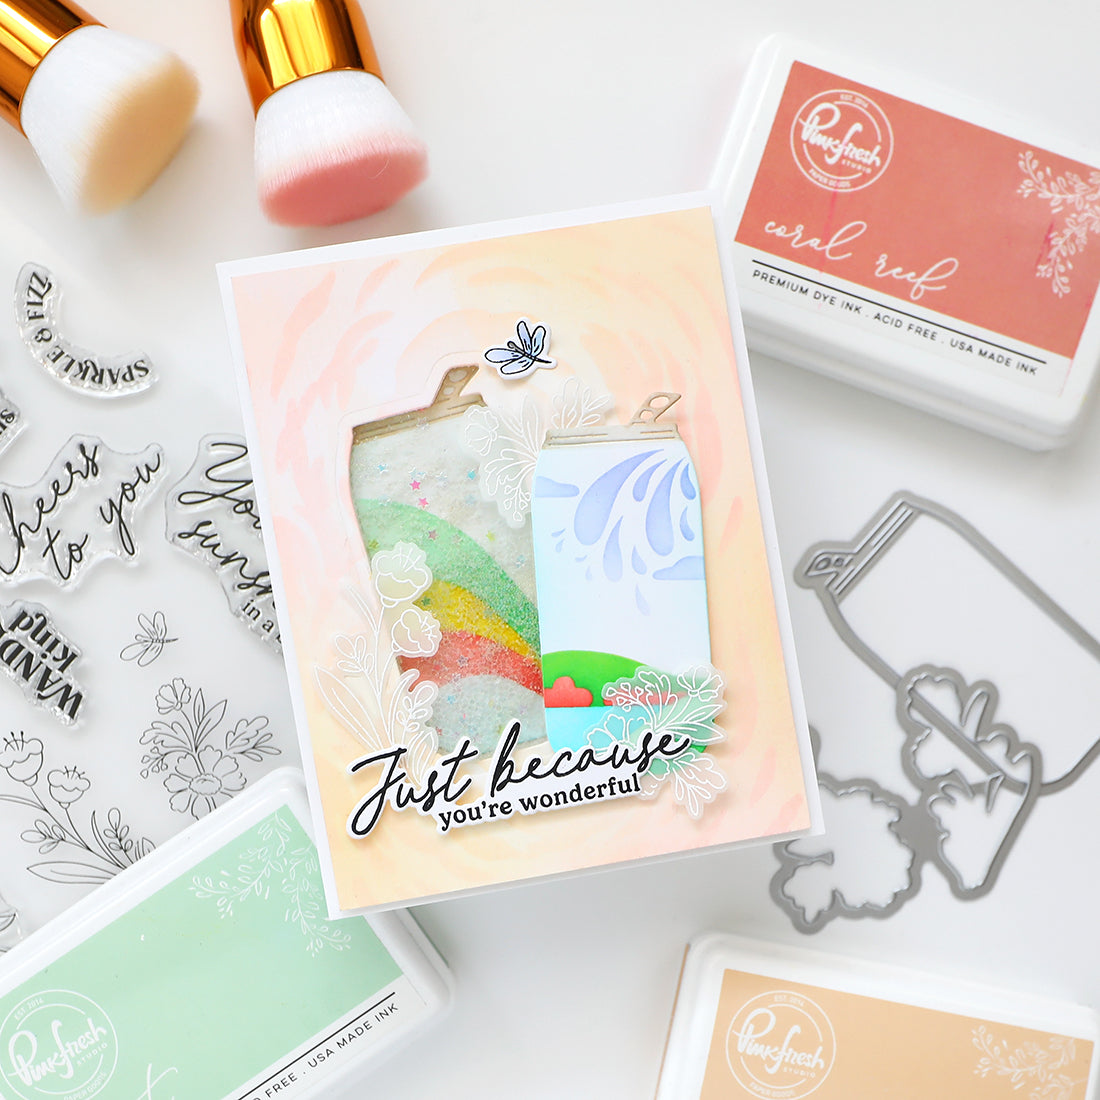
Hello and happy Friday, everyone! It’s TaeEun here today with a couple of fresh and summery cards featuring the Sippable Scenes product suite! This is a such a cool design by our talented teammate Isha, and I love how many mix-und-match possibilities there are in this suite ! You can decorate the bottle or can however you like using the stencils and stamps—perfect for endless creativity !
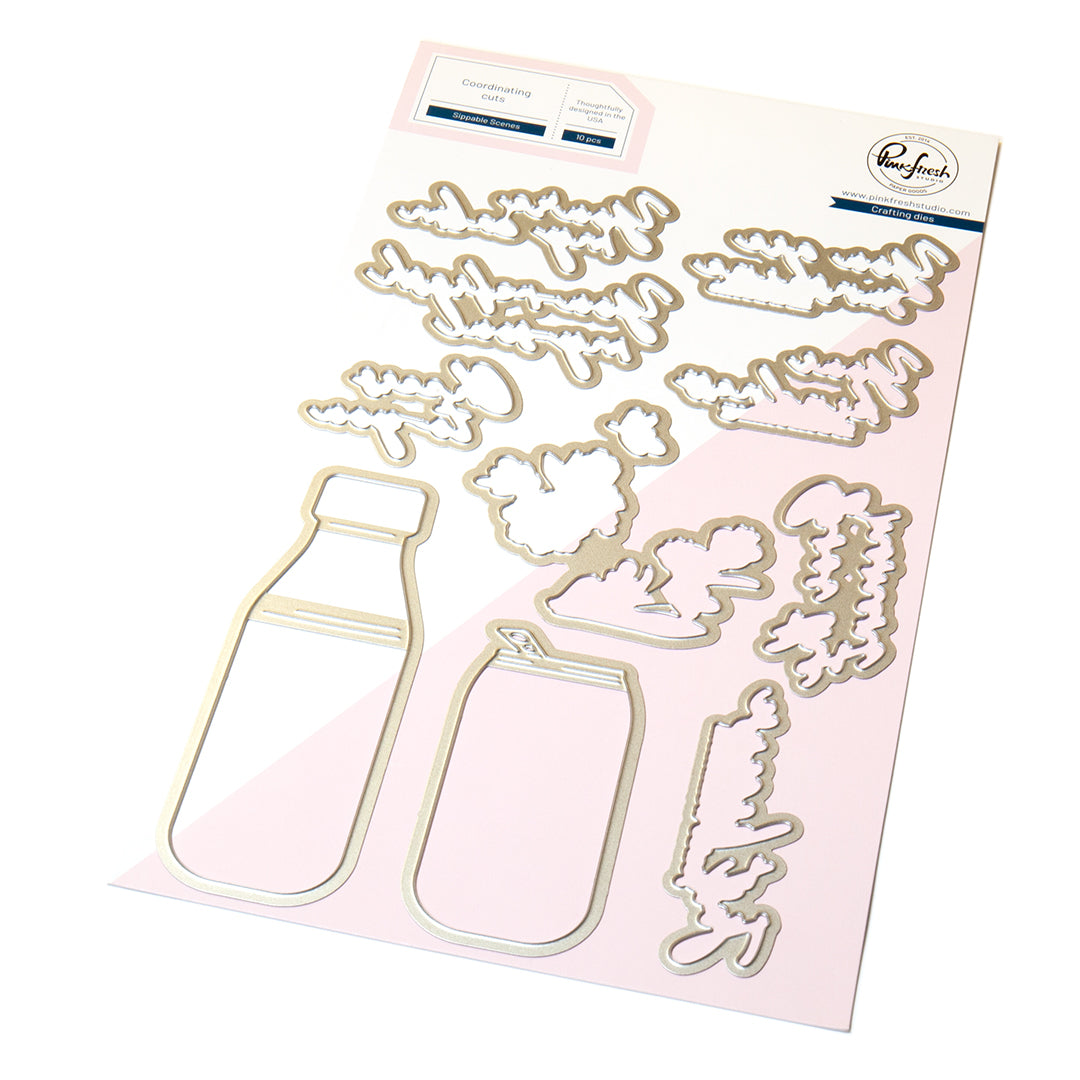
The stamp set also includes a wide range of sentiments, making it super versatile. The coordinating die set comes with two single dies along with others; one for the bottle and one for the can - So I decided to use both to create cards with a popped-up-background. In both cards, I placed the focal element (bottle or can) flat on the card base and popped up the negative panel with foam tape to add dimension and interest.
Let’s dive in!
*Disclaimer: All products used are linked below as clickable images. If a product isn’t listed, it’s been discontinued.

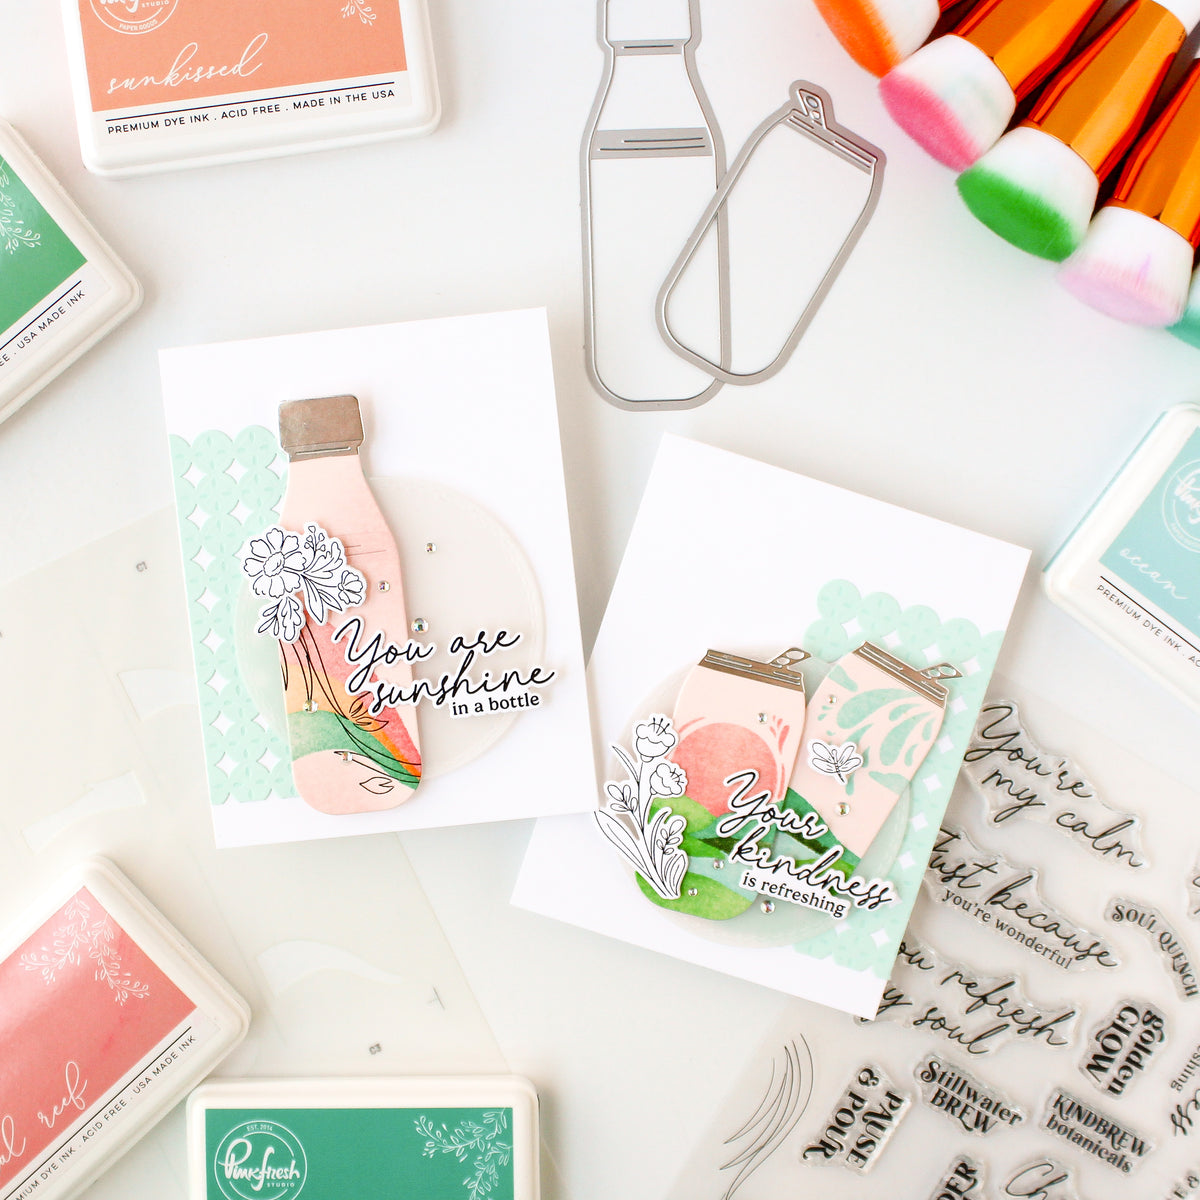
Card 1 with the bottle
- Start by cutting a white A2 panel using the bottle die, placing it in the bottom left corner so that only a part of the bottle would be cut.
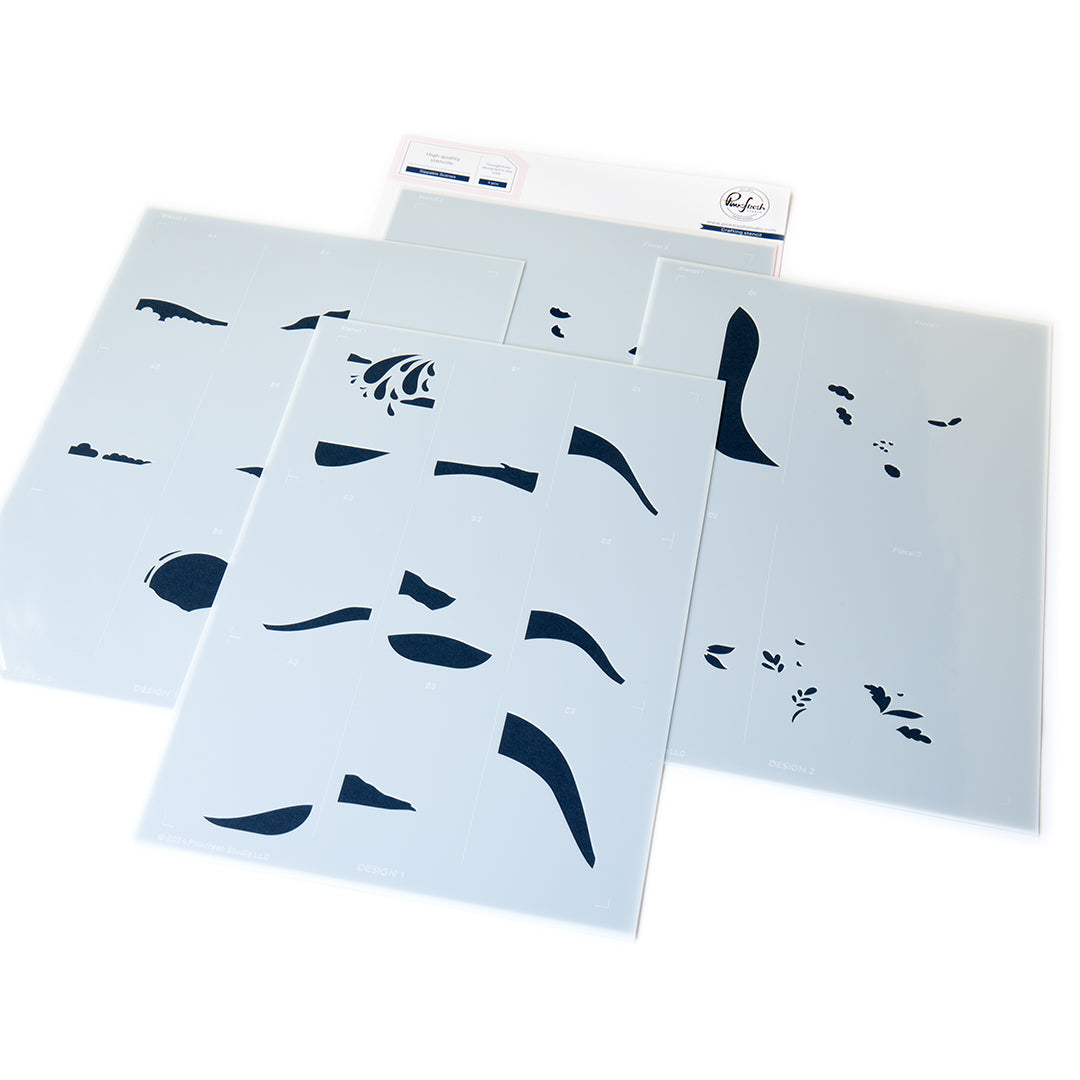
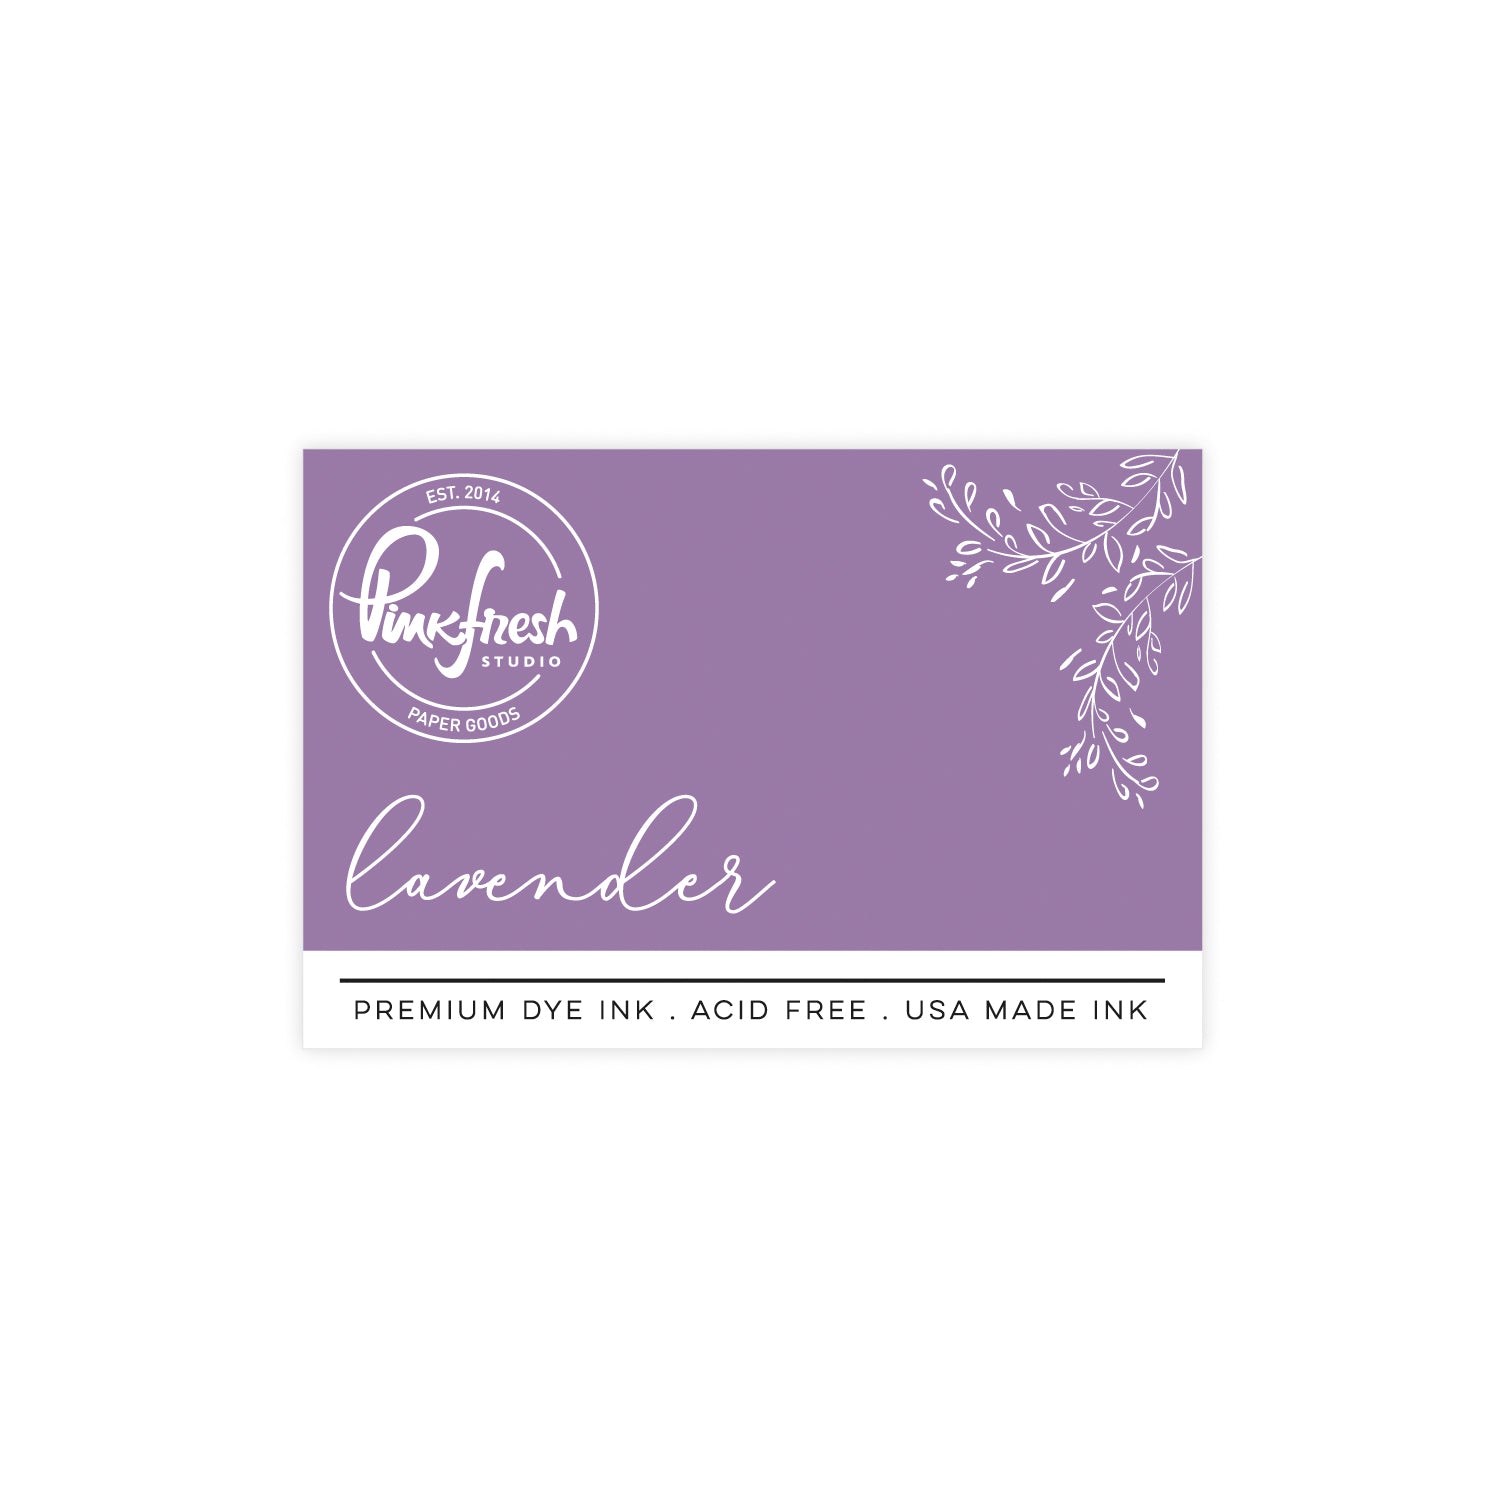
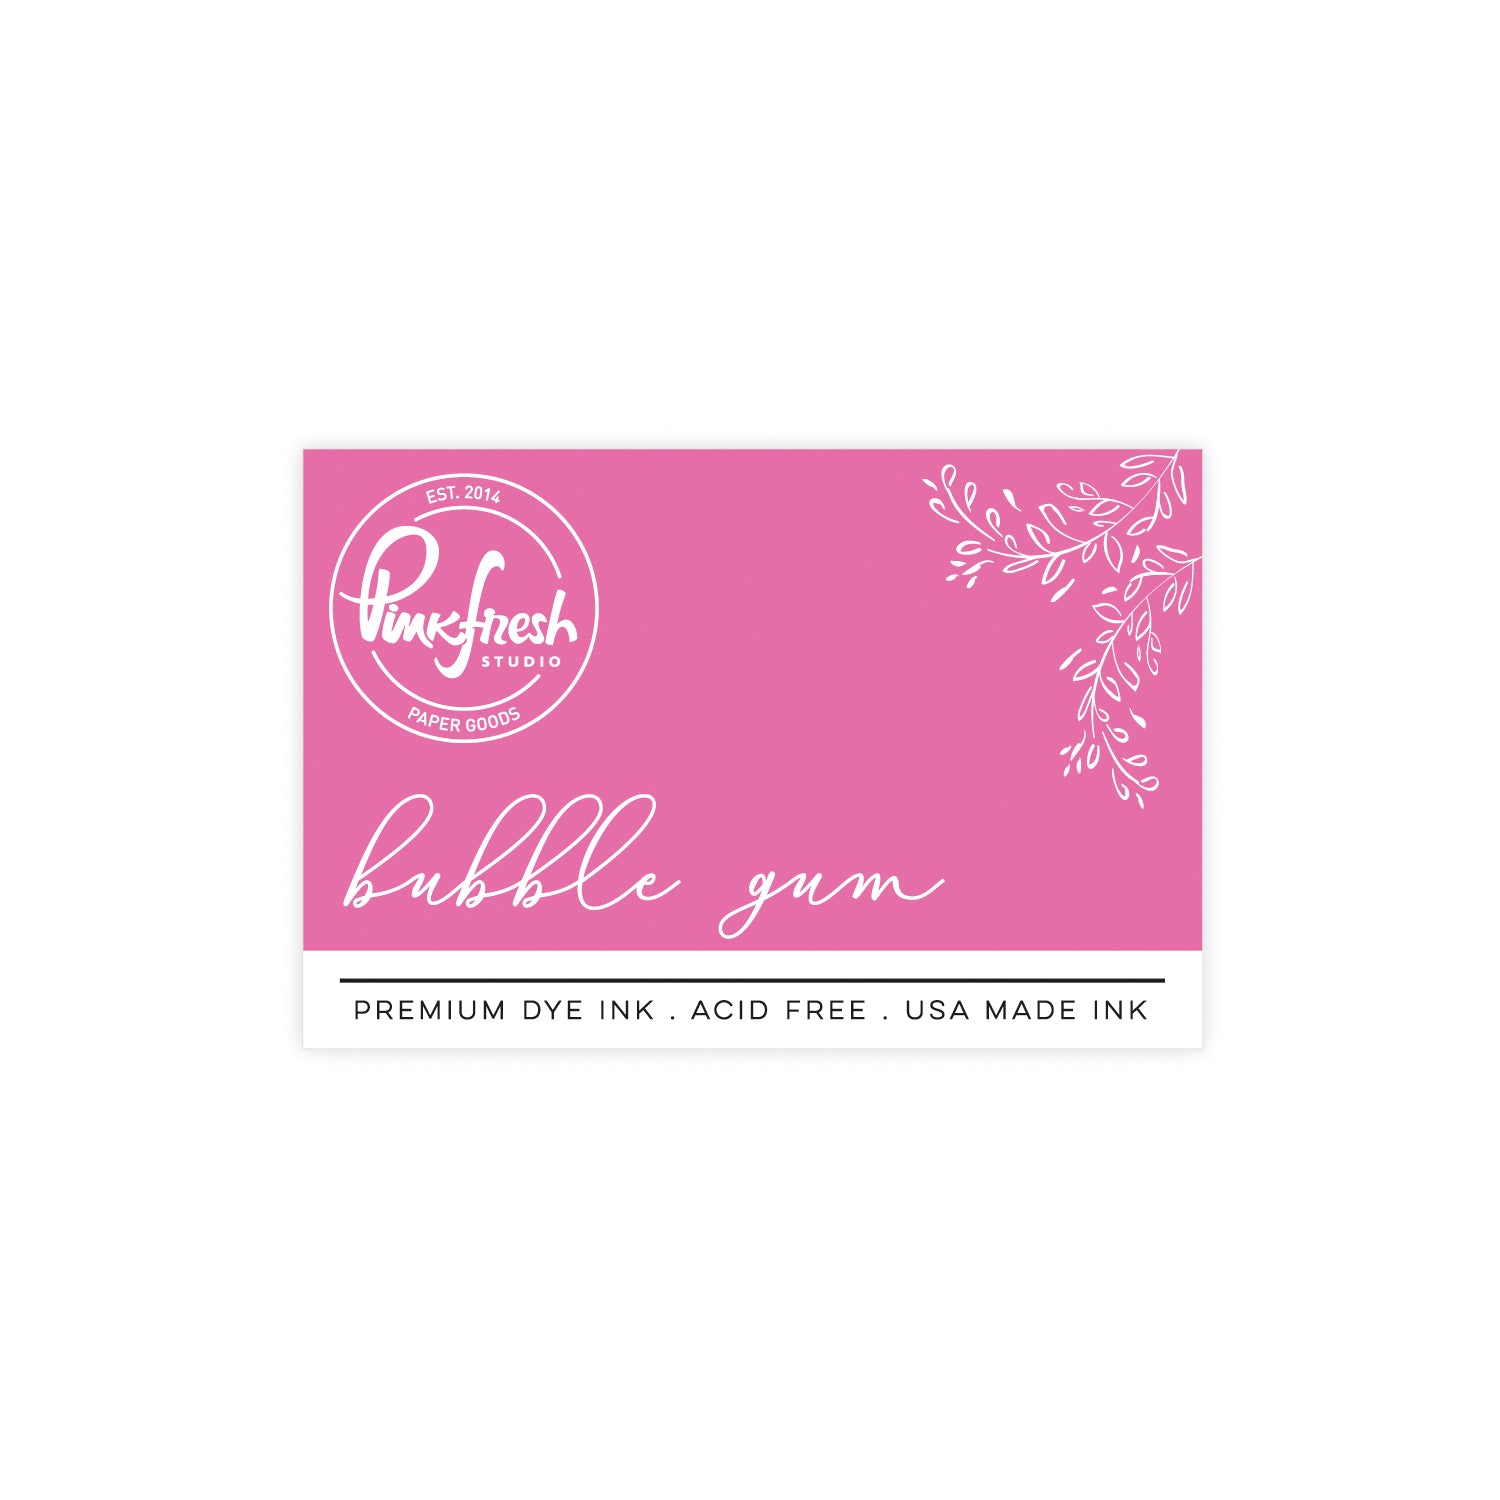
- Using the coordinating stencils, add the wavy patten to the bottle in Waterfall, Lavender, and Bubble Gum.
- Cut two curved masks from printer paper and adhere them to each side of the bottle opening using temporary glue.
- Ink blend the unmasked area in Summer Shower and Sky Blue, adding a touch of Sparkling Rose to the top right corner.
- Stamp the leaf image onto the ink blended area in Waterfall and Bubble Gum to coordinate with the background.
- Splatter white opaque ink over the ink blended area and let it dry.
- Stamp the sentiment from the Sippable Scenes set directly onto the negative panel in Detail Black.
- Stencil the small floral element and dragonfly:
- Flowers in Apricot and Marigold
- Leaves in Aquamarine and Grassy Knoll
- Dragonfly in Lavender, Sky Blue and Marigold. - Stamp the images in Detail Black and cut it using the coordinating die.
- Assemble the card by adhering the bottle flat to the cardbase and mounting the negative panel with foam tape.
- Add the flower and dragonfly with foam tape for extra pop.
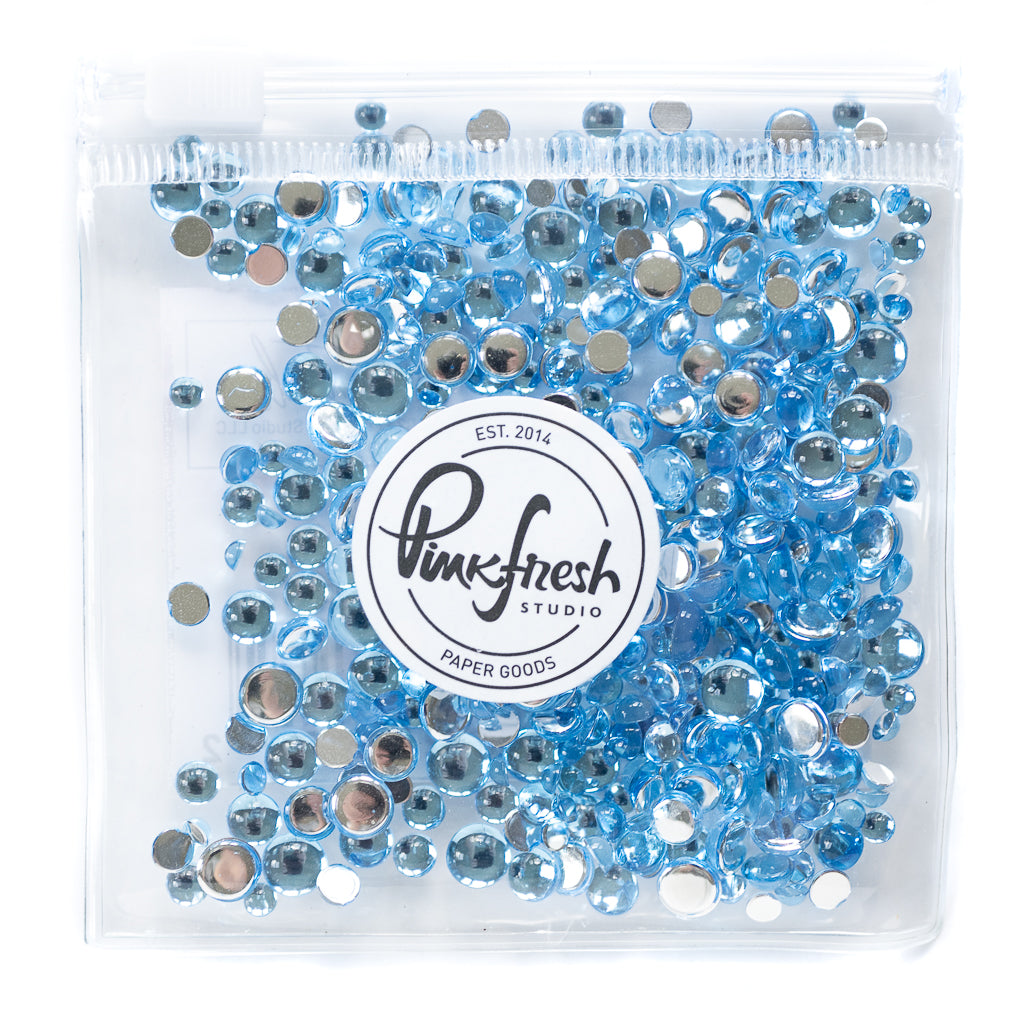
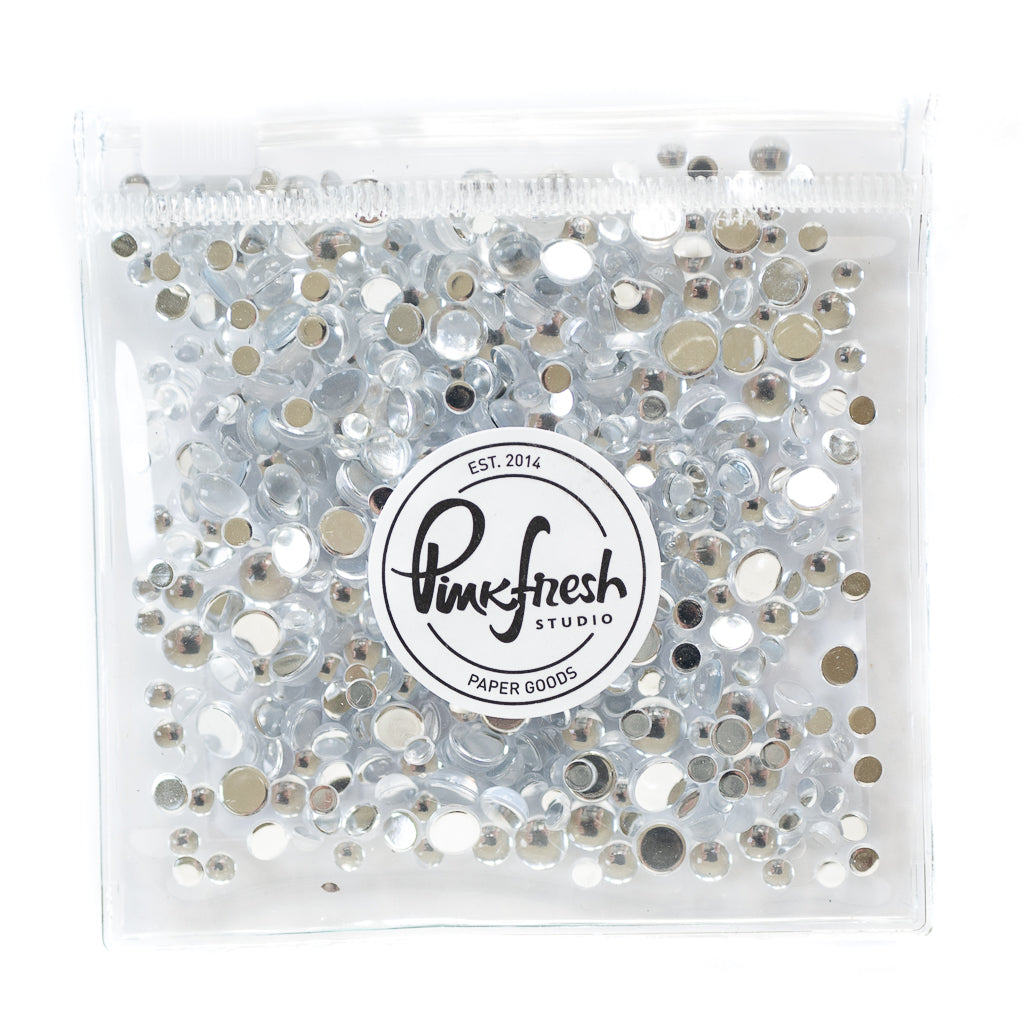
- For a bubbly effect, scatter a few Sky Blue and Ice Clear Drops.


Card 2 with the can
- Cut a white A2 panel using the can die, this time placing it centered on the panel.
- Stencil the can using the coordinating stencils:
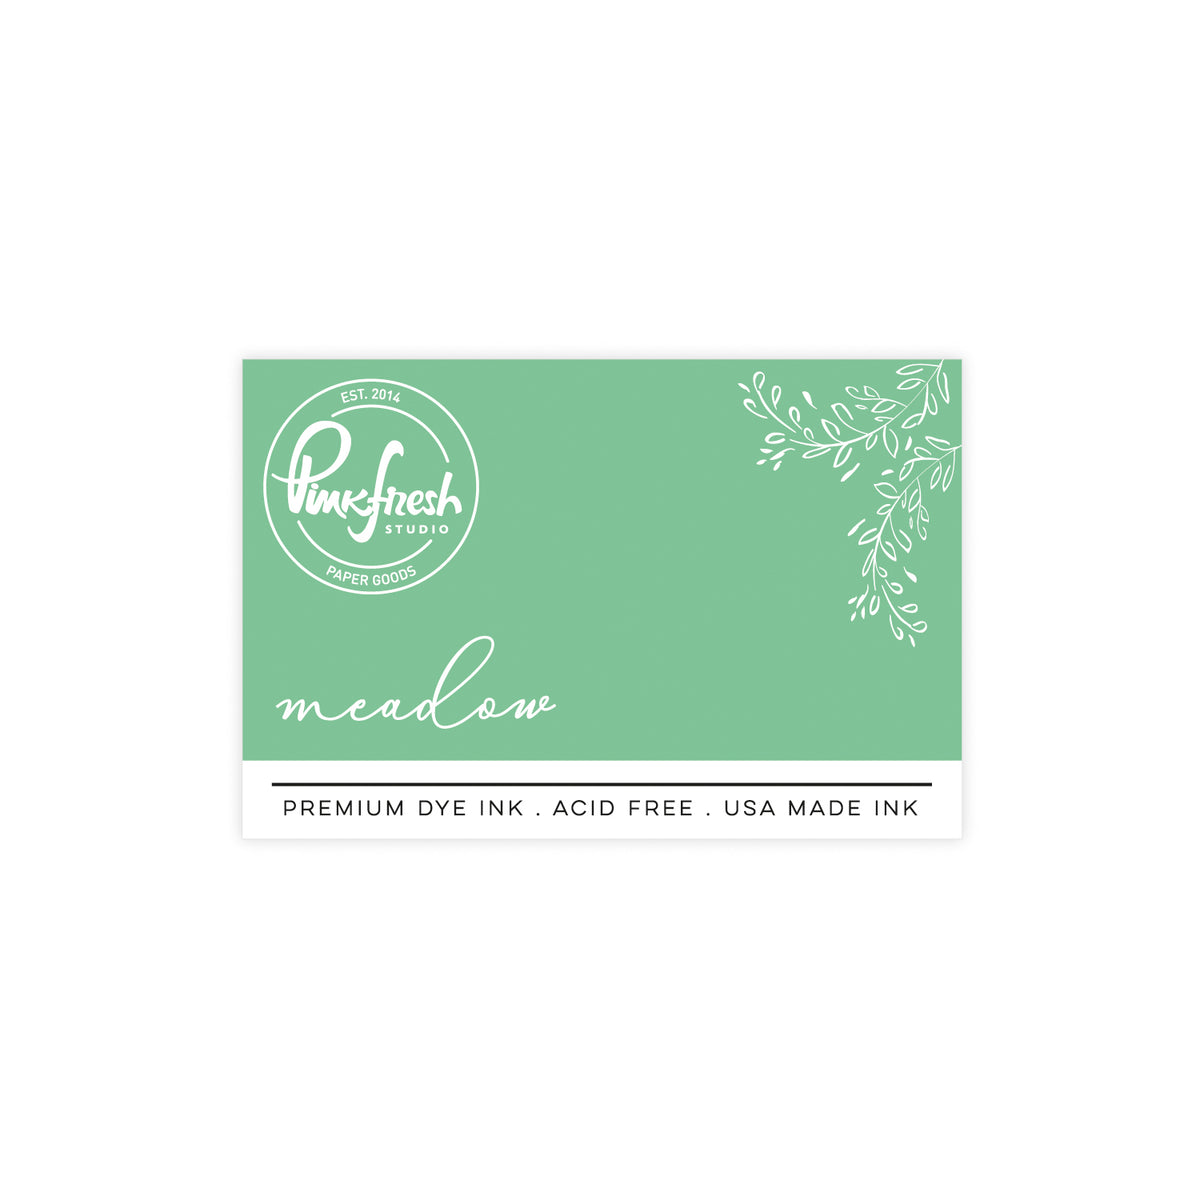
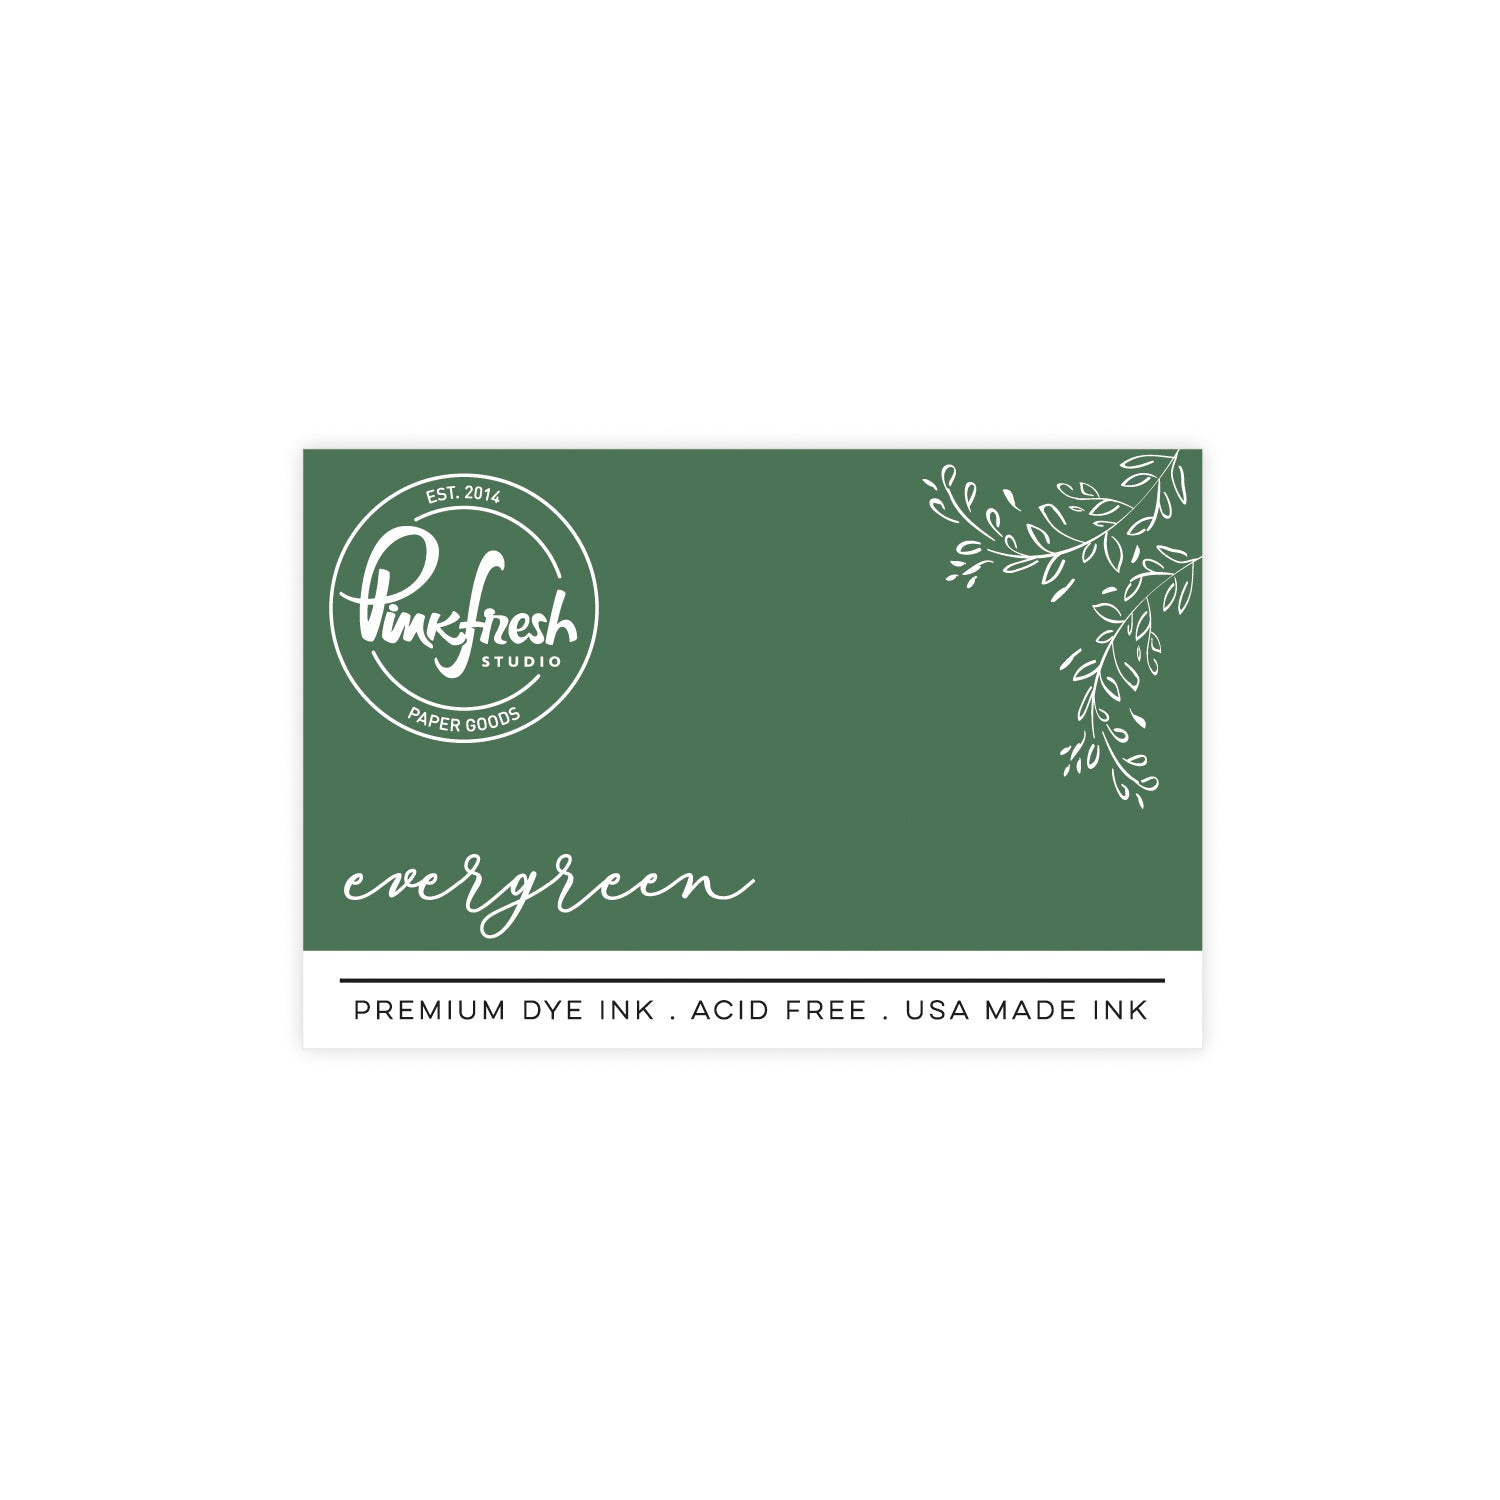
- Landscape in Meadow, Summer Shower, Evergreen, Key Lime and Aquamarine
- Sun in Marigold, Apricot and Sparkling Rose. - Ink blend the negative panel with Sky Blue, Summer Shower and Seaside, darkening towards the bottom and leaving the top third uncolored.
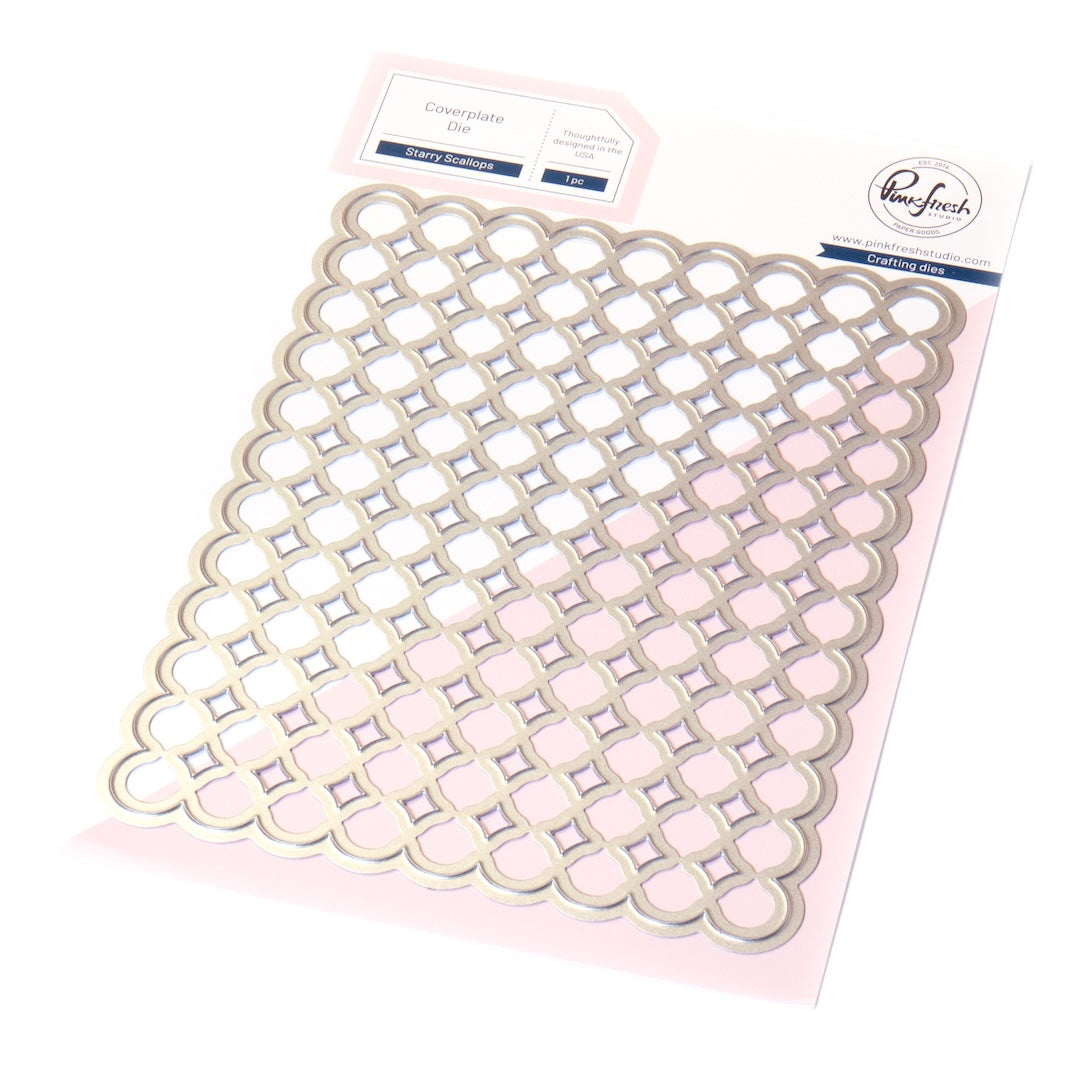
- Die cut the negative panel using the Starry Scallops coverplate die.
- Splatter white opaque ink over the die cut panel and let it dry.
- Stencil and die cut the floral element.
- Large flowers in Coral Reef and Apricot
- Tiny flowers in Waterfall
- Leaves in Aquamarine and Grassy Knoll - Foam mount the background panel onto a white cardbase
- Inlay the can flat into its place and gently curve the pull-tab upward.
- Stamp the sentiment in Detail Black and die cut it, then add it to the card.
- Add the floral piece to the left side of the can with foam tape.
- Finish with a sprinkle of Sky Blue and Ice Clear Drops for a fresh, summery finish.

Tip: By simply raising the negative panel with foam tape, you naturally frame the focal point and guide the eye toward it. It’s a great technique for highlighting bold shapes while achieving a clean, modern look.
I had so much fun creating these cards with this fabulous set! The Sippable Scenes suite really encourages creative play, and the results are so refreshing—just like a summer drink!
Thanks for stopping by! Have a crafty day!
TaeEun
Recommended Products
































Leave a comment
All comments are moderated before being published.
This site is protected by hCaptcha and the hCaptcha Privacy Policy and Terms of Service apply.