
Hi crafters, it's Steph here again with a new card idea to try!
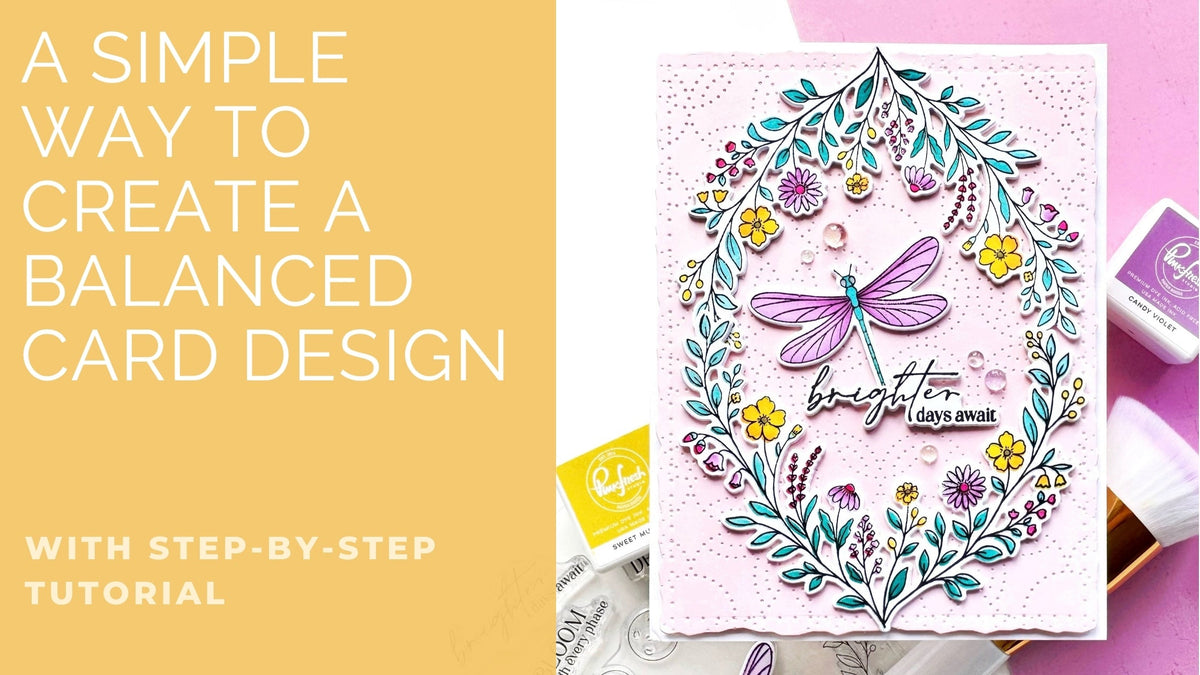
There's something especially satisfying about a symmetrical card design. It feels balanced and intentional, even when the technique behind it is surprisingly simple. For this card, I stamped and coloured one floral vine, then created a second identical vine and rotated it 180° to form a mirror-image frame. The two pieces fit together beautifully around the dragonfly. Here's how it came together!
Disclaimer: All of the products used for this project are linked below as clickable images. If a product isn't listed, it has unfortunately been discontinued.

How to Create This Card:
- Create an A2 side-folding card base from white cardstock.
- Cut an A2-size panel of white cardstock.
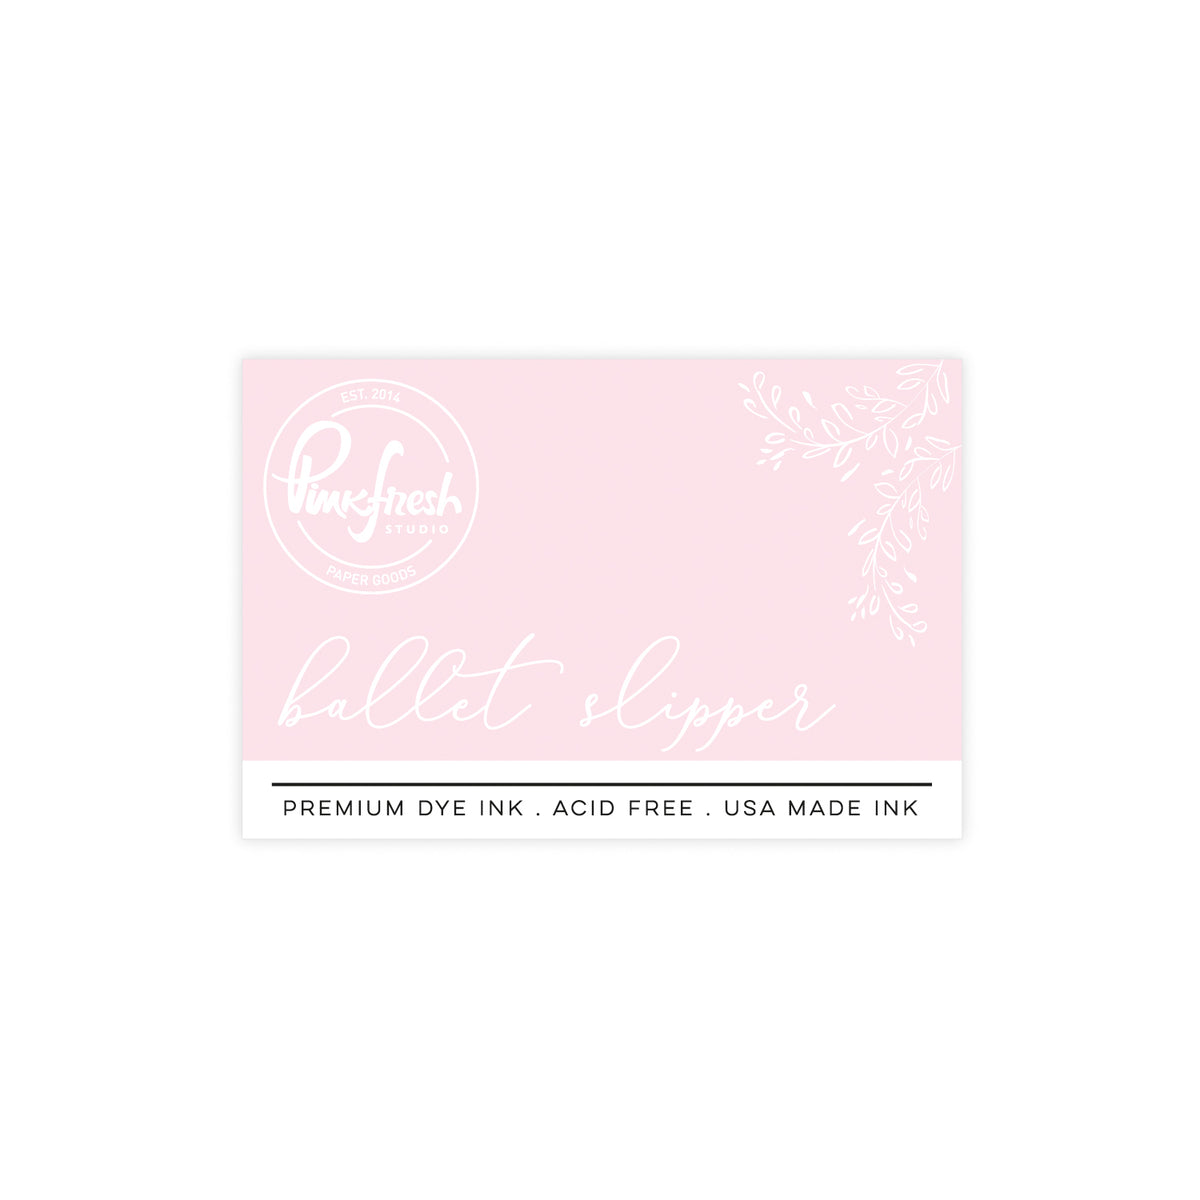
- Ink-blend the entire panel with Ballet Slipper
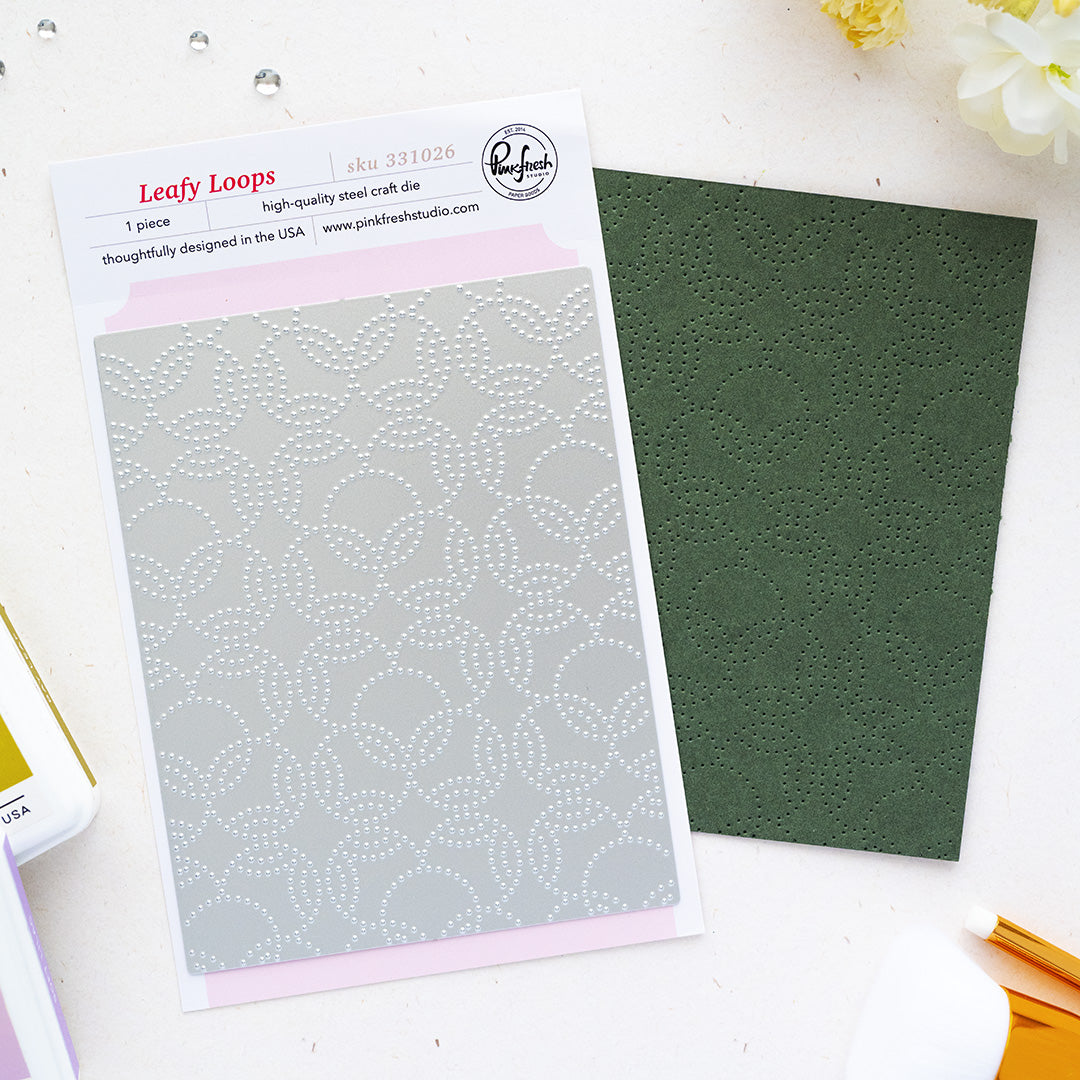
- Die-cut the panel using the Leafy Loops coverplate.
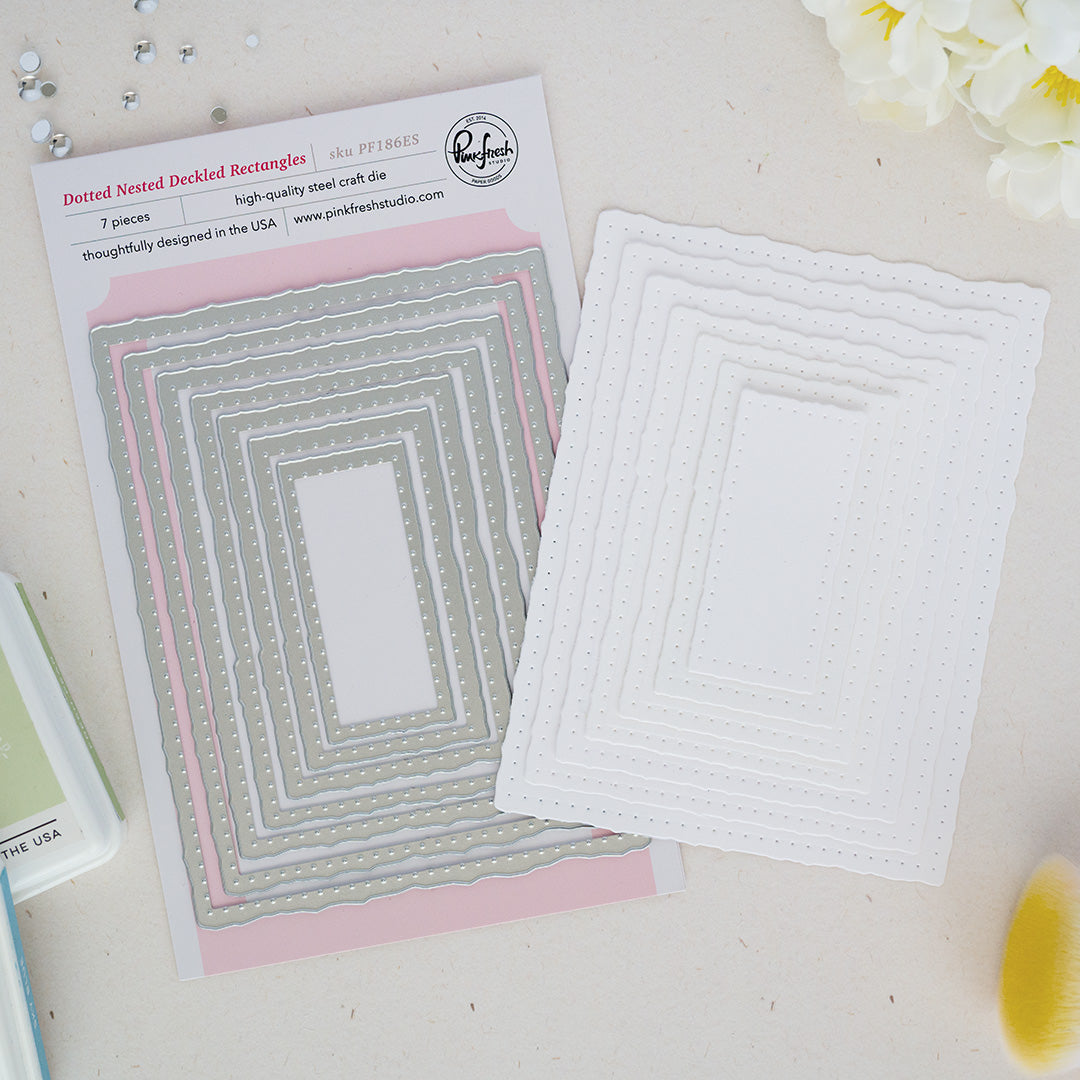
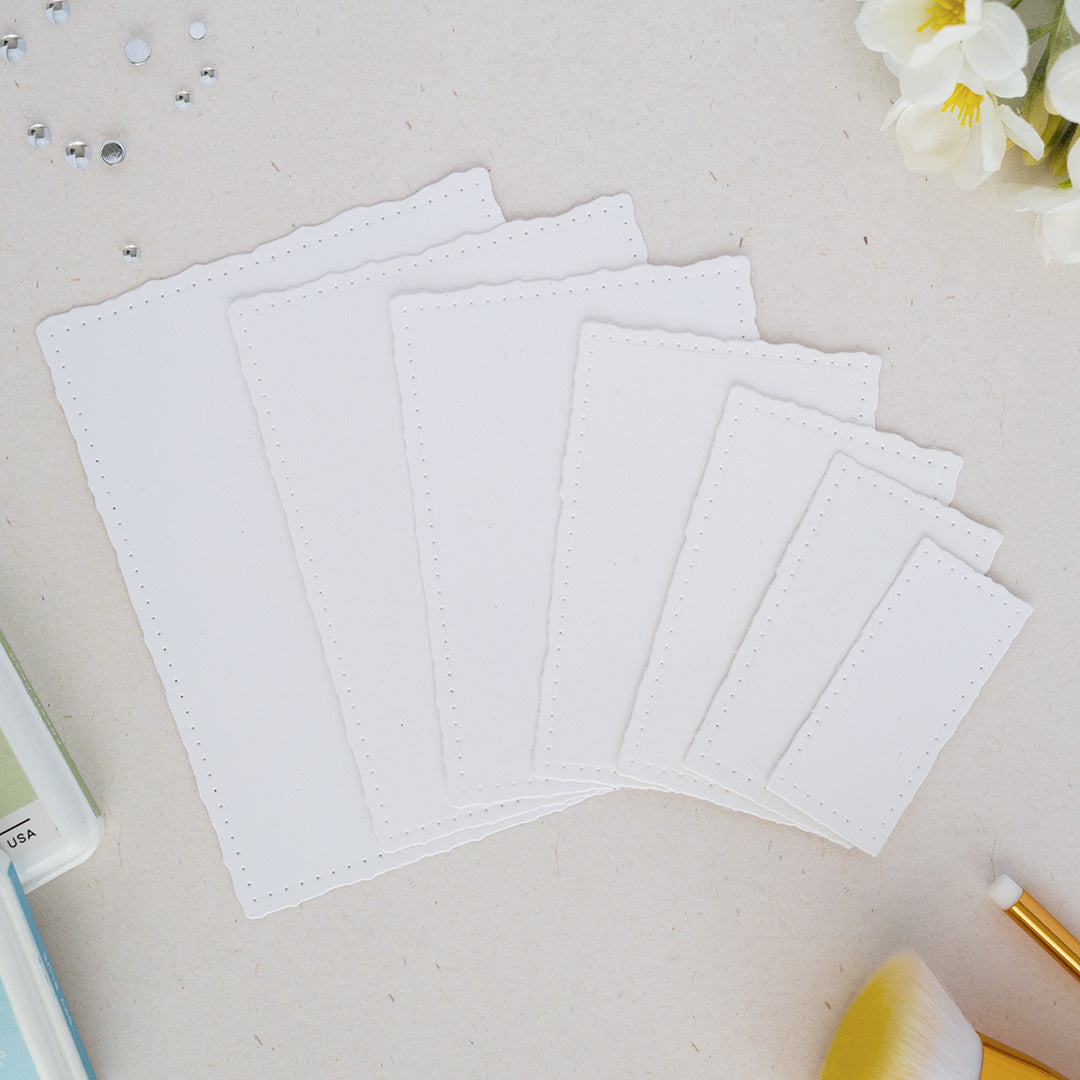
- Die-cut the same panel using the largest die from the Dotted Nested Deckled Rectangle die set.
- Adhere the panel to the card base using foam adhesive.
- Stamp the dragonfly and floral vine images from the Dragonfly Dreams stamp set onto an A2-size panel of white cardstock.
- Use the coordinating stencils to ink-blend the images as follows:
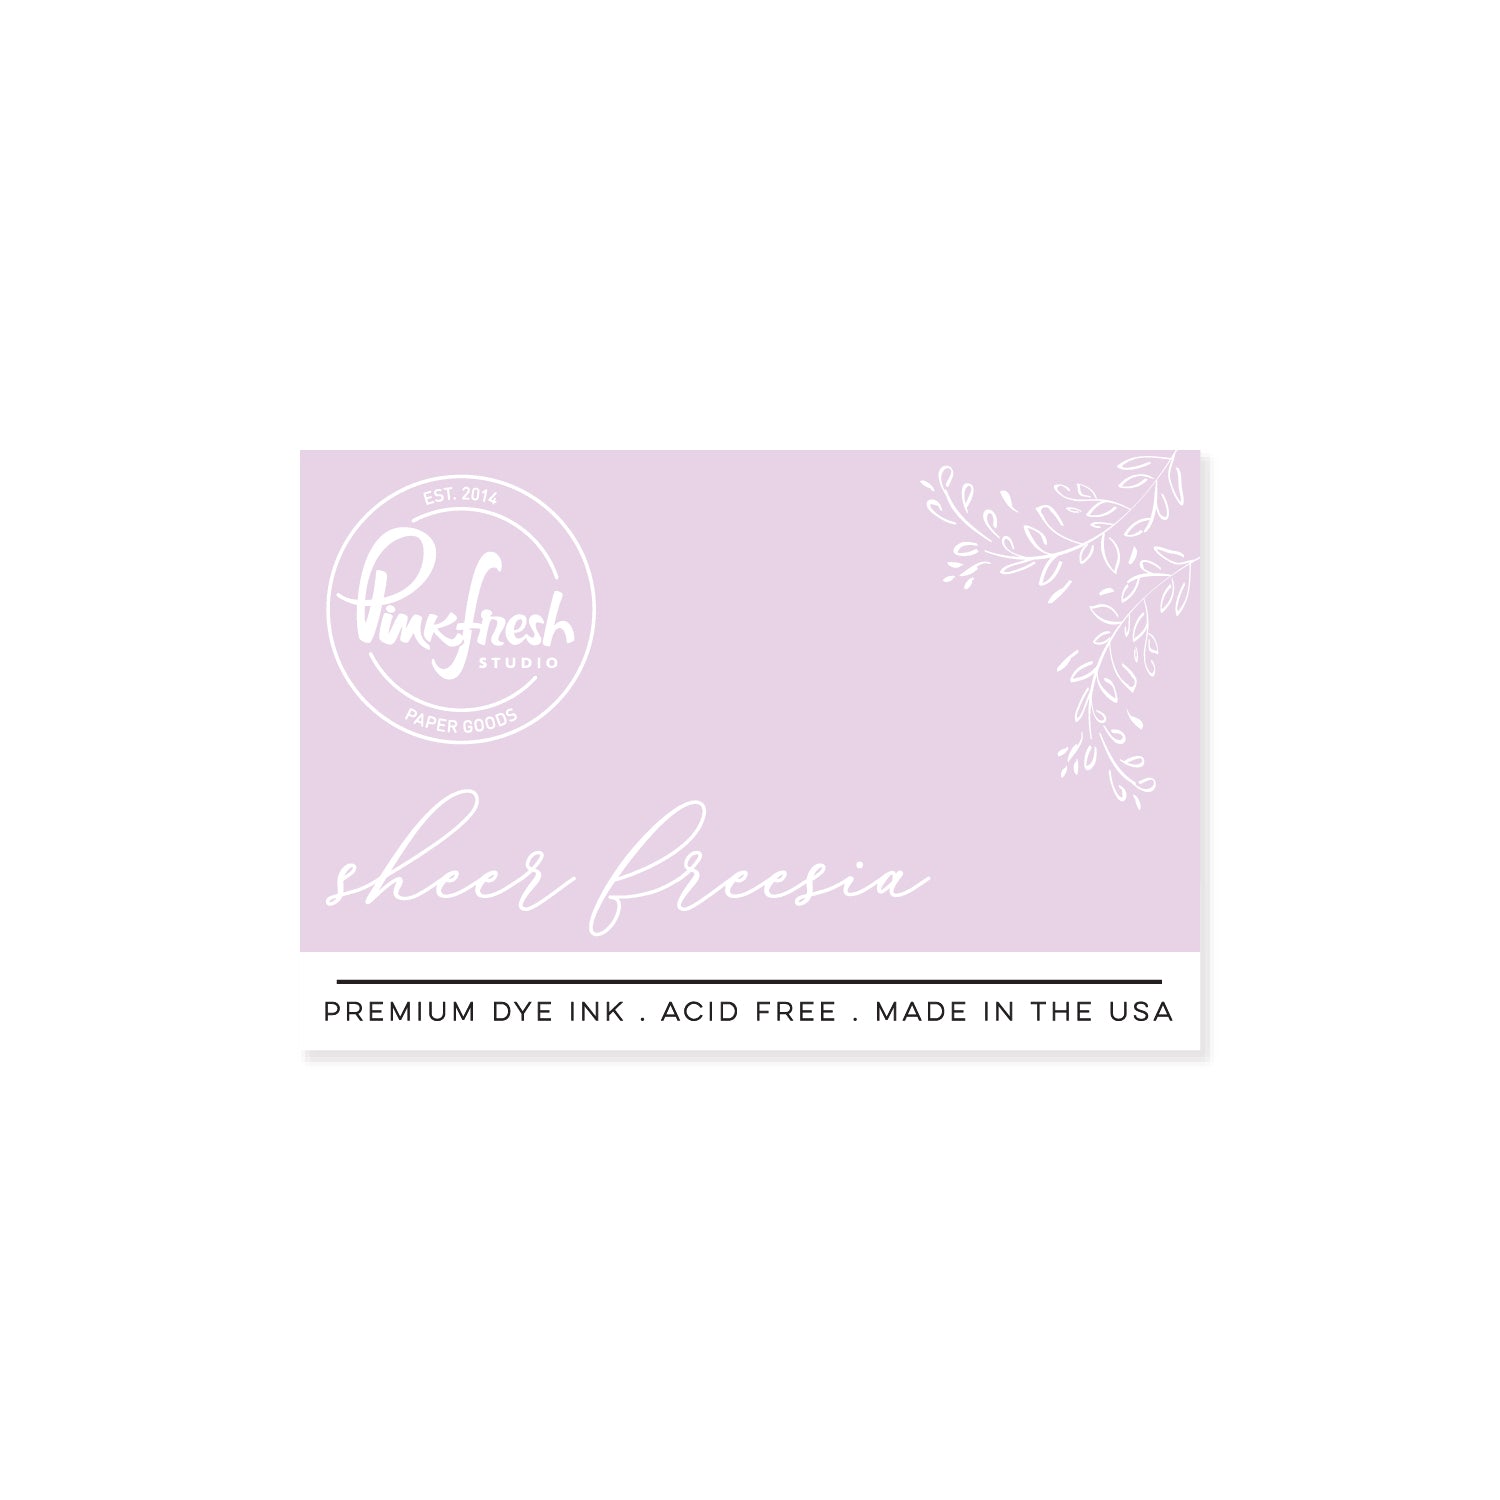
- Stencil 1: Candy Violet; omit the moons.
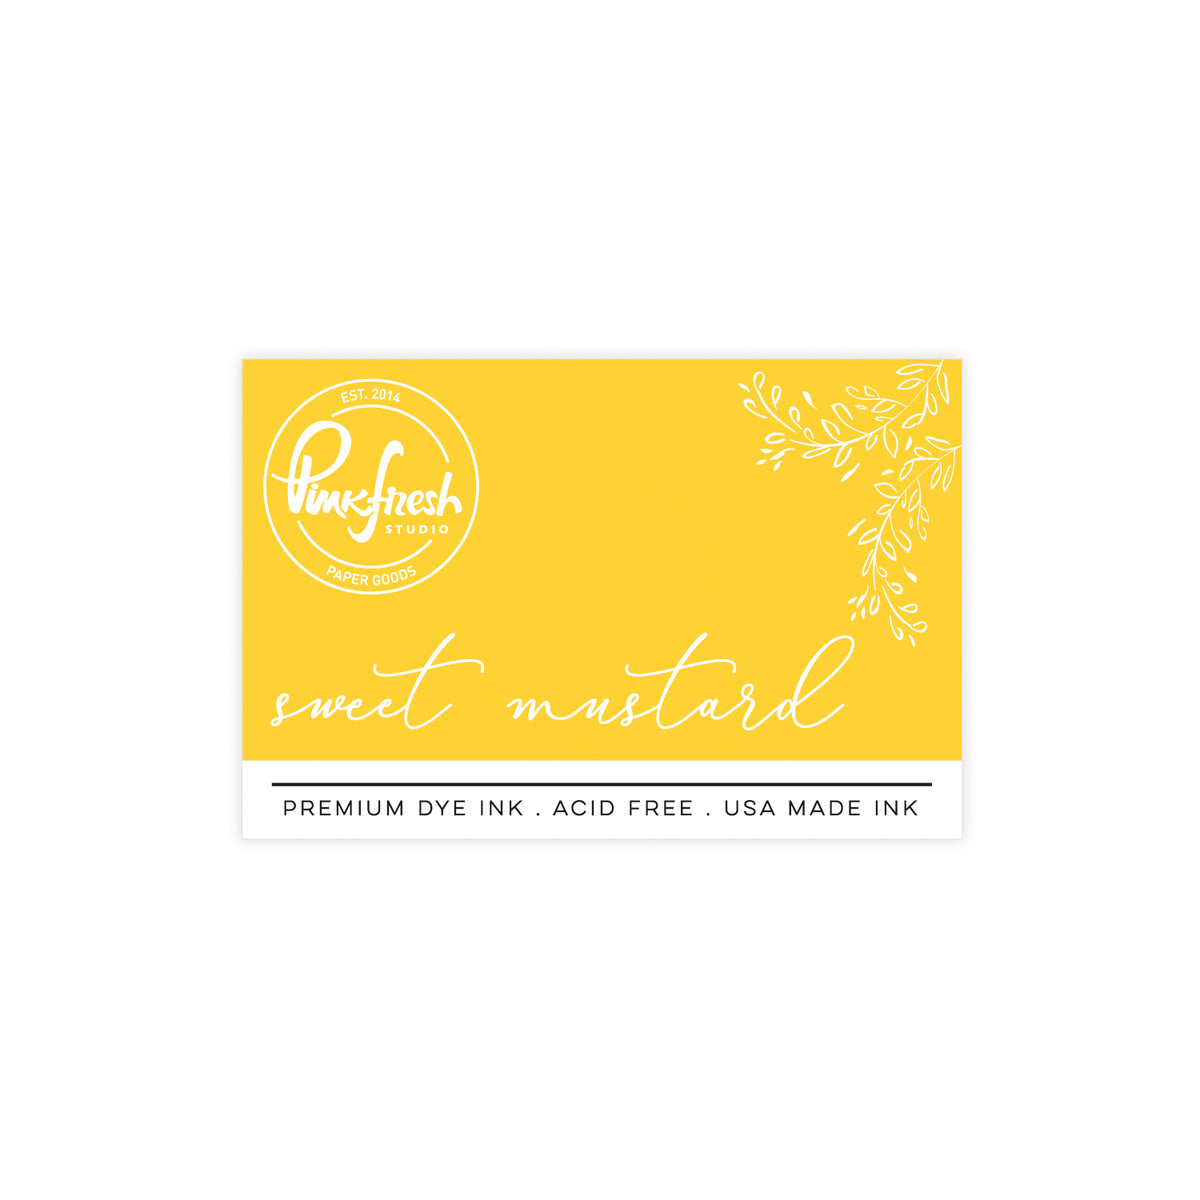
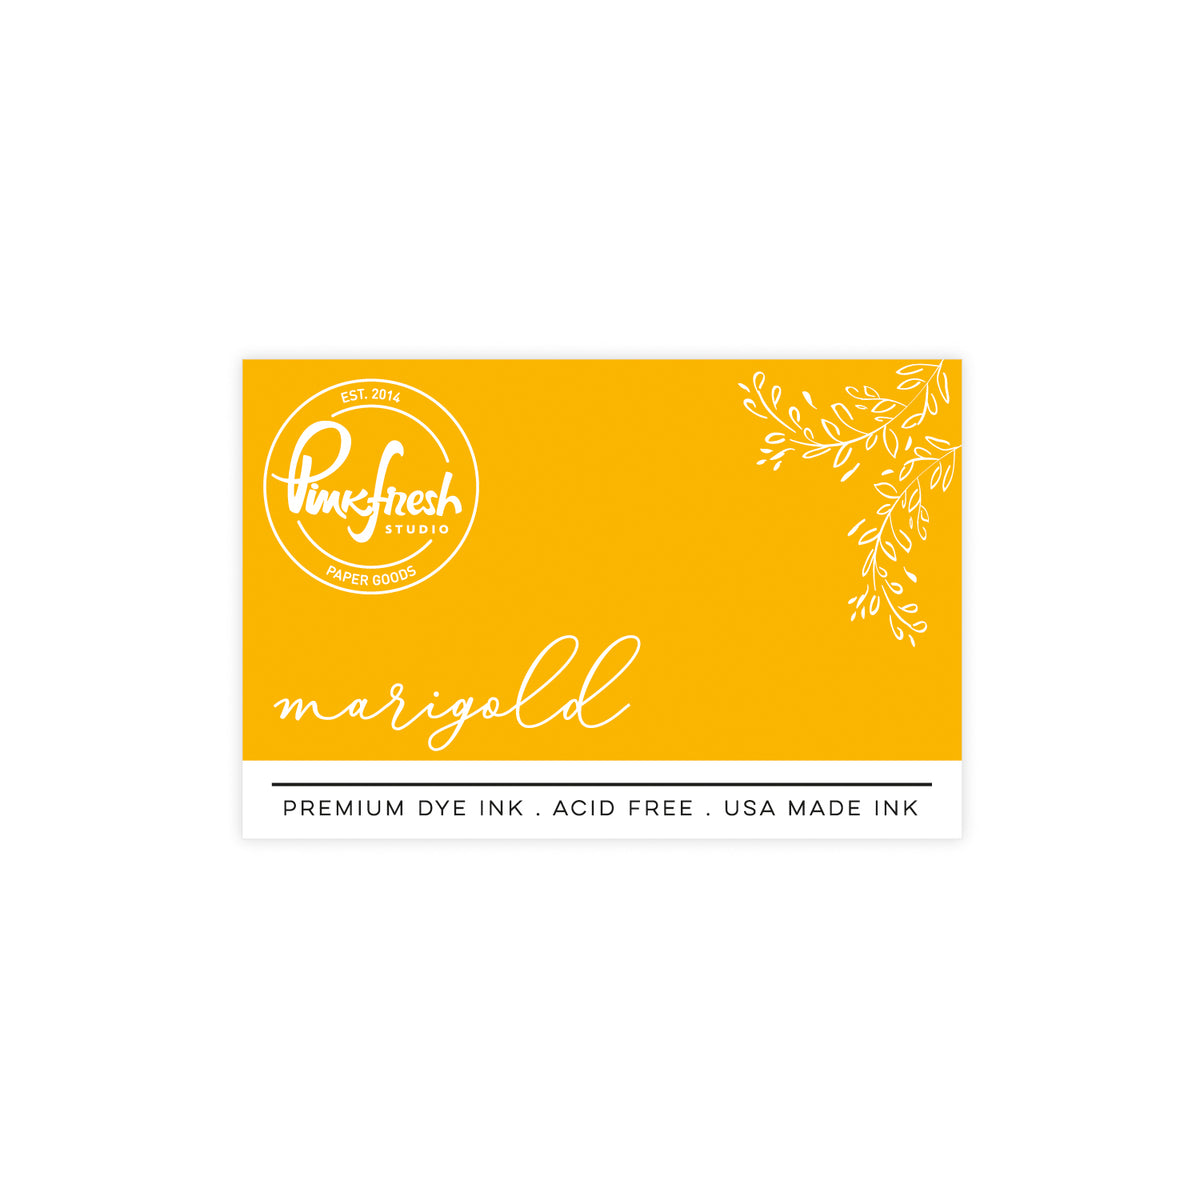
- Stencil 2: Sweet Mustard and Marigold for shading.
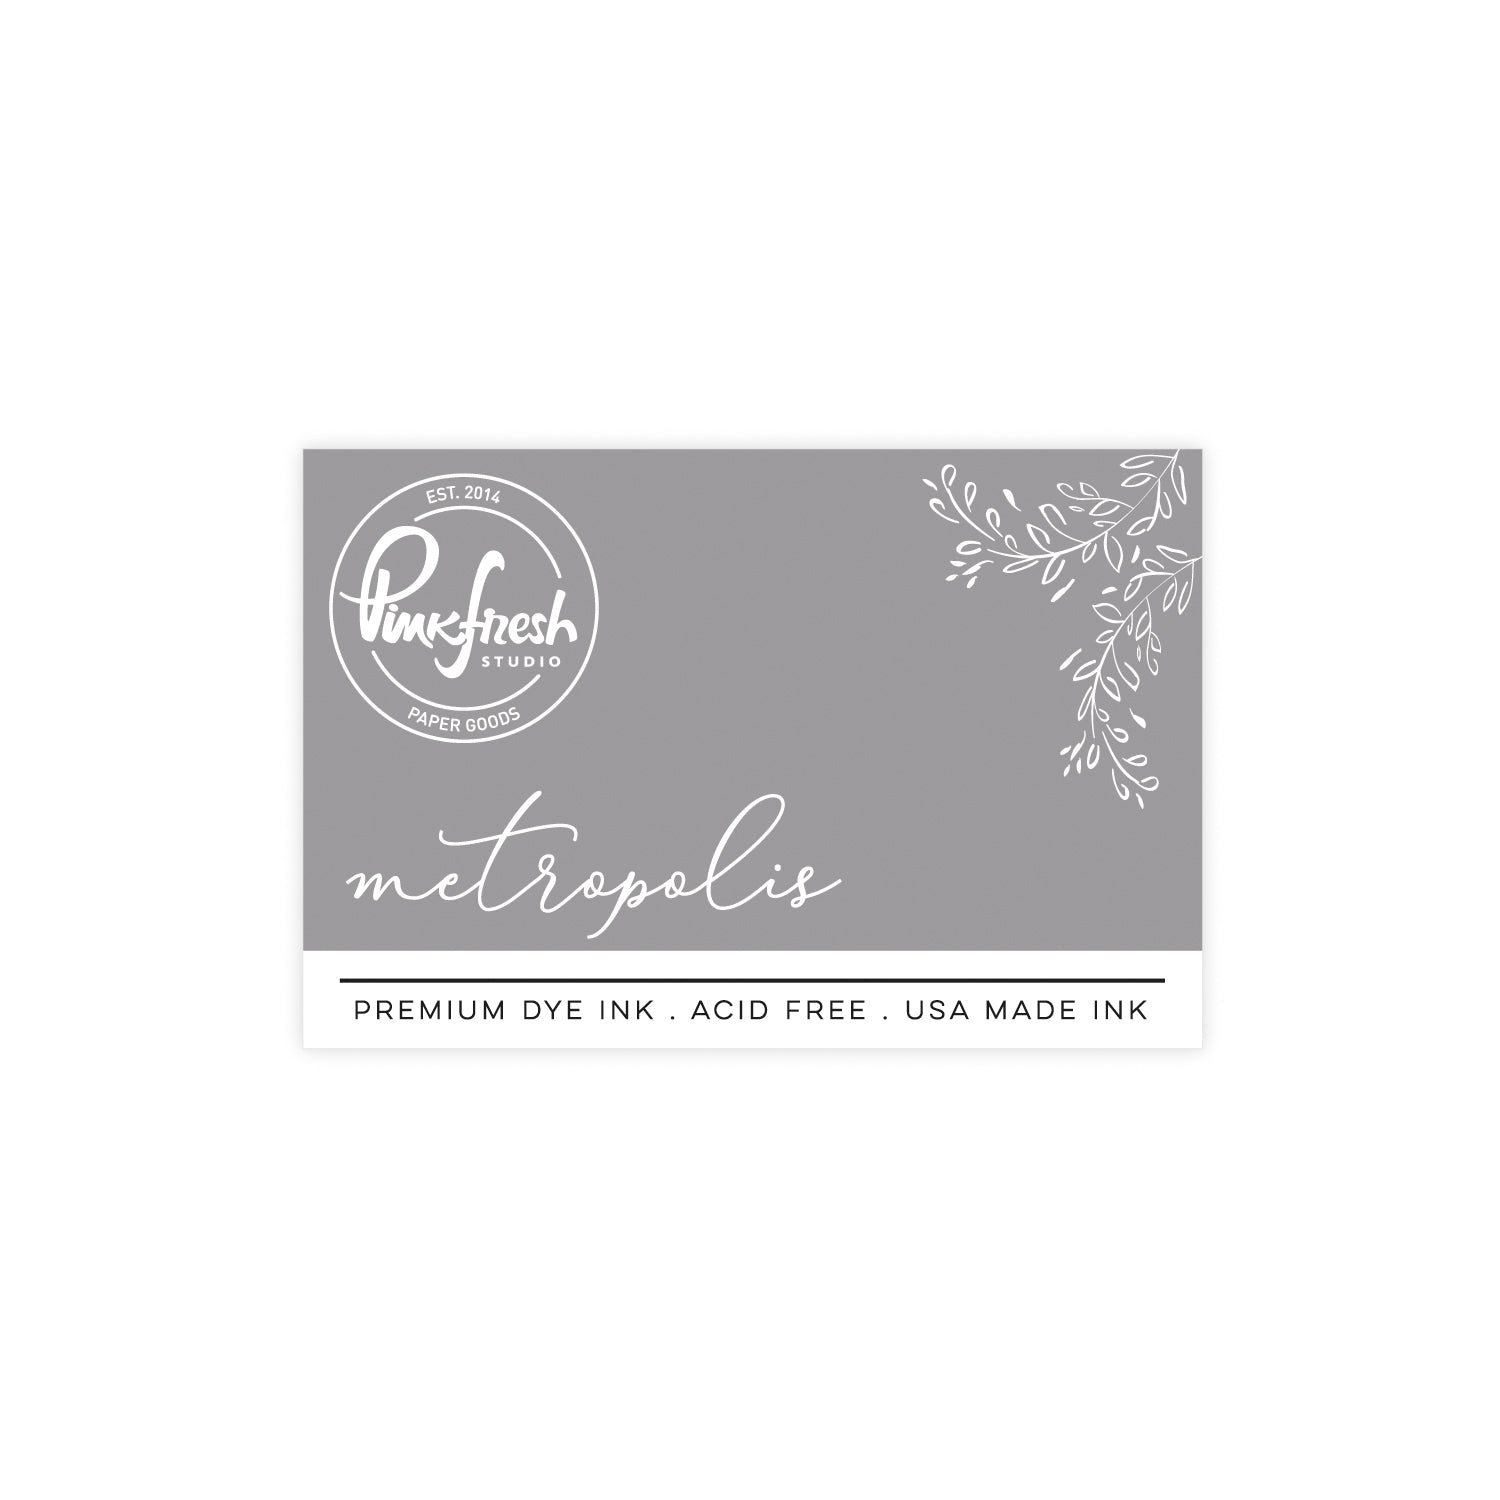
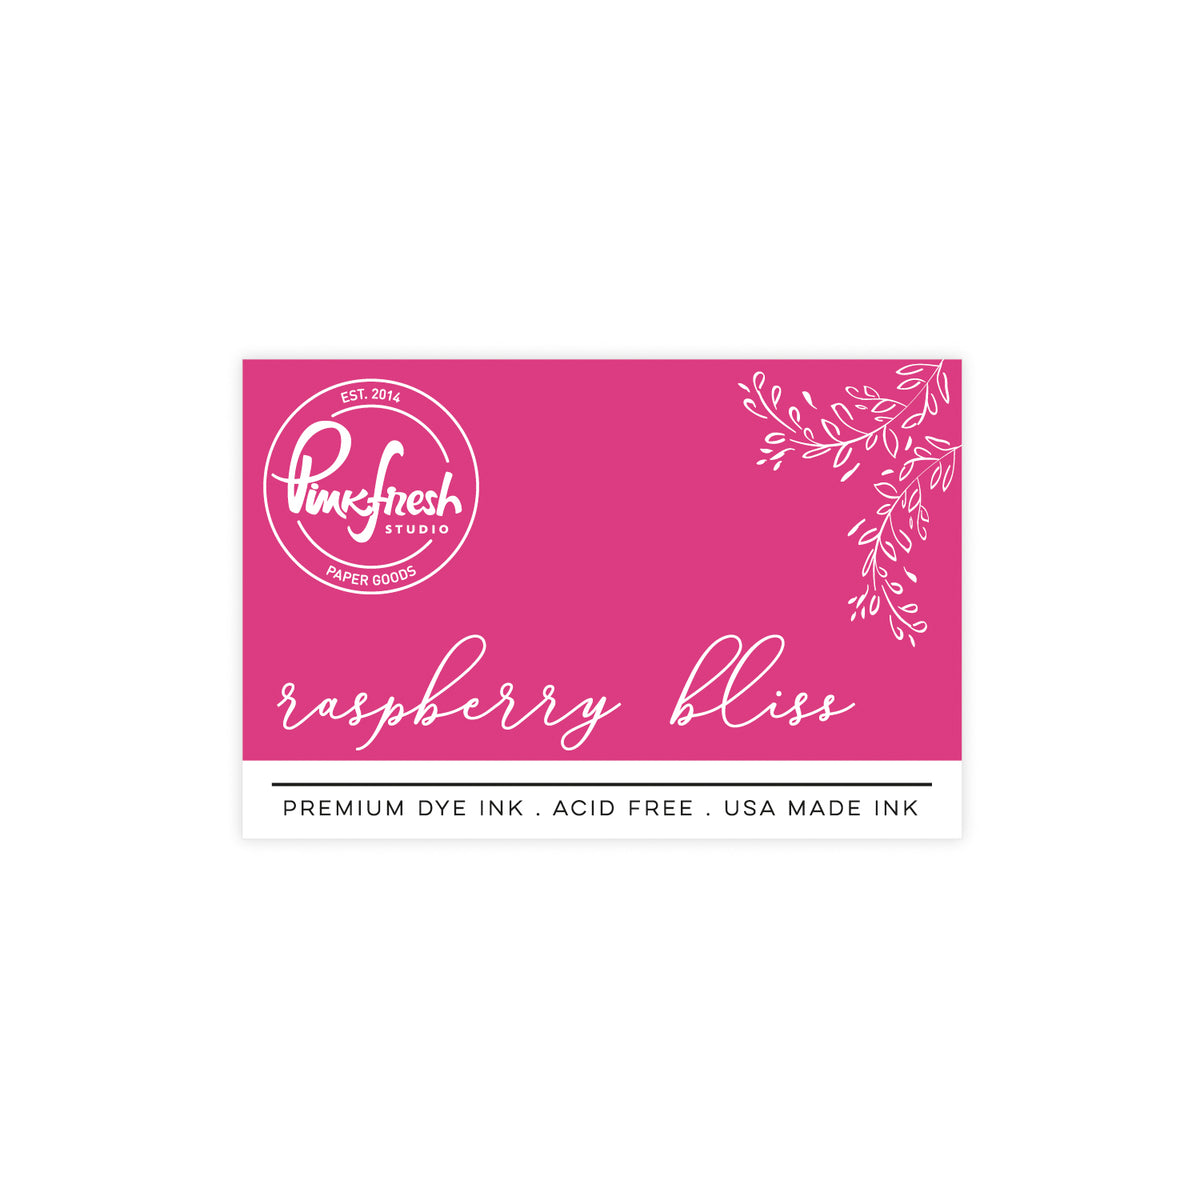
- Raspberry Bliss for the florals and Metropolis for the dragonfly; omit the moons.
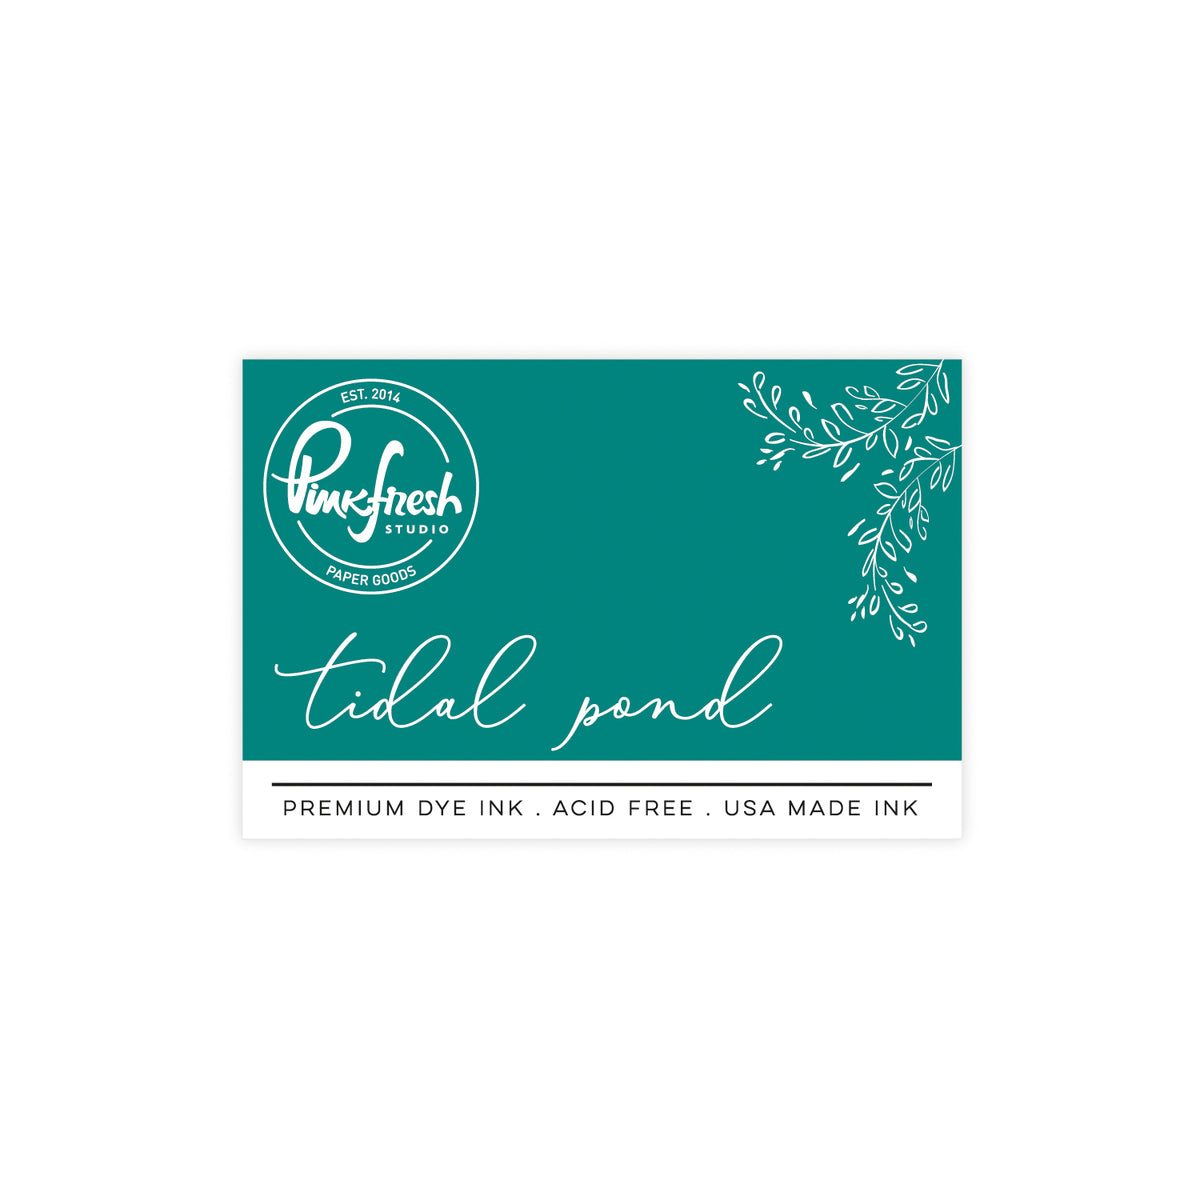
- Stencil 4: Tidal Pond.
- Stamp a second floral vine using the same method, then repeat the stencil instructions to create an identical vine.
- Use the coordinating dies to die-cut the dragonfly and both floral vine images.
- Adhere one floral vine to the bottom centre of the Ballet Slipper panel using liquid adhesive.
- Rotate the second floral vine 180° and adhere it to the top centre of the same panel. Align the two vines so they create a symmetrical floral frame around the centre of the card.
- Stamp the "brighter days await" sentiment in black ink onto white cardstock.
- Die-cut the sentiment using the coordinating die.
- Die-cut two additional sentiment pieces from white cardstock. Stack and glue them behind the stamped sentiments to add dimension.
- Adhere the dragonfly and sentiment to the centre of the card.
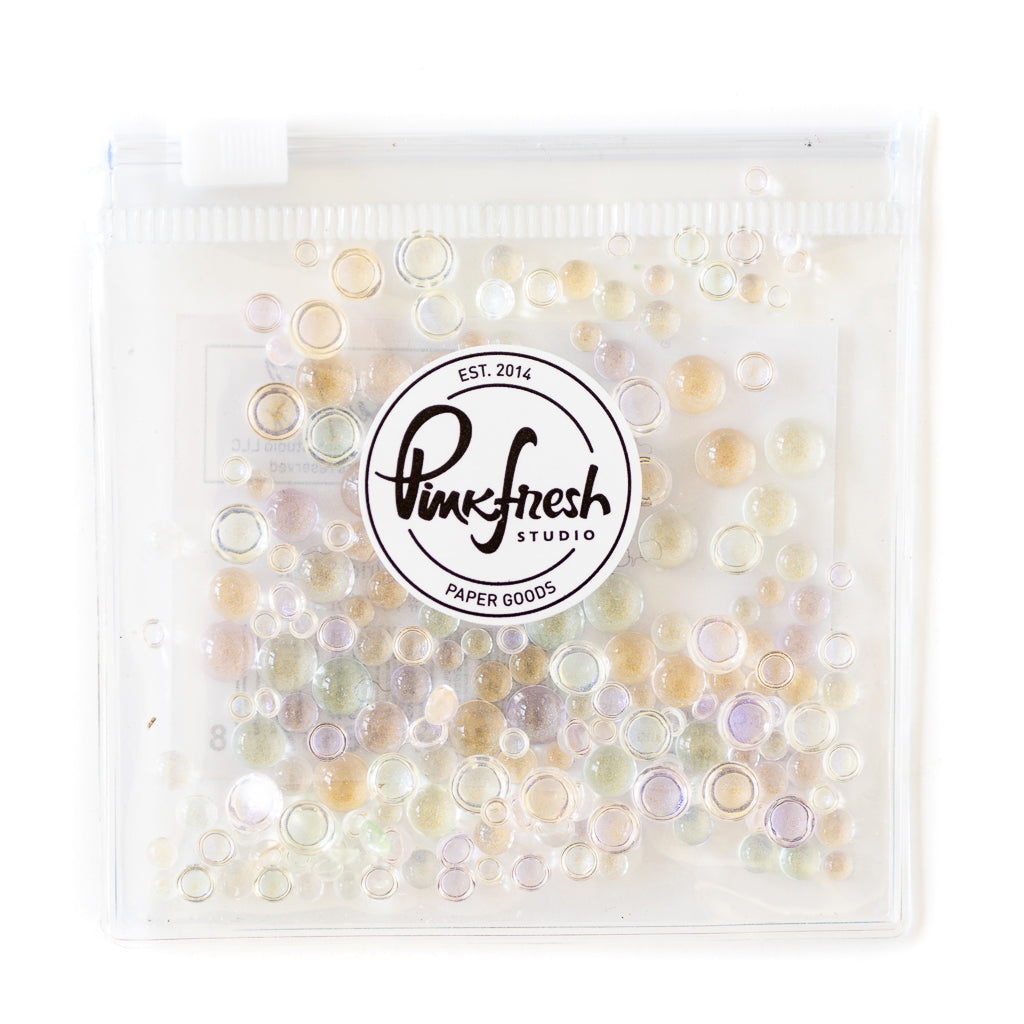
- Finish the card by adding a few Iridescent Dew Drops for a touch of sparkle.

And there you have it-a soft, beautifully balanced design with the dragonfly taking centre stage. What images would you use to create your own symmetrical card?
Until next time, happy crafting!
Steph
Recommended Products



























Leave a comment
All comments are moderated before being published.
This site is protected by hCaptcha and the hCaptcha Privacy Policy and Terms of Service apply.