
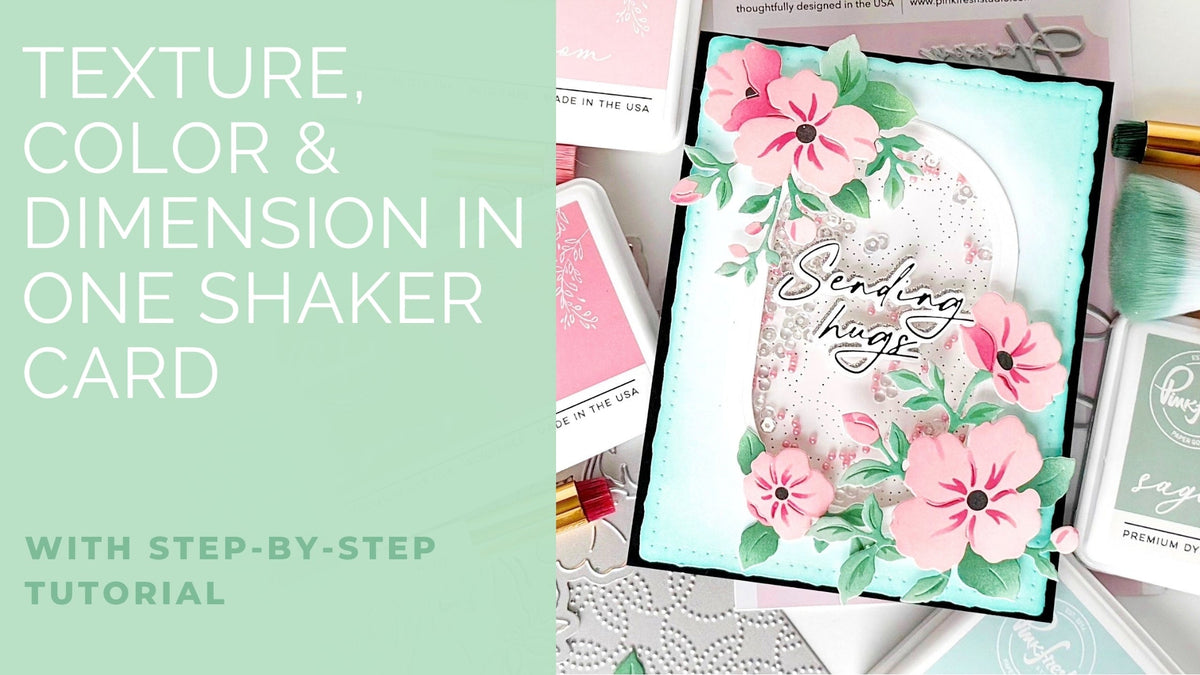
I love exploring ways to take shaker cards beyond the traditional window filled with sequins or embellishments. By combining texture, color, and dimensional layering, I can create a design that offers visual interest at every level—and that's exactly what I'm sharing today!
For this project, I've paired Pinkfresh Studio's Gentle Bloomscape suite with the Loopy Leaves Coverplate Die to create a floral shaker card with an unexpected textured background. Instead of placing a solid panel behind the shaker elements, I incorporated the intricate Loopy Leaves pattern, allowing its delicate details to peek through the acetate window.
I also introduced a soft blend of Ocean Breeze and Aquamarine that gradually fades toward the center, creating a beautiful contrast against the pink florals. Throughout this tutorial, I'll walk you through the shaker construction and share how I combine ink blending, layered die cuts, and varying adhesive heights to build depth and dimension.

How I created this card:
- I started by creating a top-folding A2 card base from black cardstock.
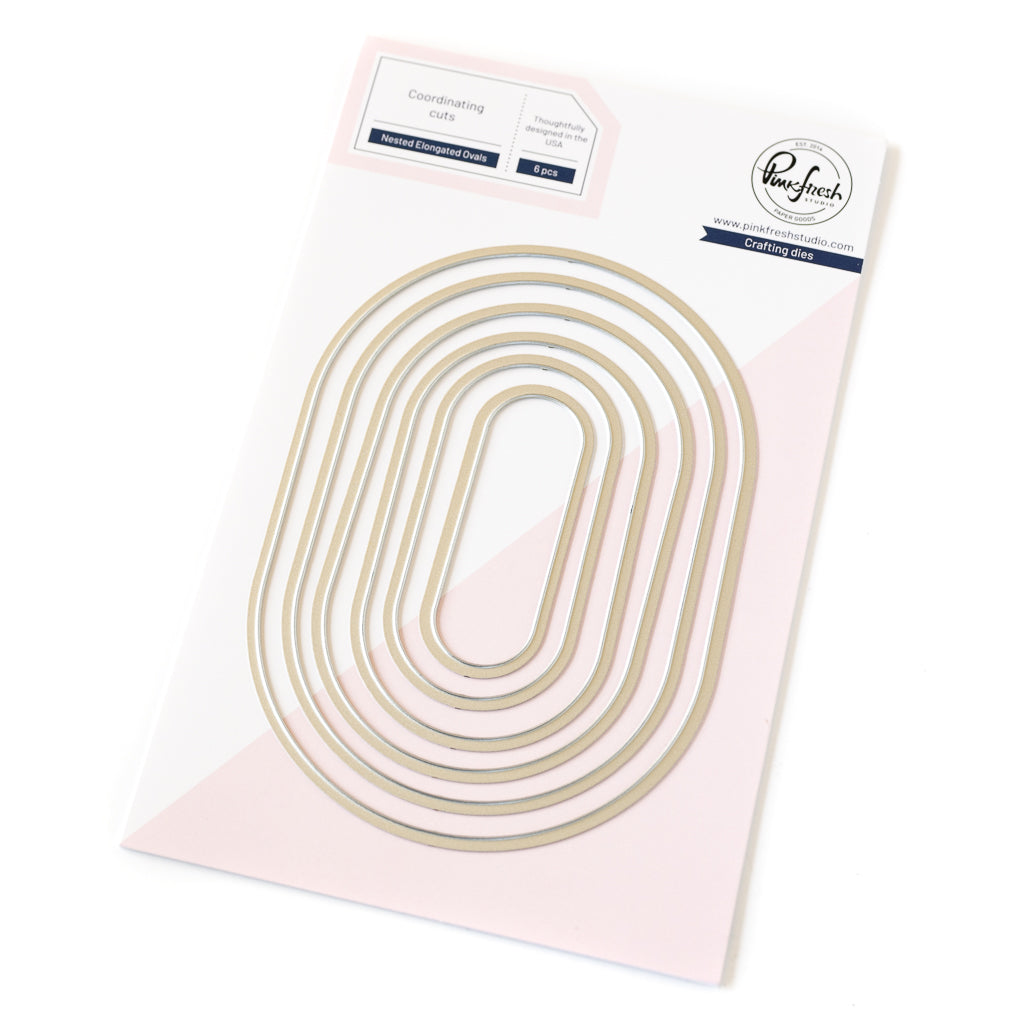
- Next, I die cut the largest Deckled Nested Rectangle from white cardstock. I used the third-largest Nested Elongated Ovals Die to cut a window from the center of the rectangle.
- Using the second- and third-largest Nested Elongated Ovals Dies, I cut two additional oval frames from white cardstock.
- I ink blended the deckled rectangle using Ocean Breeze and Aquamarine, concentrating the color toward the outer edges and allowing it to gradually fade to white toward the center.
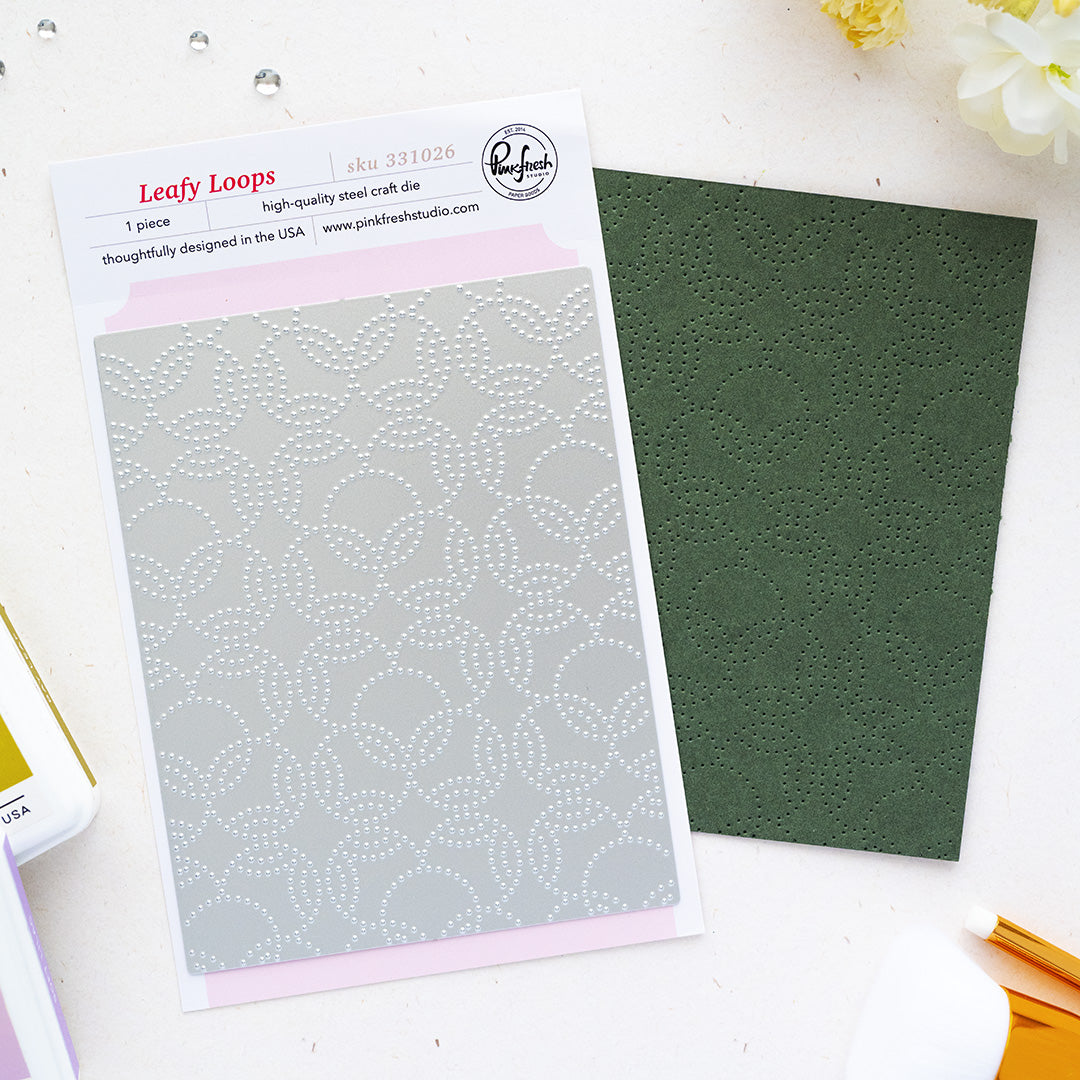
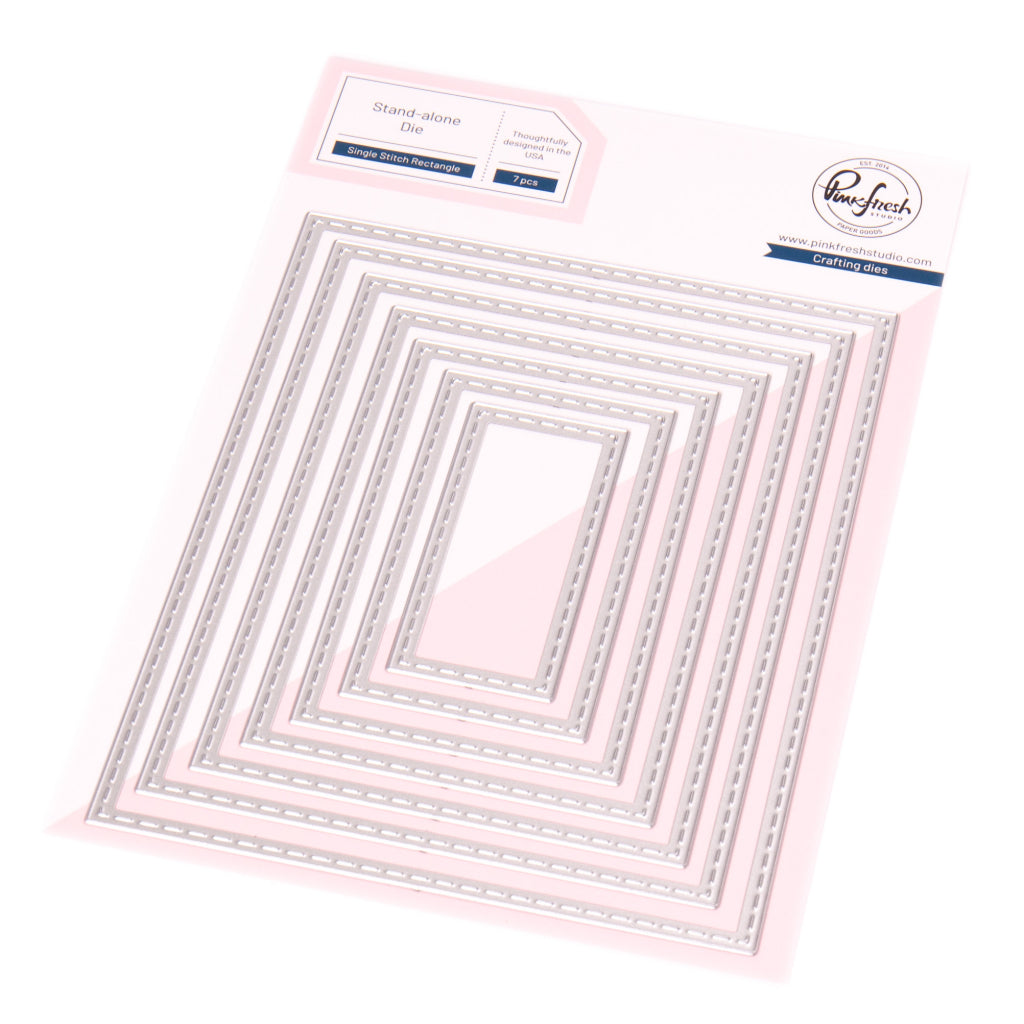
- For the textured background, I die cut the Loopy Leaves Coverplate Die from an A2-sized piece of white cardstock. I then used the second-largest Single Stitch Rectangle Die to trim the panel slightly smaller than my deckled rectangle.
- I adhered the two oval frames around the window opening on the front of the ink-blended rectangle using liquid glue.
- After flipping the rectangle face down, I adhered a piece of clear acetate over the oval opening with liquid glue and allowed it to dry completely.
- I applied foam tape to the back of the rectangle, creating a continuous well around the oval window, and filled the compartment with an assortment of coordinating shaker bits.
- Once filled, I removed the foam tape liners and carefully adhered the Loopy Leaves die-cut panel over the adhesive to seal the shaker compartment.
- I adhered the completed shaker panel to my black A2 card base using liquid glue.
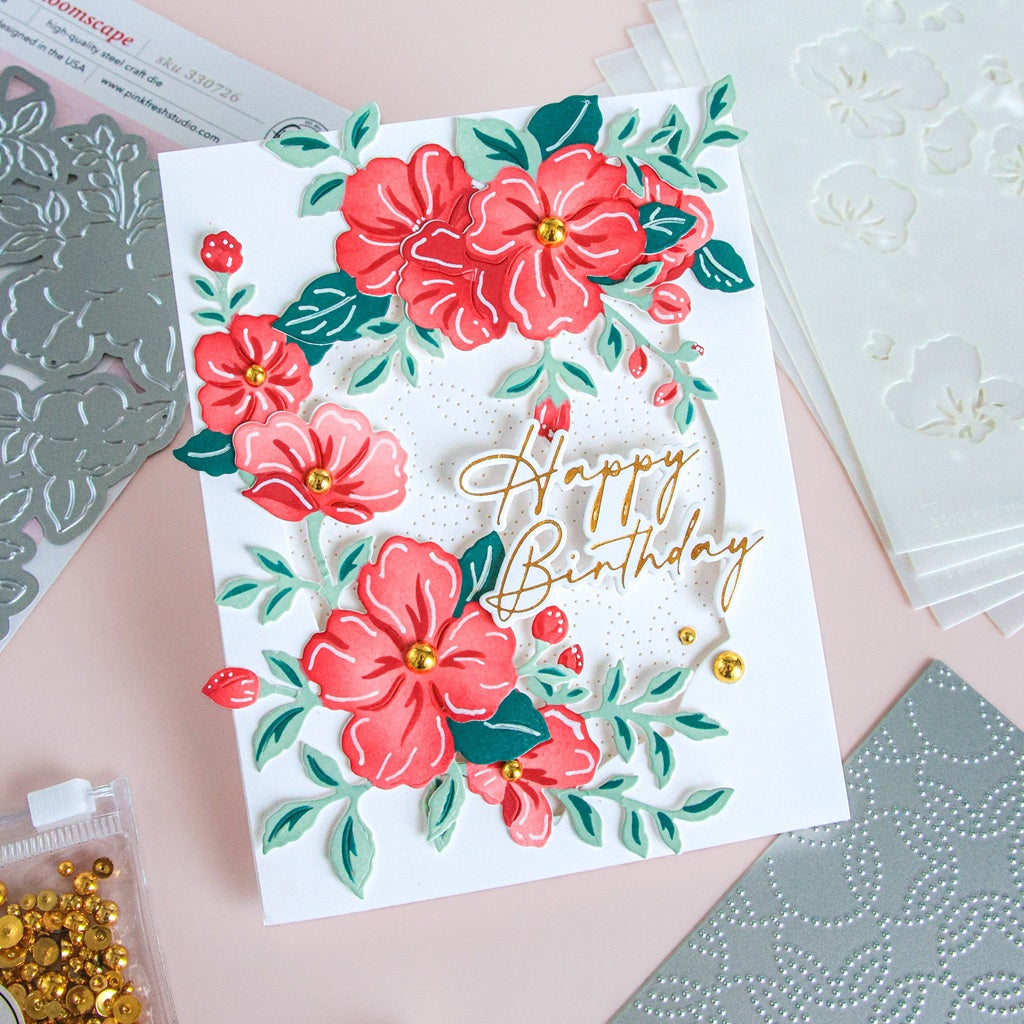
- Next, I used the Gentle Bloomscape coordinating stencils to add color to an A2-sized piece of white cardstock:
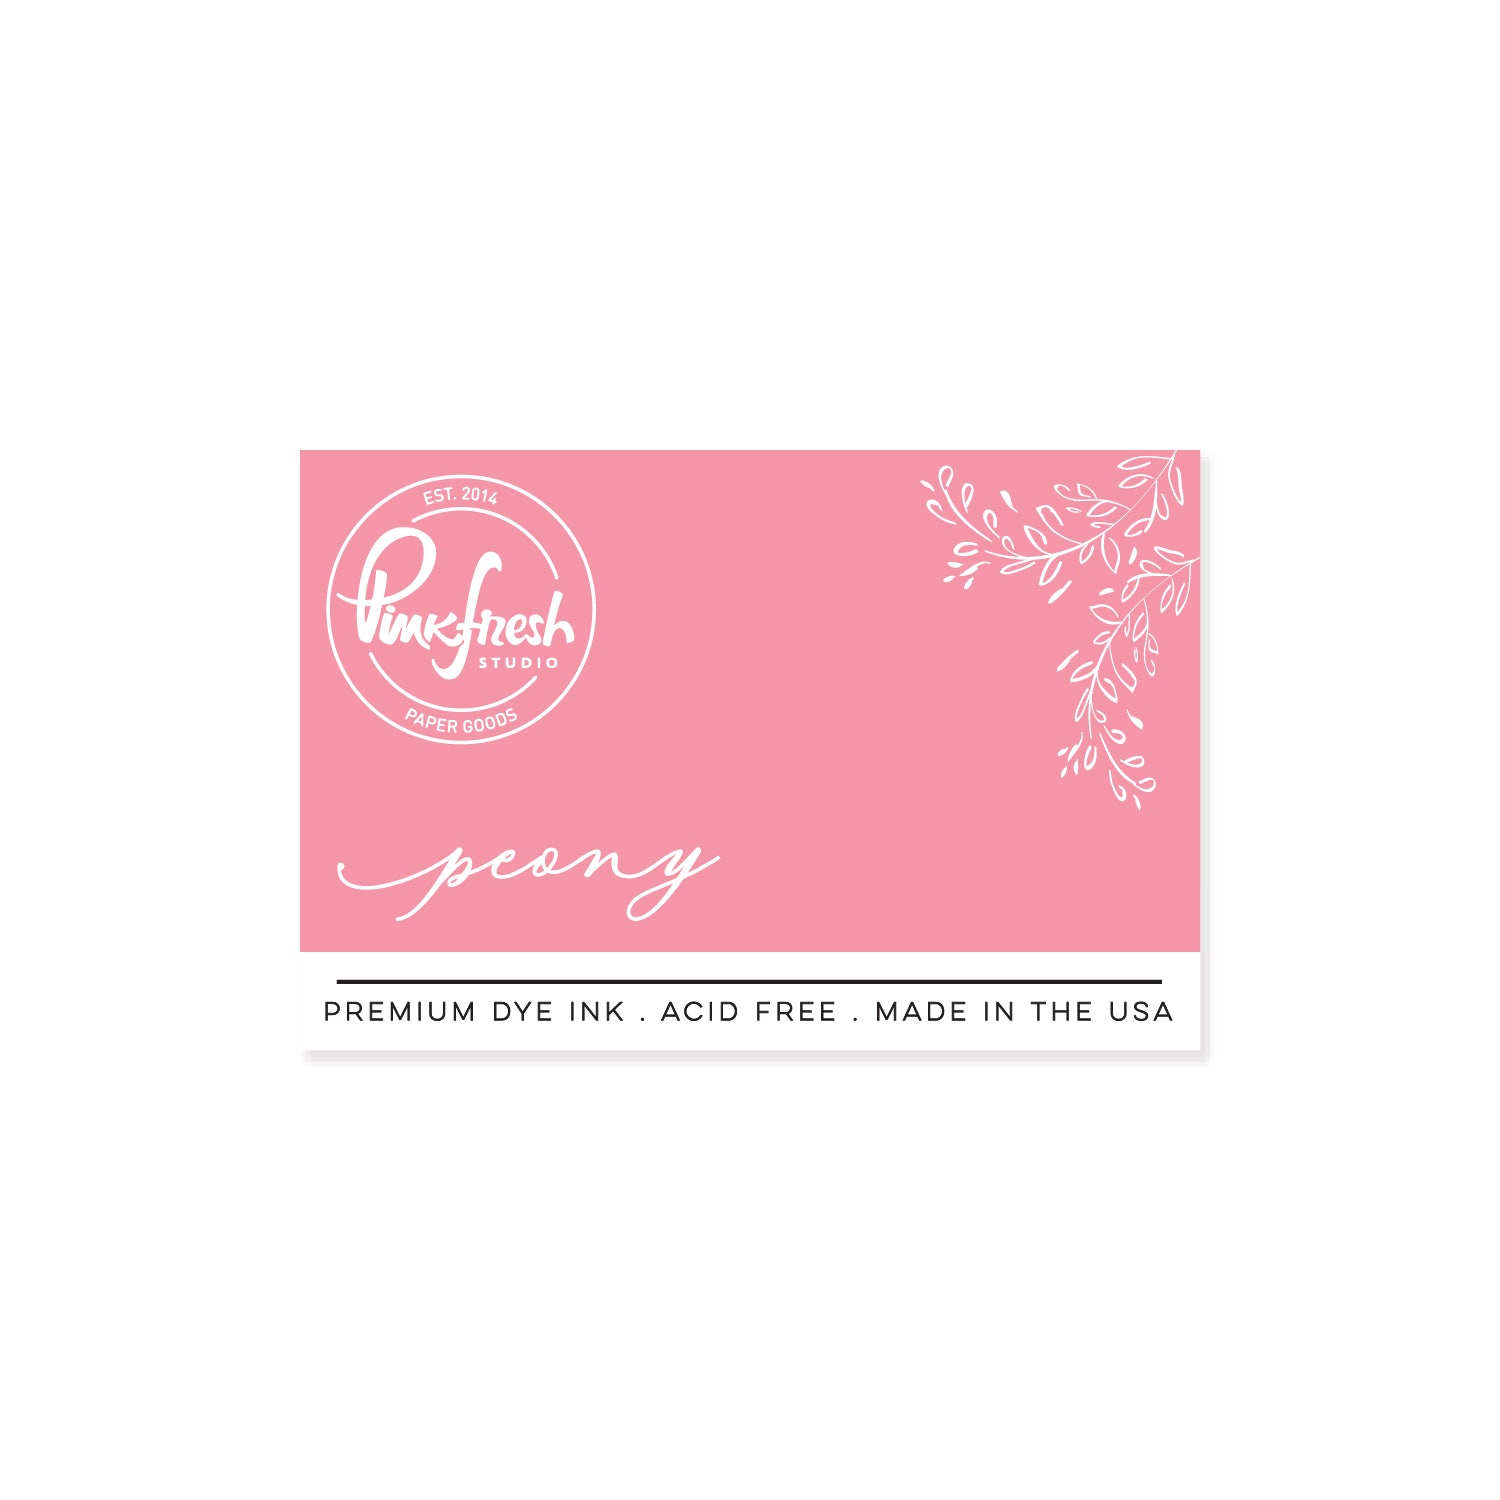
- Stencil 1: Cherry Blossom, Peony
- Stencil 2: Peony, Candy Apple
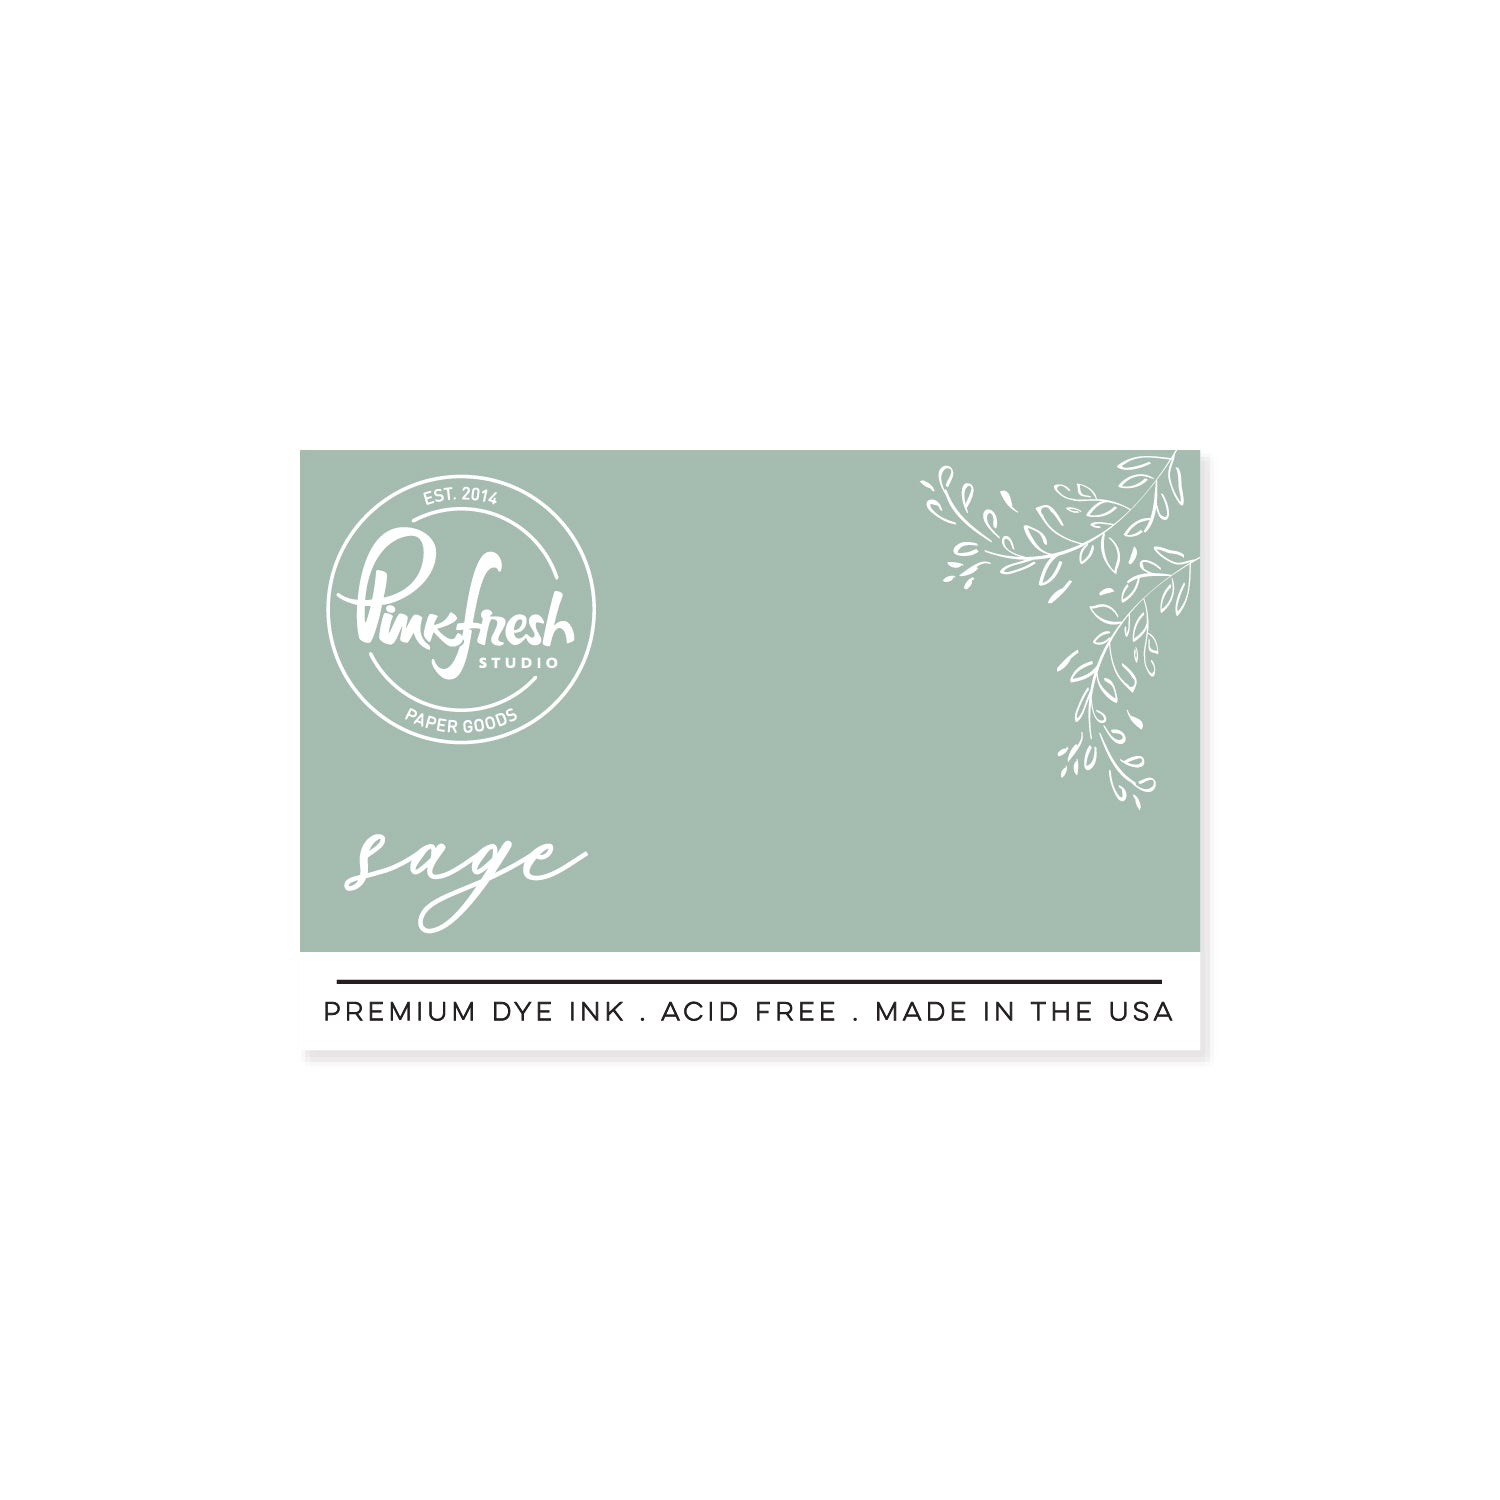
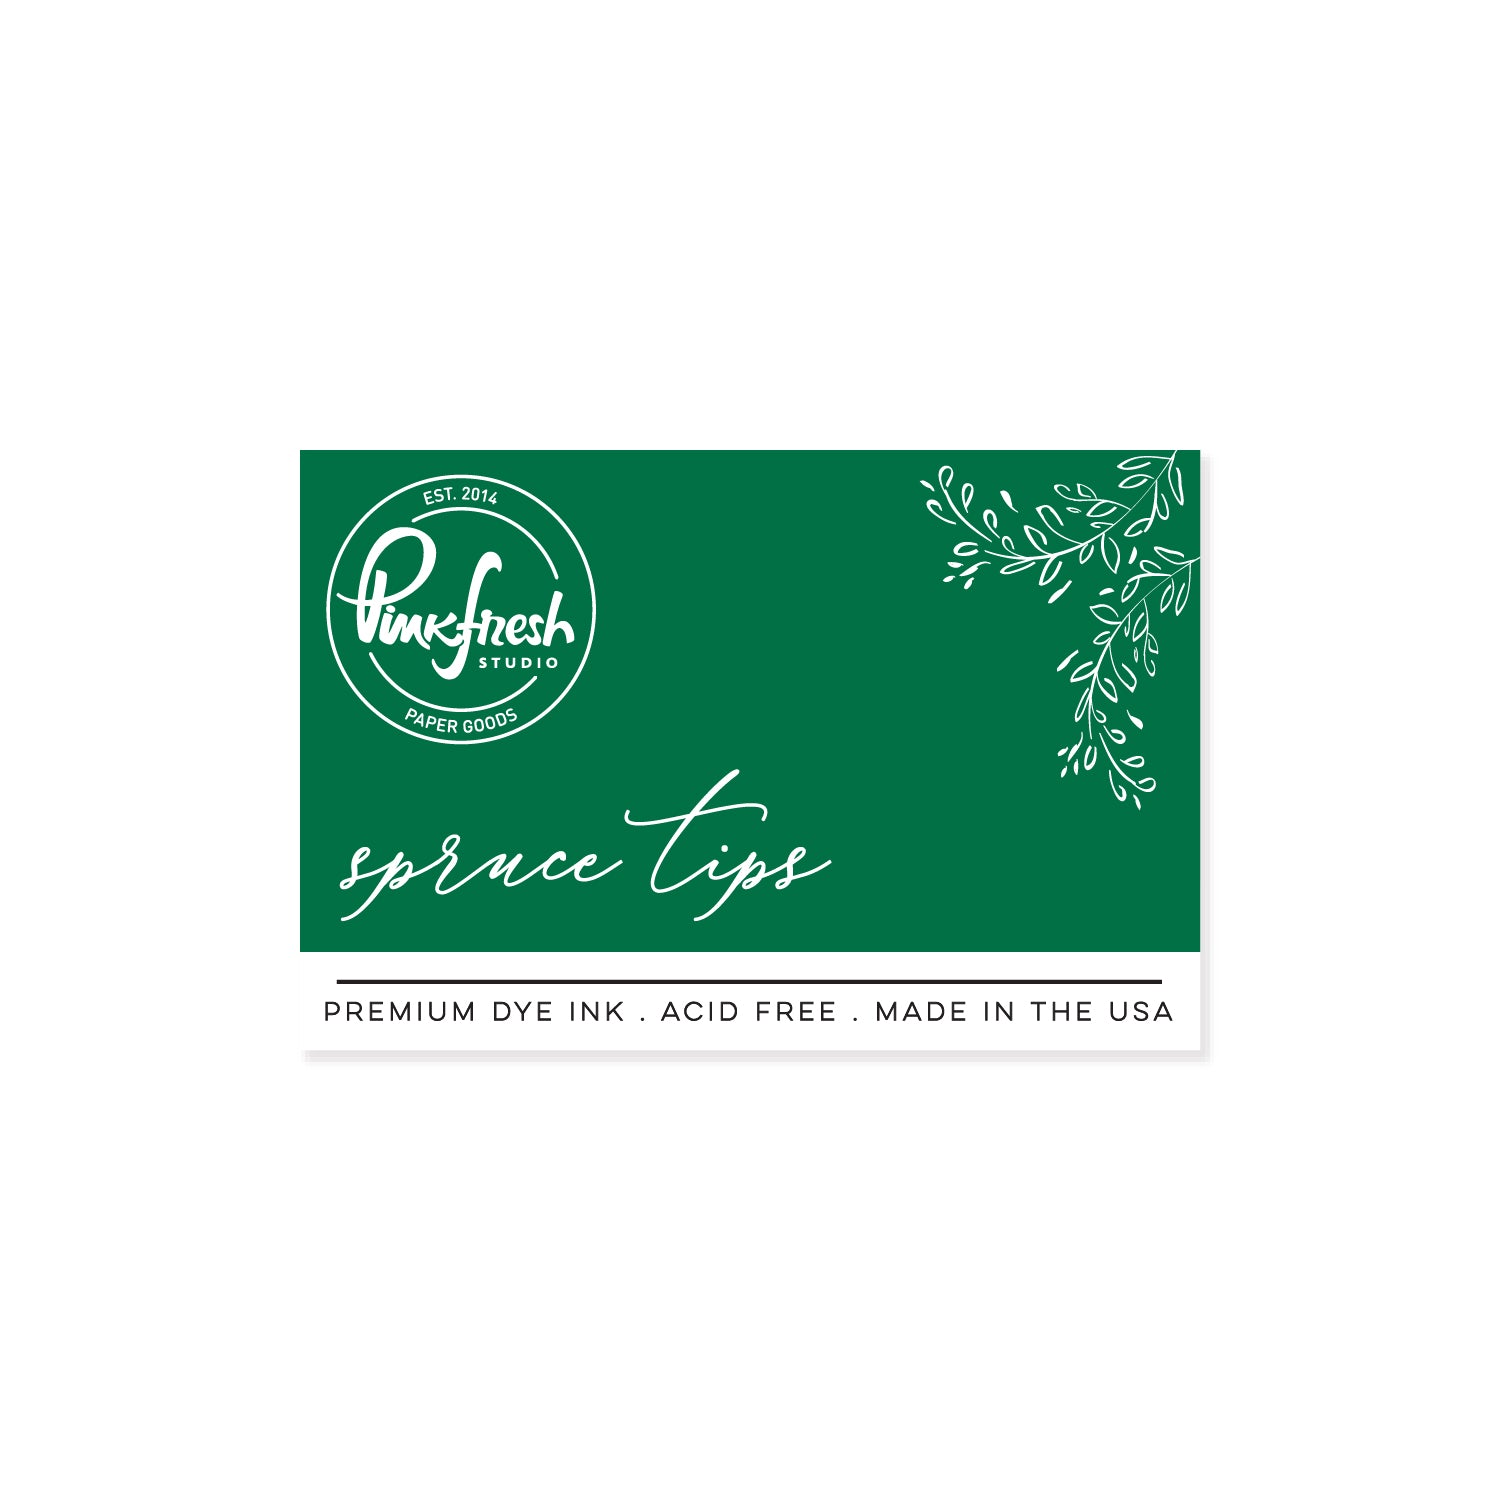
- Stencil 3: Sage, Spruce Tips
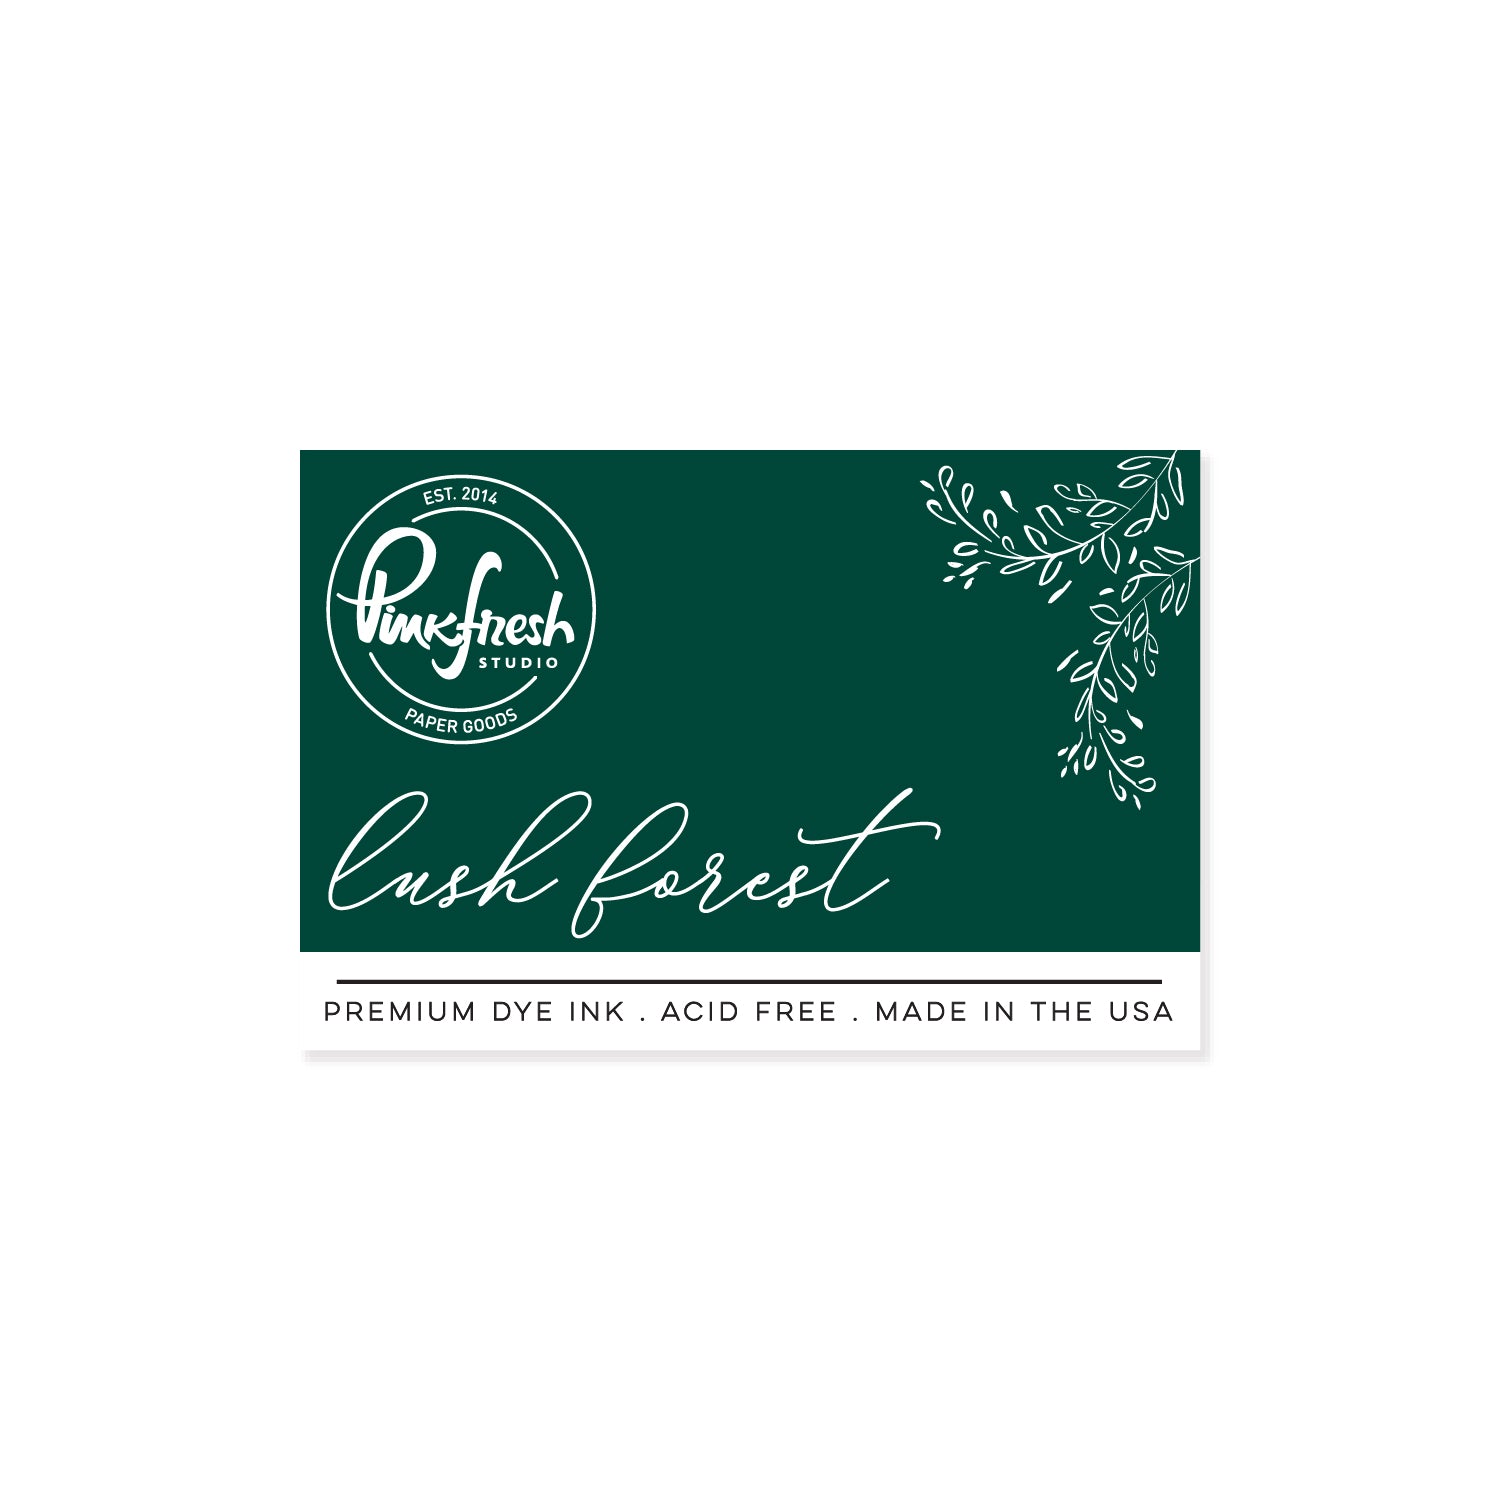
- Stencil 4: Spruce Tips, Lush Forest
- Stencil 5: Detail Black
- I die cut the completed Gentle Bloomscape images using the coordinating die, along with one additional blank layer for each image. I stacked the matching pieces together with liquid glue to add dimension and stability.
- I arranged the floral elements around the oval shaker window, adhering them with a combination of thick foam tape and liquid glue to create varying heights throughout the arrangement.
- For the sentiment, I hot foiled "Sending Hugs" from the Simply Said Press Plate using Opaque Black Hot Foil. I die cut the sentiment with the coordinating die, along with two additional blank layers, and adhered the matching pieces together.
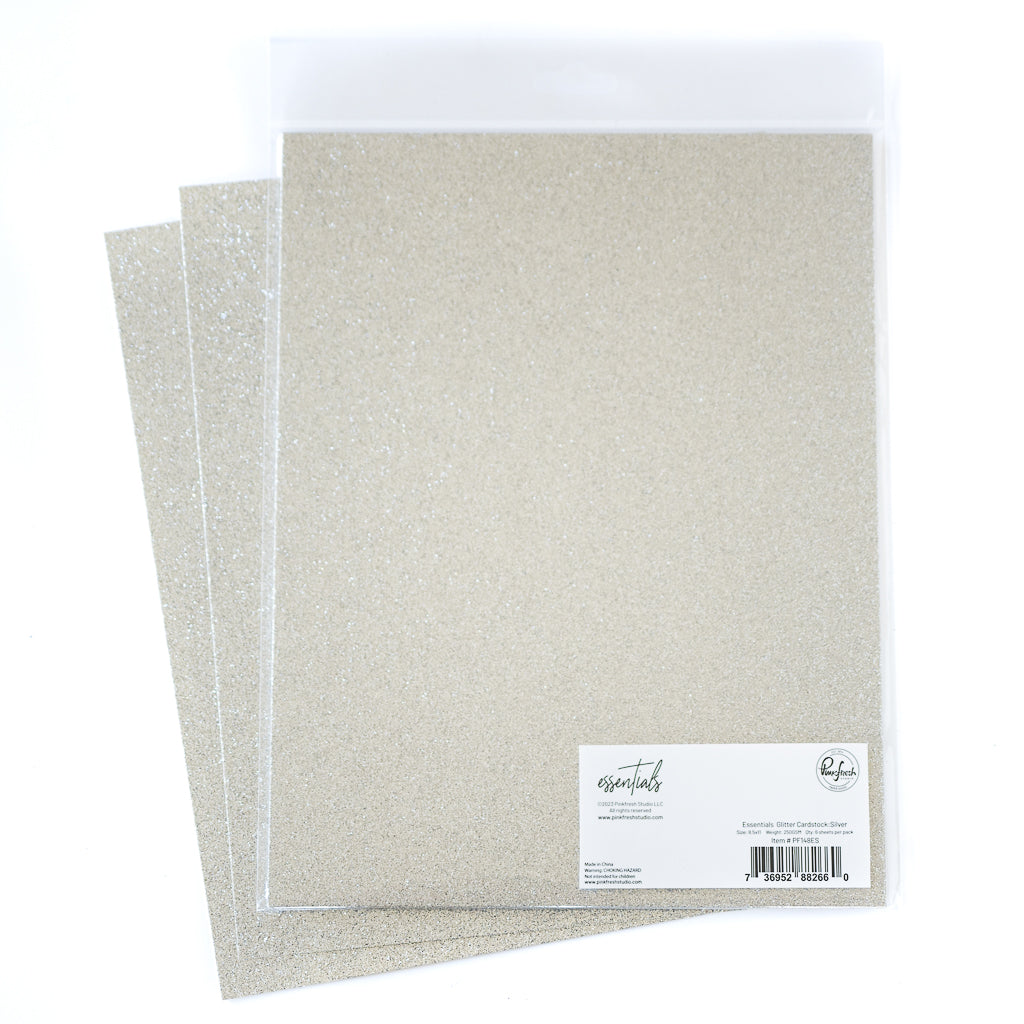
- I cut one final sentiment layer from silver glitter cardstock and adhered my stacked sentiment to it with a slight offset, creating a subtle sparkling shadow.
- To finish the card, I adhered the completed sentiment directly to the acetate window using liquid glue.


What I love most about this card is how texture, color, and dimension work together to create a cohesive design.
The Loopy Leaves Coverplate is one of my favorite details. By using it behind the acetate rather than as a traditional background panel, I was able to introduce an additional layer of texture that remains visible through the shaker elements.
I also love the unexpected pop of aqua! Blending Ocean Breeze and Aquamarine toward the outer edges and allowing the color to fade to white creates visual depth without adding physical bulk. It's a beautiful contrast to the pink Gentle Bloomscape florals.

Speaking of florals, Pinkfresh Studio's die-and-stencil-only product suites are among my favorites to work with. Because the coordinating dies leave no white borders around the images, the finished elements have a seamless appearance that makes them especially effective for dimensional arrangements like this one.
When I'm designing a card, I like to consider how each technique contributes to the overall composition. In this case, the coverplate introduces texture, the ink blending creates visual depth, and the shaker construction, stacked die cuts, and foam adhesive provide physical dimension. Each technique serves a different purpose, but together they create a much more interesting finished project.
Recommended Products

























































Leave a comment
All comments are moderated before being published.
This site is protected by hCaptcha and the hCaptcha Privacy Policy and Terms of Service apply.