
Hi Pinkfresh crafters!
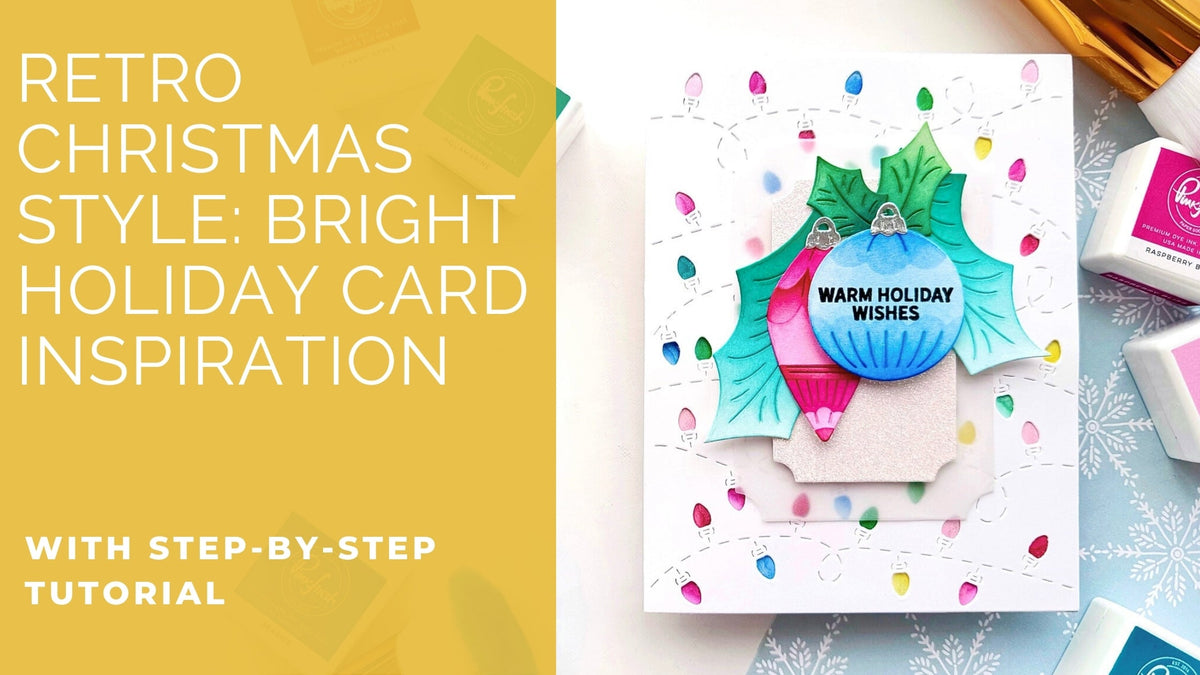
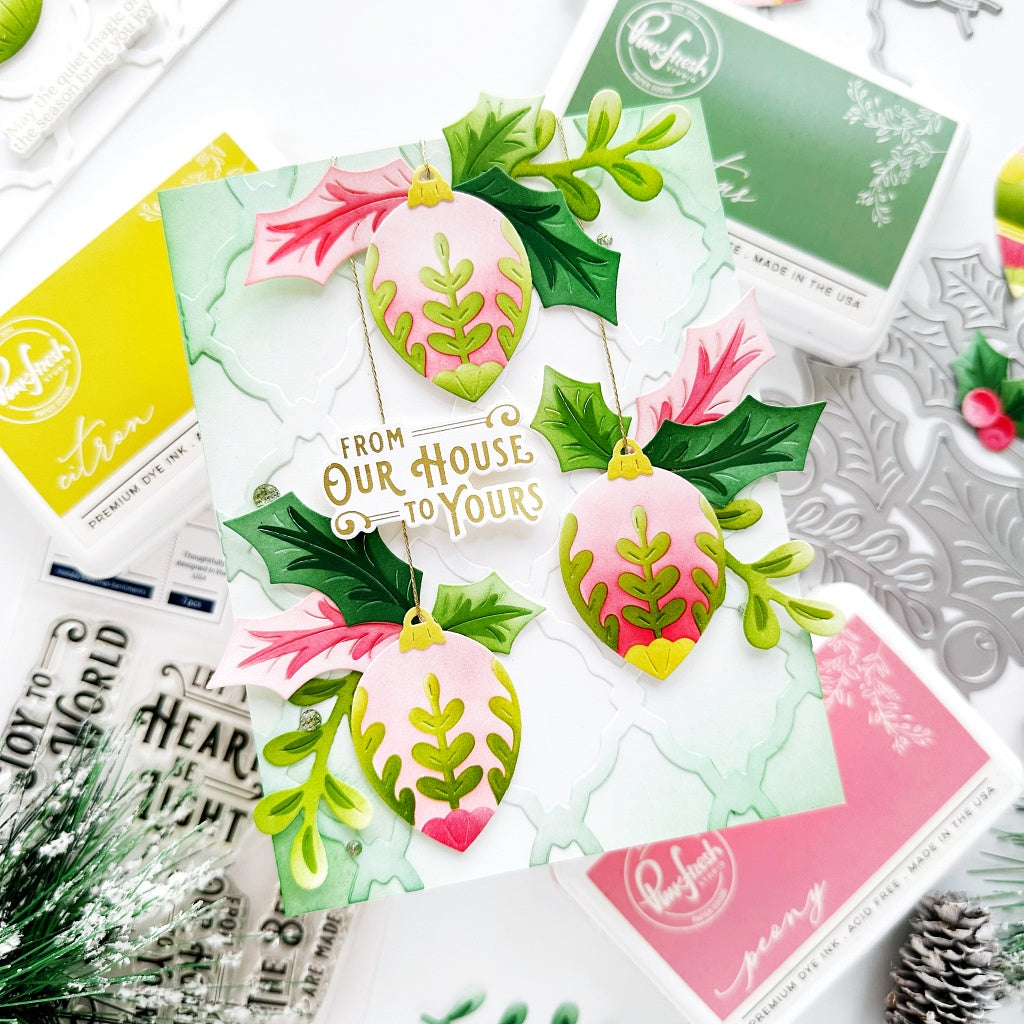
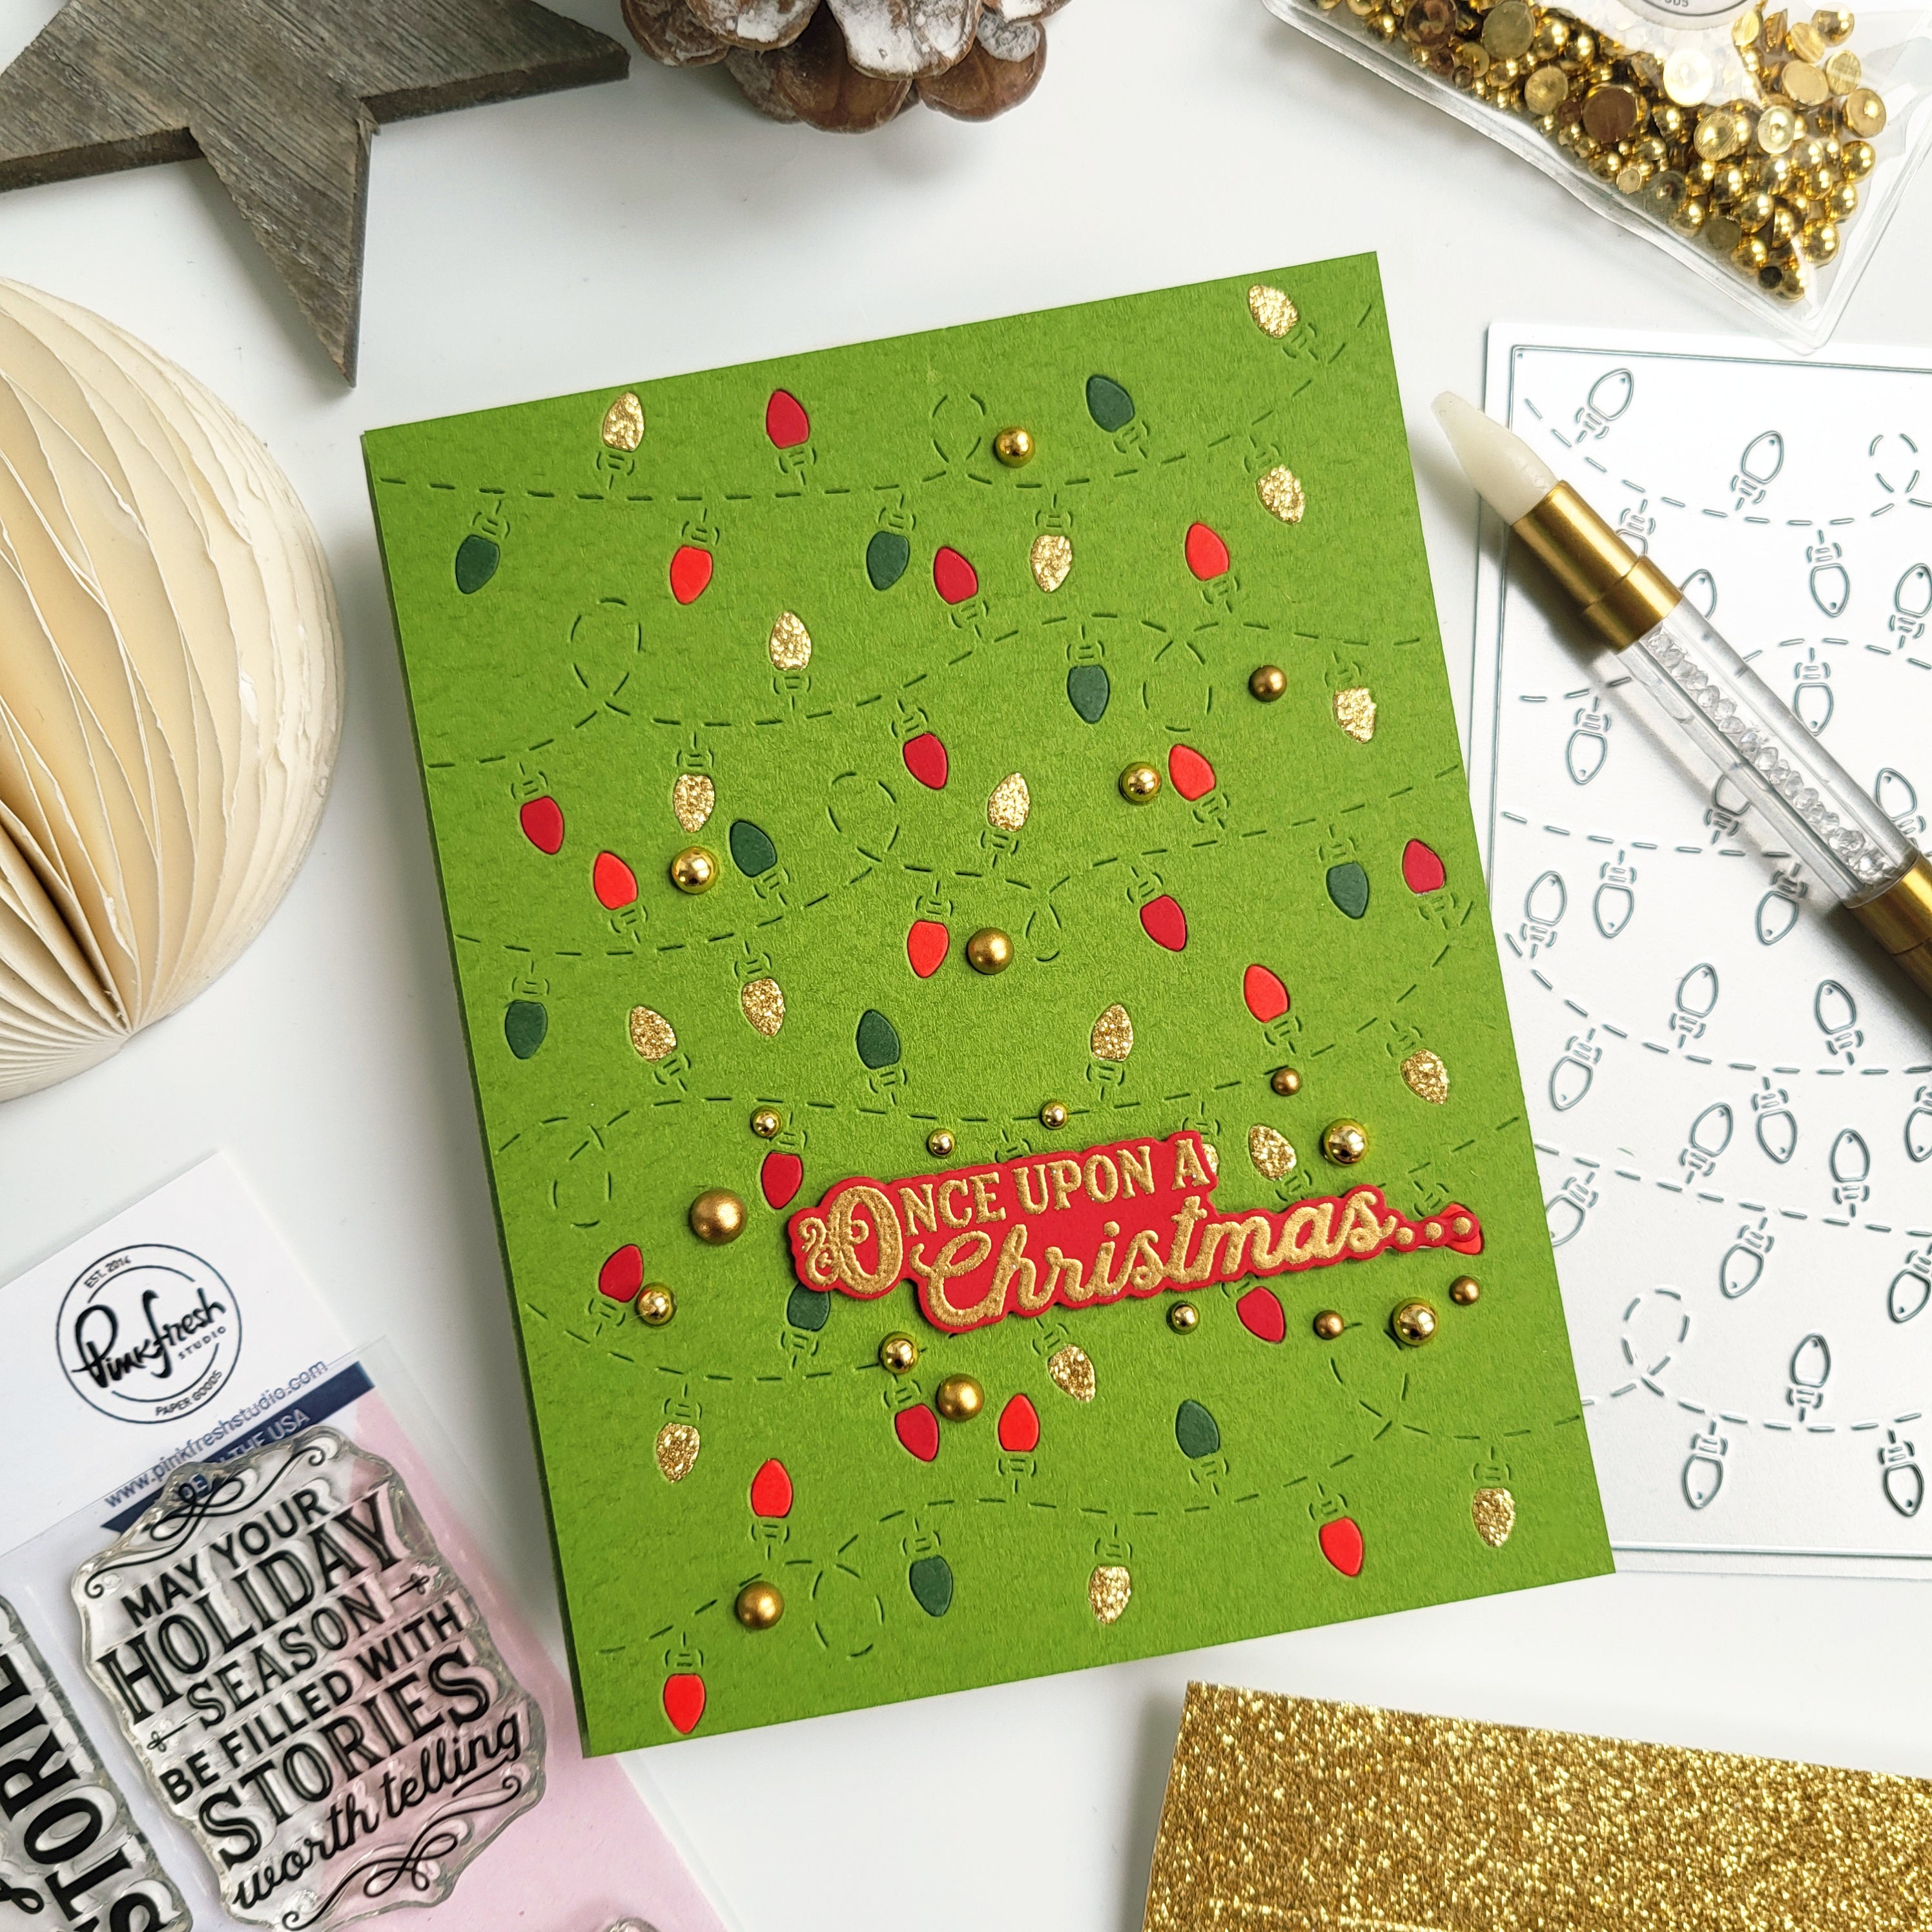
It's Steph back again with a fun new card idea. My inspiration today is all about a retro design with vibrant colours! Think shiny vintage ornaments, frosty white Christmas trees, and brightly coloured twinkle lights. A card that's vintage-inspired and sure to bring a smile to anyone!
*Disclaimer: All products used are linked below as clickable images. If a product isn't listed, it's been discontinued.

How to create this card:
-
Cut two A2 panels of white cardstock and one A2 card base.
-
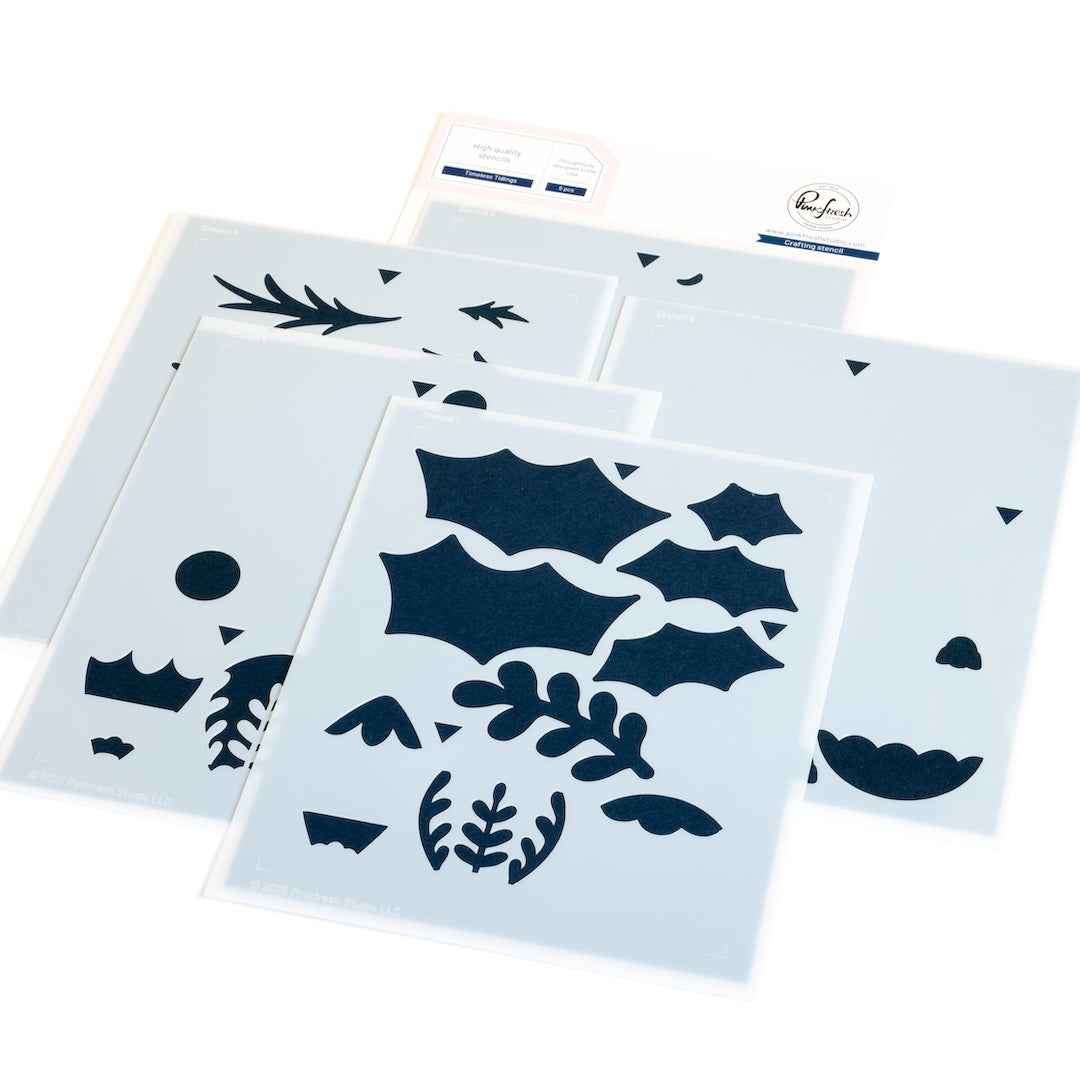
Use the Timeless Tidings stencils to ink blend images:
-
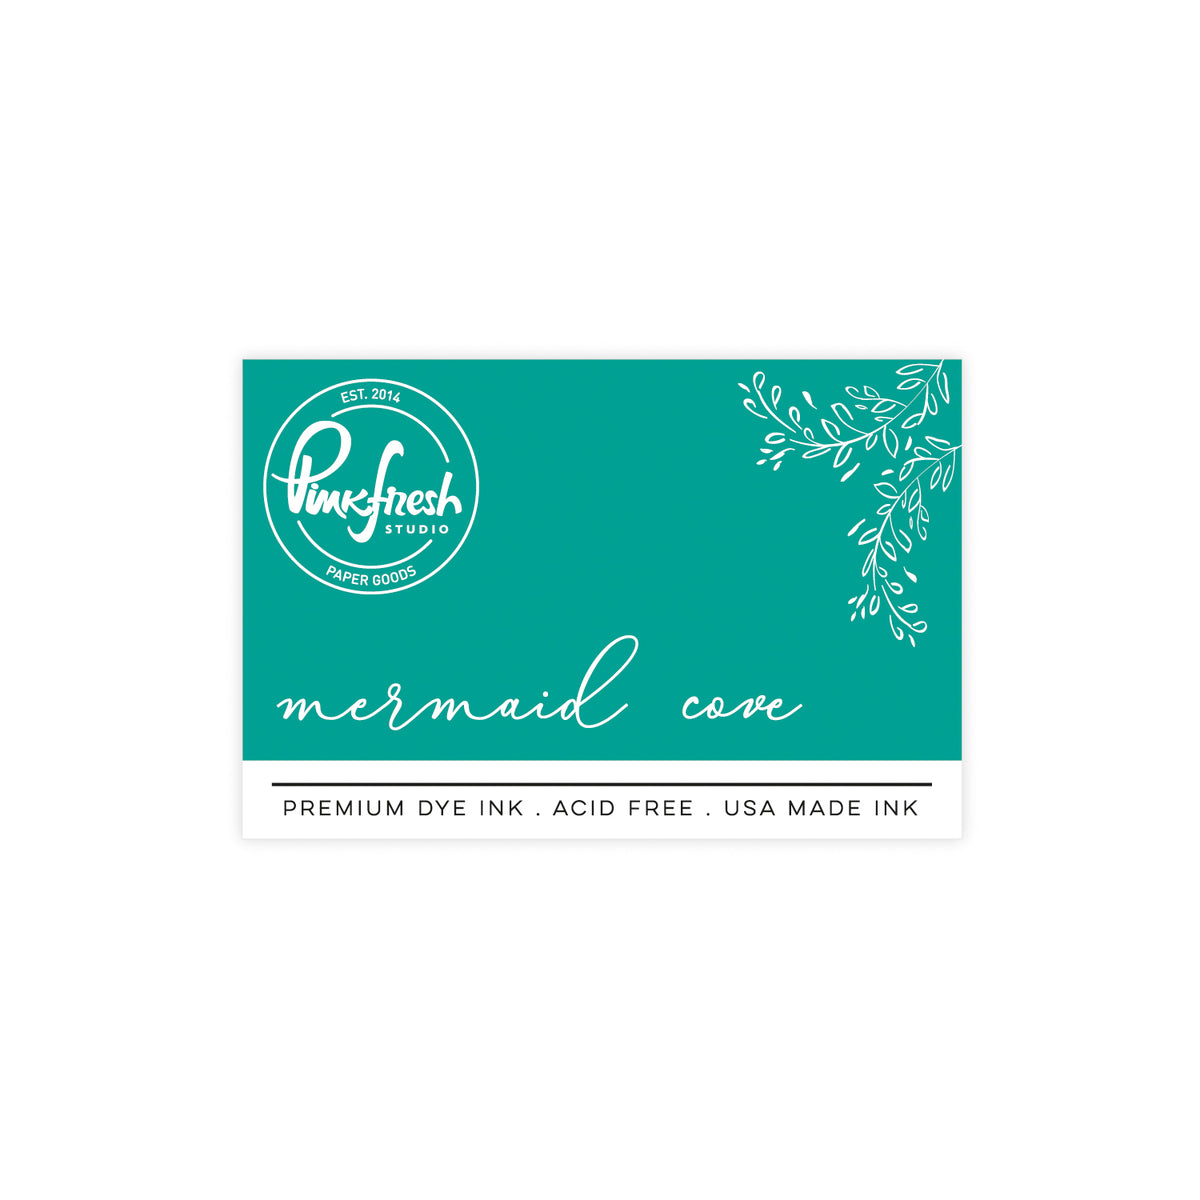
Stencil 1: Mermaid Cove (large holly leaves), Spruce Tips (small holly leaves), Raspberry Bliss (long ornament), Blue Jay (round ornament)
-
Stencil 2: Sparkling Rose (long thin ornament), Summer Shower (round ornament)
-
Stencil 3: Candy Apple (long thin ornament), Blue Jay (round ornament)
-
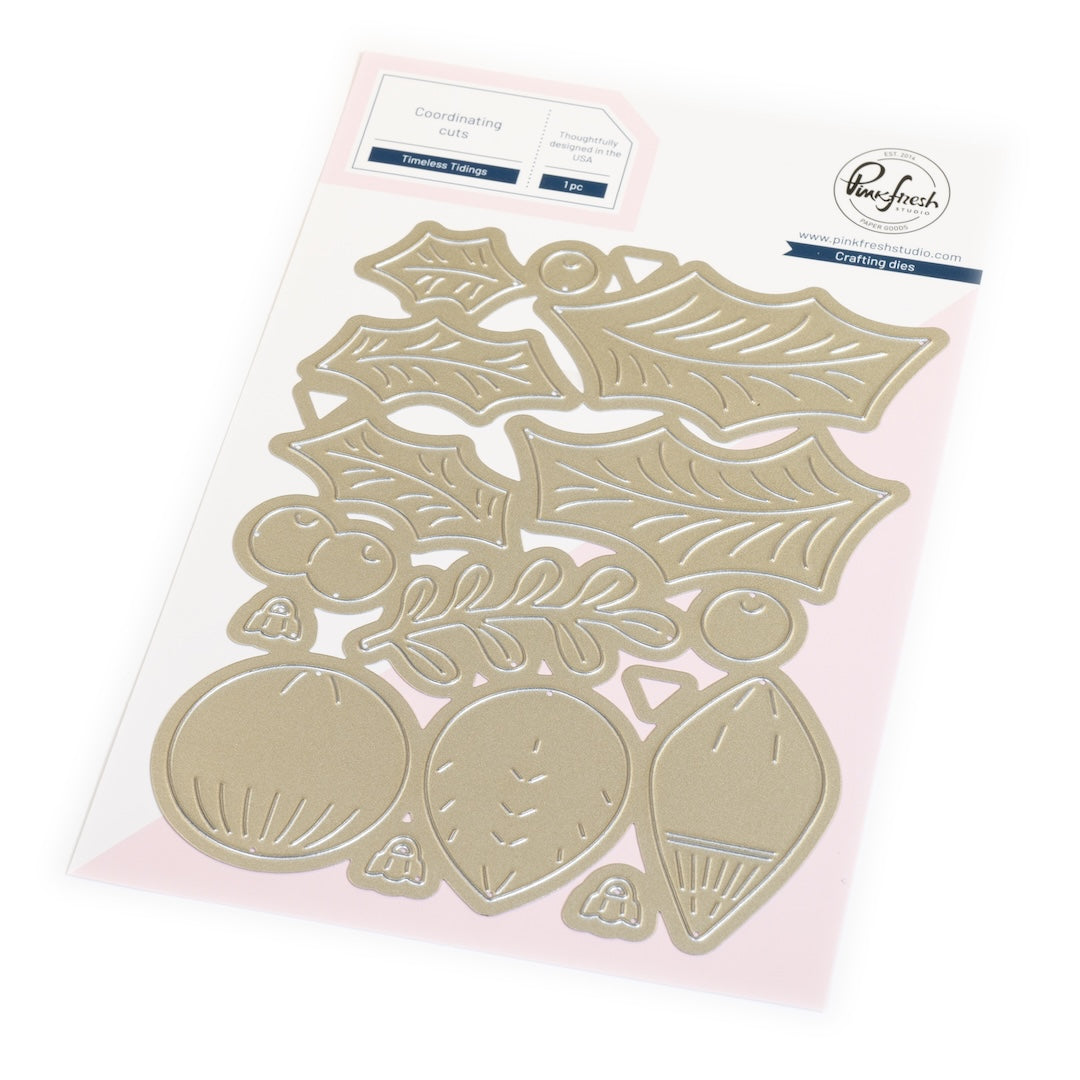
Die-cut the images using the coordinating die. Die-cut the ornament tops only from metallic silver cardstock.
-
Attach ornament tops to the two ornaments using liquid glue.
-
Stamp the "Warm Holiday Wishes" greeting from the Once Upon A Holiday stamp set on the round blue ornament using Detail Black ink.
-
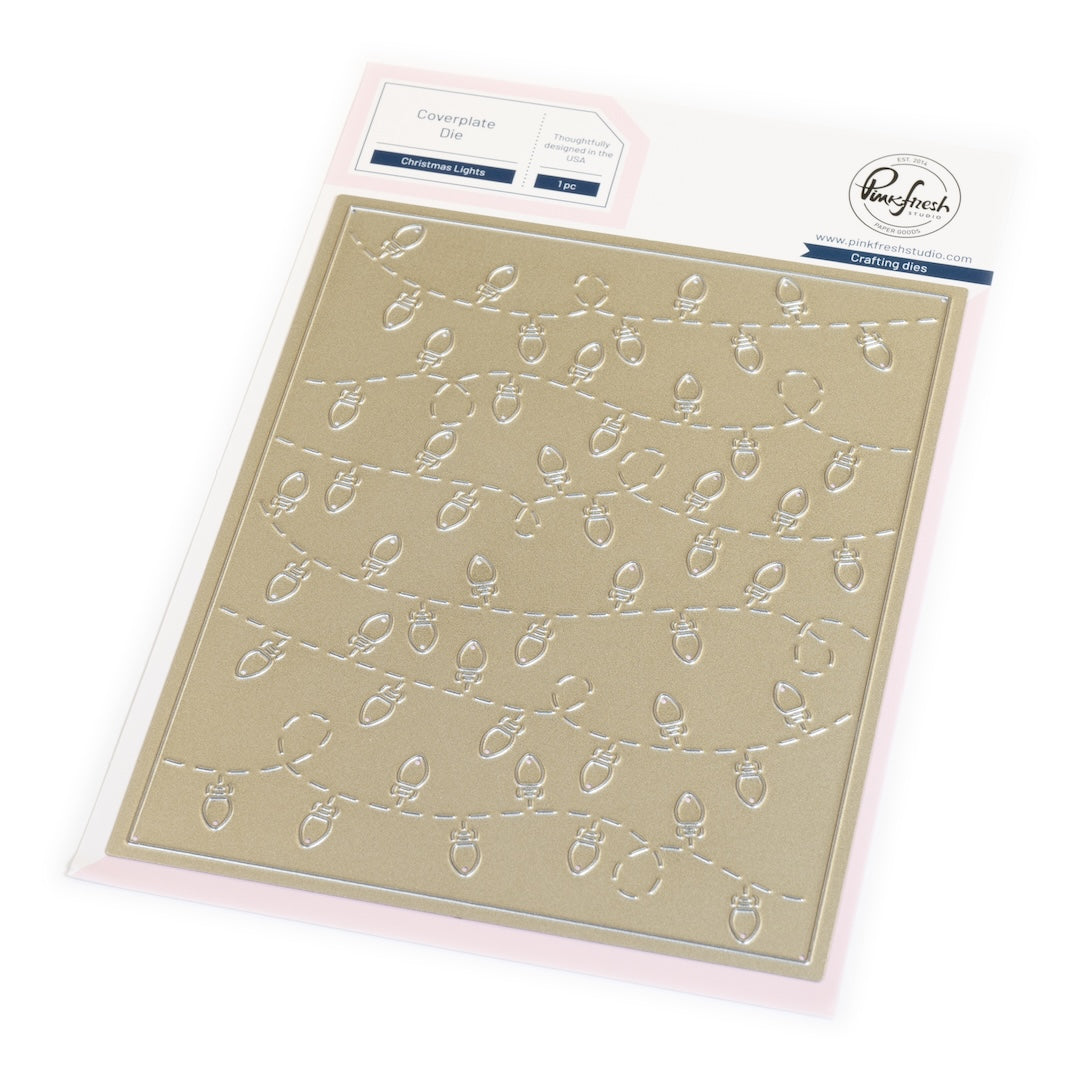
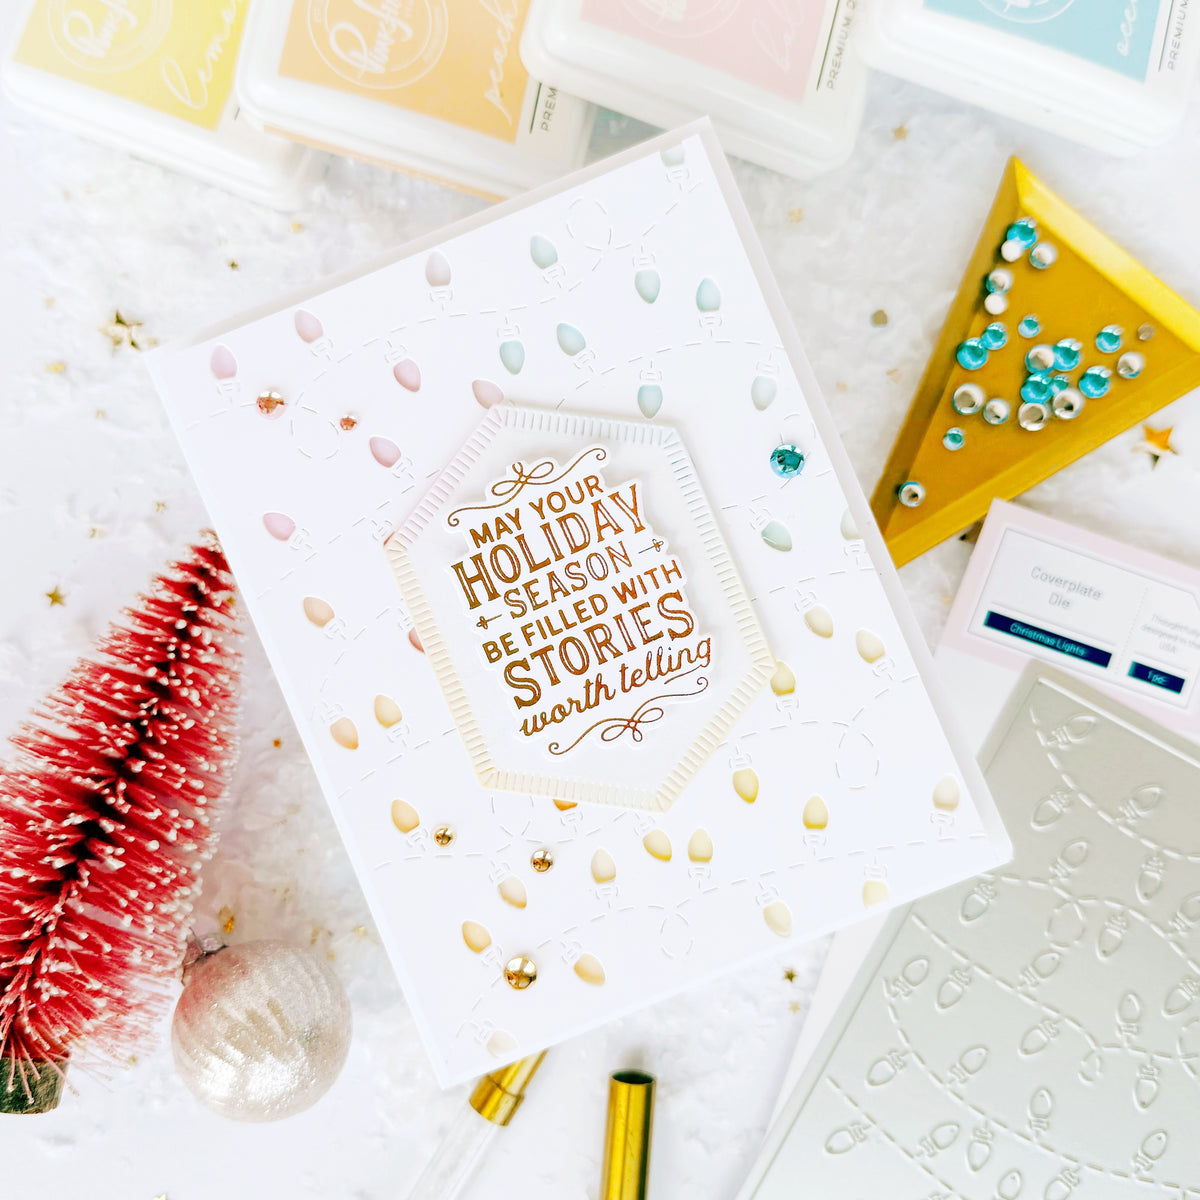
Die-cut the second A2 panel of cardstock using the Christmas Lights Coverplate.
-
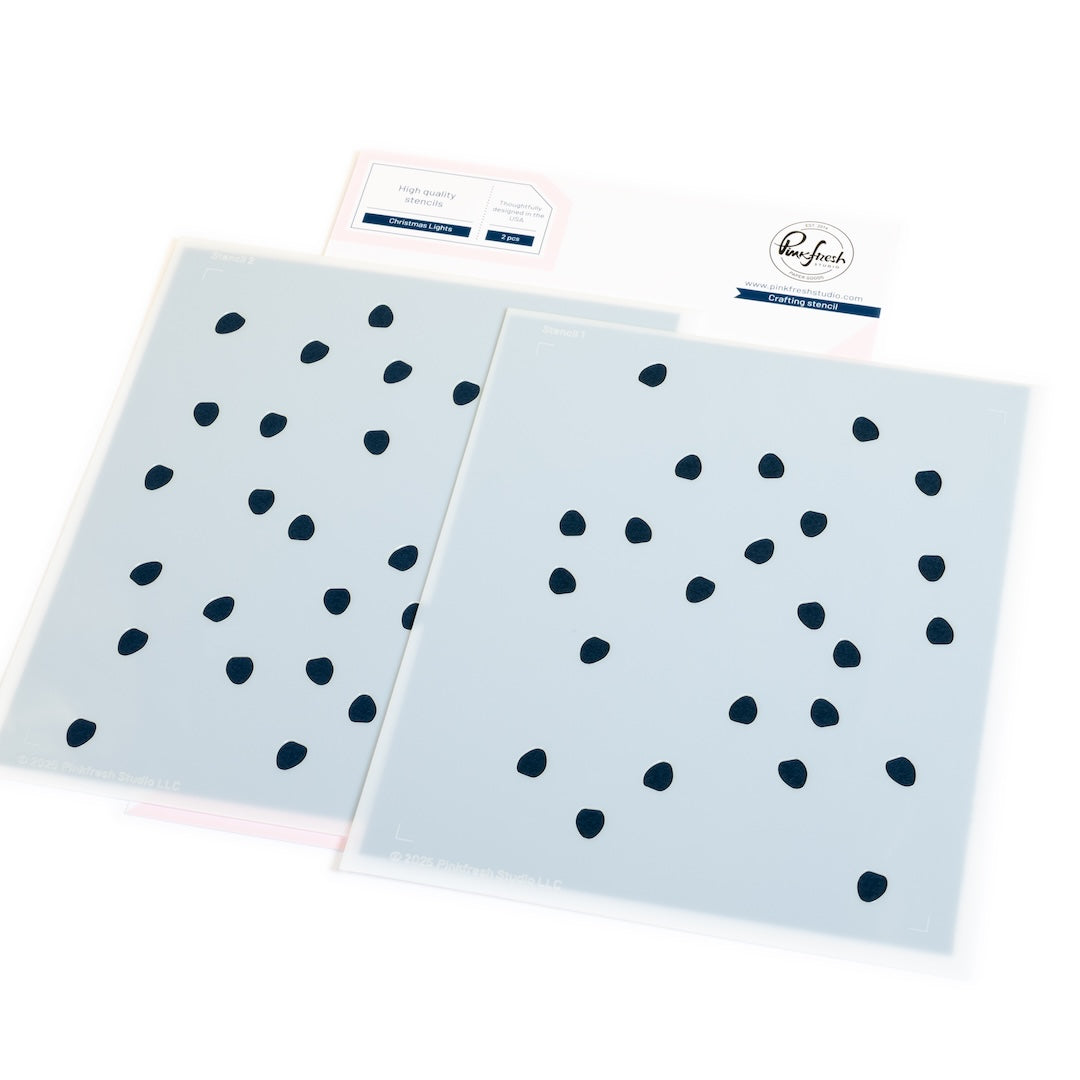
Ink blend using the coordinating stencil on the front of an A2 card base.
-
Stencil 1: Raspberry Bliss, Seaside, Mermaid Cove, Aquamarine, Peony, Sunshine (repeat colours until stencil is complete)
-
Stencil 2: Candy Apple Red, Peony, Sunshine, Mermaid Cove, and Seaside (repeat colours until stencil is complete)
-
Adhere the Christmas Lights Coverplate panel over the ink-blended card base.
-
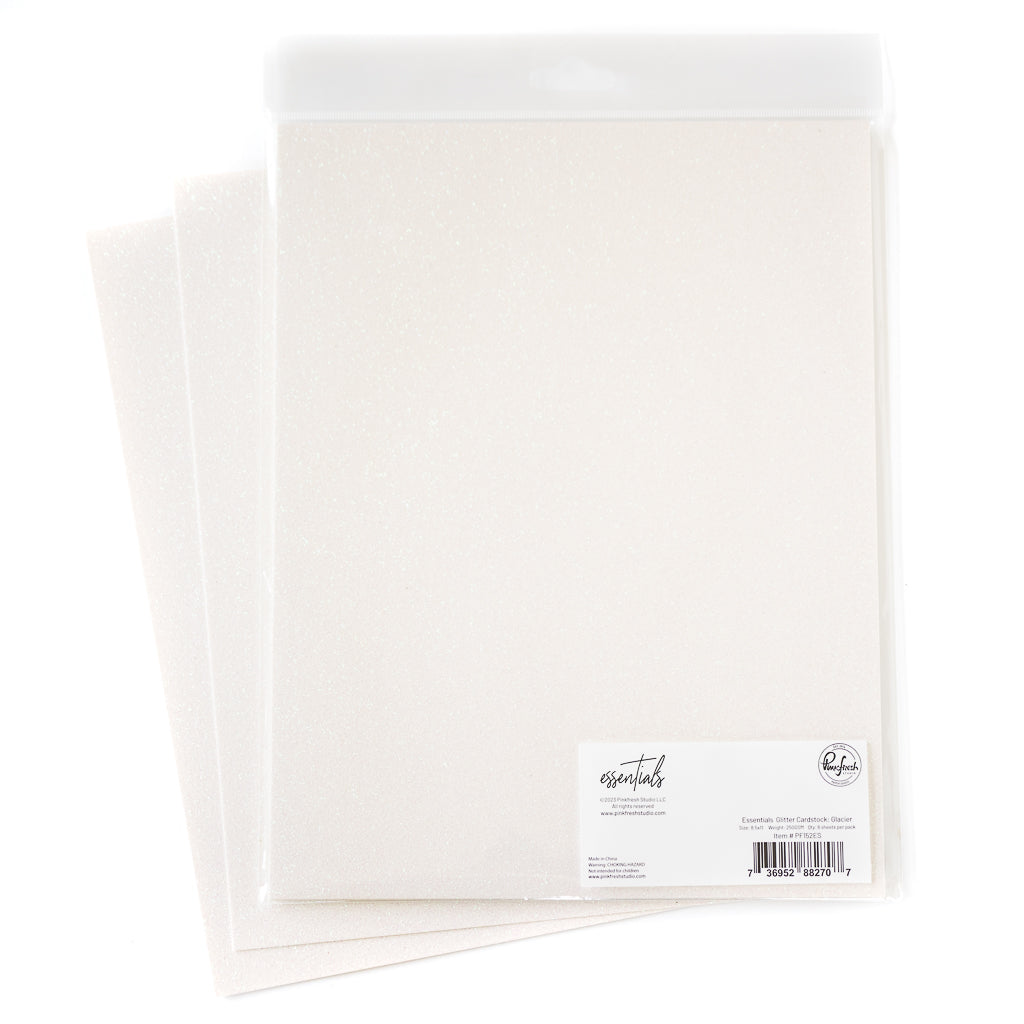
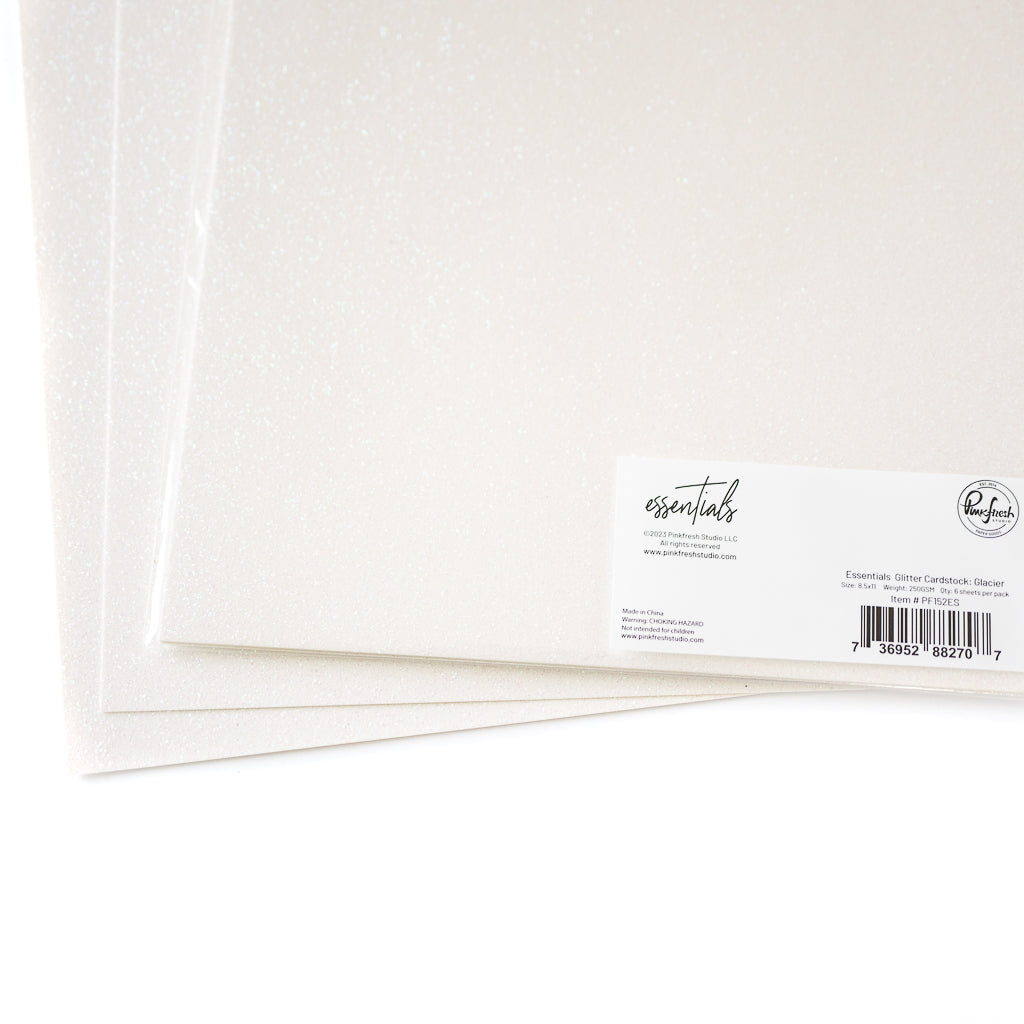
Use the second-smallest die from the Essentials: Notched Corner Frame set and die-cut a piece of Glacier Glitter cardstock.
-
Use the fourth-smallest die from the Essentials: Notched Corner Frame set and die-cut a piece of vellum.
-
Adhere die-cut Timeless Tidings leaves and ornaments using foam adhesive to the glitter panel.
-
Adhere the glitter panel to the vellum panel using foam adhesive.
-
Adhere the vellum panel to the center of the Christmas Lights Coverplate using foam adhesive.

I hope this nostalgia filled card spurs images of decorations of the past or maybe even memories of loved ones' holiday filled home. If it inspires you to create retro-themed cards, please tag us on social media so we can see!
Happy Crafting,
Steph
Recommended Products



























Leave a comment
All comments are moderated before being published.
This site is protected by hCaptcha and the hCaptcha Privacy Policy and Terms of Service apply.