
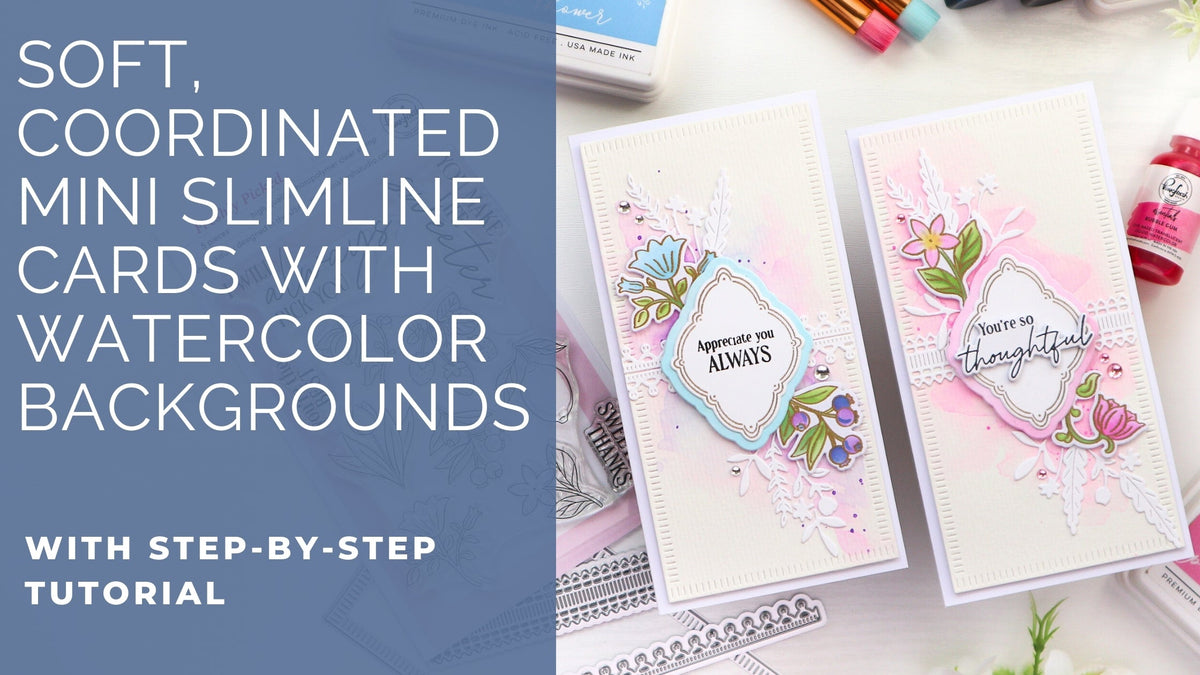
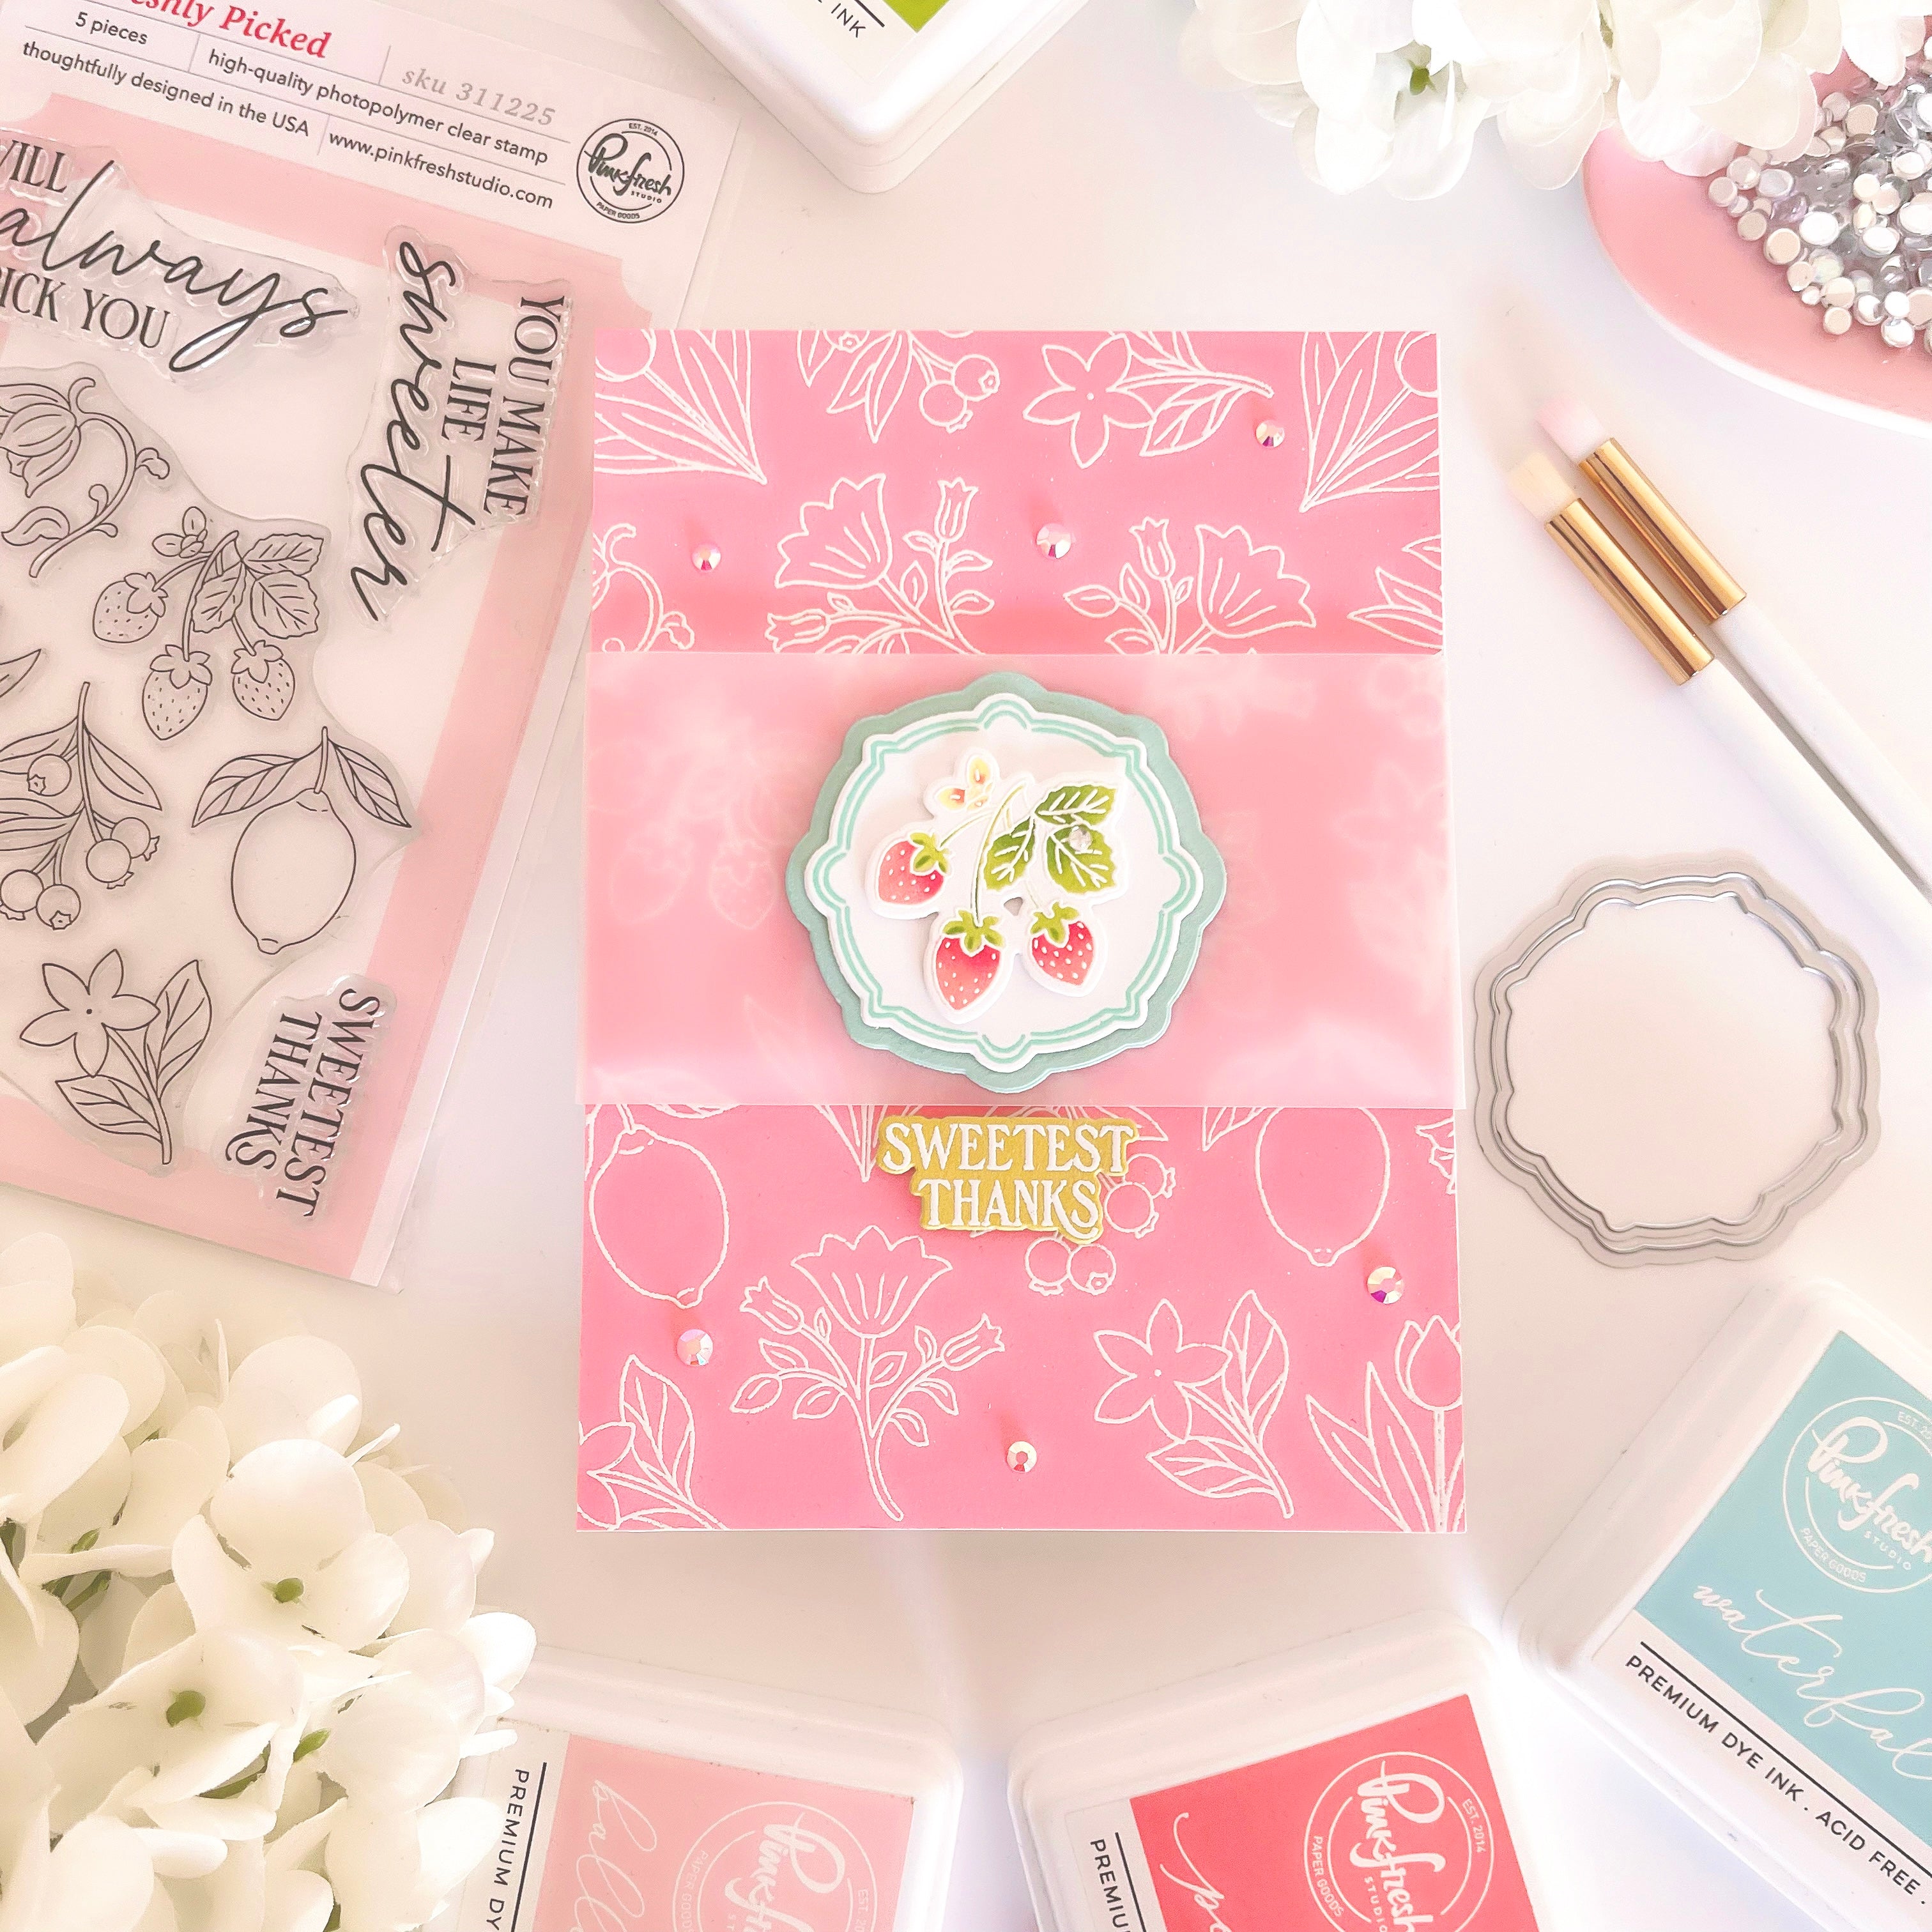
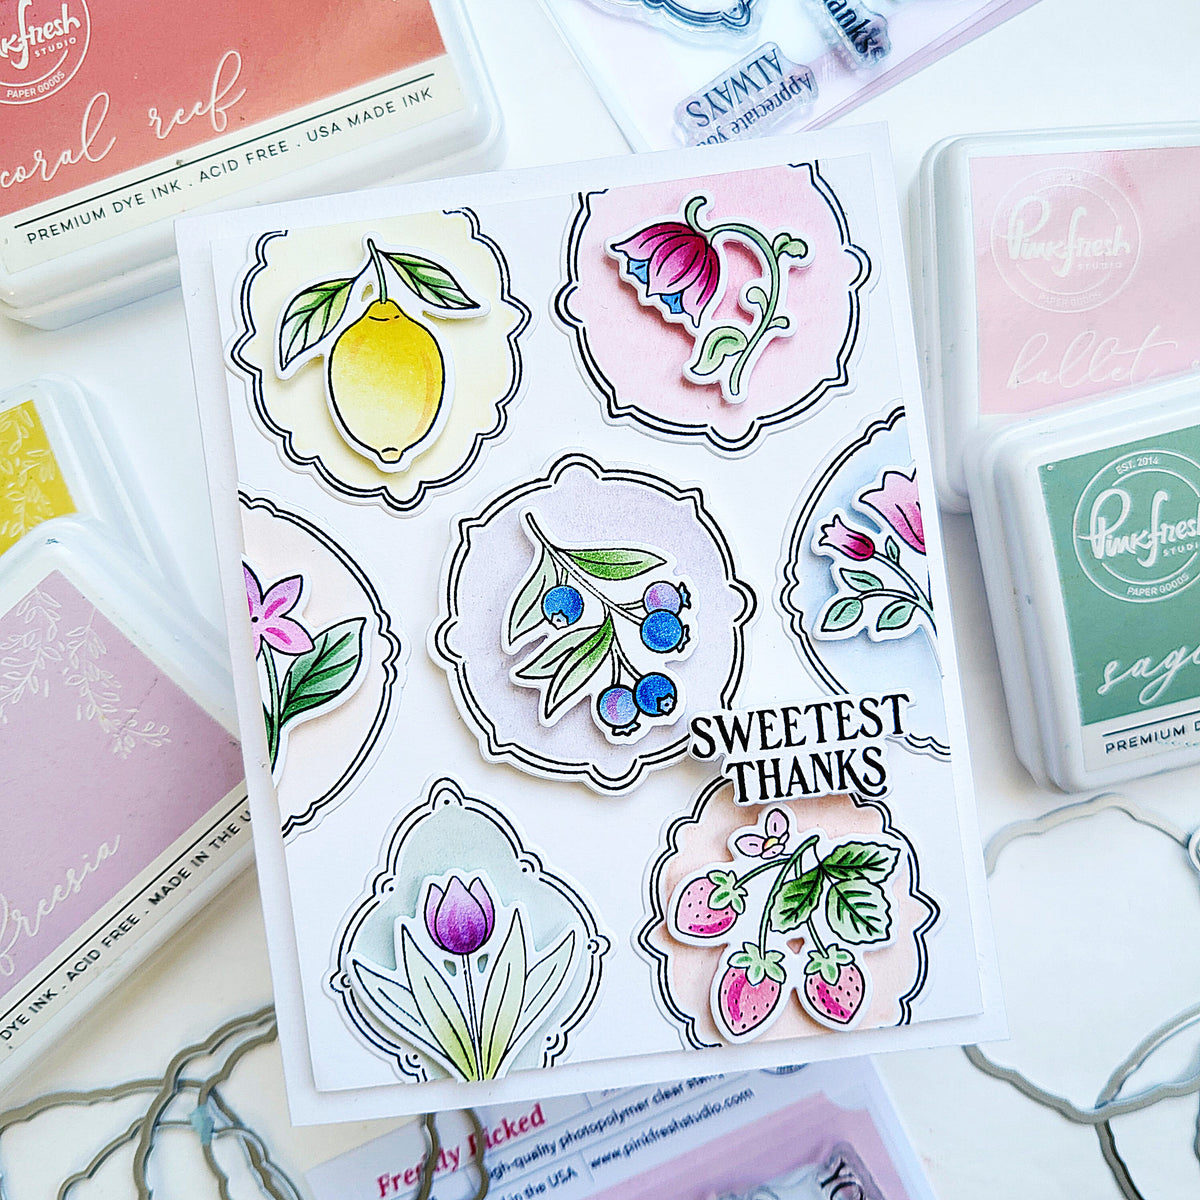
Hello everyone! I hope you’re having a wonderful week so far! It’s TaeEun here today, sharing two soft and elegant mini slimline cards created using the same layout. Product suites such as Freshly Picked and Cottage Frames include multiple elements with similar designs that can easily be mixed and matched. Once you design a layout you love, simply swap florals, frames, or sentiments to create a cohesive card set with beautiful variety. I also created coordinating watercolor backgrounds for the focal elements to enhance the overall natural and elegant look of the cards.
*Disclaimer: All products used are linked below as clickable images. If a product isn’t listed, it’s been discontinued.

Here is how I made the cards.
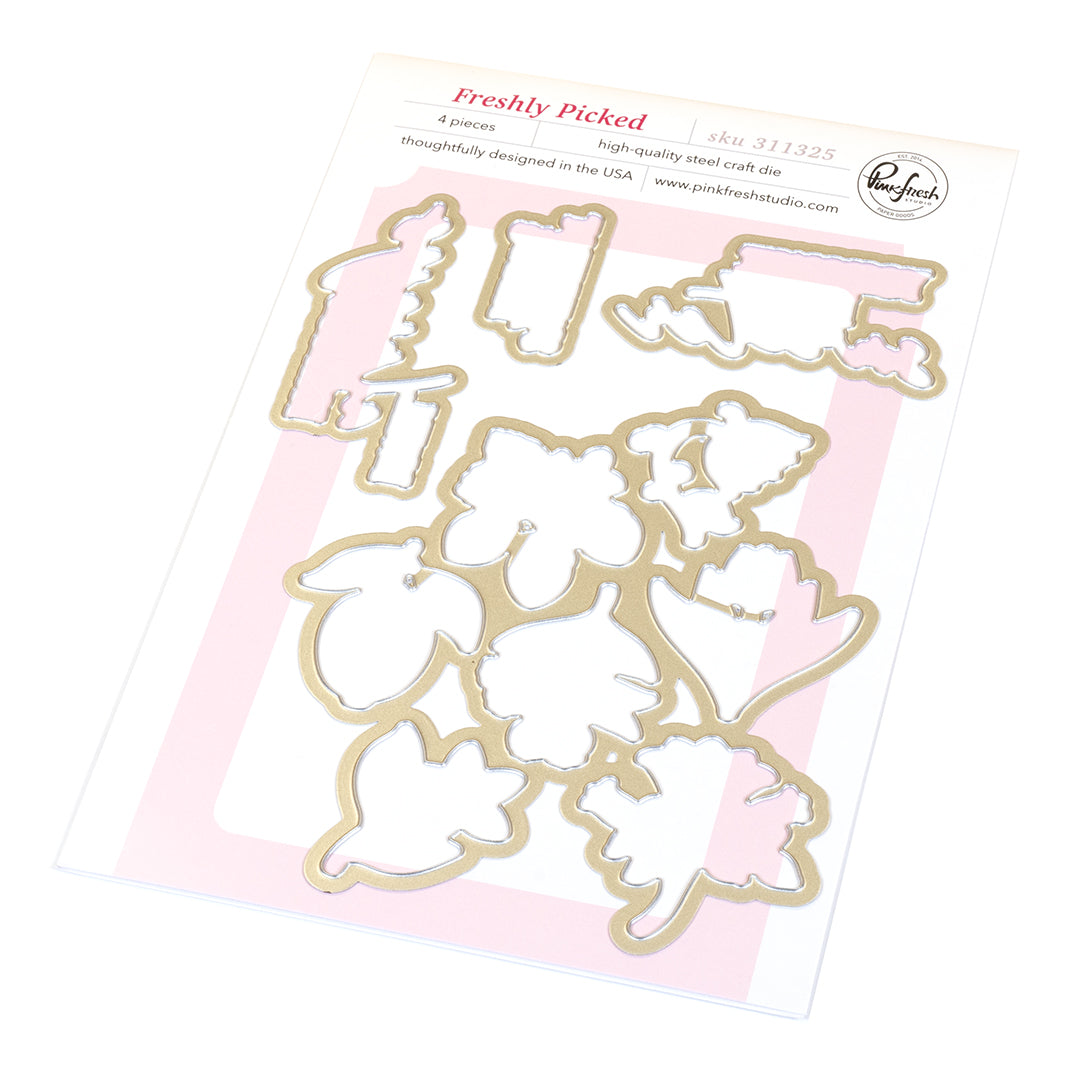
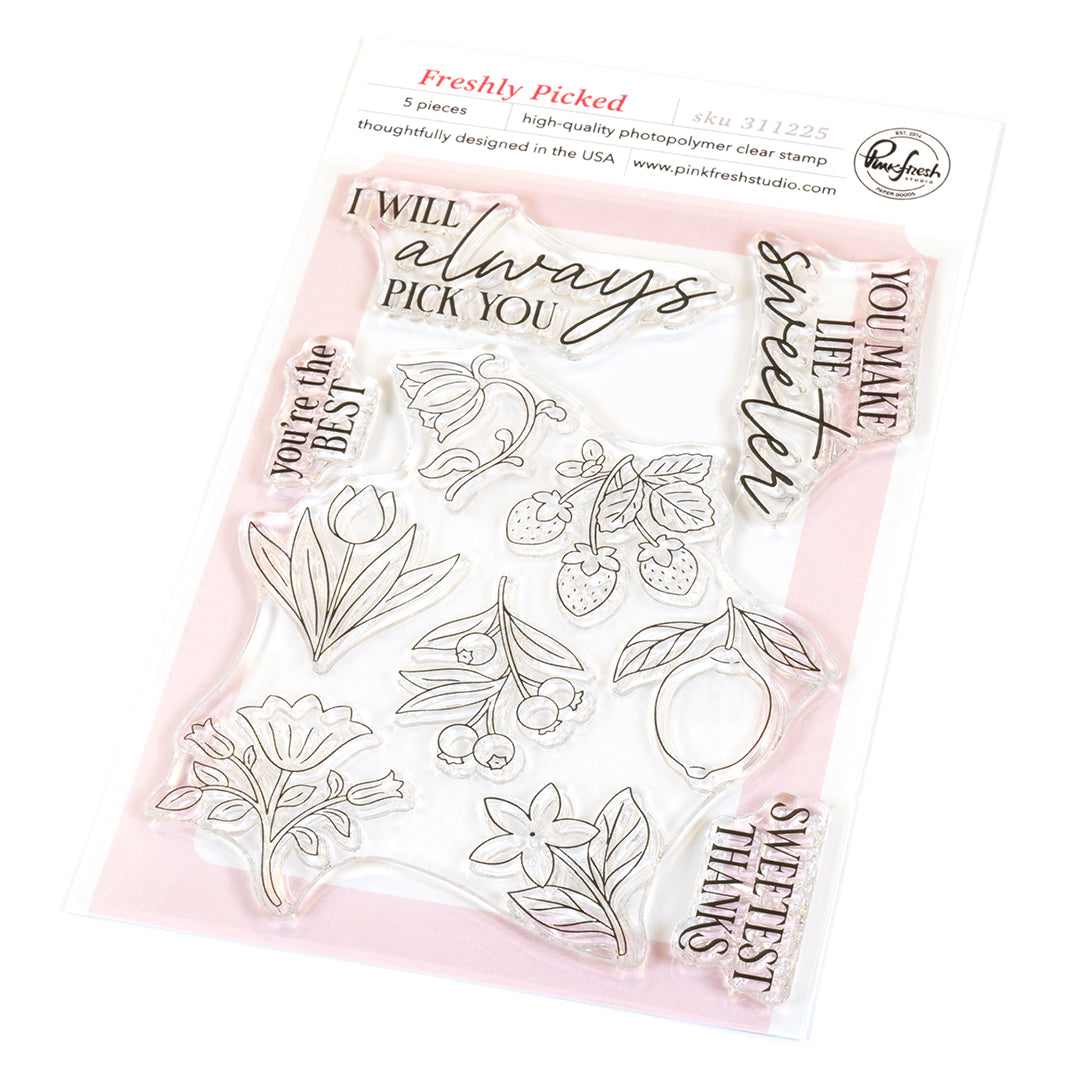
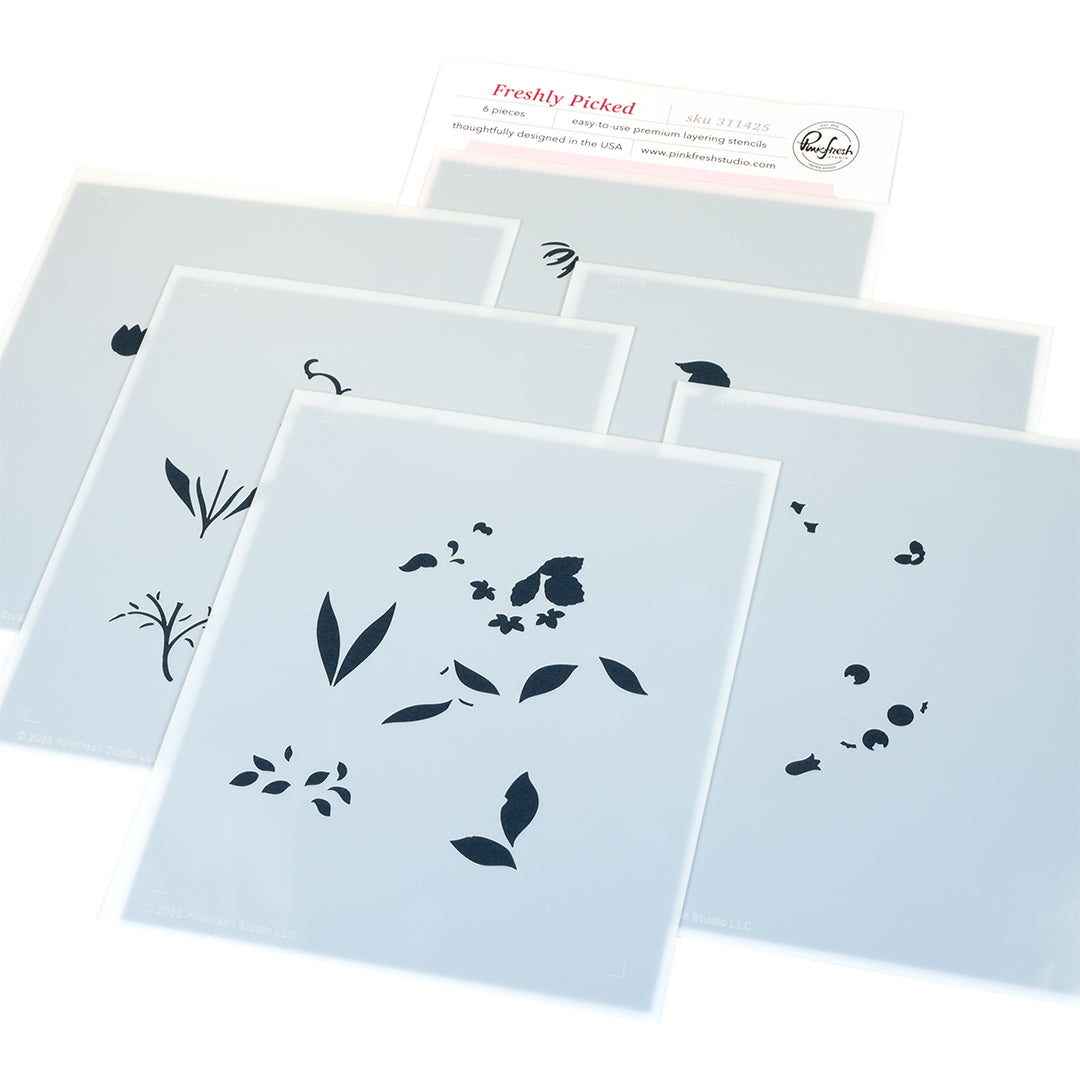
- Gold heat emboss the Freshly Picked stamp images and color them using the coordinating stencils in following colors.
- Leaves: Citron, Grassy Knoll, Eucalyptus
- Blue flowers: Summer Shower
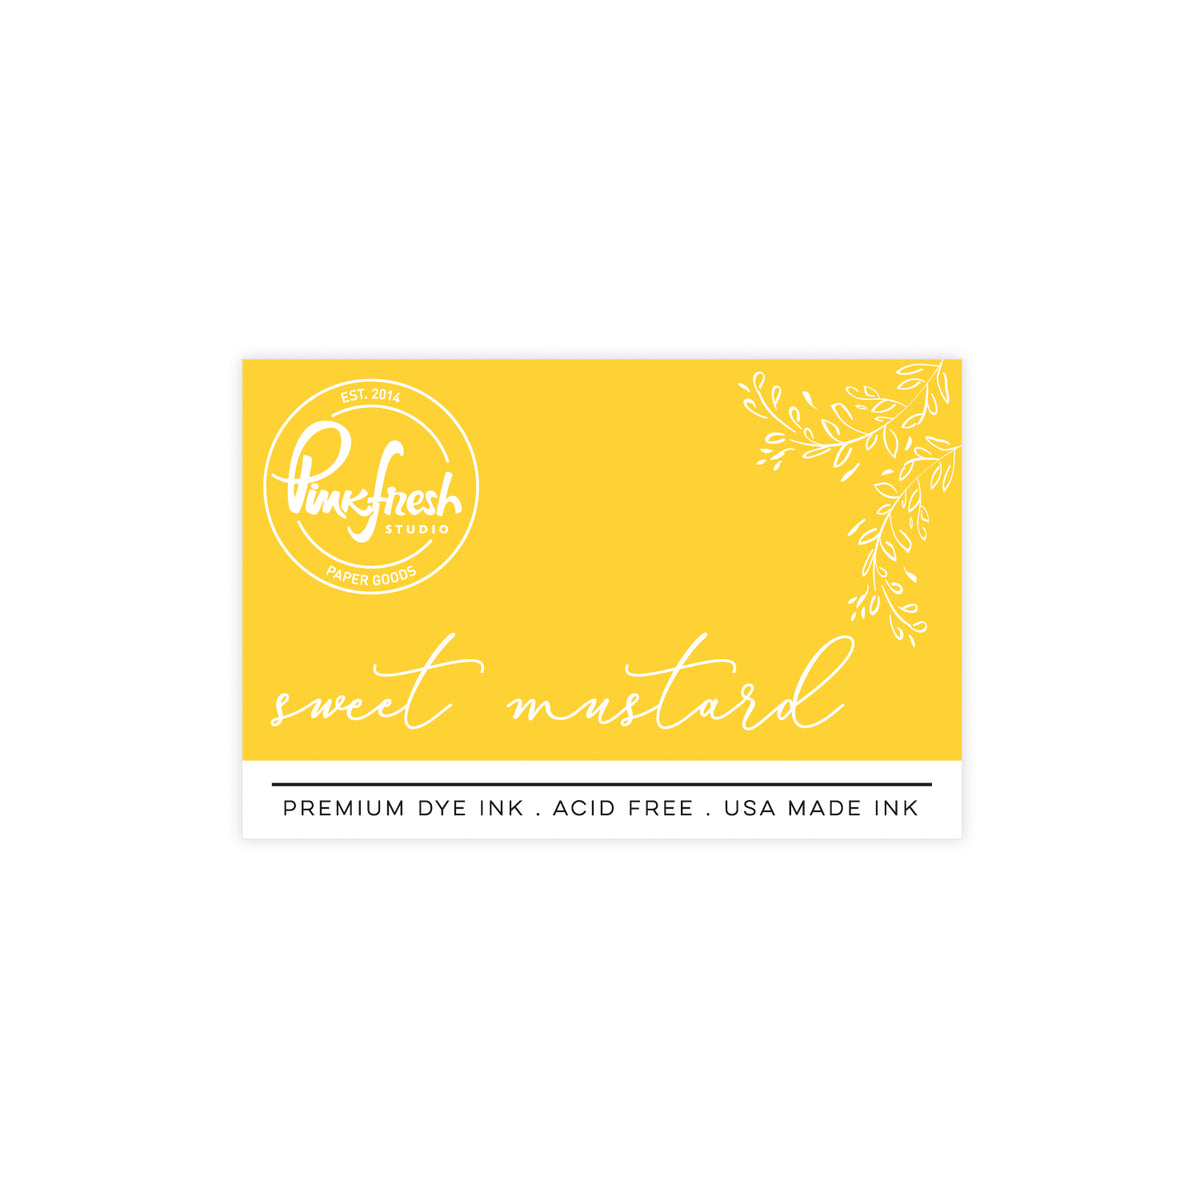
- Pink flowers: Sparkling Rose, Bubble Gum, Sweet Mustard (center of the flower)
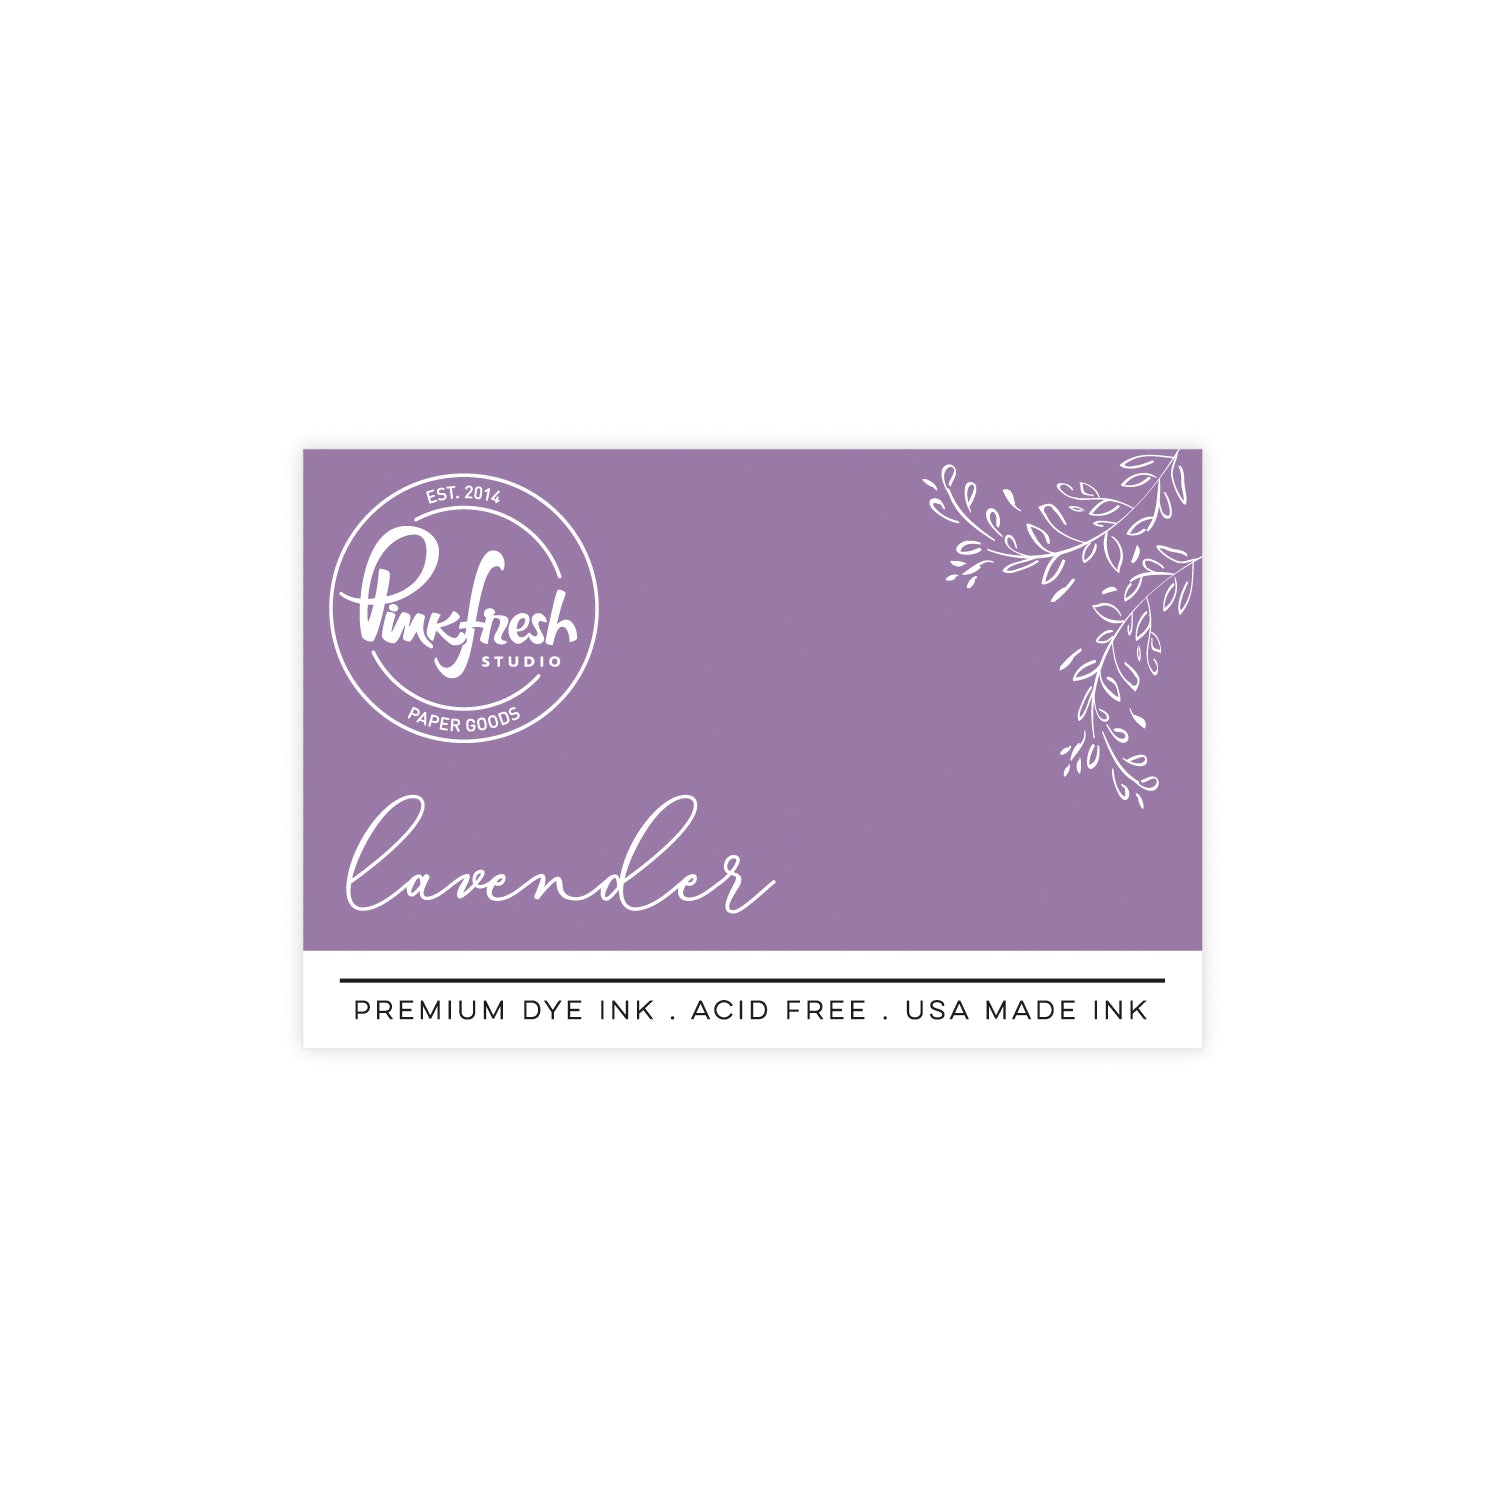
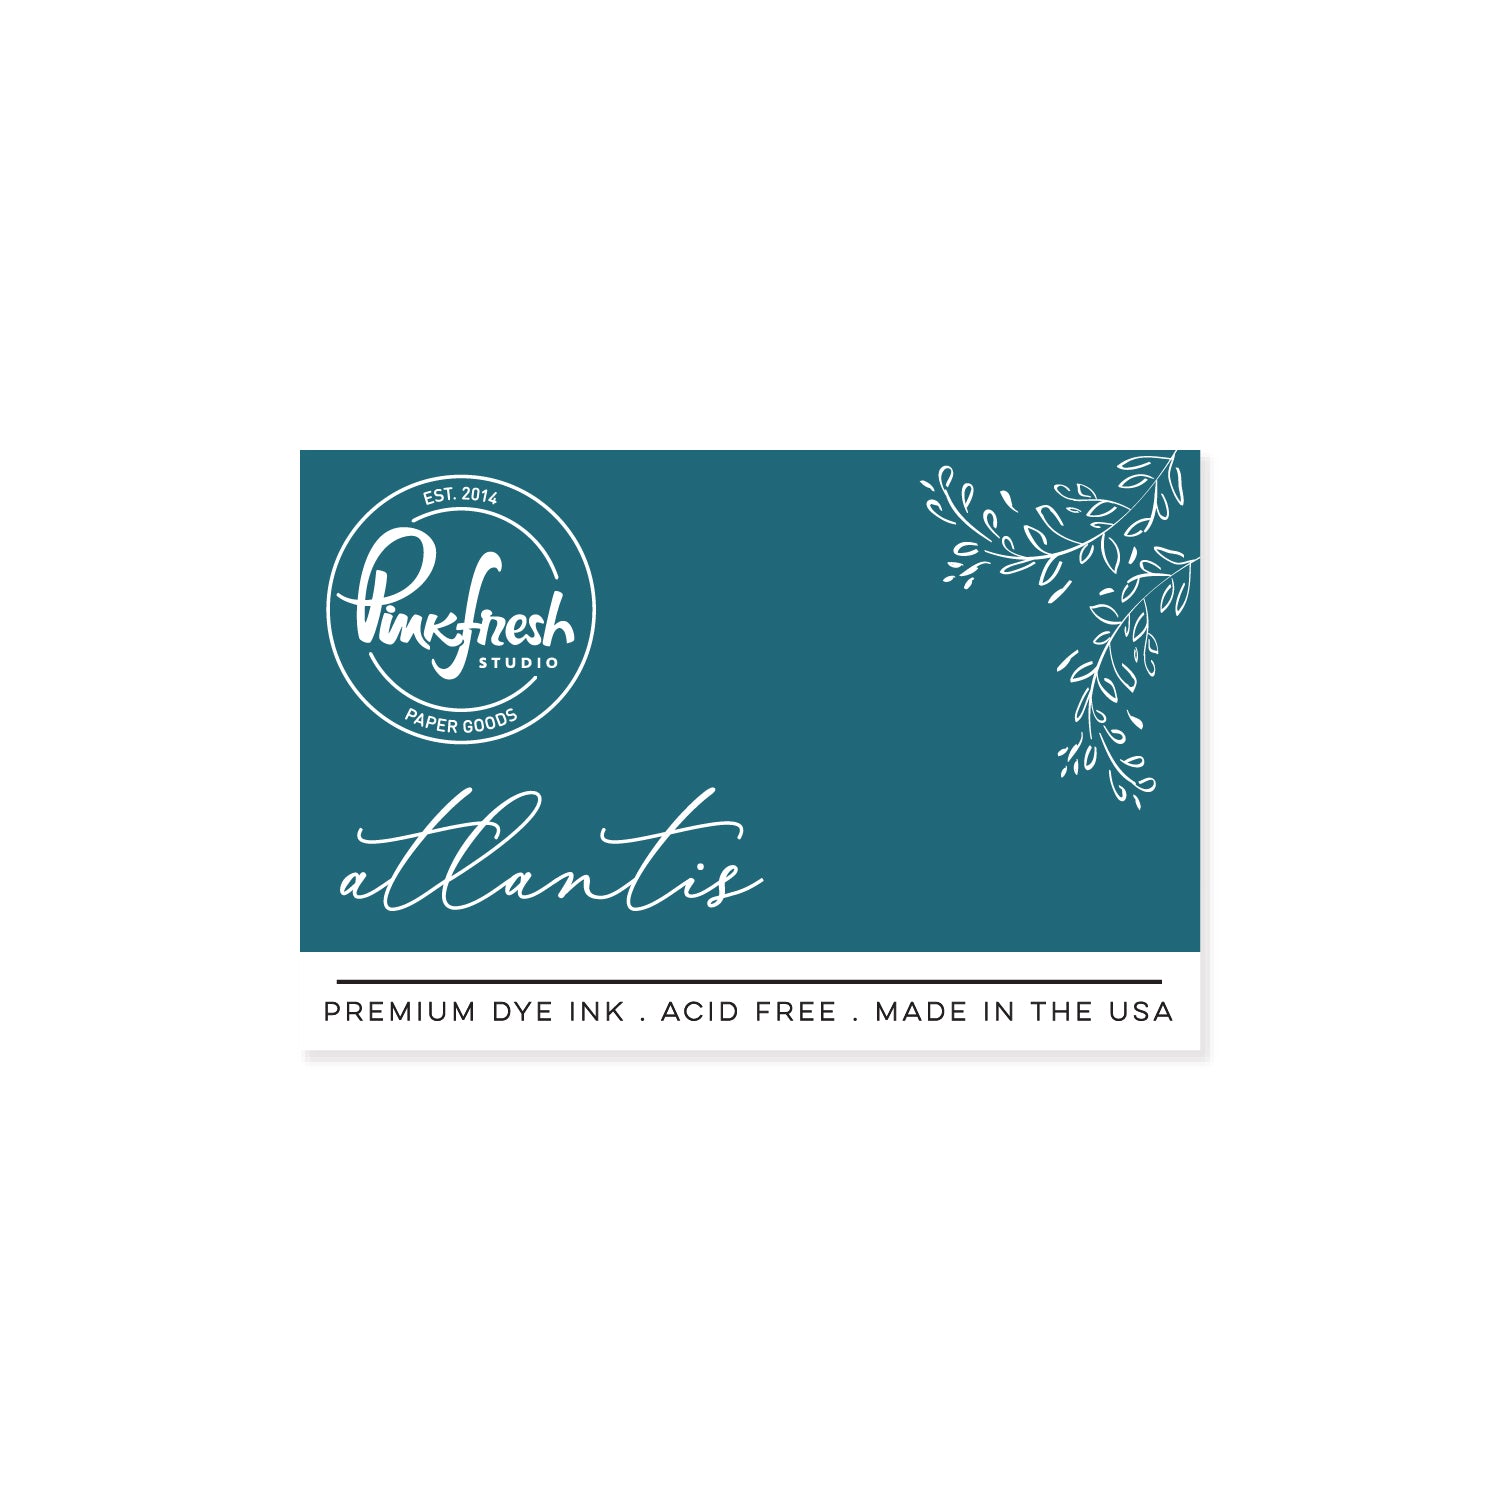
- Berries: Lavender, Atlantis - Die cut the images with the coordinating die and set them aside.
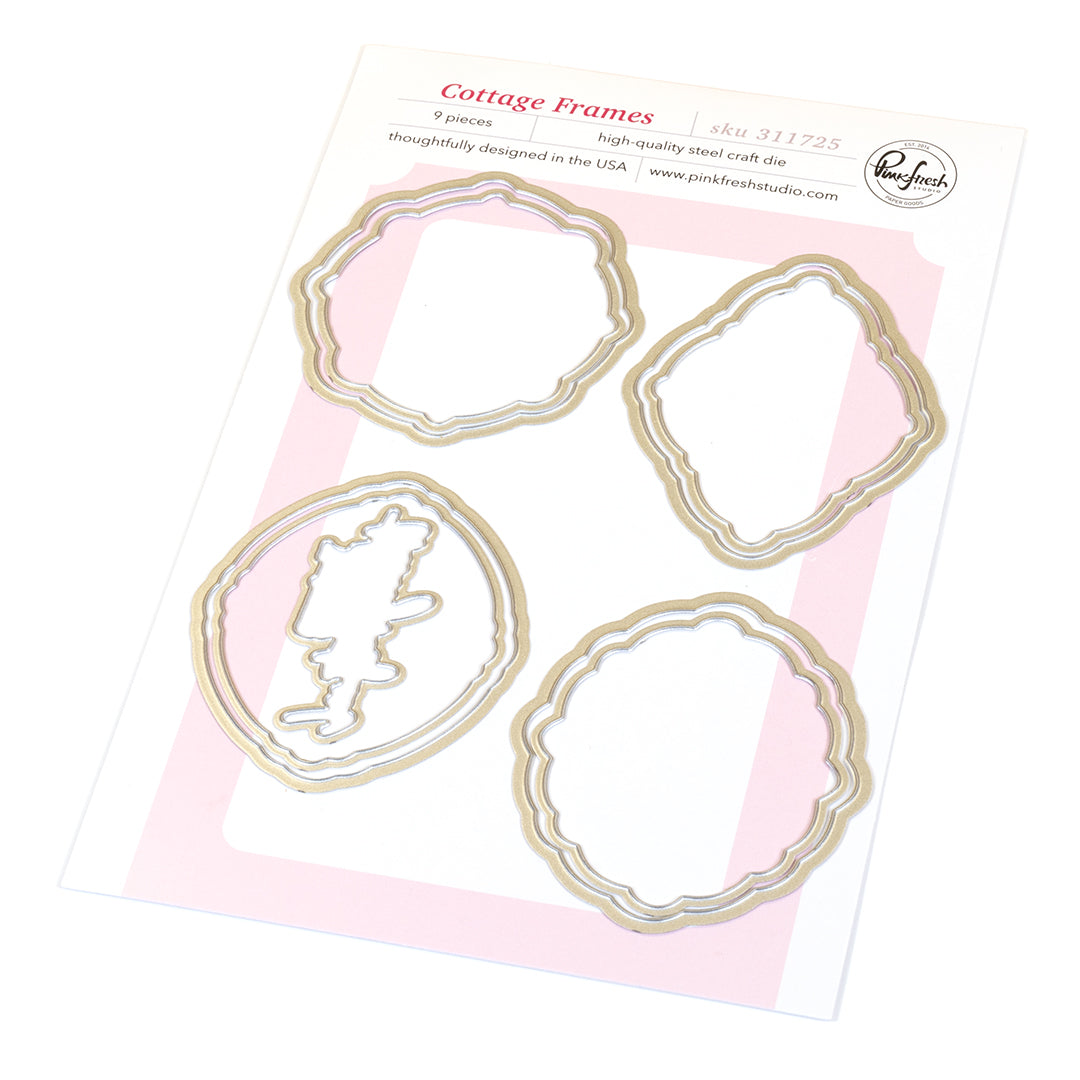
- Heat emboss one of the Cottage Frame images twice in gold as well and cut them with the coordinating die.
- For the watercolor backgrounds, cut mixed media paper twice into 3" x 6" panels (Mini Slimline size).
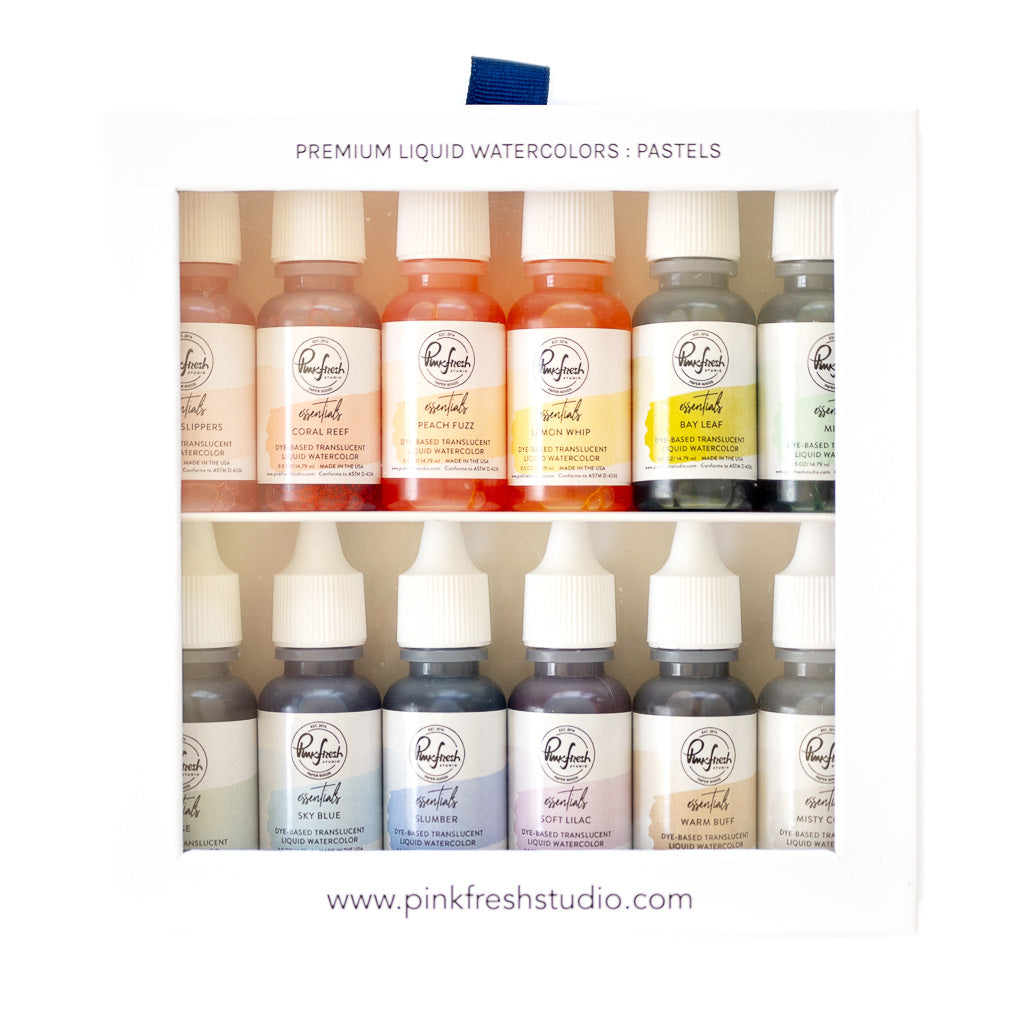
- Loosely watercolor each background panel using Premium Liquid Watercolors
- One in Bubble Gum
- The other in Sky Blue and Lavender.
Keep the colors moving diagonally across the panel. Dry between layers and continue adding color until you are happy with the intensity and blending. - Splatter Bubble Gum and Lavender watercolor onto each coordinating background panel for added accents.
- Once the panels are completely dry, die cut them using the Blanket Stitch Mini Slimline Rectangle die and foam mount them onto white mini slimline card bases.
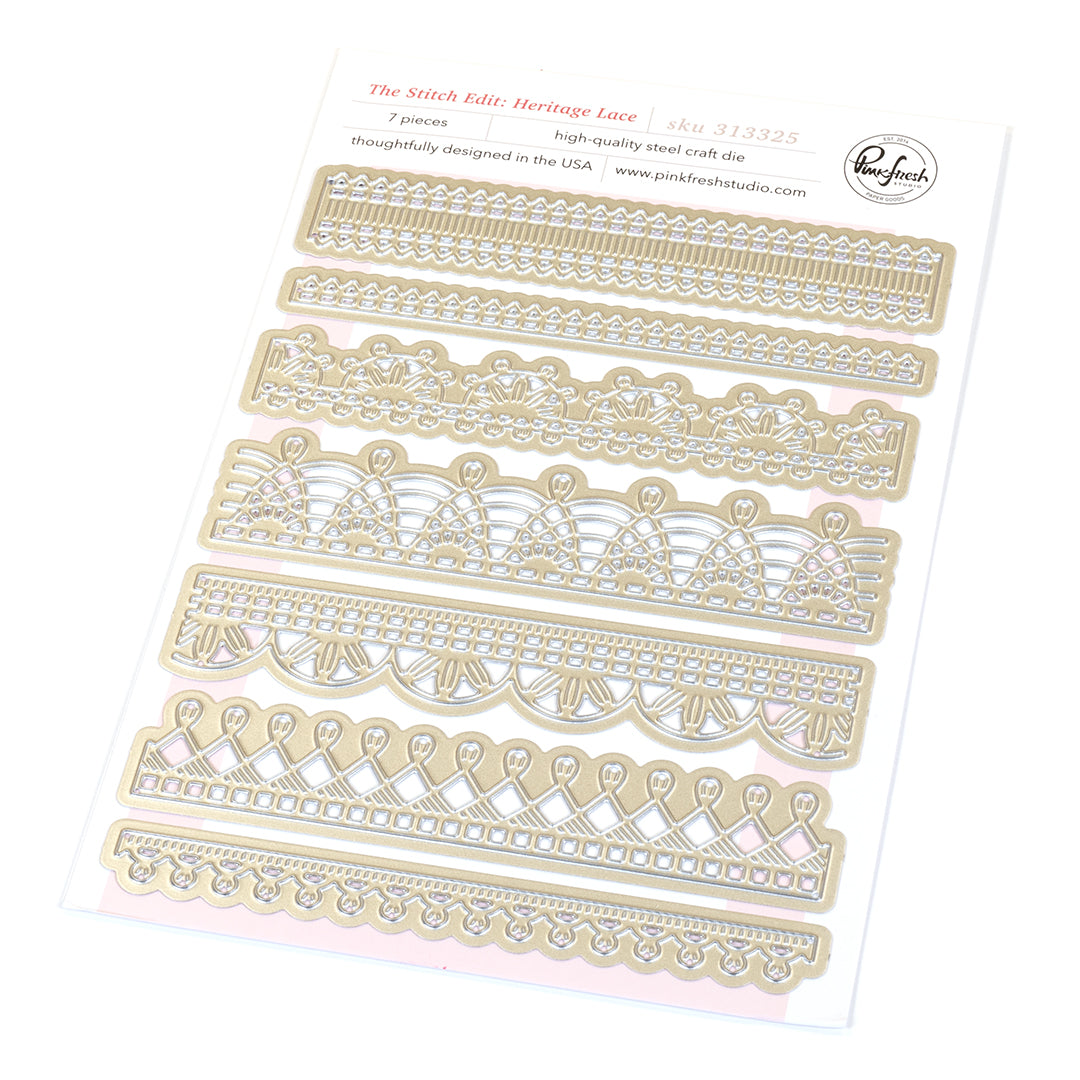
- Die cut The Stitch Edit:Heritage Lace from white cardstock and adhere them across the center of each background panel.
- Add two Freshly Picked floral images to each card using foam tape, positioning them over the watercolored areas as shown in pictures.
- Ink blend two small pieces of white cardstock — one in Sky Blue and the other in Sparkling Rose, then cut them using the larger base die from the Cottage Frames set.
- Stamp the sentiment from the Cottage Frames stamp set in Detail Black onto one of the gold embossed Cottage Frames. Layer it onto the Sky Blue ink-blended frame and adhere it to the purple-blue card.
- Press the sentiment from the Cottage Frames Press Plate set in Detail Black, die cut it with the coordinating die, and add three additional die cut layers behind it for dimension. Then, layer it onto the Sparkling Rose ink-blended base frame, and foam mount it to the pink card.
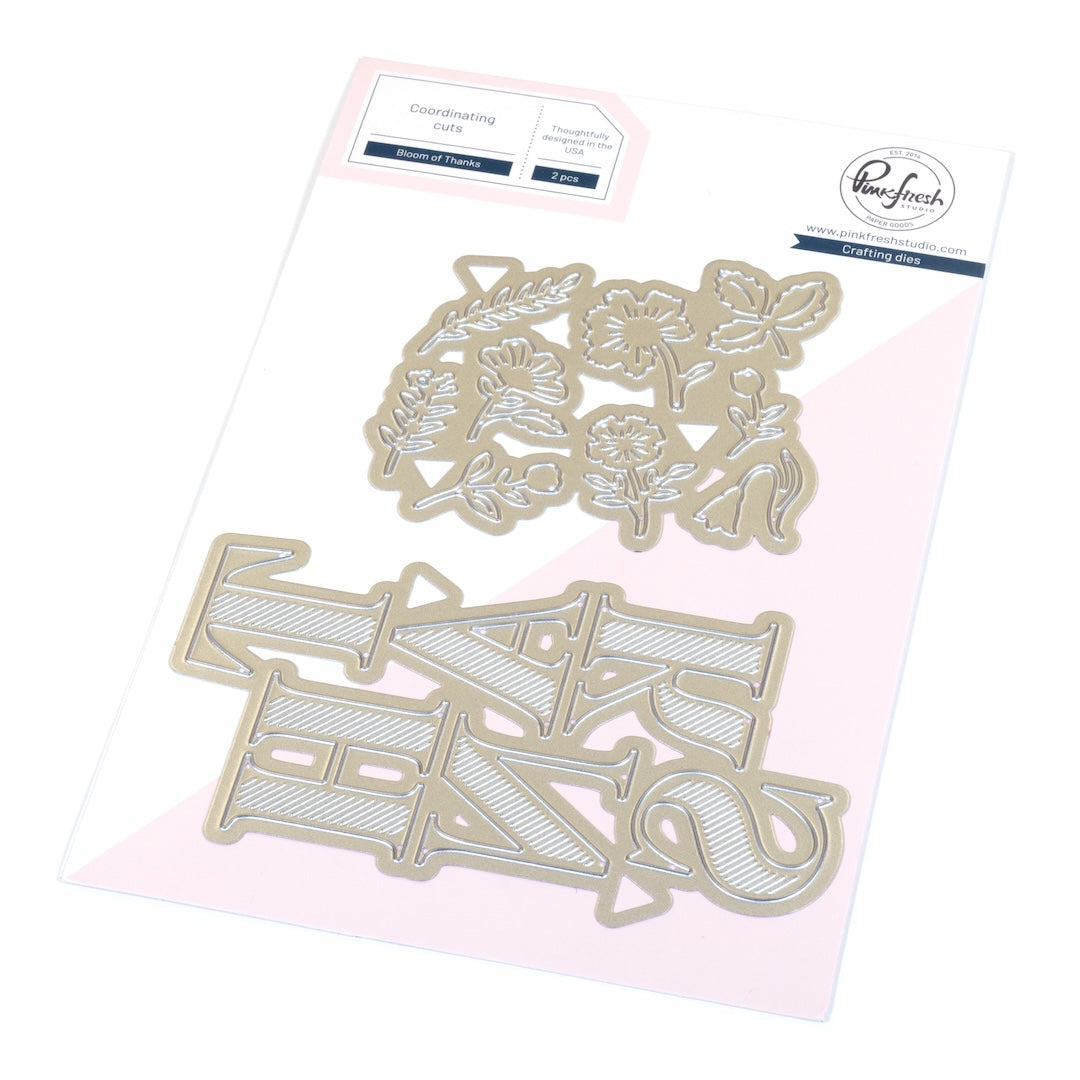
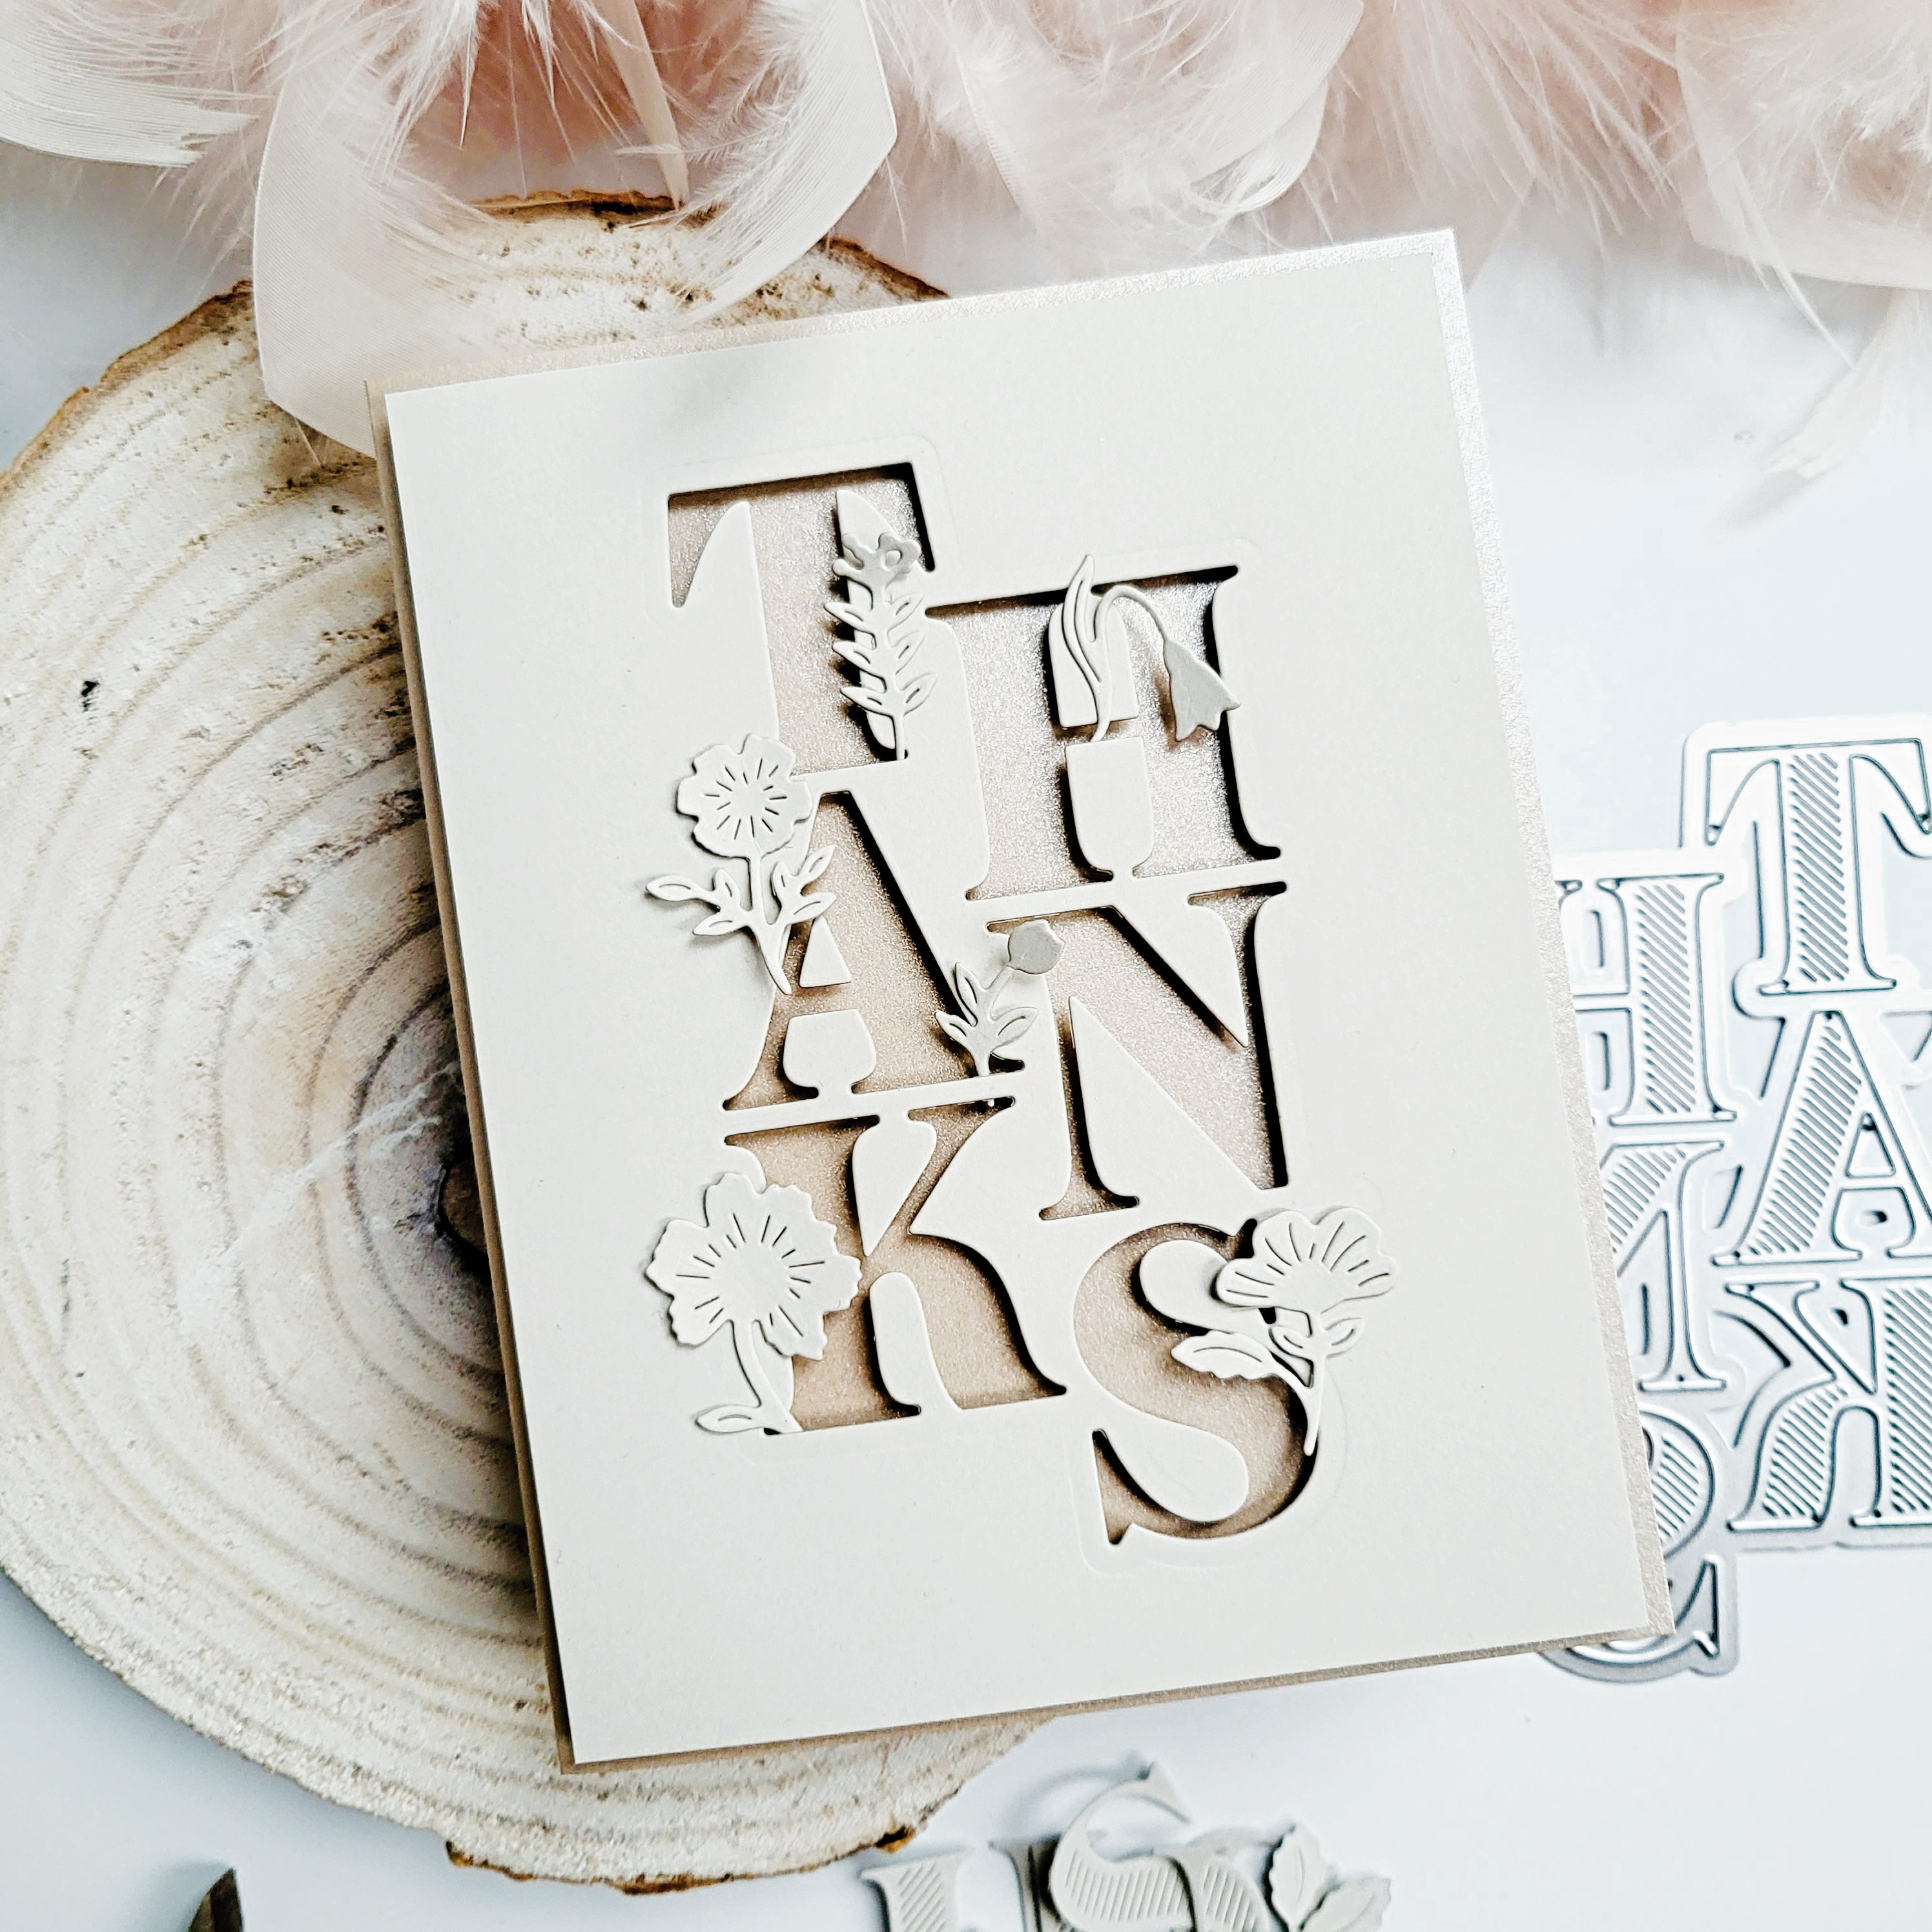
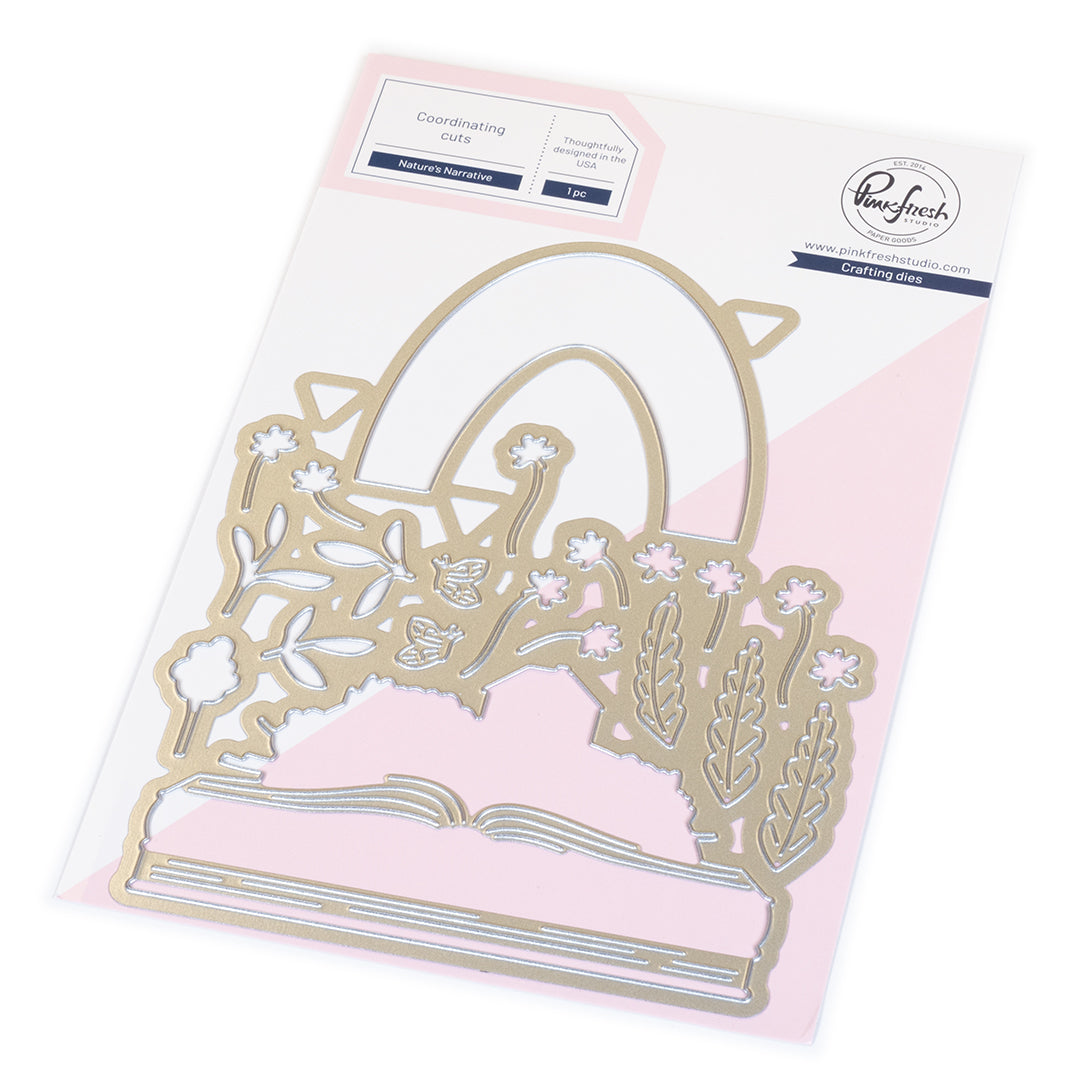
- Die cut small white floral elements using the Bloom of Thanks and Nature’s Narrative dies.
- Arrange the small floral elements around the Freshly Picked images to soften the composition and add visual movement.
- Finish the cards by scattering embellishments:
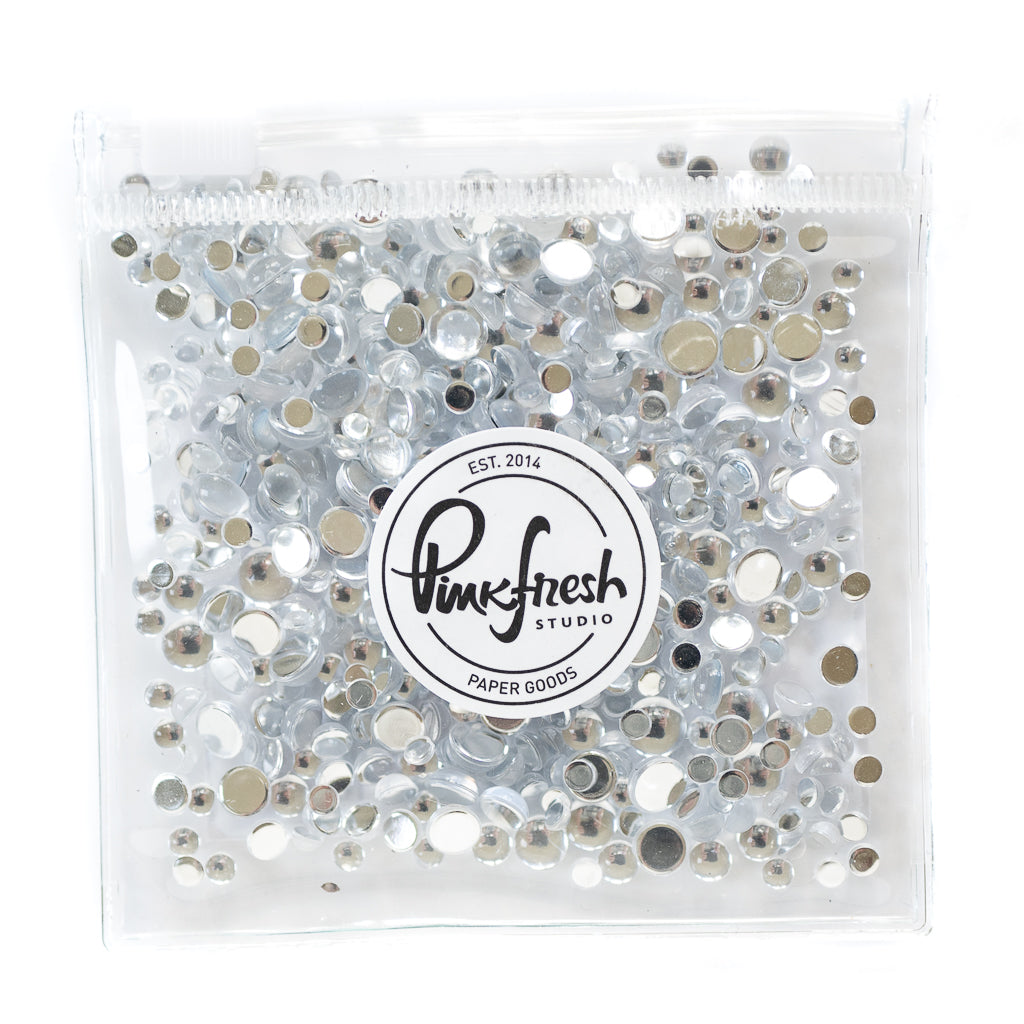
- Ice Clear Drops on the purple-blue card
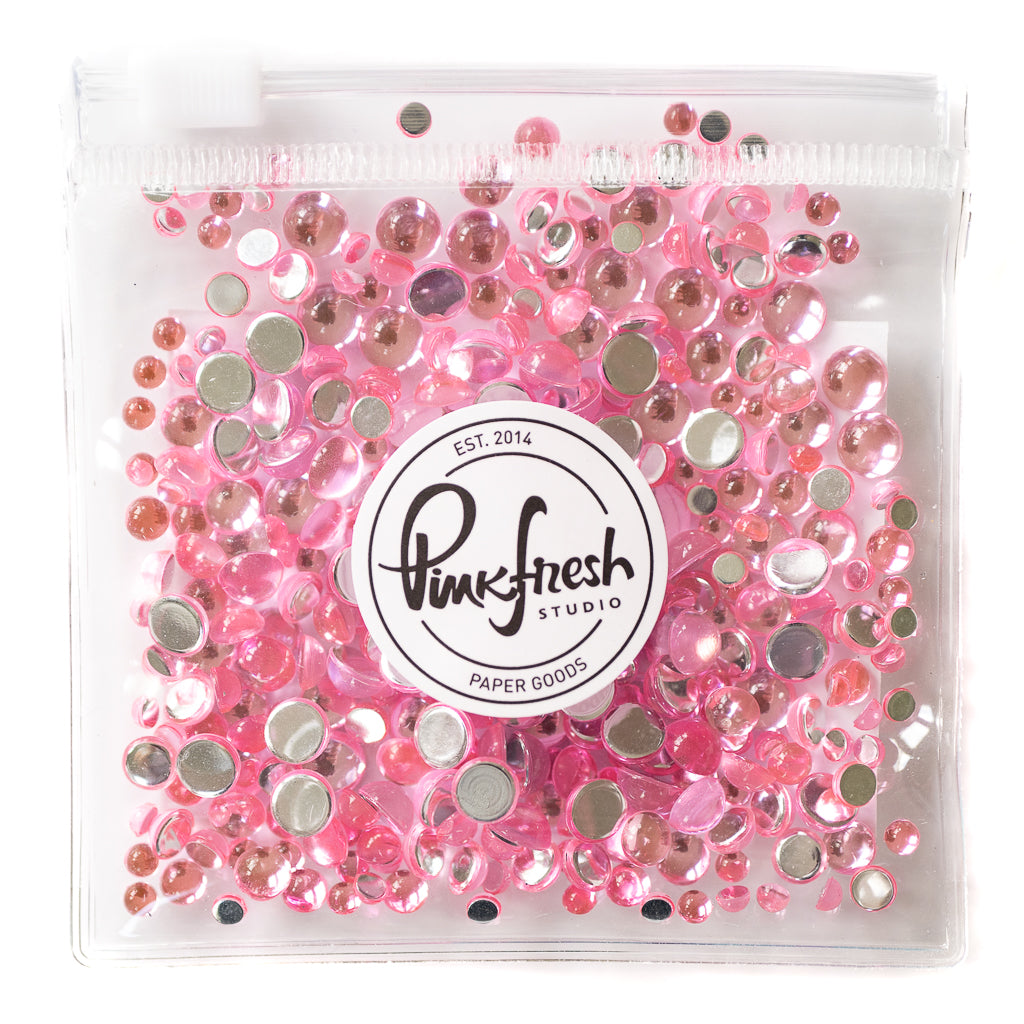
- Blush Clear Drops on the pink card


TIPS: When creating watercolor backgrounds, allow the color to develop gradually. Apply soft layers, dry thoroughly between applications, and continue building depth until you achieve a soft, natural flow.
If you’re looking to create multiple cards efficiently, keep the overall structure of your design consistent and vary the decorative elements instead. Mixing and matching the product suites allows you to produce a cohesive collection while giving each card its own distinct character.
Thank you so much for stopping by today!
Wishing you a crafty day!
TaeEun
Recommended Products








































Leave a comment
All comments are moderated before being published.
This site is protected by hCaptcha and the hCaptcha Privacy Policy and Terms of Service apply.