
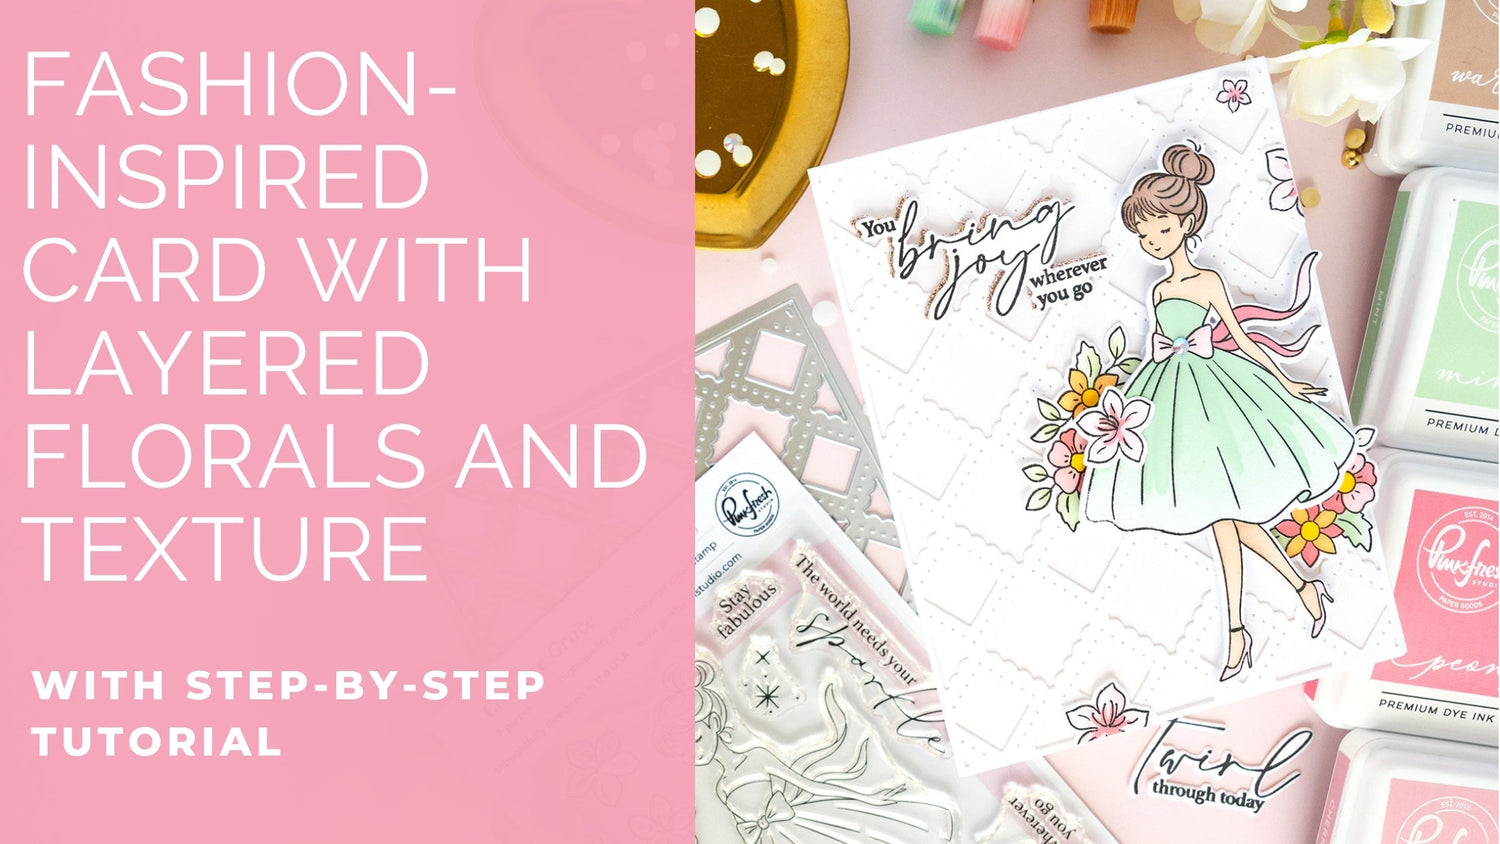
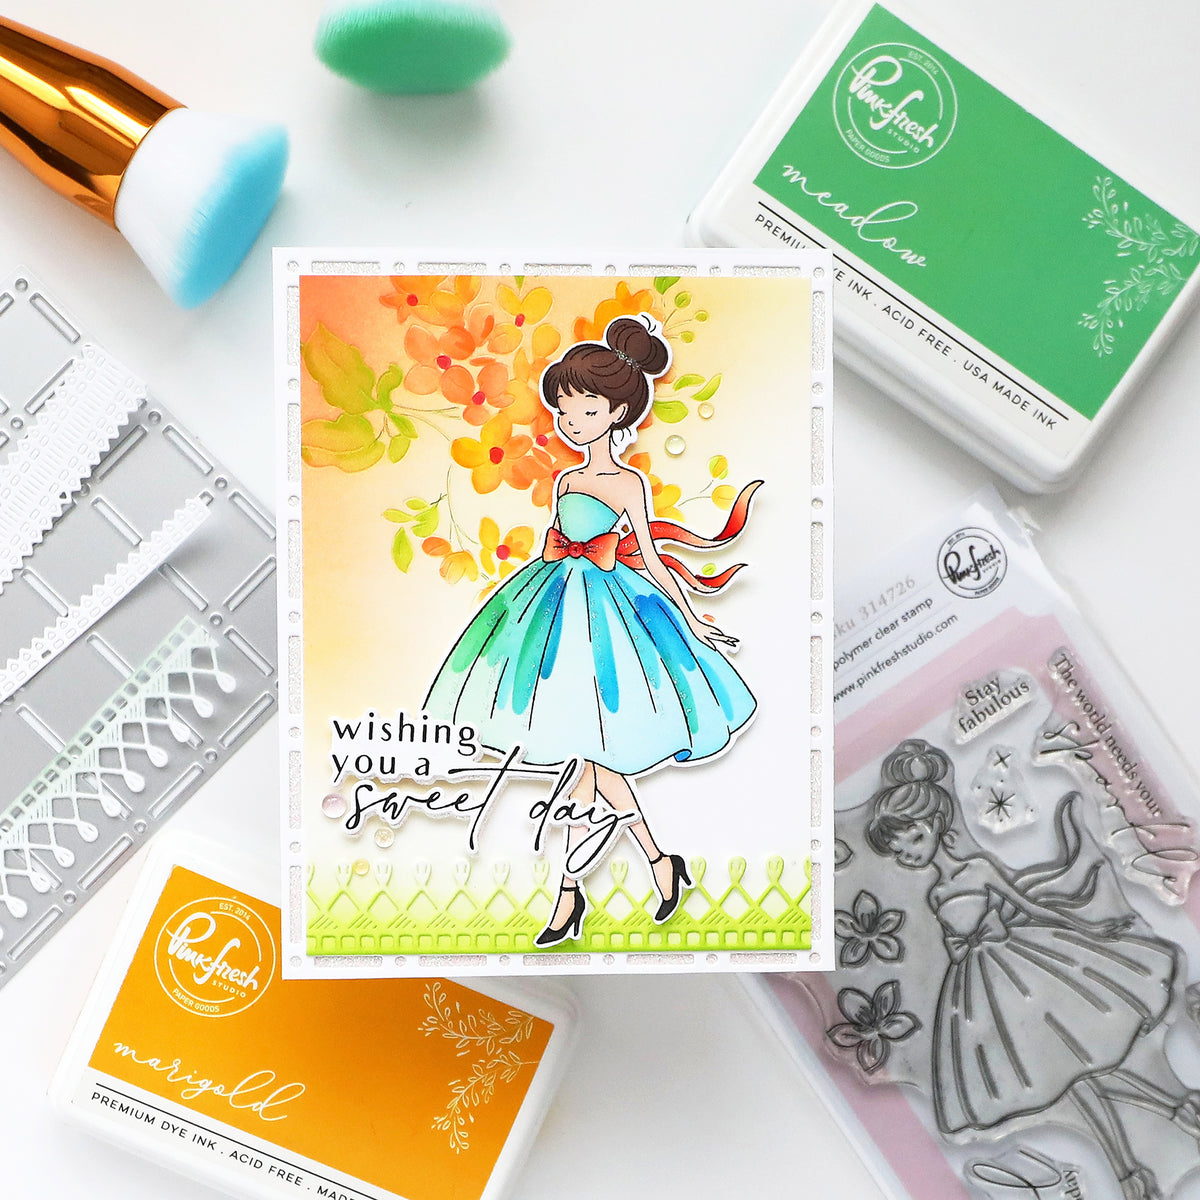
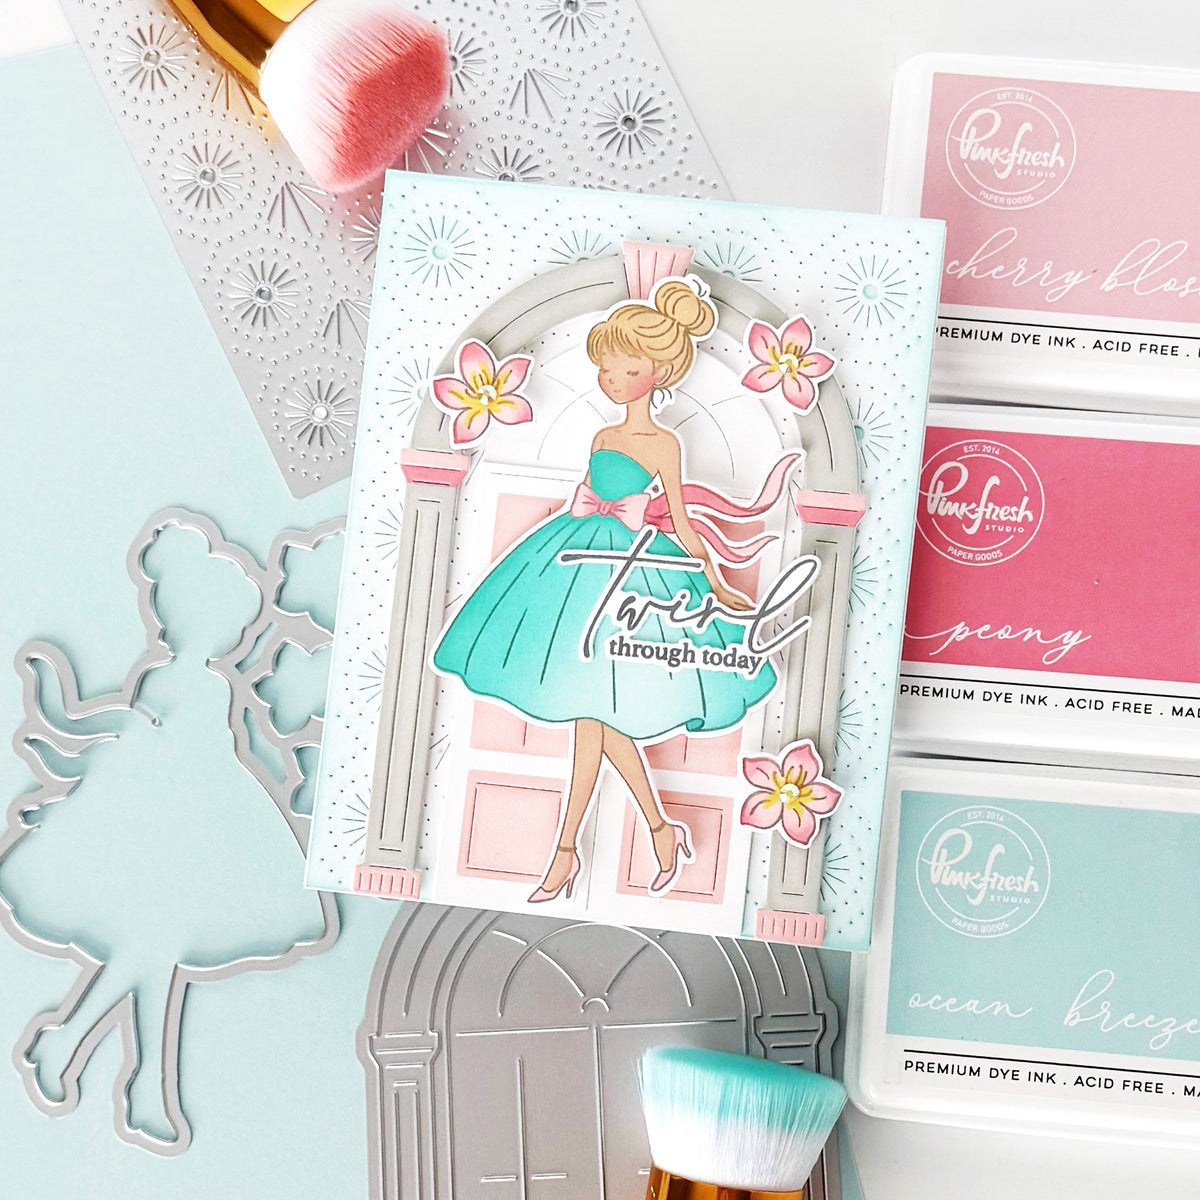
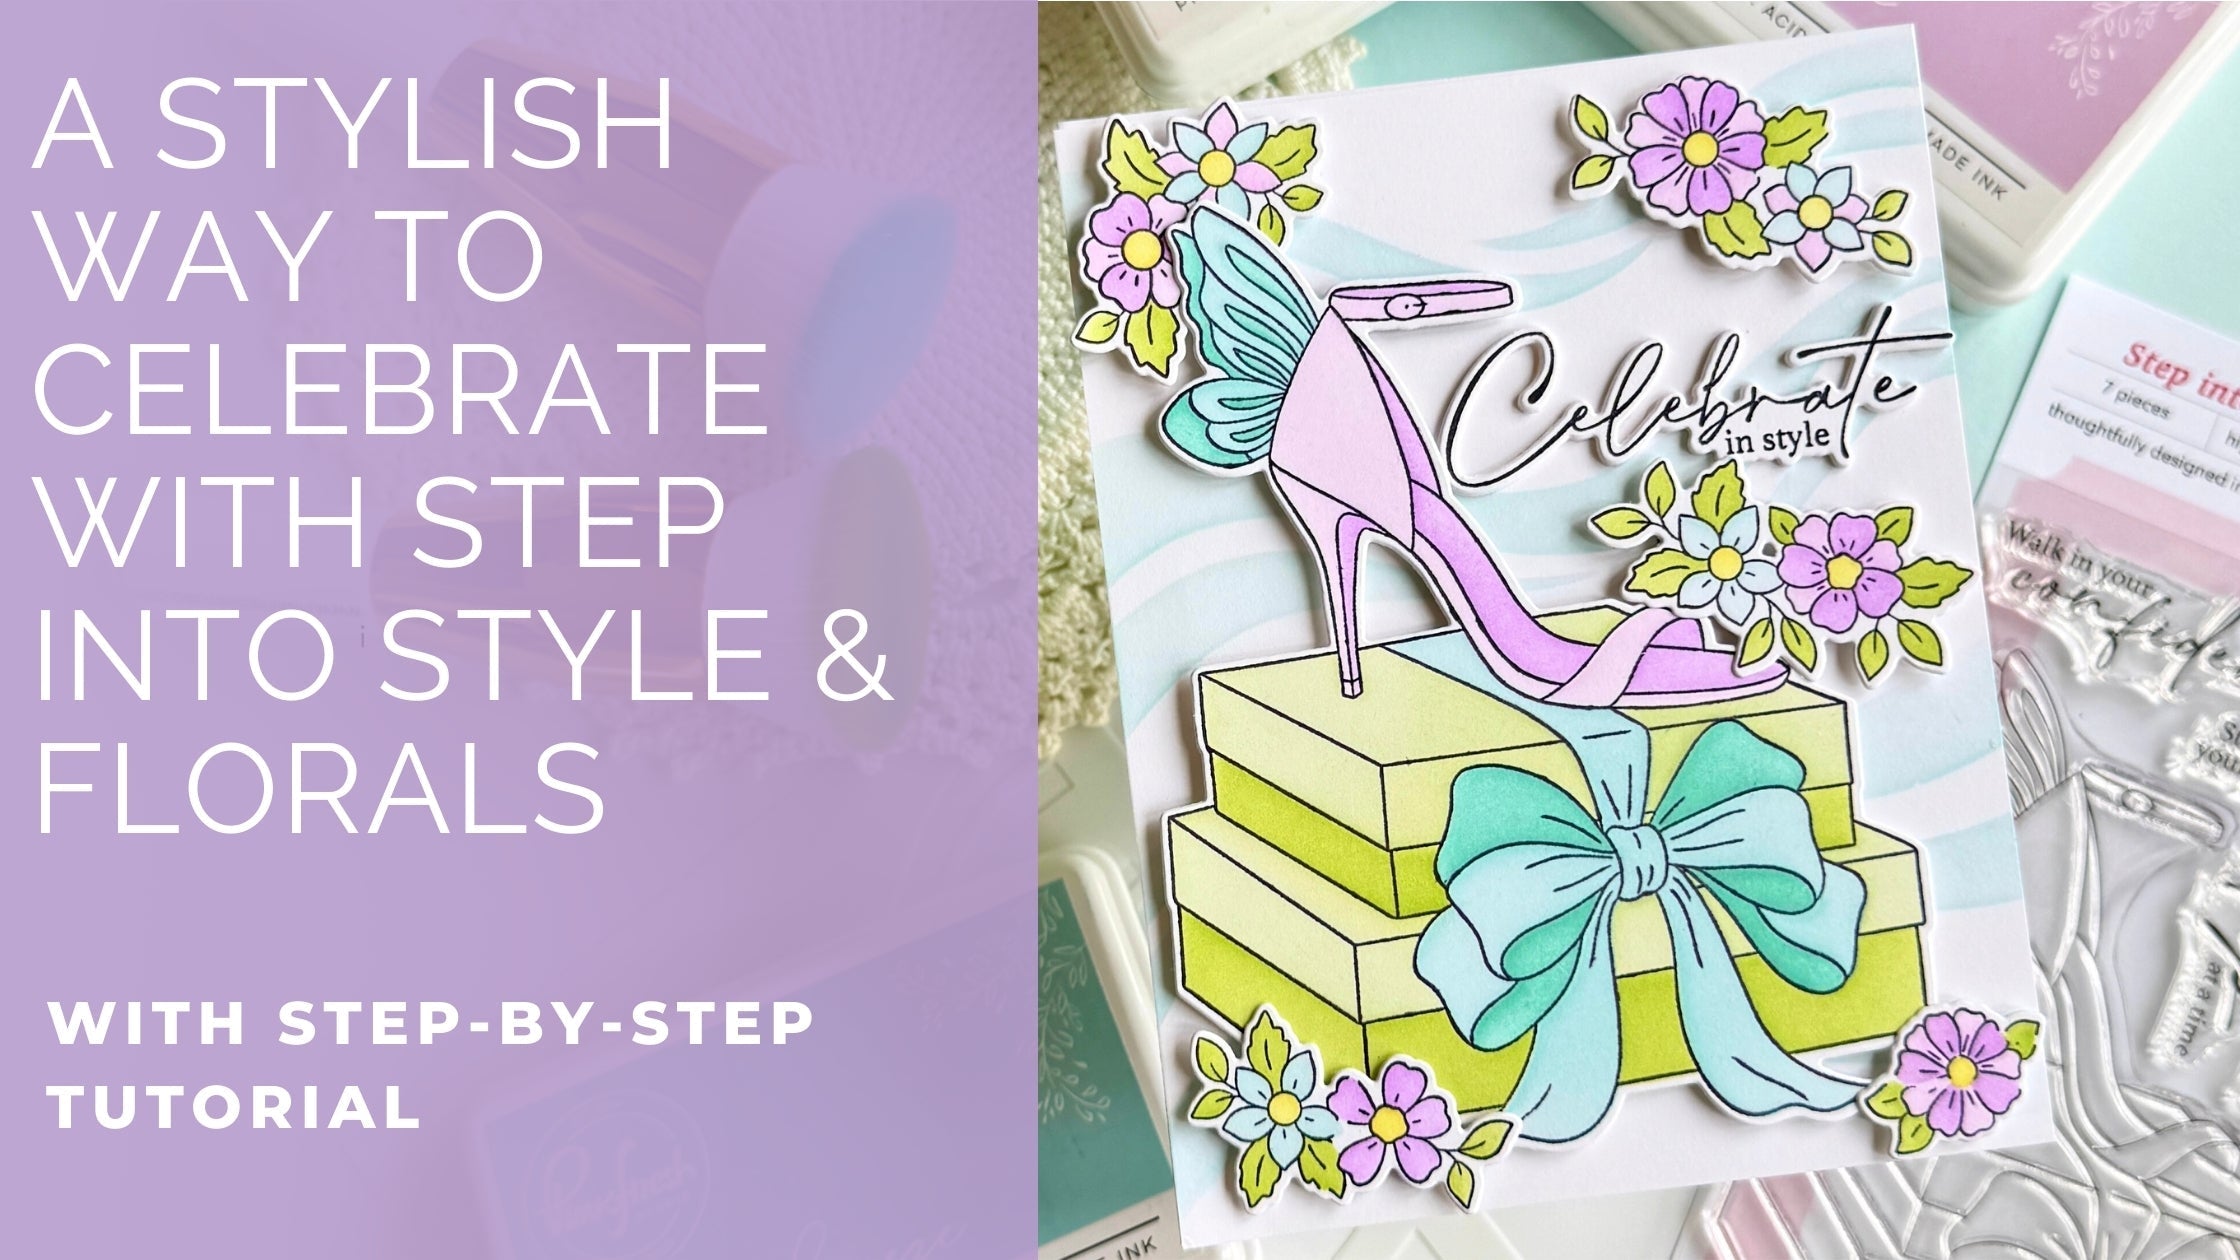
Happy Friday, Pinkfresh Studio fans! It's Kathleen here again with my first project using the gorgeous new The Couture Edit release! You might have already seen Carissa and me use the Couture Grace product suite in the Sneak Peek Live on YouTube (and if you haven't, make sure to check it out here), but I actually made two more cards with this darling set.
*Disclaimer: All products used are linked below as clickable images. If a product isn’t listed, it’s been discontinued.


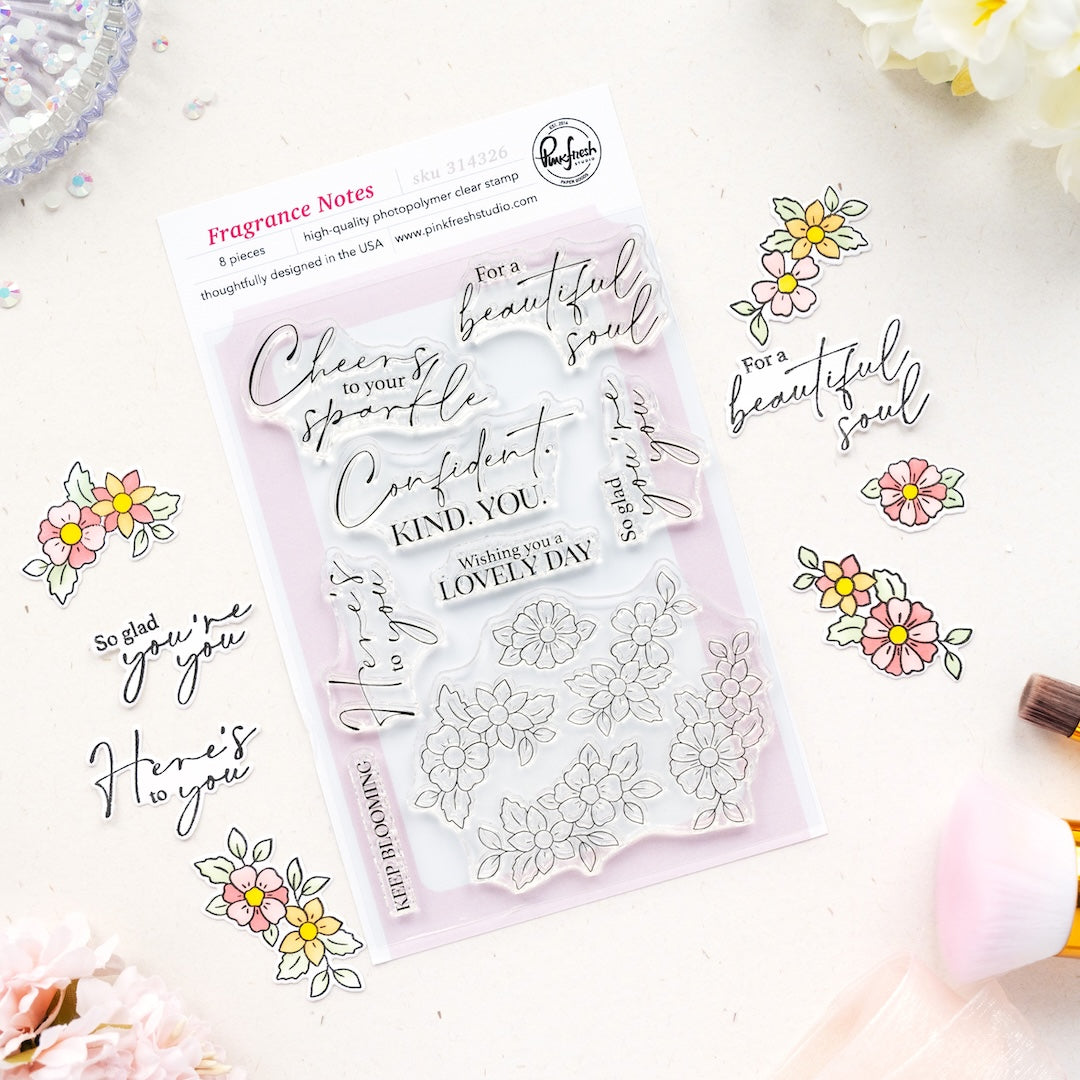
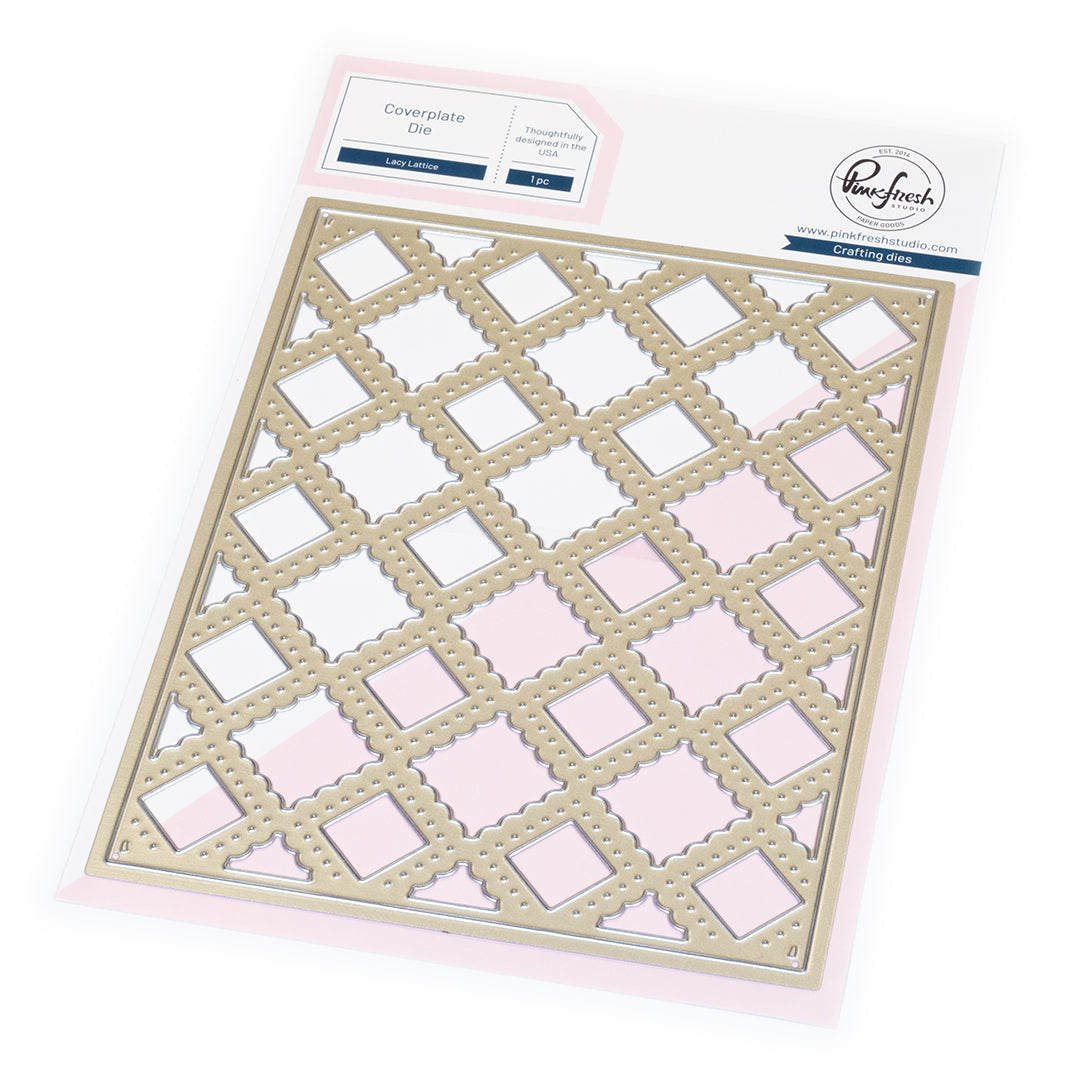
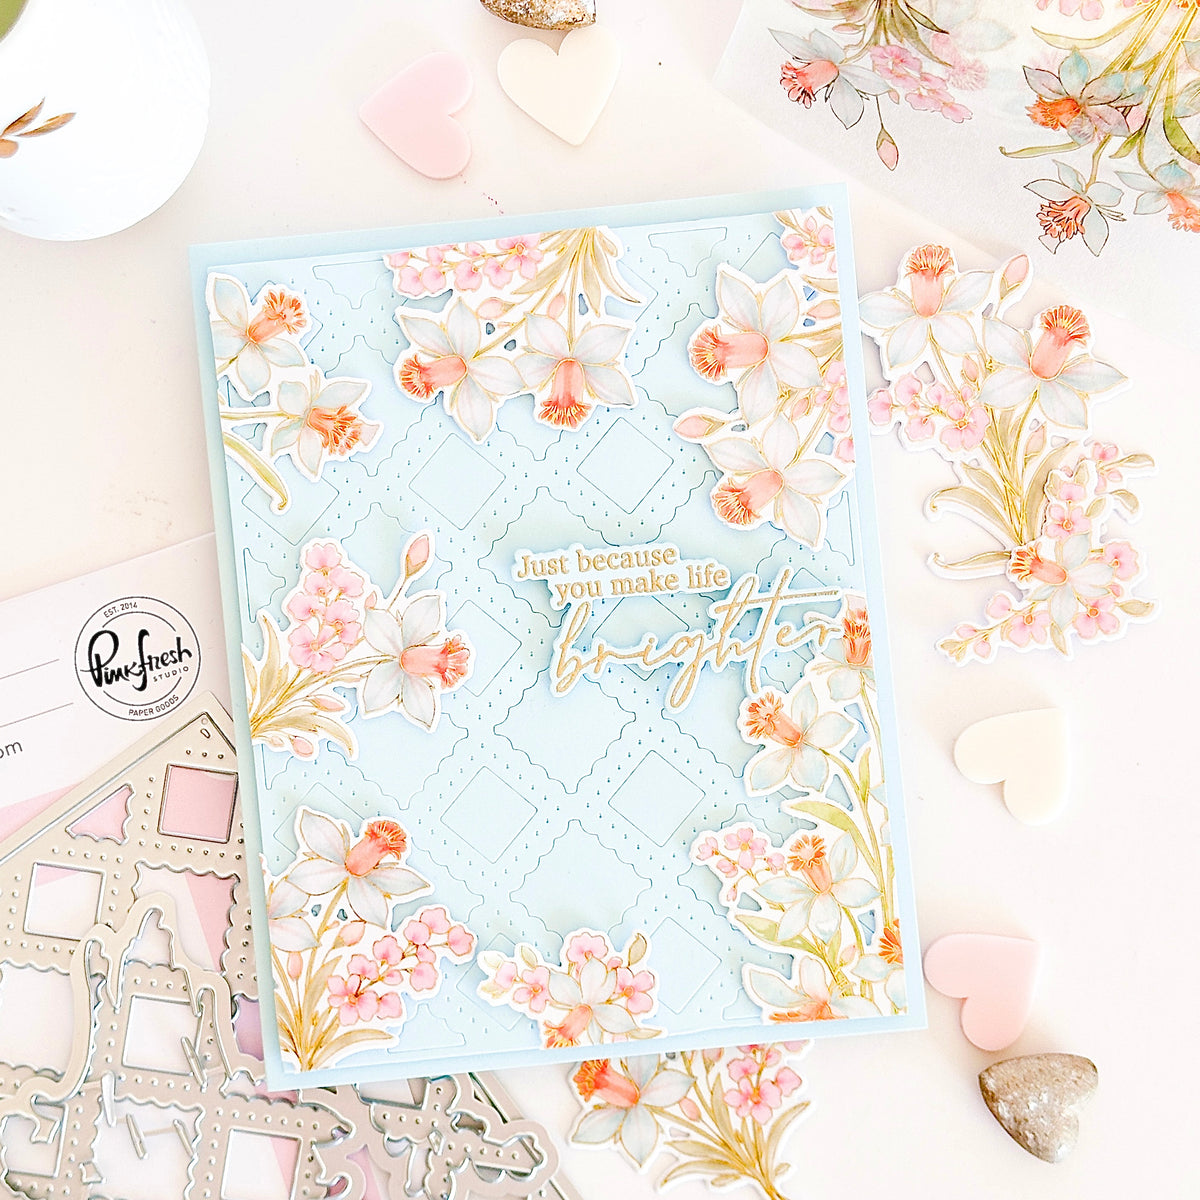
For this card I also pulled in some florals from the new Fragrance Notes product suite and one of my favorite coverplate die from recent months for a little bit of extra texture.
Let's see how I created this card:
-
Card Base & Panels:
- Cut and fold an A2 top-folding card base from white cardstock, then ink blend the front lightly with Cherry Blossom and a 1" blending brush.
- Cut (3) A2 panels from white cardstock. Die cut one of them with the Lacy Lattice coverplate die & adhere it to the card front.
-
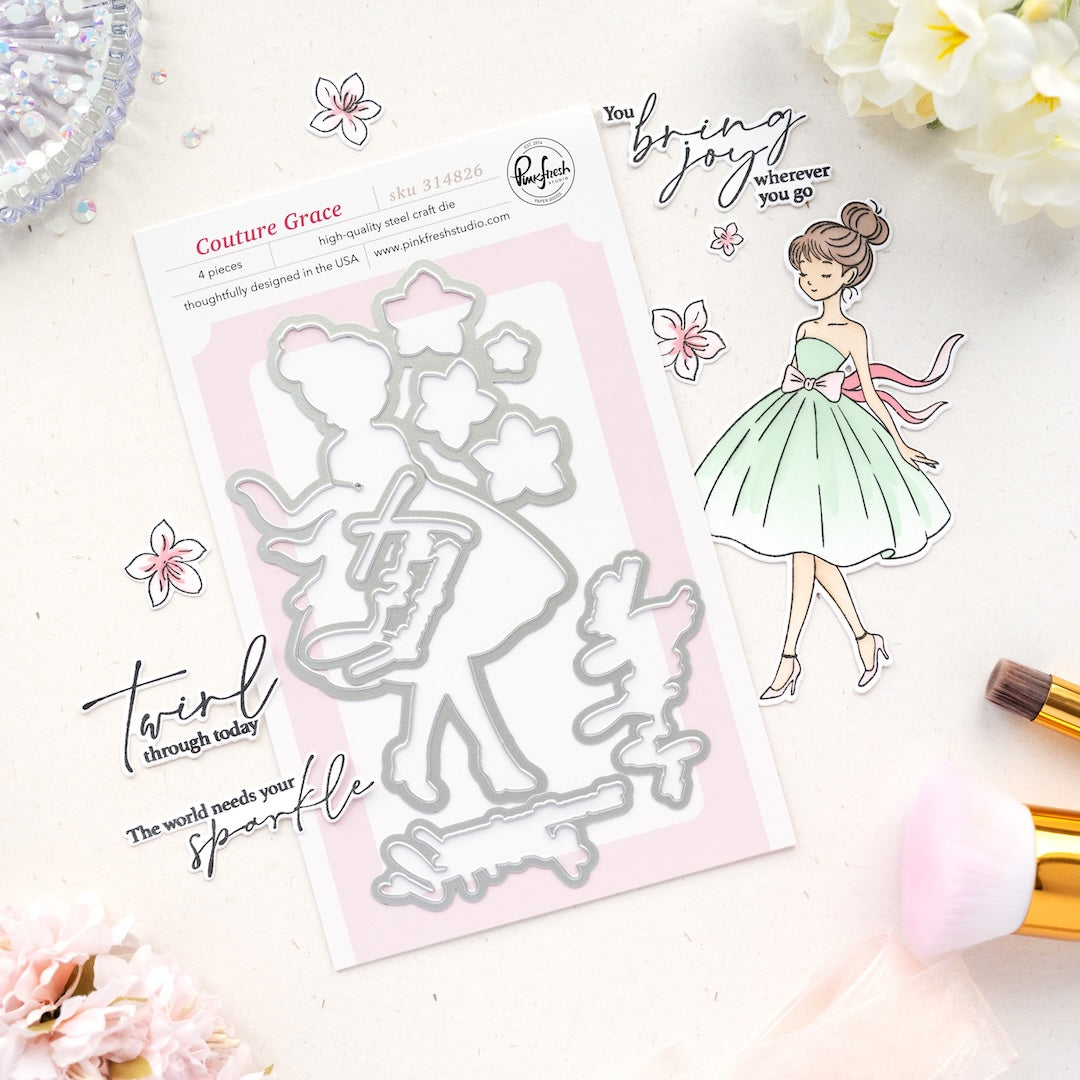
Couture Grace:
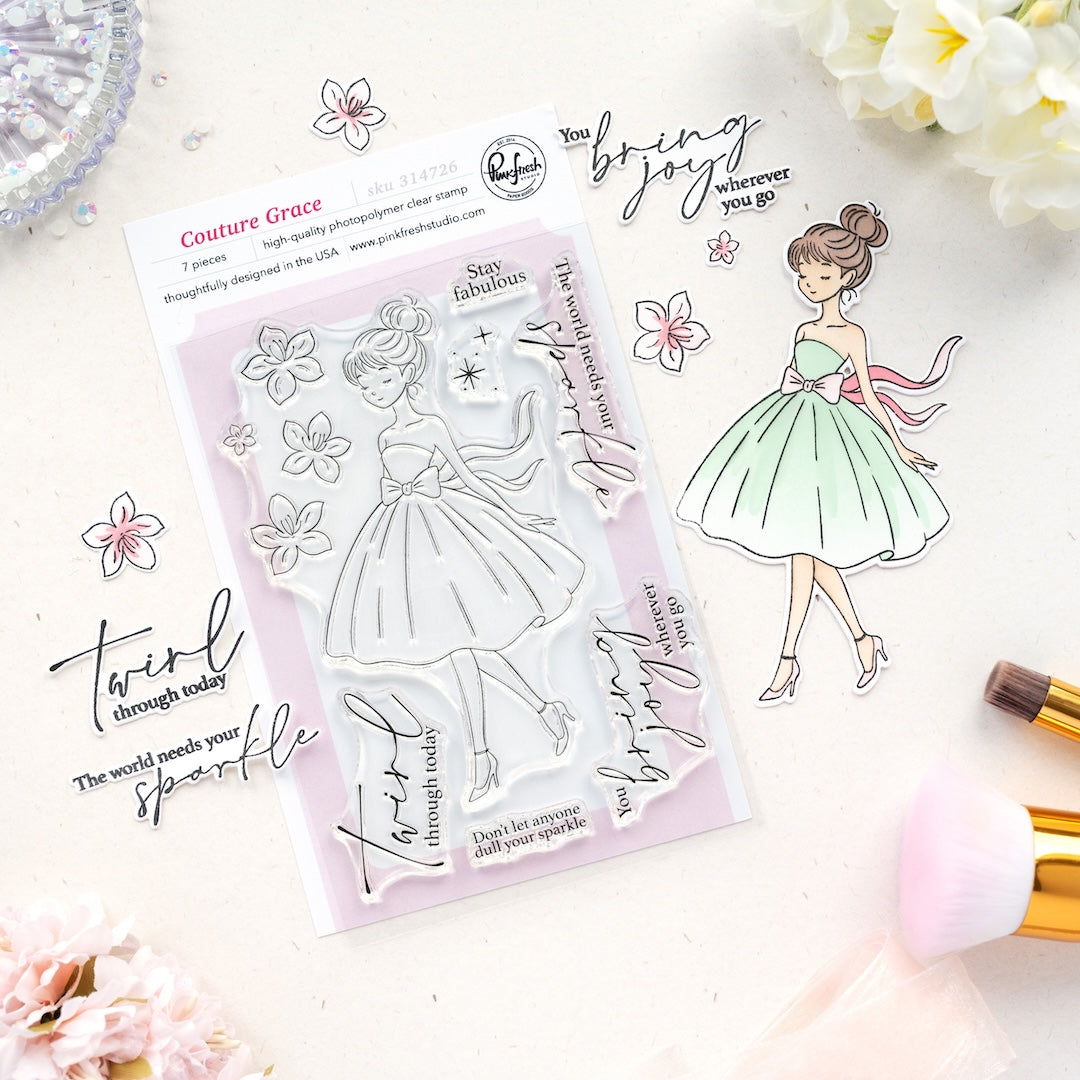
- On one of the other A2 panels, stamp the Couture Grace image in Detail Black. Tip: Let them dry completely or heat set the ink with a heat gun before ink blending to avoid ink smudging.
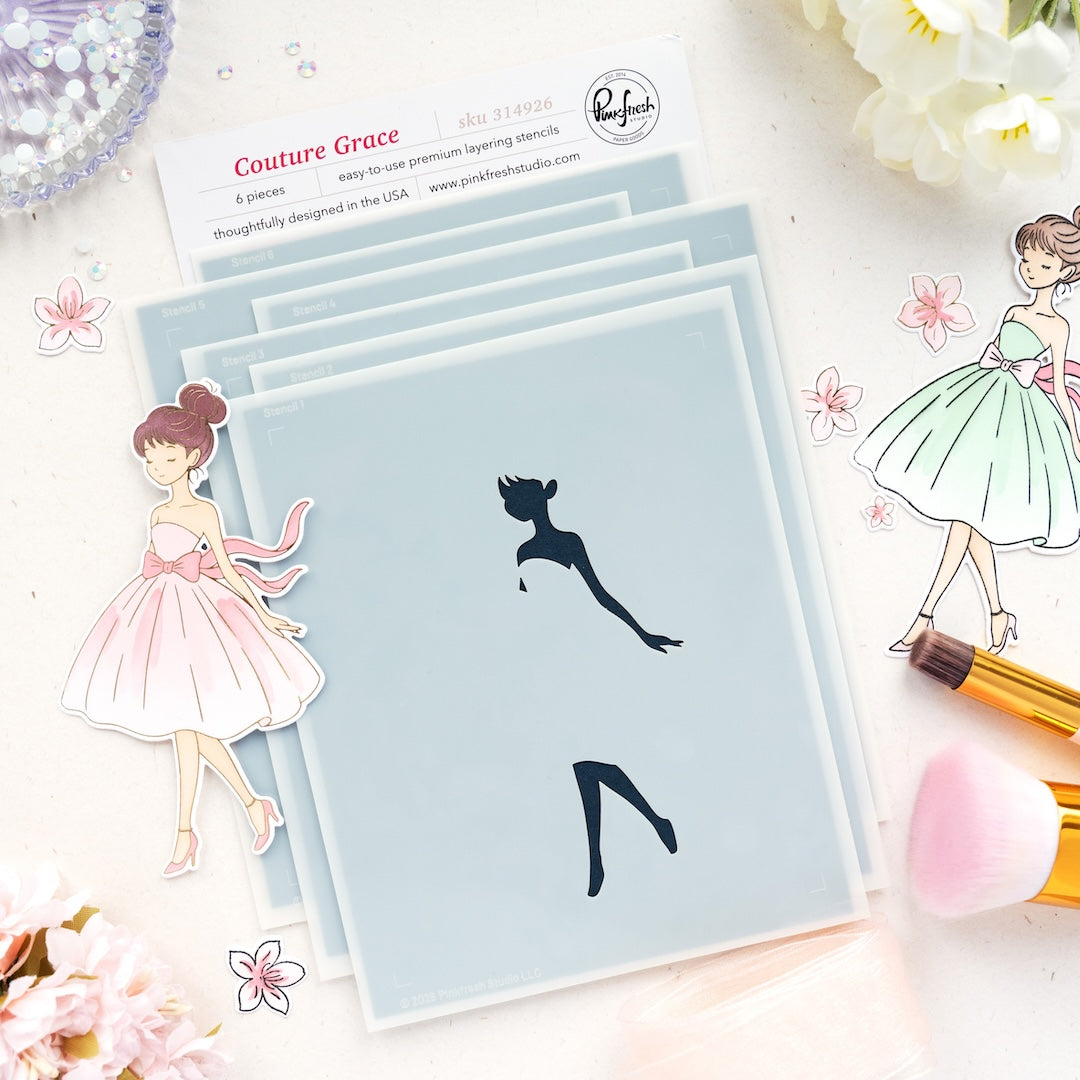
- Use the coordinating stencils to ink blend the Couture Grace image:
- Stencil 1: Warm Buff (very lightly) + Peach Fuzz
- Stencil 2: Doe
- Stencils 3-4: Mint (heavier on stencil 4)
- Stencil 5: Mint (dress; heavy); Cherry Blossom (rest)
- Stencil 6: Peony
- Die cut with the coordinating die.
-
Fragrance Notes:
- On one of the other A2 panels, stamp the Fragrance Notes image in Detail Black.
- Use the coordinating stencils to ink blend the Fragrance Notes image:
- Stencil 1: Marigold (top); Coral Reef (bottom)
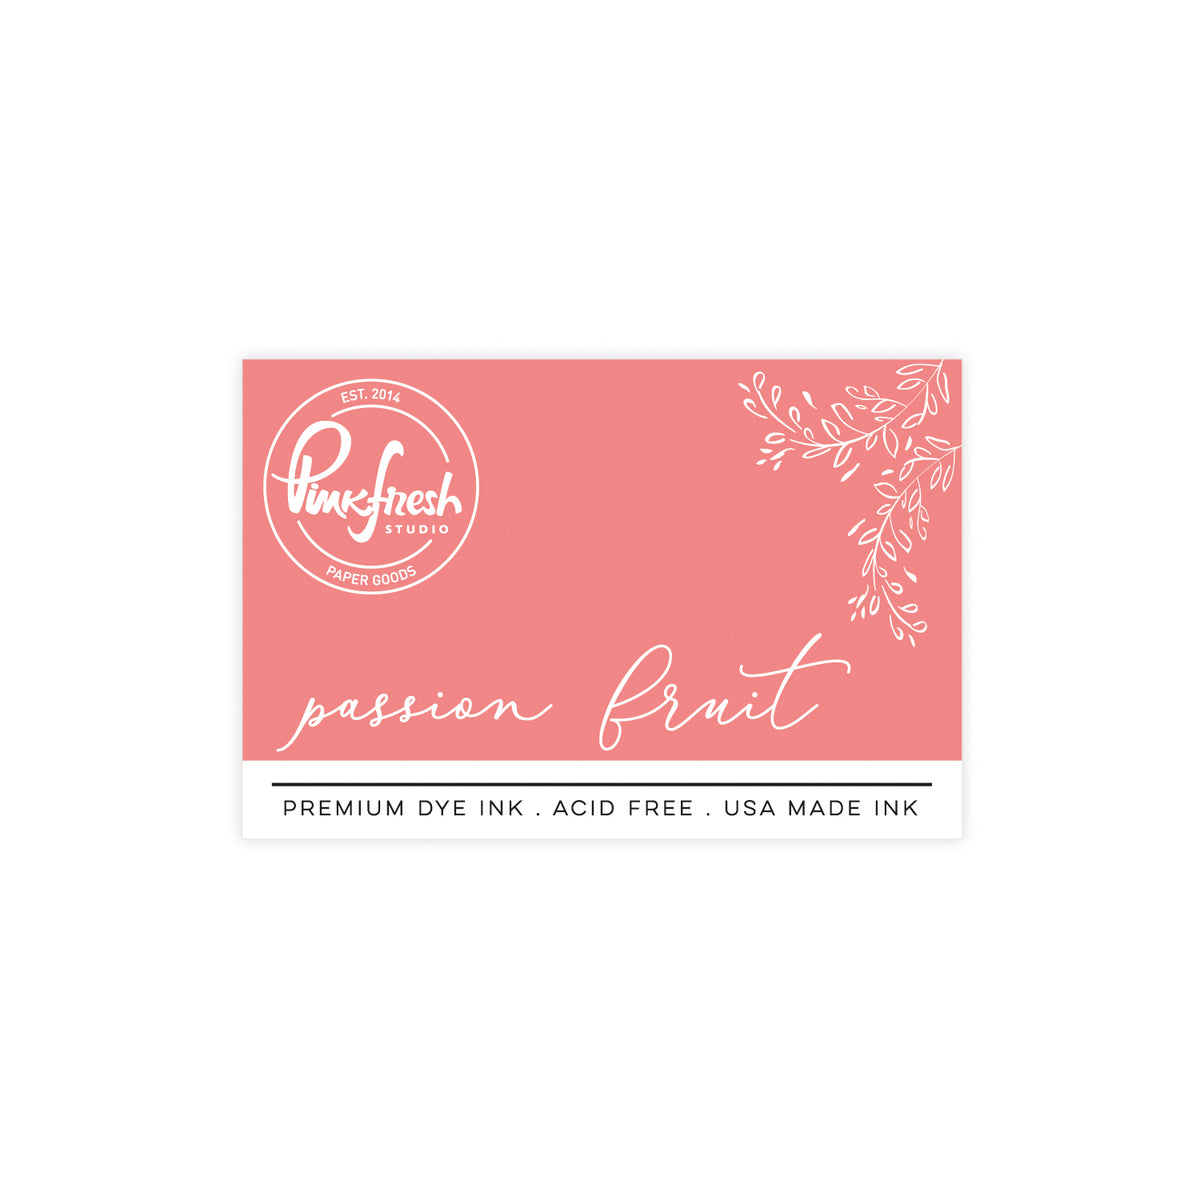
- Stencil 2: Passion Fruit (top); Apricot (bottom)
- Stencil 3: Fresh Pear
- Die cut using the coordinating die.
-
Assembly:
- Adhere the girl to the right of the card base using foam adhesive.
- Add the floral die cuts around the girl. Also adhere some peeking out from behind & layered on top to add depth and dimension to the card.
-
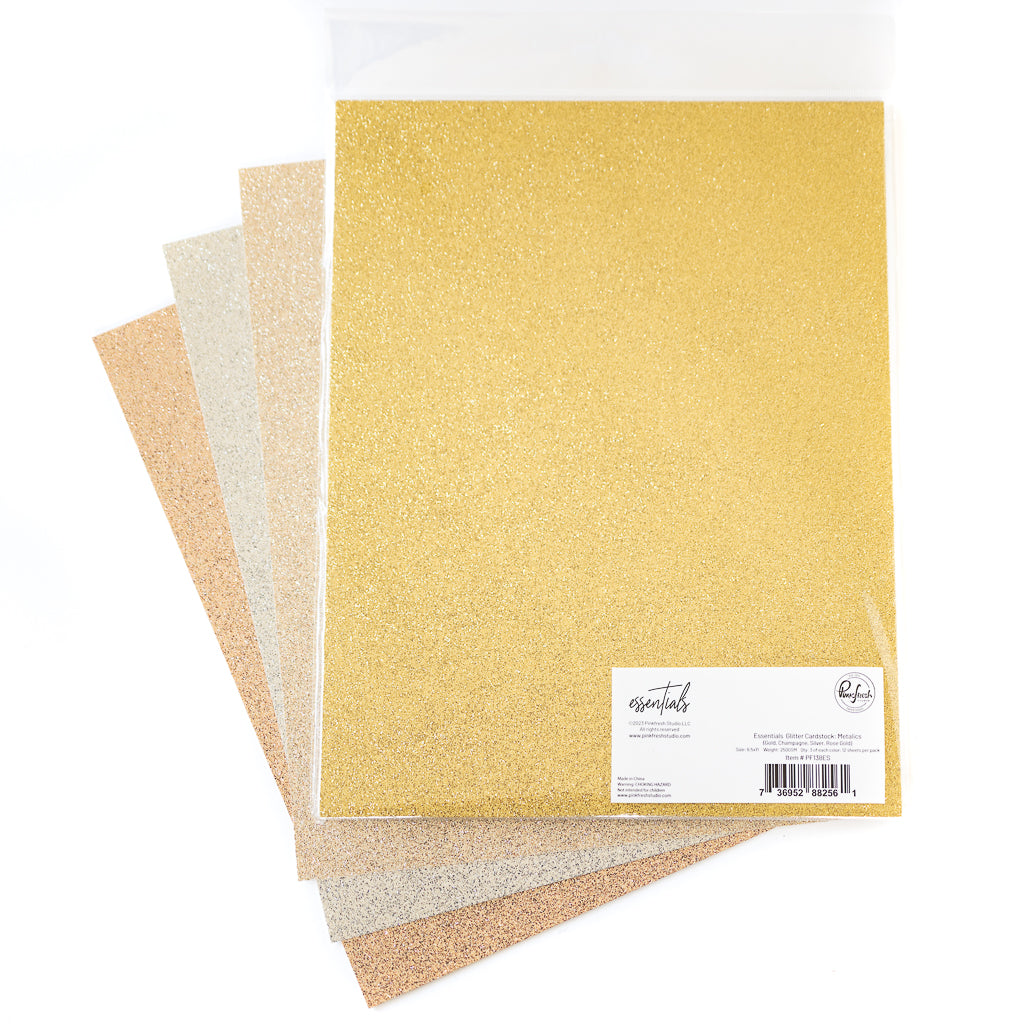
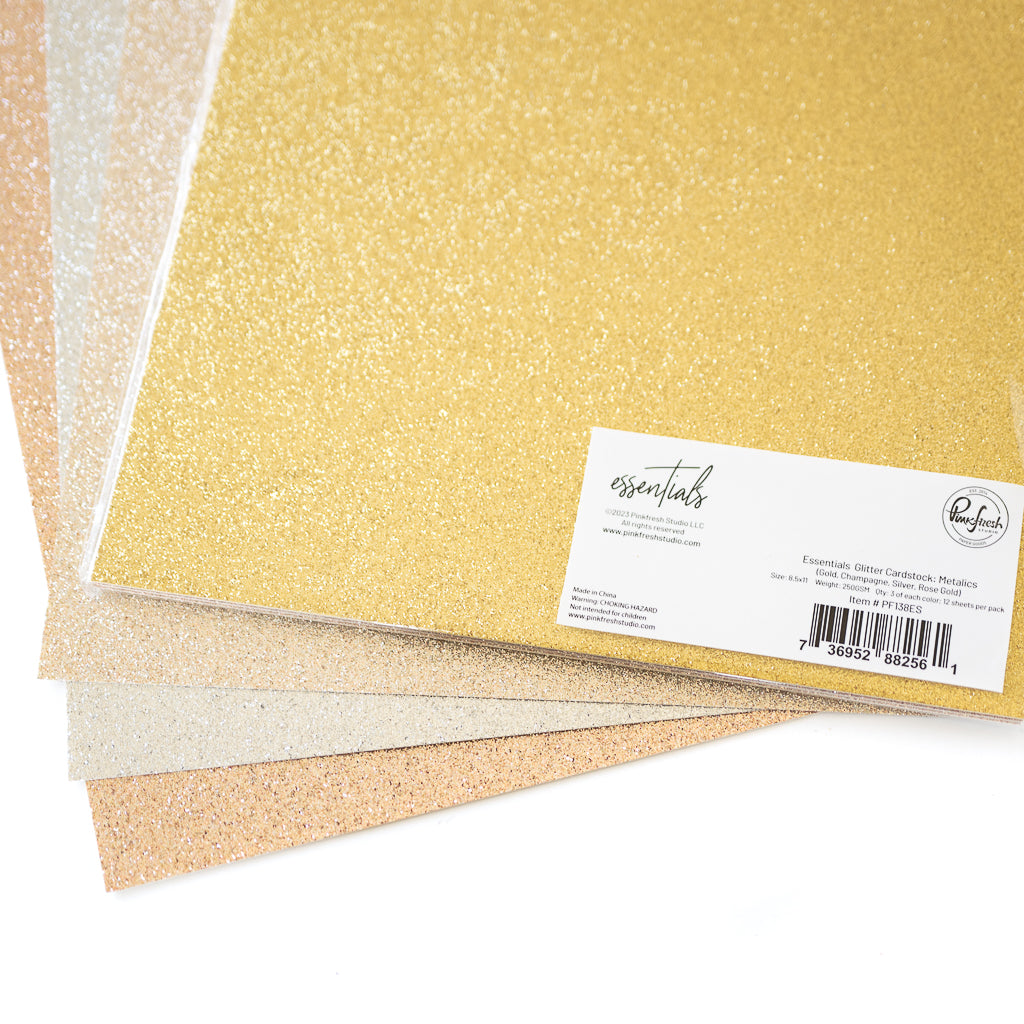
Sentiment: Stamp a sentiment of your choice in Detail Black on white cardstock. Die cut and stack with (1) blank layer. Die cut another blank from Champagne Glitter cardstock & adhere slightly offset to the back. Add to the upper left of the card front.
- Embellish to your liking. I added a Jewel in Ballet Slipper to the knot of the bow.
*Tipp: Adding a white die-cut background to a white or very light colored card base helps add texture without overwhelming the design. This is especially useful if you want your card to feel light, airy, and delicate!

I hope you enjoyed this card and feel inspired to mix and match your supplies! And as always, we would love to see your version, so please make sure to tag us (@pinkfreshstudio and @cardsandconfetti) on Instagram and use #pinkfreshstudio.
Thanks so much for stopping by, and until next time, happy crafting! ✨
-Kathleen
Recommended Products













































1 comment
Mariette
Leave a comment
All comments are moderated before being published.
This site is protected by hCaptcha and the hCaptcha Privacy Policy and Terms of Service apply.