
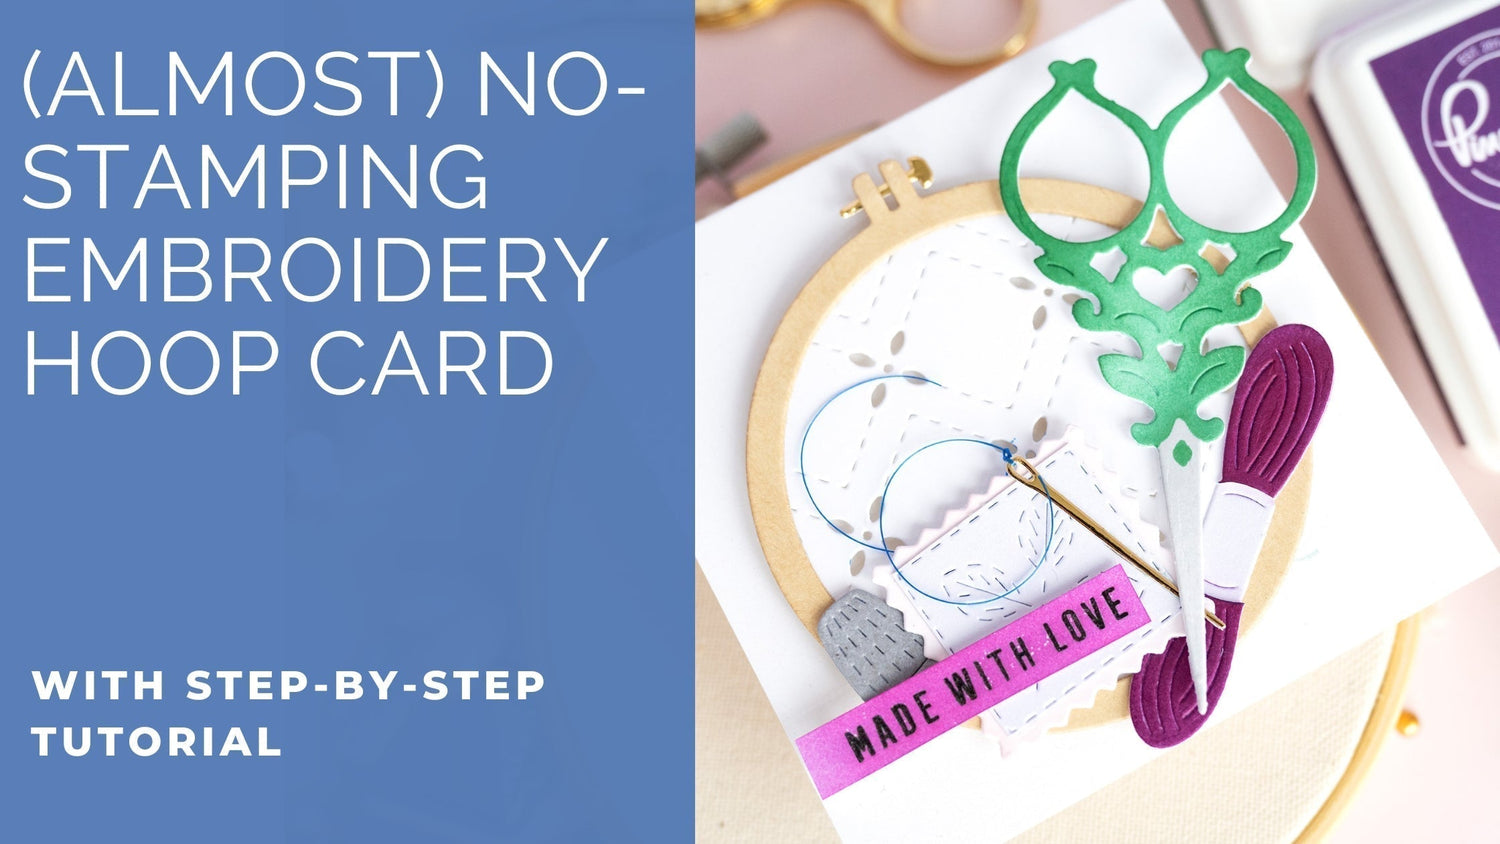
Hi there, Pinkfresh Studio fans! It's Kathleen here again and today I thought I'd share another card made with the February Homespun with Heart release before we dive into the newest release. 😉
Sometimes a new month rolls around before I’ve had the chance to share all of my release projects with you. So today I’m making sure this one doesn’t get forgotten!
*Disclaimer: All products used are linked below as clickable images. If a product isn’t listed, it’s been discontinued.


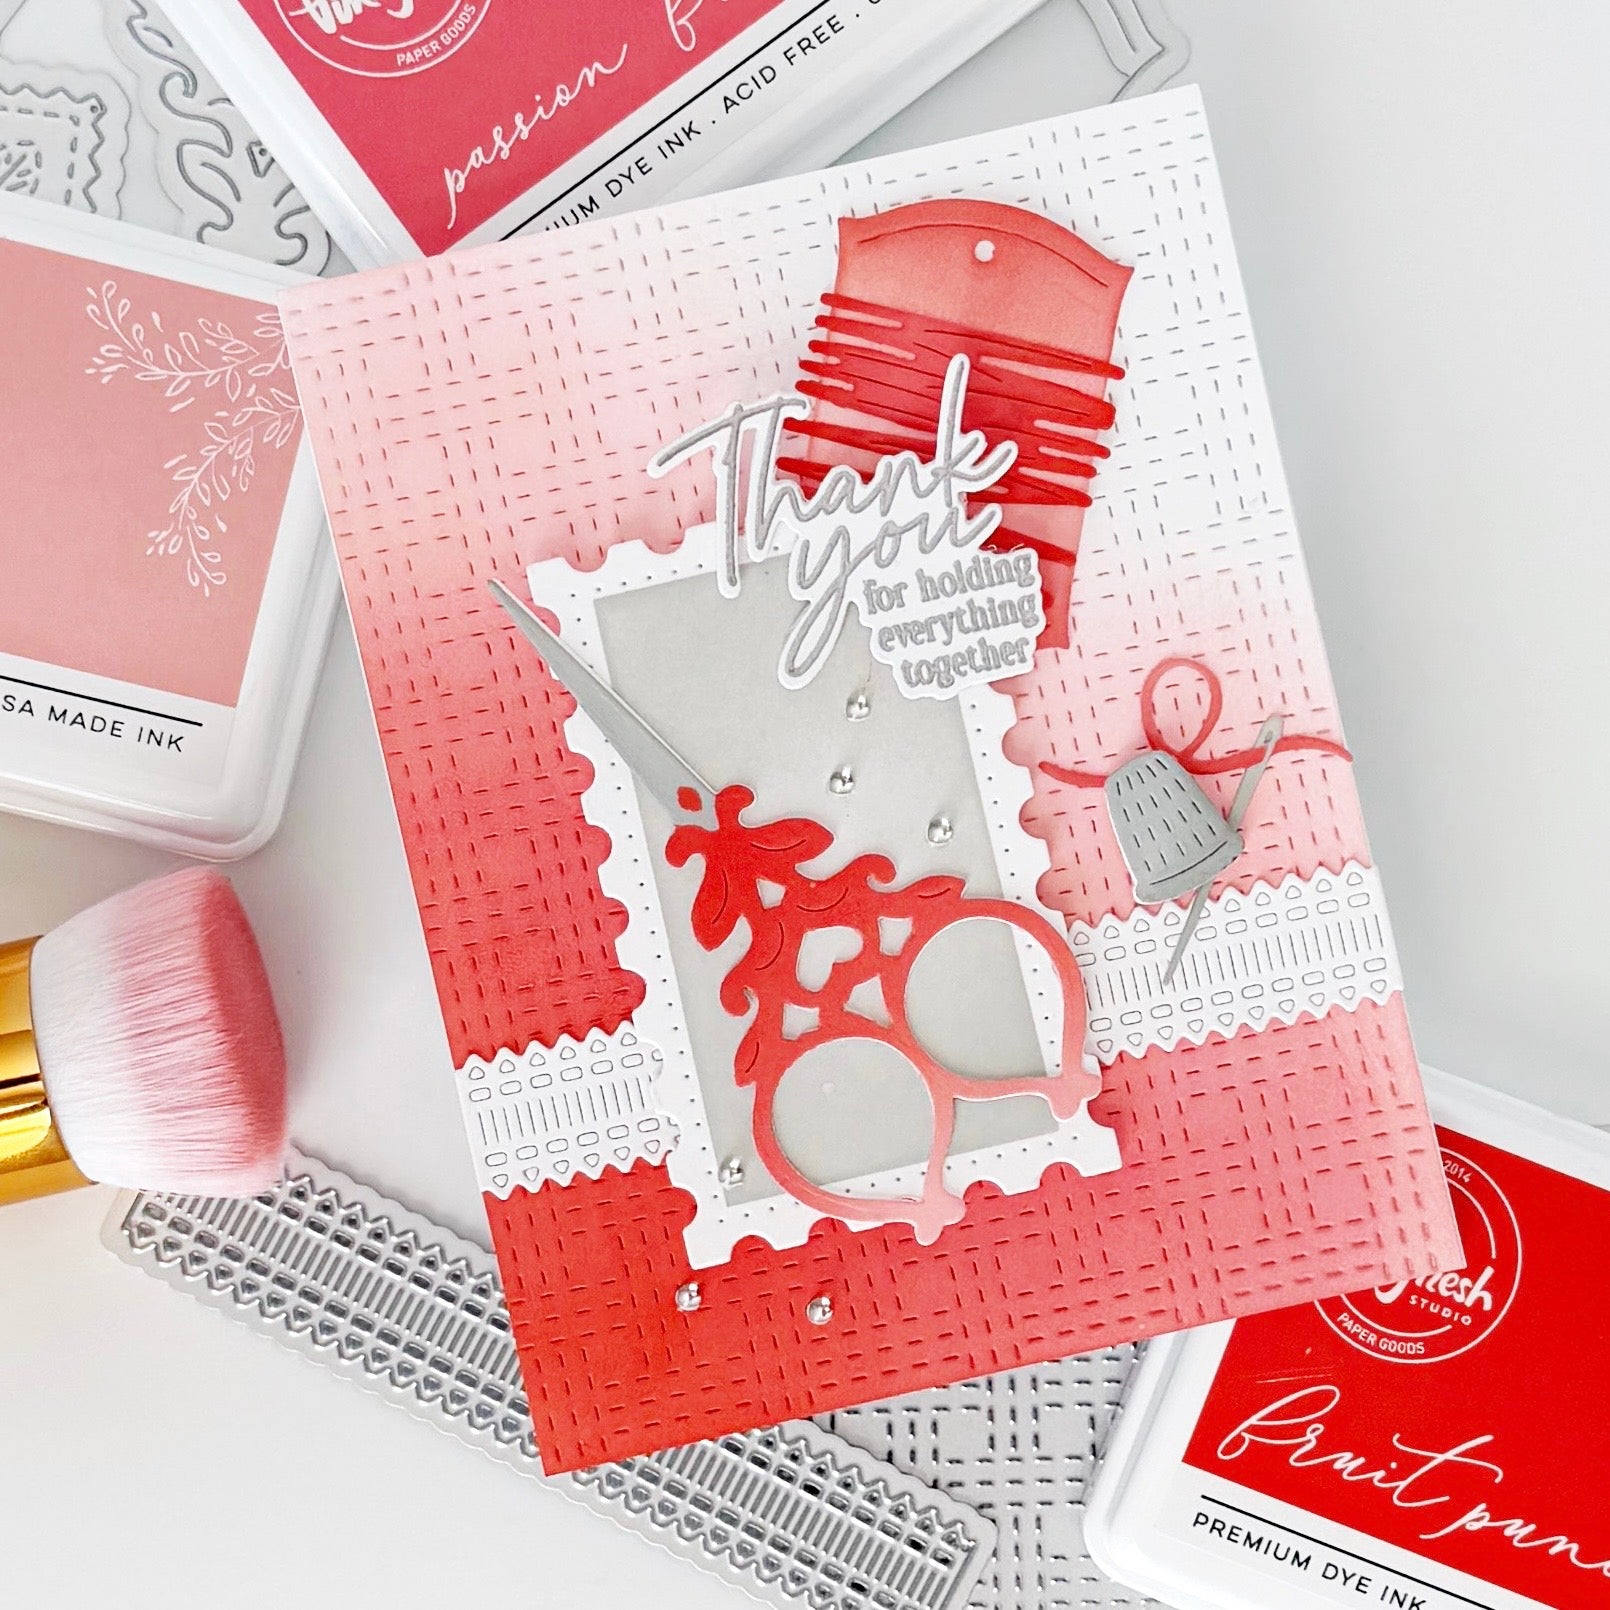
I love mixing and matching older products with new releases! It’s a fun way to discover combinations that work beautifully together and it gives those older favorites a fresh new life.
Let's see how I created this card:
-
Card Base: Cut and fold a square card base (4.25" x 4.25") from white cardstock. Cut (2) A2 panels from white cardstock.
-
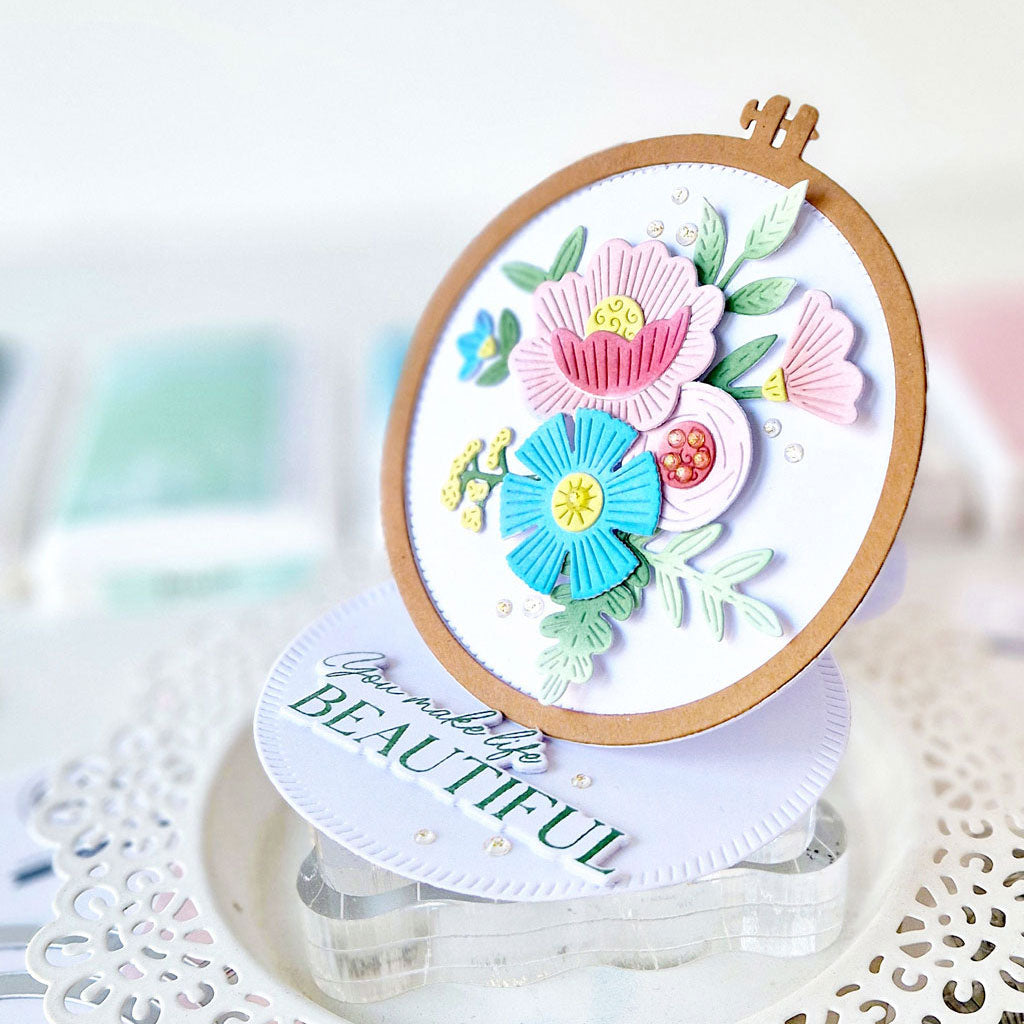
Embroidery Hoop:
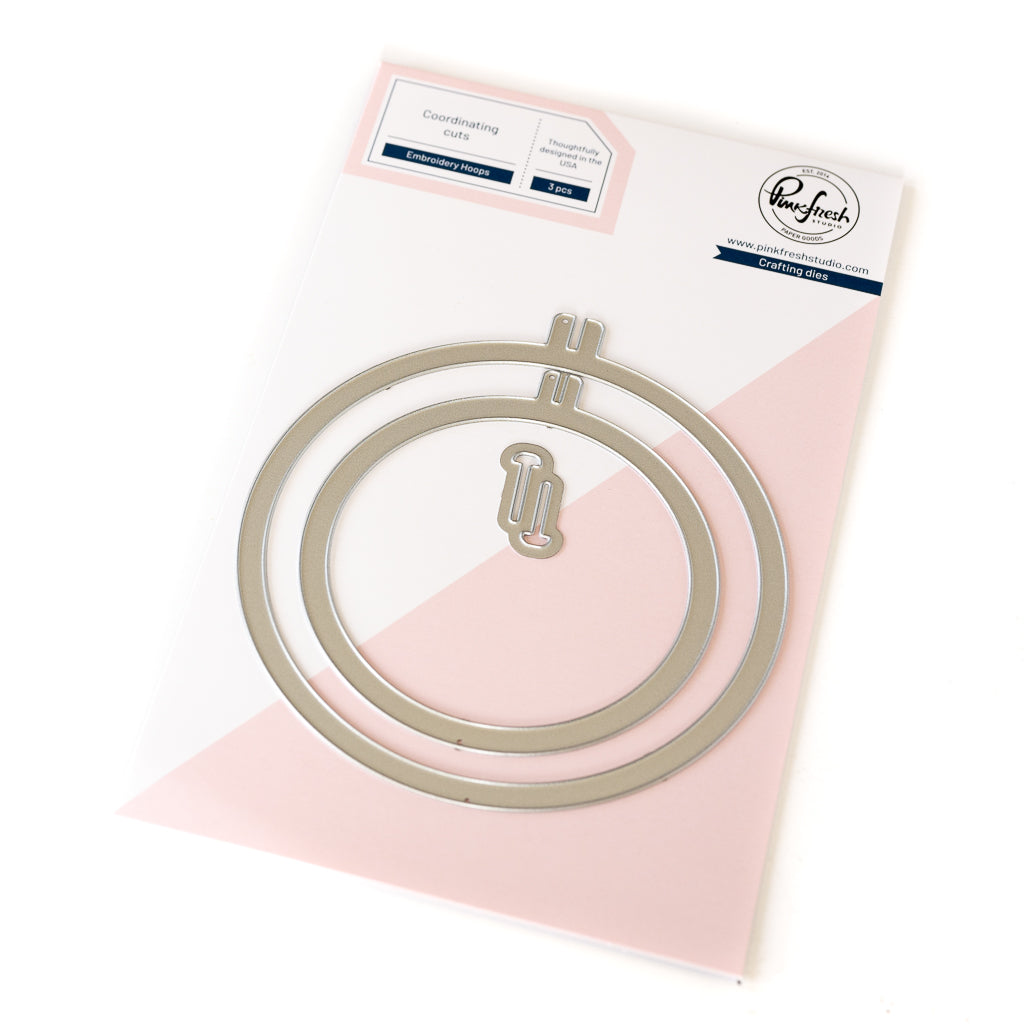
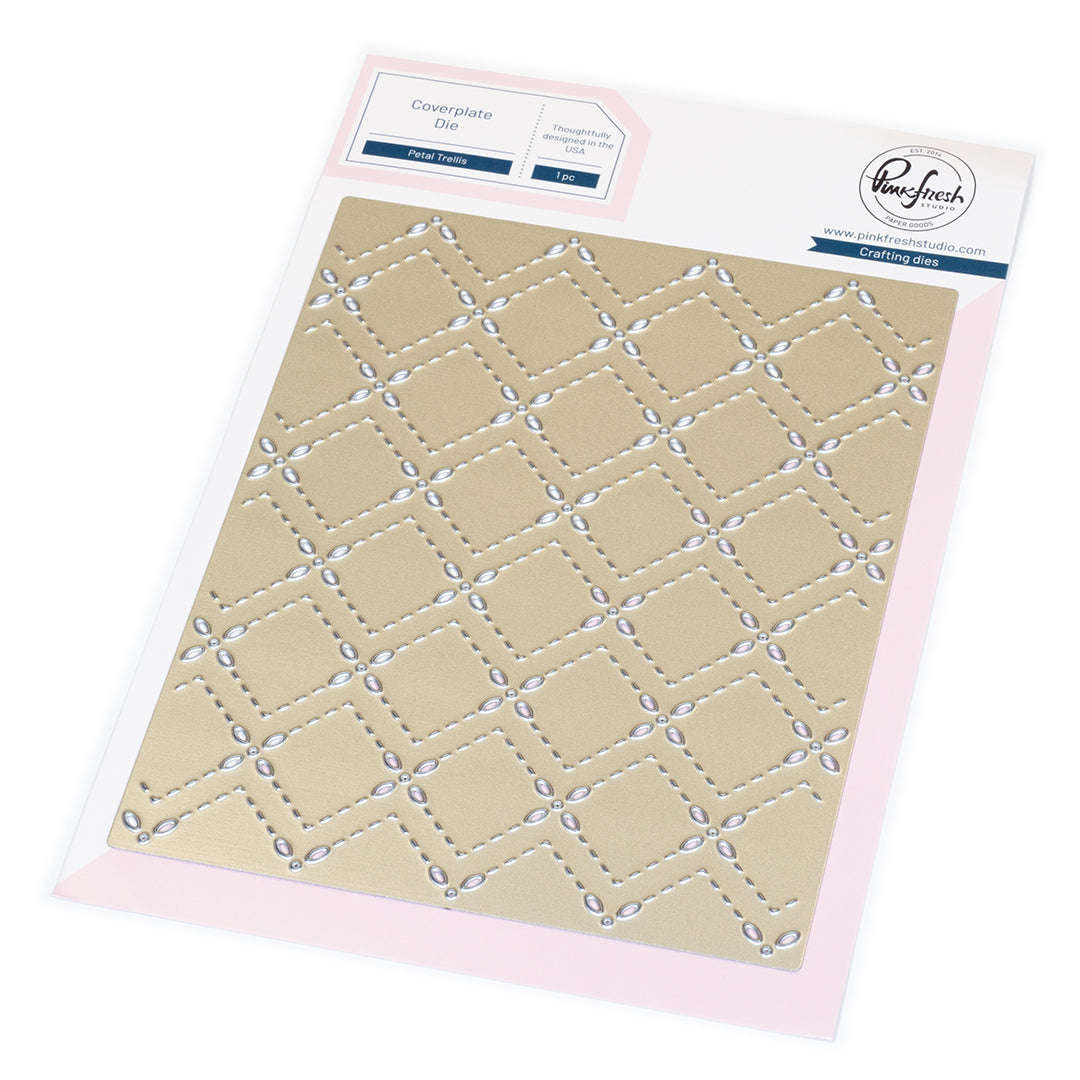
- Cut (1) of the A2 panels in half, then die cut one half with the Petal Trellis coverplate die & the other with the smaller embroidery hoop die.
- Ink blend the die-cut embroidery hoop with Warm Buff, then back it with the Petal Trellis die cut. Cut off the excess.
- Die cut the embroidery hoop pin from gold or silver metallic cardstock & adhere it to the top of the embroidery hoop.
-
The Stitch Edit: Maker's Essentials:
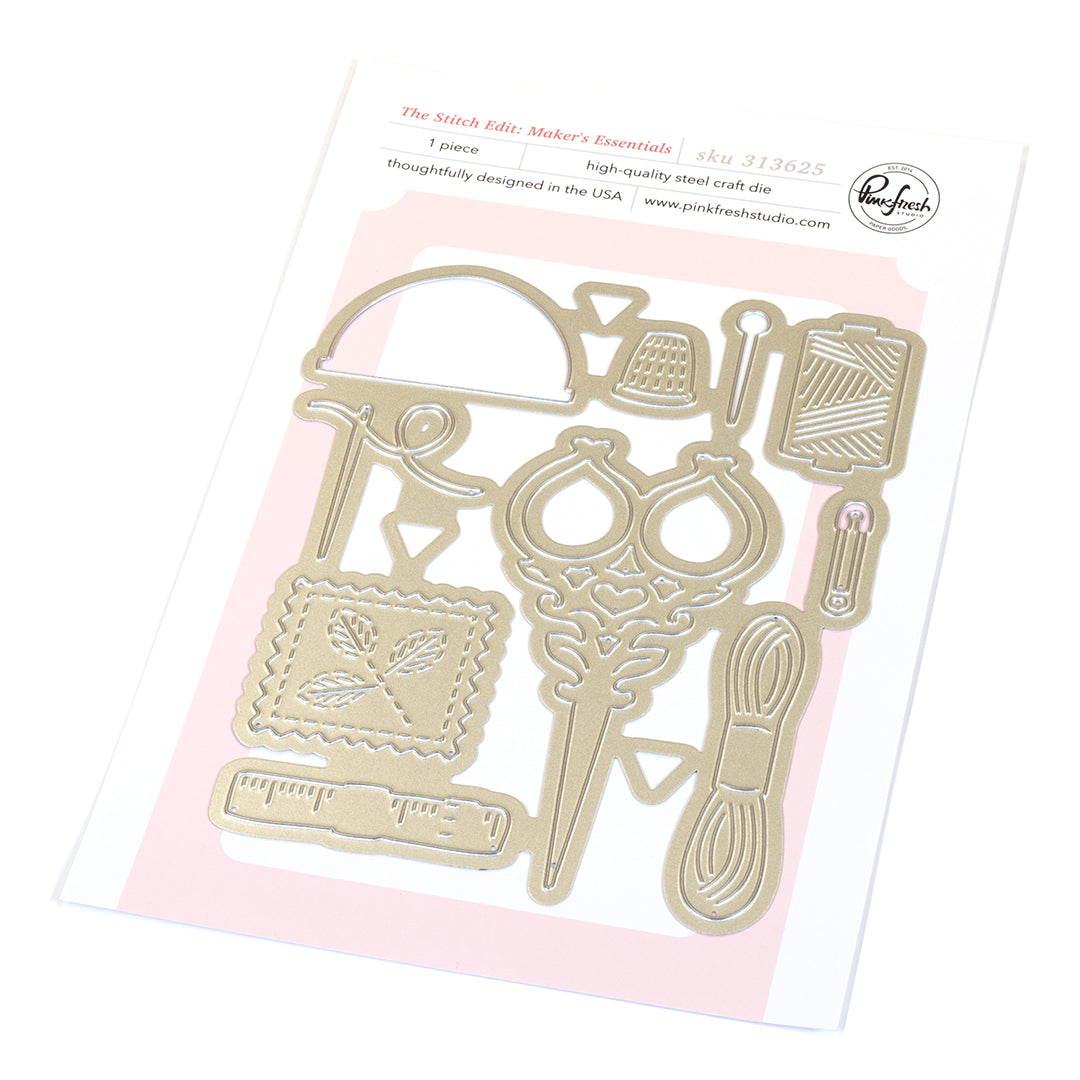
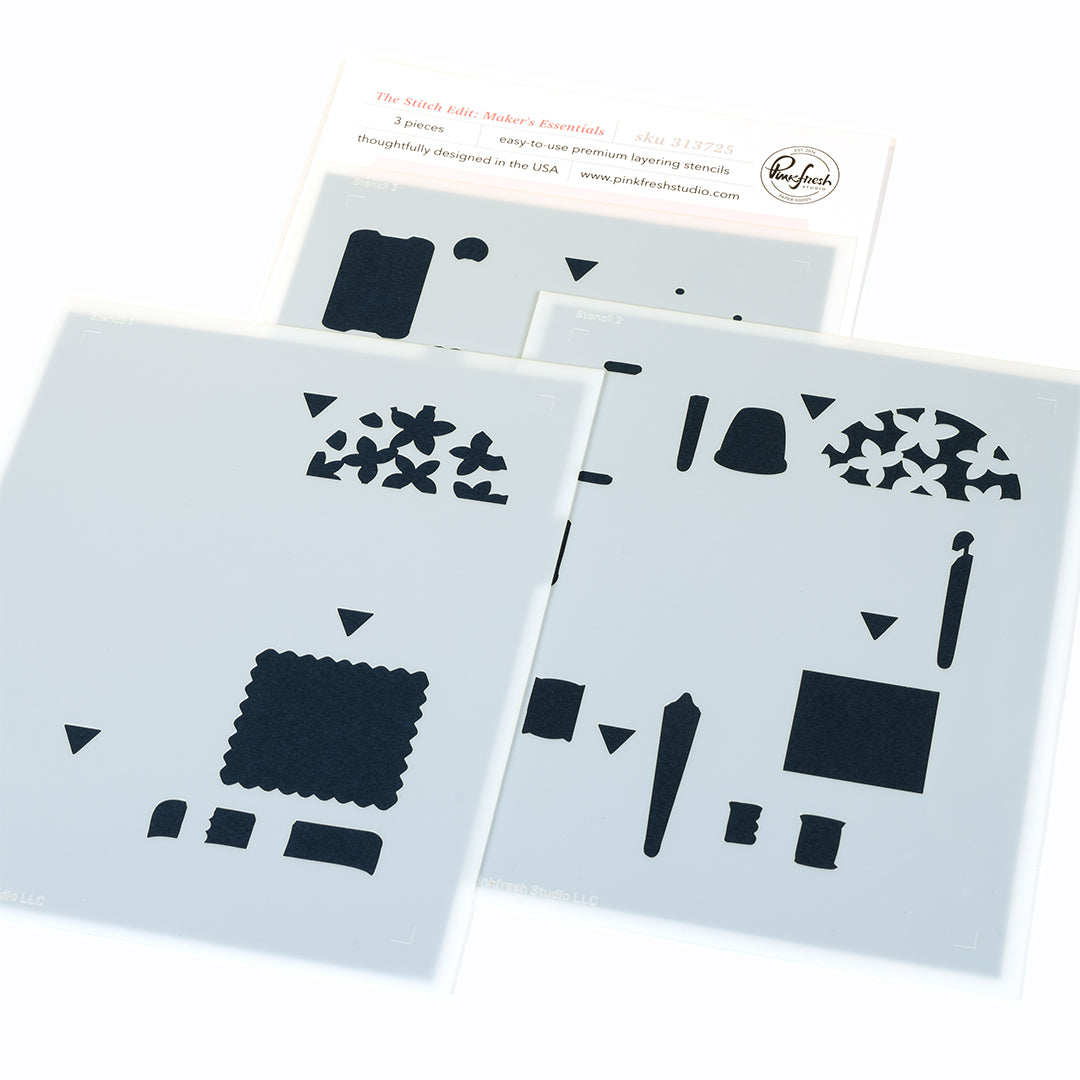
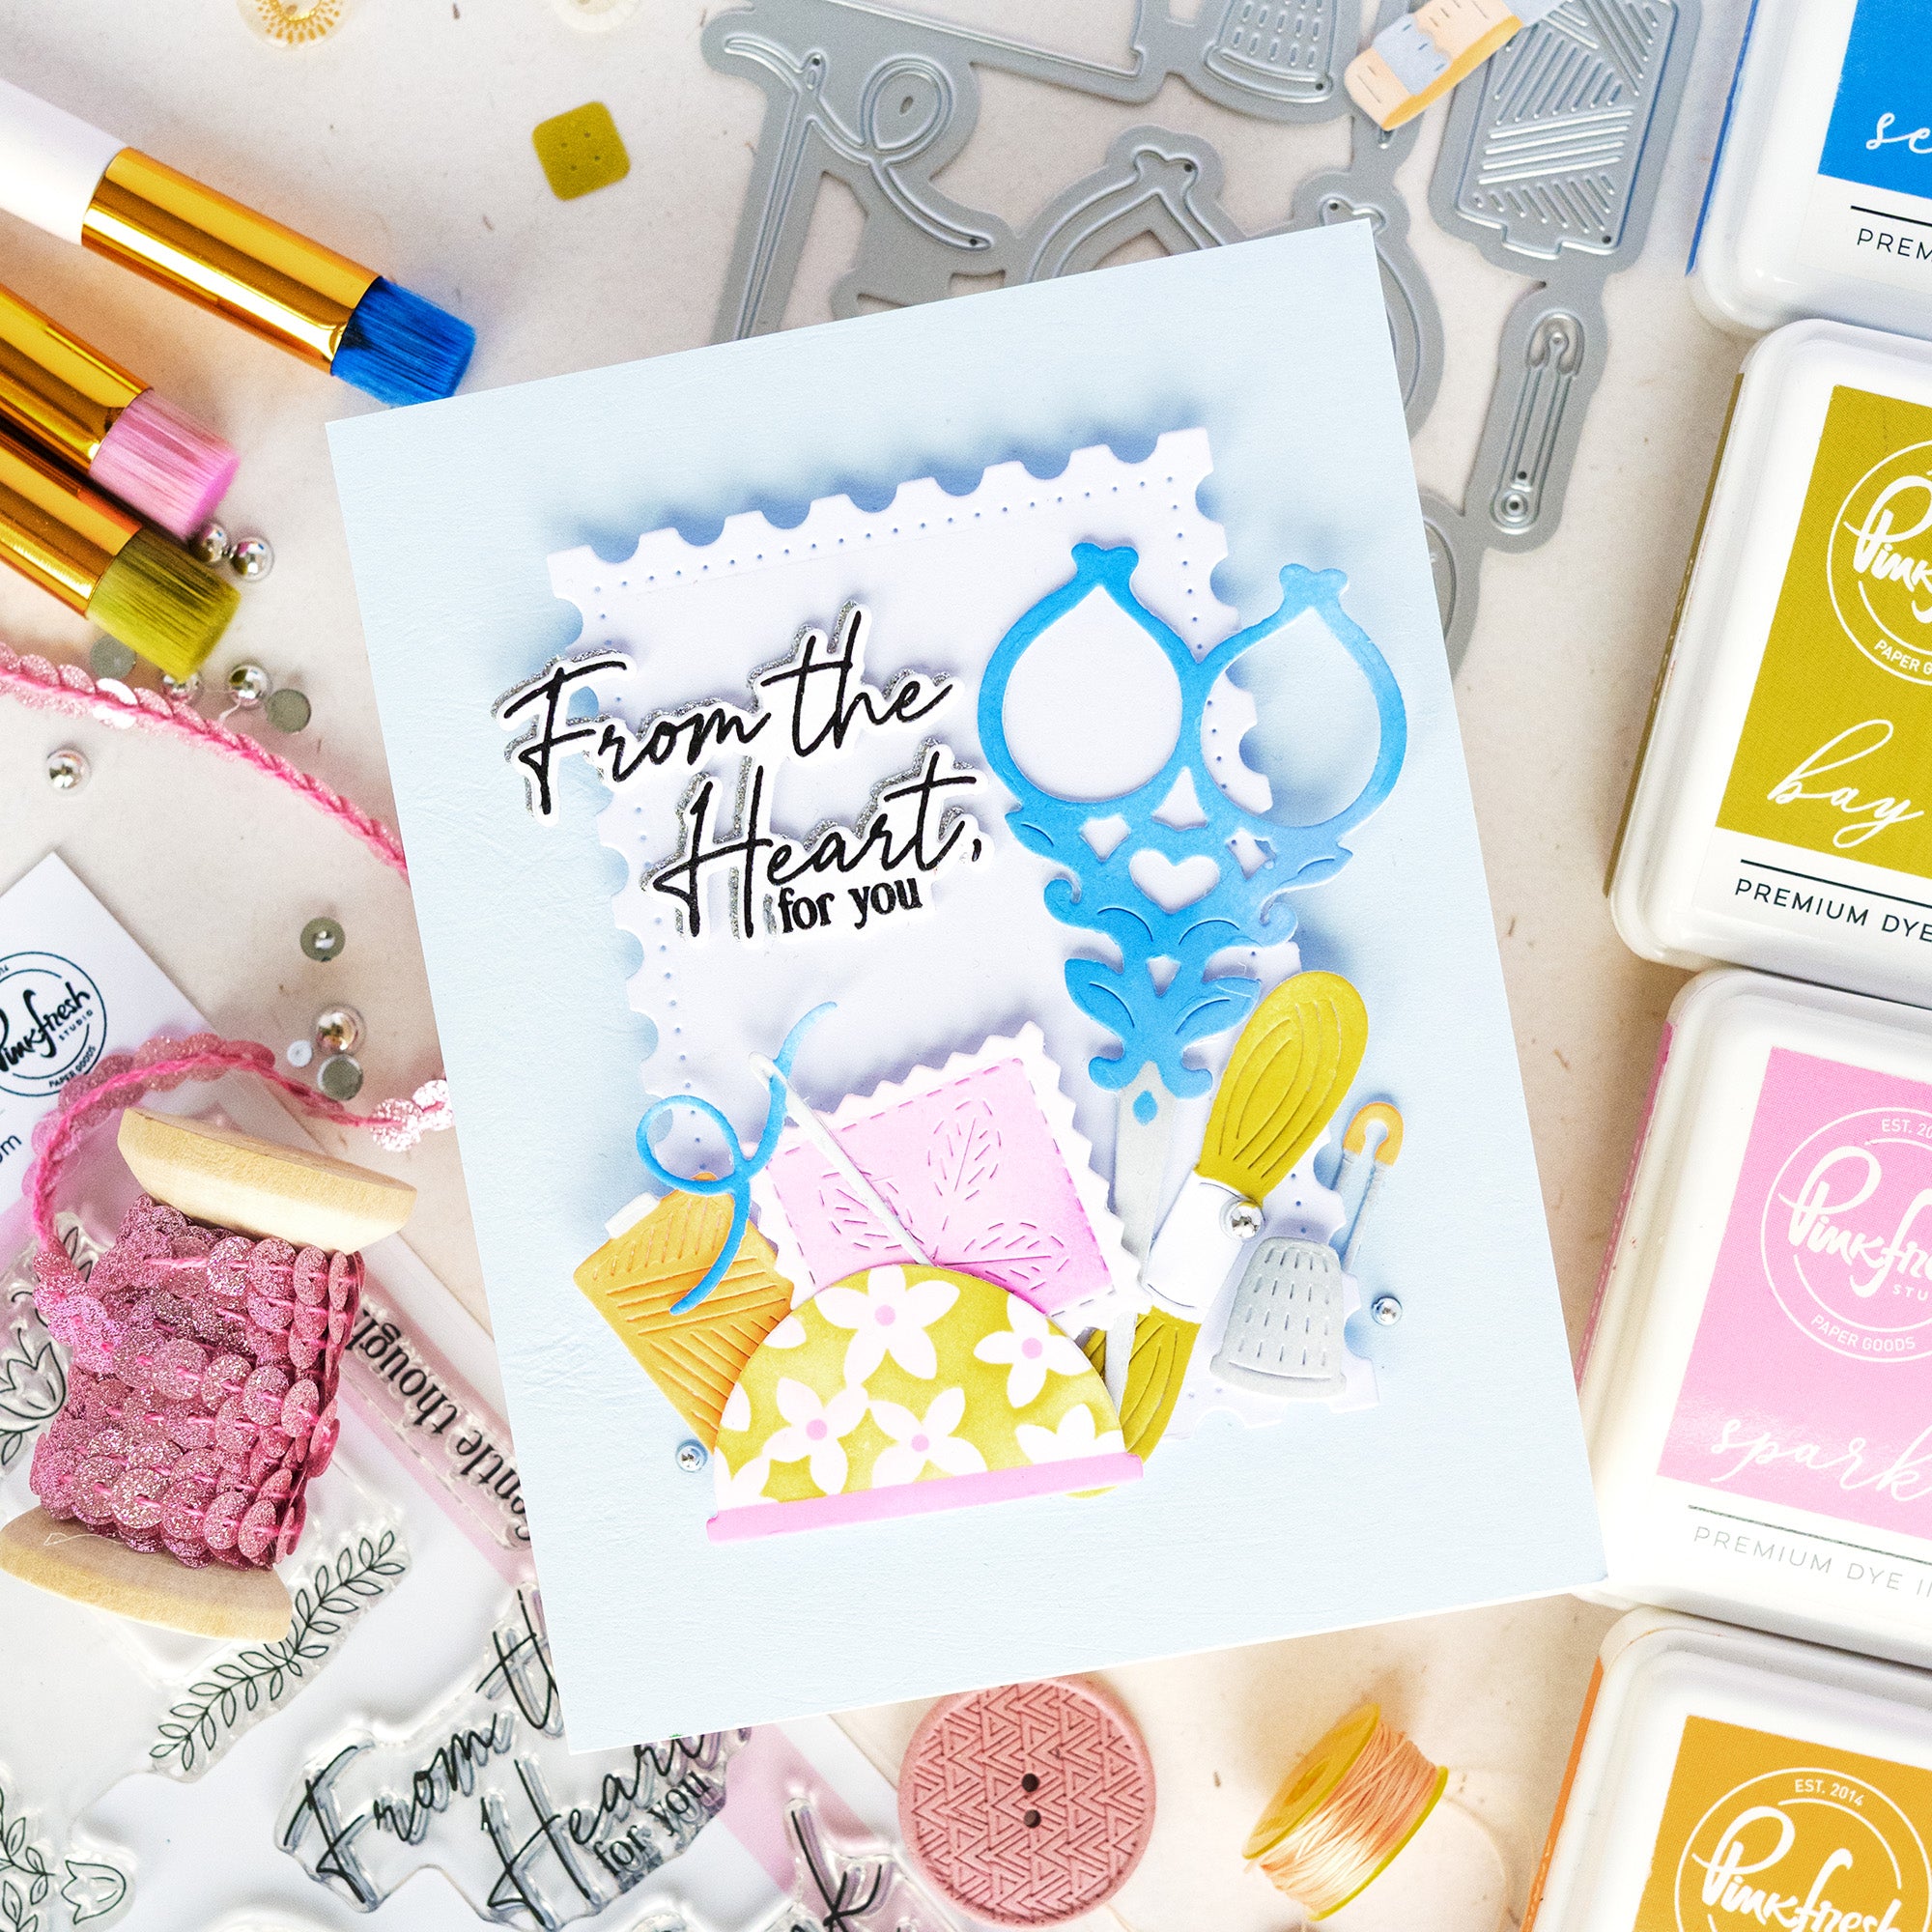
- On the other A2 panel, ink blend the Maker's Essentials stencils (for this card you'll only need the scissors, needle, embroidery floss, thimble, and square pin cushion):
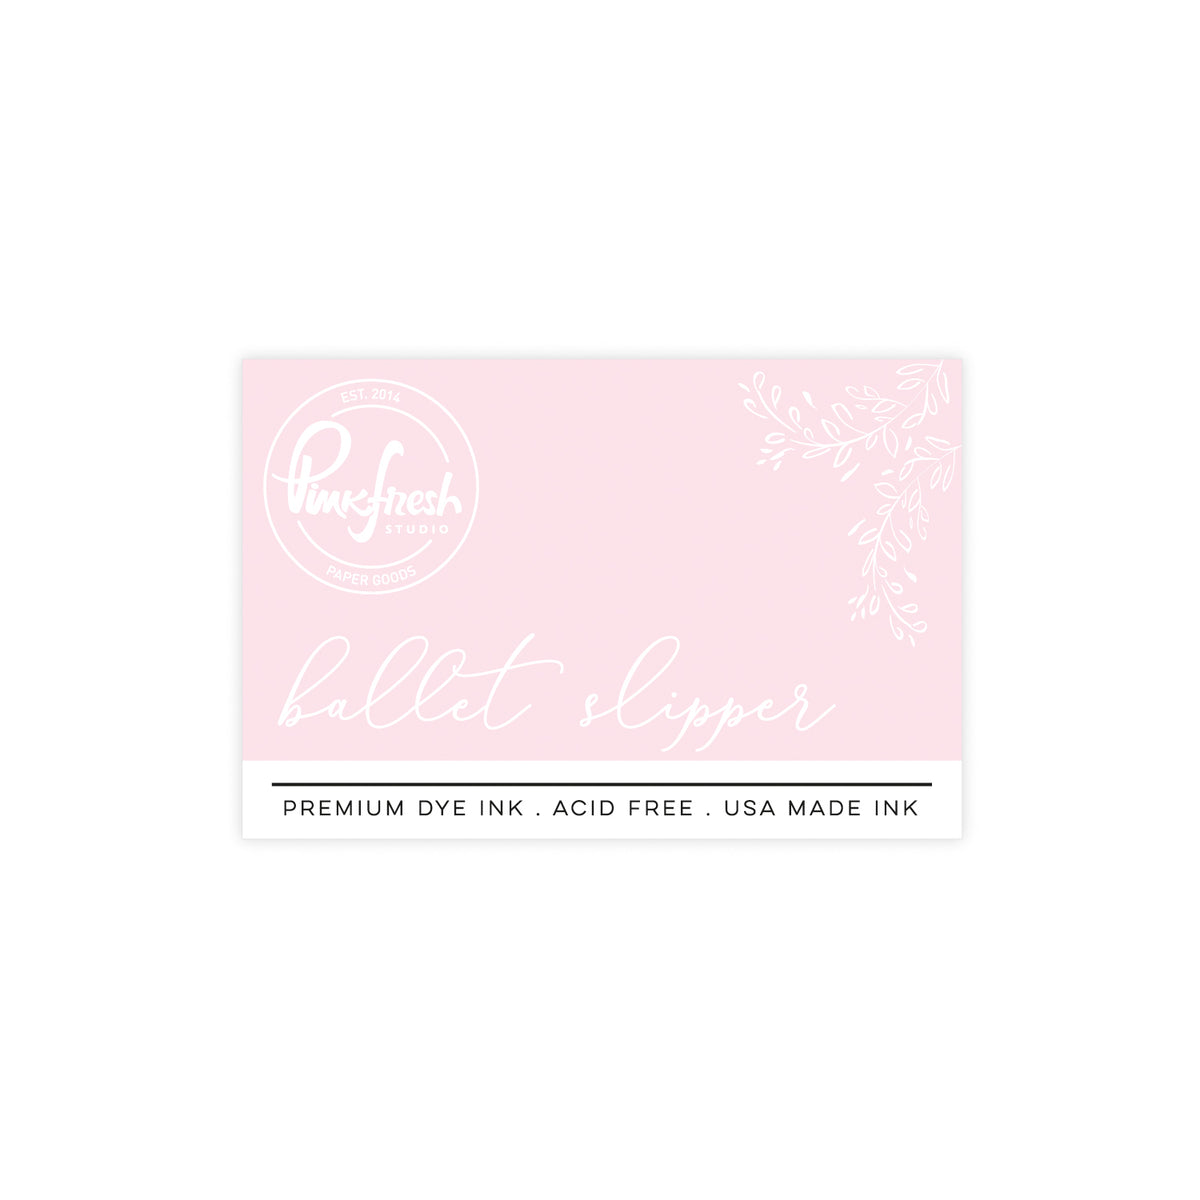
- Stencil 1: Ballet Slipper
- Stencil 2: Metropolis (thimble), Misty Coast (rest)
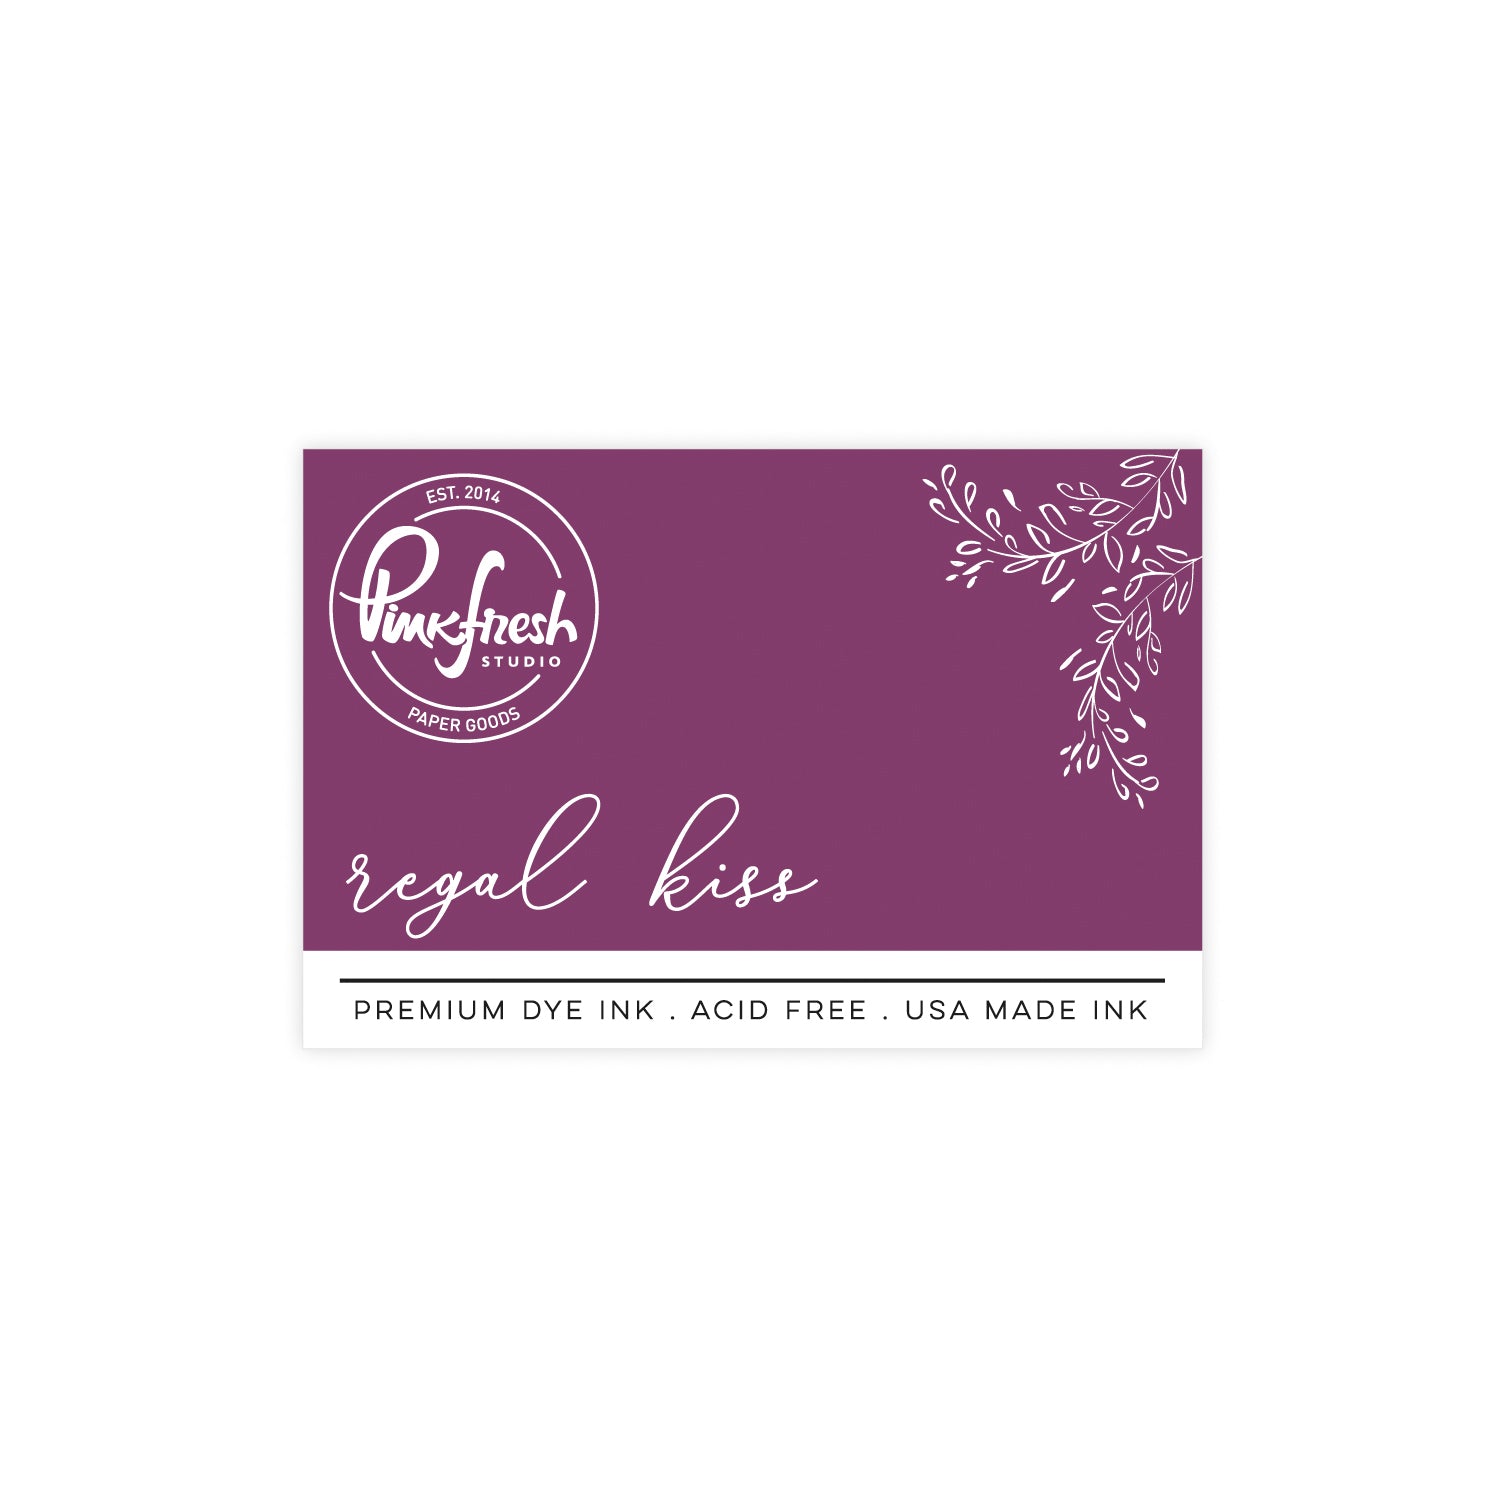
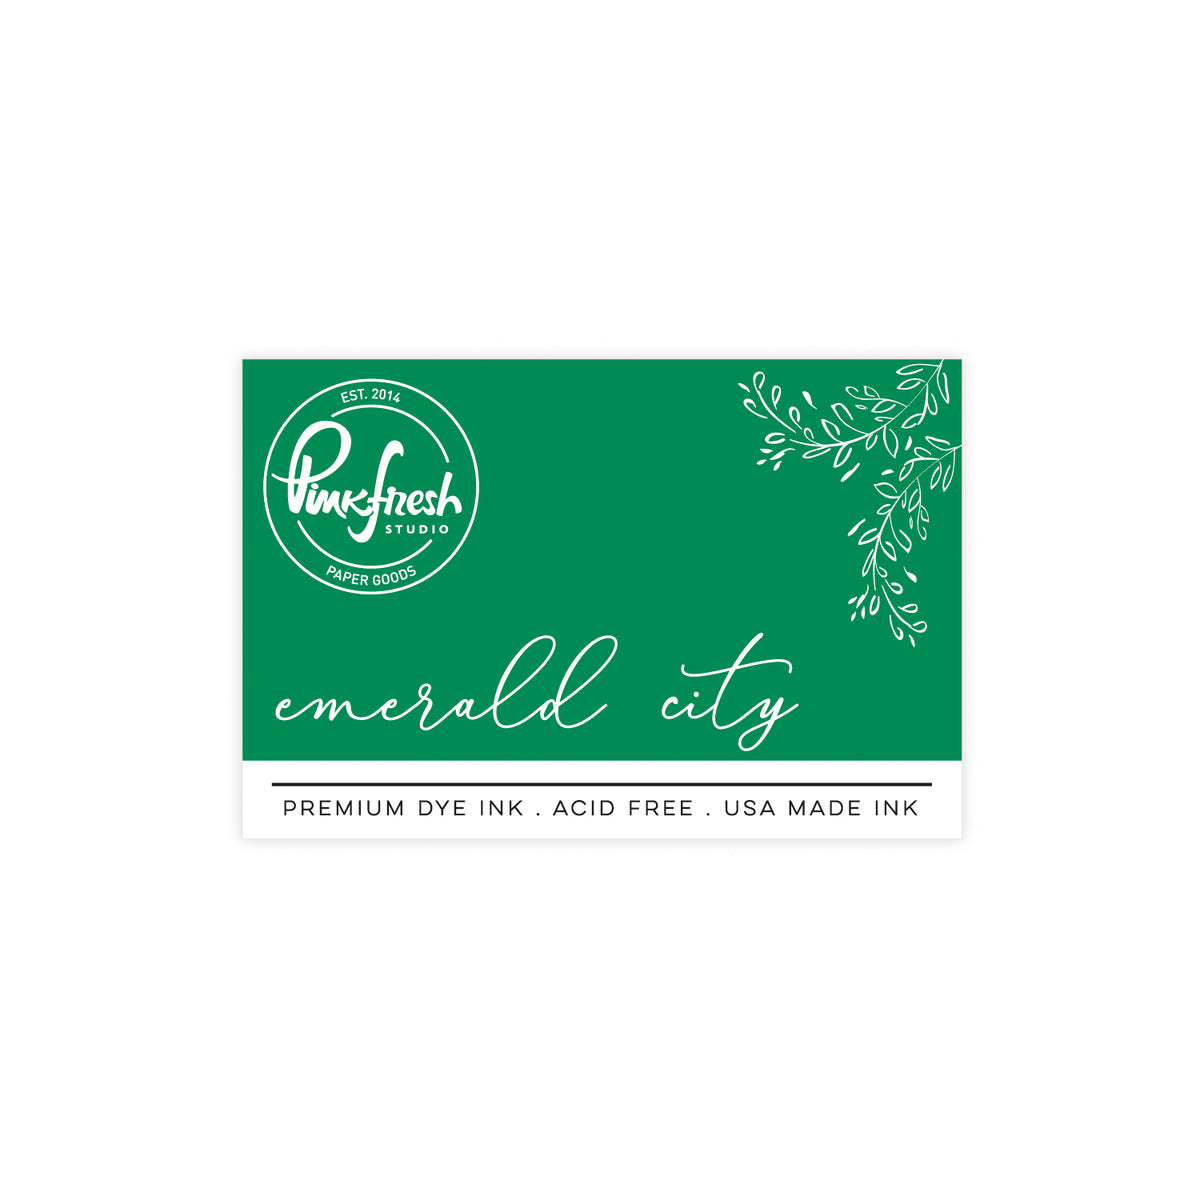
- Stencil 3: Emerald City (scissors; add shading around outside); Regal Kiss (embroidery floss)
- Die cut with the coordinating die. Optional: Die cut a set of blank pieces & stack them with the ink-blended die cuts for more stability.
- On the other A2 panel, ink blend the Maker's Essentials stencils (for this card you'll only need the scissors, needle, embroidery floss, thimble, and square pin cushion):
-
Assembly:
-
Adhere the embroidery hoop to the center of the card front using foam adhesive. Position the card base with the fold at the top so it opens as a top-folding card.
- Arrange the ink-blended die cuts on top, slightly overlapping them to create depth and dimension.
-
-
Sentiment:
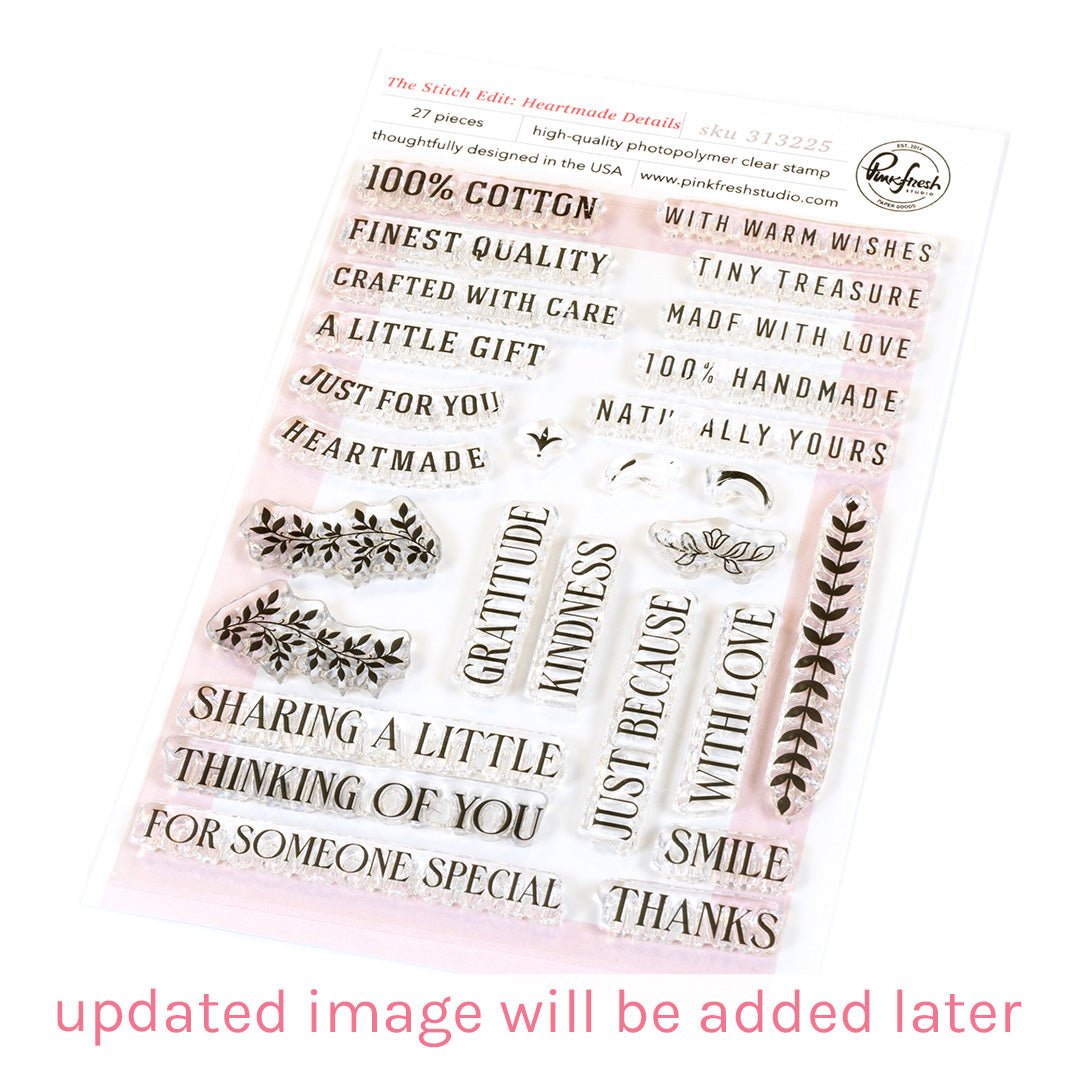
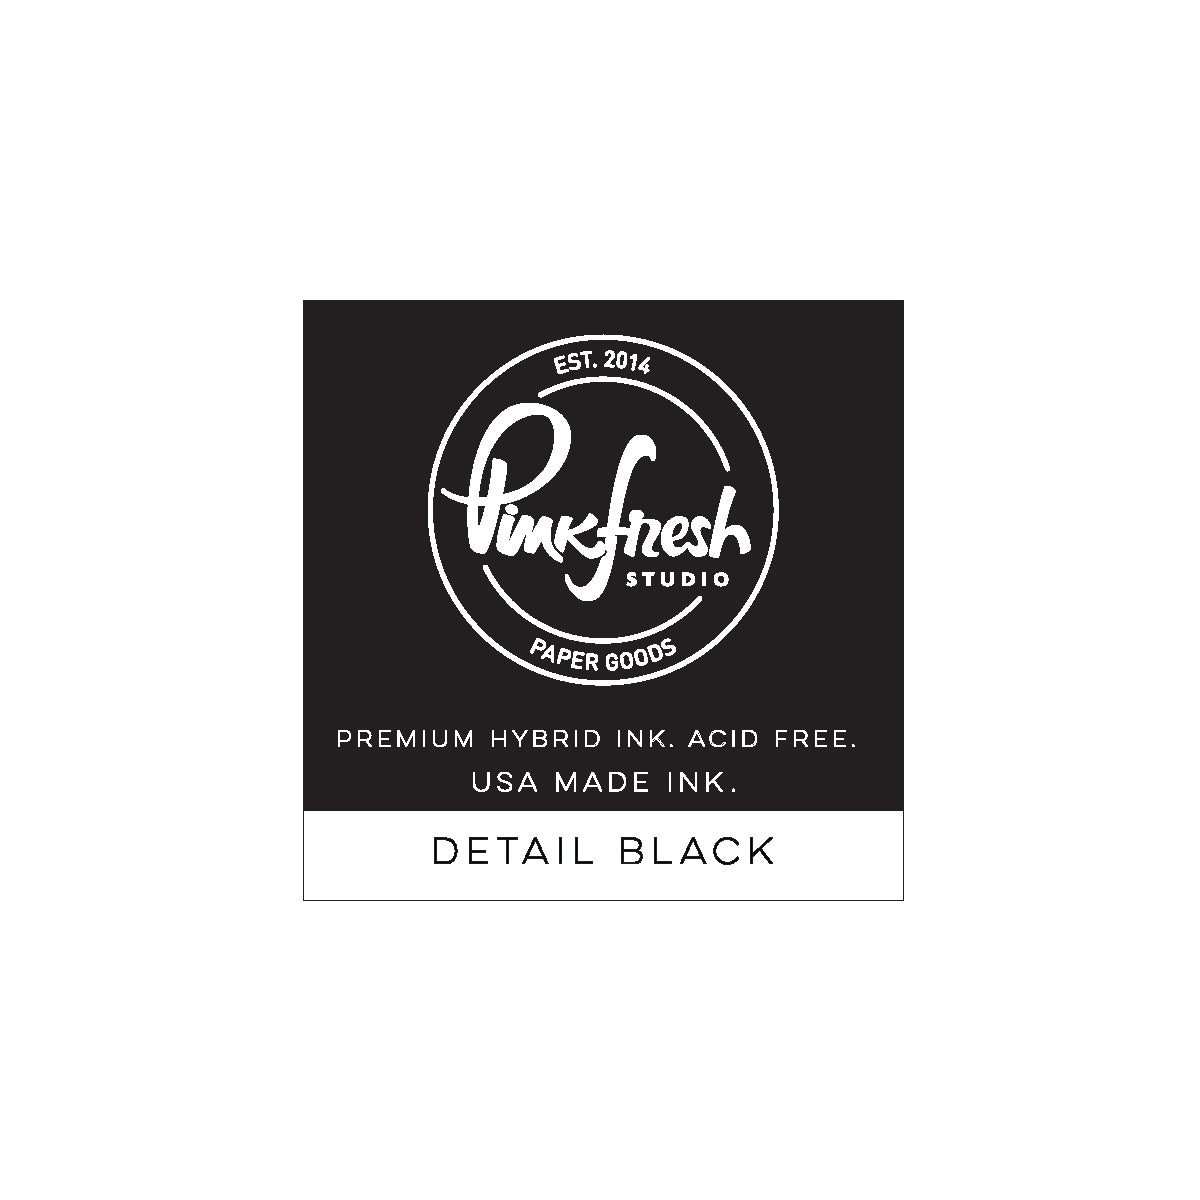
- Stamp a sentiment from the Heartmade Details stamp in Detail Black on a piece of white cardstock. Cut into a sentiment strip & ink blend Candy Violet on top. Alternative: stamp the sentiment on a piece of medium purple cardstock.
- Adhere it to the lower left side. Use different thicknesses of foam adhesive to even out the height differences.
- Stamp a sentiment from the Heartmade Details stamp in Detail Black on a piece of white cardstock. Cut into a sentiment strip & ink blend Candy Violet on top. Alternative: stamp the sentiment on a piece of medium purple cardstock.
*Tipp: I die cut the needle from silver mirror cardstock using the Notion Story die, then threaded real thread through the hole to add extra texture and interest to the card and make it look more realistic.

I hope you enjoyed this card and feel inspired to mix and match your supplies! And as always, we would love to see your version, so please make sure to tag us (@pinkfreshstudio and @cardsandconfetti) on Instagram and use #pinkfreshstudio.
Thanks so much for stopping by, and until next time, happy crafting! ✨
-Kathleen
Recommended Products




























1 comment
Tracy
I love how you combined so many different products but your card still feels very clean. That embroidery hoop die has been on my list for so long, I need to click “purchase” soon!
Leave a comment
All comments are moderated before being published.
This site is protected by hCaptcha and the hCaptcha Privacy Policy and Terms of Service apply.