
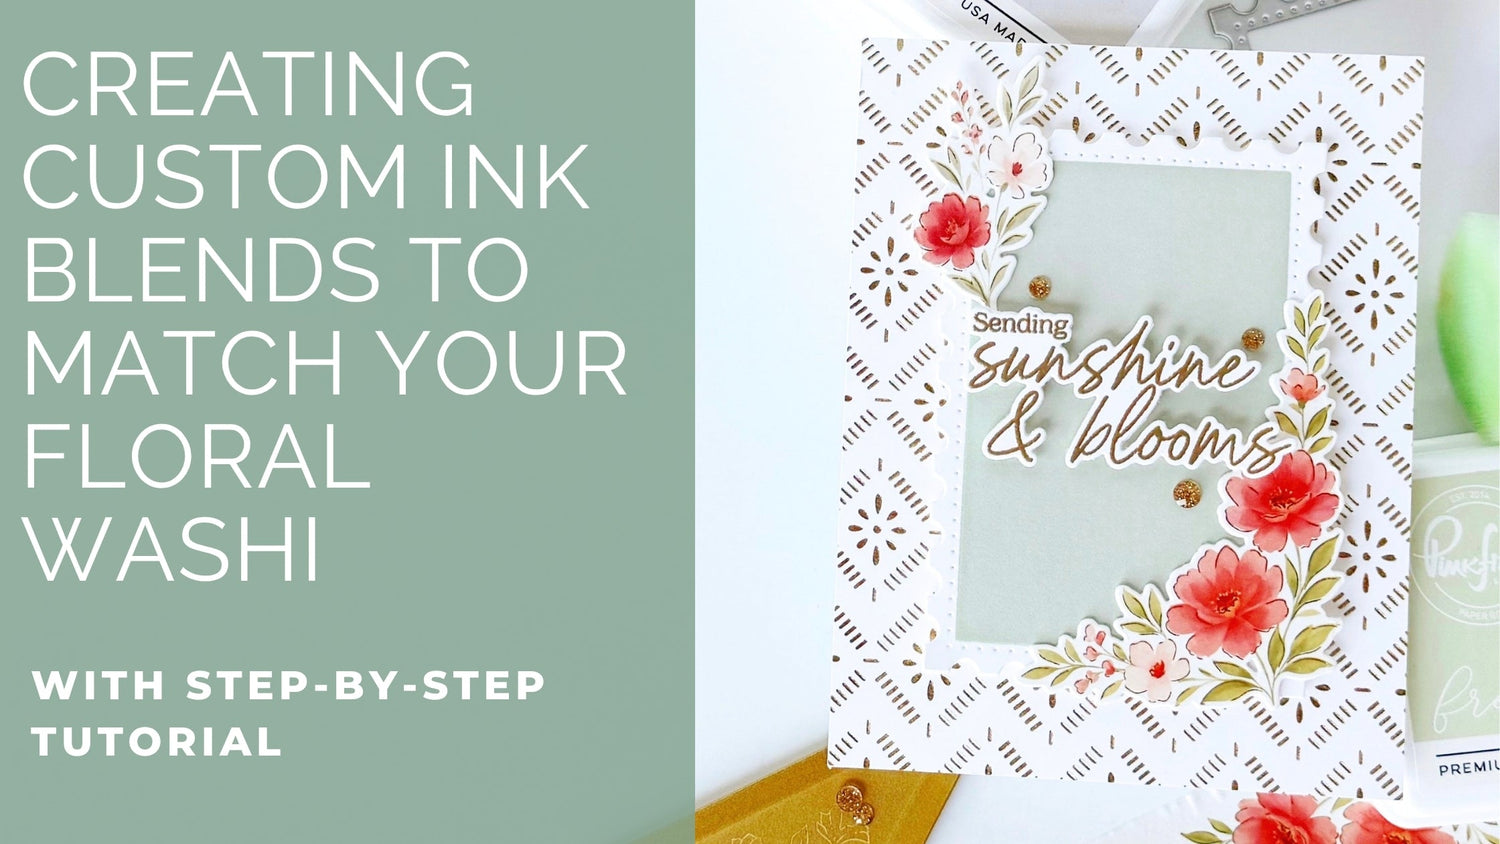
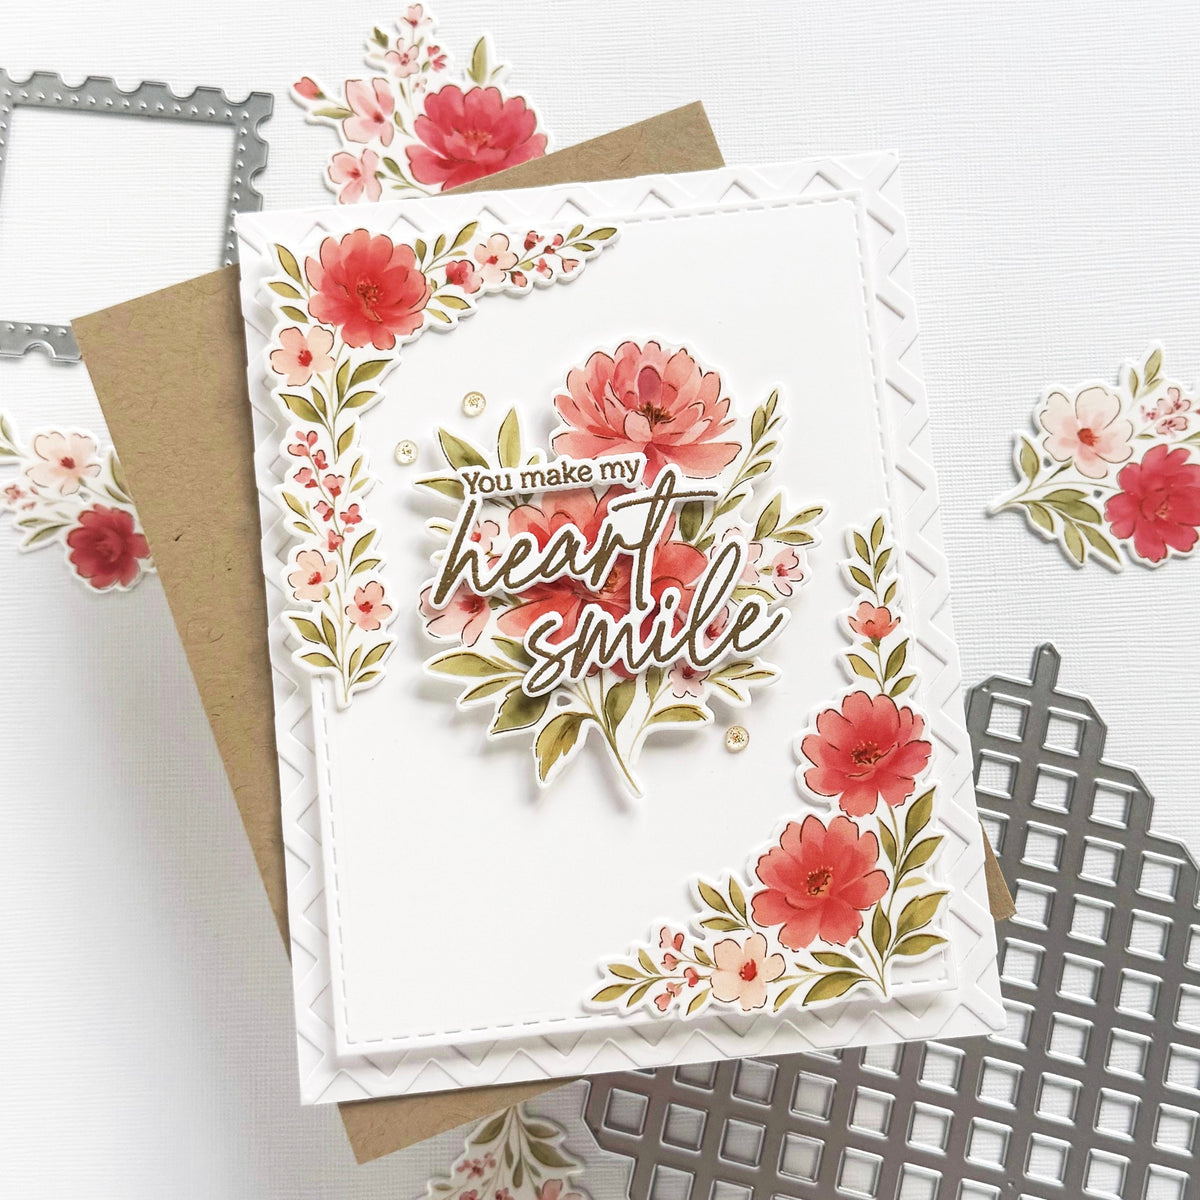
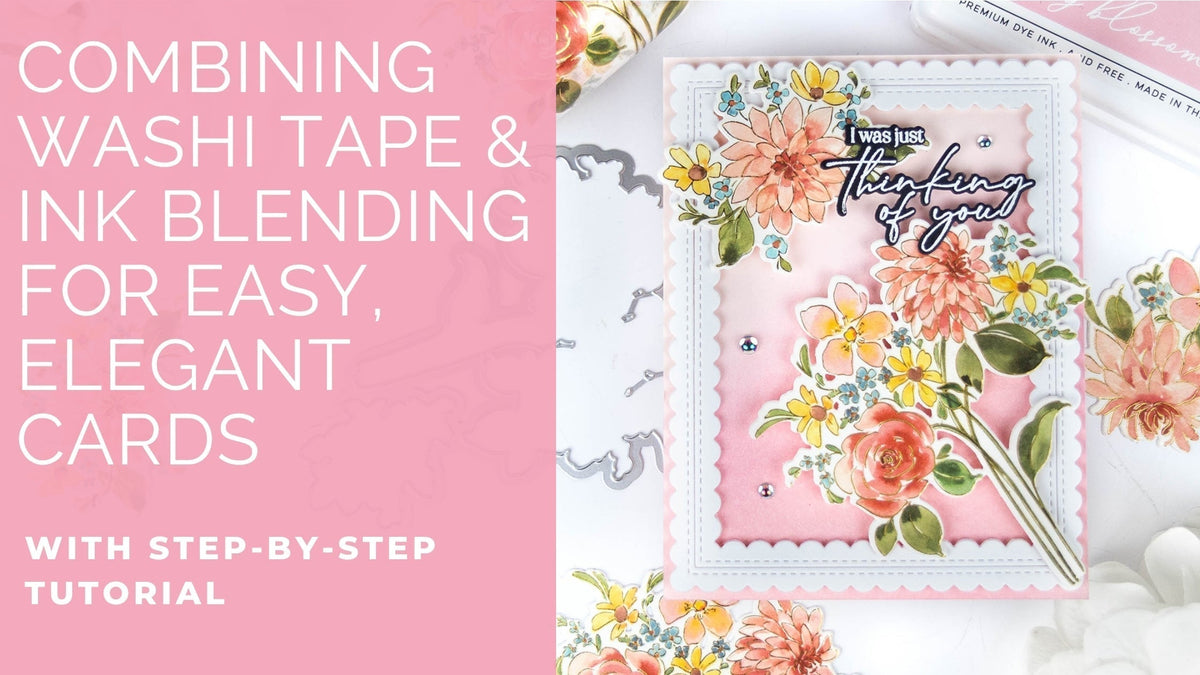
If you love elegant handmade cards with soft color, gold accents, and just the right amount of shimmer, this design is full of techniques you will want to try. Combining hot foiling, heat embossing, custom ink blending, and layered die cuts creates a card that feels refined without being overly complicated.
One of my favorite details on this card is the custom ink-blended center panel. By layering Fresh Pear and Misty Coast inks together, I was able to create the exact muted green tone found in the leaves of the Peony Glow washi tape. That little detail helps everything feel coordinated and intentional.
The gold foil background, embossed sentiment, and glitter dots add shine throughout the design, while the soft floral images keep the card feeling light and timeless. If you enjoy floral cardmaking with elegant details and polished finishing touches, this is a beautiful technique combination to try.
*Disclaimer: All products used are linked below as clickable images. If a product isn't listed, it's been discontinued.

How to re-create this card:
- Create a white, top-folding A2 card base.
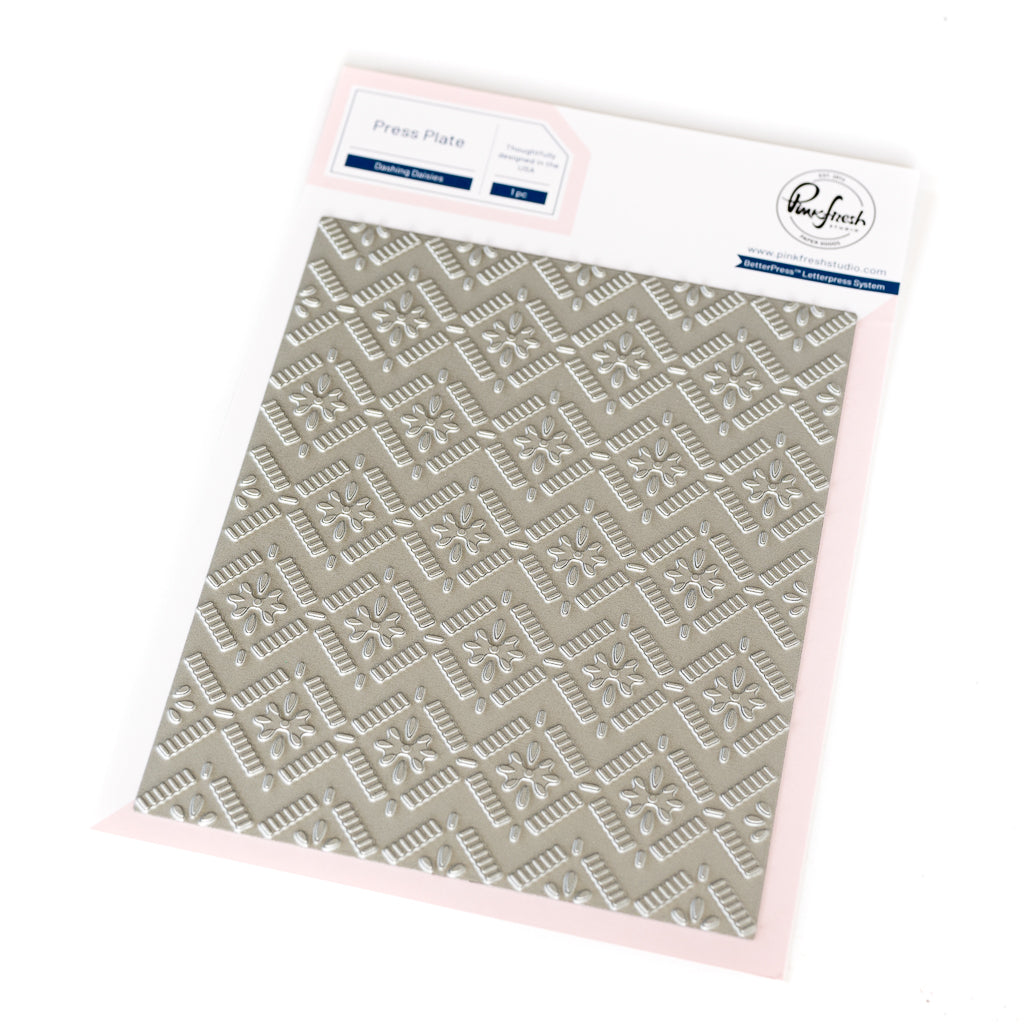
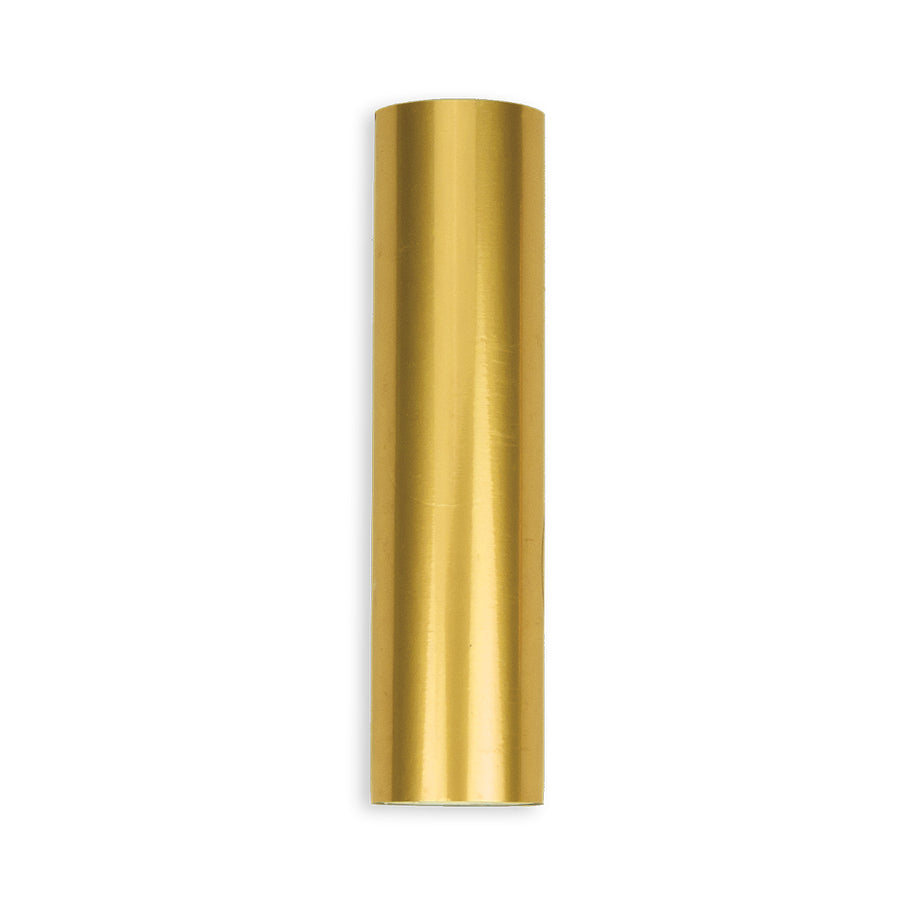
- Hot foil an A2 panel of white cardstock using the Dashing Daisies press plate and gold foil.
- Adhere the foiled panel to the card base.
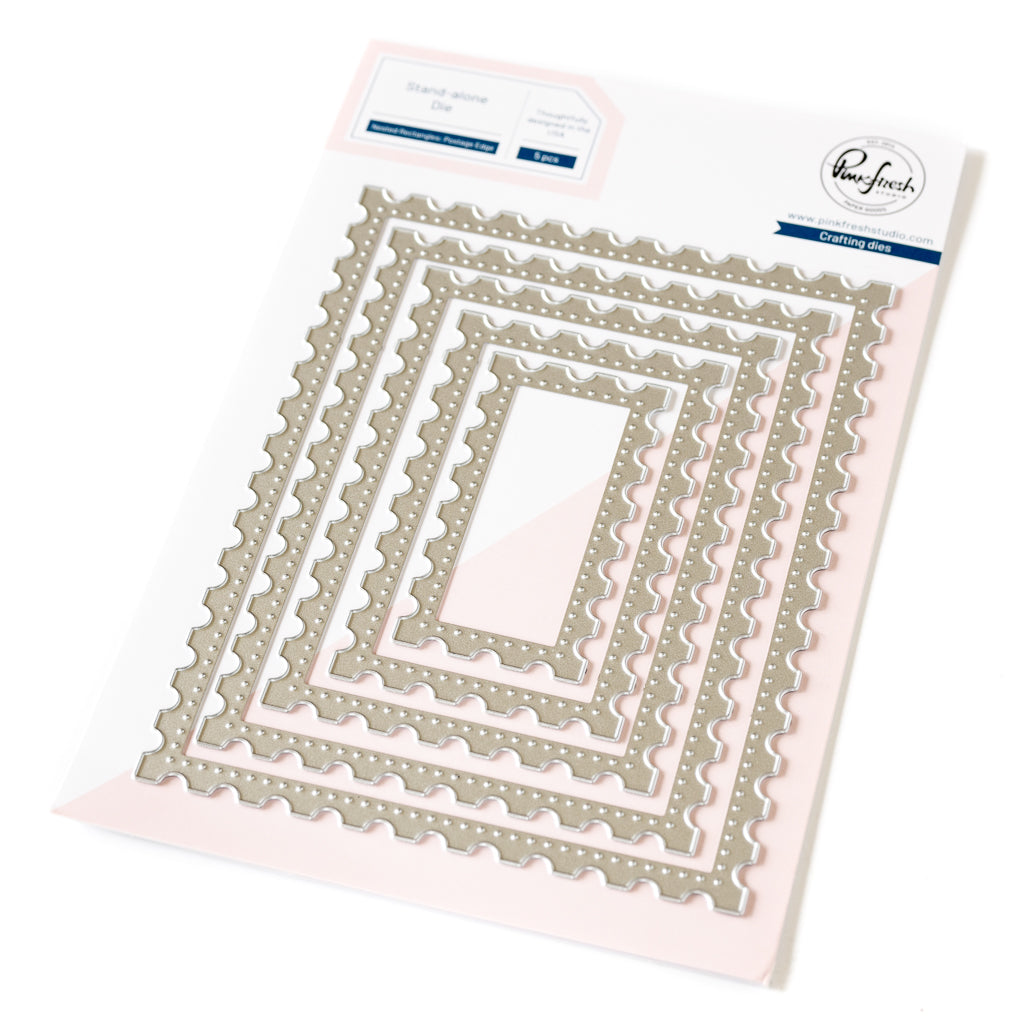
- Die cut the third-largest Postage Edge Rectangle twice from white cardstock.
- On one rectangle, mask off the outer edge.
- Ink blend the center first with Fresh Pear ink and then lightly blend Misty Coast ink over the top to create a muted green shade.
- Remove the masking and adhere the two Postage Edge Rectangles together for extra dimension.
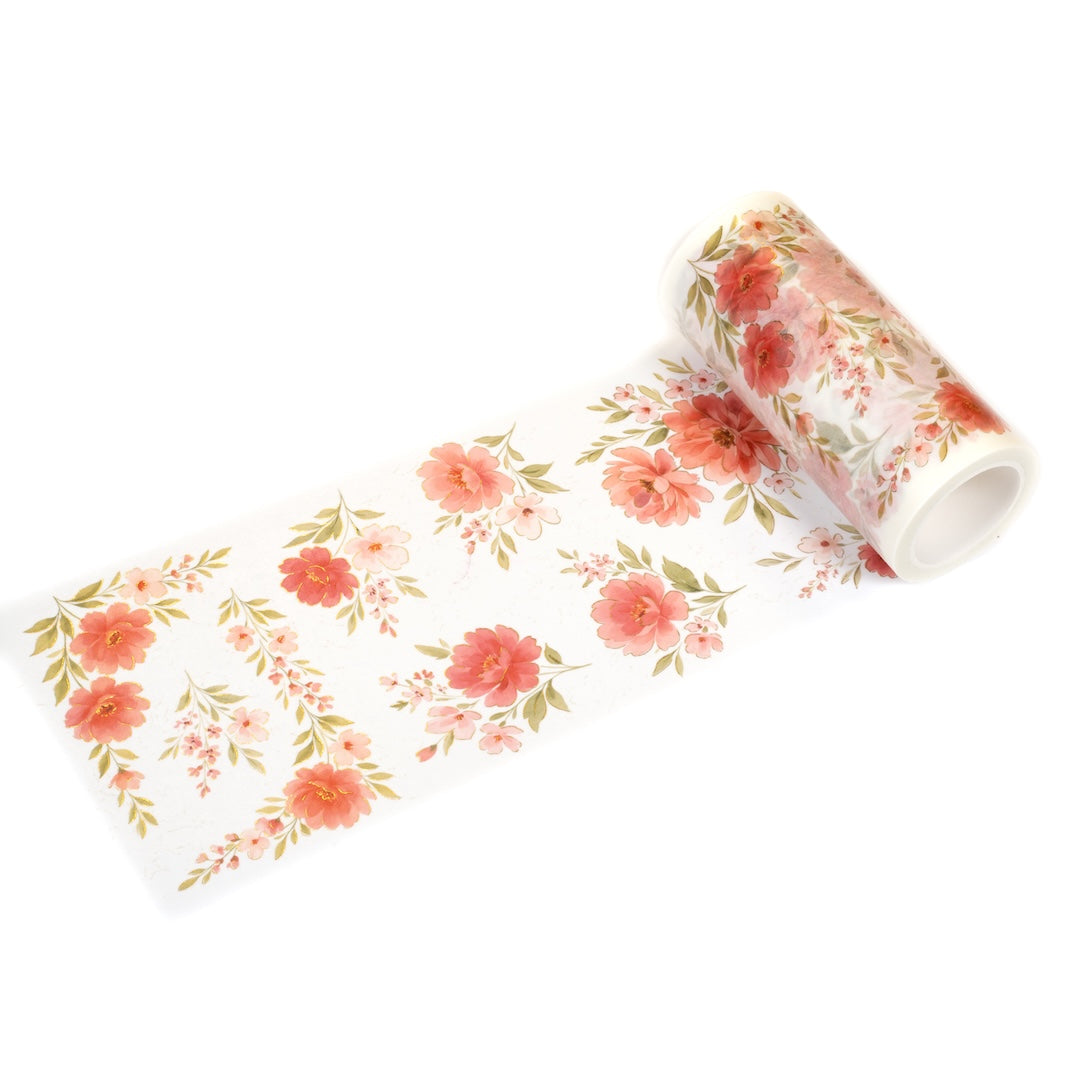
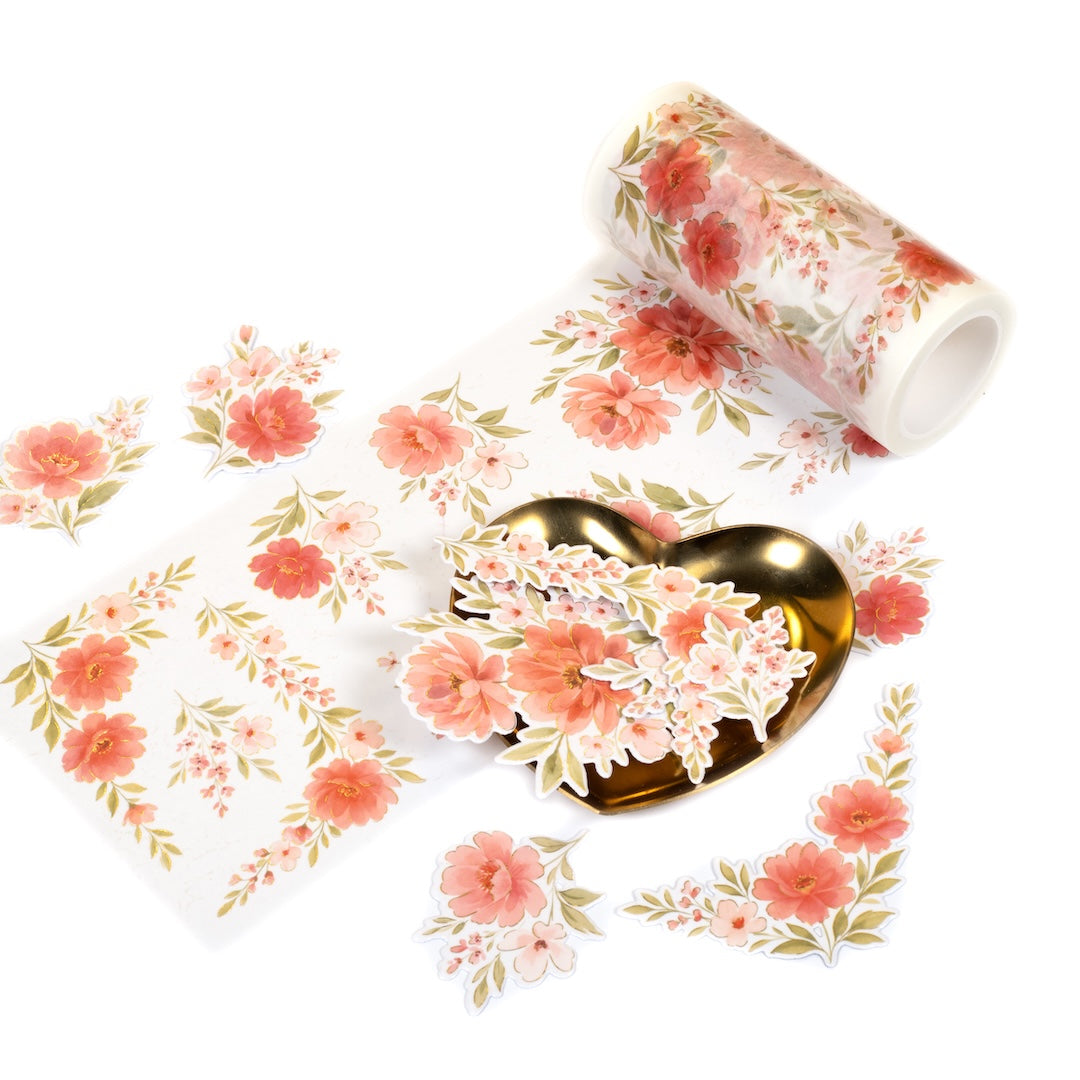
- Apply the Peony Glow washi tape to a 4 1/4" x 9 1/2" piece of white cardstock.
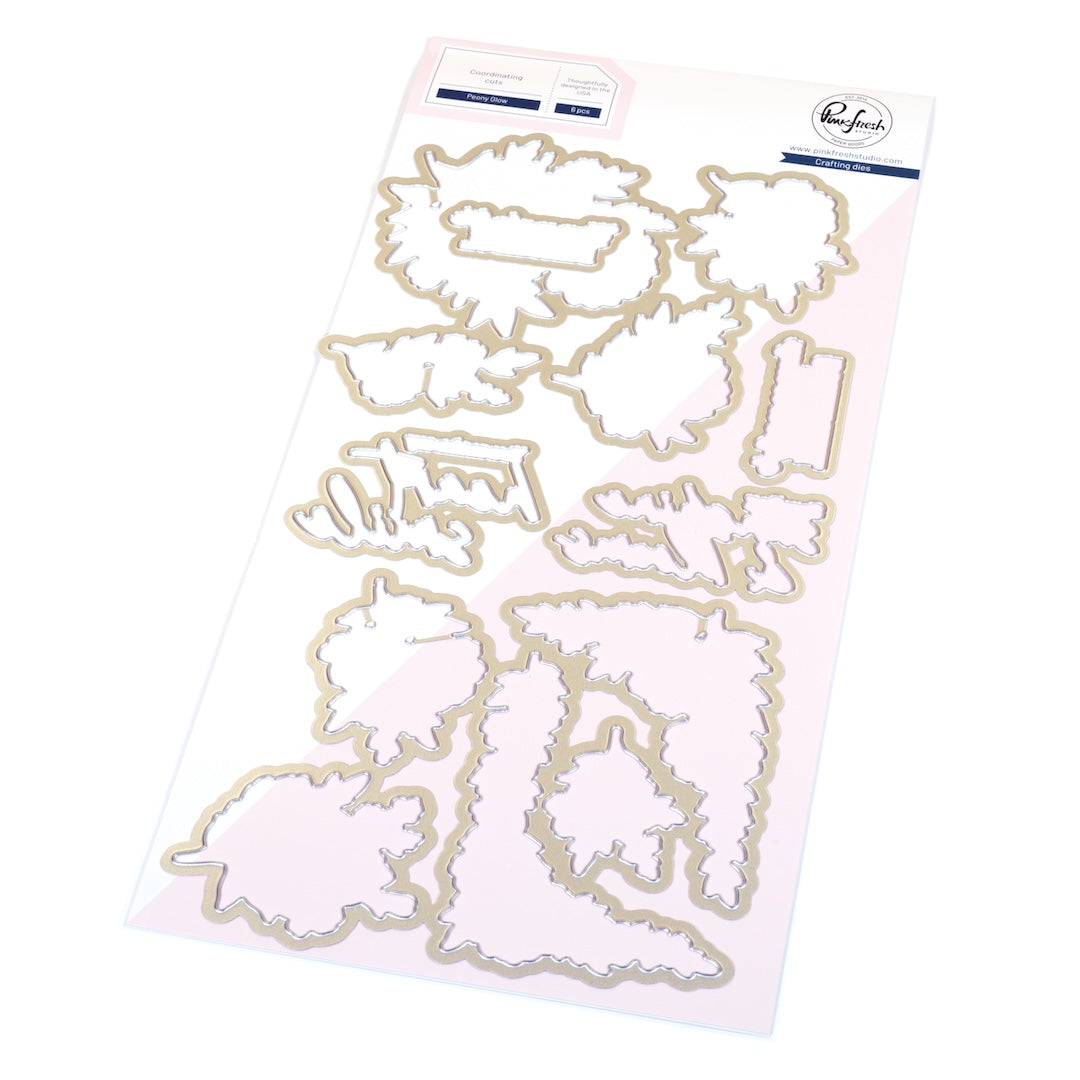
- Die cut the floral images using the coordinating die.
- Adhere each floral die cut to one blank layer for added sturdiness.
- Arrange and adhere the floral die cuts around the ink-blended rectangle.
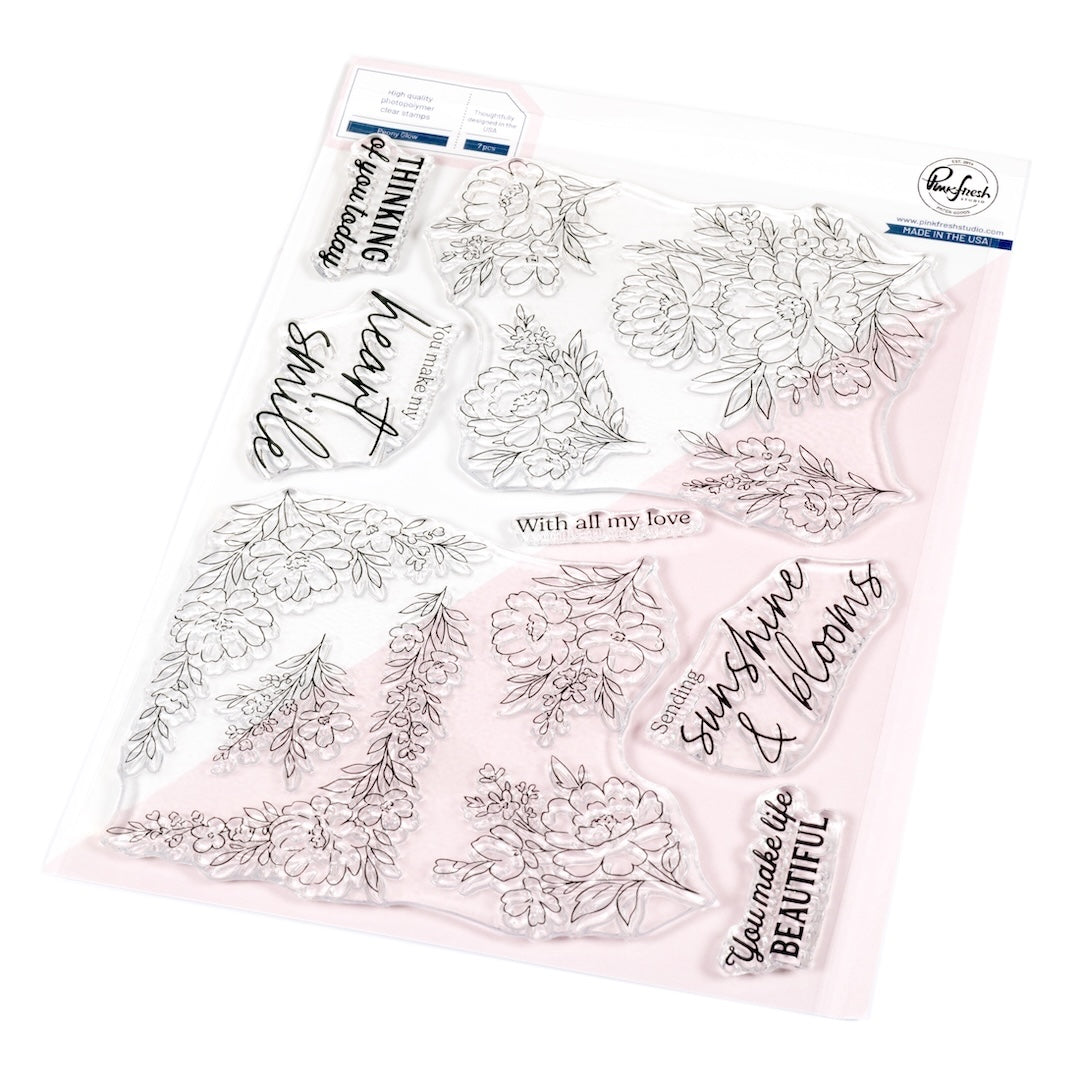
- Stamp the sentiment from the Peony Glow stamp set in VersaMark ink.
- Heat emboss the sentiment using gold embossing powder.
- Die cut the sentiment using the coordinating die.
- Adhere the sentiment to one blank layer for dimension.
- Adhere the sentiment over the florals using thick foam tape.
- Adhere the completed rectangle panel to the card front using thick foam tape.
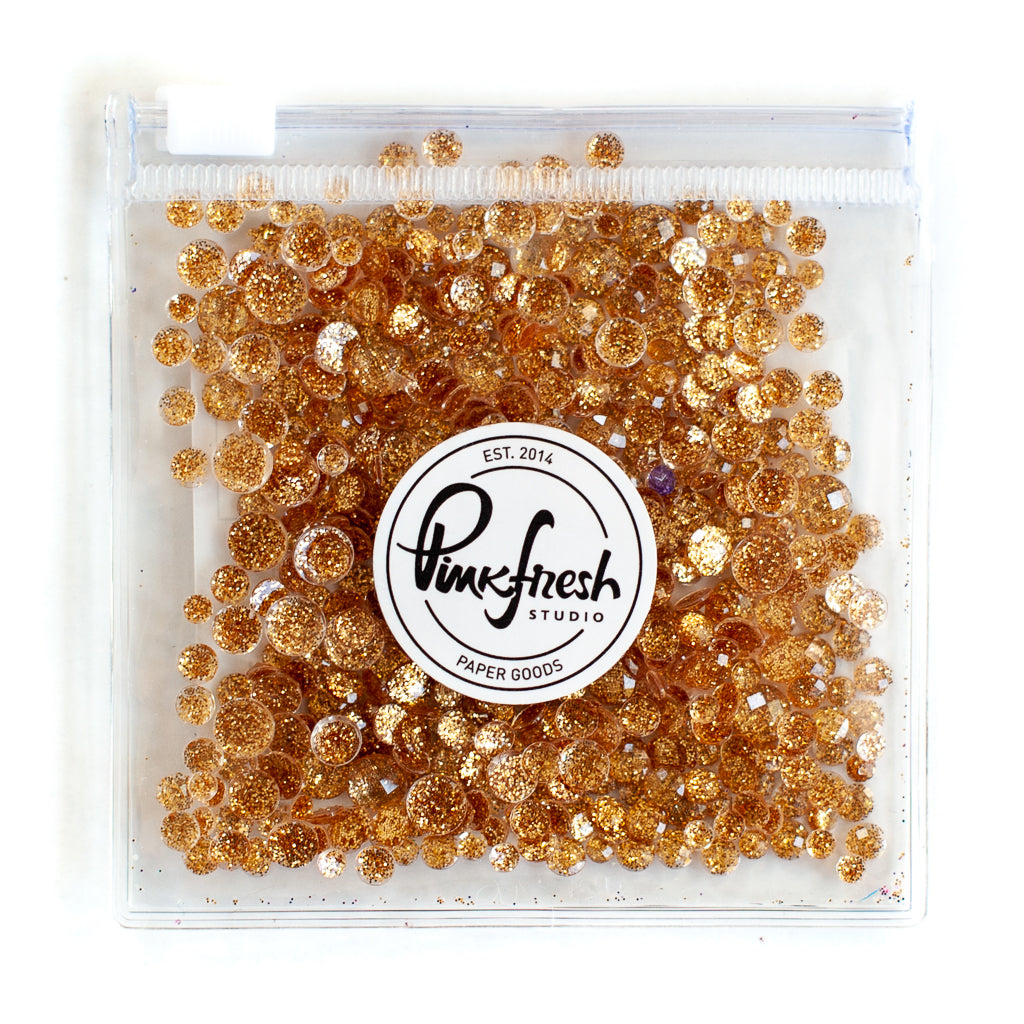
- Finish the card with three gold glitter dots.


I love how this card feels soft and elegant while still having plenty of detail and dimension. The muted green background panel helps tie in the floral leaves perfectly, while the gold foil, heat embossing, and glitter dots add just enough shine to make the design feel elevated.
Using coordinating colors across the florals, background, and sentiment creates a polished finished look, and layering the die cuts with blank pieces underneath gives everything a little extra presence on the card front.
This is such a great design to recreate when you want something timeless, feminine, and full of subtle luxury.
Recommended Products































Leave a comment
All comments are moderated before being published.
This site is protected by hCaptcha and the hCaptcha Privacy Policy and Terms of Service apply.