
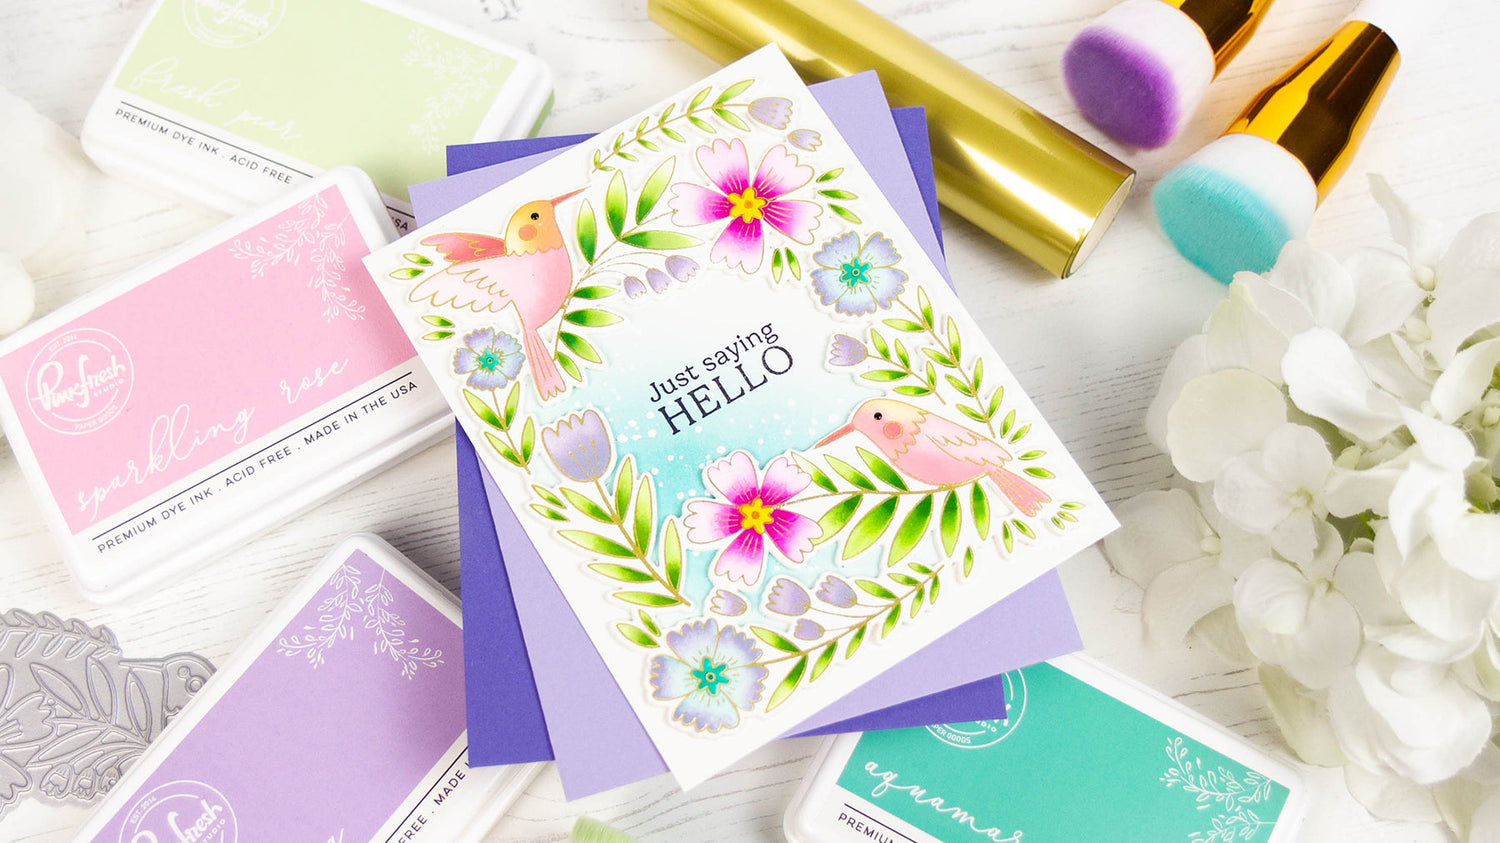
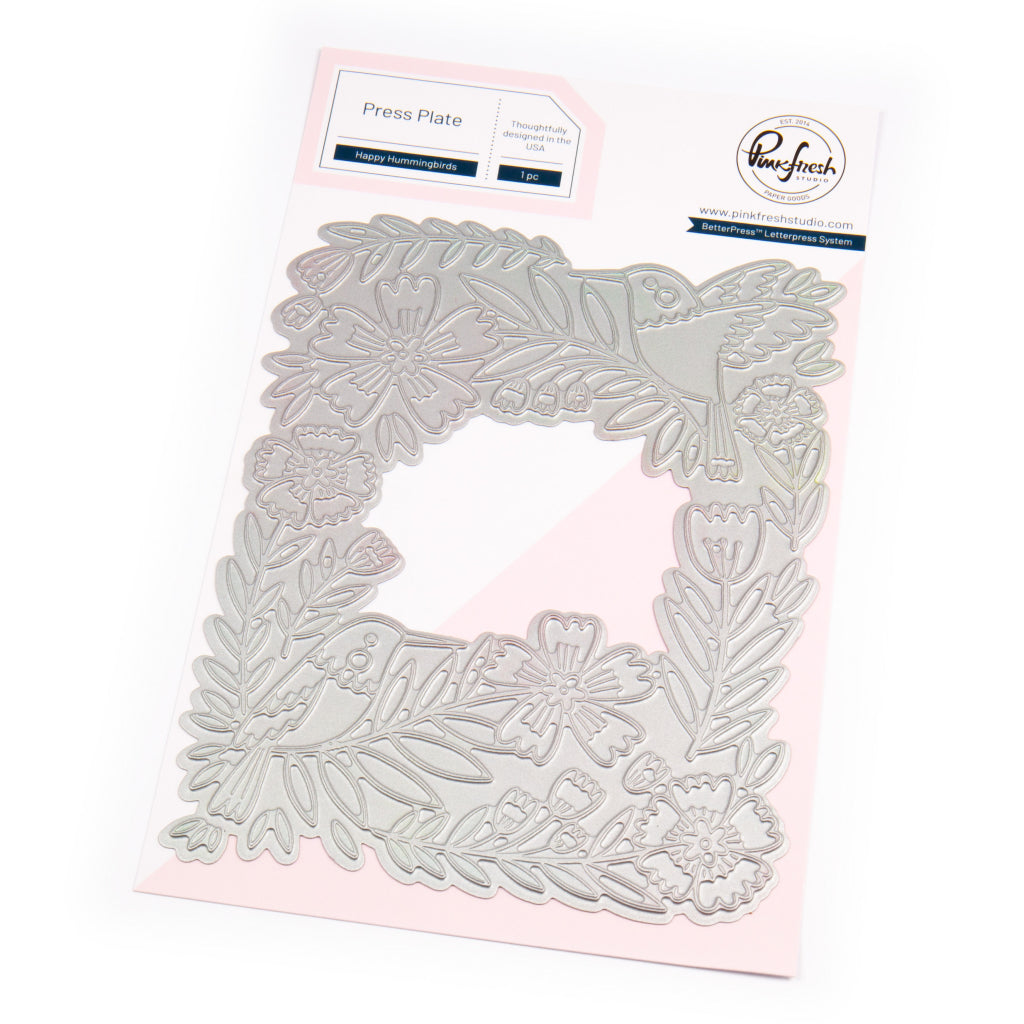
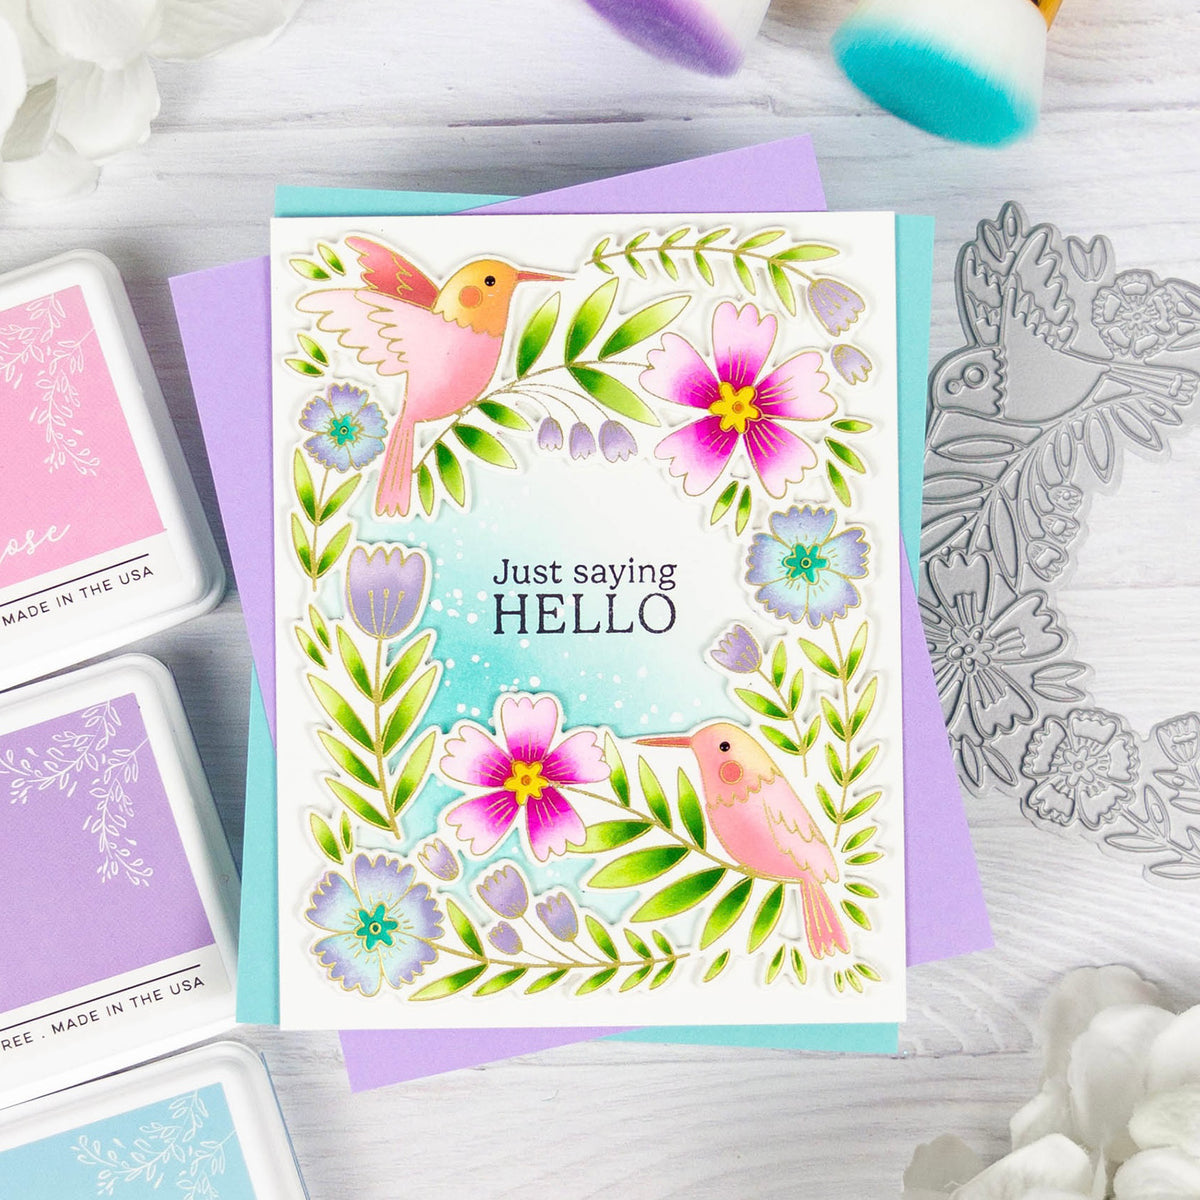
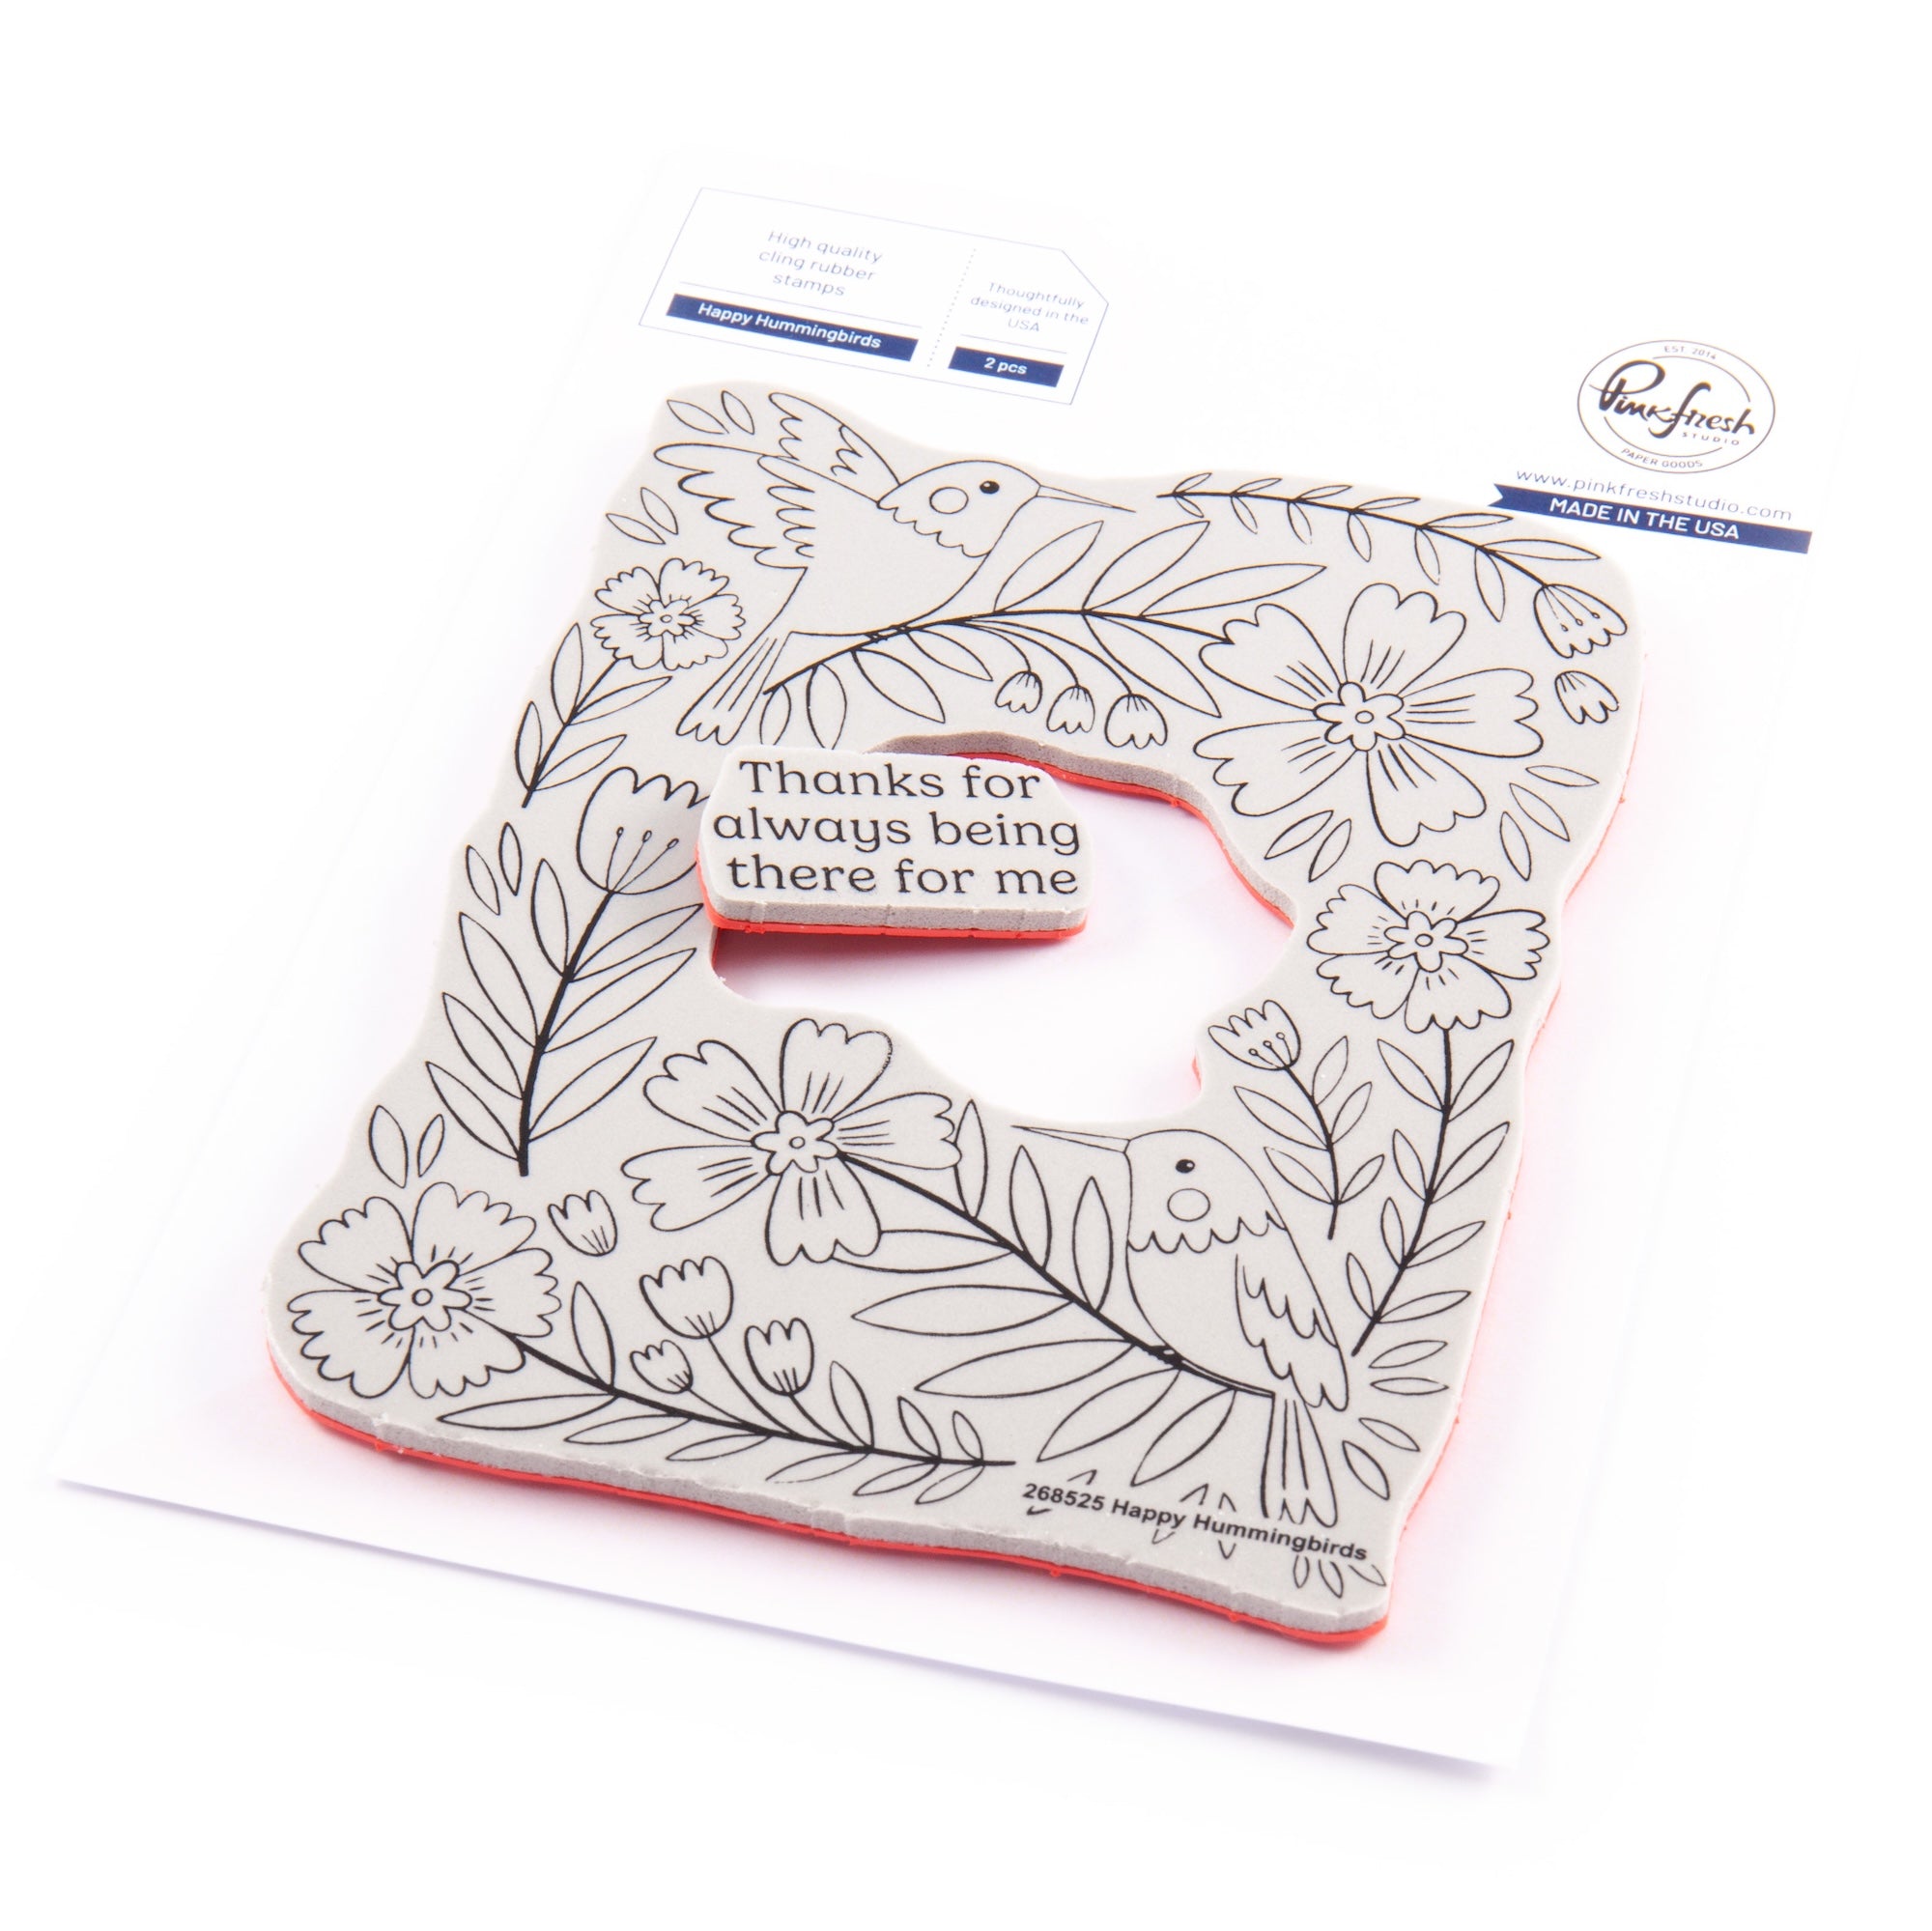
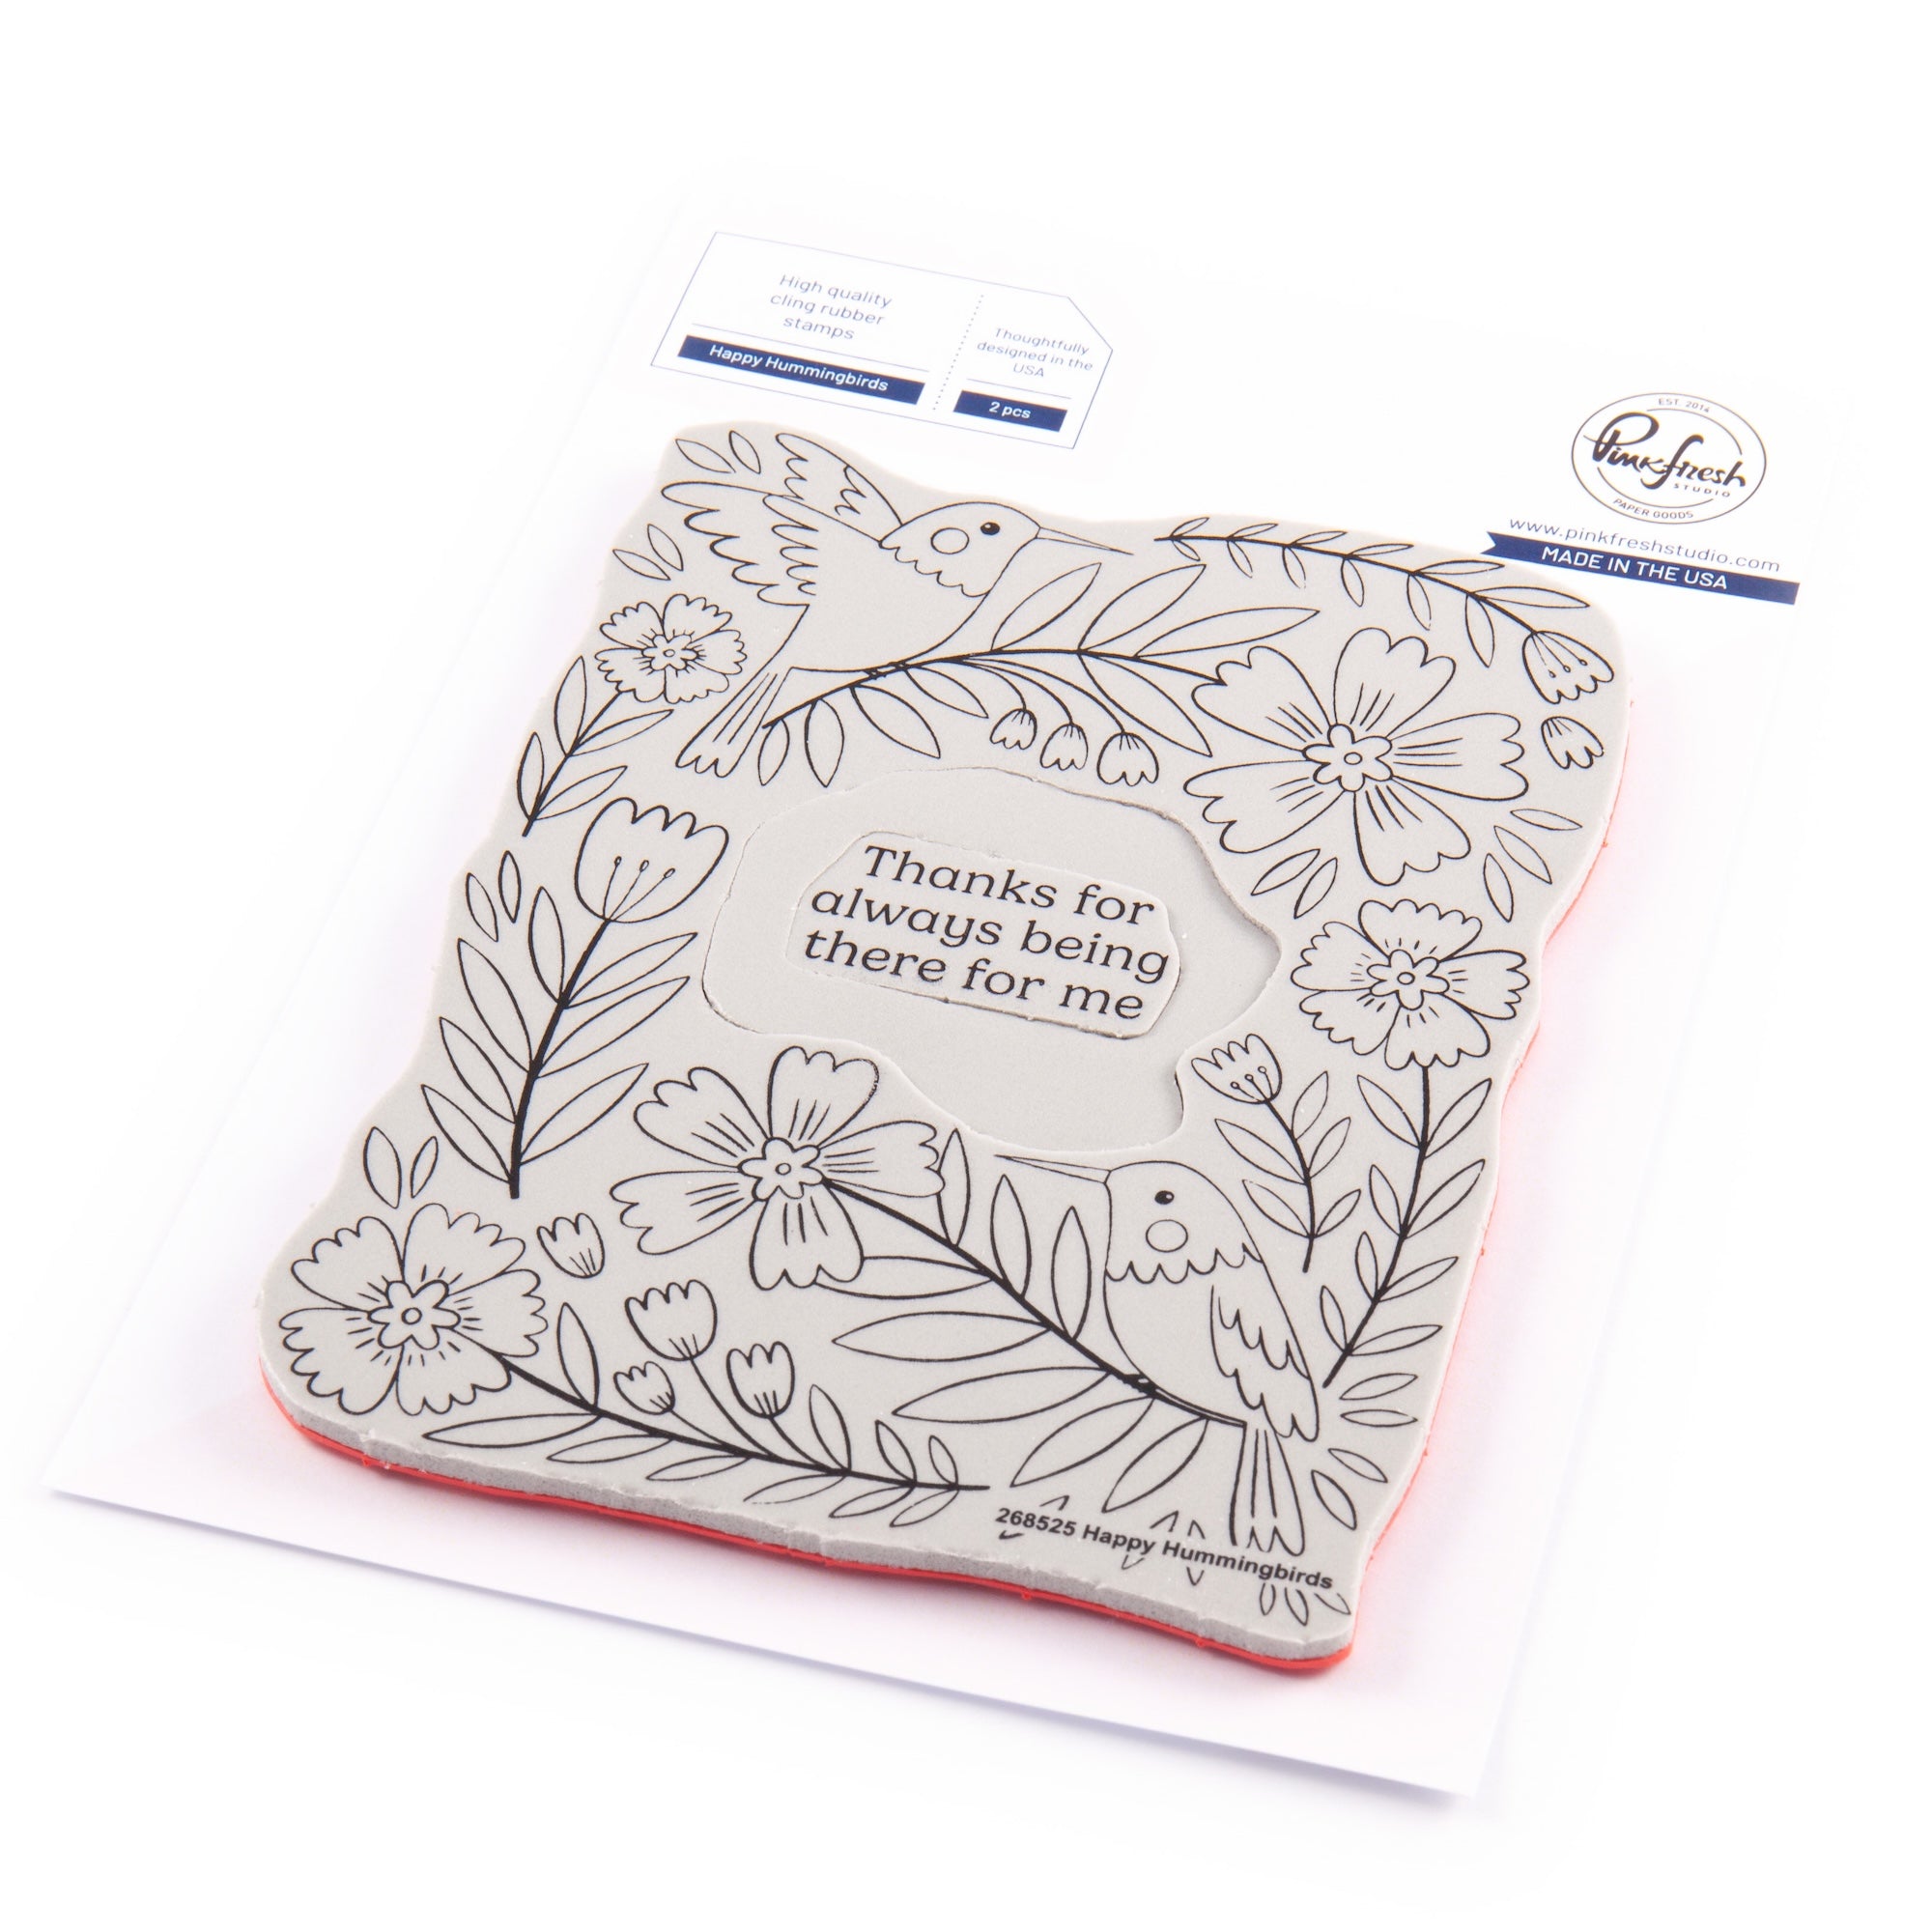
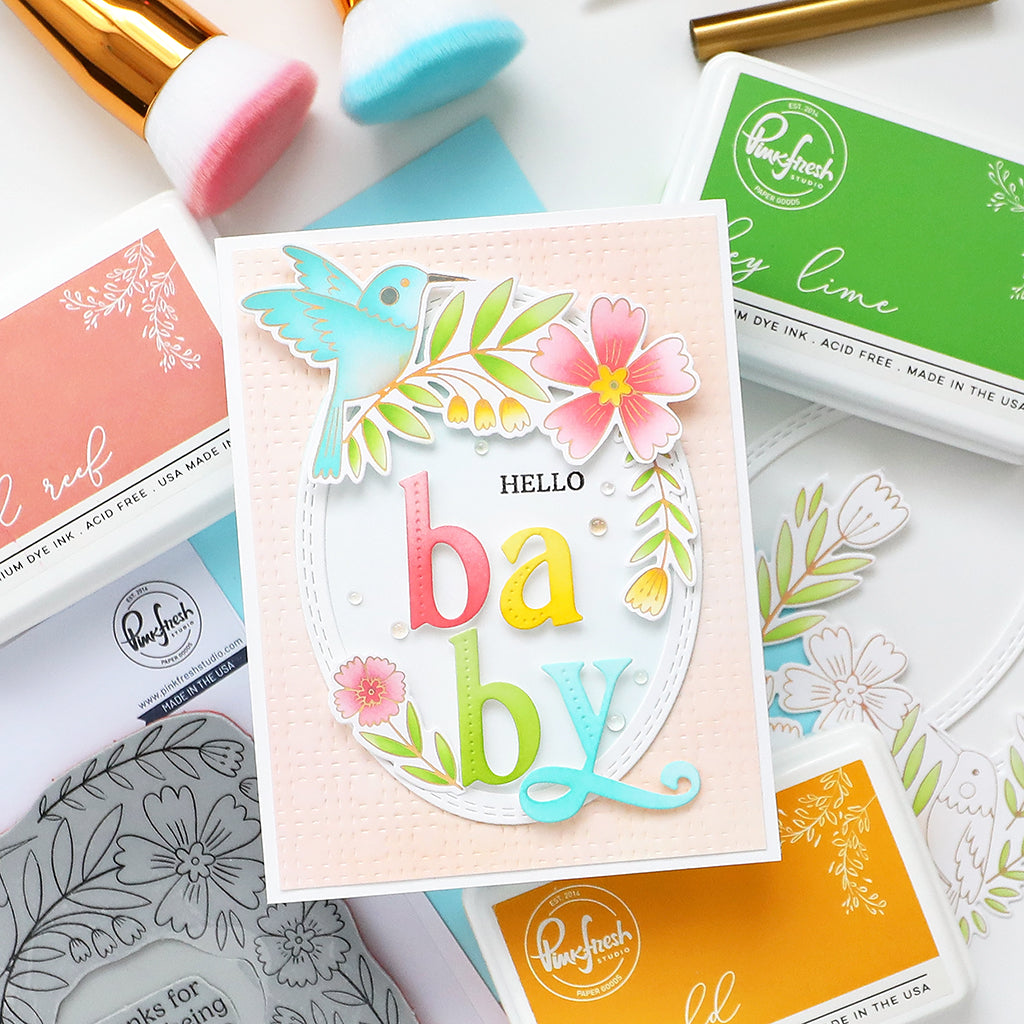
Hello everyone! It's my first time up on the Pinkfresh Studio blog, and I'm so happy to share with you a card I created using the newly released Happy Hummingbirds Press Plate and coordinating stencils set. For those of you who may want the option of stamping instead of hot foiling, there is also a Happy Hummingbirds Cling Stamp and matching die set that coordinates with both the press plate and the cling stamp.
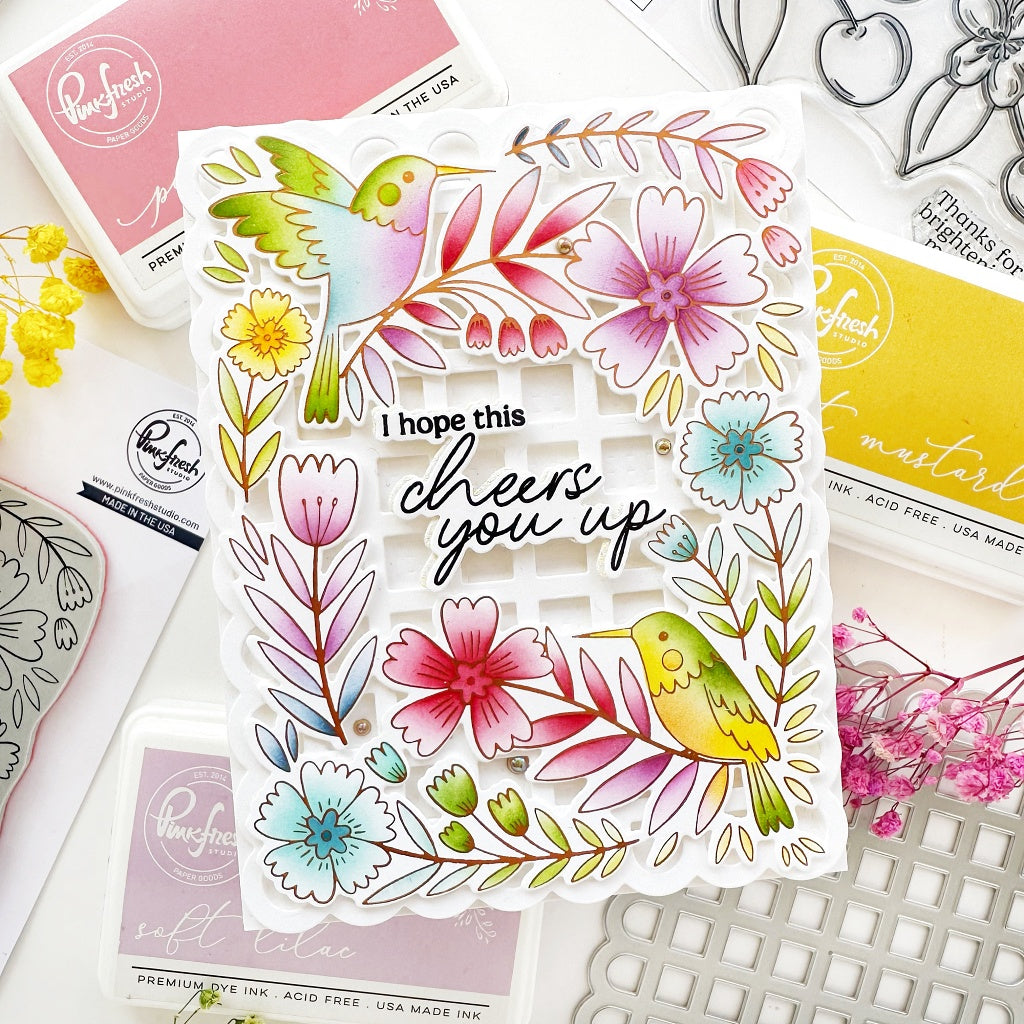
I immediately fell in love with this gorgeous set and was pleasantly surprised at how easy it was to create an elegant card using ink along with the coordinating stencils.
*Disclaimer: All products used are linked below as clickable images. If a product isn’t listed, it’s been discontinued.

How to recreate this card:
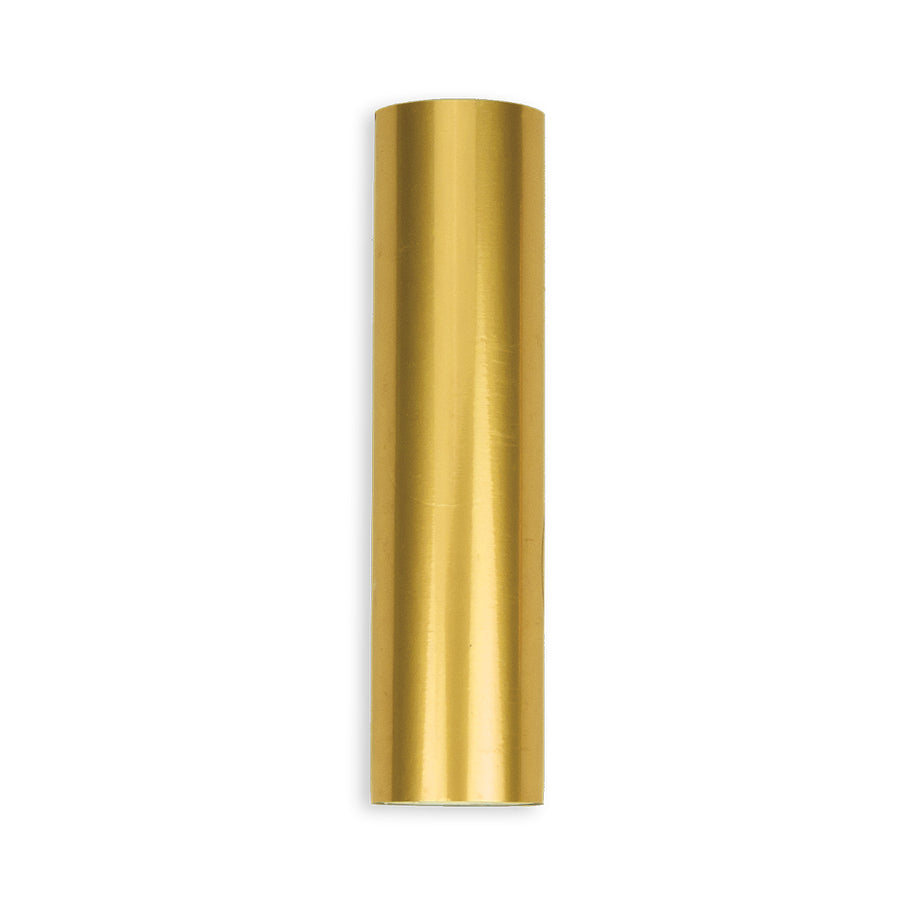
1. Start by hot-foiling the Happy Hummingbirds Press Plate with matte gold foil onto a 4.25" x 5.5" (or slightly larger) panel of white card stock. (I used Neenah Classic Crest Solar White 110lb.)
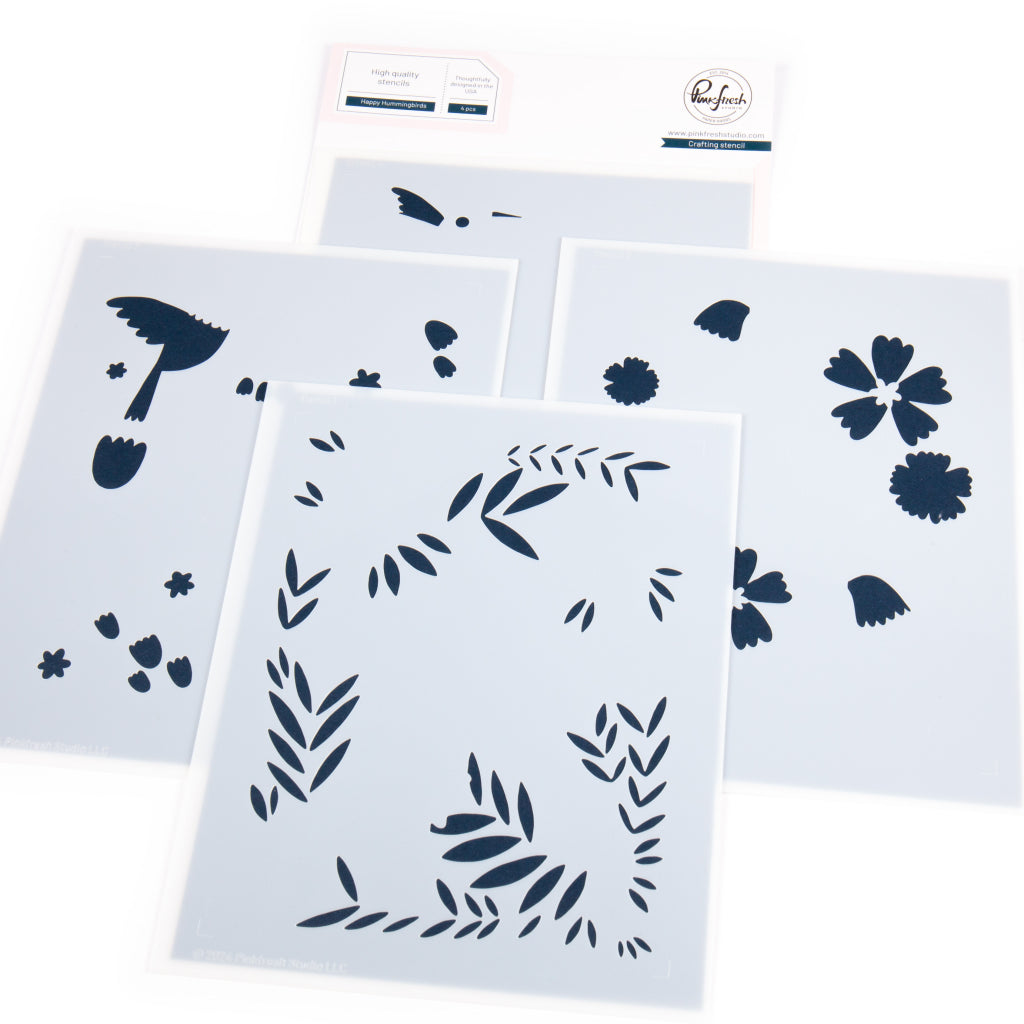
2. Use the Happy Hummingbirds Stencil Set and Pinkfresh Studio inks to add color to your image.
- Stencil 1: Fresh Pear, Grassy Knoll
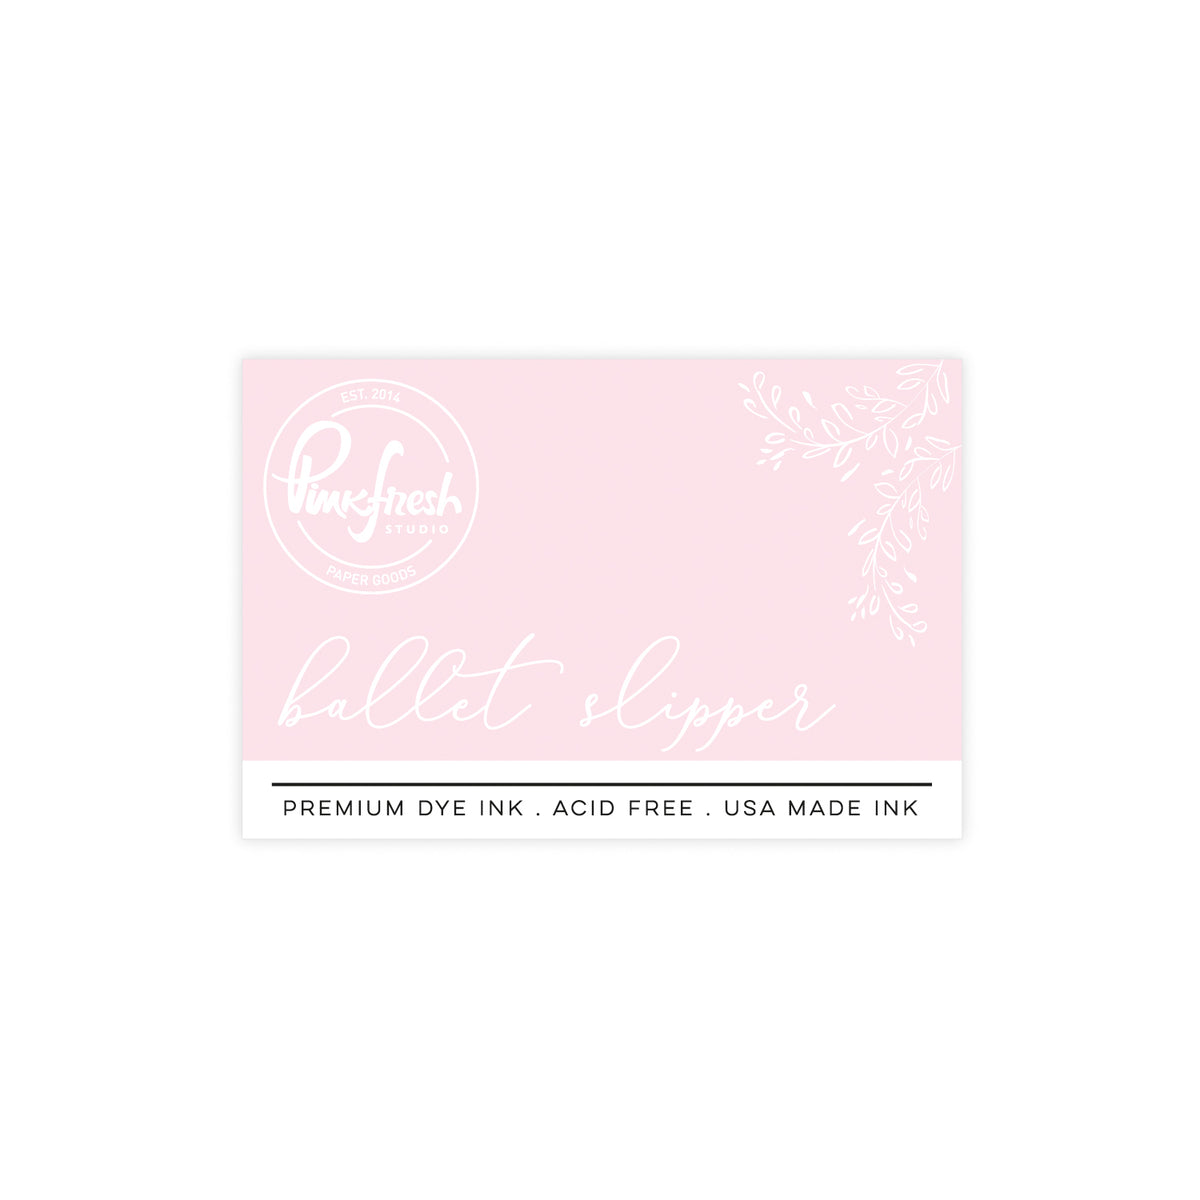
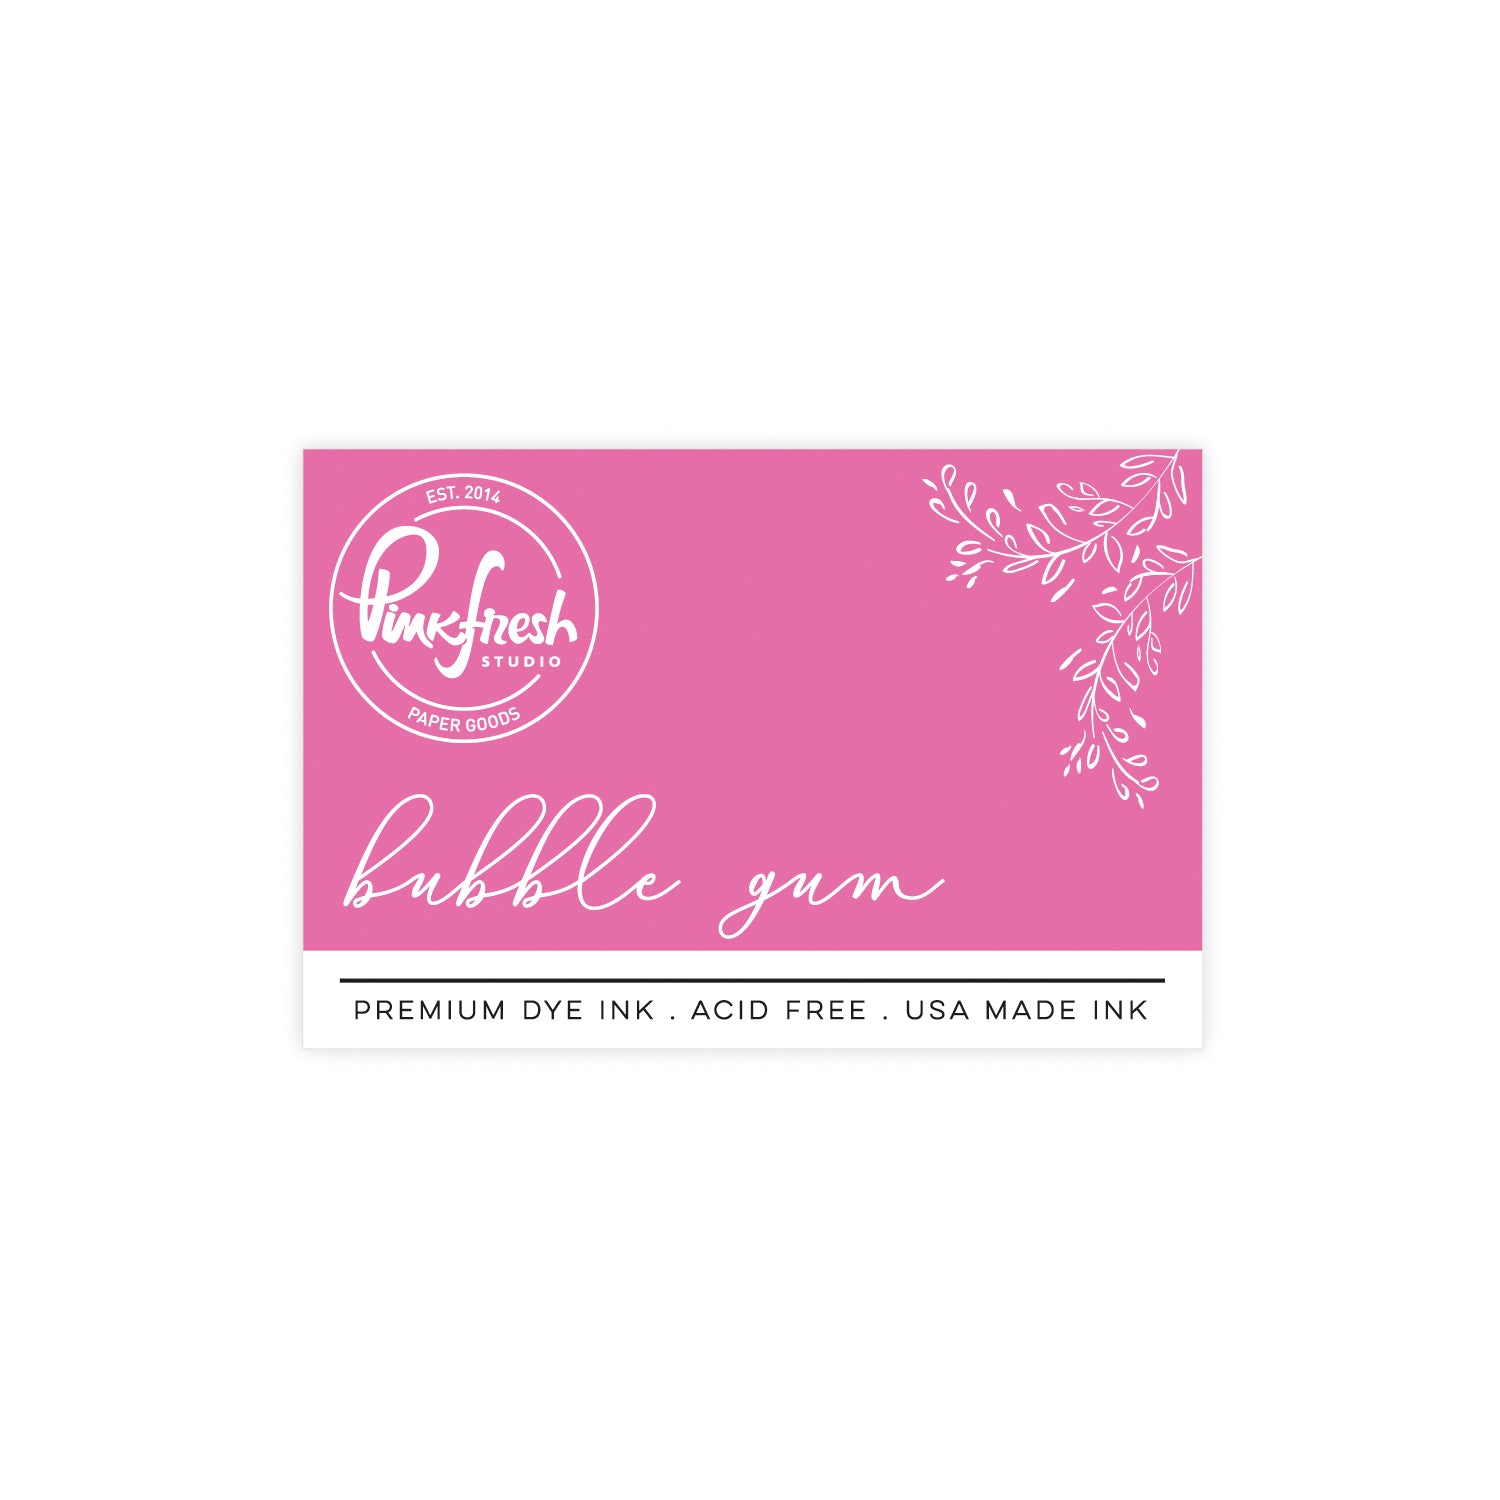
- Stencil 2: Ballet Slipper, Sparkling Rose, Bubble Gum, Ocean Breeze, Wisteria, Peach Fuzz, Cherry Blossom
- Stencil 3: Cherry Blossom, Peony, Sheer Freesia, Wisteria, Sunshine, Aquamarine
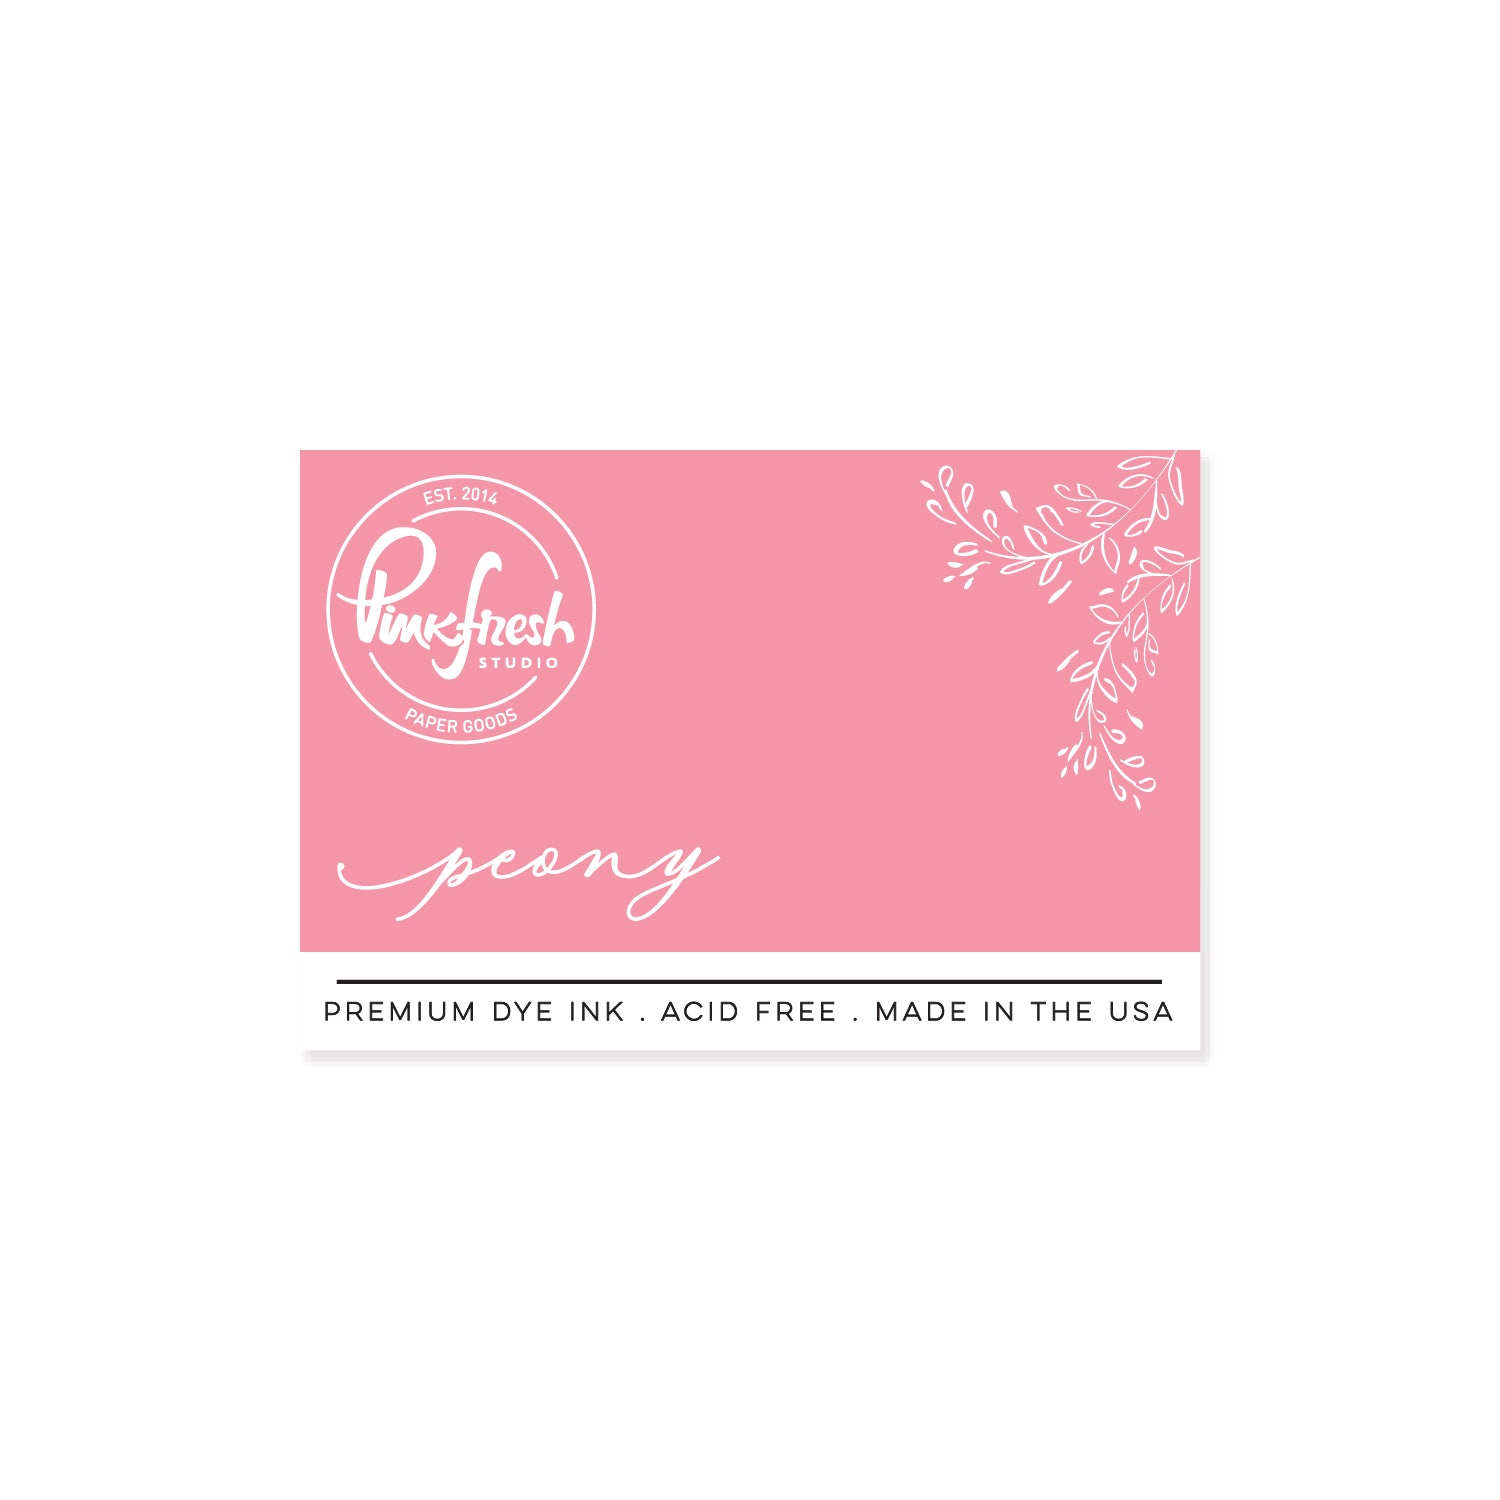
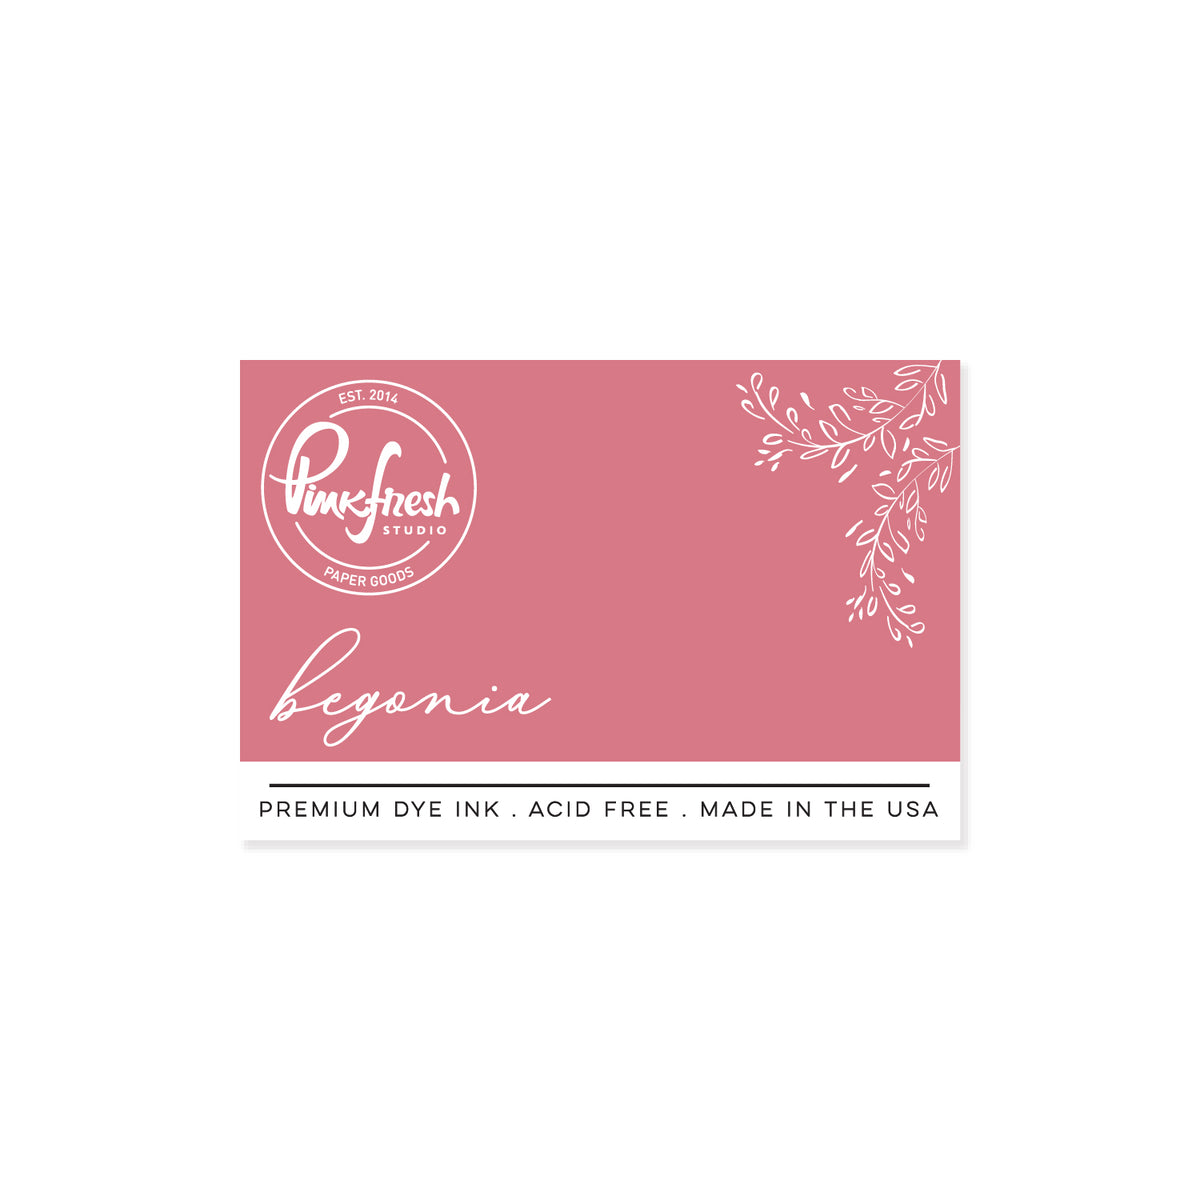
- Stencil 4: Peony, Begonia
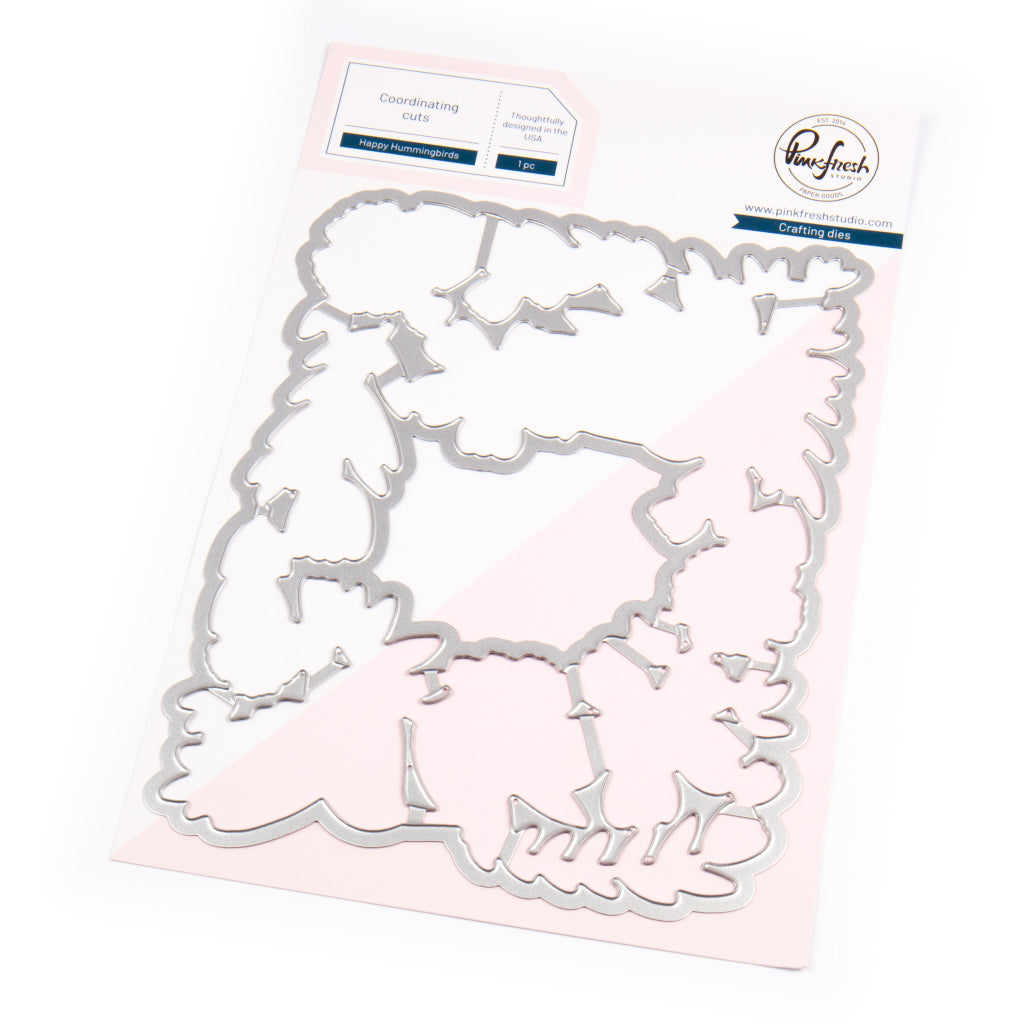
3. Die cut the entire ink-blended image using the coordinating die and set aside.
4. Use the coordinating die again to die cut the outline of the main image two more times from white card stock and adhere the three identical layers together using liquid adhesive. Make sure that the foiled/ink-blended piece goes on top. Layering like this allows for a pop of dimension without having to use a bunch of foam tape.
5. For the card base, lightly blend the center area of a 4.25" x 5.5" panel of white card stock with Waterfall Ink and add some white ink spatters if desired.
6. Once the background is dry, stamp your sentiment in the center of the base panel with black ink
7. To finish the card, add the dimensional image of the happy hummingbirds on top of the ink-blended base with more liquid adhesive
Quick Tips: Once I was finished, I carefully added dimension to the hummingbirds' eyes with some Nuvo Black Crystal Drops. You can always use a black gel pen (which dries a lot faster) for a similar effect. Also, you can easily change out the sentiment or the colors to use this design for almost any occasion!

I absolutely love the subtle shimmer from the matte gold foil! I hope you will give this set a try; I'd love to see what you create! Tag us on Instagram with your version of this card!
Feel free to leave a comment below with your favorite part of this card or any questions you may have.
Wishing you all a wonderful day!
- Rachel
Recommended Products






























Leave a comment
All comments are moderated before being published.
This site is protected by hCaptcha and the hCaptcha Privacy Policy and Terms of Service apply.