
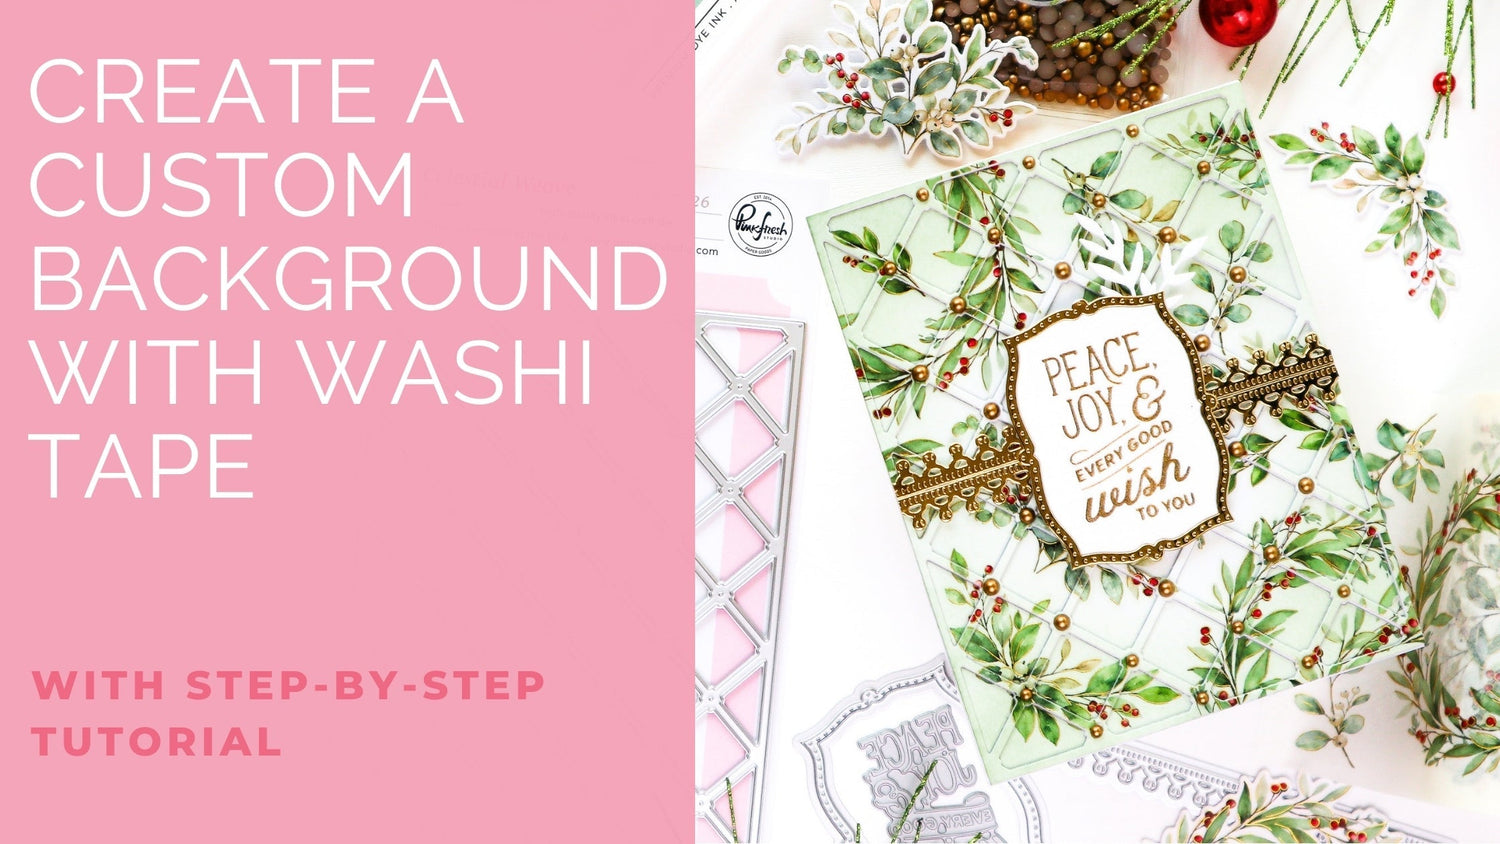
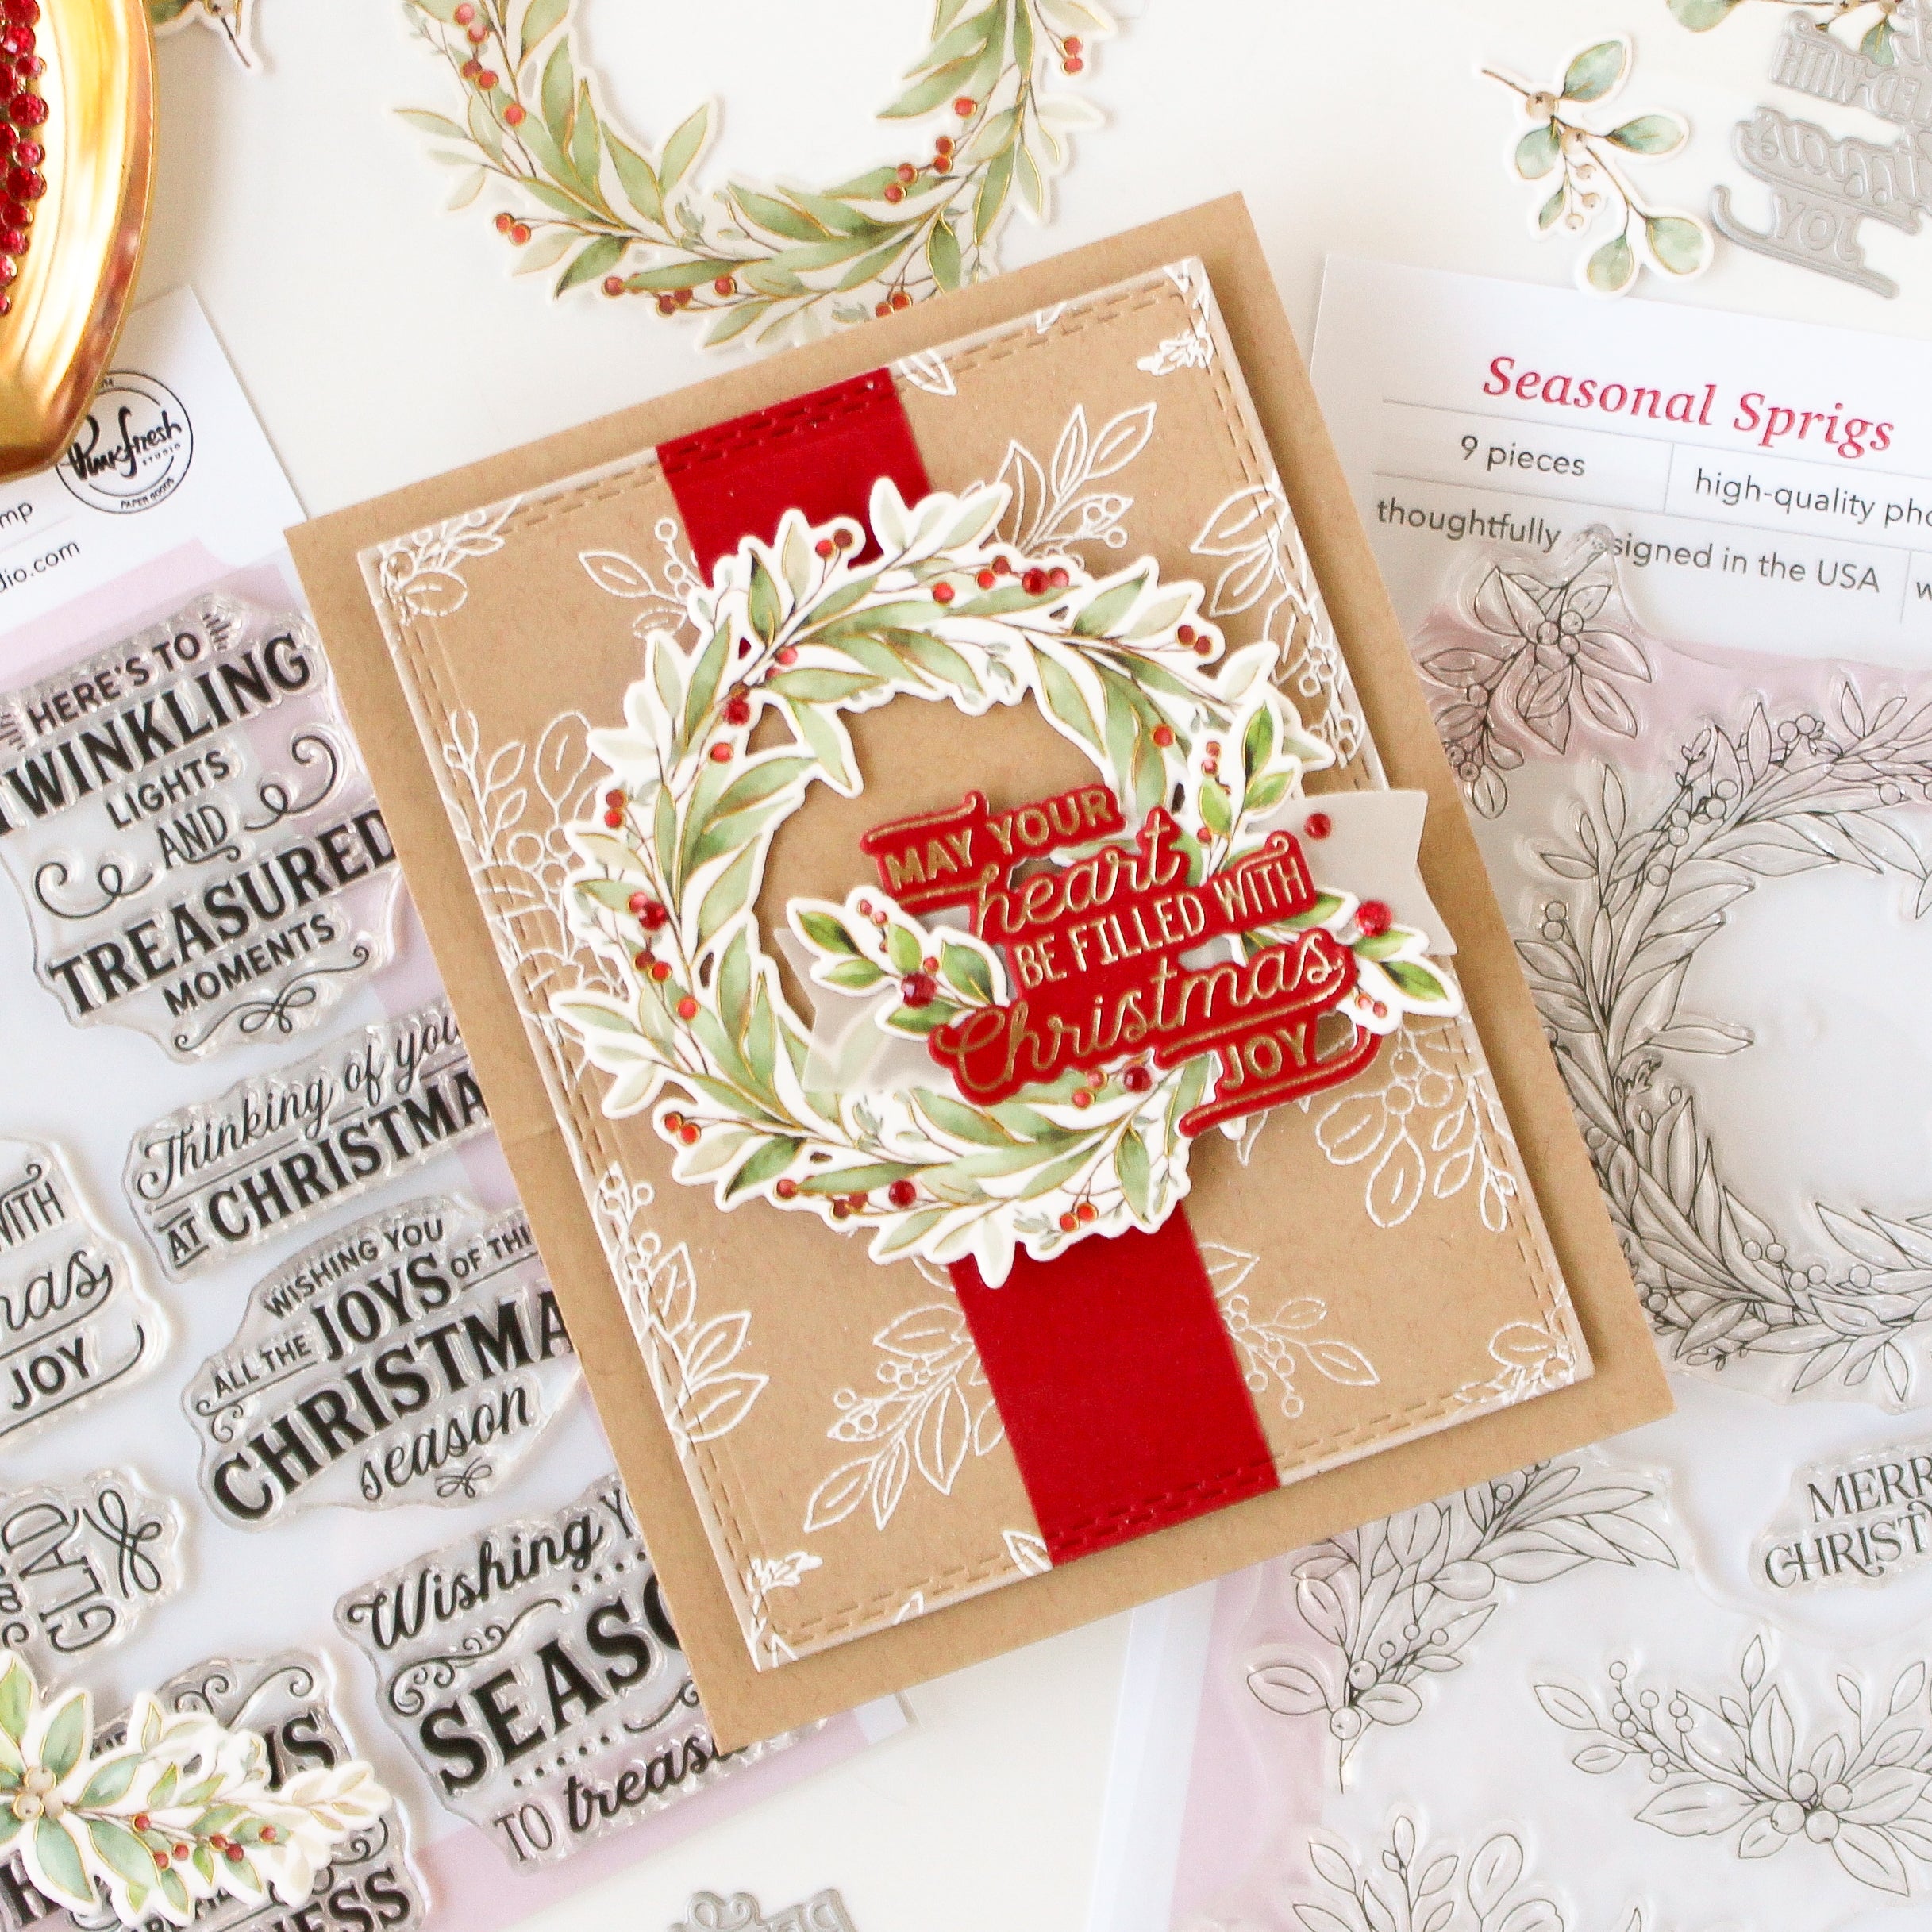
Hello everyone! I hope your week is off to a great start! It’s TaeEun here today with a holiday card featuring some beautiful new festive products from the Season of Wonder Release.
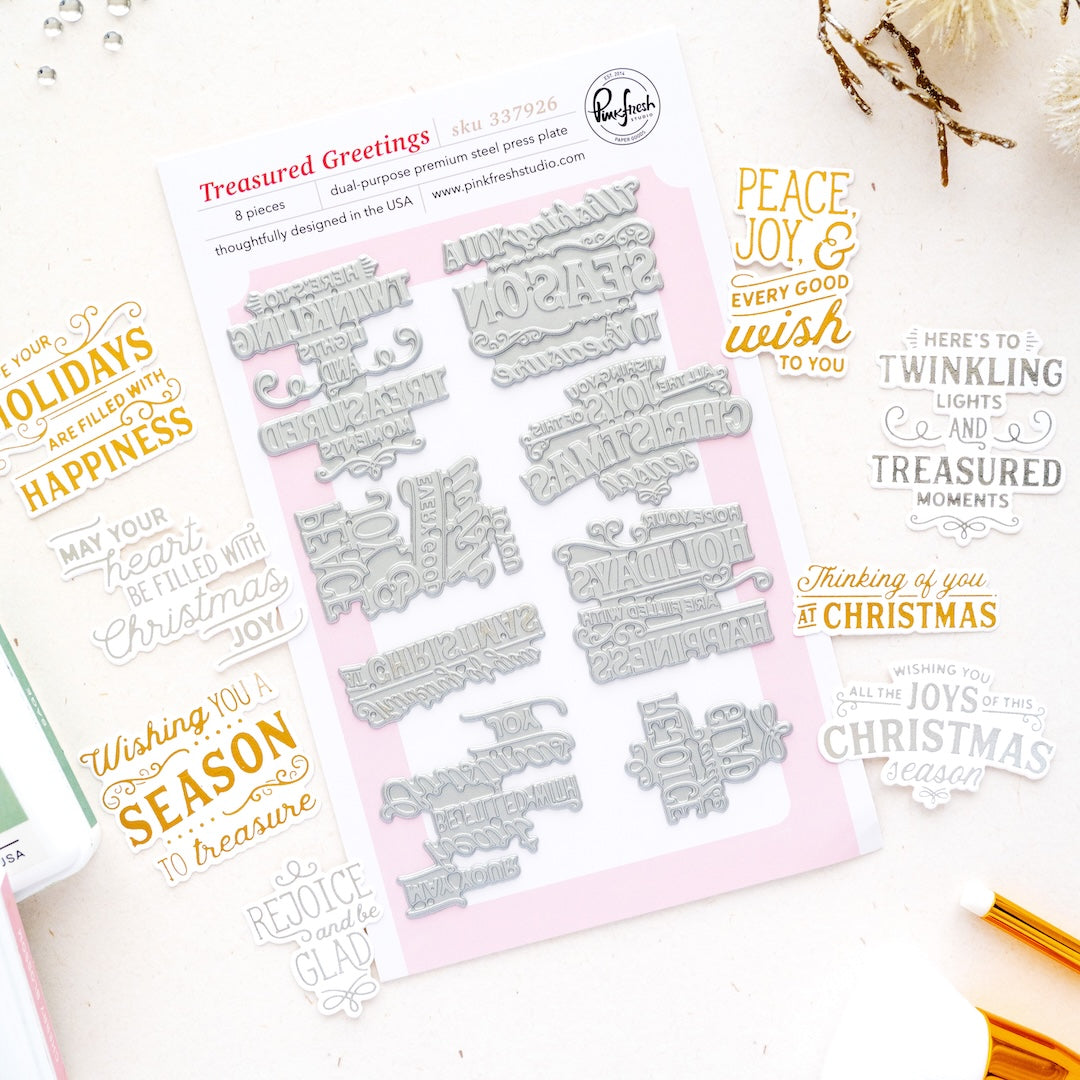
For this card, I created an all over patterned background using individual images from the Seasonal Sprigs Washi tape, then added texture and dimension with the Celestial Weave die. A large gold-foiled sentiment from the Treasured Greetings set became the focal point with elegant gold details for a classic holiday look.
*Disclaimer: All products used are linked below as clickable images. If a product isn’t listed, it’s been discontinued.

Here is how I made the card.
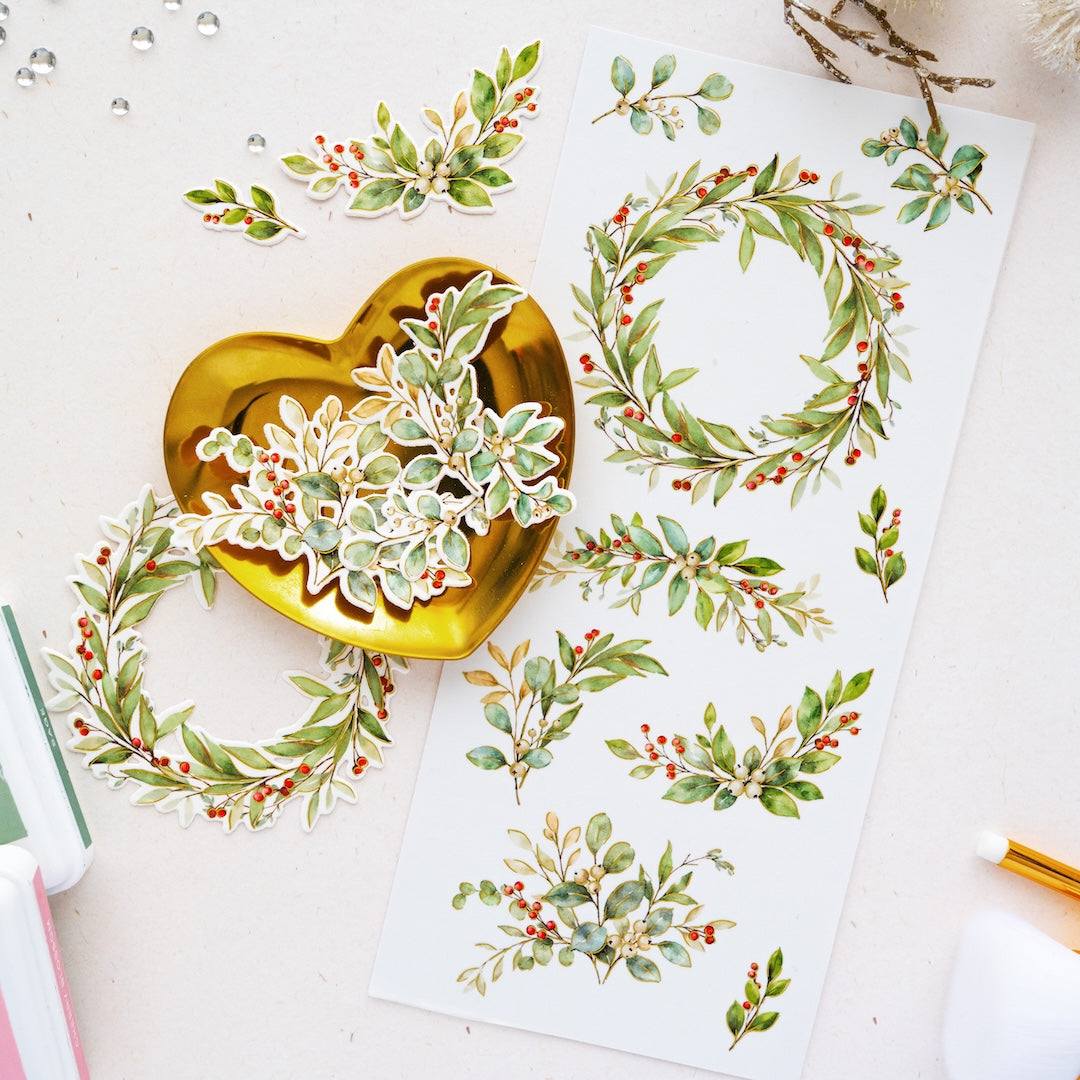
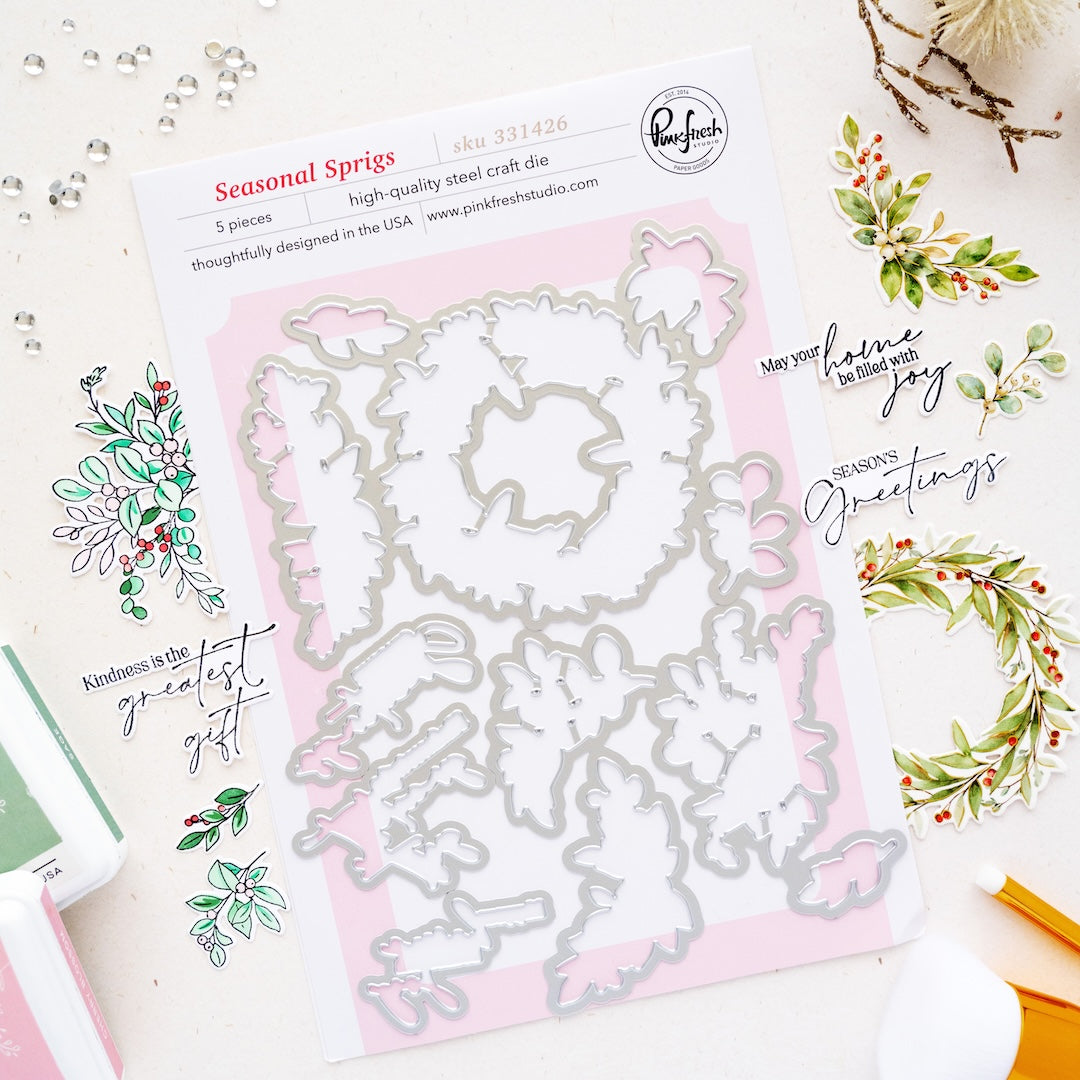
- Adhere the Seasonal Sprigs Washi tape onto a piece of sticker backing paper and die cut the images using the coordinating die.
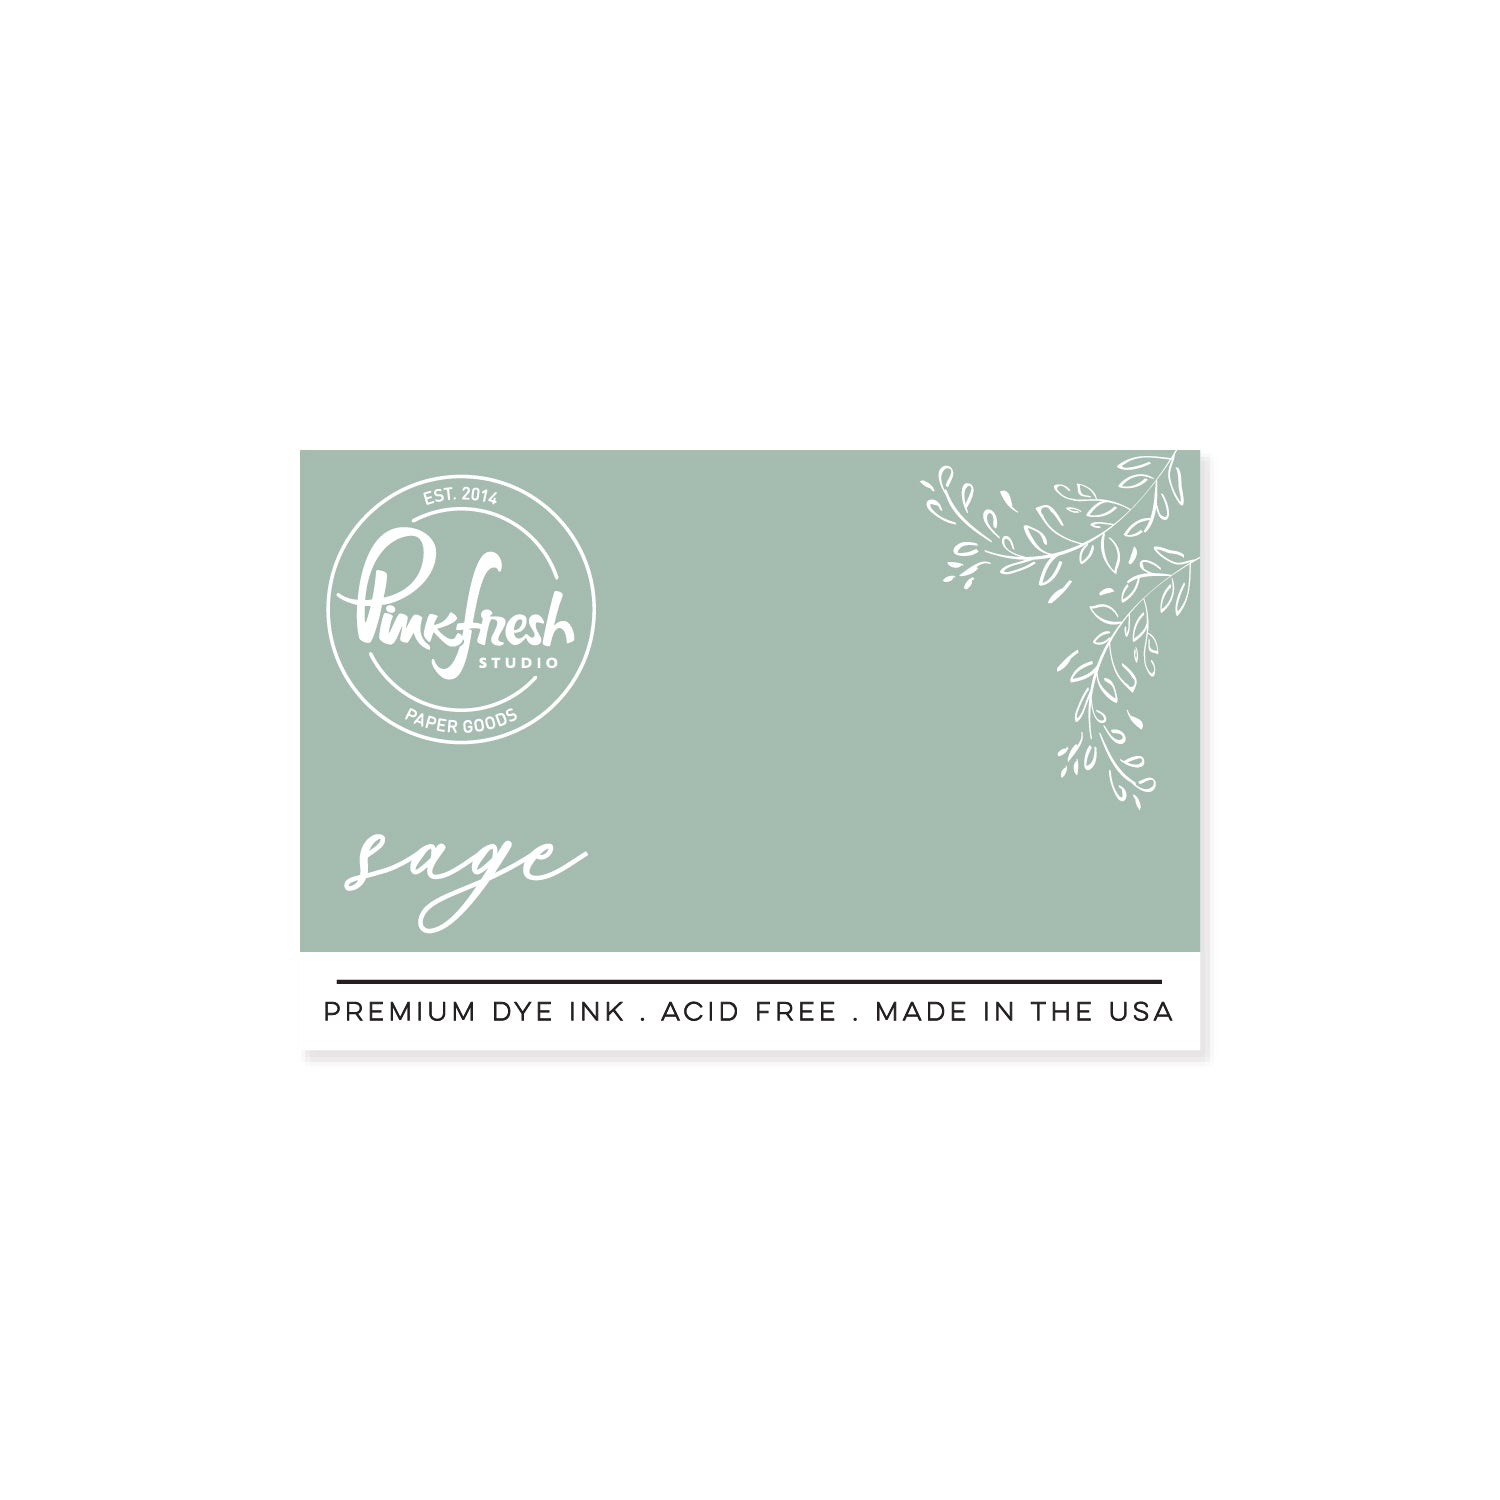
- Lightly ink the outer edges of an A2 sized white panel with Sage, keeping the center uncolored.
- Peel the individual washi images from the backing paper and arrange them across the inked panel to create an all over festive pattern. Let some of the sprigs extend beyond the edges, then trim off the excess.
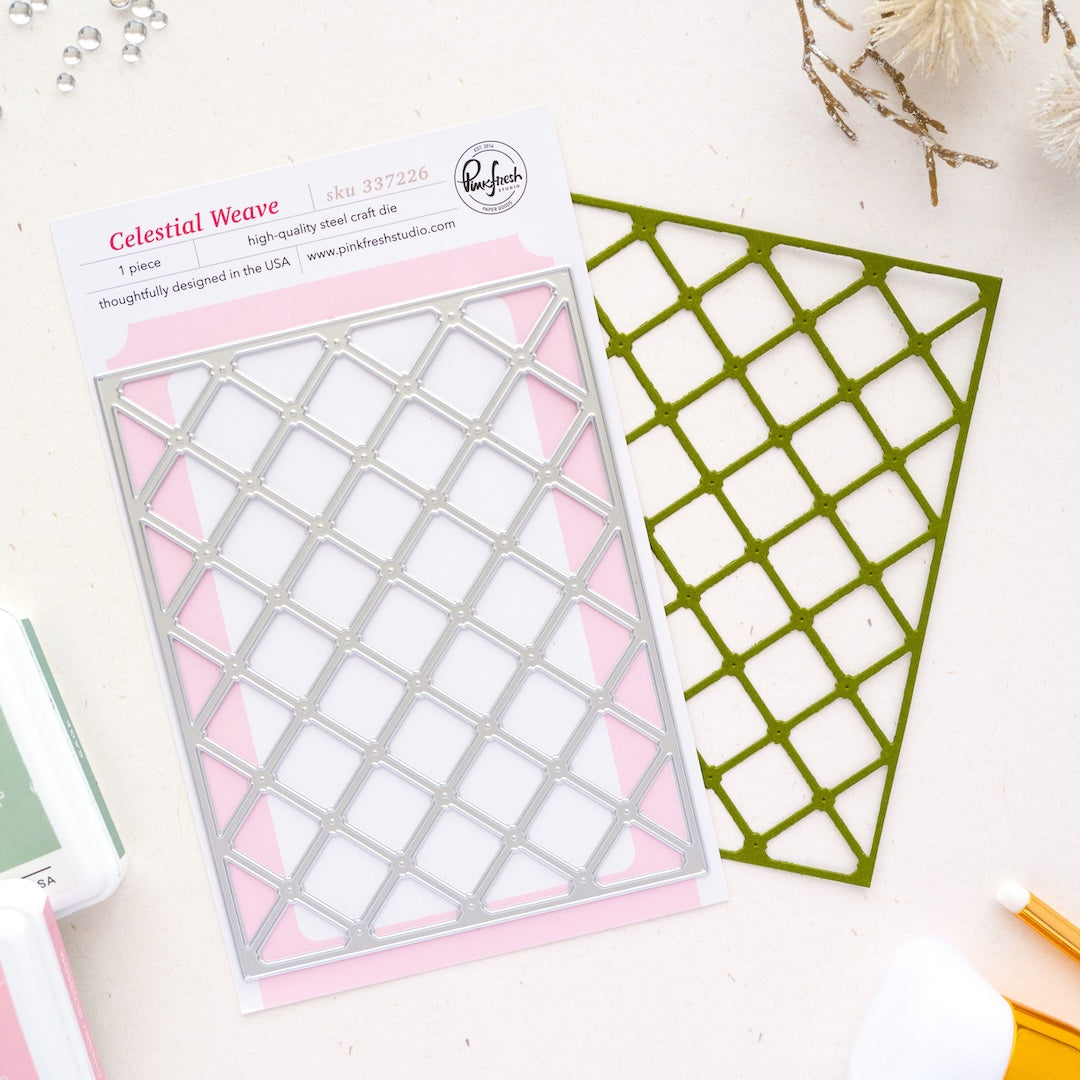
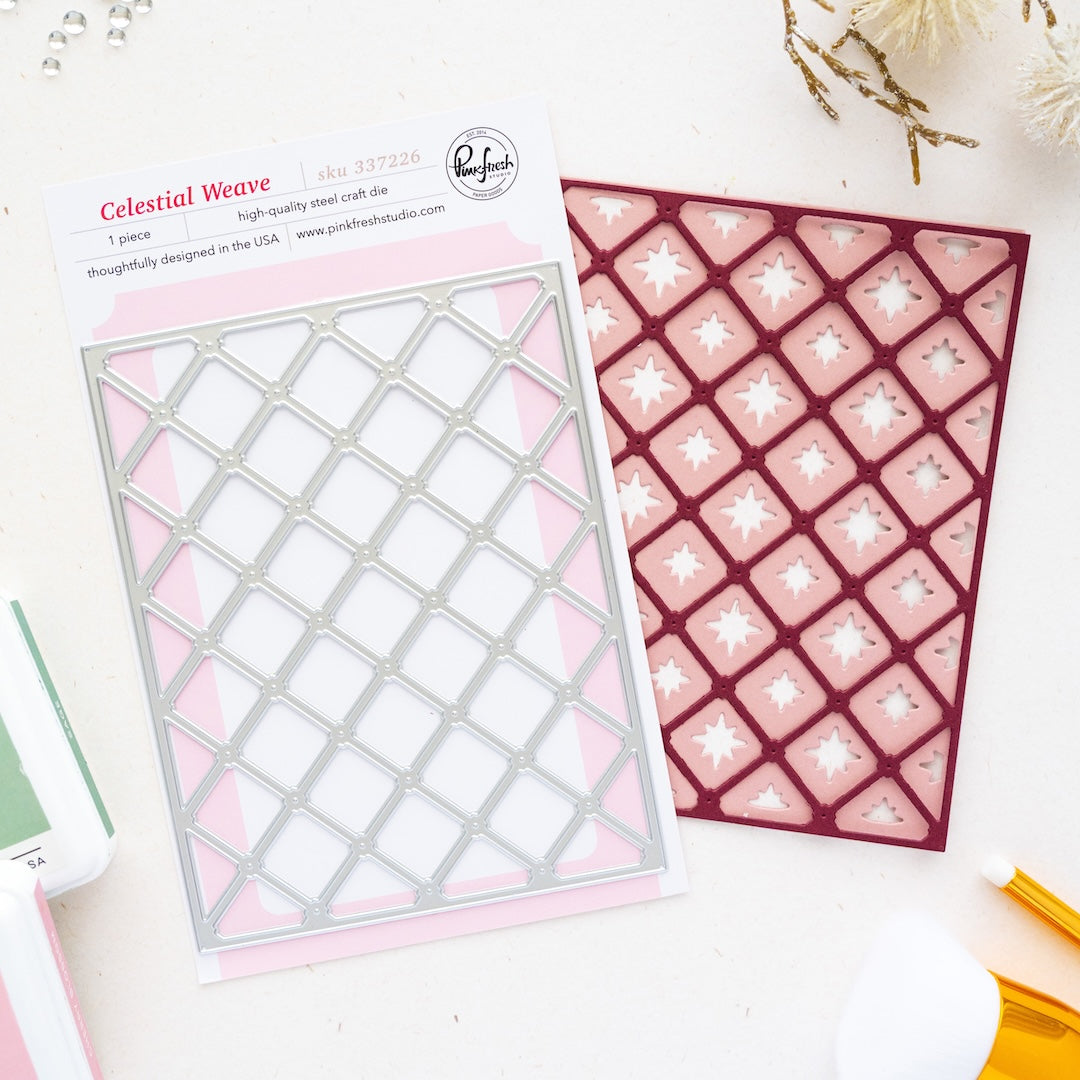
- Die cut the patterned panel using the Celestial Weave die.
- Adhere the small negative die cut pieces flat onto a white cardbase, keeping them in their original positions.
- Die cut Celestial Weave three more times from white cardstock and stack the layers together. Add the Celestial Weave die cut from the patterned panel on top, then inlay the dimensional Celestial weave back into it’s original position.
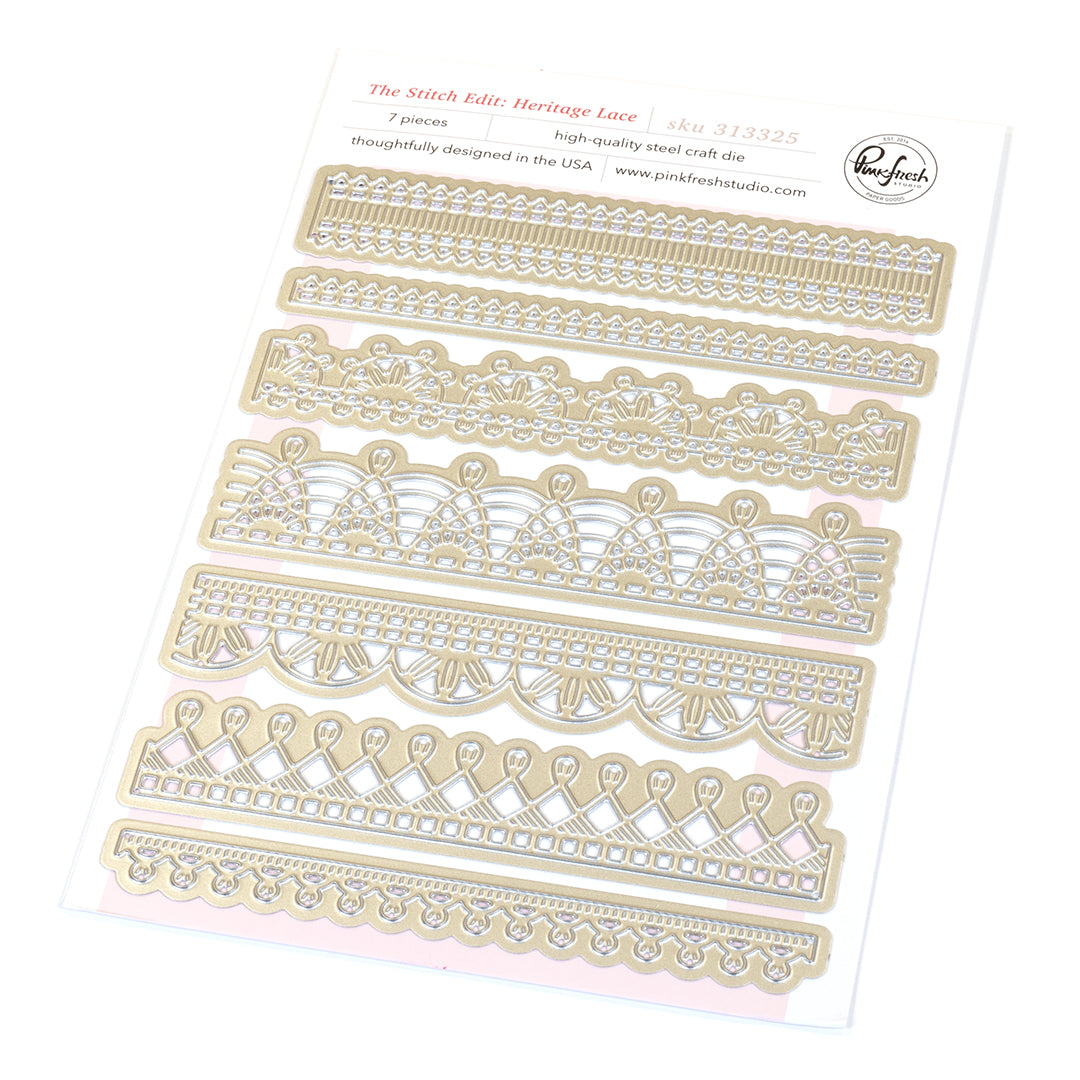
- Die cut two decorative lace strips from gold cardstock using a die from The Stitch Edit: Heritage Lace die set and adhere them horizontally across the center of the card.
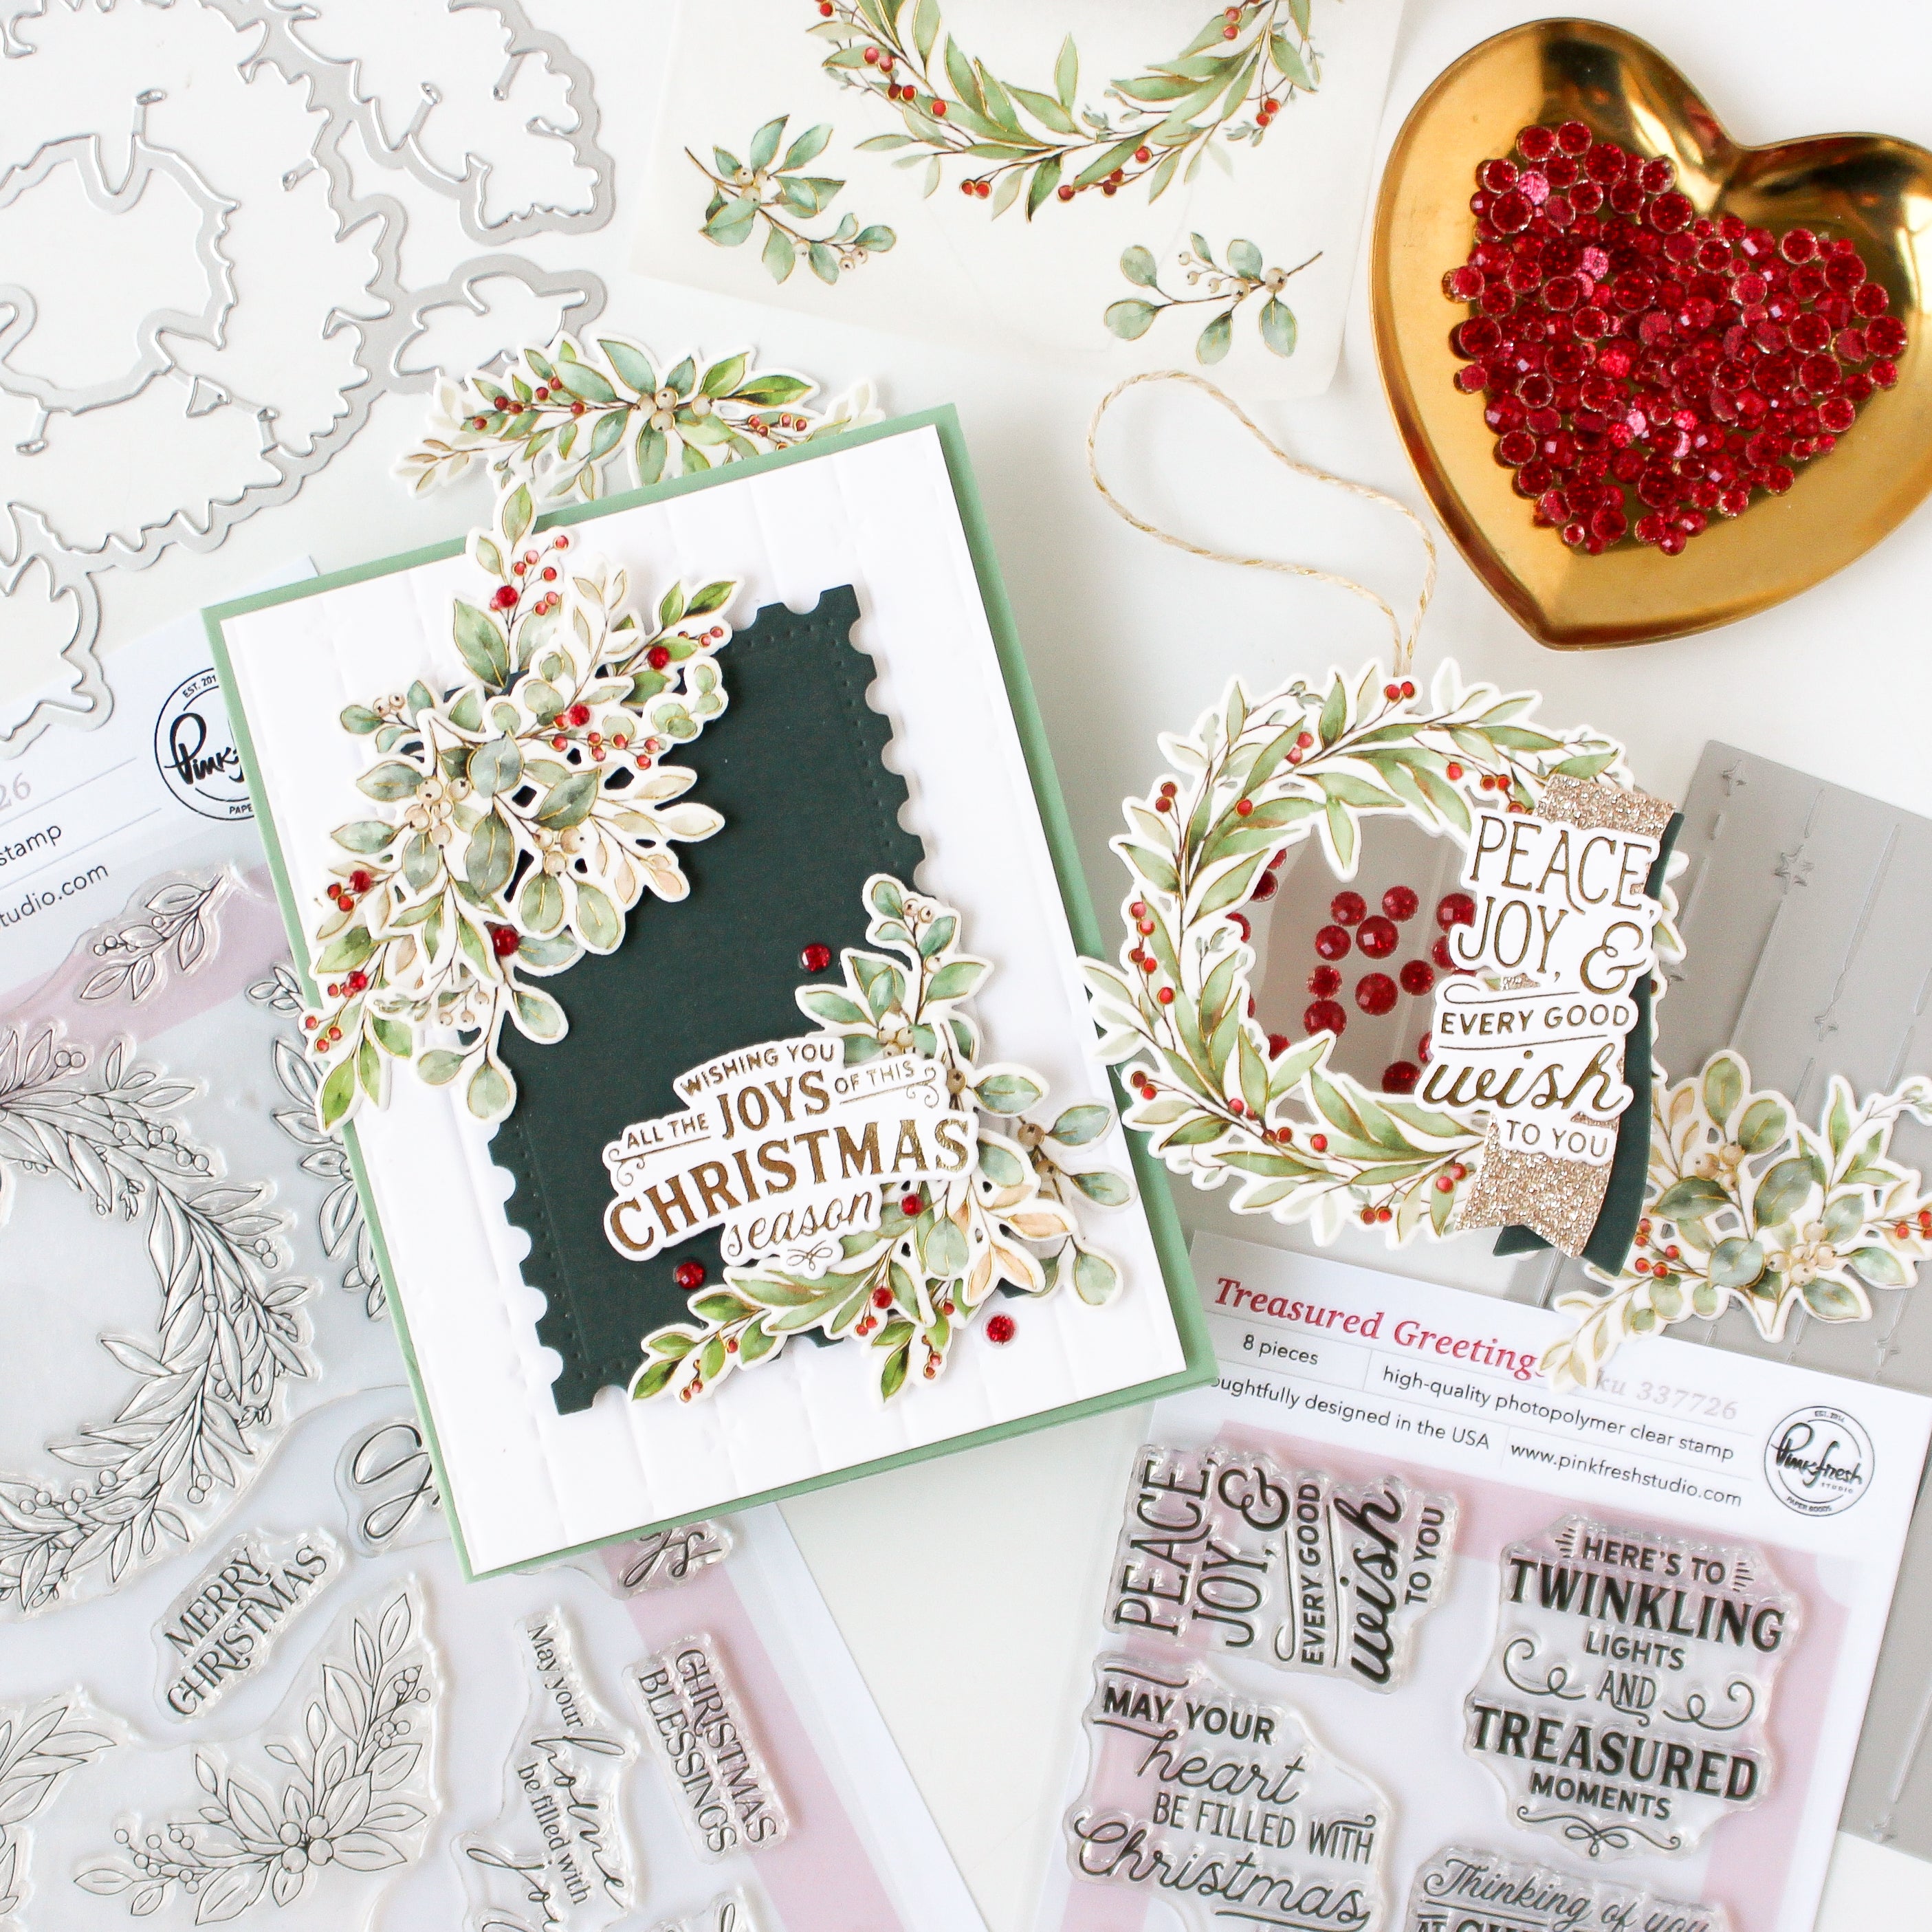
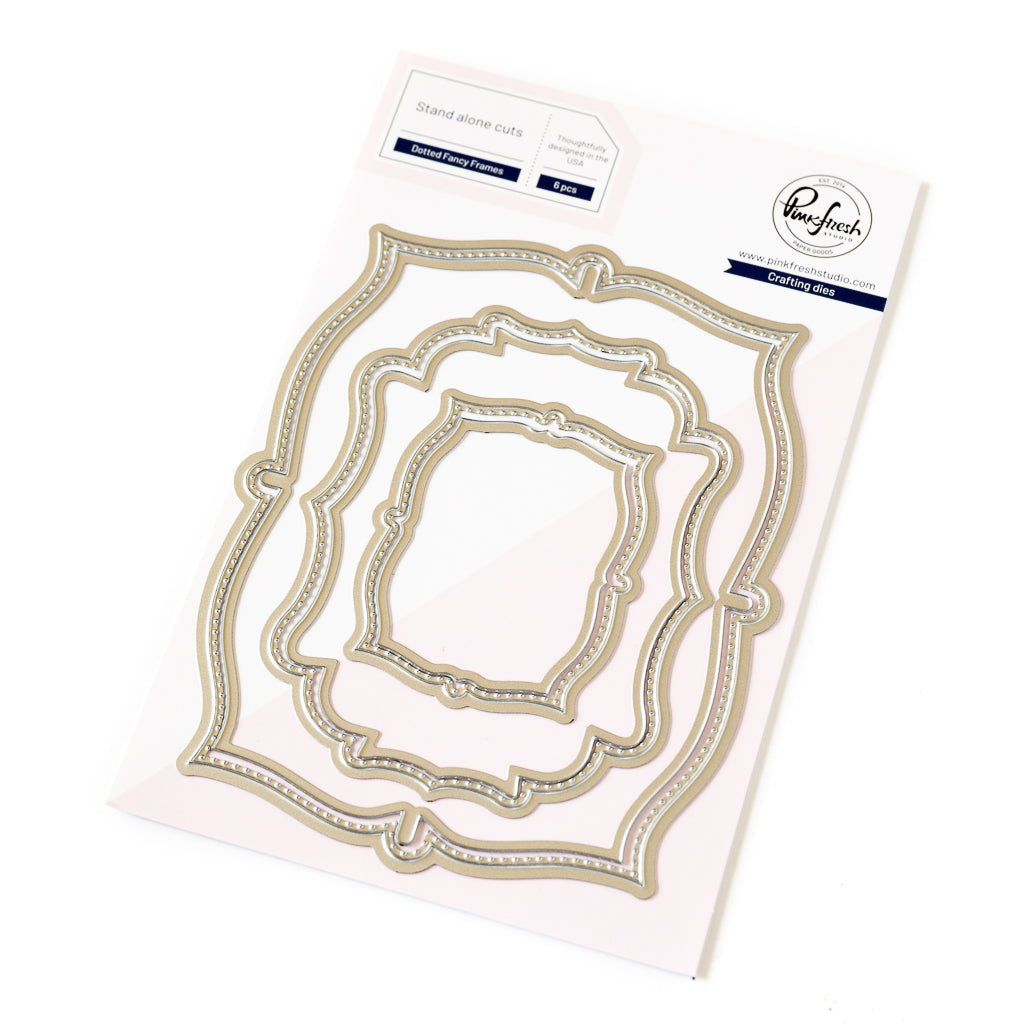
- Hot foil the sentiment from the Treasured Greetings Press Plate set in gold on white cardstock and die cut it using the smaller die from the Essentials: Dotted Fancy Frames die set.
- Die cut the coordinating thin frame from gold cardstock, layer it around the sentiment panel, and foam mount the finished sentiment piece over the gold lace strip.
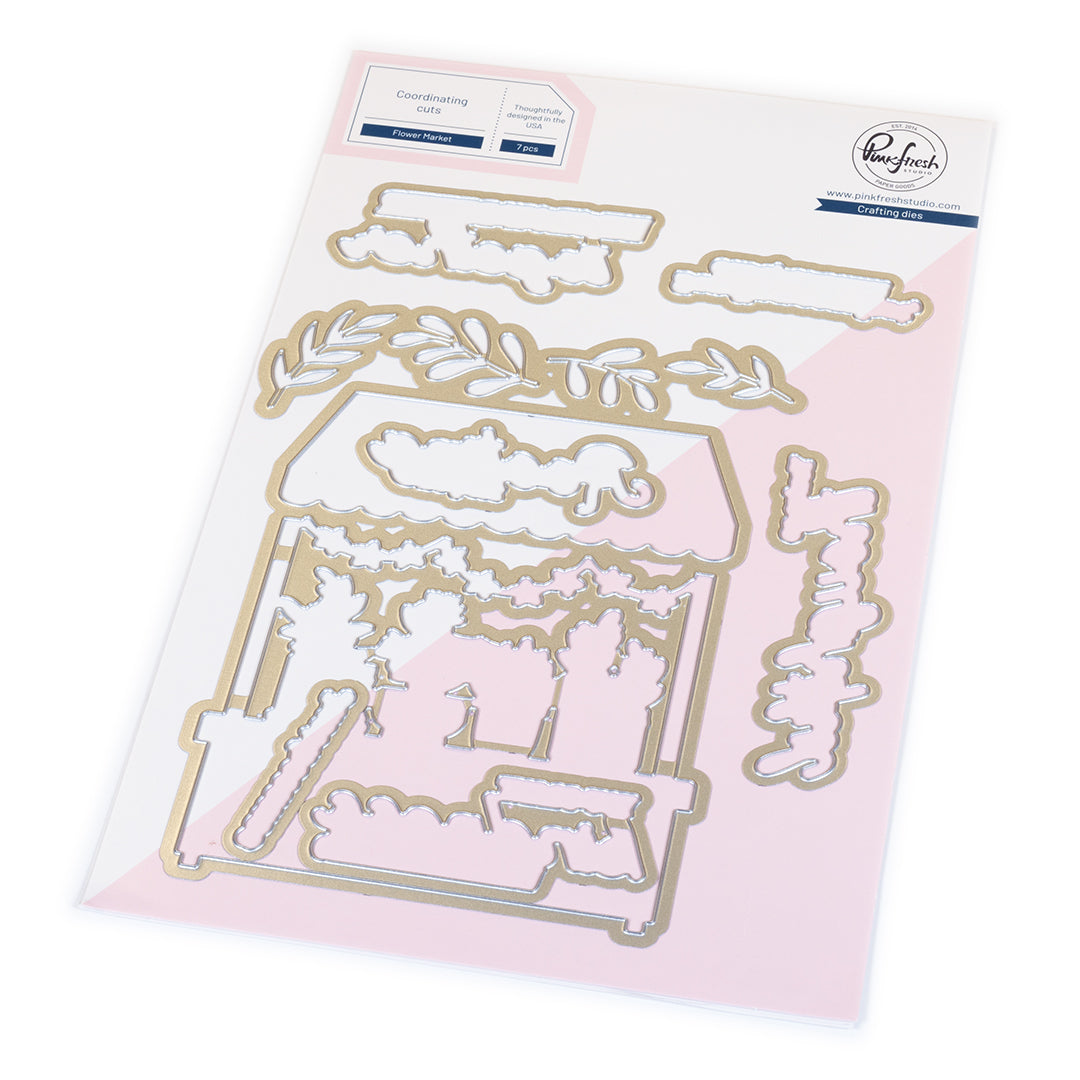
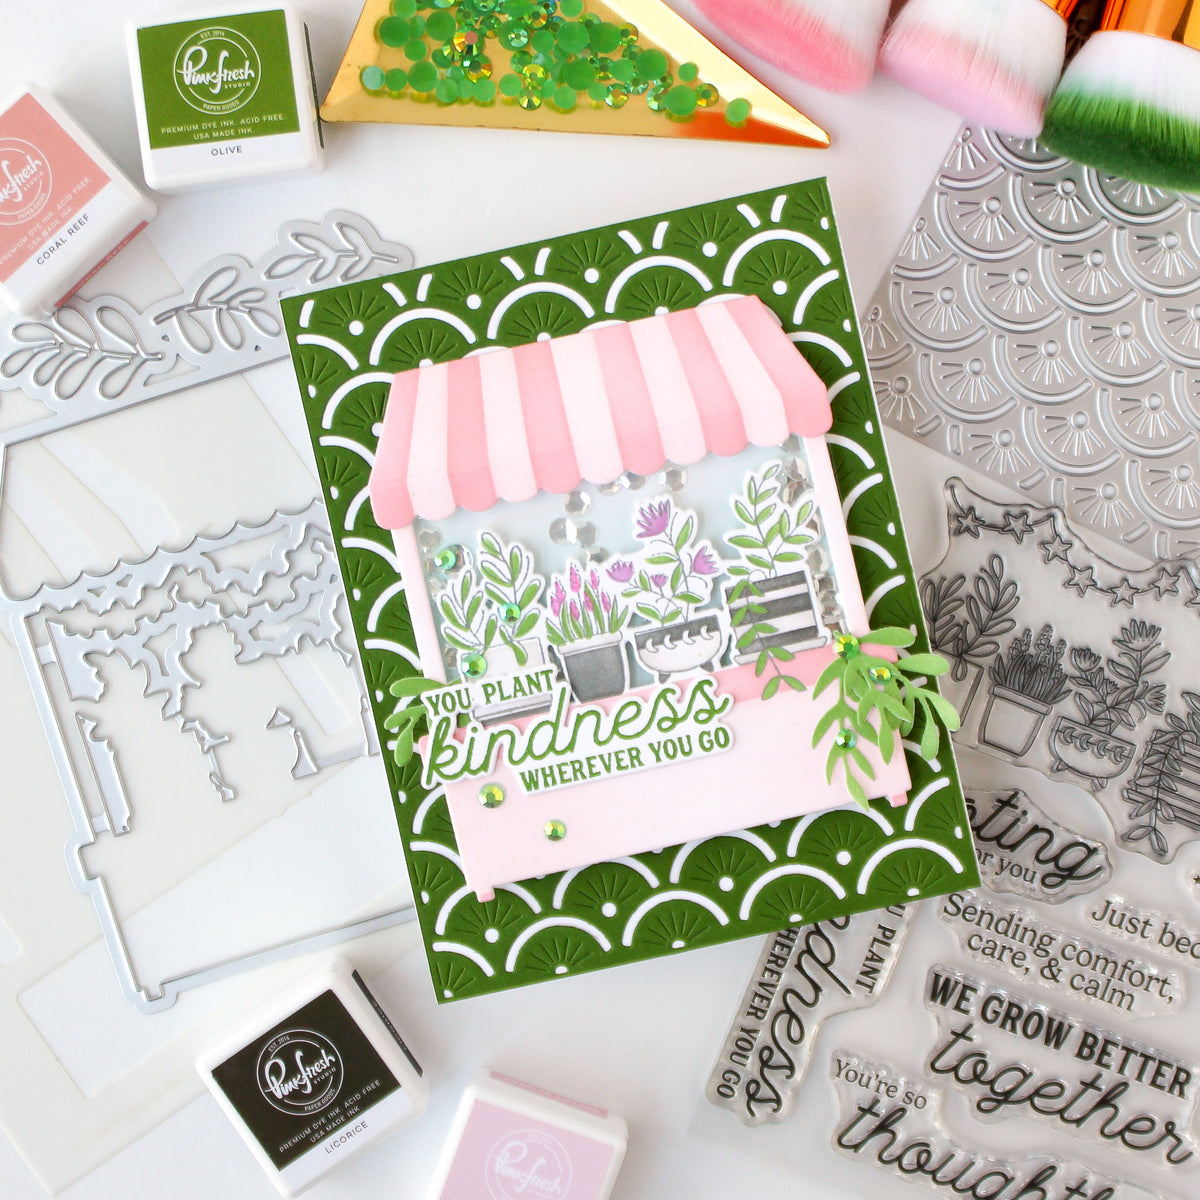
- Add two small white branches, die cut using the Flower Market die, to the sentiment piece.
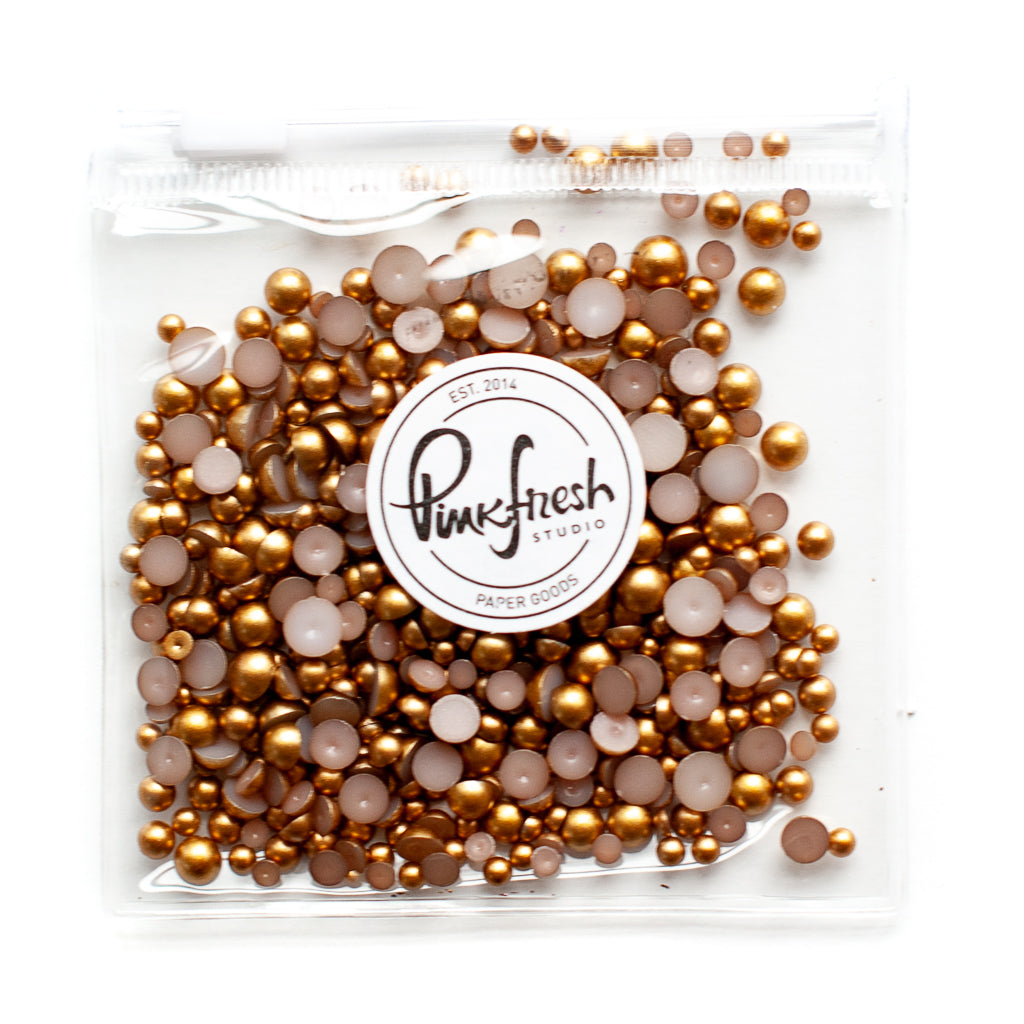
- To bring in a little more shine, add Matte Gold Metallic Pearls to the intersection points of the raised Celestial Weave pattern.

Instead of keeping the washi images in their original arrangement, adhere the washi tape to sticker backing paper, die cut the individual images, and rearrange them to create your own custom background pattern. This gives you much more freedom to create a layout that perfectly fits your card design :) !
Thank you so much for stopping by today! Hope you give this a try and have fun creating your own custom background!
Happy crafting!
TaeEun
Recommended Products


























Leave a comment
All comments are moderated before being published.
This site is protected by hCaptcha and the hCaptcha Privacy Policy and Terms of Service apply.