
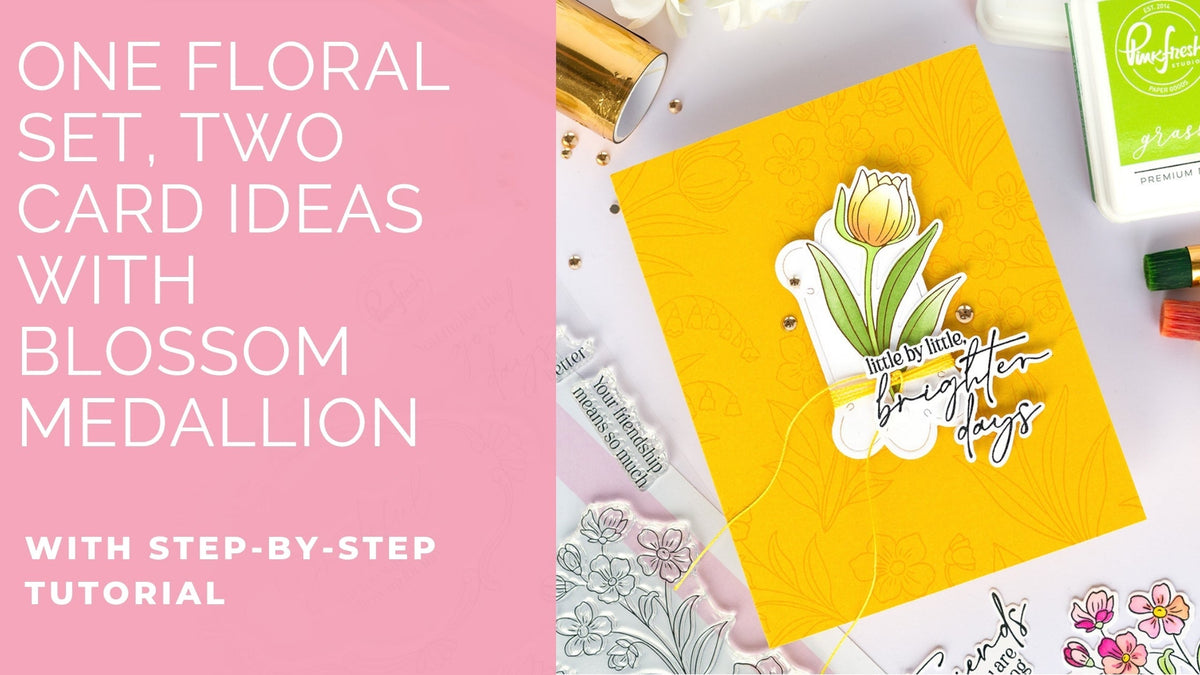
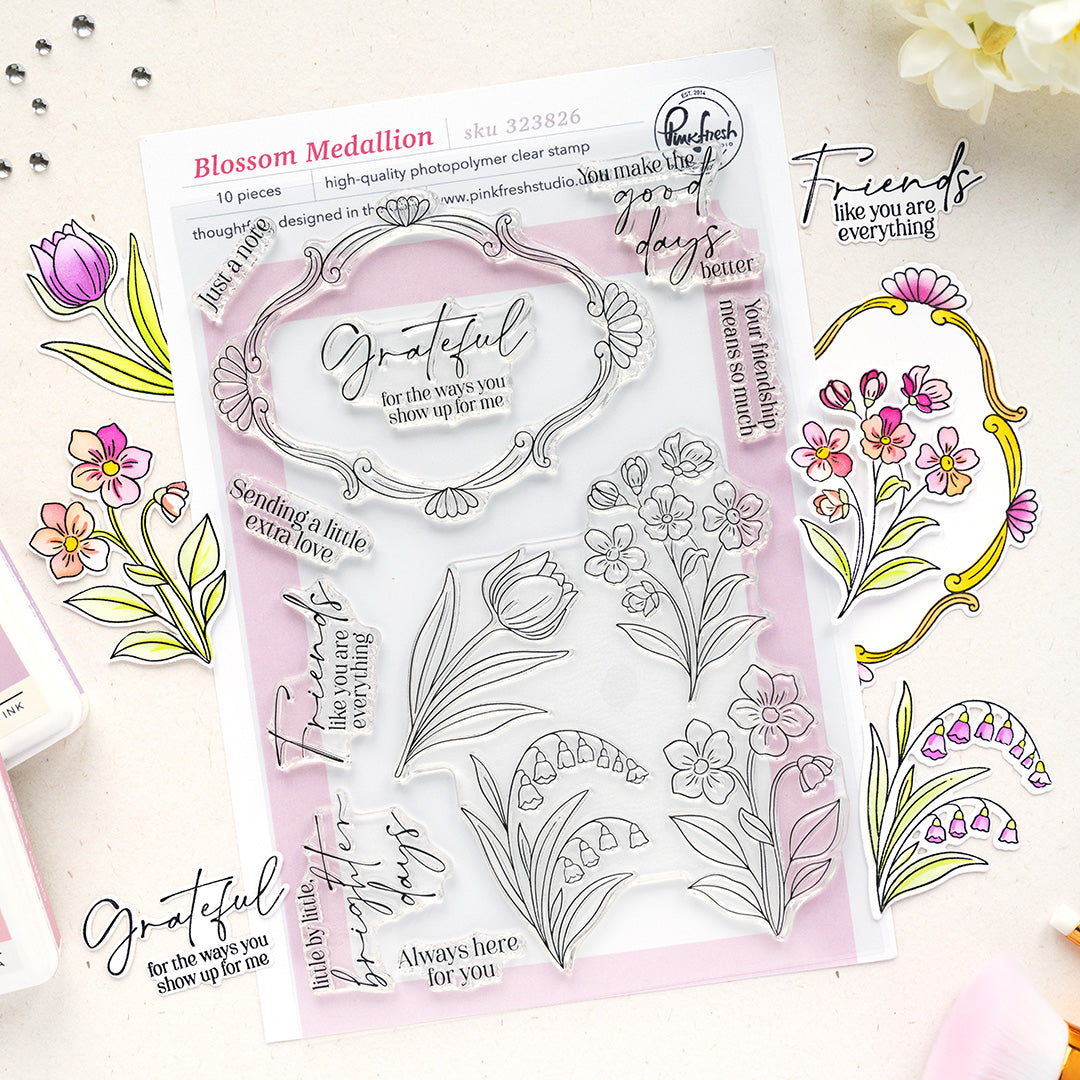
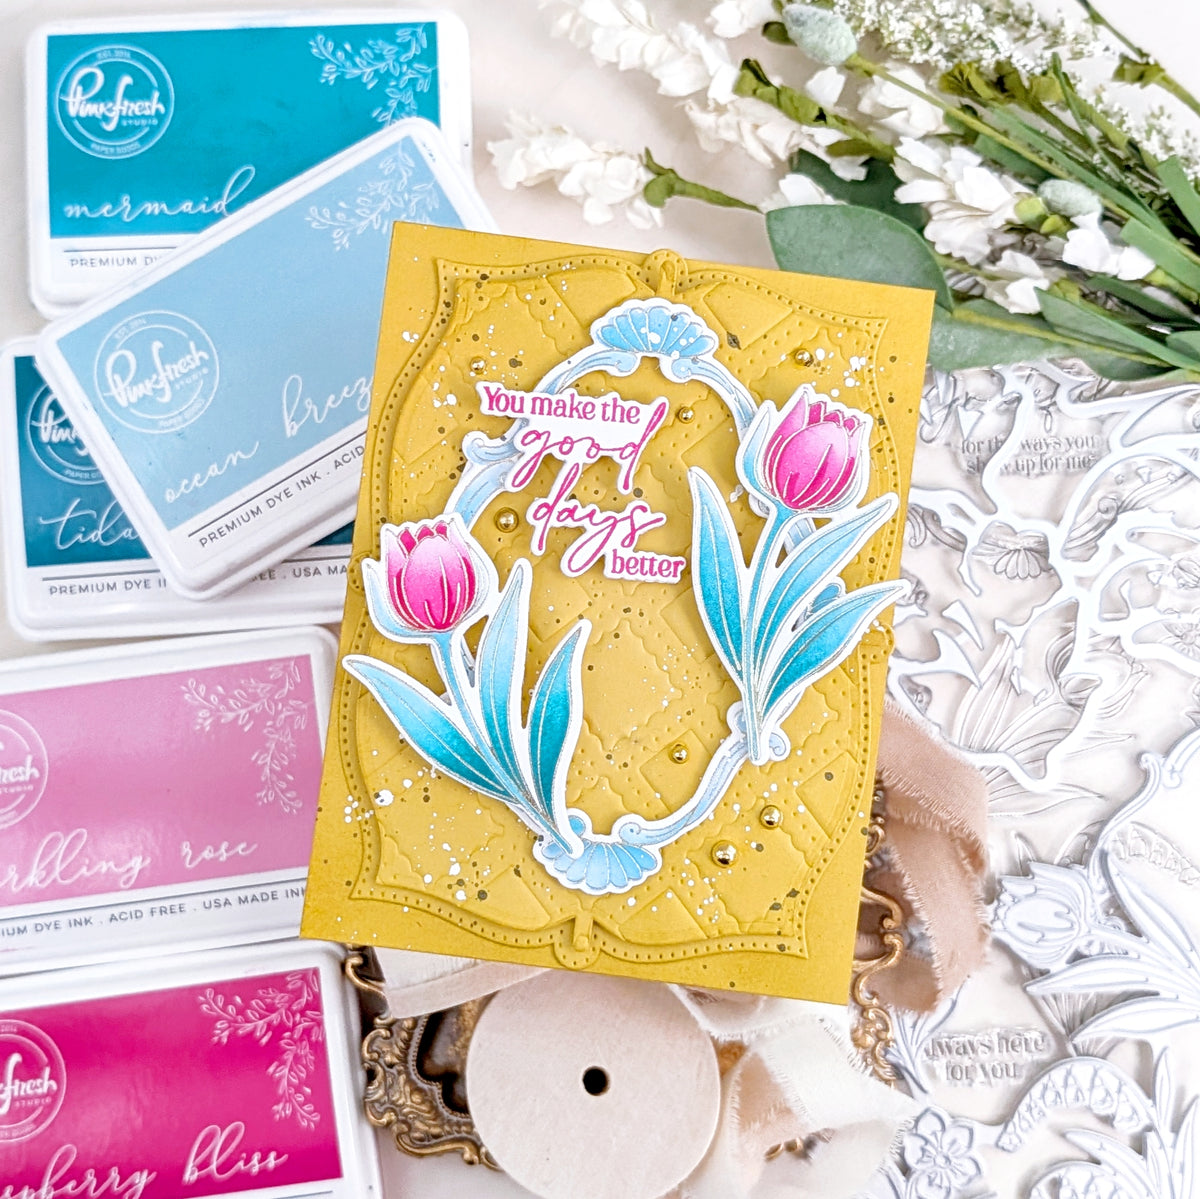
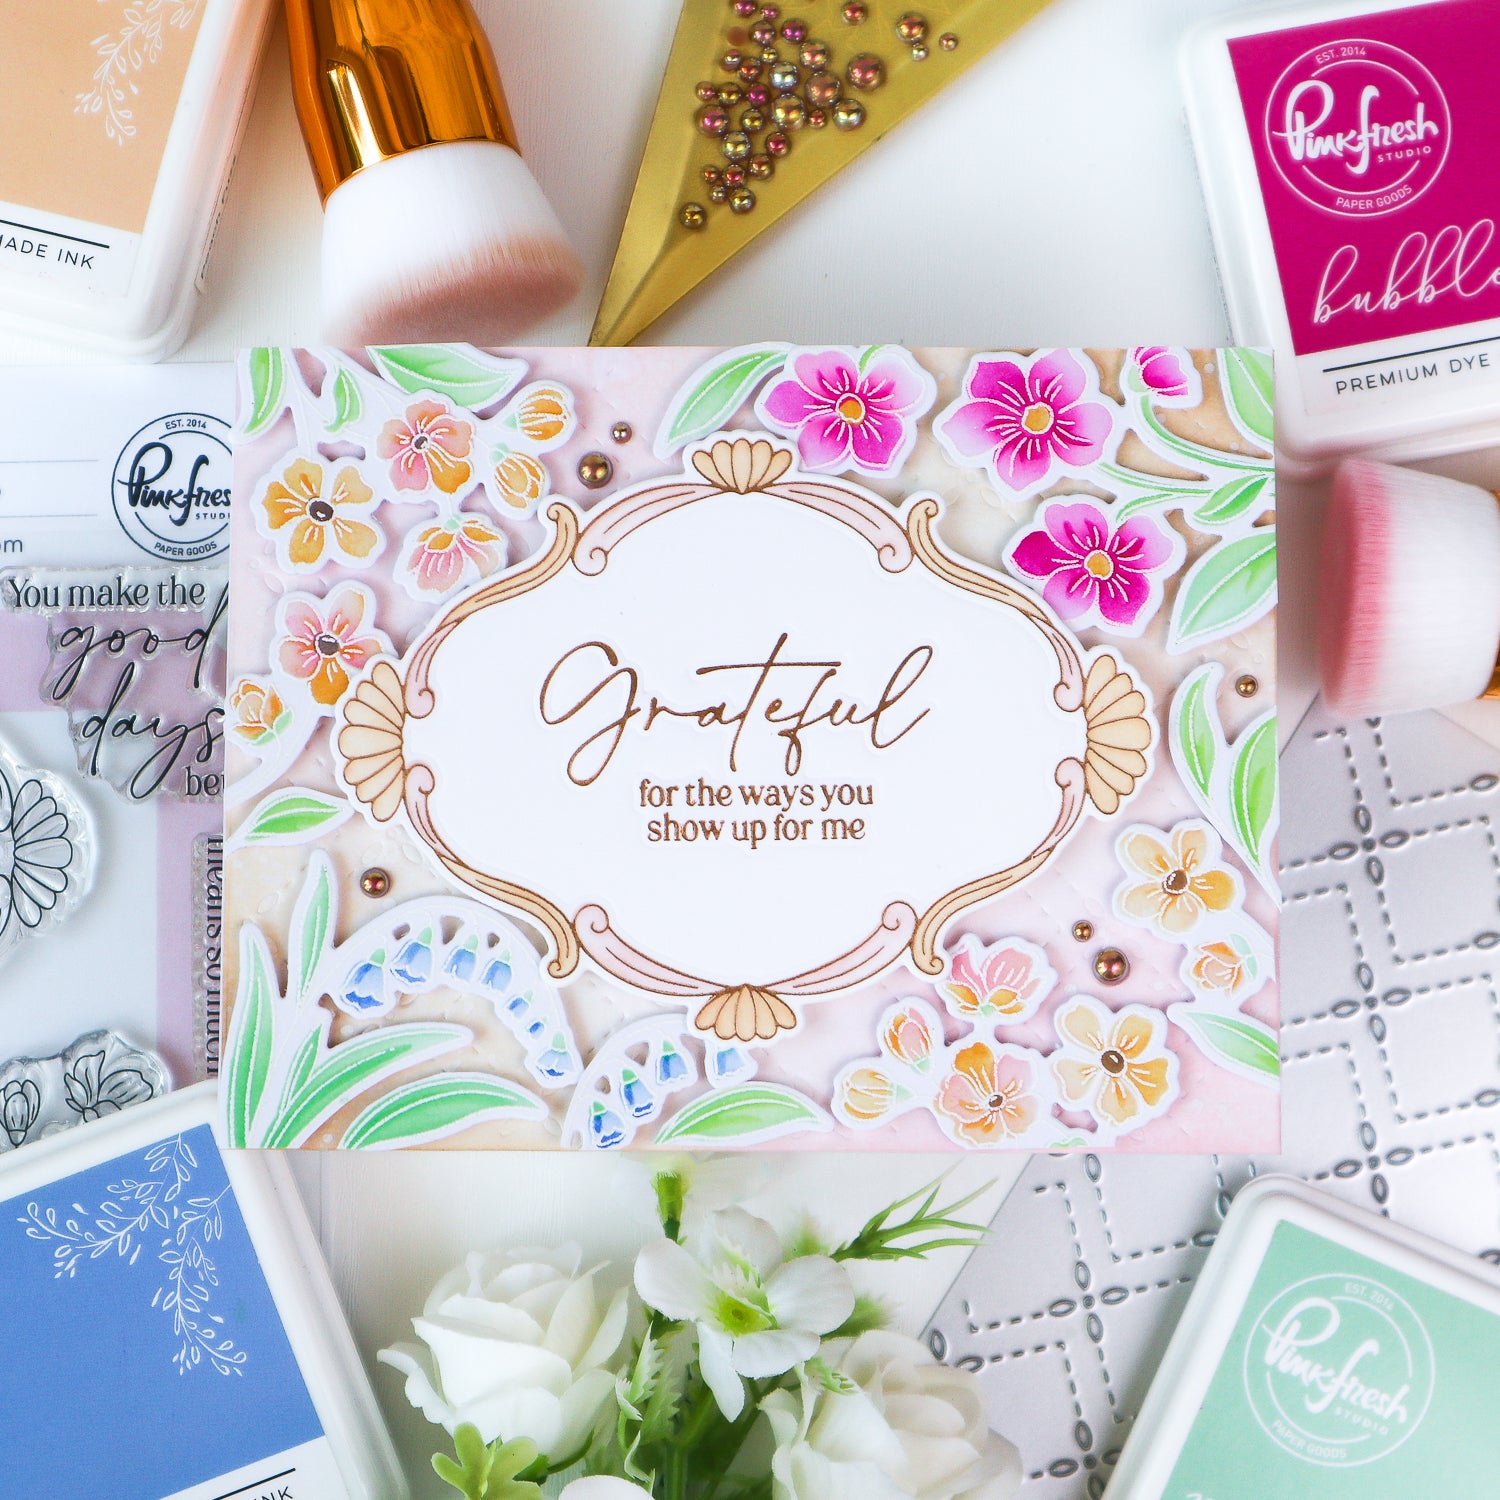
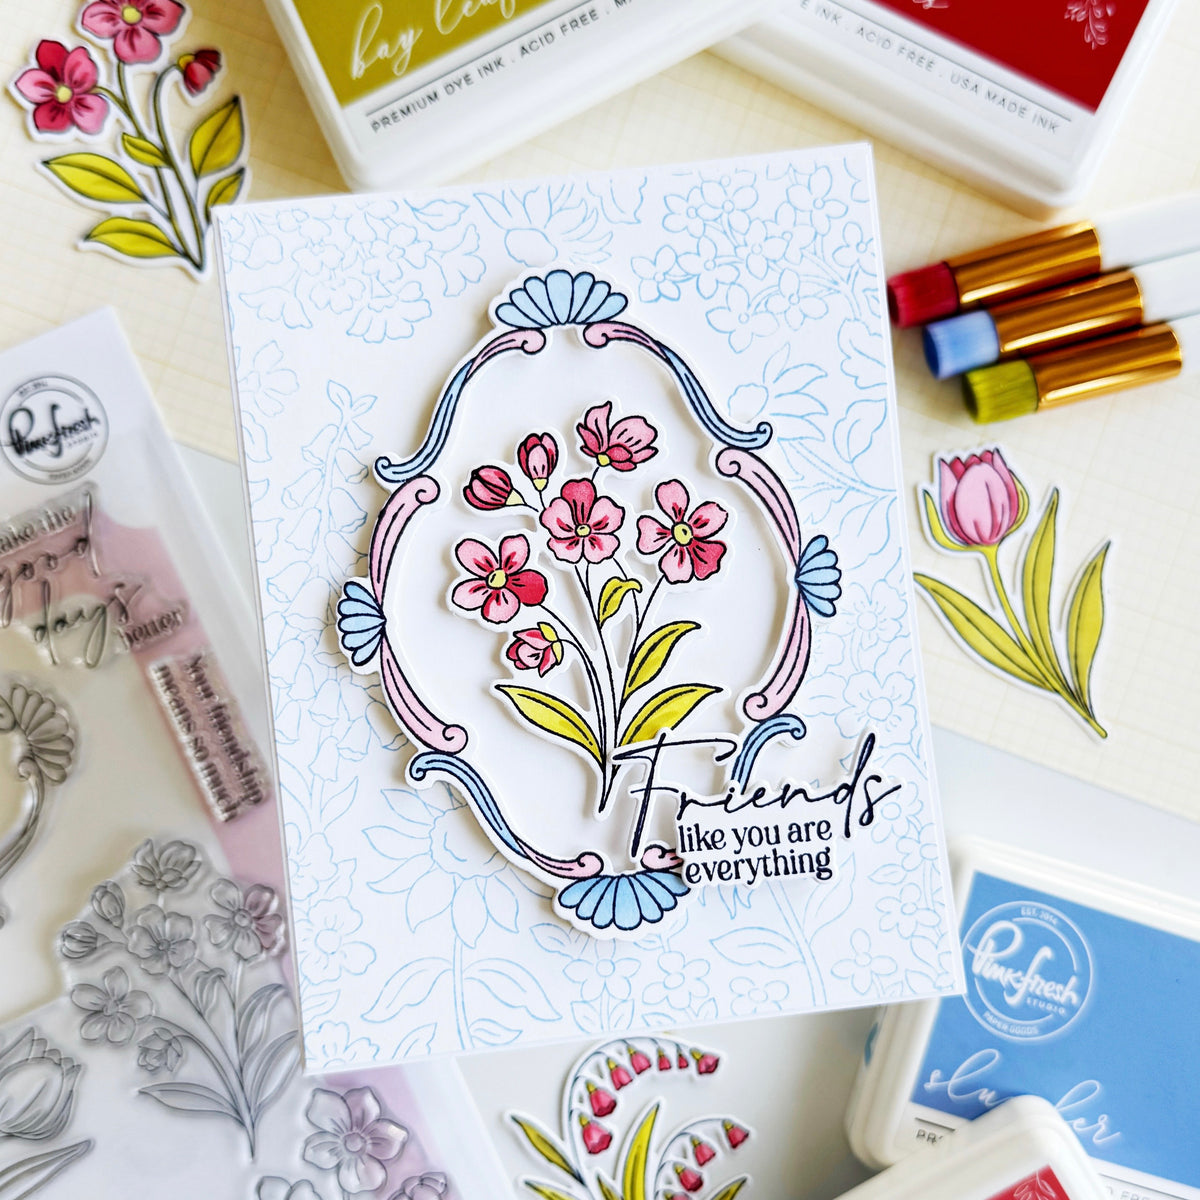
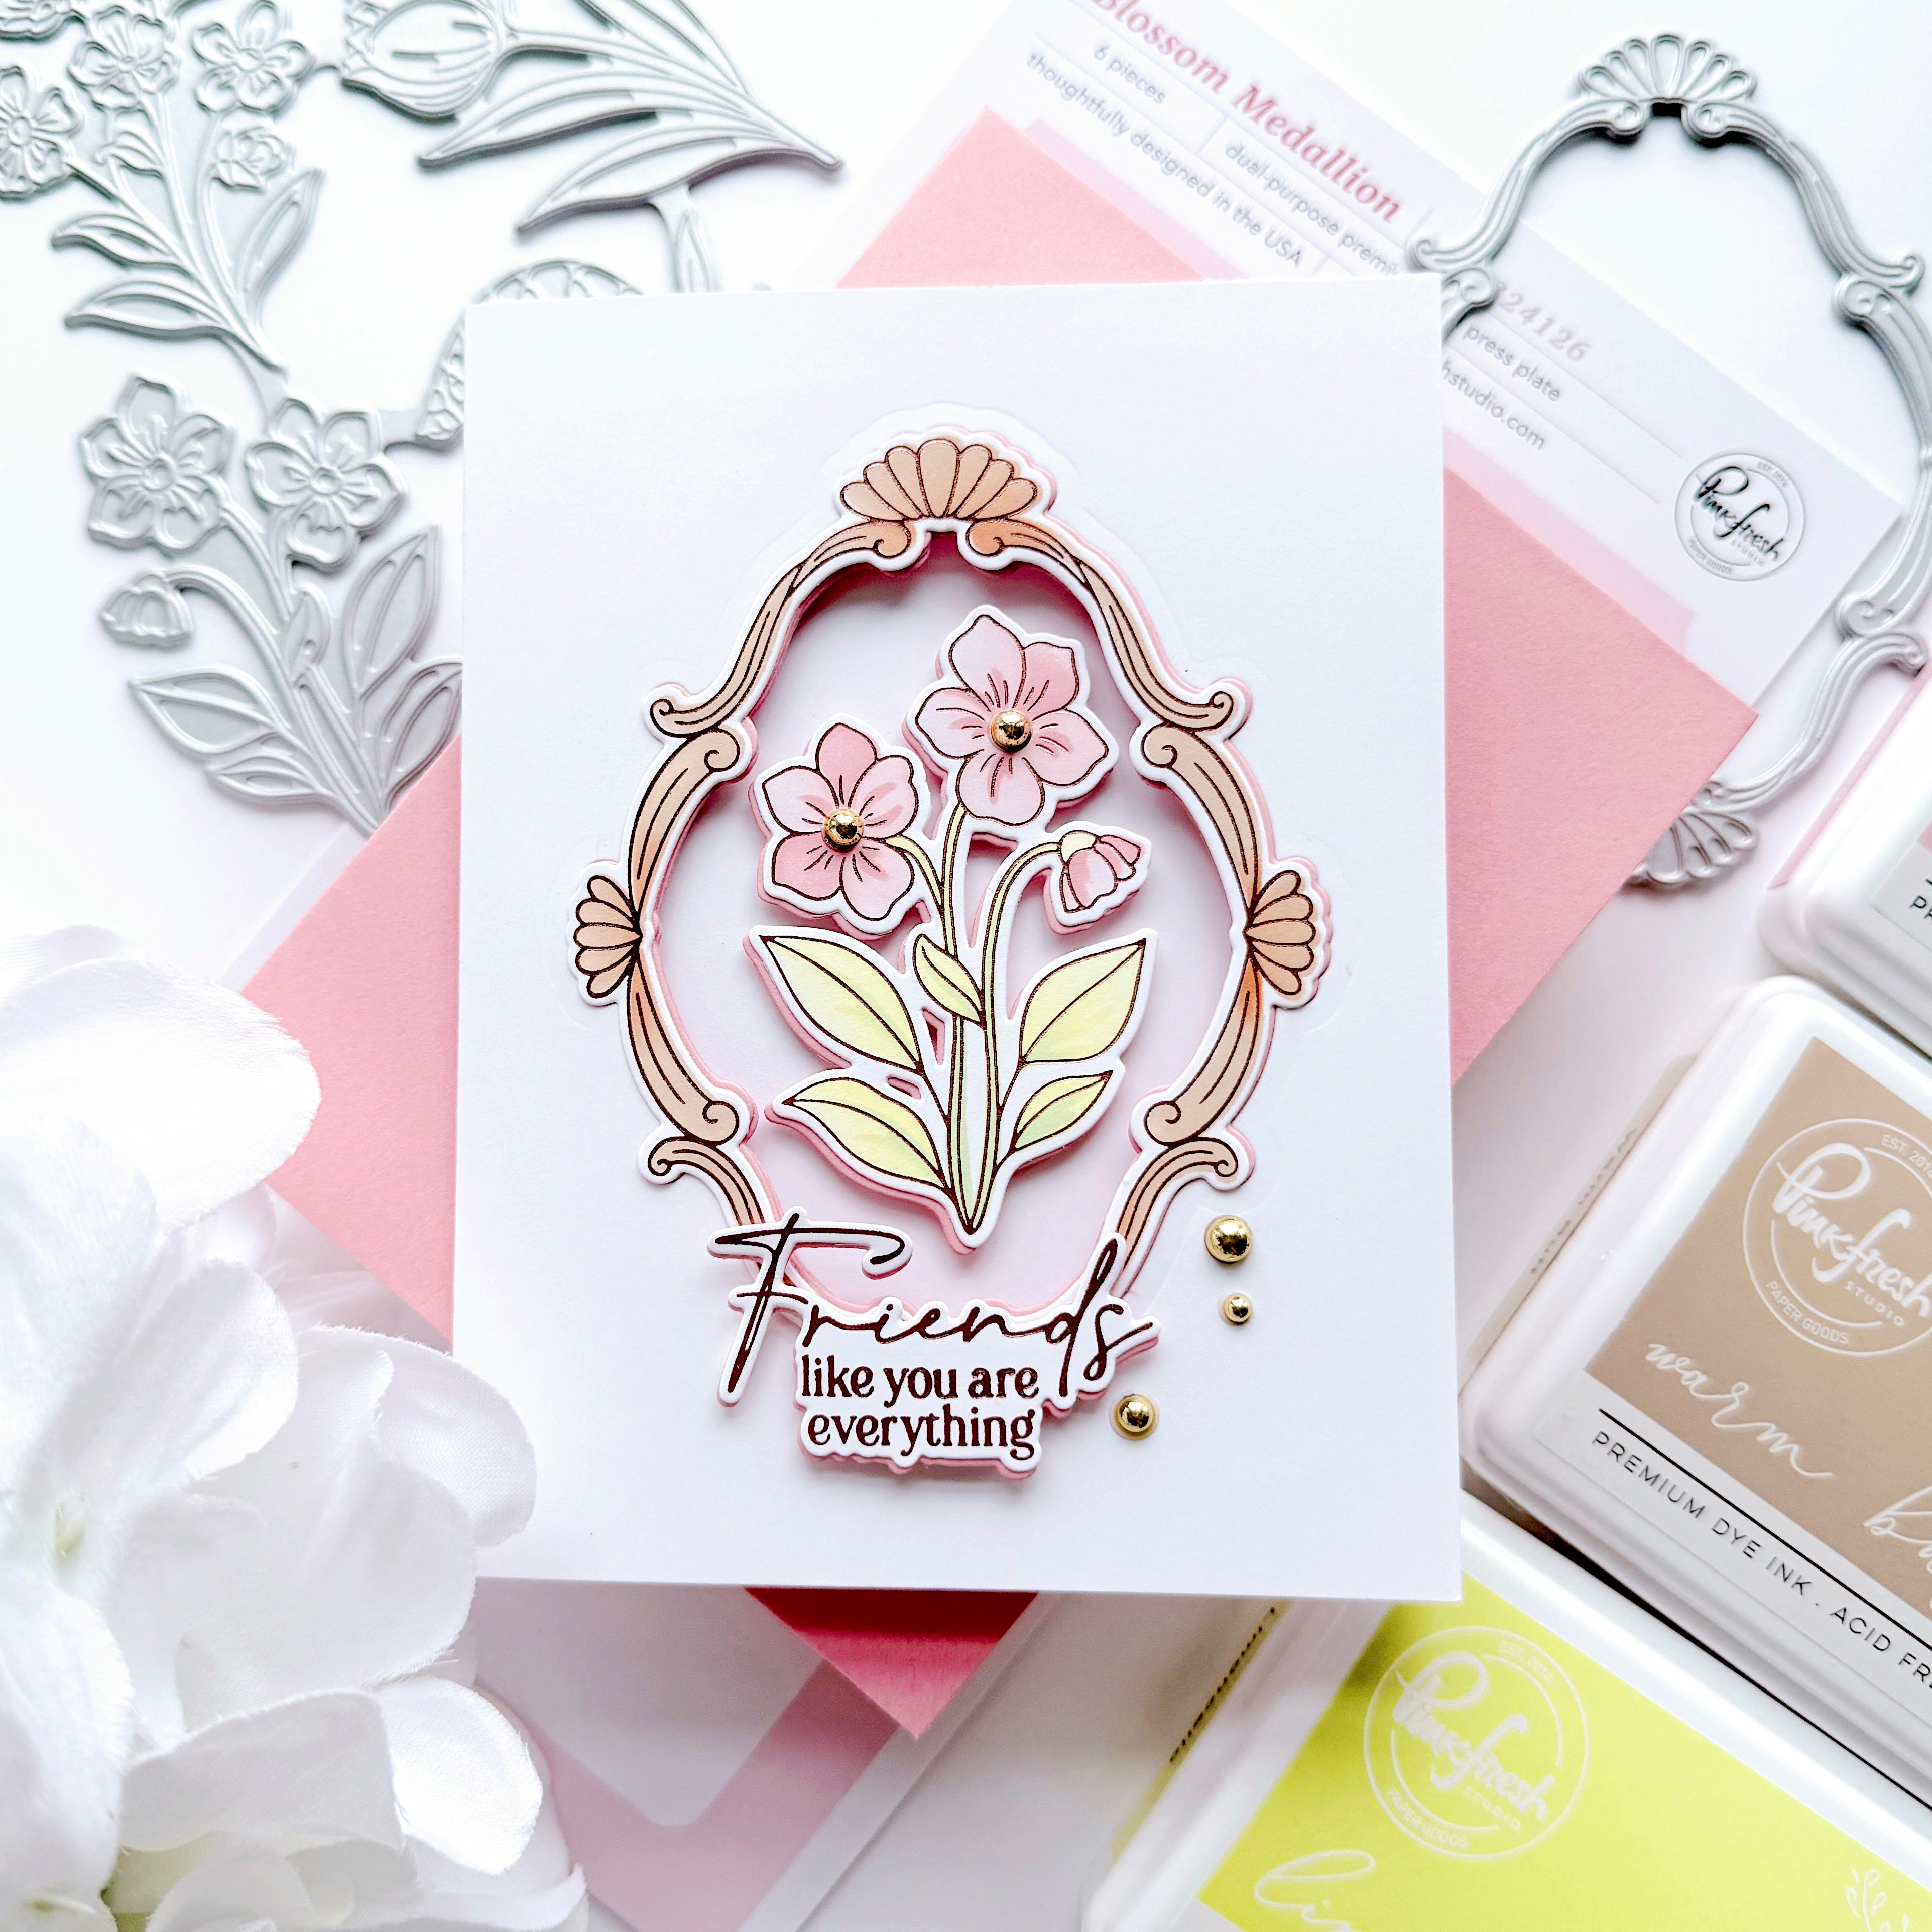
Hi Pinkfresh Studio fans! Kathleen here, and today I’m sharing not one but two cards featuring the new Blossom Medallion product suite. This versatile suite includes four floral images that can be used with the beautiful medallion design or on their own. For these cards, I wanted to show how the florals can stand on their own and pair beautifully with older Pinkfresh Studio products you may already have in your stash.
I also played with two different background techniques and love how each one changes the feel of the design. Hopefully they'll give you some ideas for mixing these florals with products already in your stash!
*Disclaimer: All products used are linked below as clickable images. If a product isn’t listed, it’s been discontinued.


How to recreate these cards:
- Card Bases: Create (2) A2 card bases (top or side-folding) from white cardstock.
-
Panels:
-
Cut one A2 panel each from dark blue and mustard yellow cardstock. If you don't have cardstock in those colors, create your own by ink blending white cardstock with Marigold and Stargazer inks.
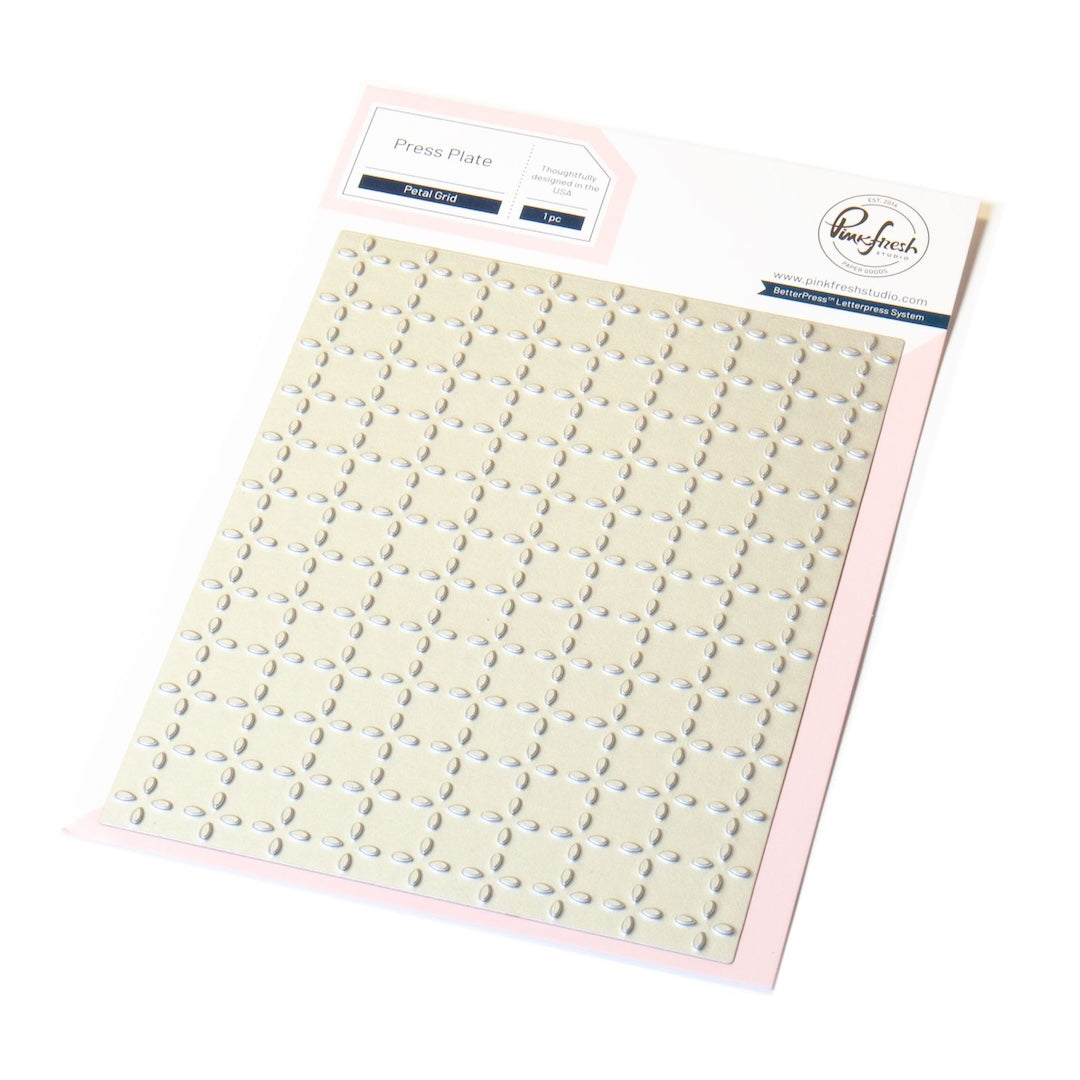
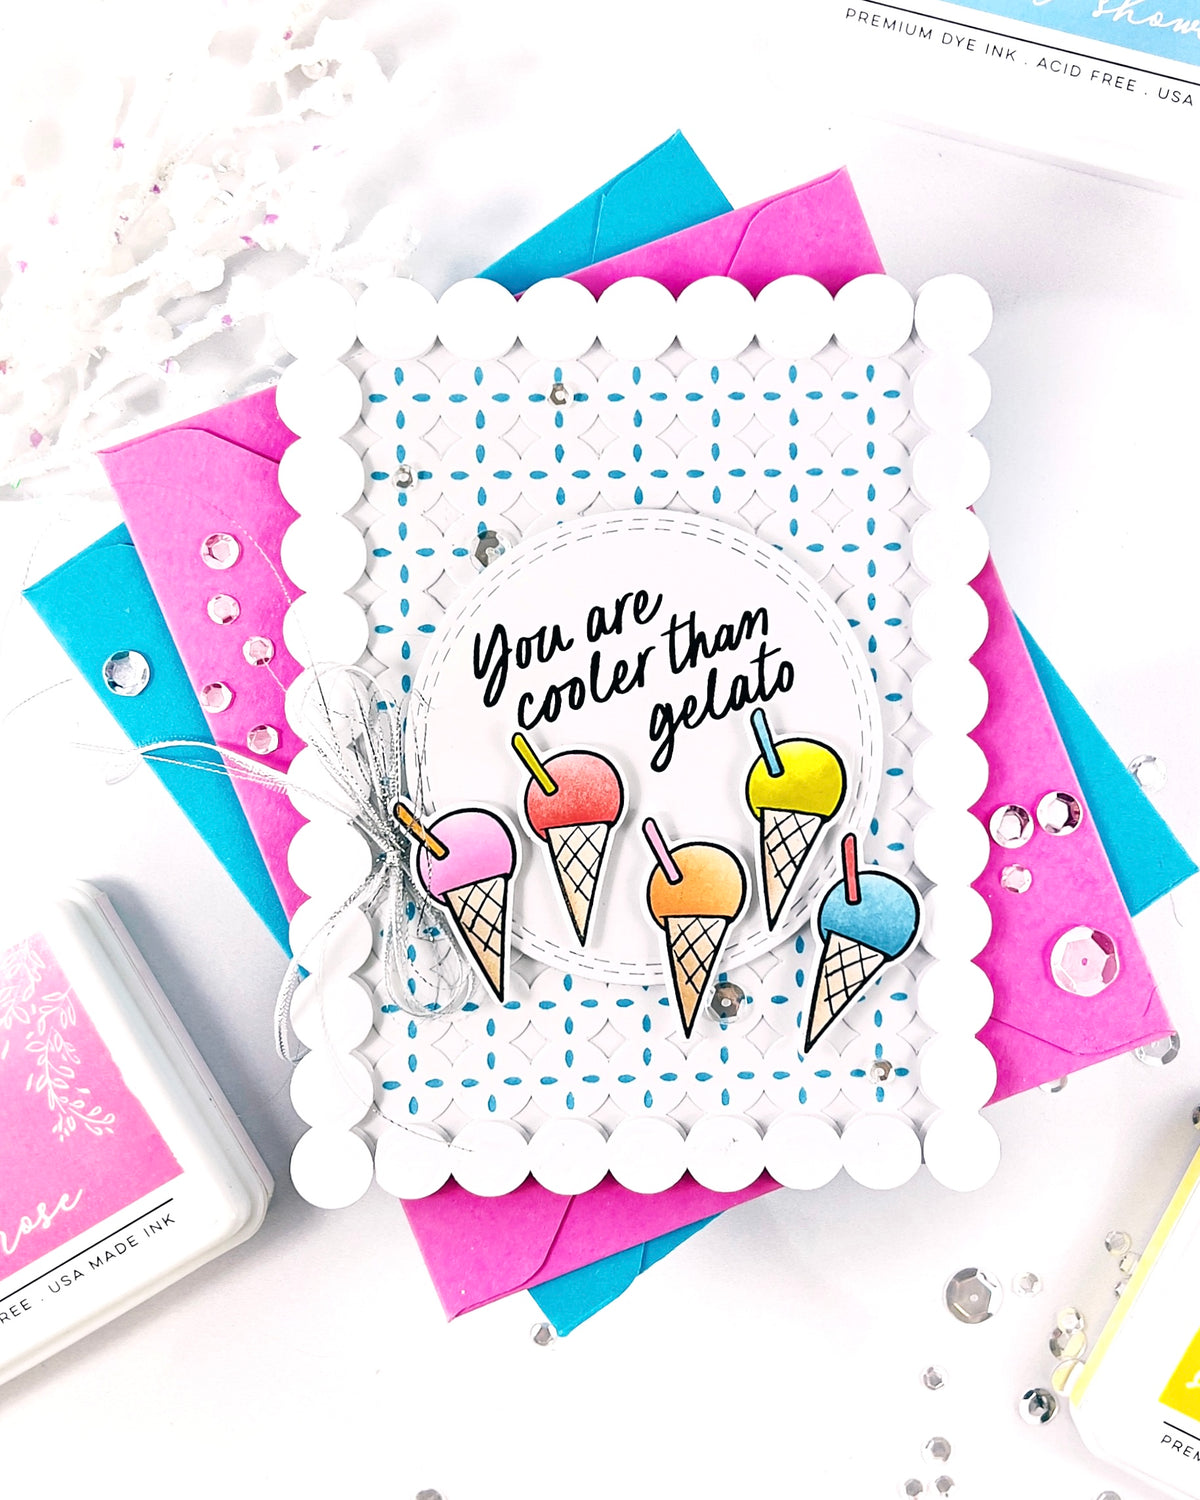
Tip: For very dark colors such as Stargazer, start with colored cardstock rather than white whenever possible. Even medium-blue cardstock is much easier to ink blend to a solid dark finish than white cardstock. - Dry emboss the dark blue panel with the Petal Grid press plate & adhere to one card base.
- Stamp the floral images from the Blossom Medallion stamp repeatedly onto the yellow panel using Marigold to create a tone-on-tone background. Adhere to the other card base.
-
Cut one A2 panel each from dark blue and mustard yellow cardstock. If you don't have cardstock in those colors, create your own by ink blending white cardstock with Marigold and Stargazer inks.
-
Florals:
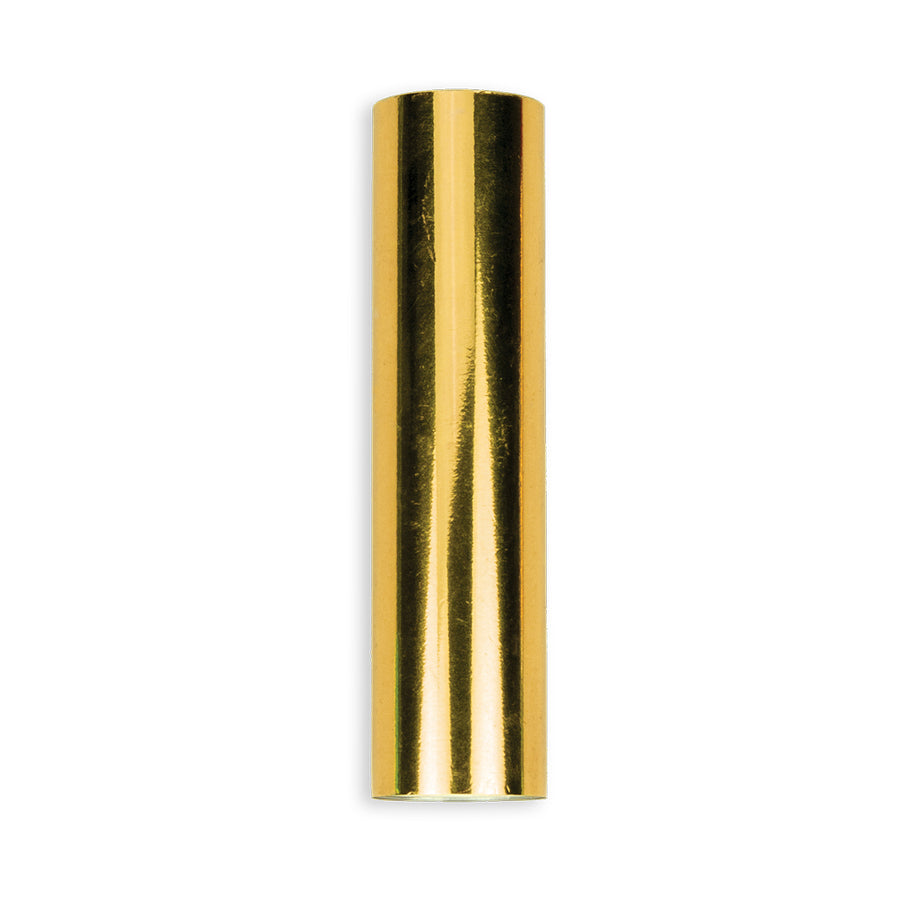
- Hot foil the Blossom Medallion flowers on white cardstock with Gold foil.
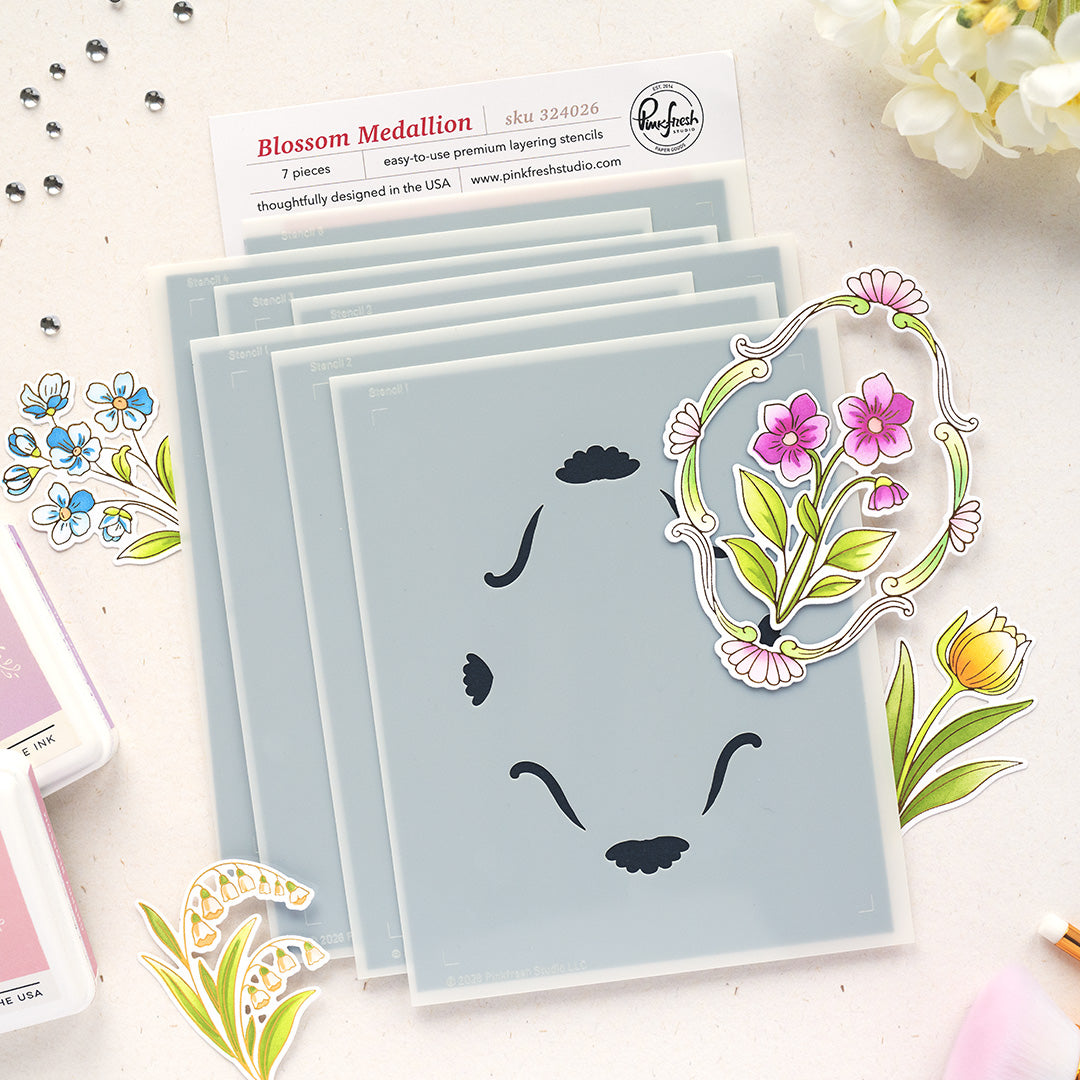
- Ink blend with the coordinating layering stencils (vary the flowers between blue and yellow color palettes):
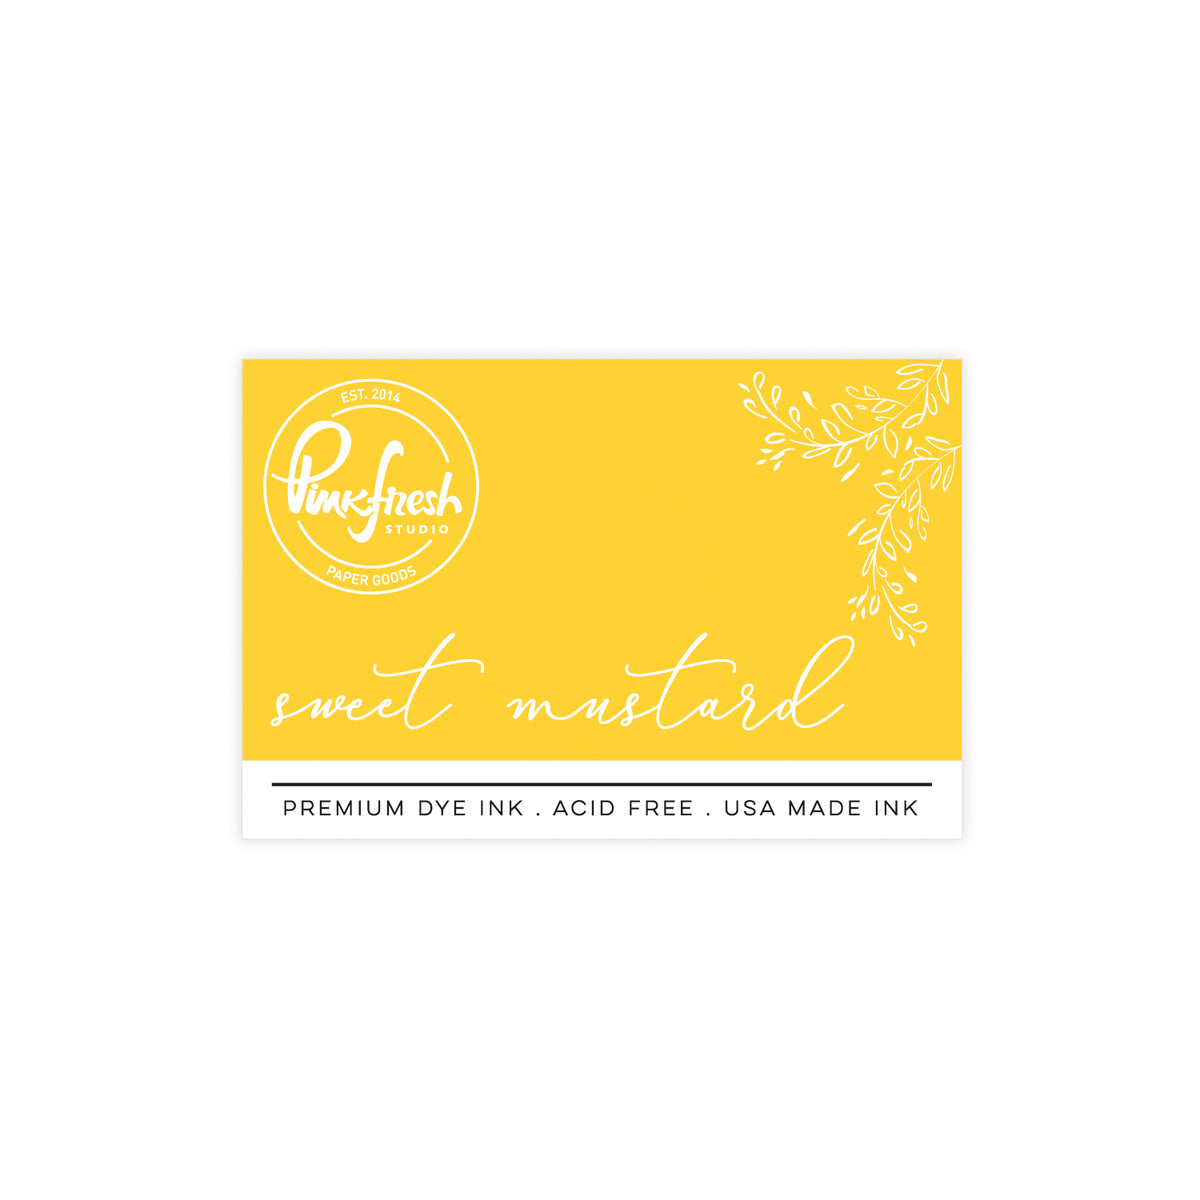
- Stencil 1: Sky Blue, Sweet Mustard
- Stencil 2: Seaside, Marigold
- Stencil 3: Apricot, Marigold
- Stencil 4: Grassy Knoll + Olive
- Stencil 5: Olive
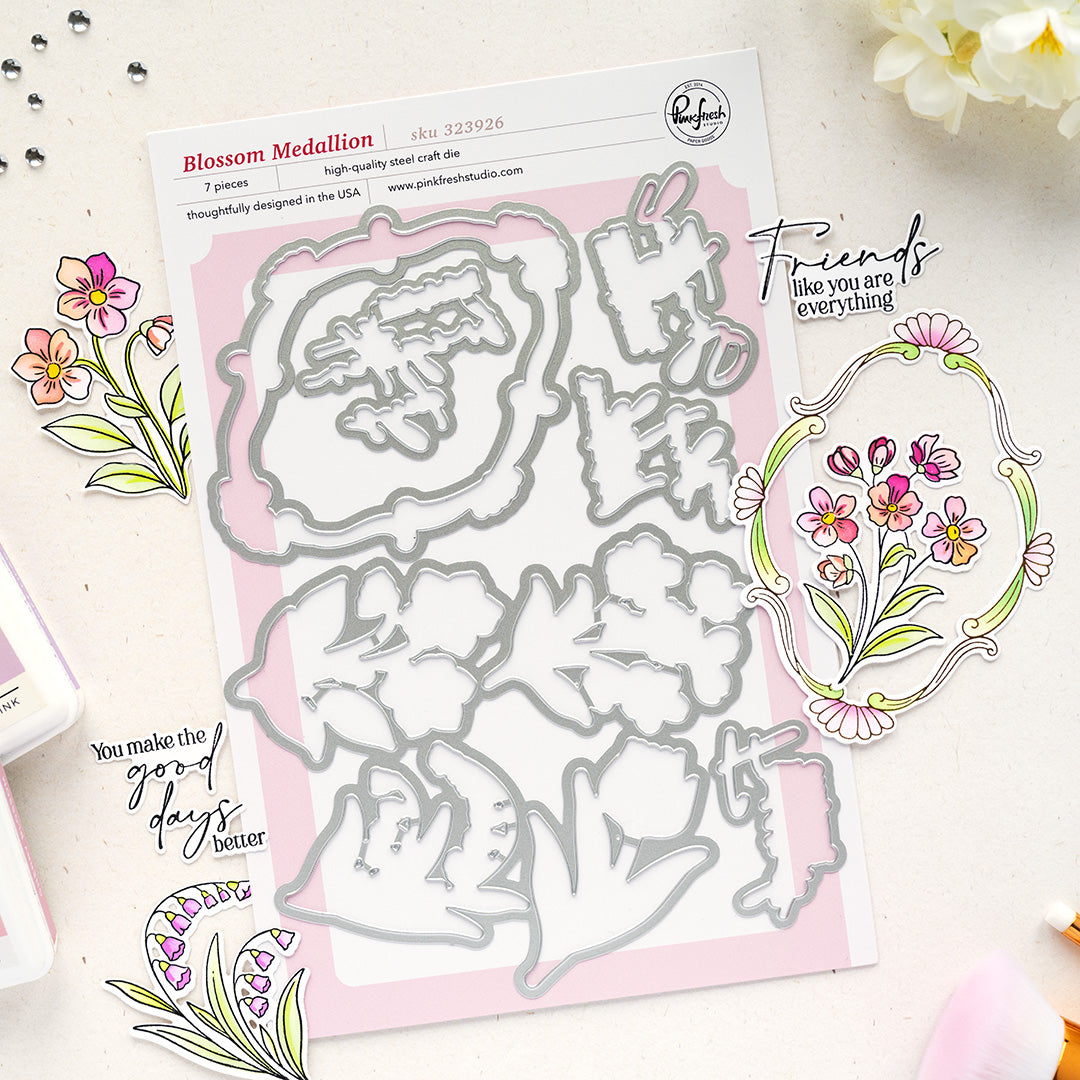
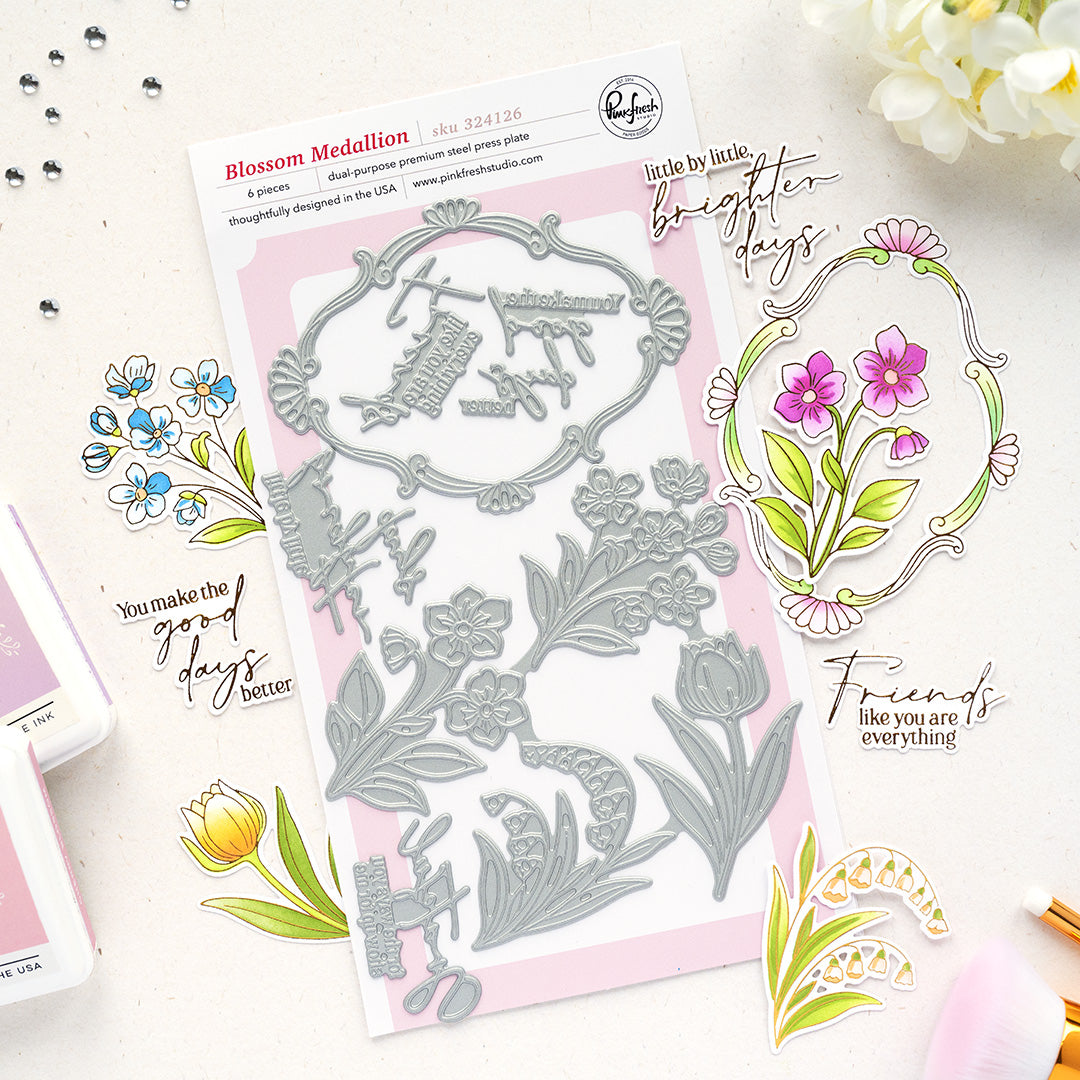
- Die cut & stack each piece with a blank die cut.
-
Focal Point Bases:
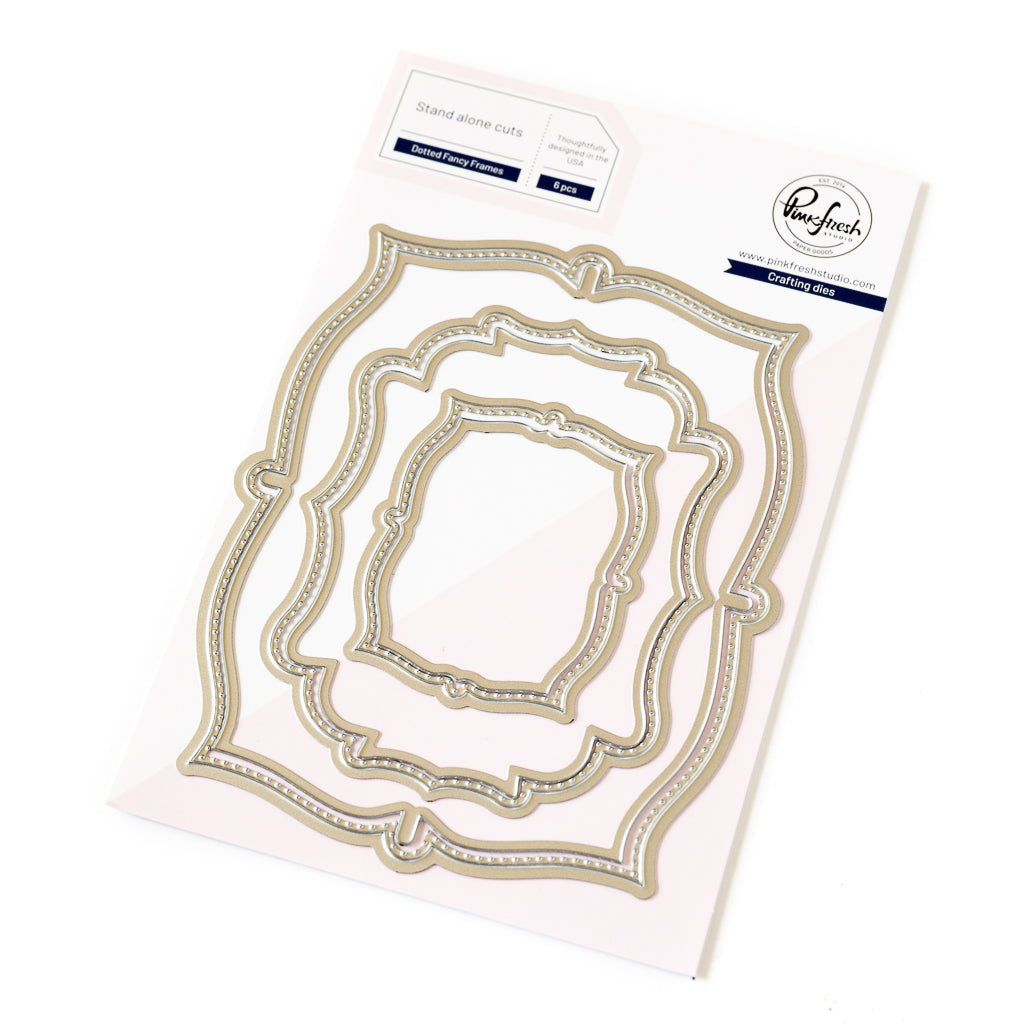
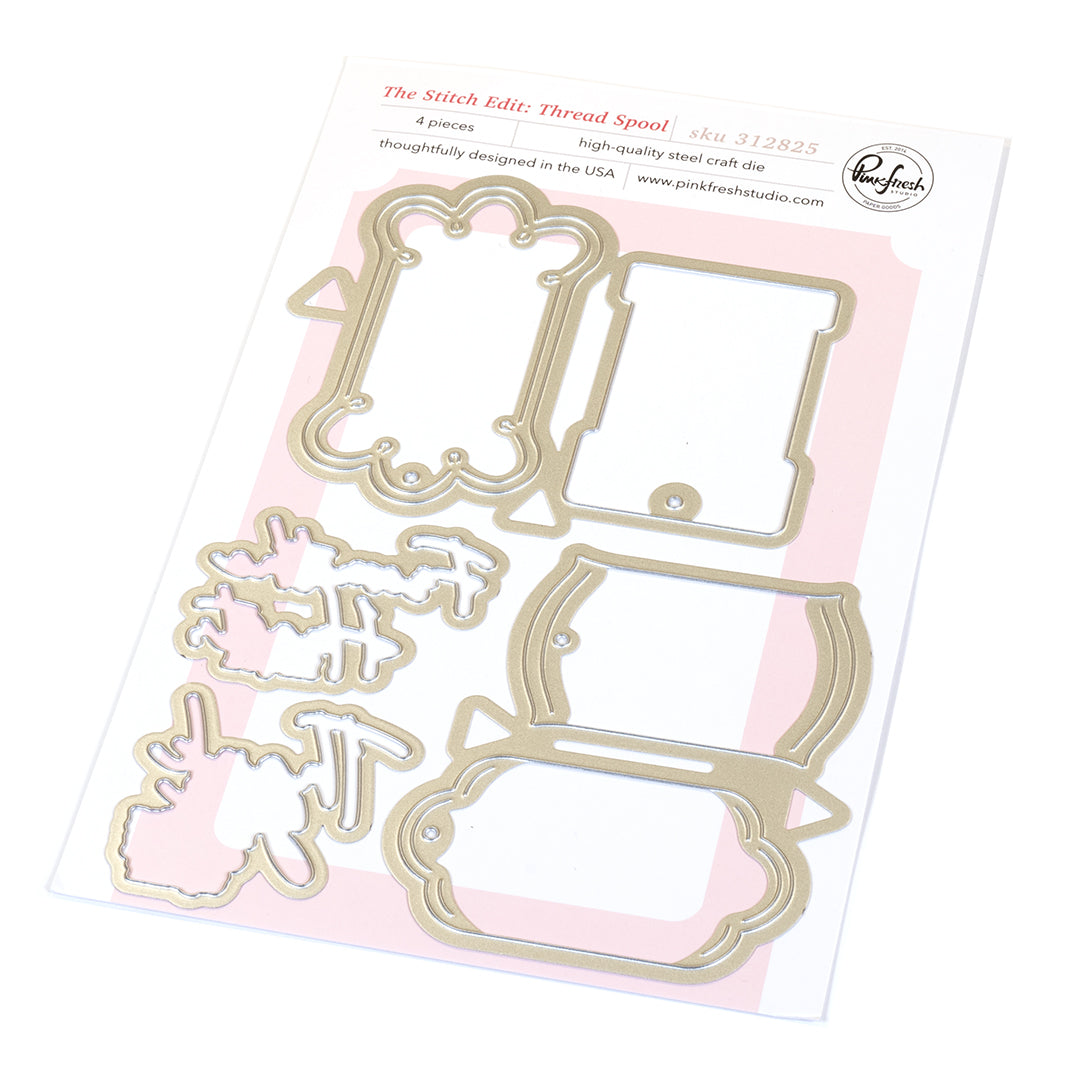
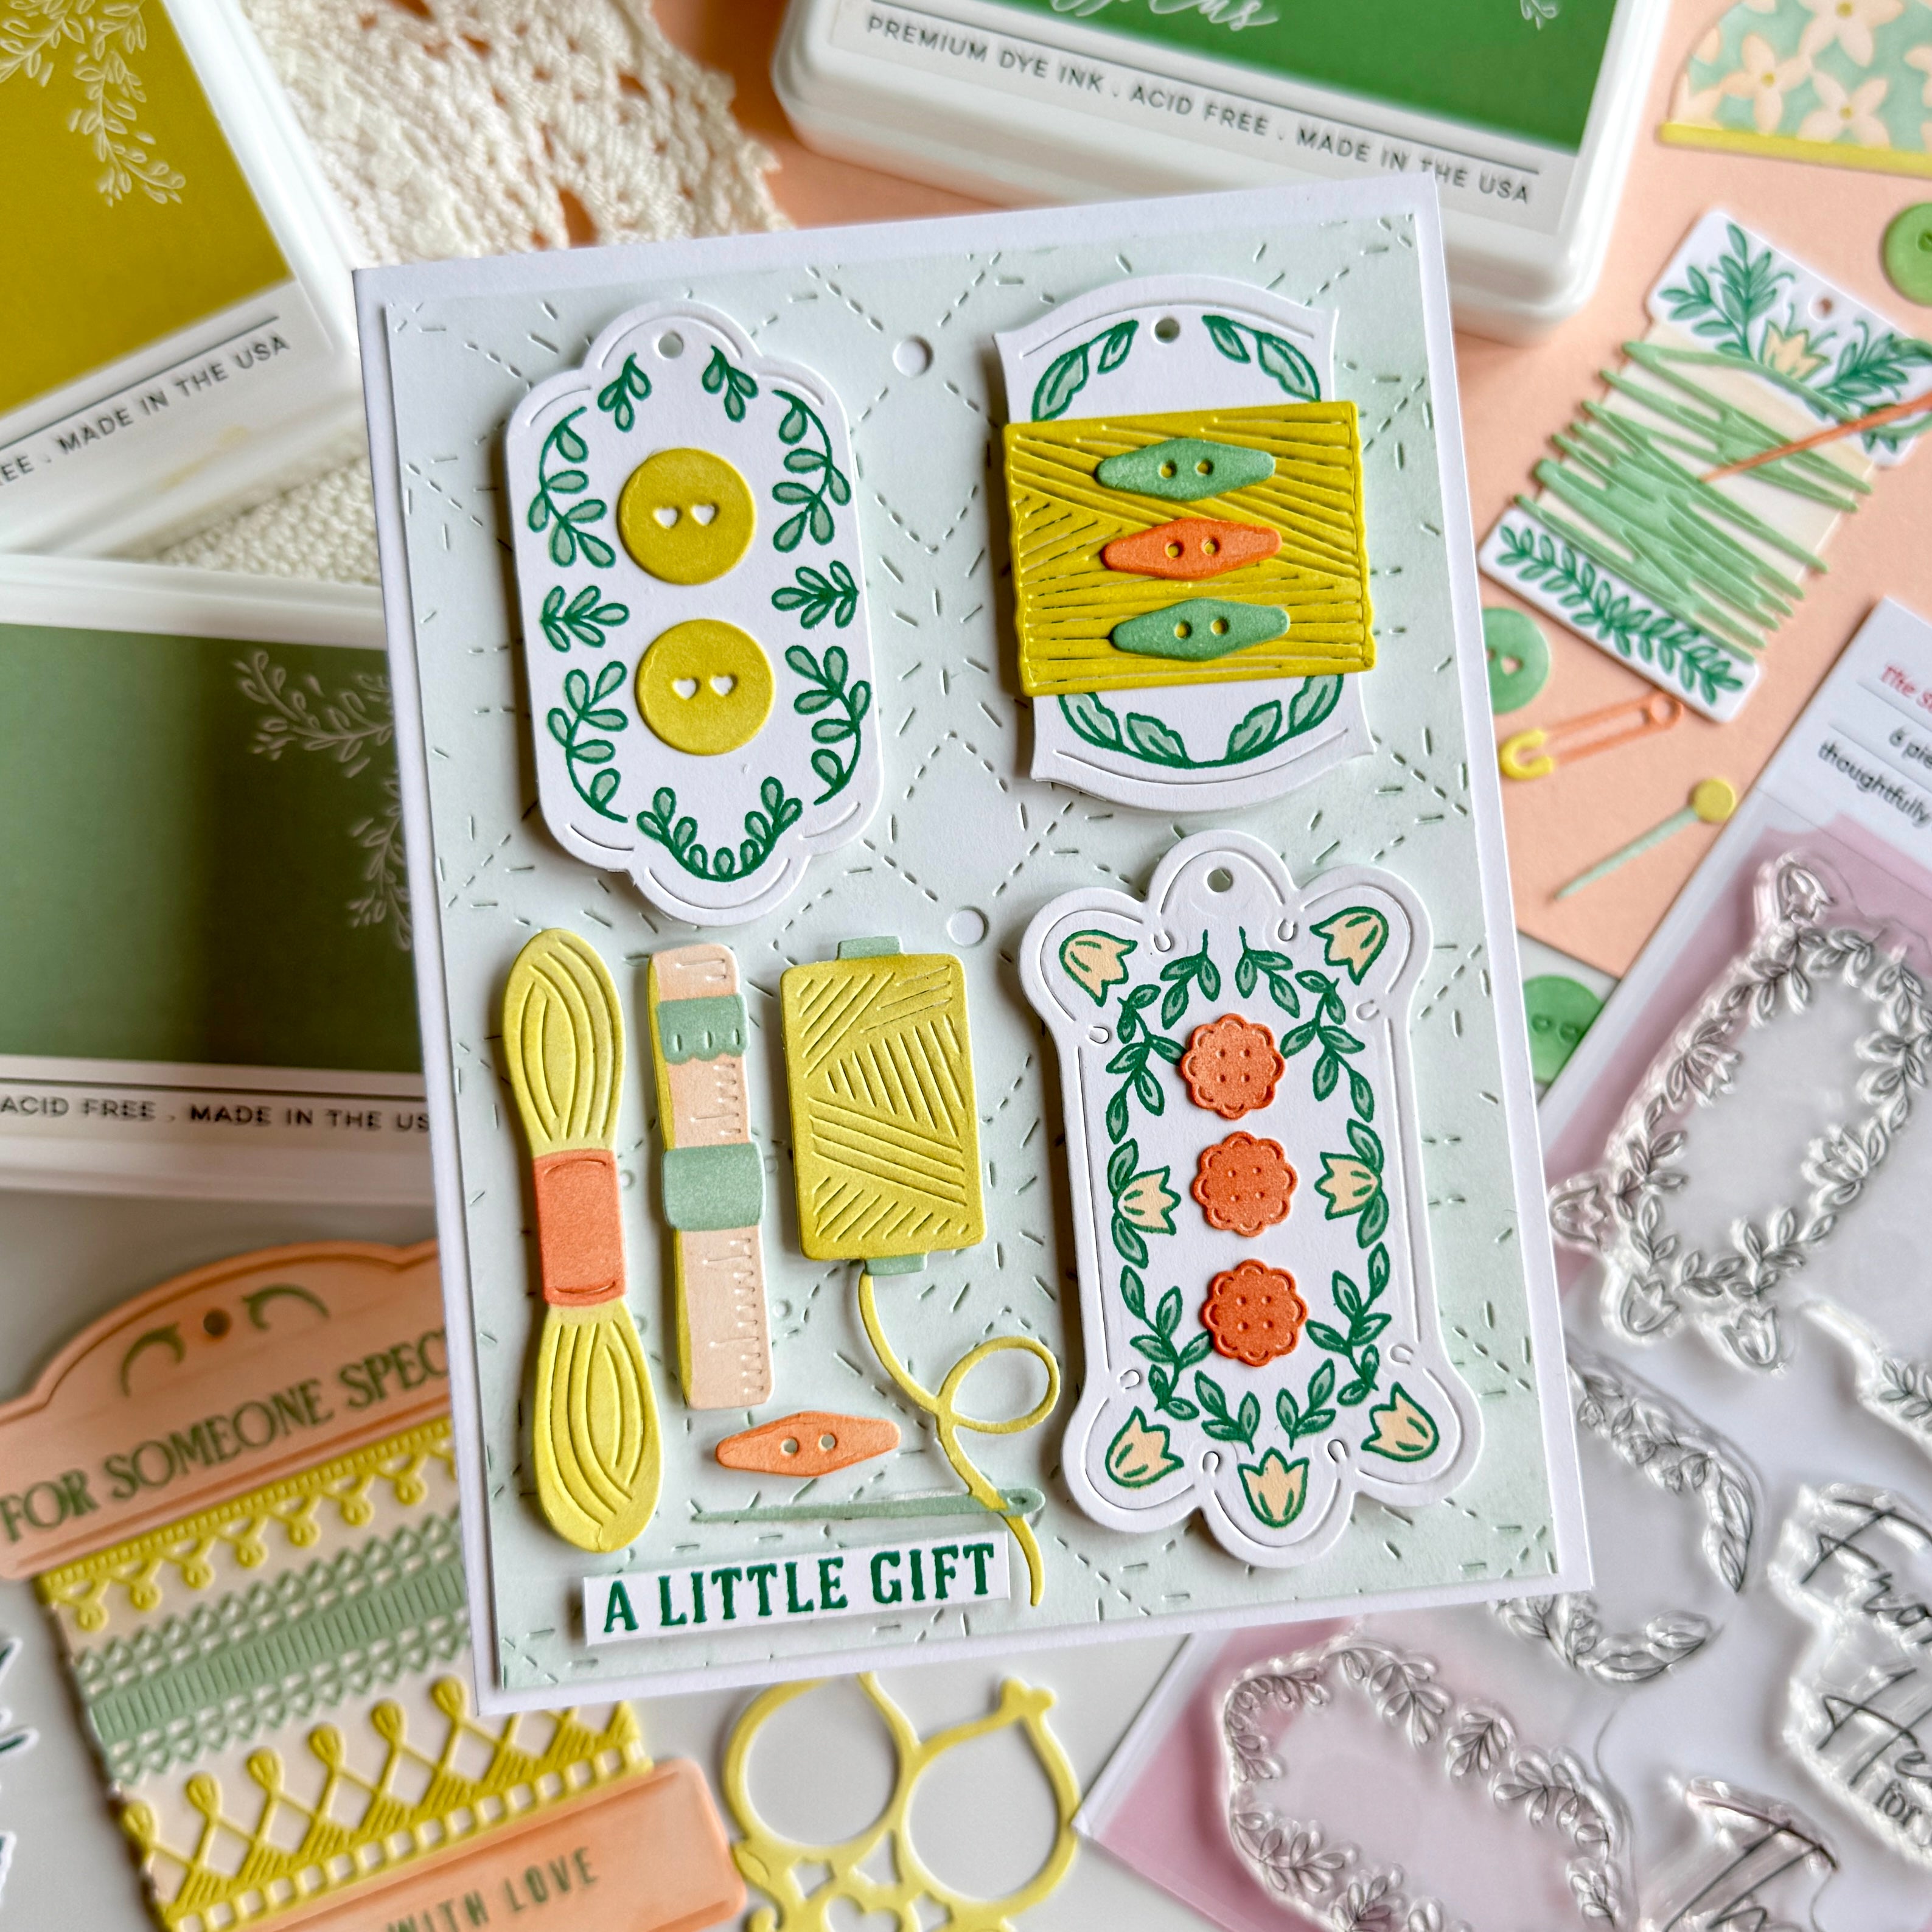
- Die cut (2) small panels from white cardstock to mount the florals on. I used the The Stitch Edit: Thread Spool die for one, and the smallest Dotted Fancy Frames die for the other.
- Adhere the floral die cuts onto the small panels & wrap some color-coordinated twine around it.
- Adhere the assembled pieces to the card front using foam adhesive.
-
Sentiments:
- Stamp (2) sentiments of your choice in Detail Black.
- Die cut & stack each with 2-3 blank pieces for more sturdiness.
- Adhere the sentiments to the cards. Use foam adhesive behind them as needed to level the height—you may need to stack multiple layers.
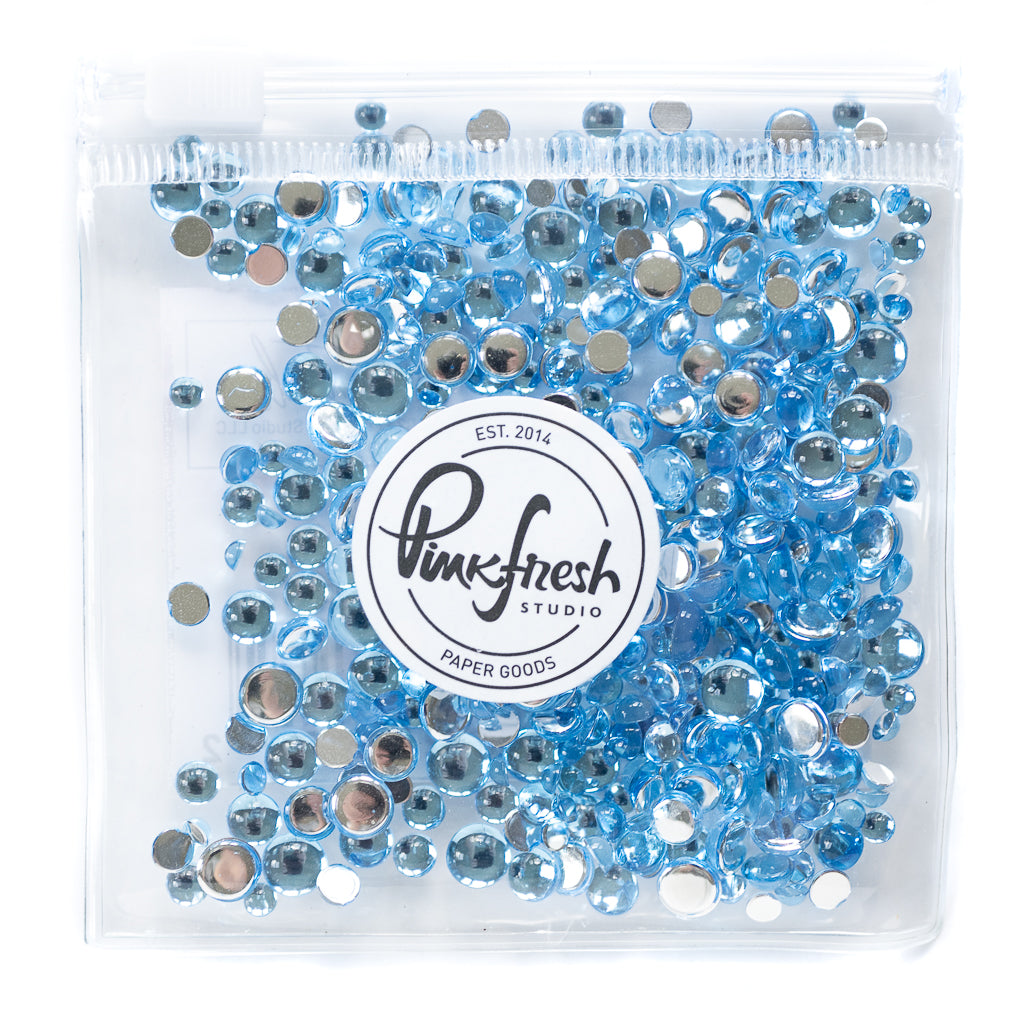
- Embellishing: Add Clear Drops in coordinating colors (I used Amber & Sky Blue).


I hope you feel inspired by these cards to have another look at the Blossom Medallion suite & see how you can combine it with products from your stash. I’d absolutely love to see what you create! Don’t forget to tag us on social media (@pinkfreshstudio and @cardsandconfetti) so we can admire your amazing work.
Thanks so much for stopping by today!
Recommended Products















































Leave a comment
All comments are moderated before being published.
This site is protected by hCaptcha and the hCaptcha Privacy Policy and Terms of Service apply.