
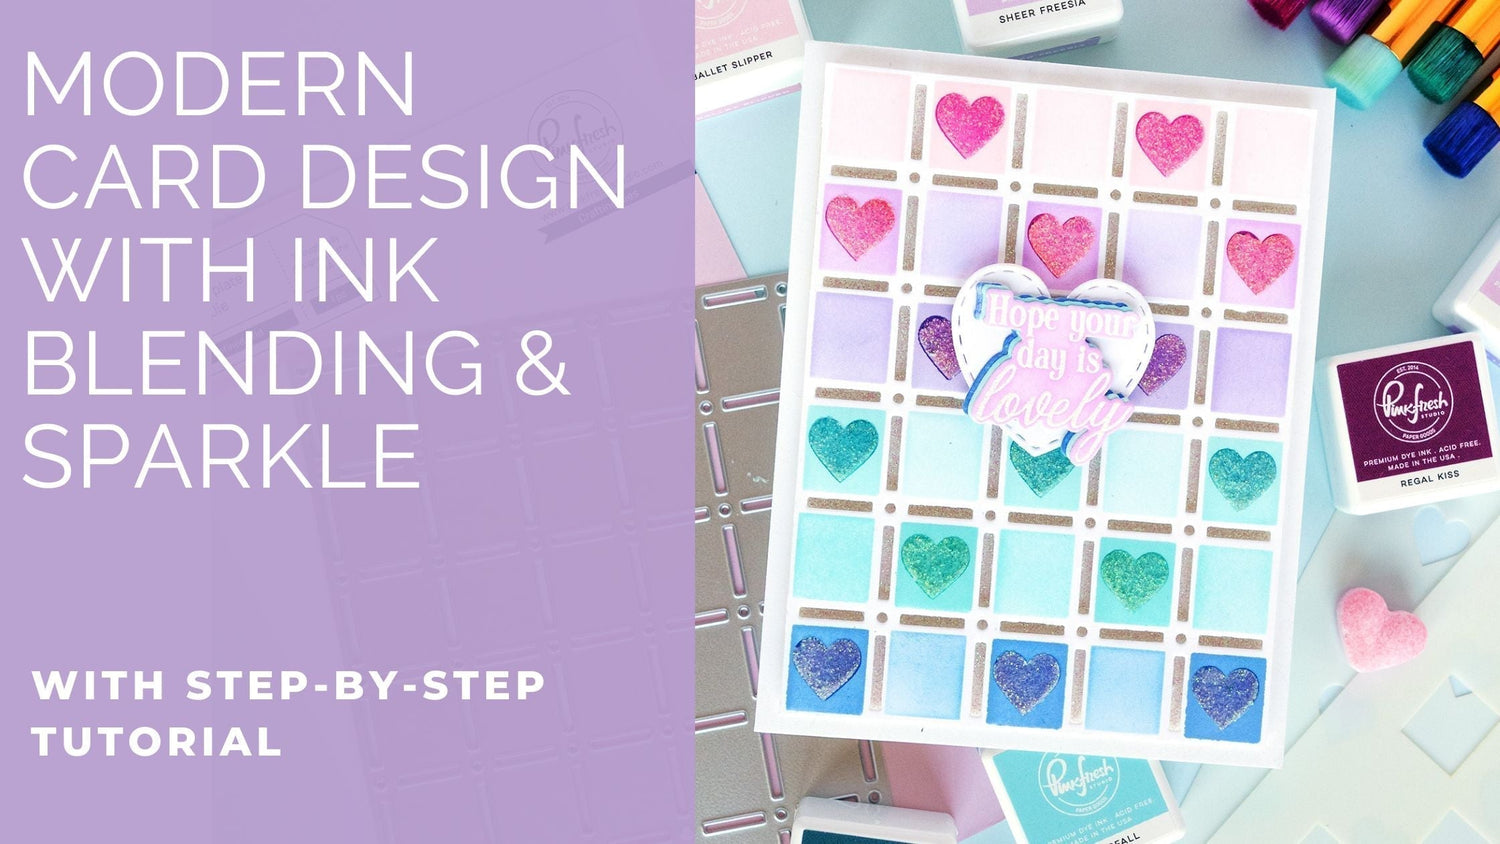
Happy Friday, Pinkfresh Studio friends! It’s Kathleen here and today I get to share a card made with products from our newest Artful Foundations release.
Some of you might have seen me make this card in last Tuesday's sneak peek live on the Pinkfresh Studio channel and I really wanted to share the step-by-step instructions for this card on the blog, too. If you missed it, you can watch the replay below (or go to our YouTube channel).
If you’re not familiar, we go live on our YouTube channel every Tuesday at noon CT for a fun, 60-minute cardmaking session—complete with amazing inspiration, lively chat, and of course, giveaways! So don't miss out!
*Disclaimer: All products used are linked below as clickable images. If a product isn’t listed, it’s been discontinued.
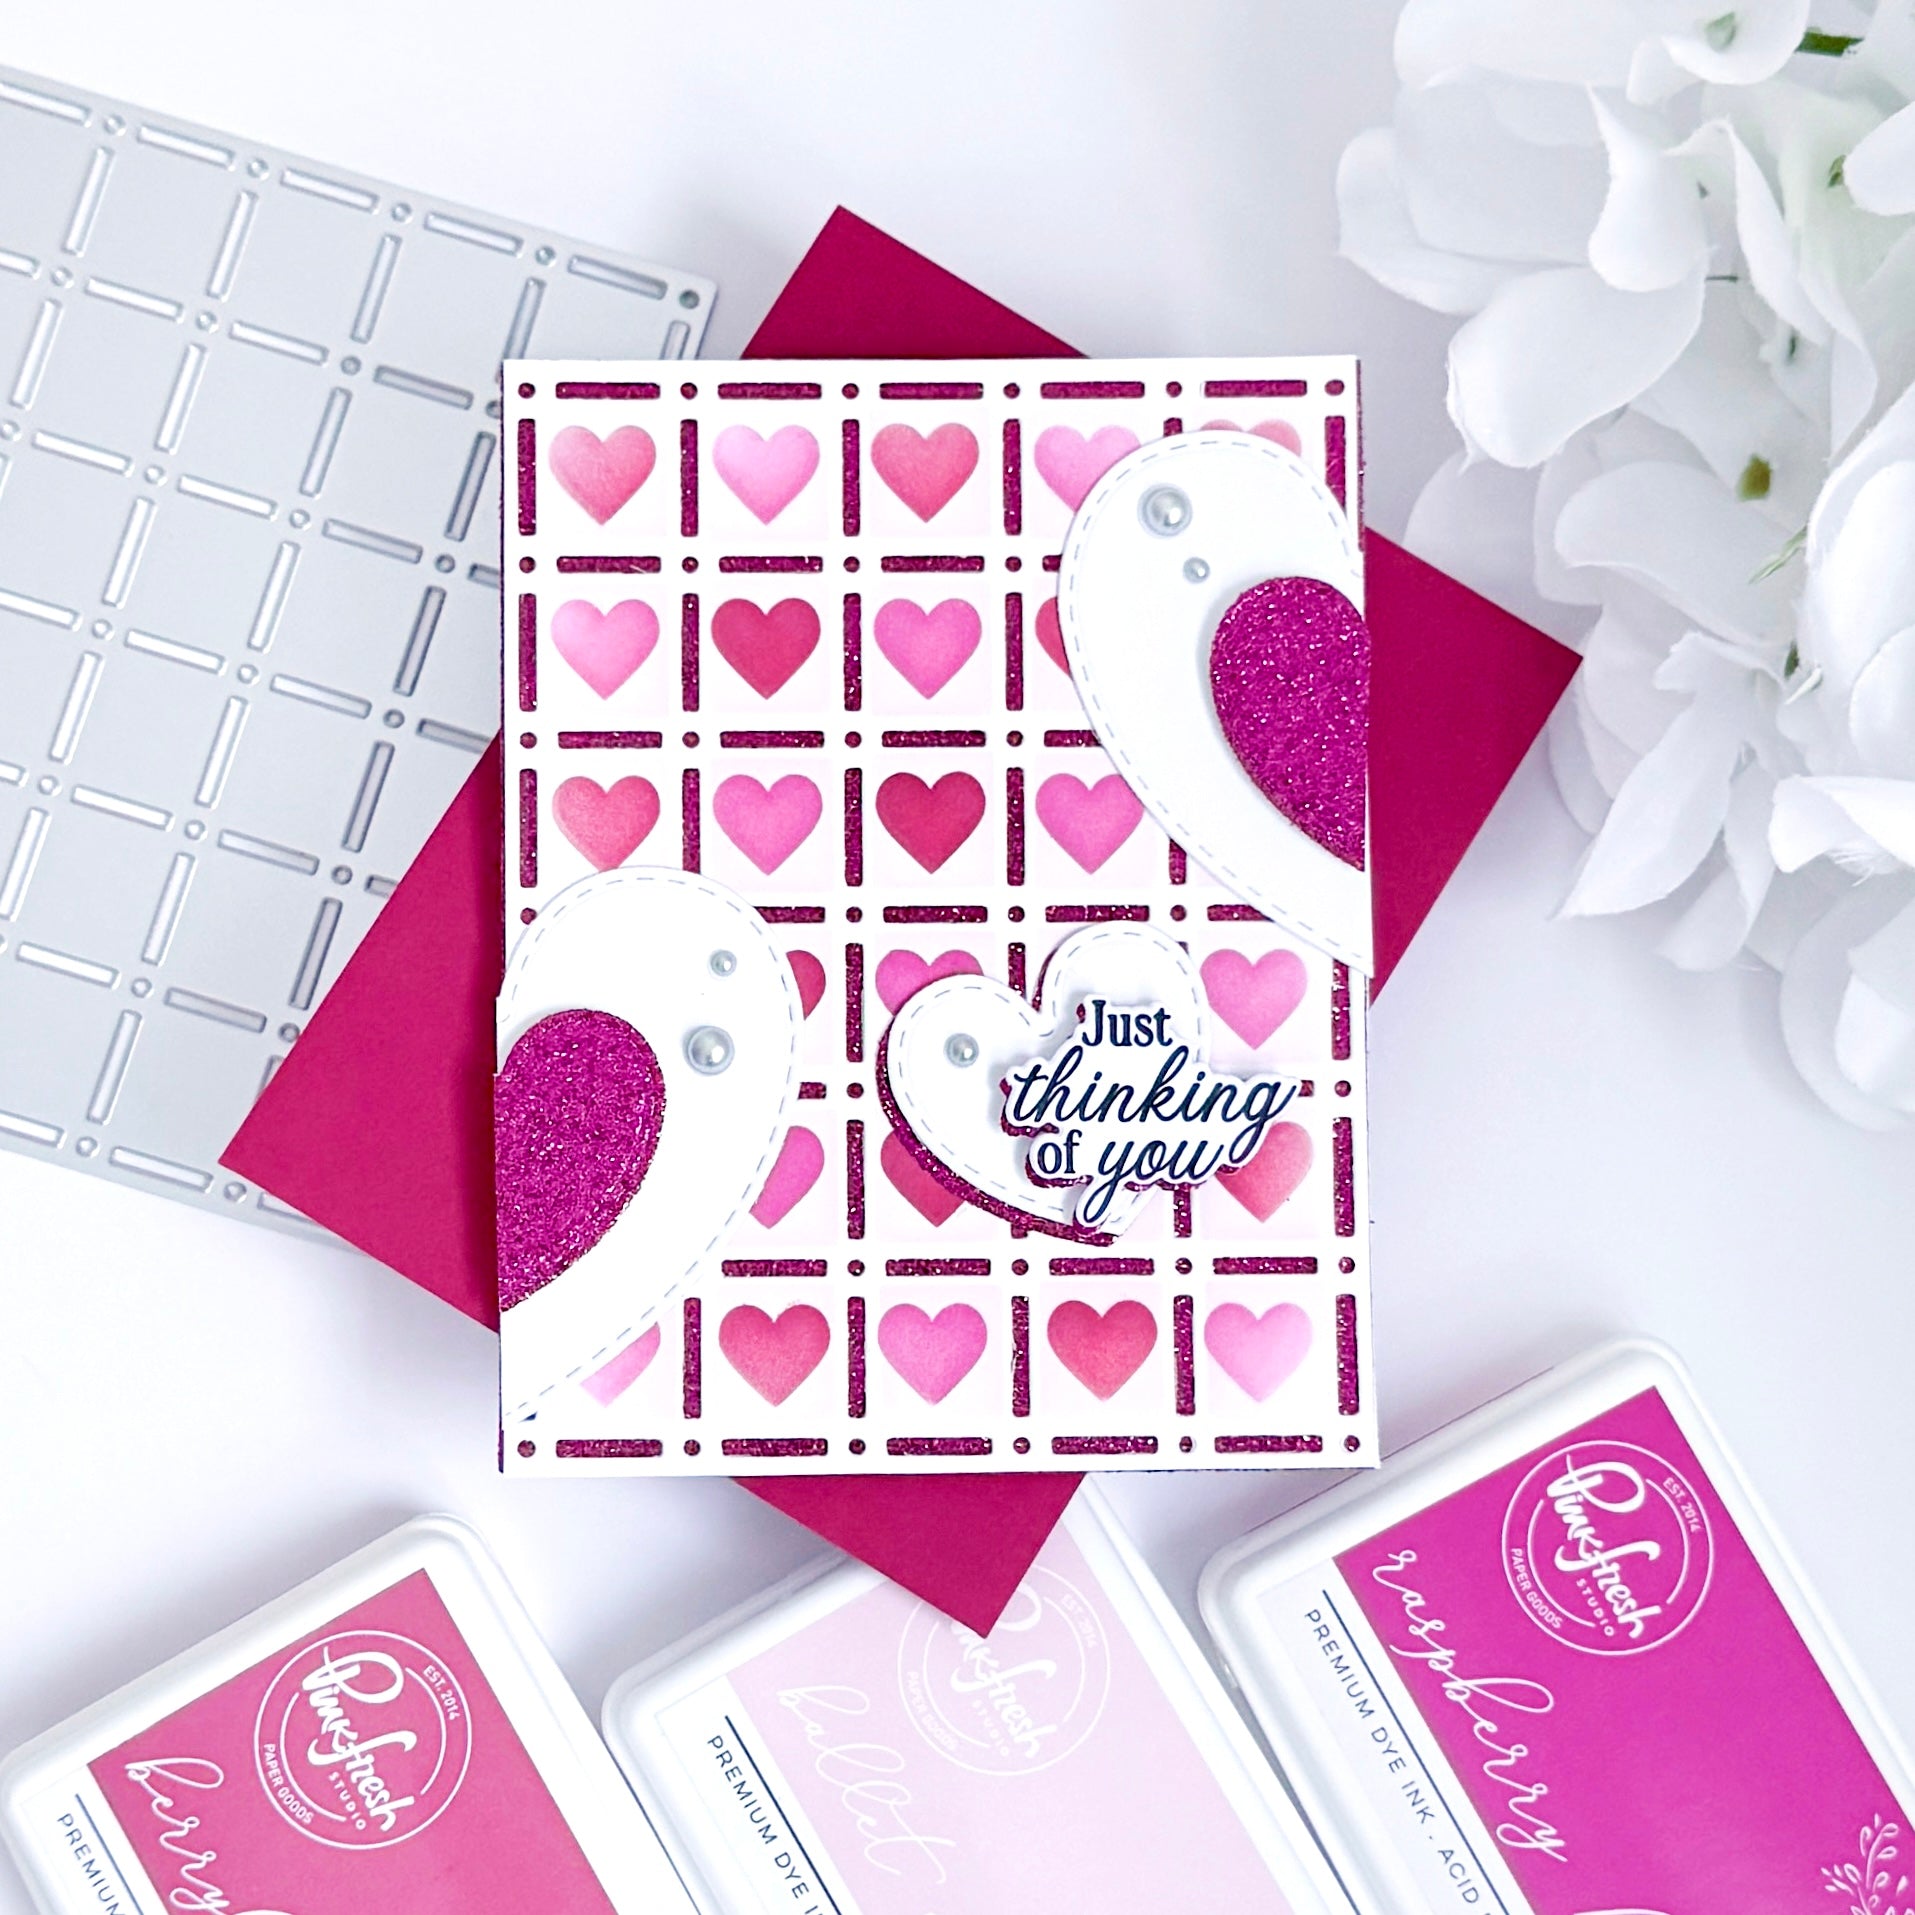
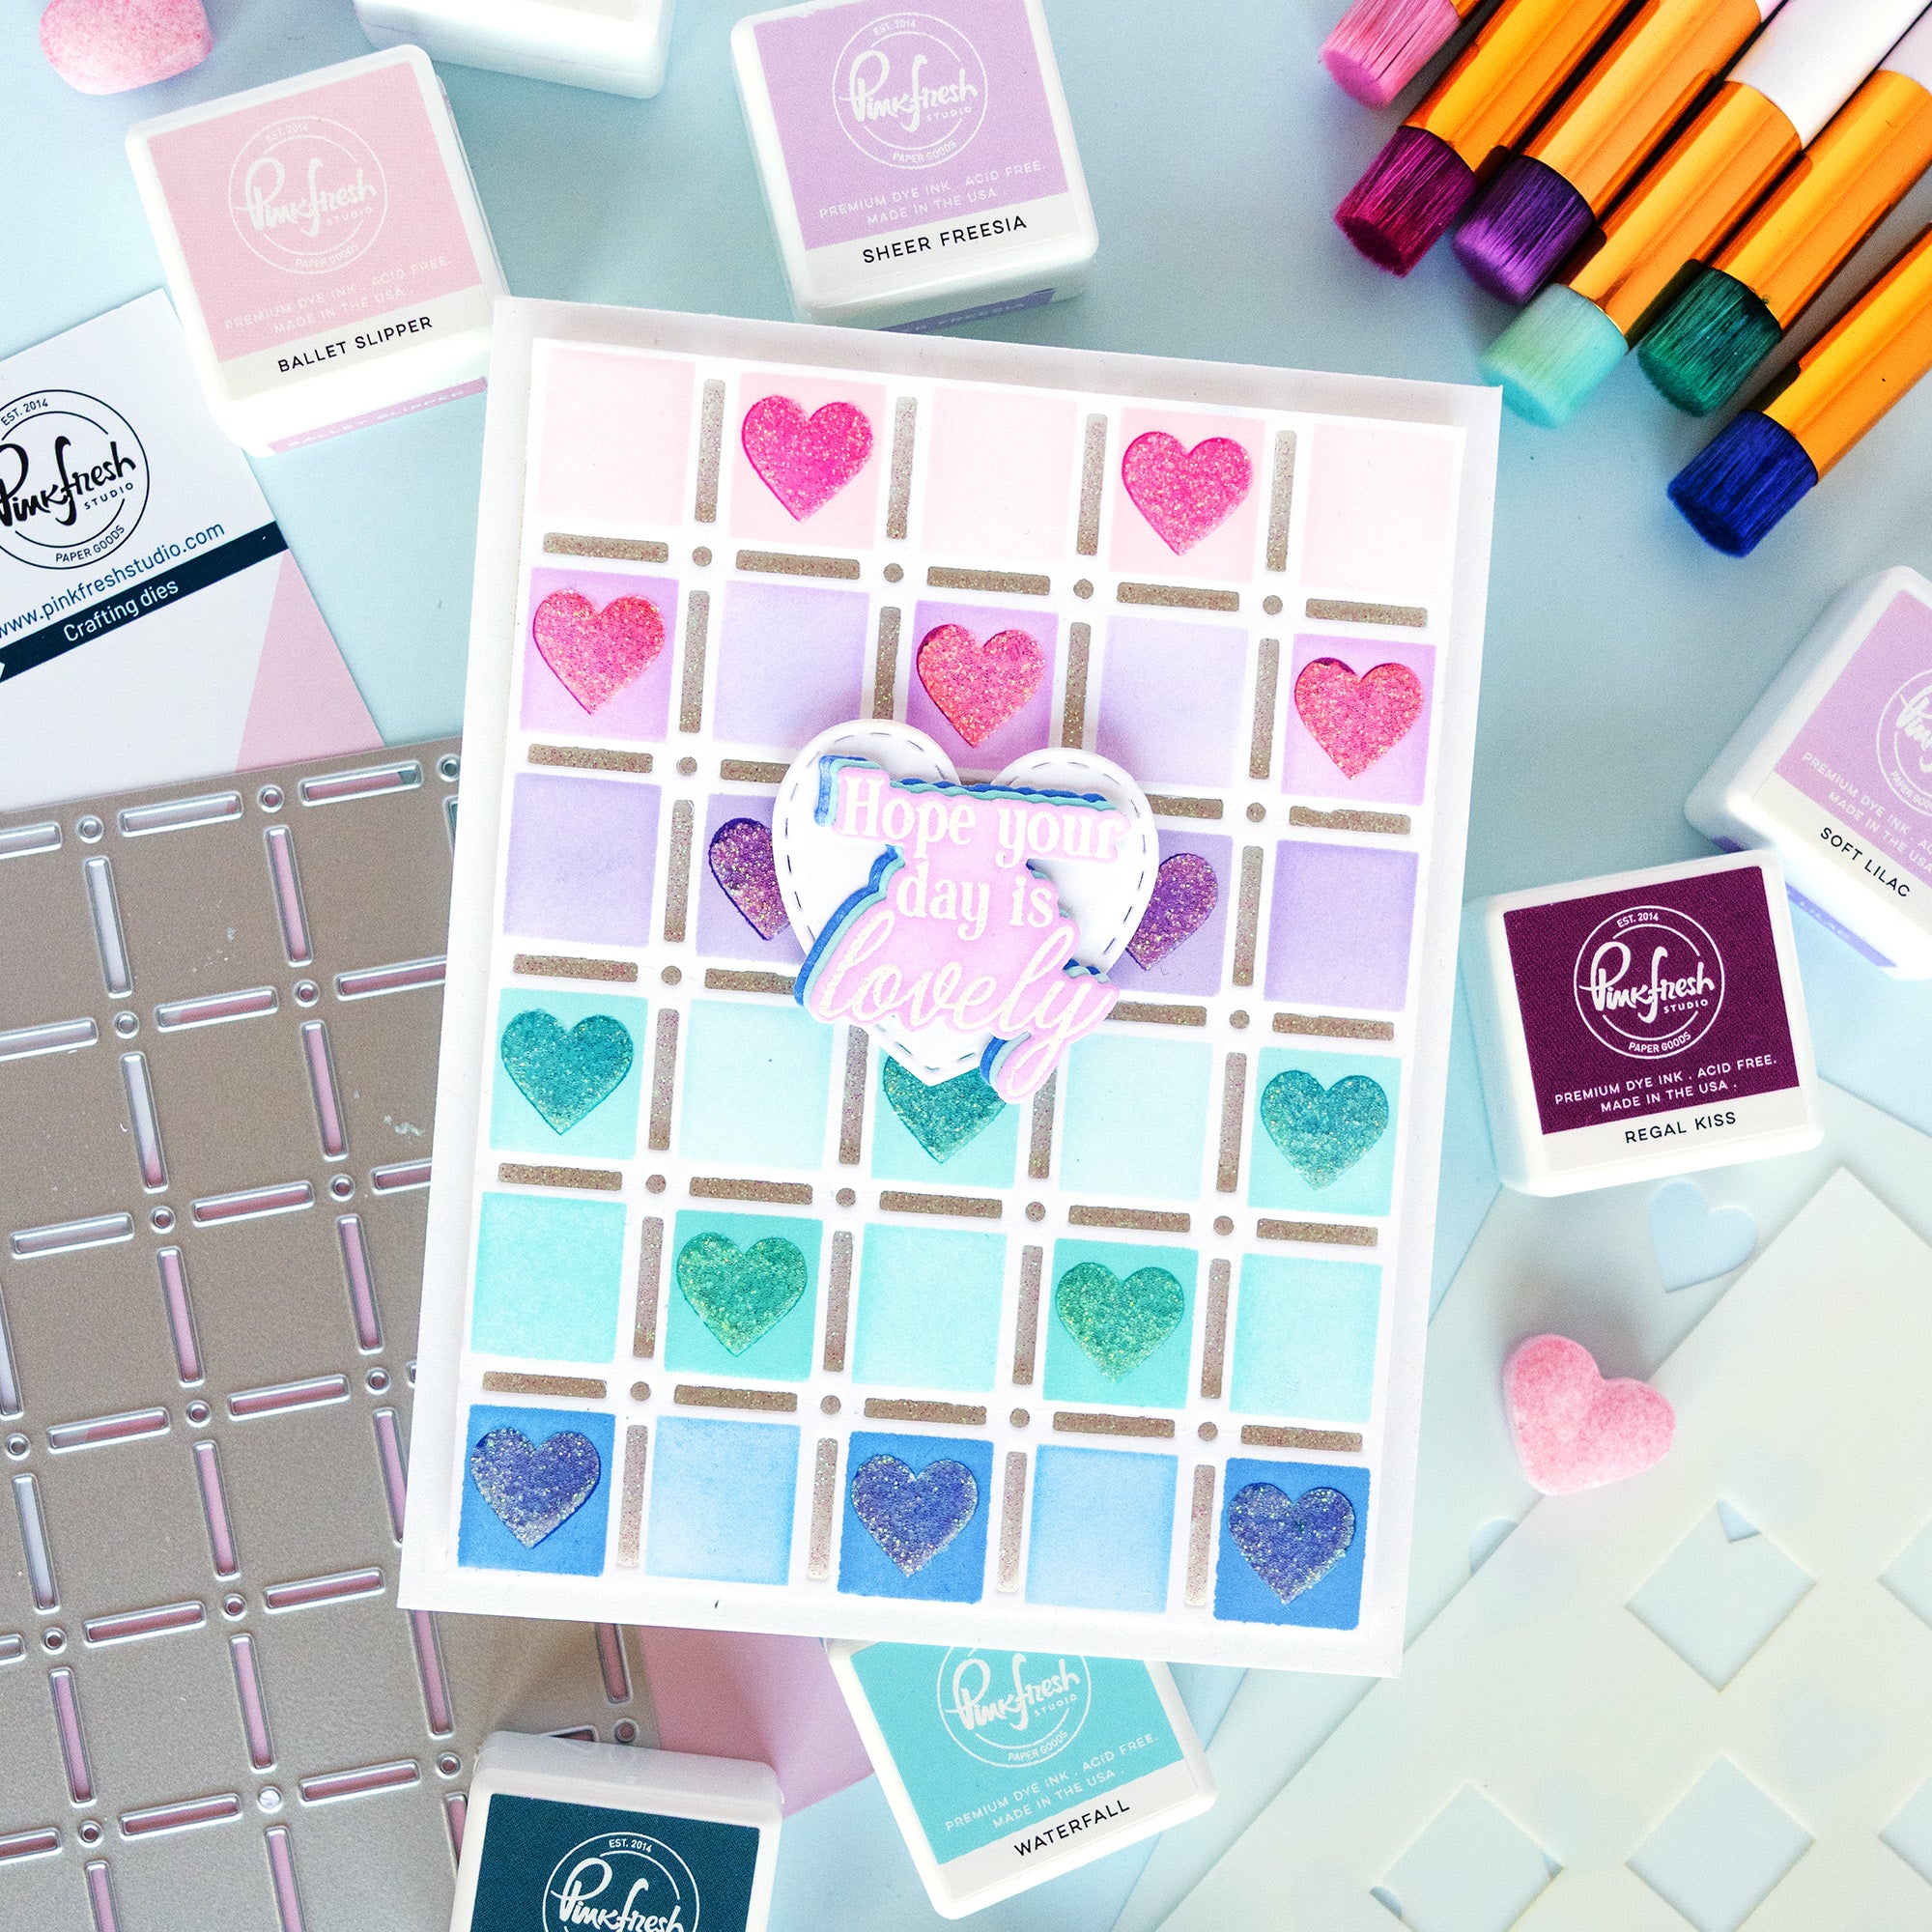
The Refined Grid product suite offers so many mix-and-match opportunities and can be used to create tons of different designs! You could also easily switch up the color scheme and maybe skip the glitter elements for a more masculine card (although I think sparkle is for everyone 😉).


How to make this card:
-
Card Base & Panel:
- Cut a top-folding A2 card base & (1) A2 panel from white cardstock.
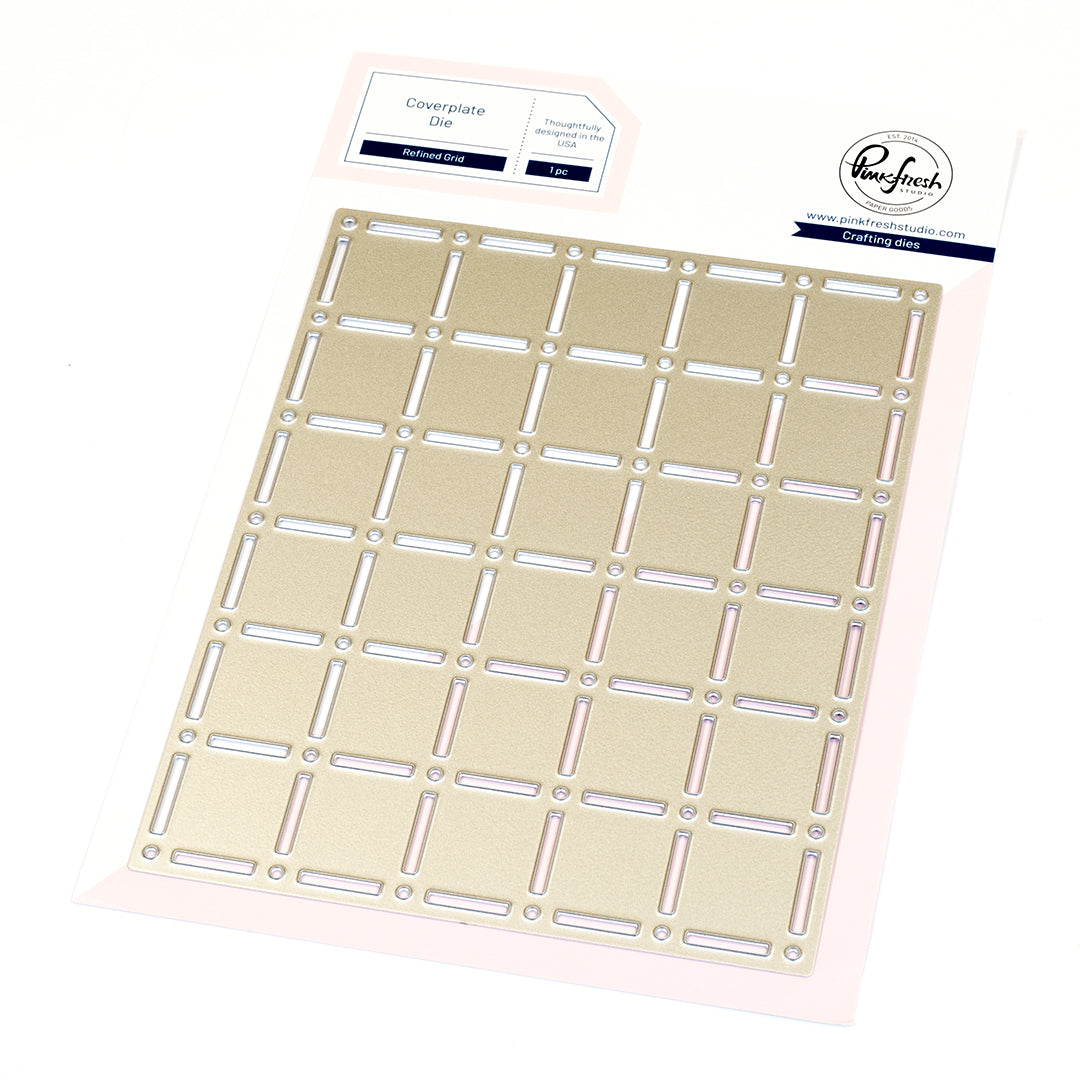
- Die cut the A2 panel with the Refined Grid coverplate die.
- Cut a top-folding A2 card base & (1) A2 panel from white cardstock.
-
Refined Grid:
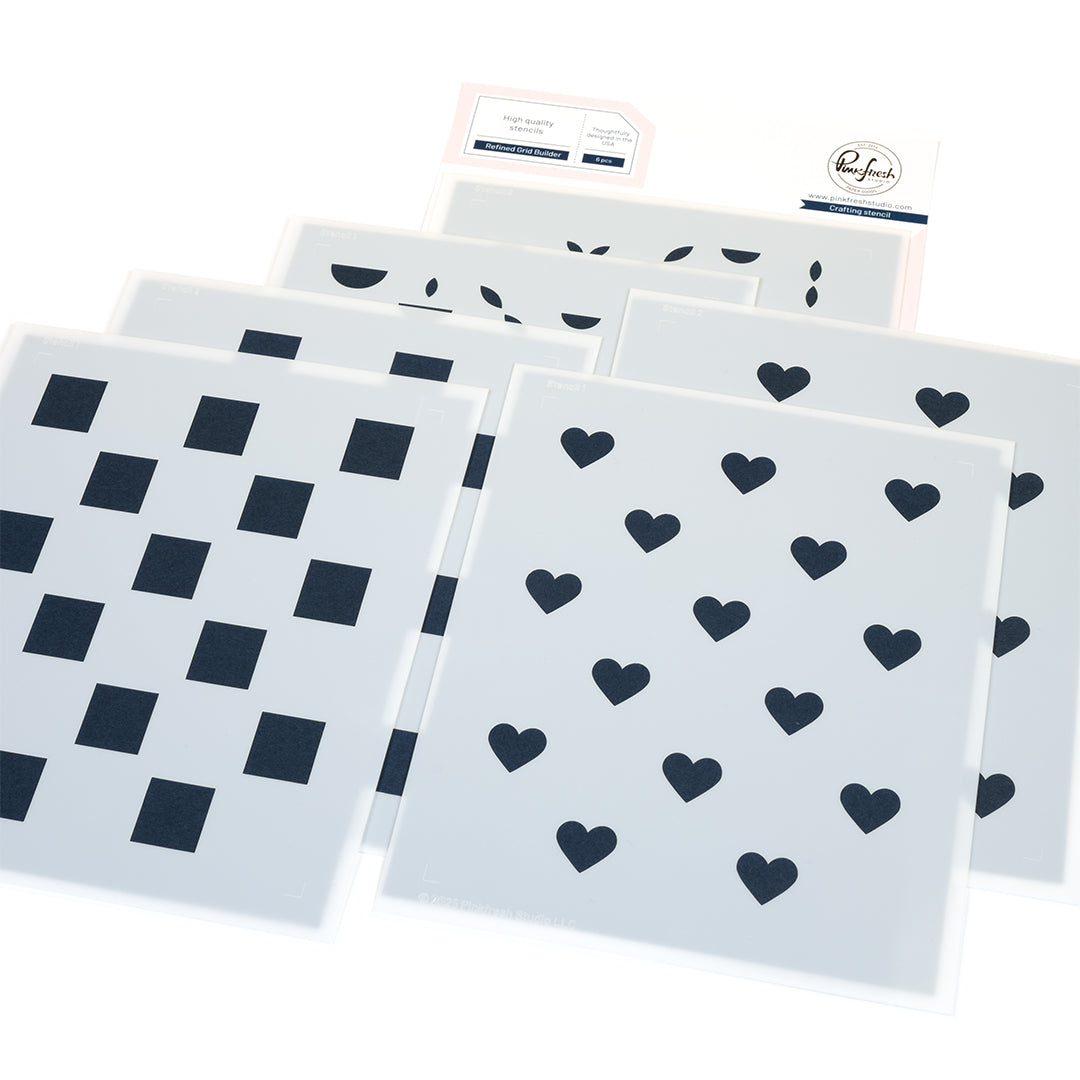
- Ink blend the die cut panel using the Refined Grid stencils:
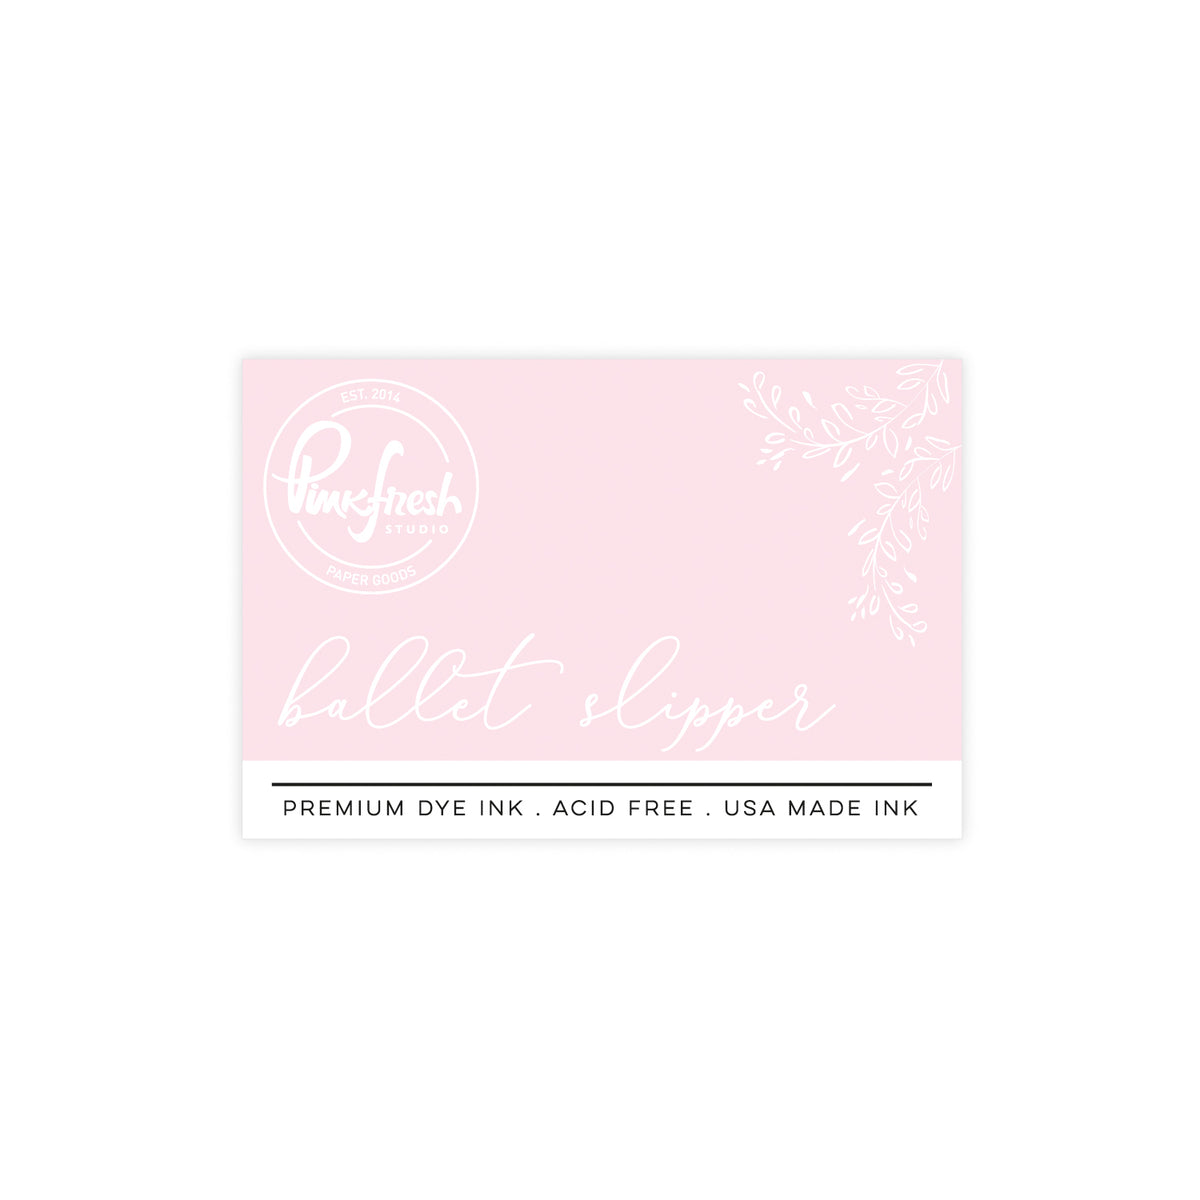
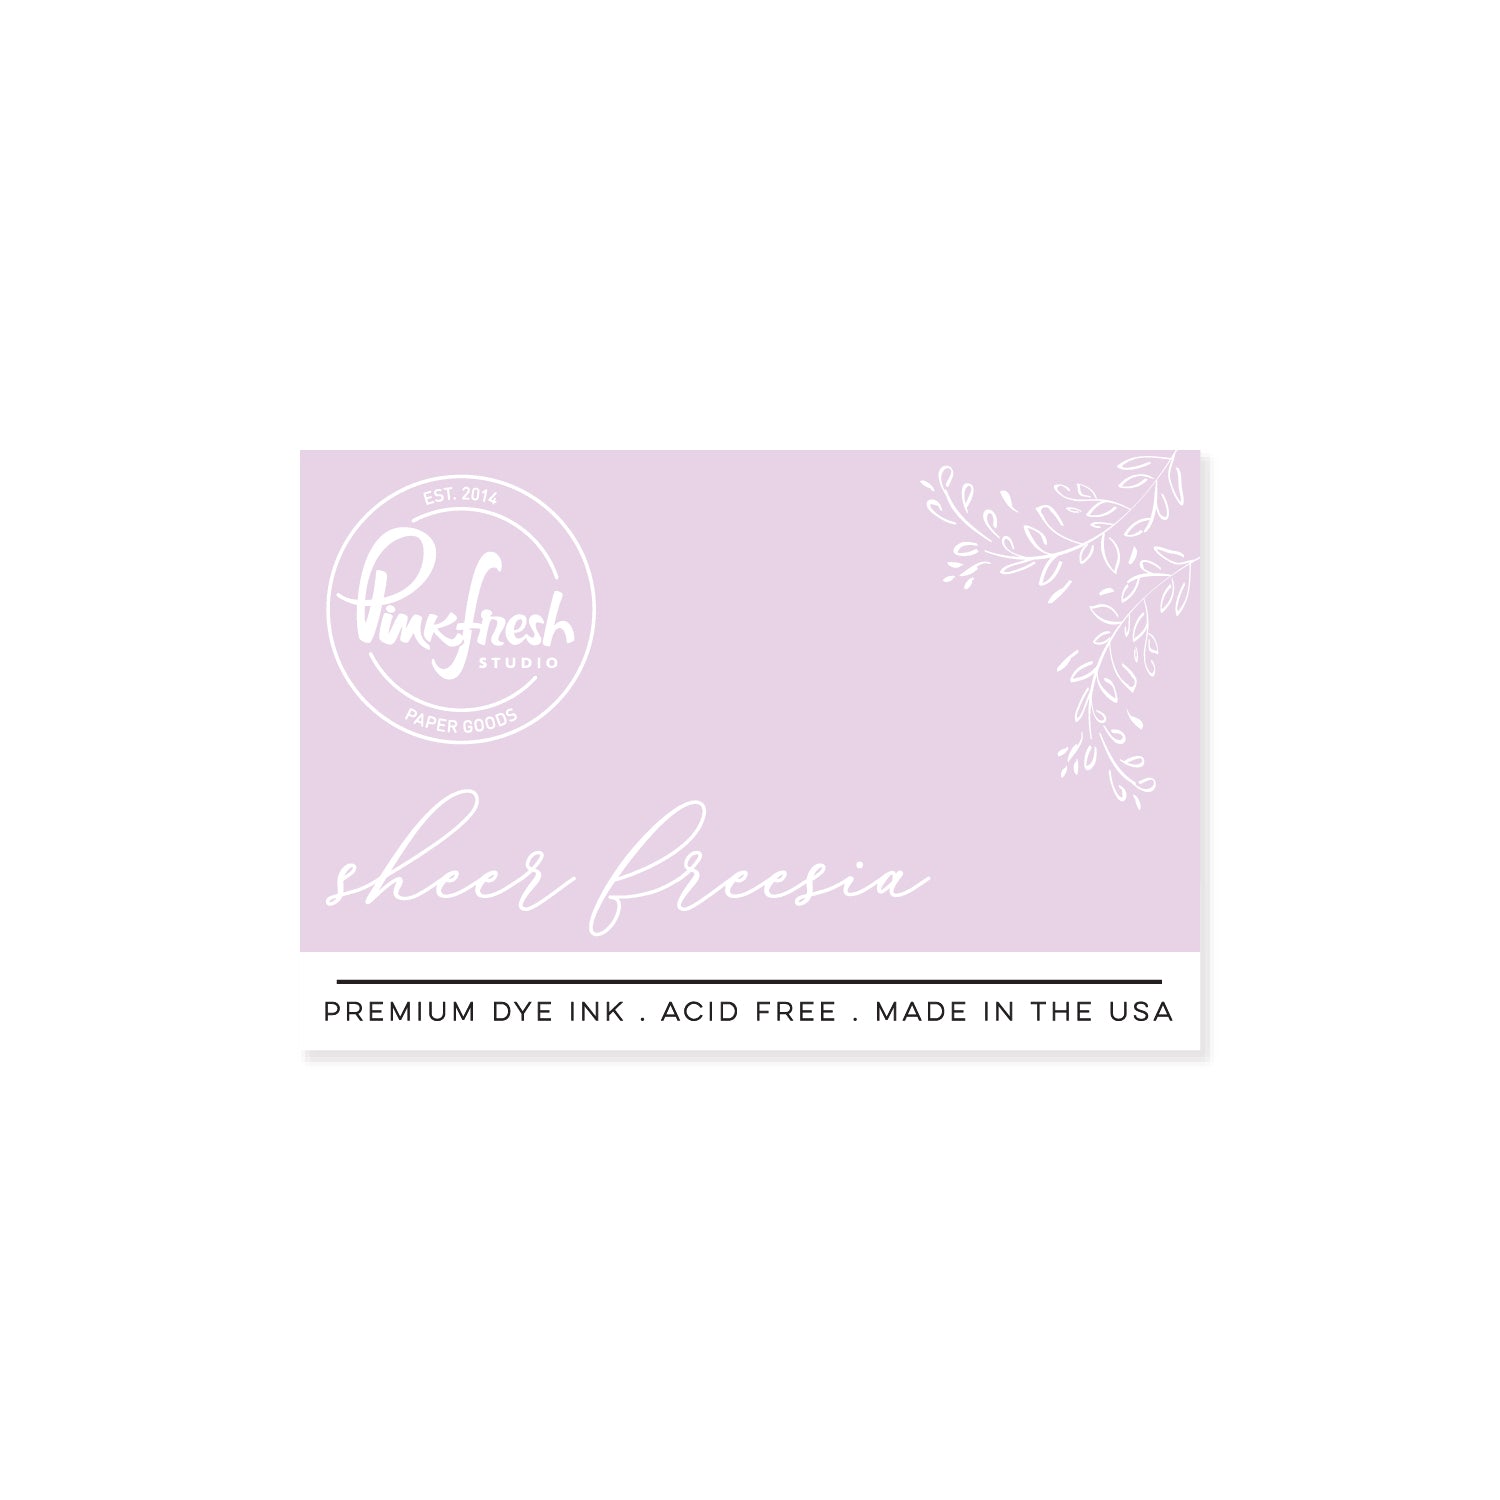
- Stencil 1+2 (blocks), use one color per row, from top to bottom: Ballet Slipper, Soft Lilac, Sheer Freesia, Waterfall, Ocean Breeze, Slumber
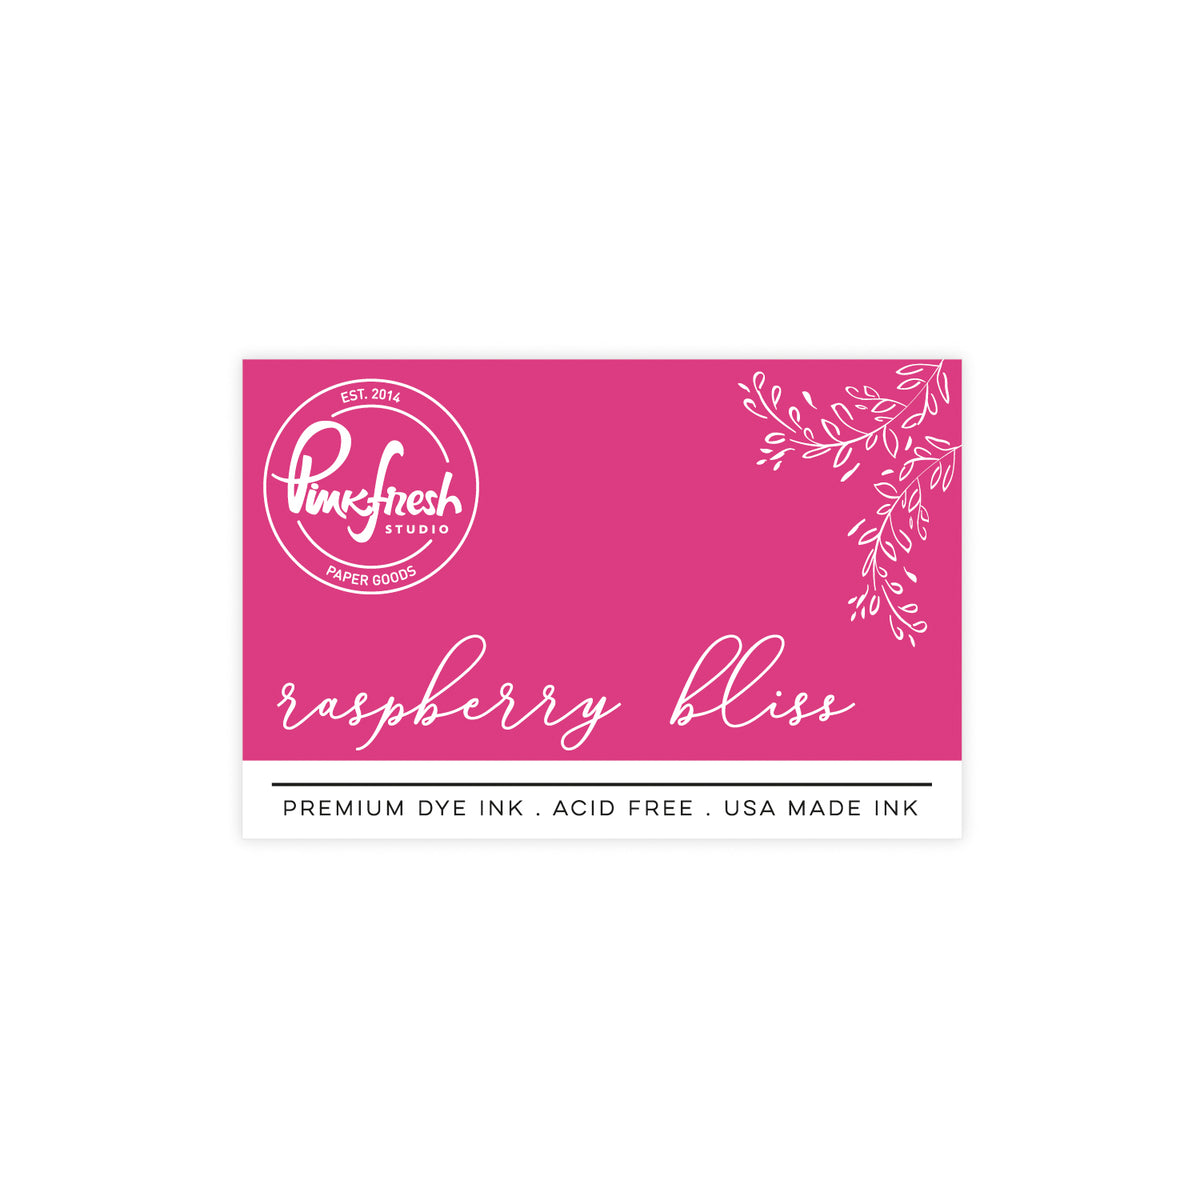
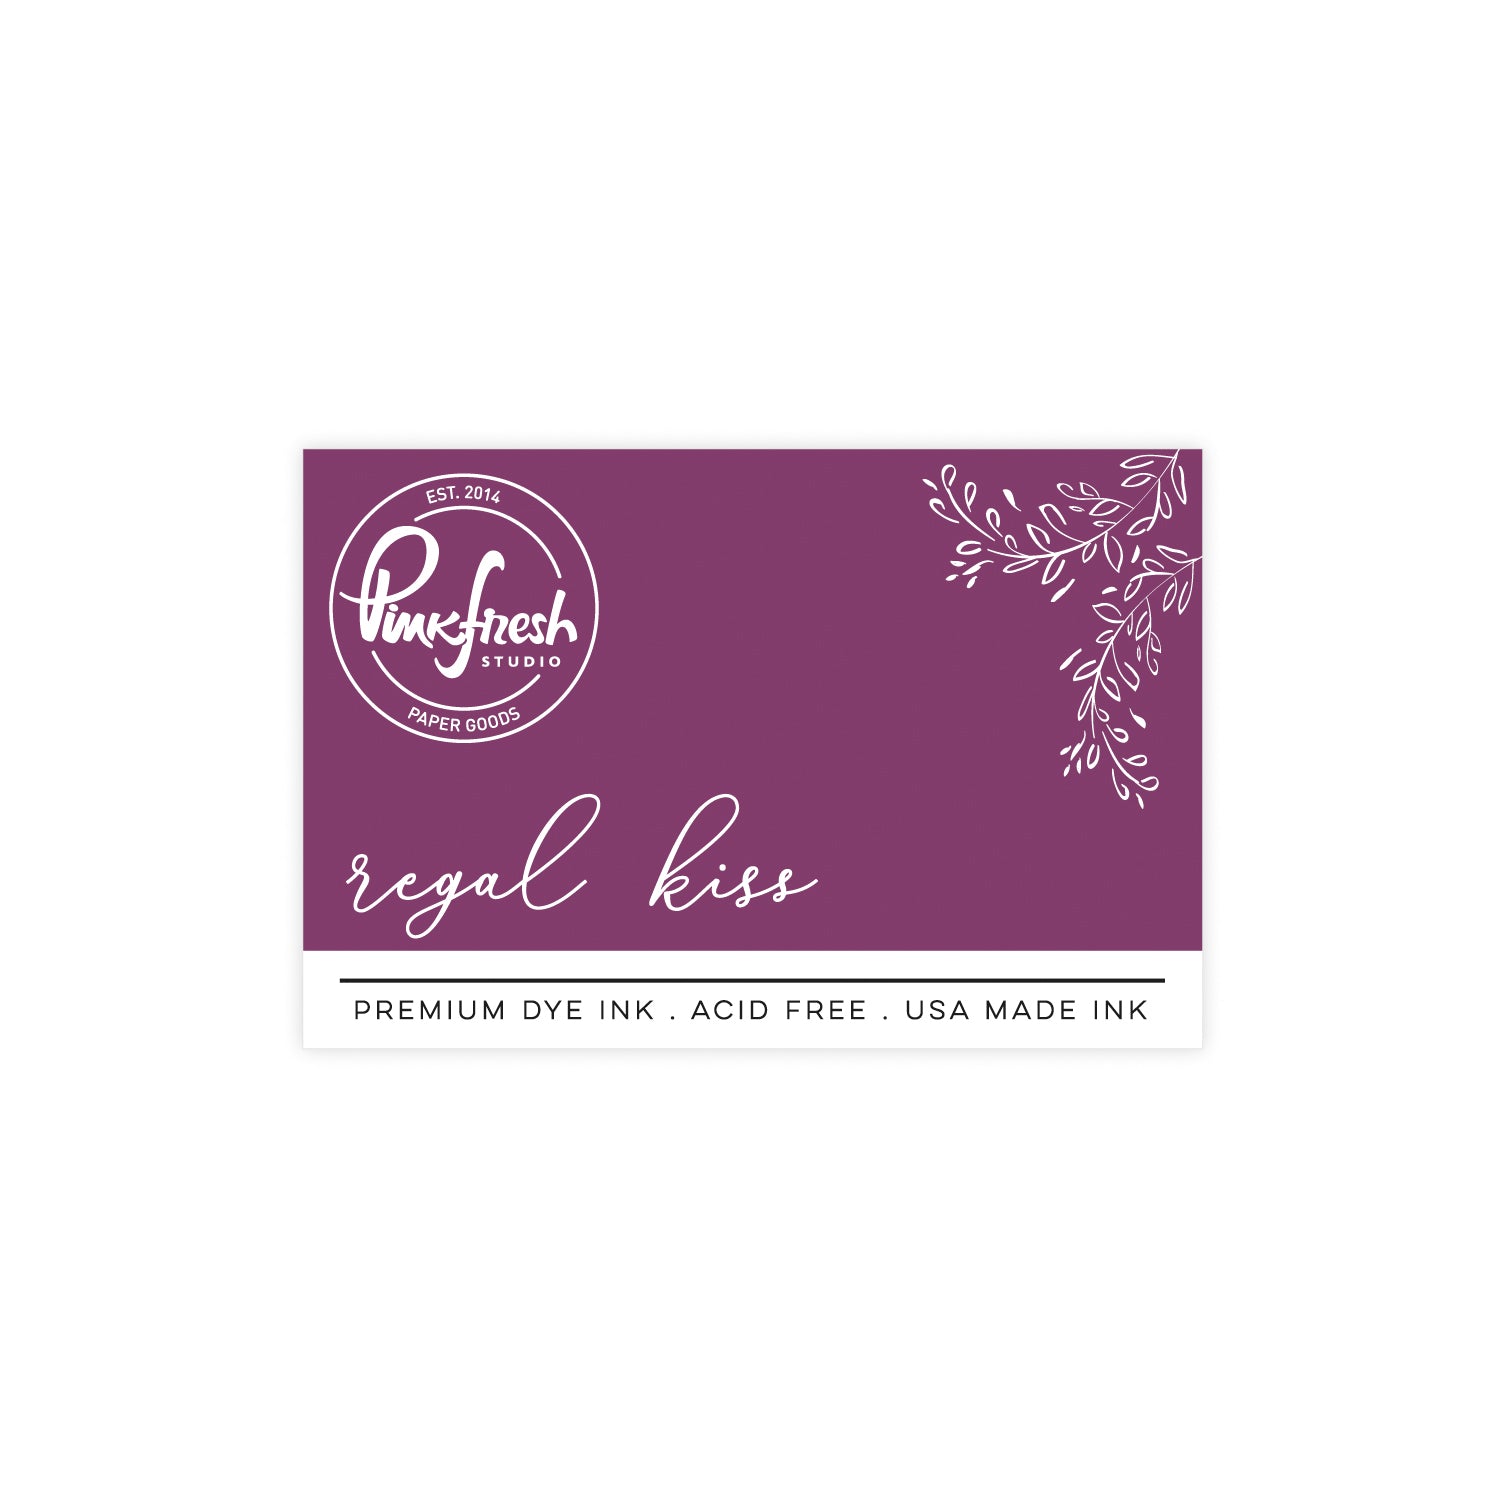
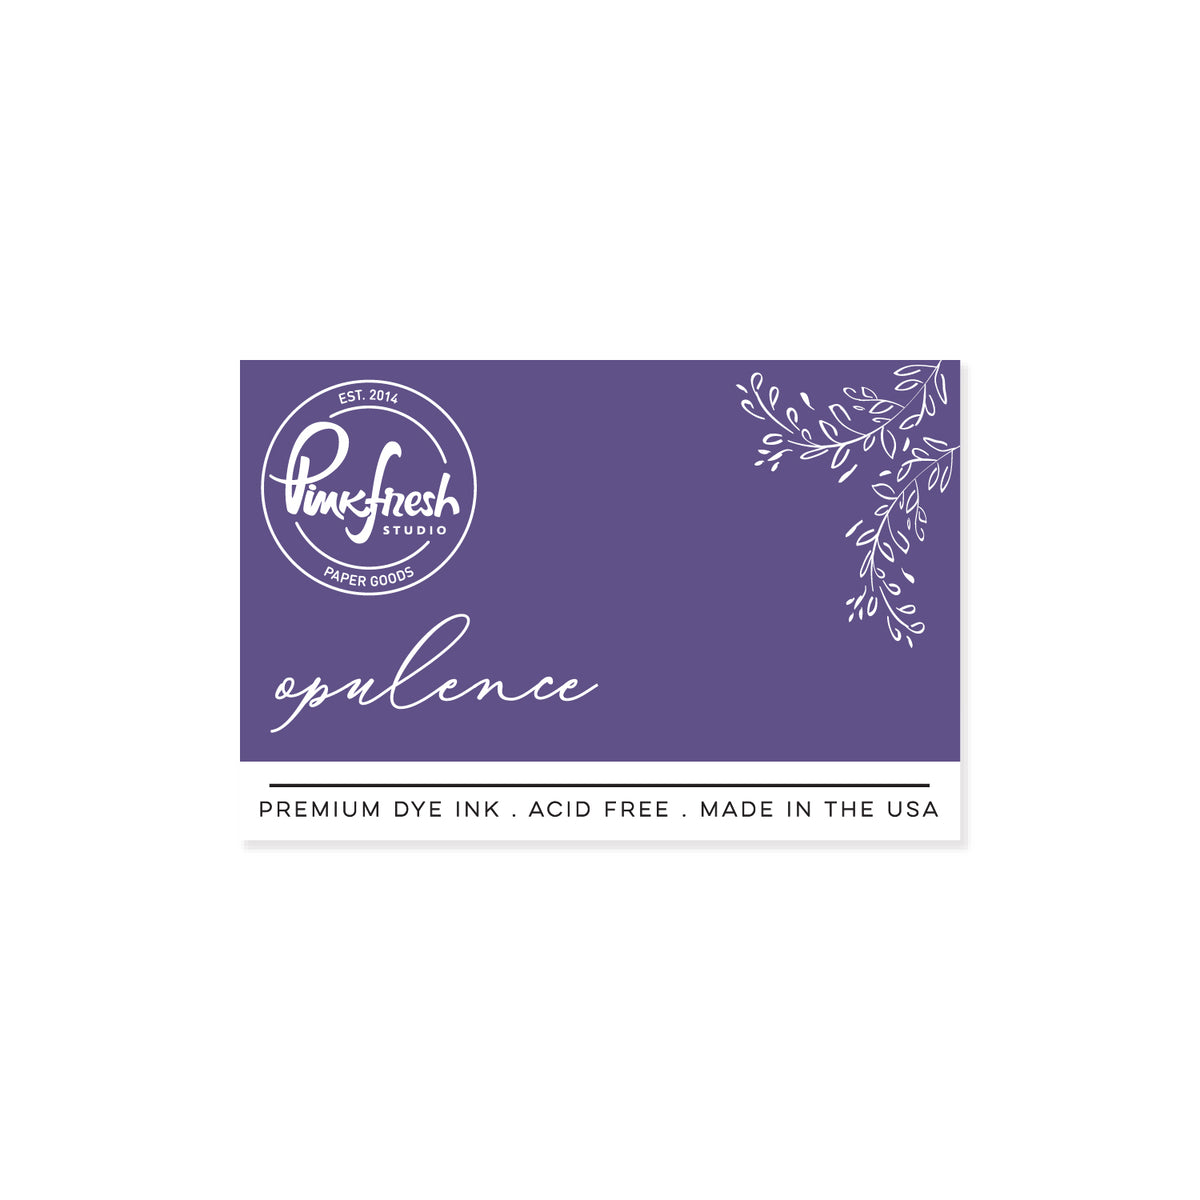
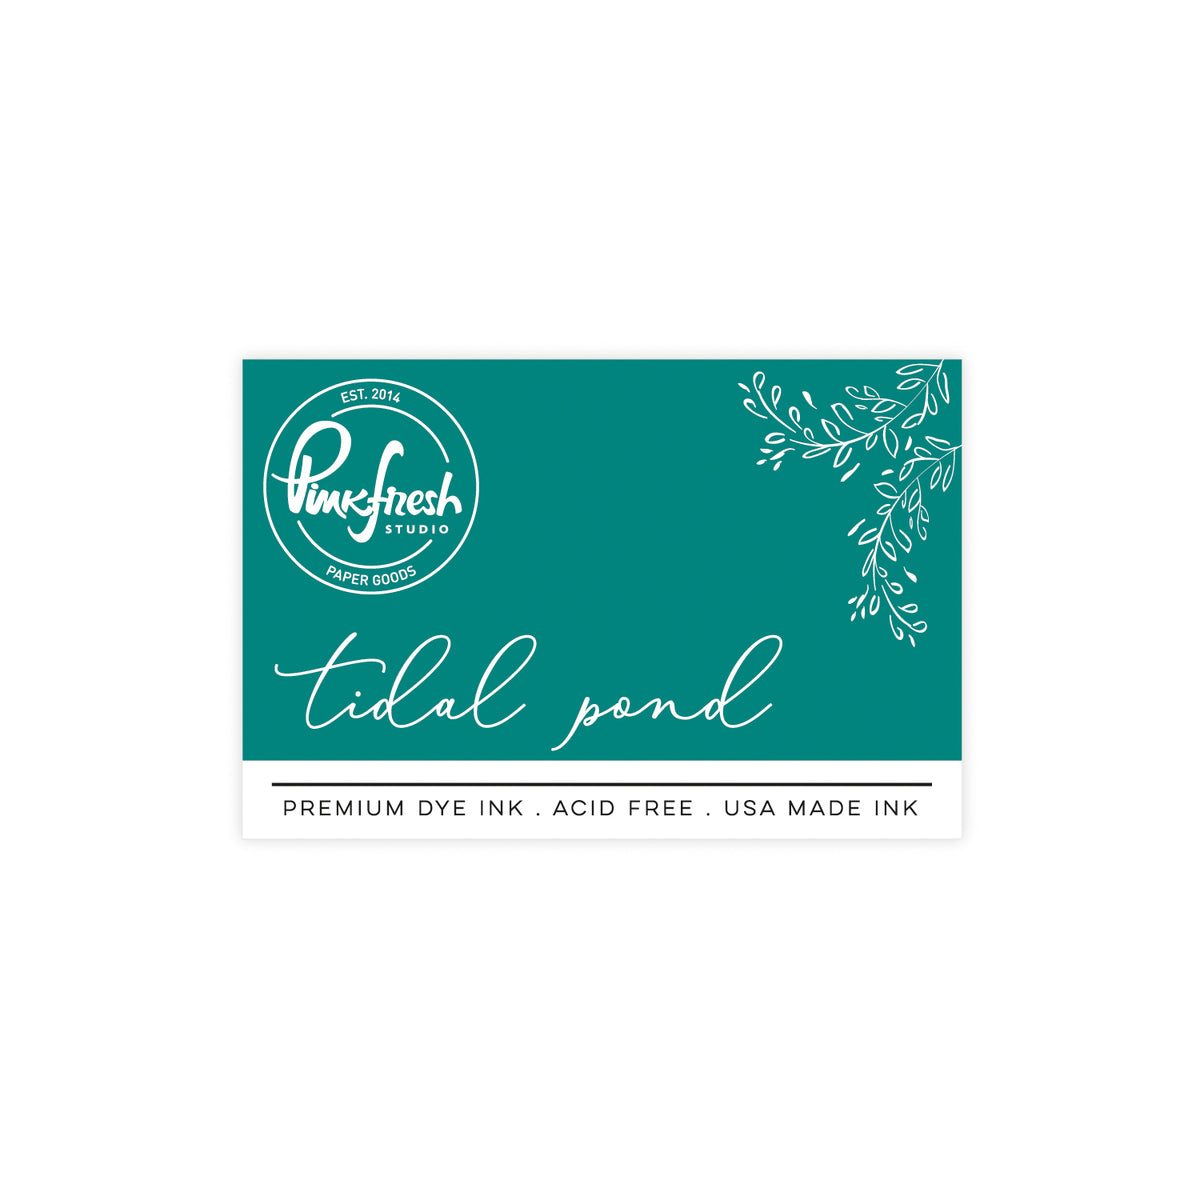
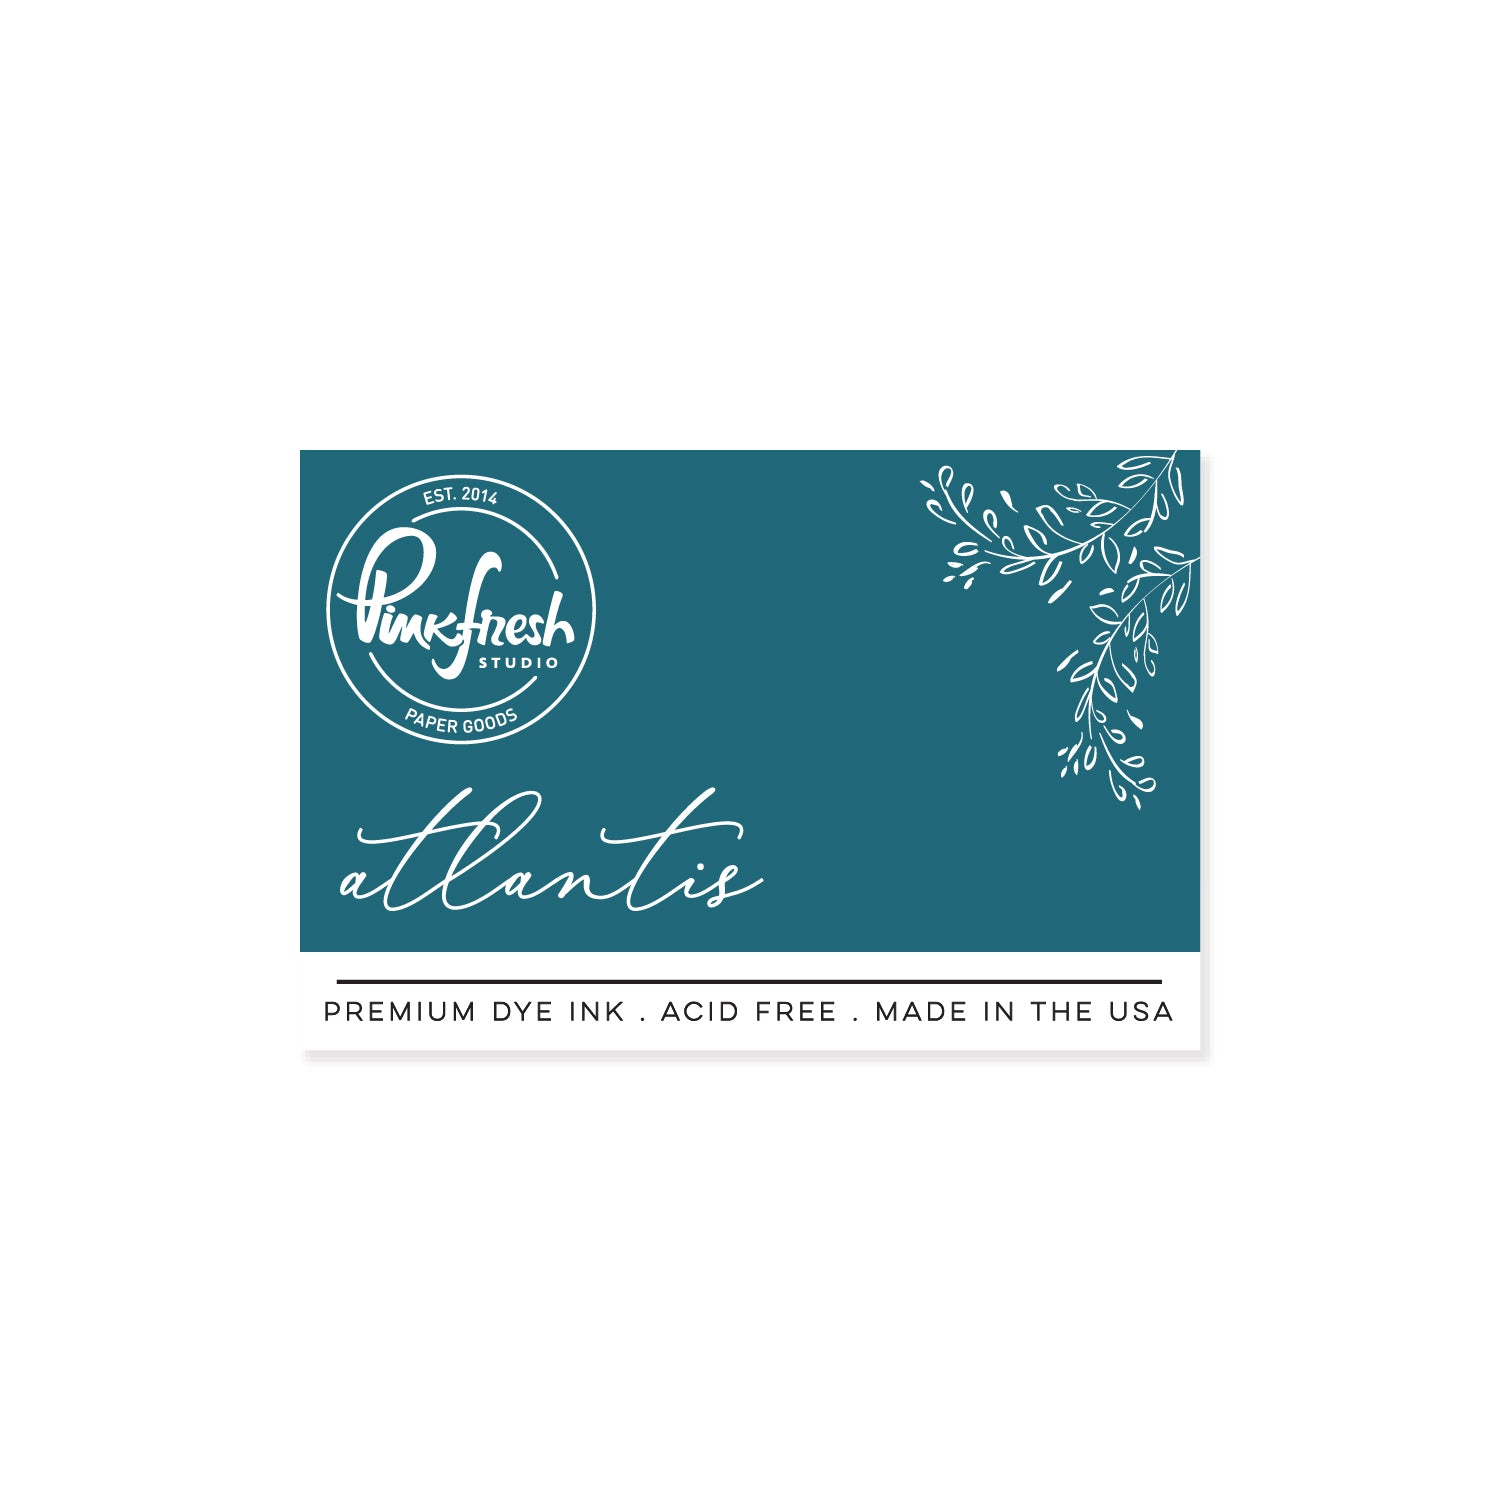
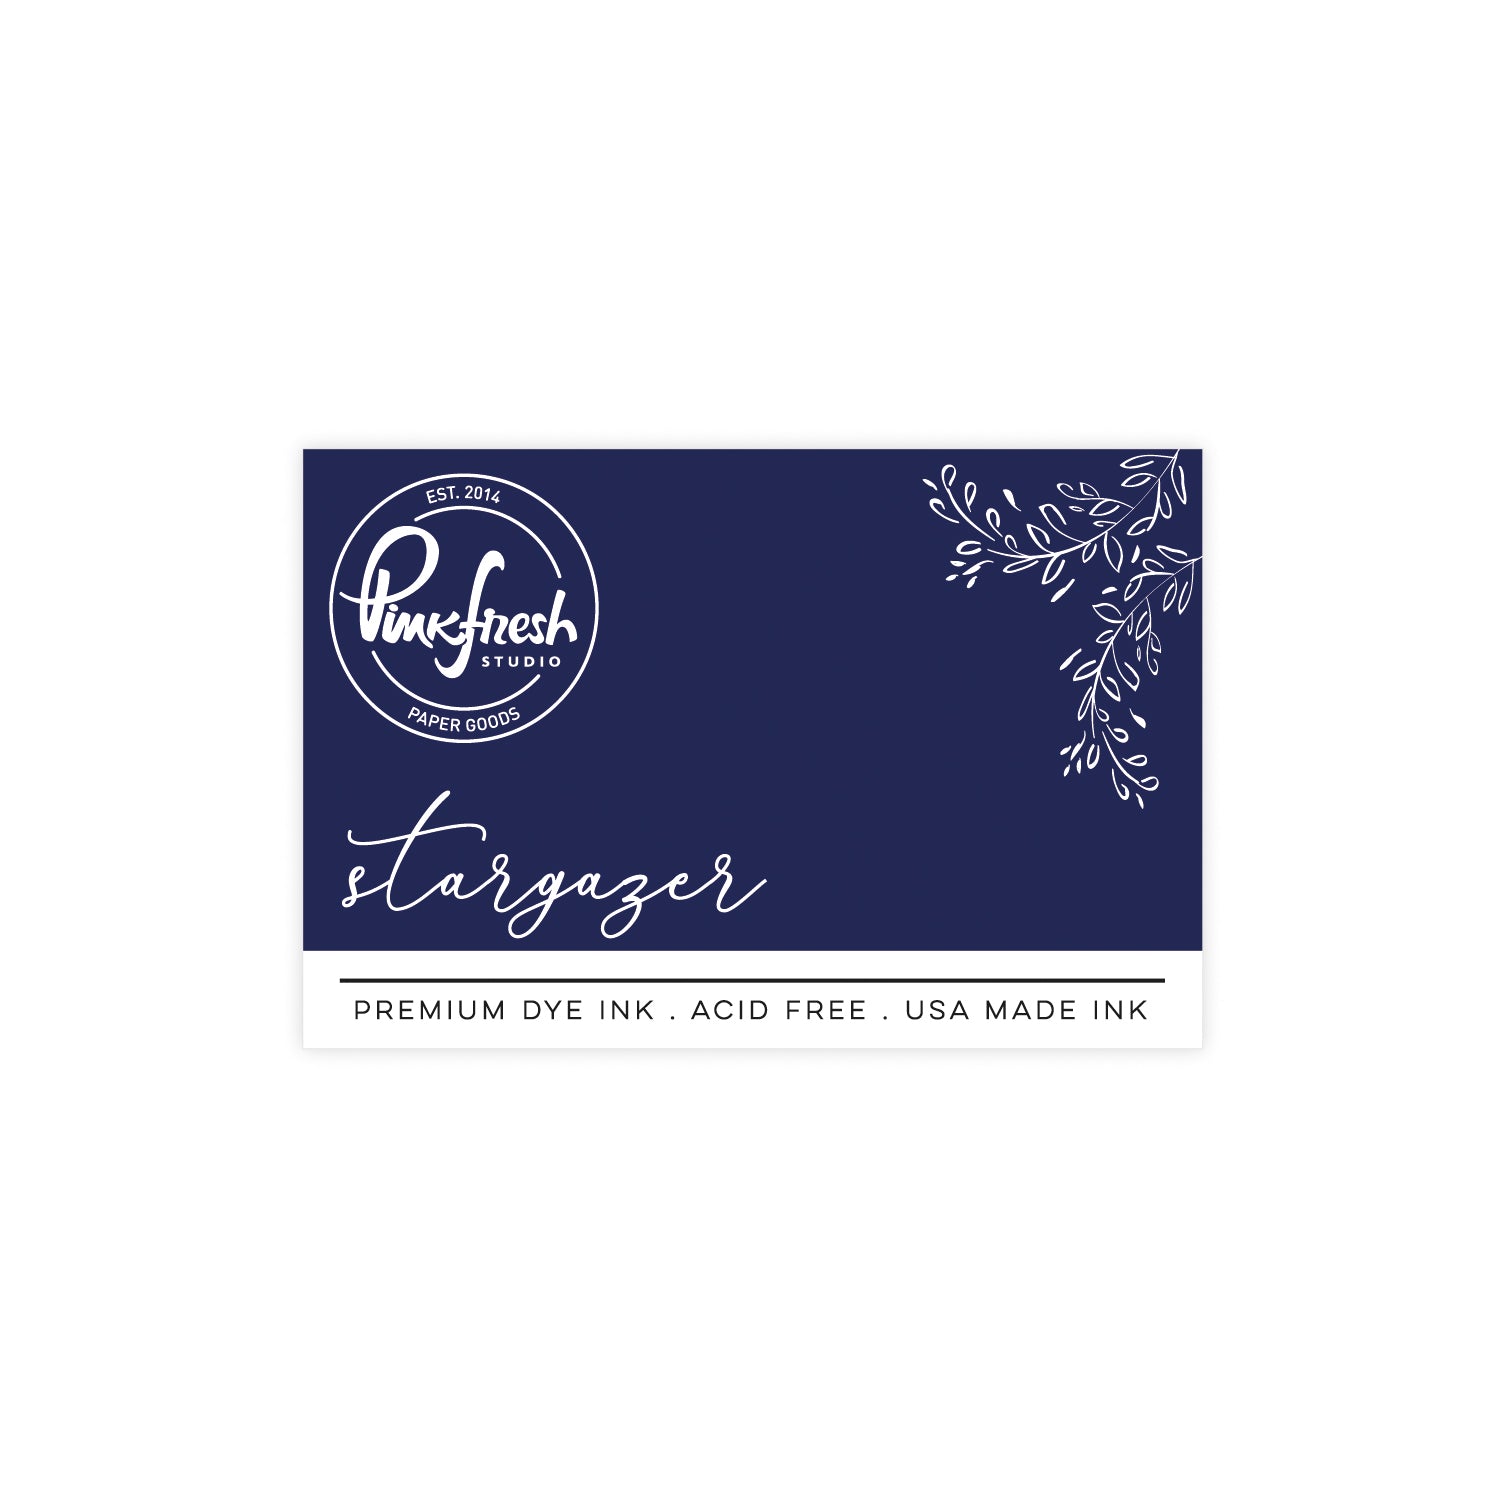
- Stencil 2 (hearts), use one color per row, from top to bottom: Raspberry Bliss, Regal Kiss, Opulence, Atlantis, Tidal Pond, Stargazer
- Stencil 1+2 (blocks), use one color per row, from top to bottom: Ballet Slipper, Soft Lilac, Sheer Freesia, Waterfall, Ocean Breeze, Slumber
- Add translucent/white glitter paste over the ink-blended hearts & let dry.
- Trim panel down to approx. 3 7/8" x 5".
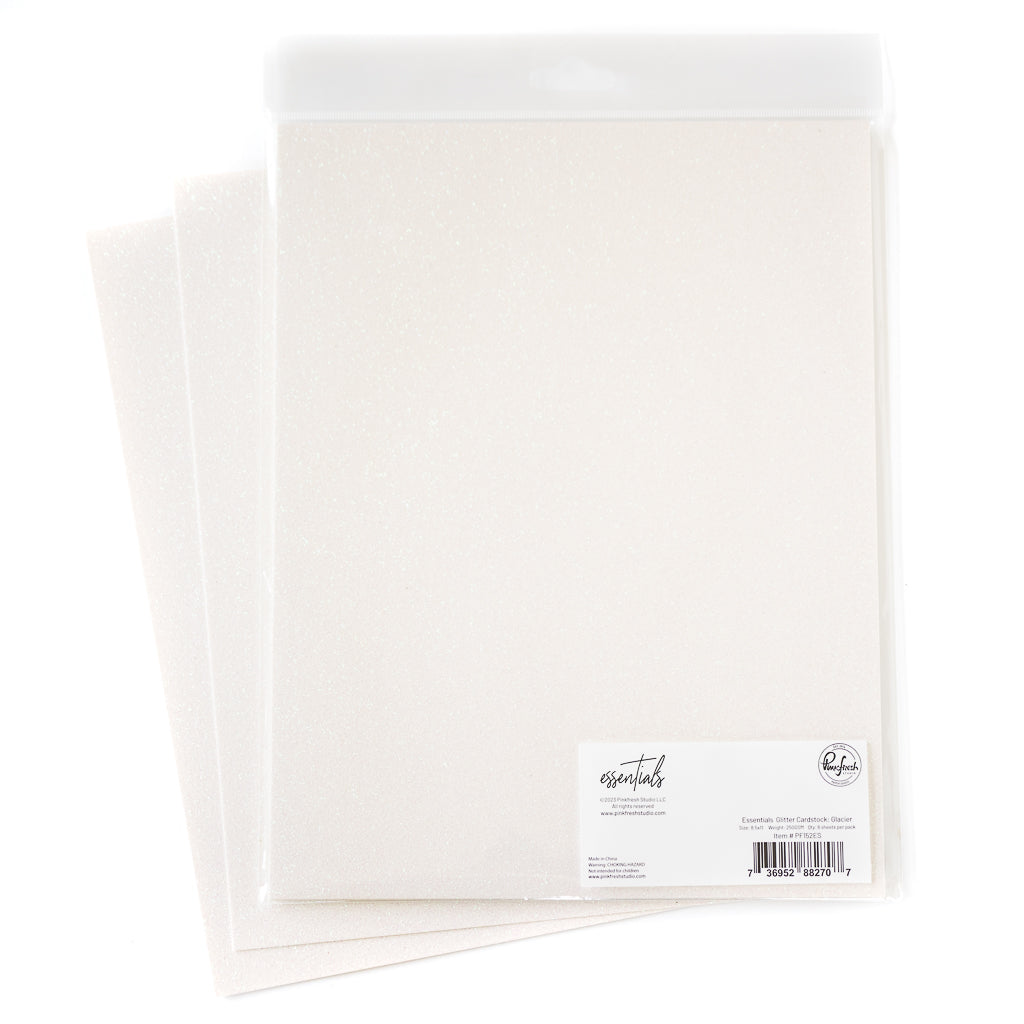
- Cut a piece of Glacier glitter cardstock to the same size & adhere ink-blended panel with foam adhesive onto it.
Tip: Add liquid adhesive to the foam adhesive to make sure it stays on the glitter cardstock. - Adhere the assembled panel centered onto the card front.
- Ink blend the die cut panel using the Refined Grid stencils:
-
Sentiment:
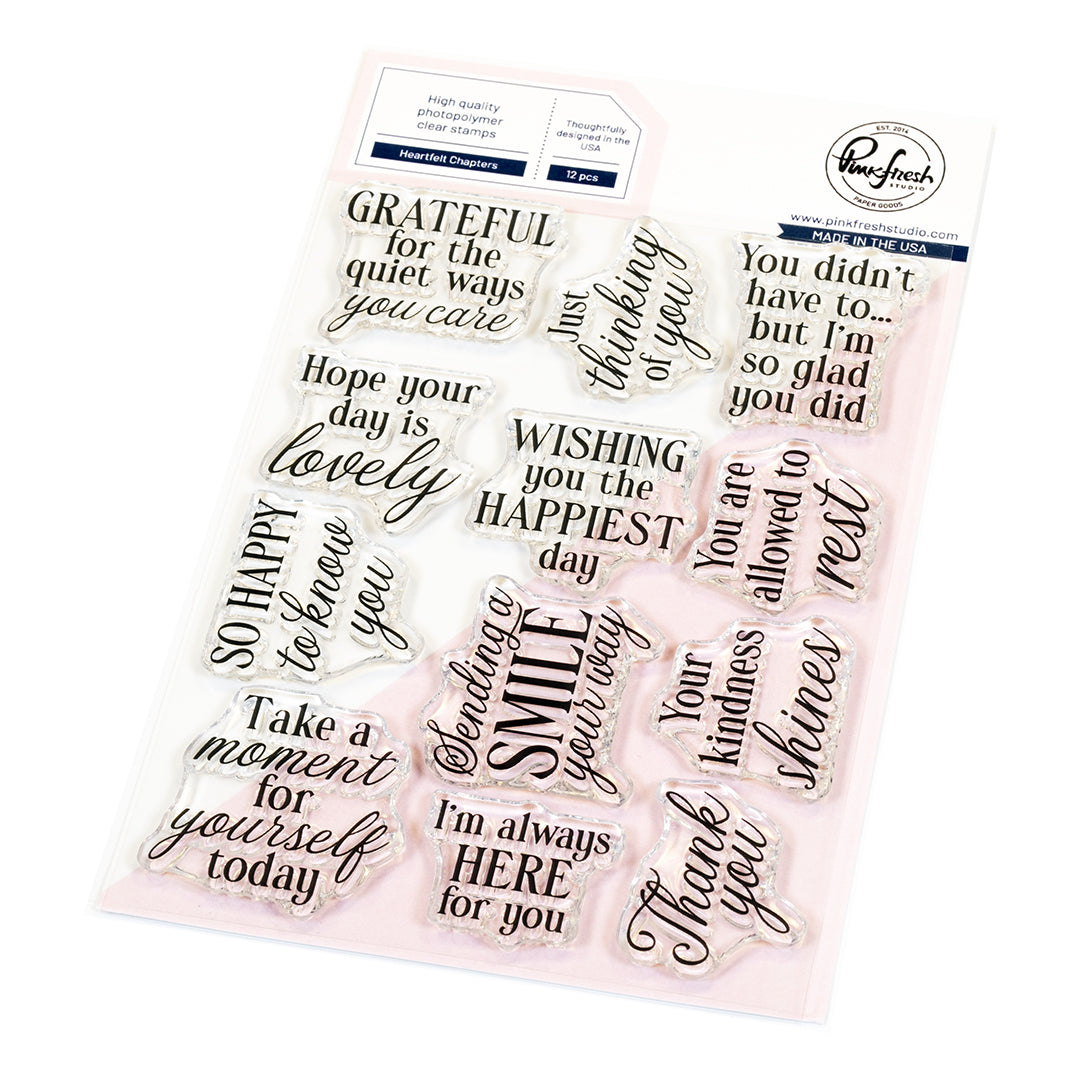
- Stamp a sentiment from the Heartfelt Chapters stamp in embossing ink on white cardstock & heat emboss with white detail embossing powder.
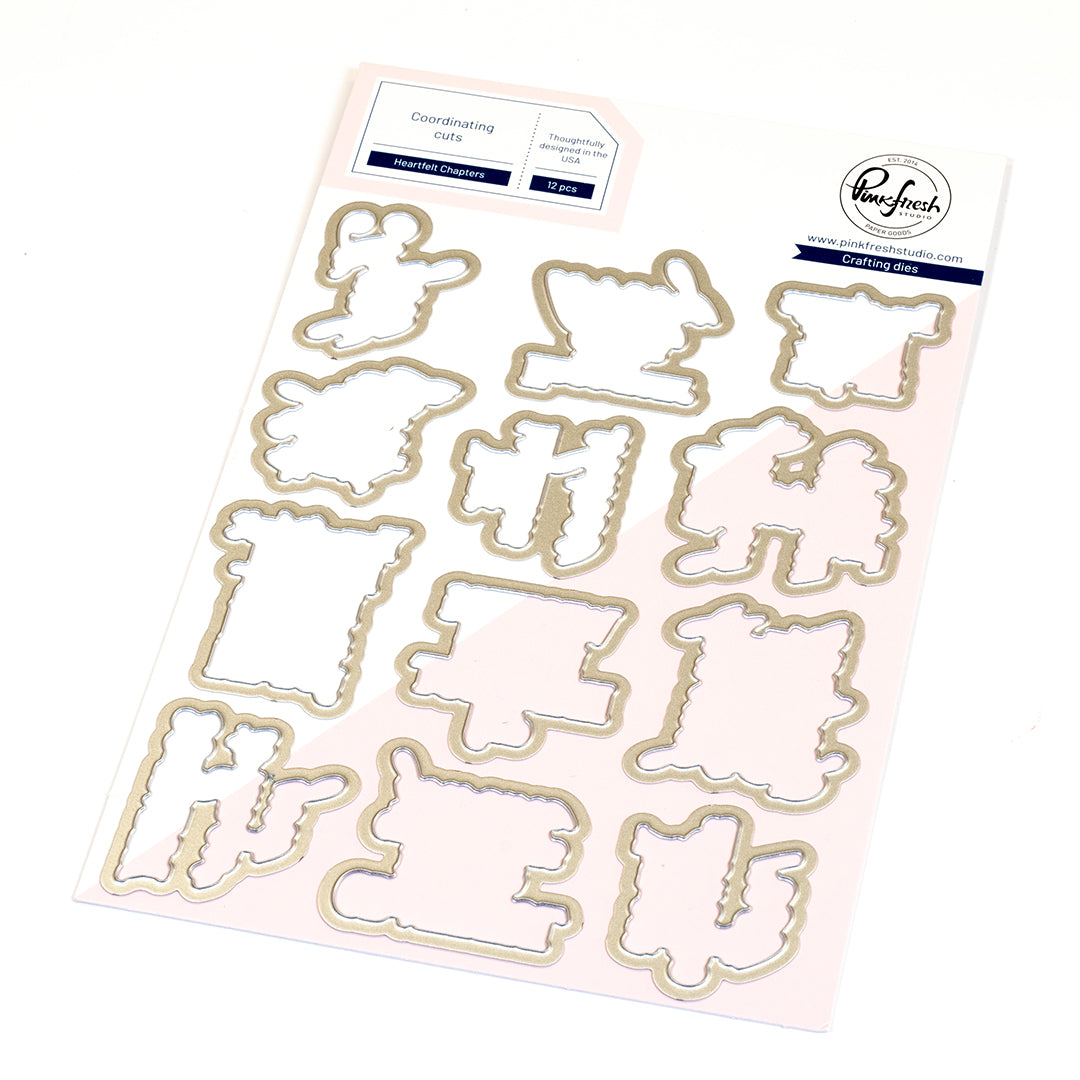
- Die cut the heat-embossed sentiment plus (2) blank pieces.
- Ink blend the heat-embossed die cut with Soft Lilac, and the two blank pieces with Ocean Breeze & Slumber.
- Adhere the (3) die cuts to each other, slightly offsetting each layer.
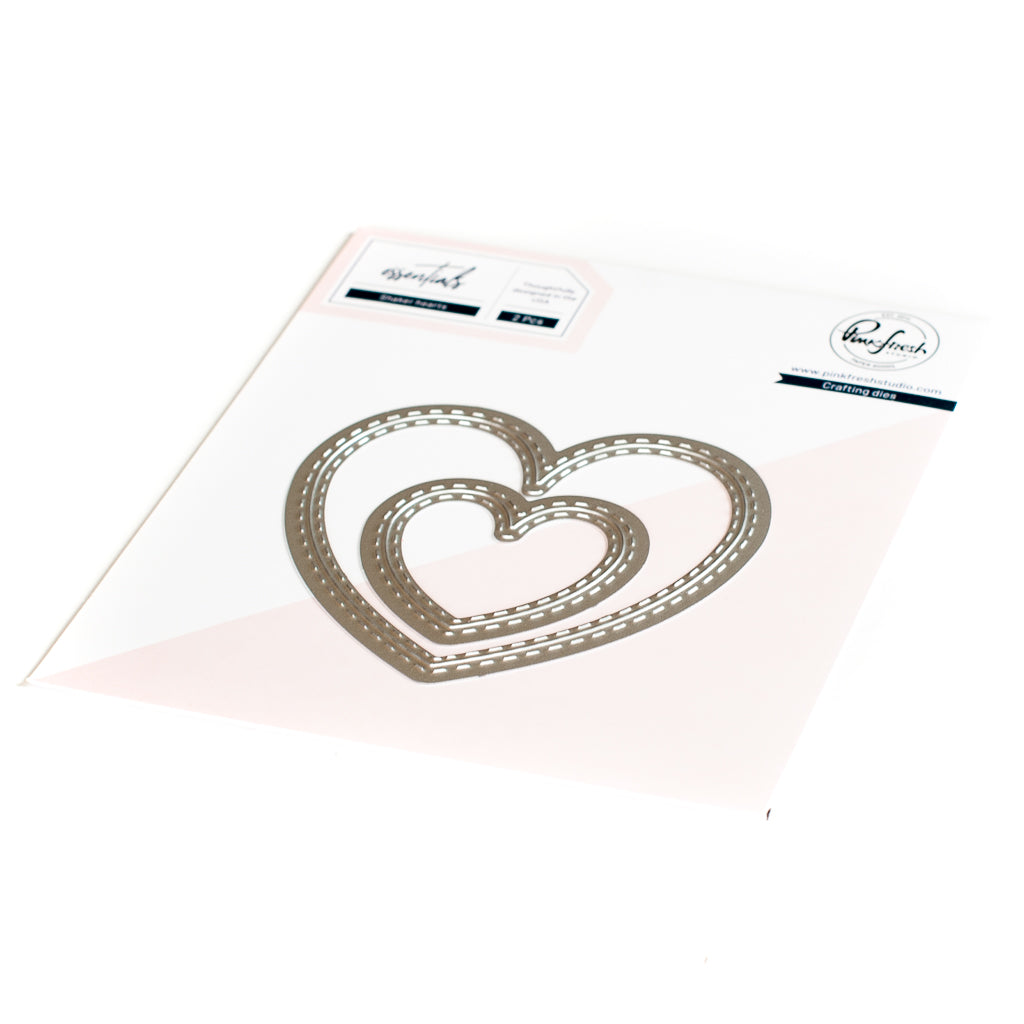
- Die cut the small Shaker Heart die from white cardstock & glue the stacked sentiment on top. Then adhere onto the card front using foam adhesive.

I hope you give this new product suite a try! The die also looks great dry-embossed on a card front, and you can also use the stencils on their own!
If you are inspired to recreate this card, we would love to see your version, so please make sure to tag us (@pinkfreshstudio and @cardsandconfetti) on Instagram and use #pinkfreshstudio.
Thanks for stopping by! Have a wonderful weekend!
-Kathleen
Recommended Products




























Leave a comment
All comments are moderated before being published.
This site is protected by hCaptcha and the hCaptcha Privacy Policy and Terms of Service apply.