Creating Highlights & Focal Points on Cards | Kathleen Schmelz

Creating Highlights & Focal Points on Cards | Kathleen Schmelz

Hey everyone, and happy Monday! It's Kathleen back here with you. While I absolutely love creating with the latest products and soaking up all the fresh inspiration that comes with them, there's something so inspiring about revisiting old favorites too.

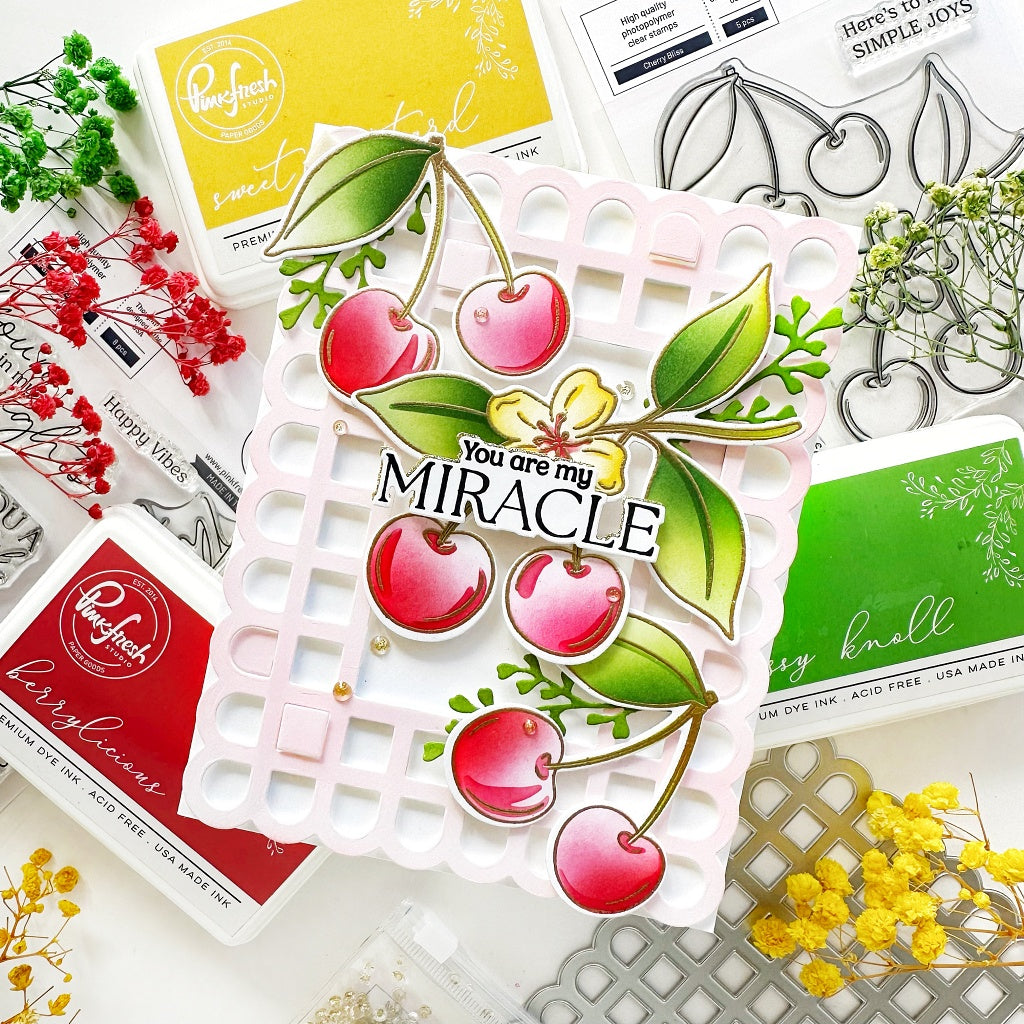
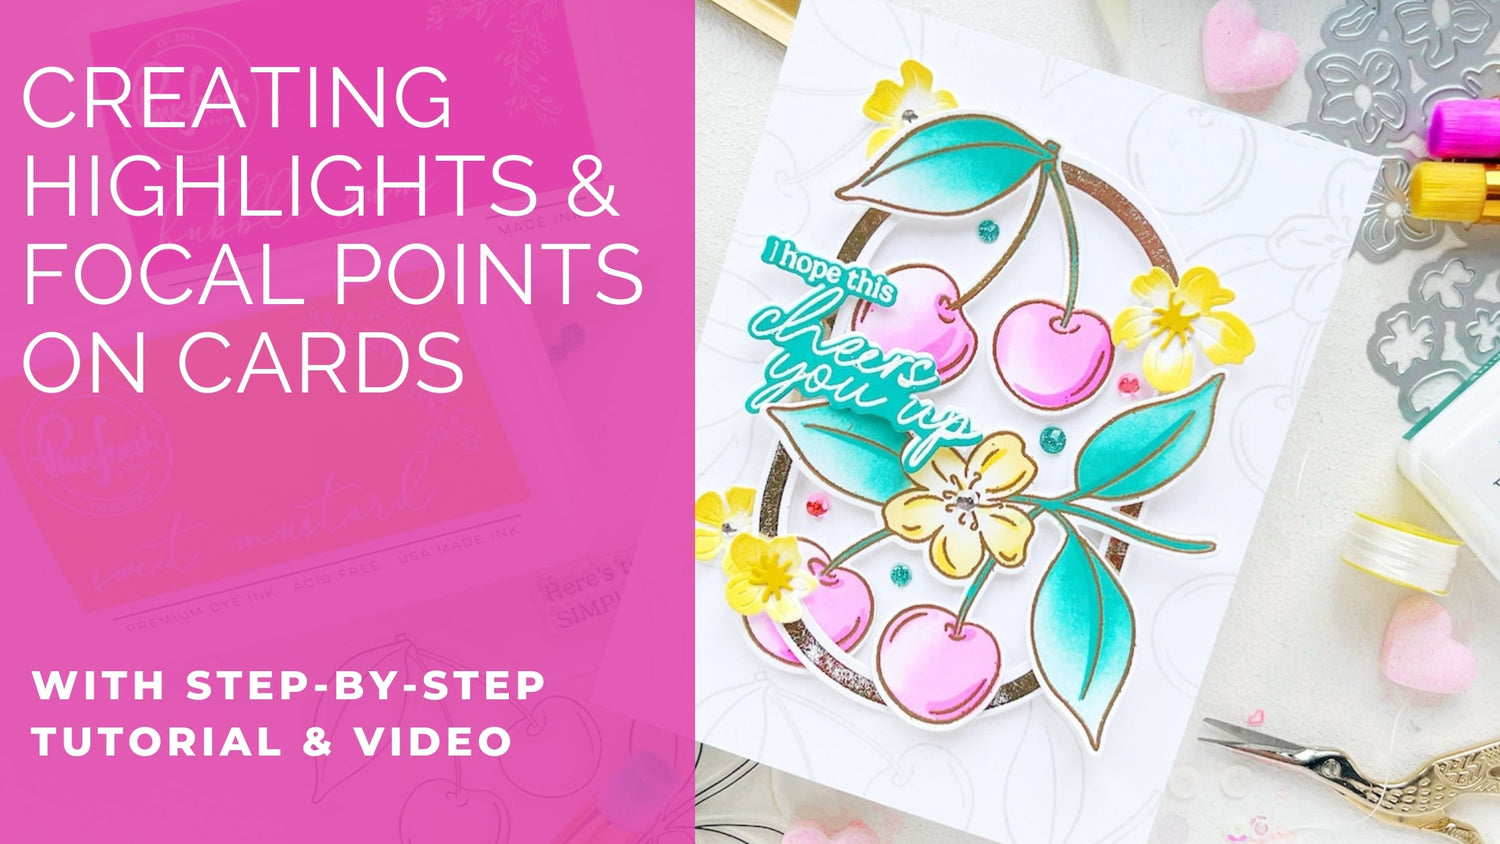
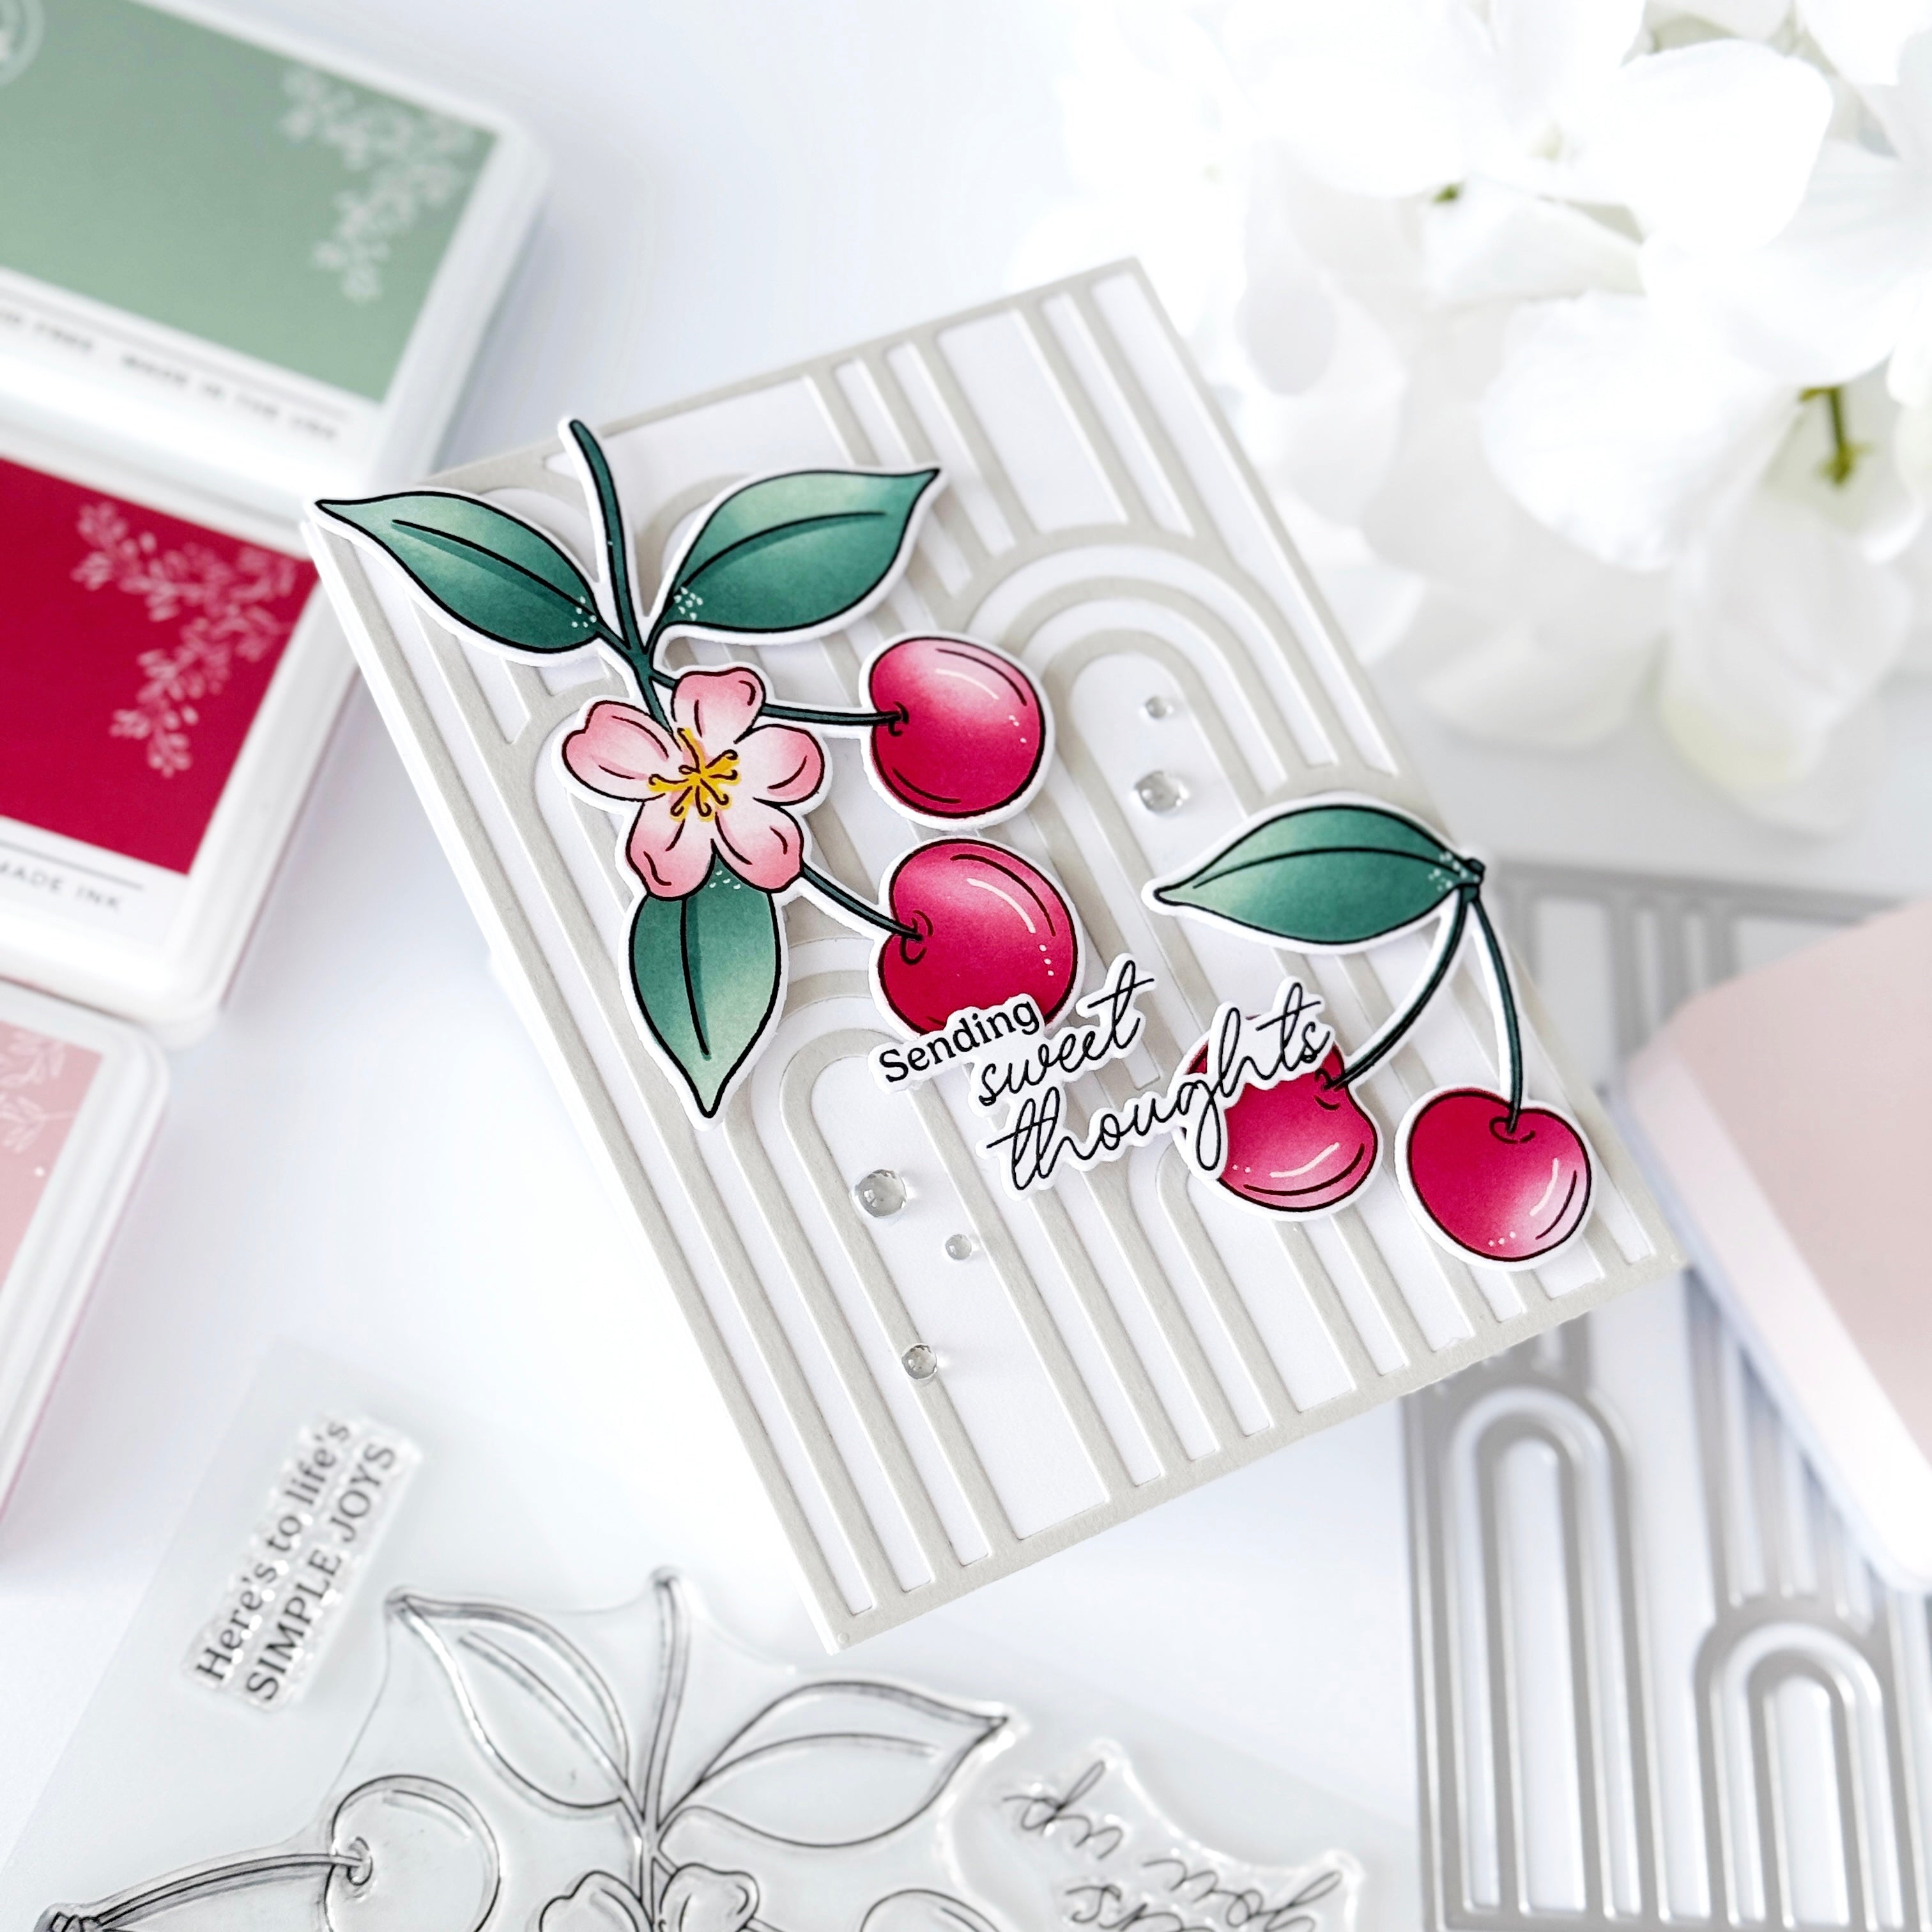
Today, I’m sharing a written step-by-step tutorial for the Cherry Bliss card I made a few months ago during a YouTube Live session on the Pinkfresh Studio channel. If you’re not familiar, we go live every Tuesday at noon CT for a fun, 60-minute cardmaking session—complete with amazing inspiration, lively chat, and of course, giveaways! So don't miss out!

*Disclaimer: All products used are linked below as clickable images. If a product isn’t listed, it’s been discontinued.

Here's how you can recreate this card:

  1. Cut and score an A2 side-folding card base from white cardstock.
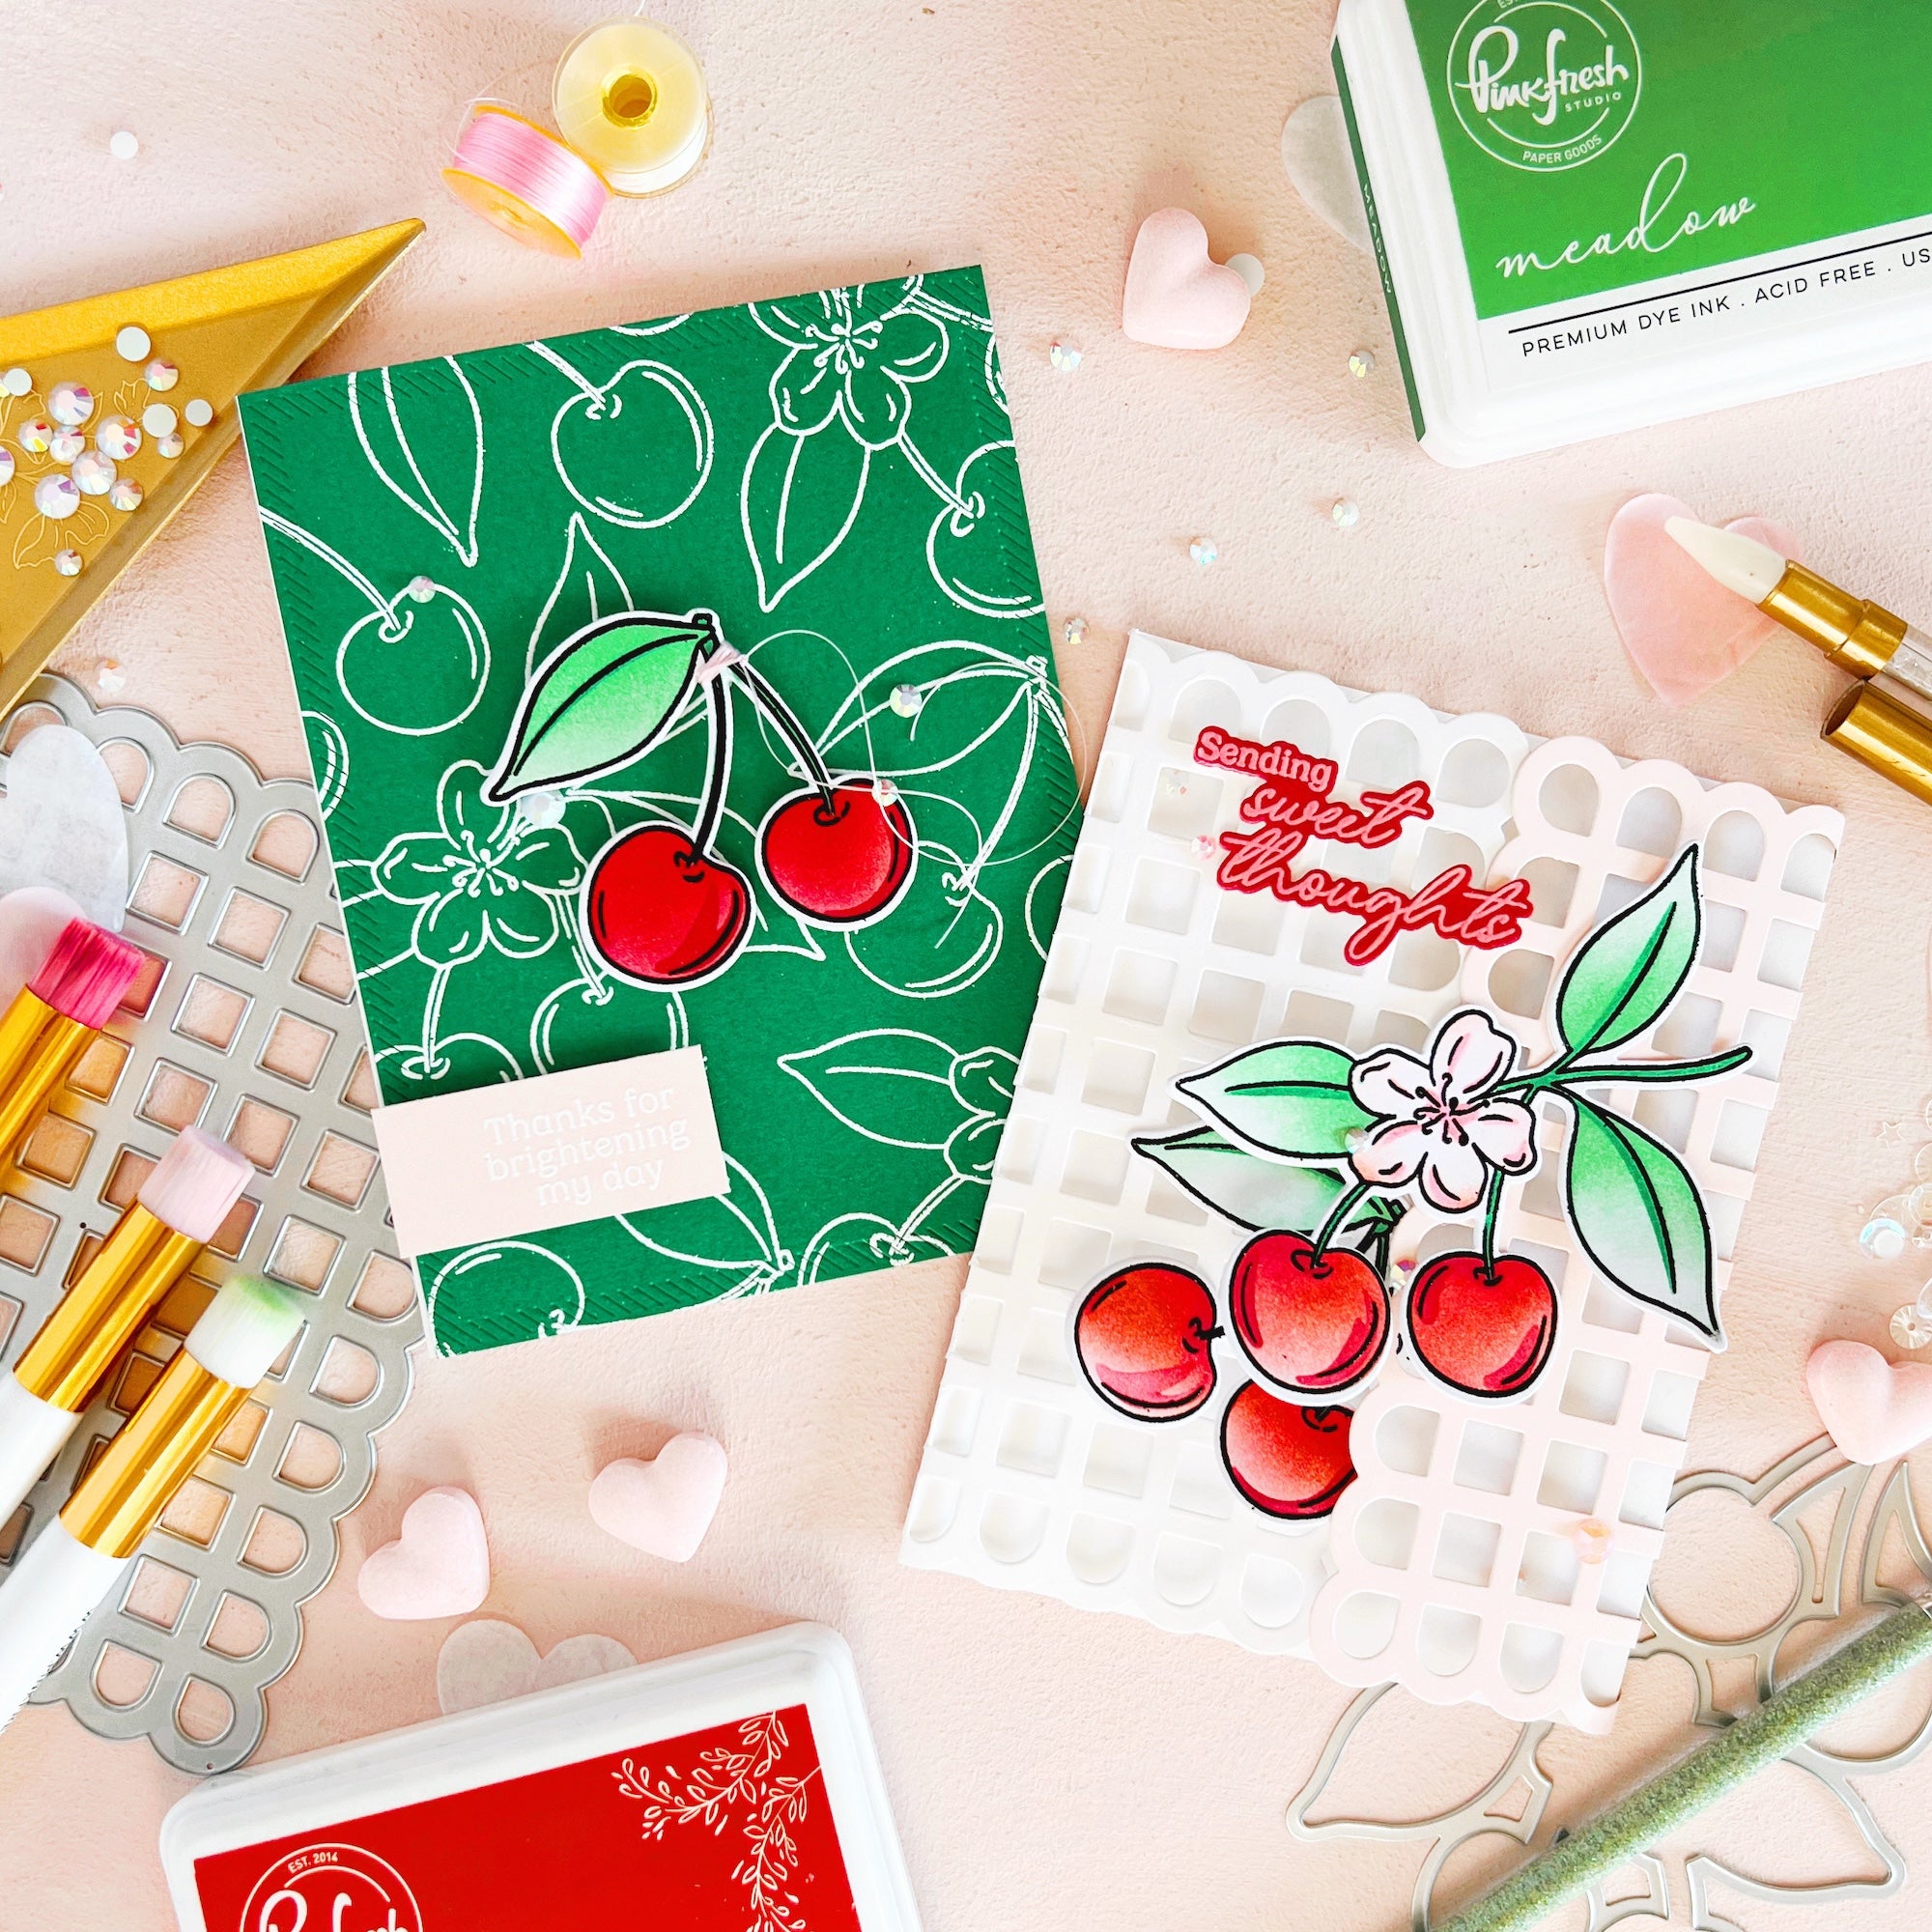
  2. Stamp the Cherry Bliss image stamp in Misty Coast centered on the card front, then fill the rest of the card by repeatedly stamping.
  3. Stamp the image on a separate piece of white cardstock with embossing ink, then heat emboss with detail gold embossing powder.
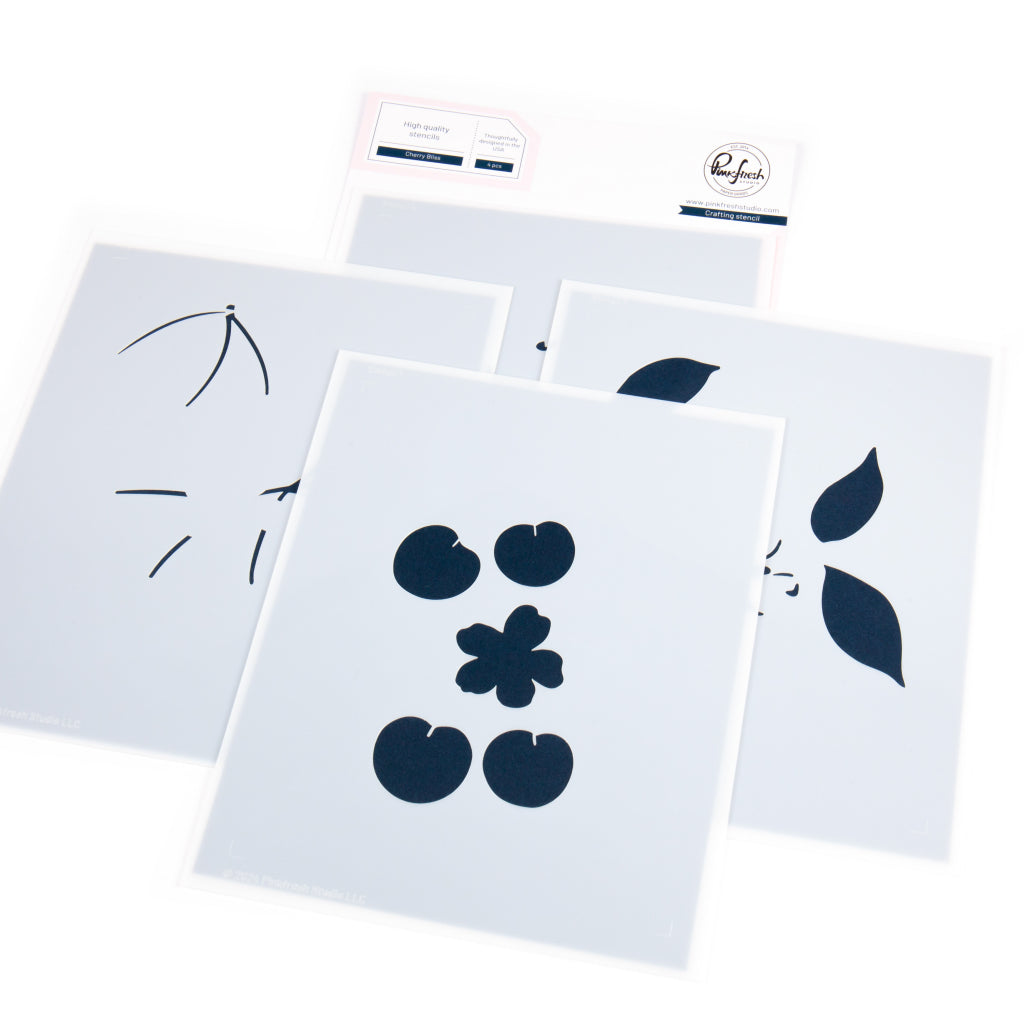
  4. Ink blend using the coordinating stencils:
    1. Stencil 1: Sparkling Rose (cherries), Lemon Whip (flower)
    2. Stencil 2: Aquamarine (leaves; heavier blend at the bottom), Sunshine (floral detail)
    3. Stencil 3: Mermaid Cove
    4. Stencil 4: Bubble Gum (cherry details; skip flower center)
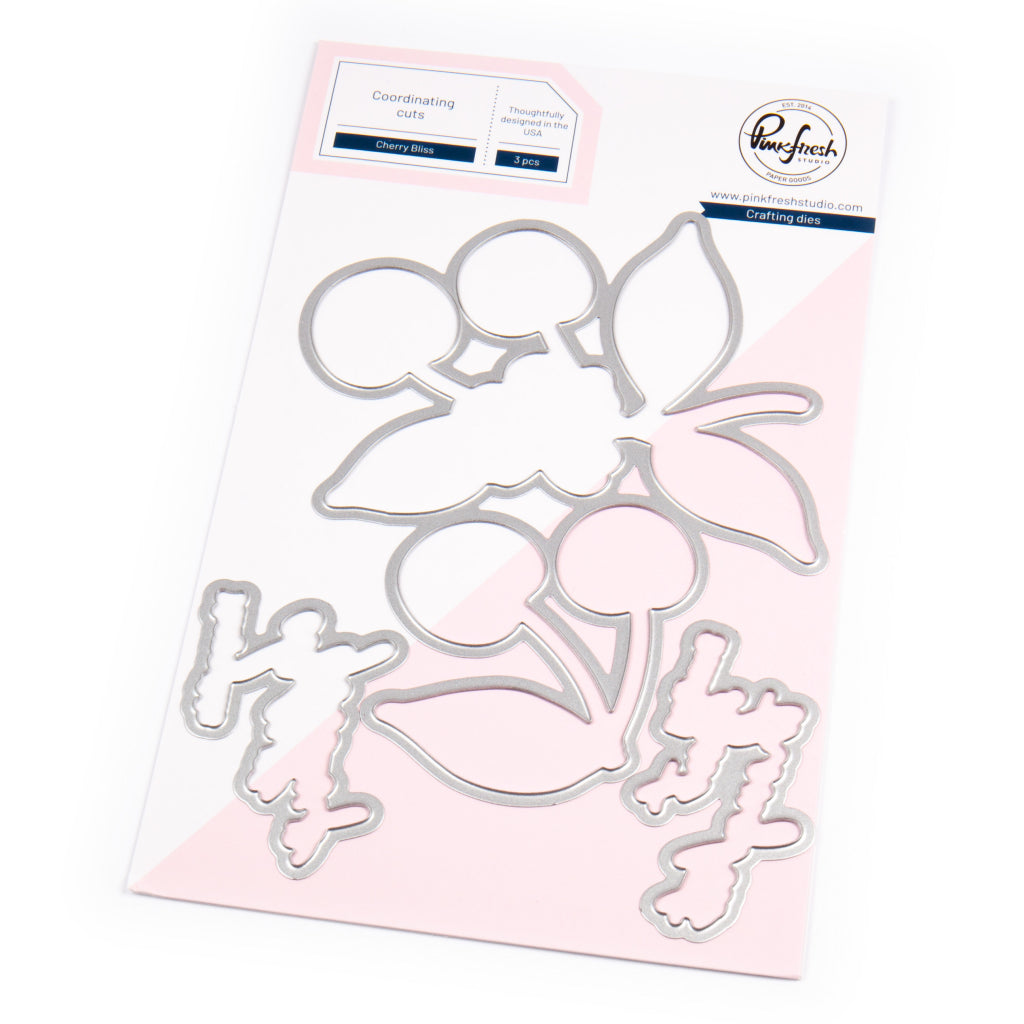
  5. Die cut using the coordinating dies.
  6. Ink blend Lemon Whip & Sunshine over floral parts of Stencil 2 of the Cherry Blossoms layering stencil set. Die cut using the coordinating die.
  7. Heat emboss the 'I hope this...' sentiment with white detail embossing powder on a piece of white cardstock, then ink blend Aquamarine on top. Die cut with the coordinating die & stack up with (2) blank pieces.
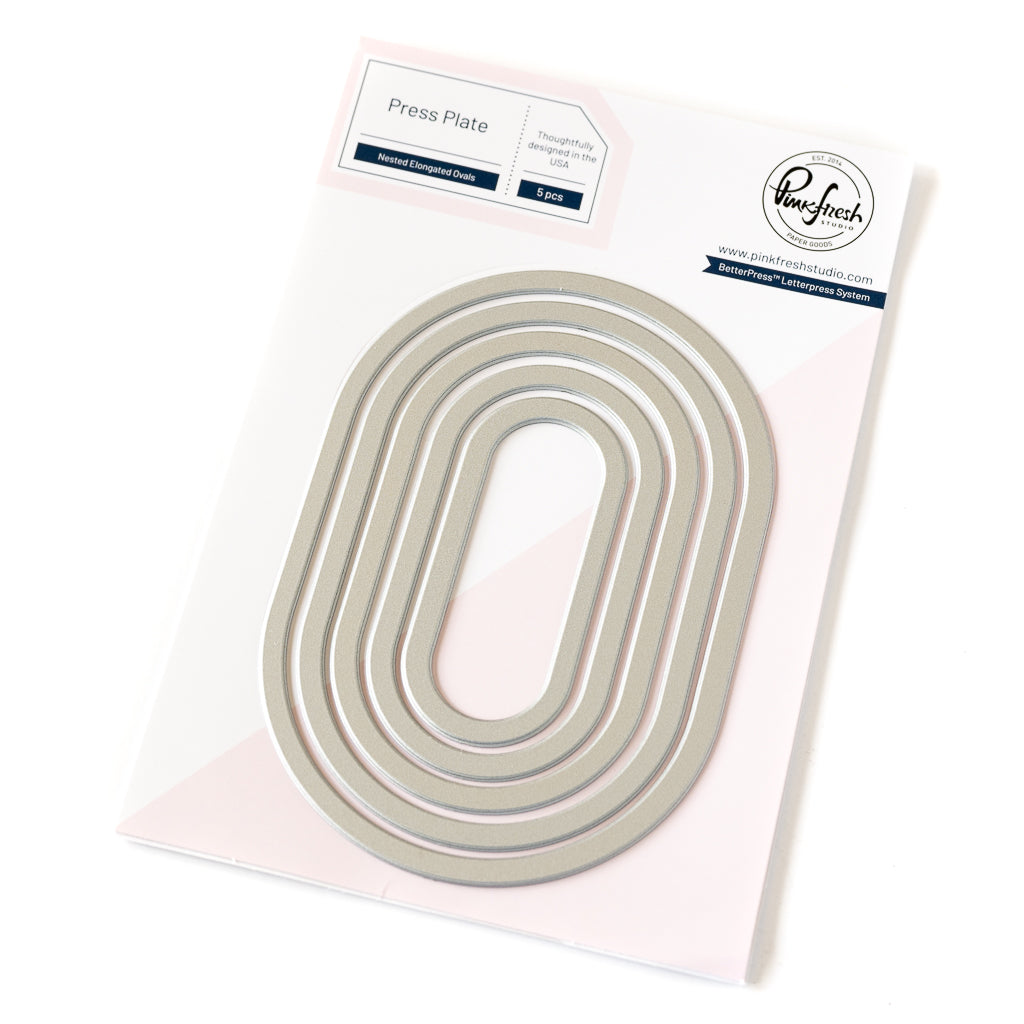
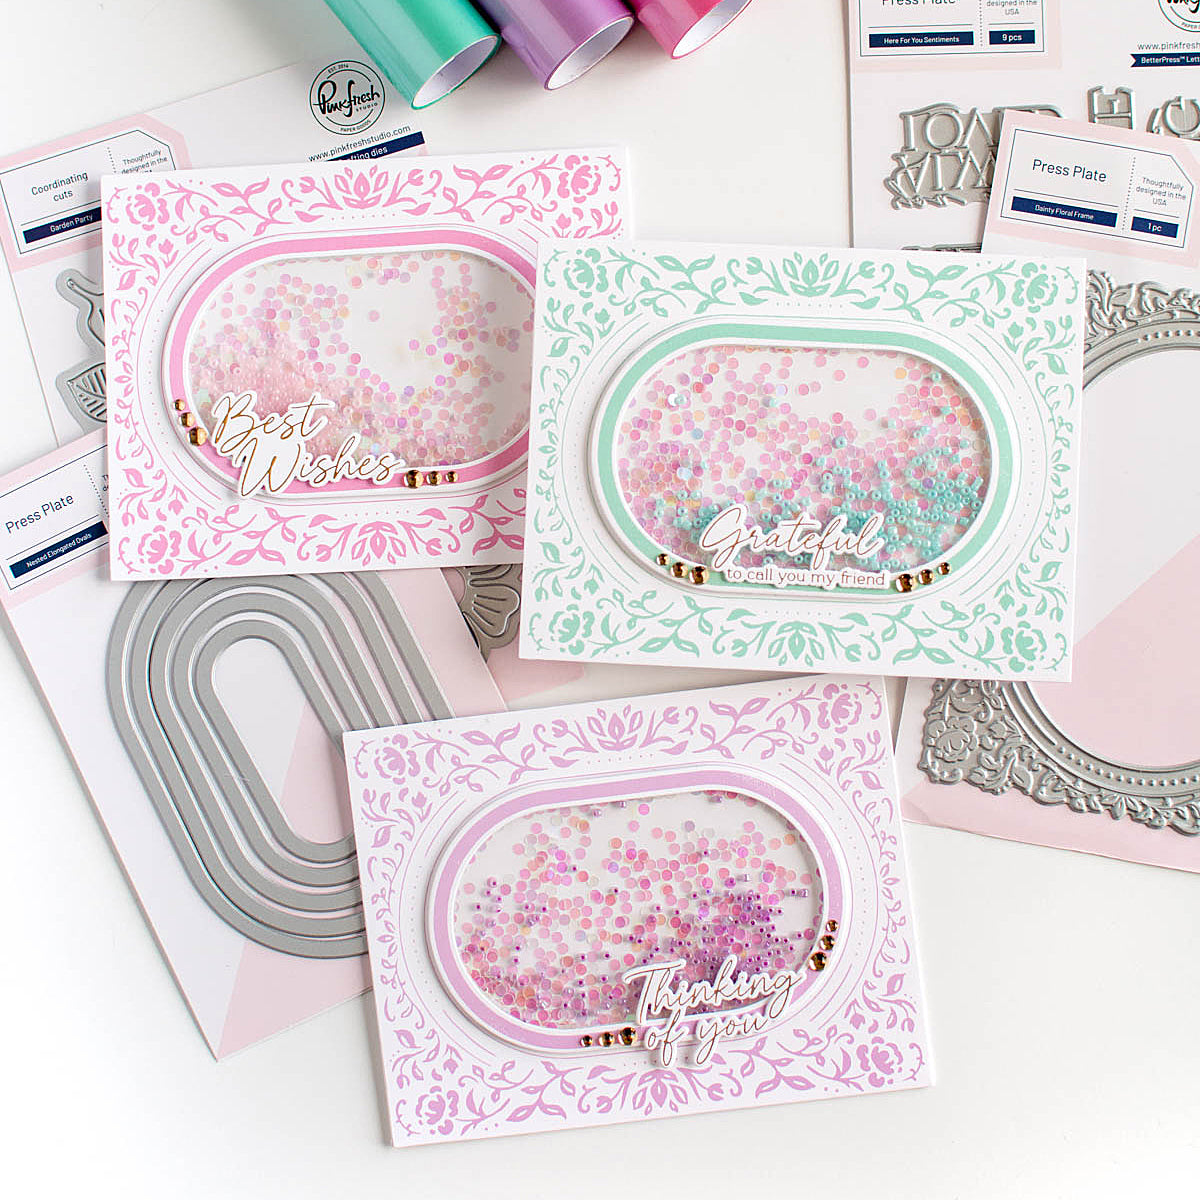
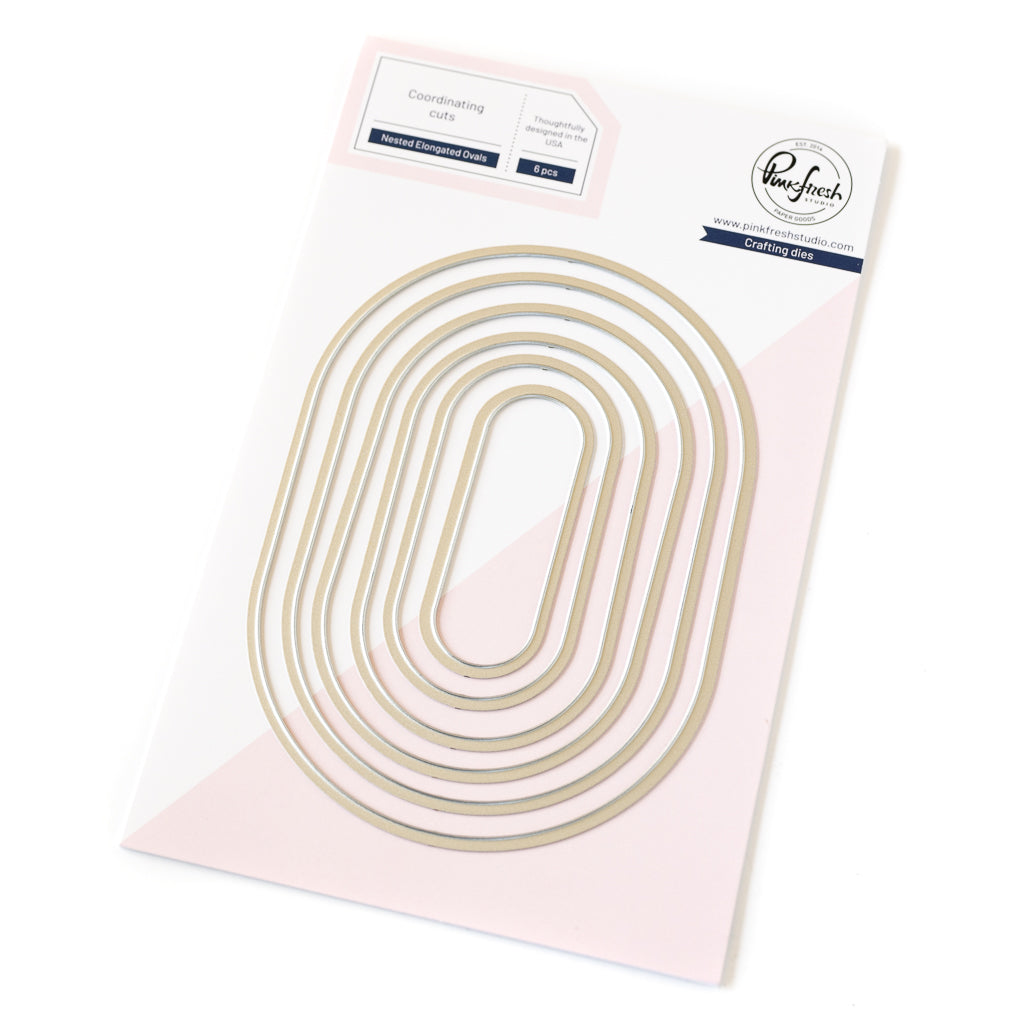
  8. Hot foil the largest Nested Elongated Ovals press plate with Champagne on white cardstock. Die cut using the two largest dies from the Nested Elongated Ovals dies.
  9. Adhere centered onto the card base using foam adhesive.
  10. Place the ink-blended cherry die cuts in the center using foam adhesive. Have some parts overlap the hot foiled frame and put some behind to enhance the effect of dimension.
  11. Scatter some of the yellow ink-blended cherry blossoms around & on top of the frame.
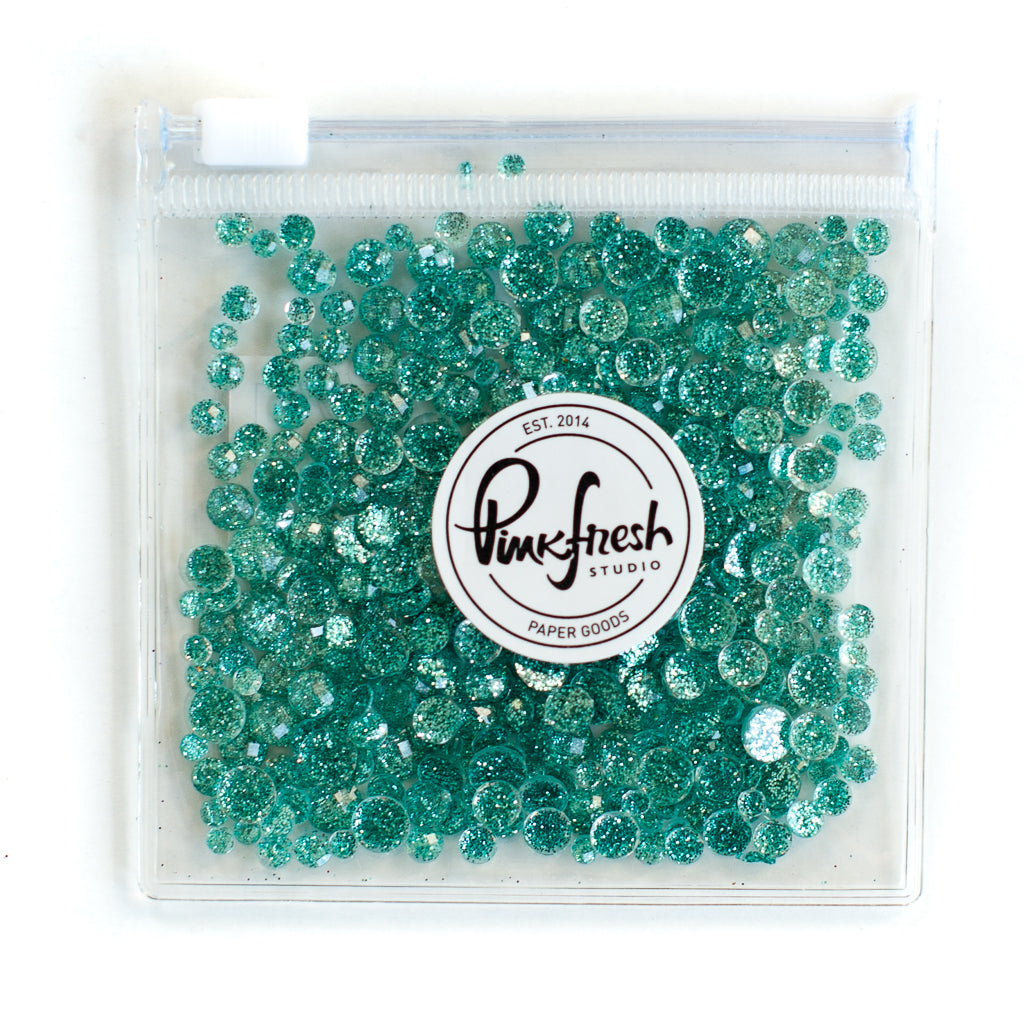
  12. Embellish to your liking using Glitter and Clear Drops. I used Clear Drops in Ice and Blush, and Glitter Drops in Aqua.

You can see how this card came together here:

I hope you enjoyed this little blast from the (not-so-distant) past and feel inspired to pull out this set from your stash—or, if it's not in your collection yet, maybe now's the perfect time to add it! 😊

We always love seeing what you create, so please make sure to tag us on social media when you post a project inspired by this!

Have a wonderful rest of the week!

-Kathleen

Recommended Products
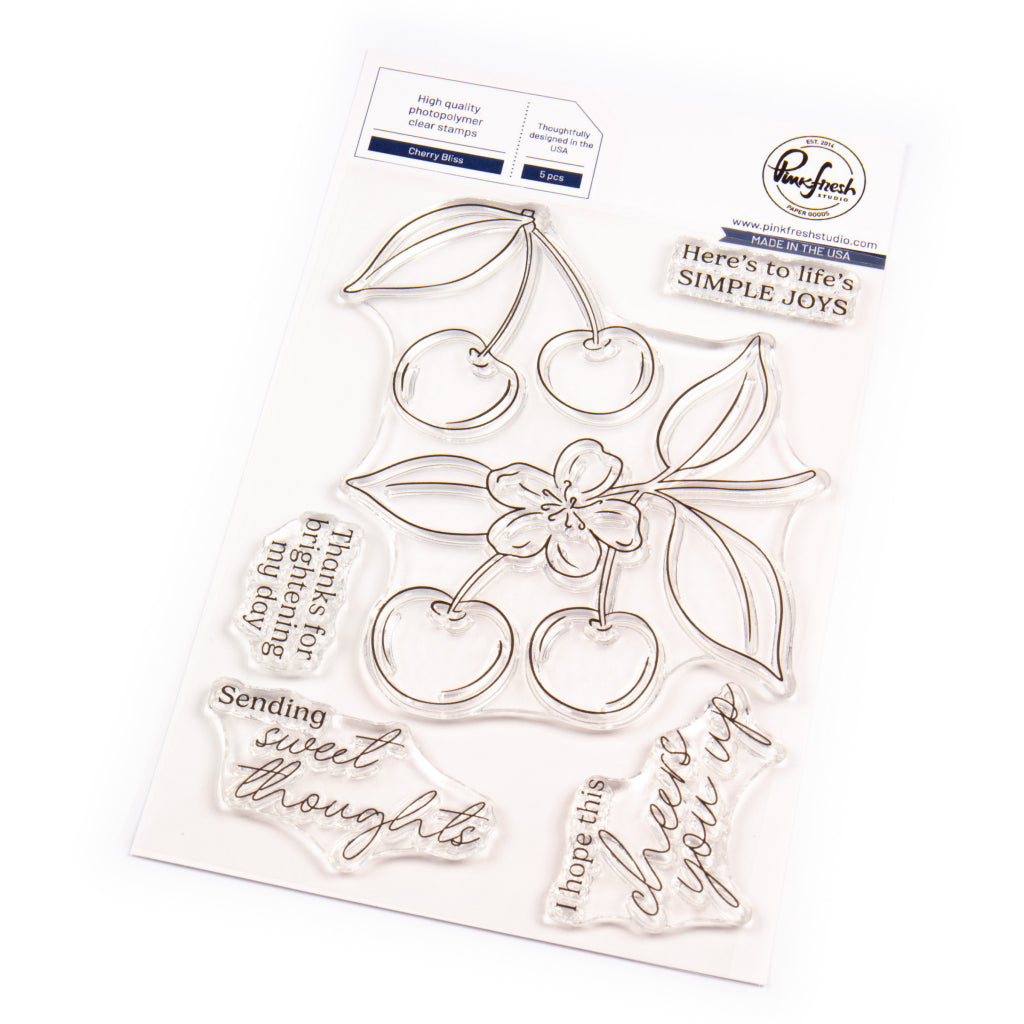
Cherry Bliss stampCherry Bliss stamp
Cherry Bliss stamp
Cherry Bliss stamp
Cherry Bliss stamp
Cherry Bliss stamp
Cherry Bliss stamp
Cherry Bliss stamp
Cherry Bliss stamp
Cherry Bliss stamp
Cherry Bliss stamp
Cherry Bliss stamp
Cherry Bliss stamp
Cherry Bliss stamp
Cherry Bliss stamp
Cherry Bliss stamp
Cherry Bliss stamp
Cherry Bliss stamp
Cherry Bliss stamp Sale price$16.00
Cherry Bliss dieCherry Bliss die
Cherry Bliss die
Cherry Bliss die
Cherry Bliss die
Cherry Bliss die
Cherry Bliss die
Cherry Bliss die
Cherry Bliss die
Cherry Bliss die
Cherry Bliss die
Cherry Bliss die
Cherry Bliss die
Cherry Bliss die
Cherry Bliss die
Cherry Bliss die
Cherry Bliss die
Cherry Bliss die
Cherry Bliss die Sale price$22.00
Cherry Bliss stencilCherry Bliss stencil
Cherry Bliss stencil
Cherry Bliss stencil Sale price$16.00
Nested Elongated Ovals press plateNested Elongated Ovals press plate
Nested Elongated Ovals press plate
1/2" Blending Brush set1/2" Blending Brush set
1/2" Blending Brush set
1/2" Blending Brush set Sale price$16.50
Premium Dye Ink Pad : Sparkling Rose
Premium Dye Ink Pad : Sparkling Rose Sale price$5.63 Regular price$7.50
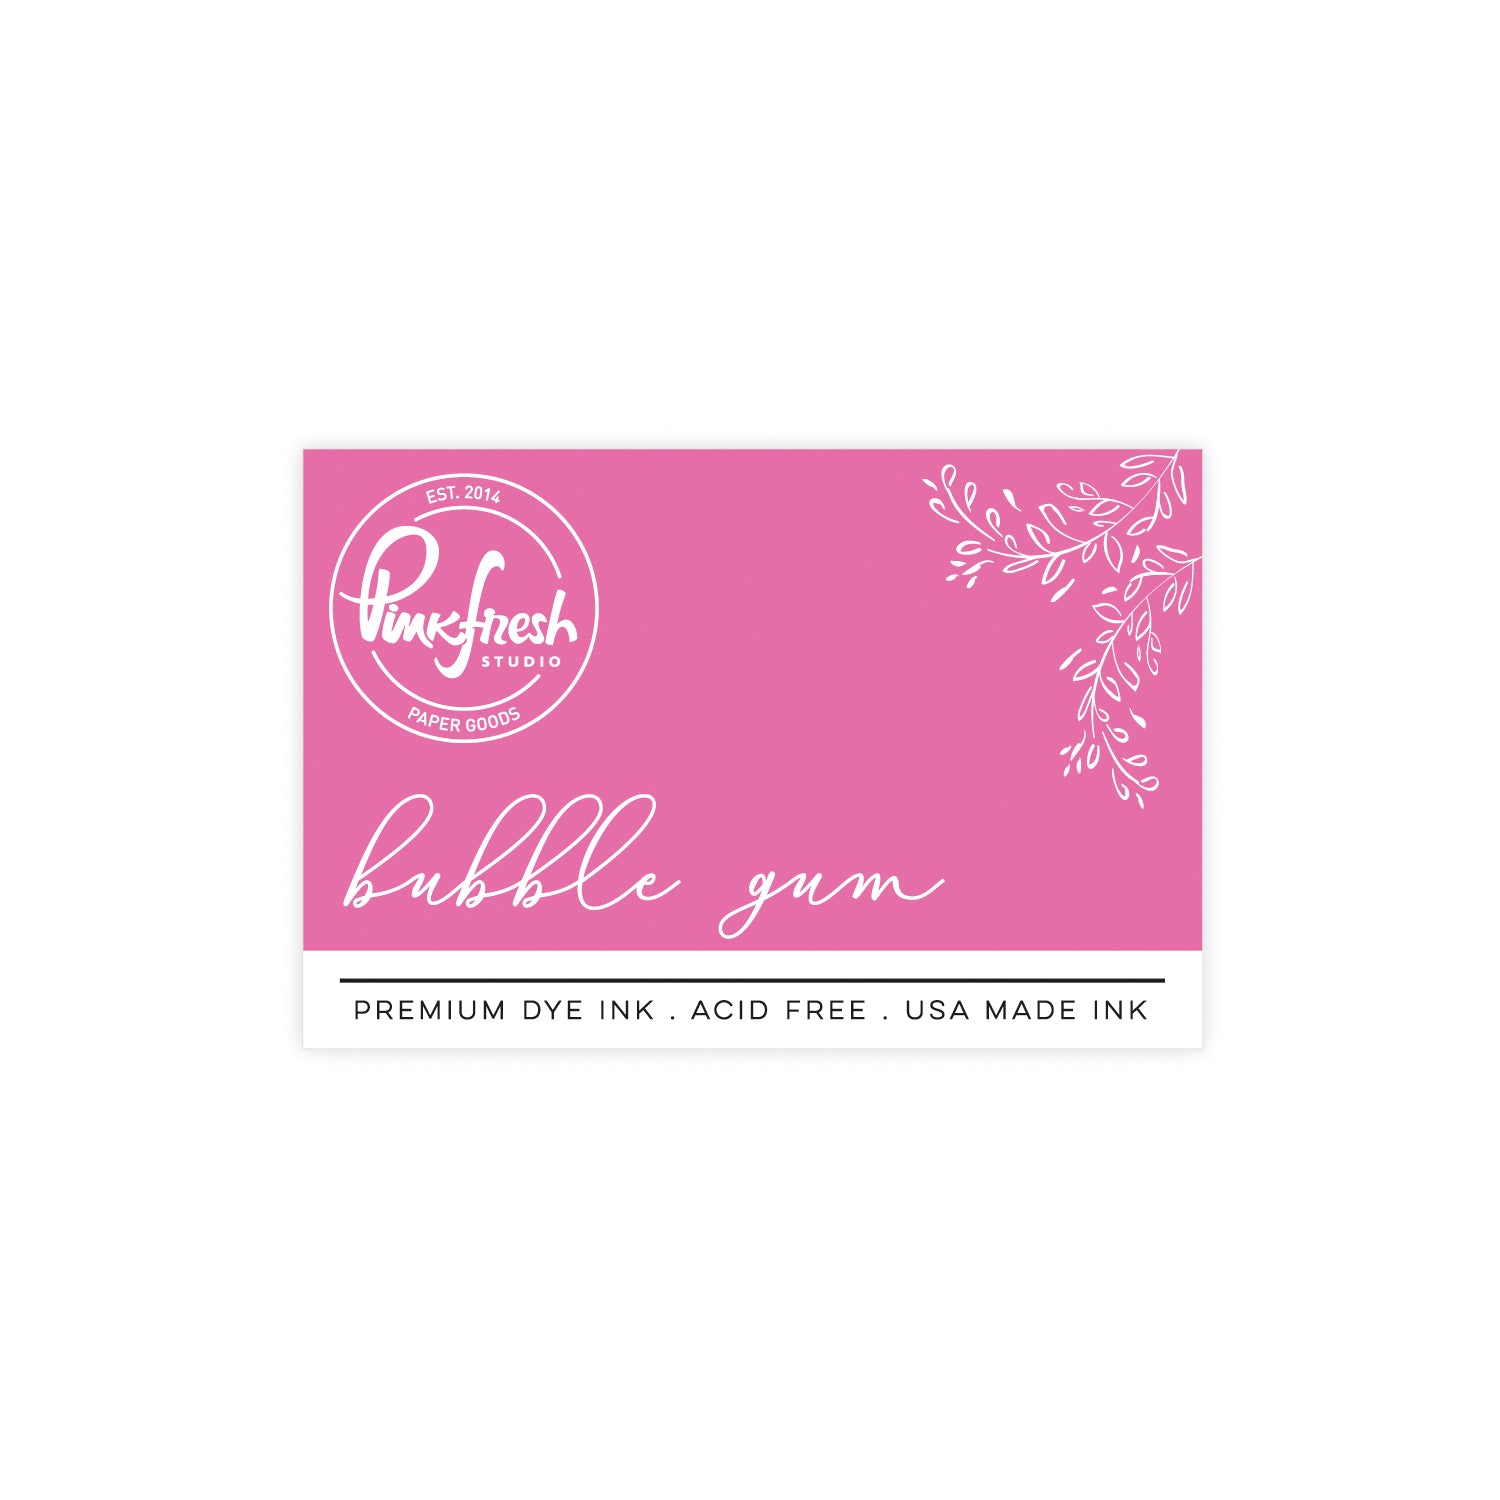
Premium Dye Ink Pad : Bubble Gum
Premium Dye Ink Pad : Bubble Gum Sale price$5.63 Regular price$7.50
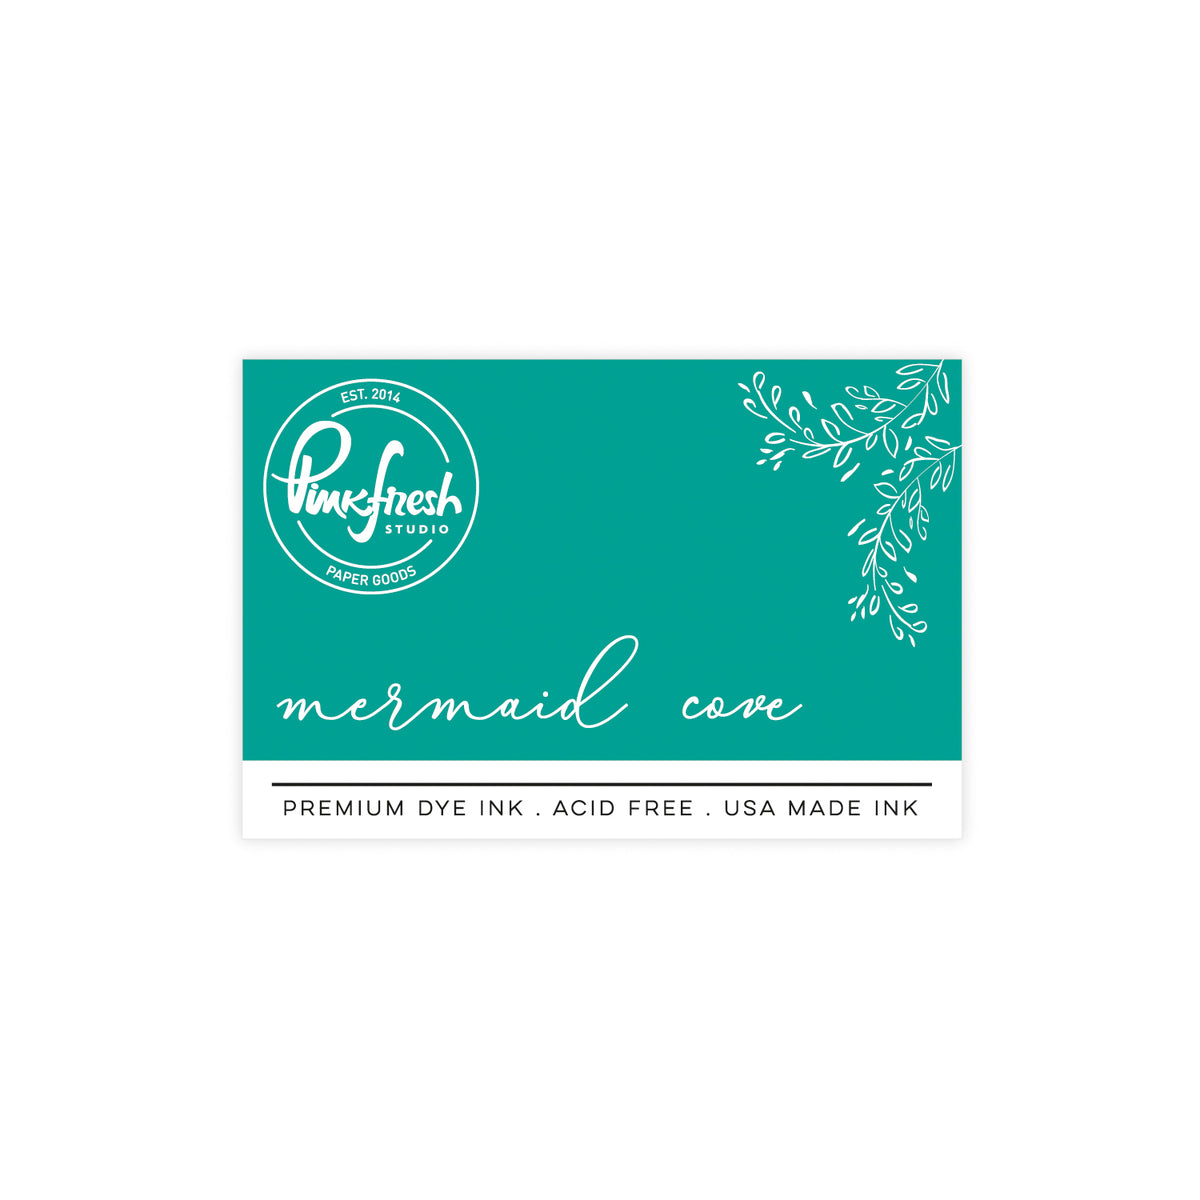
Premium Dye Ink Pad : Mermaid Cove
Premium Dye Ink Pad : Mermaid Cove Sale price$5.63 Regular price$7.50
Premium Dye Ink Pad : Aquamarine
Premium Dye Ink Pad : Aquamarine Sale price$5.63 Regular price$7.50
Premium Dye Ink Pad : Misty Coast
Premium Dye Ink Pad : Misty Coast Sale price$5.63 Regular price$7.50
Precision Clear Craft Glue .5 oz
Precision Clear Craft Glue 2 oz
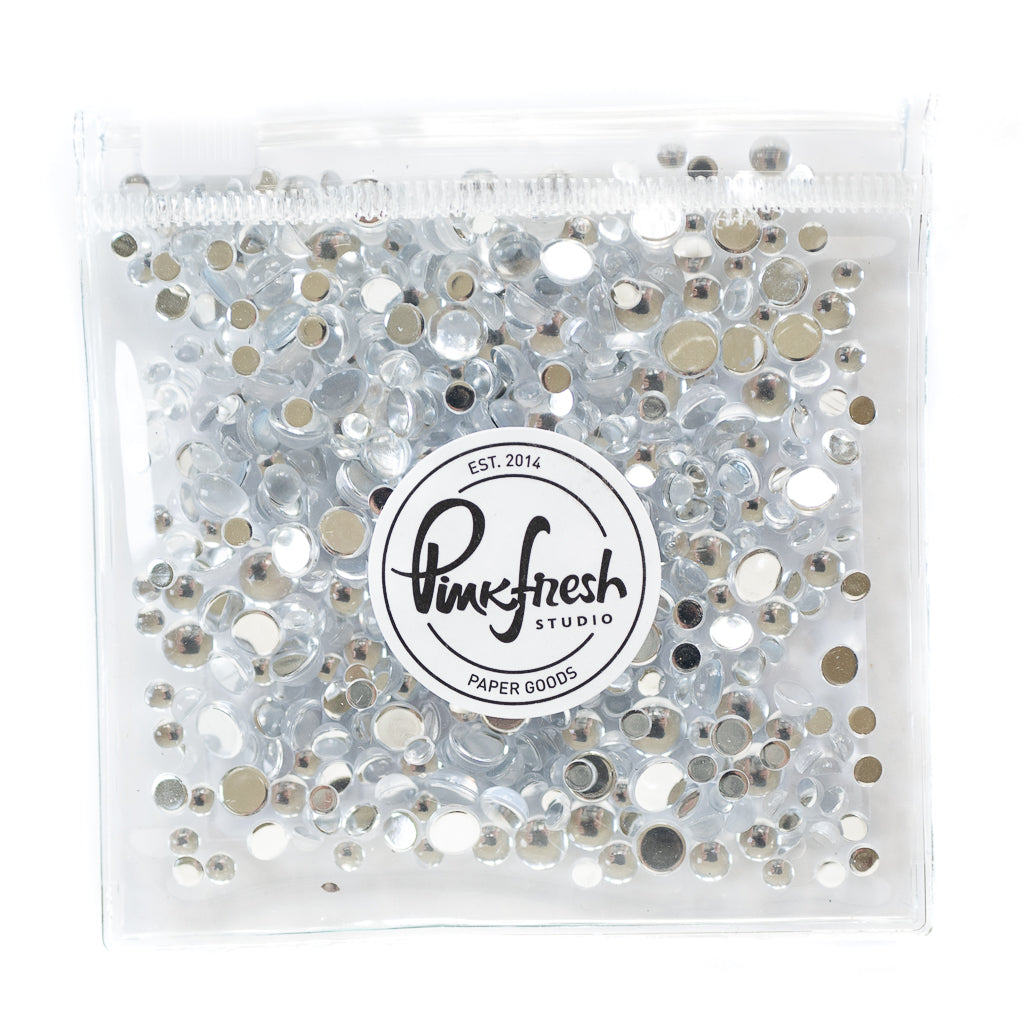
Clear Drops: Ice
Clear Drops: Ice
Clear Drops: Ice Sale price$5.50
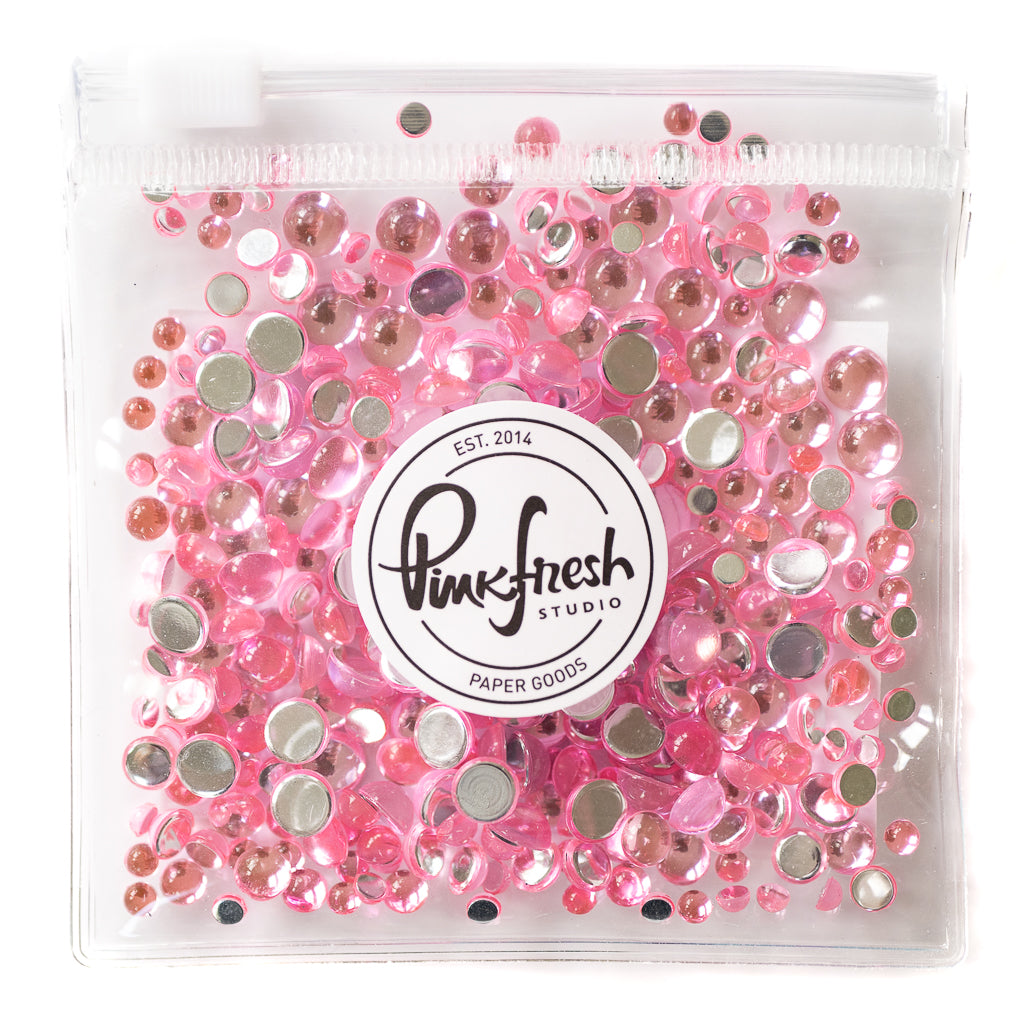
Clear Drops: Blush
Clear Drops: Blush
Clear Drops: Blush Sale price$5.50
Glitter Drops: Aqua
Glitter Drops: Aqua
Glitter Drops: Aqua Sale price$5.50
Triangle Brass TrayTriangle Brass Tray
Triangle Brass Tray
Triangle Brass Tray
Triangle Brass Tray Sale price$10.00

Reading next

Stepping up your floral background stamps | Raquel Arribas
Mixing Ink-Blended and Hot-Foiled Die Cuts | Steph Guse
Leave a comment

All comments are moderated before being published.

This site is protected by hCaptcha and the hCaptcha Privacy Policy and Terms of Service apply.