
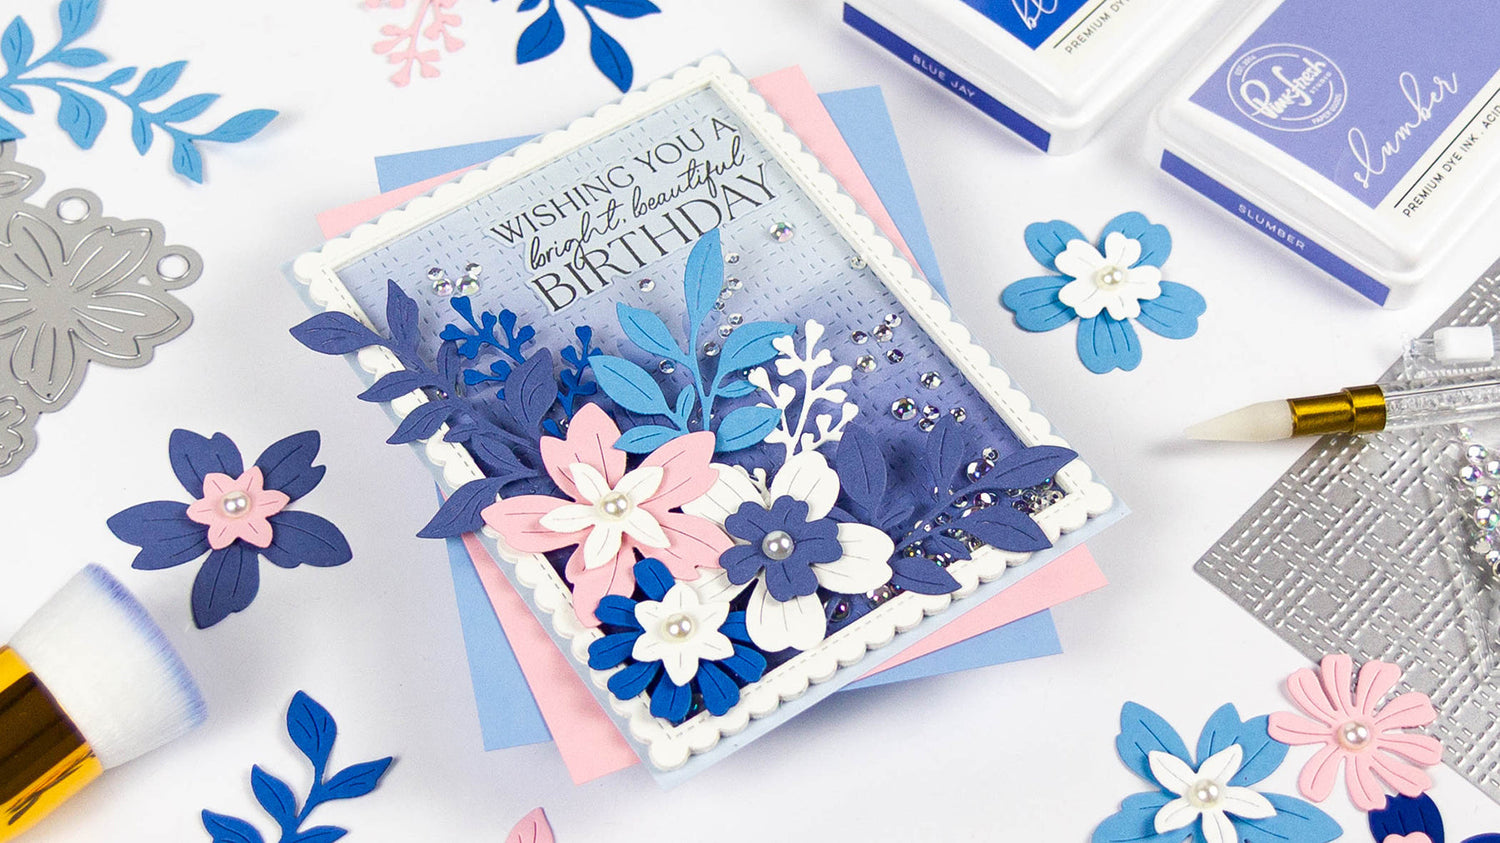
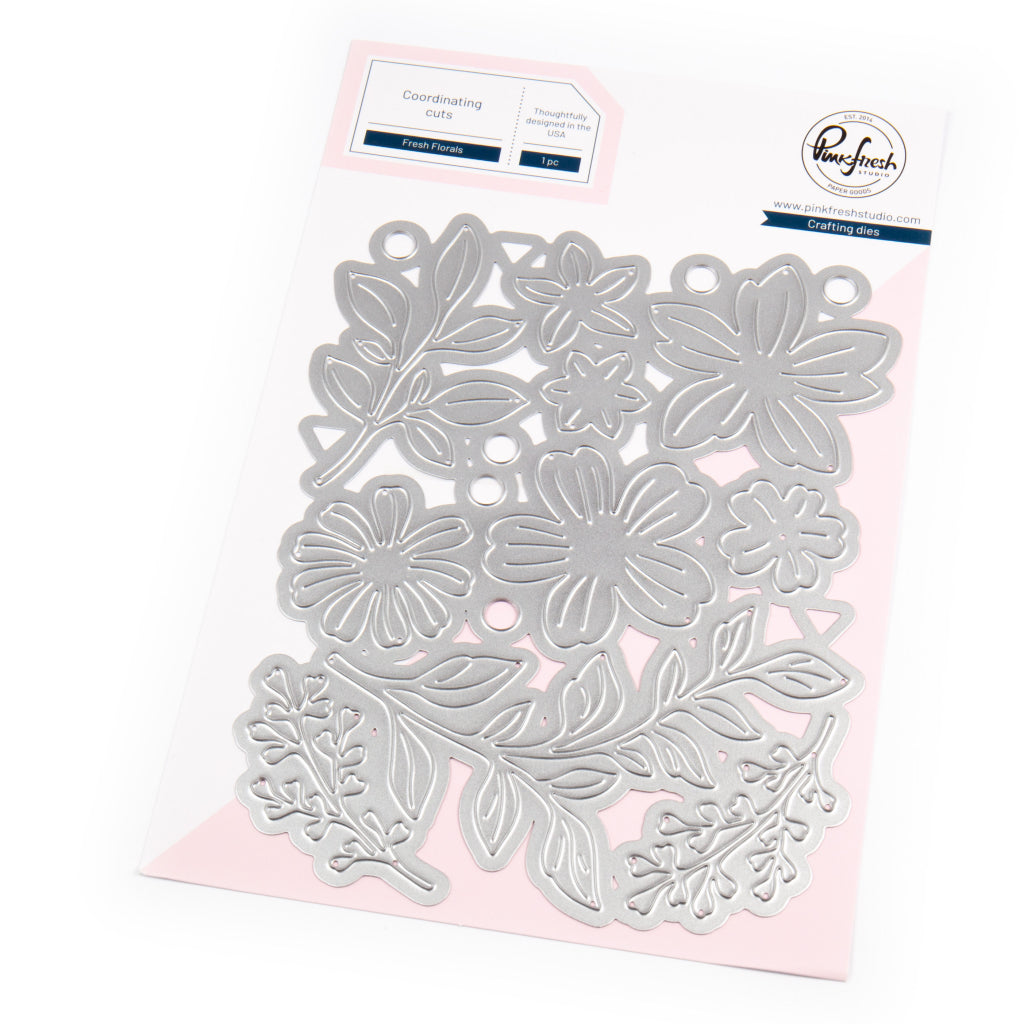
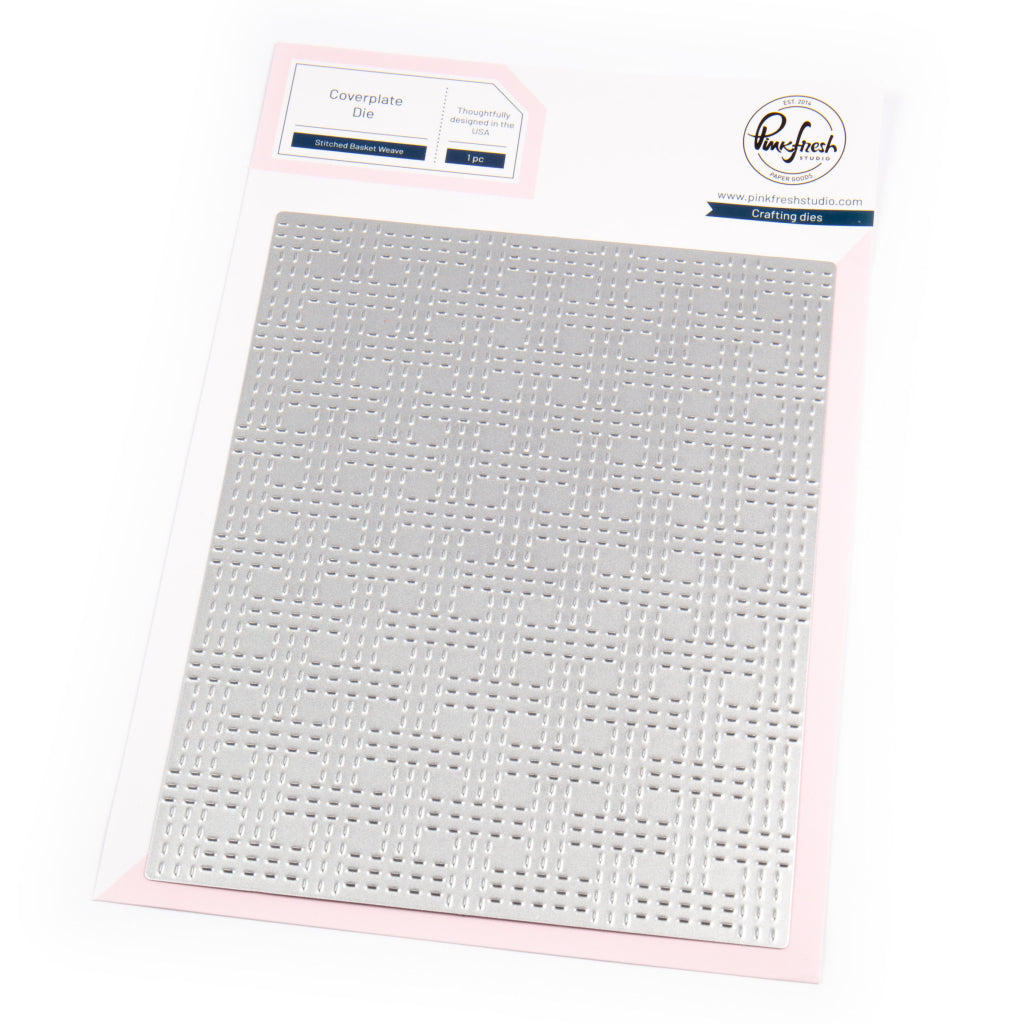
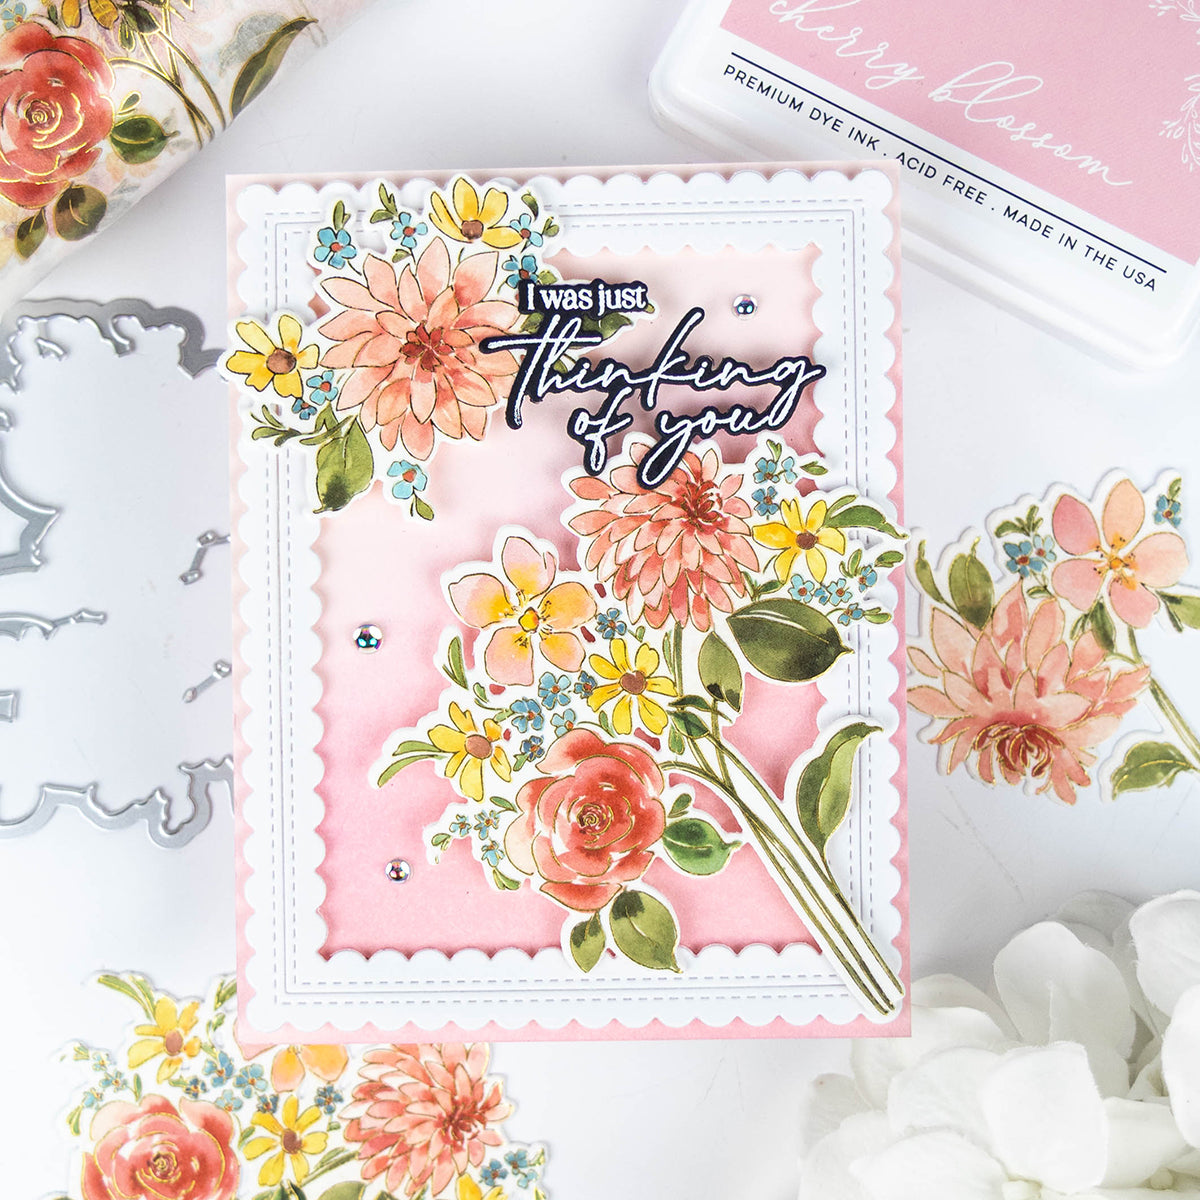
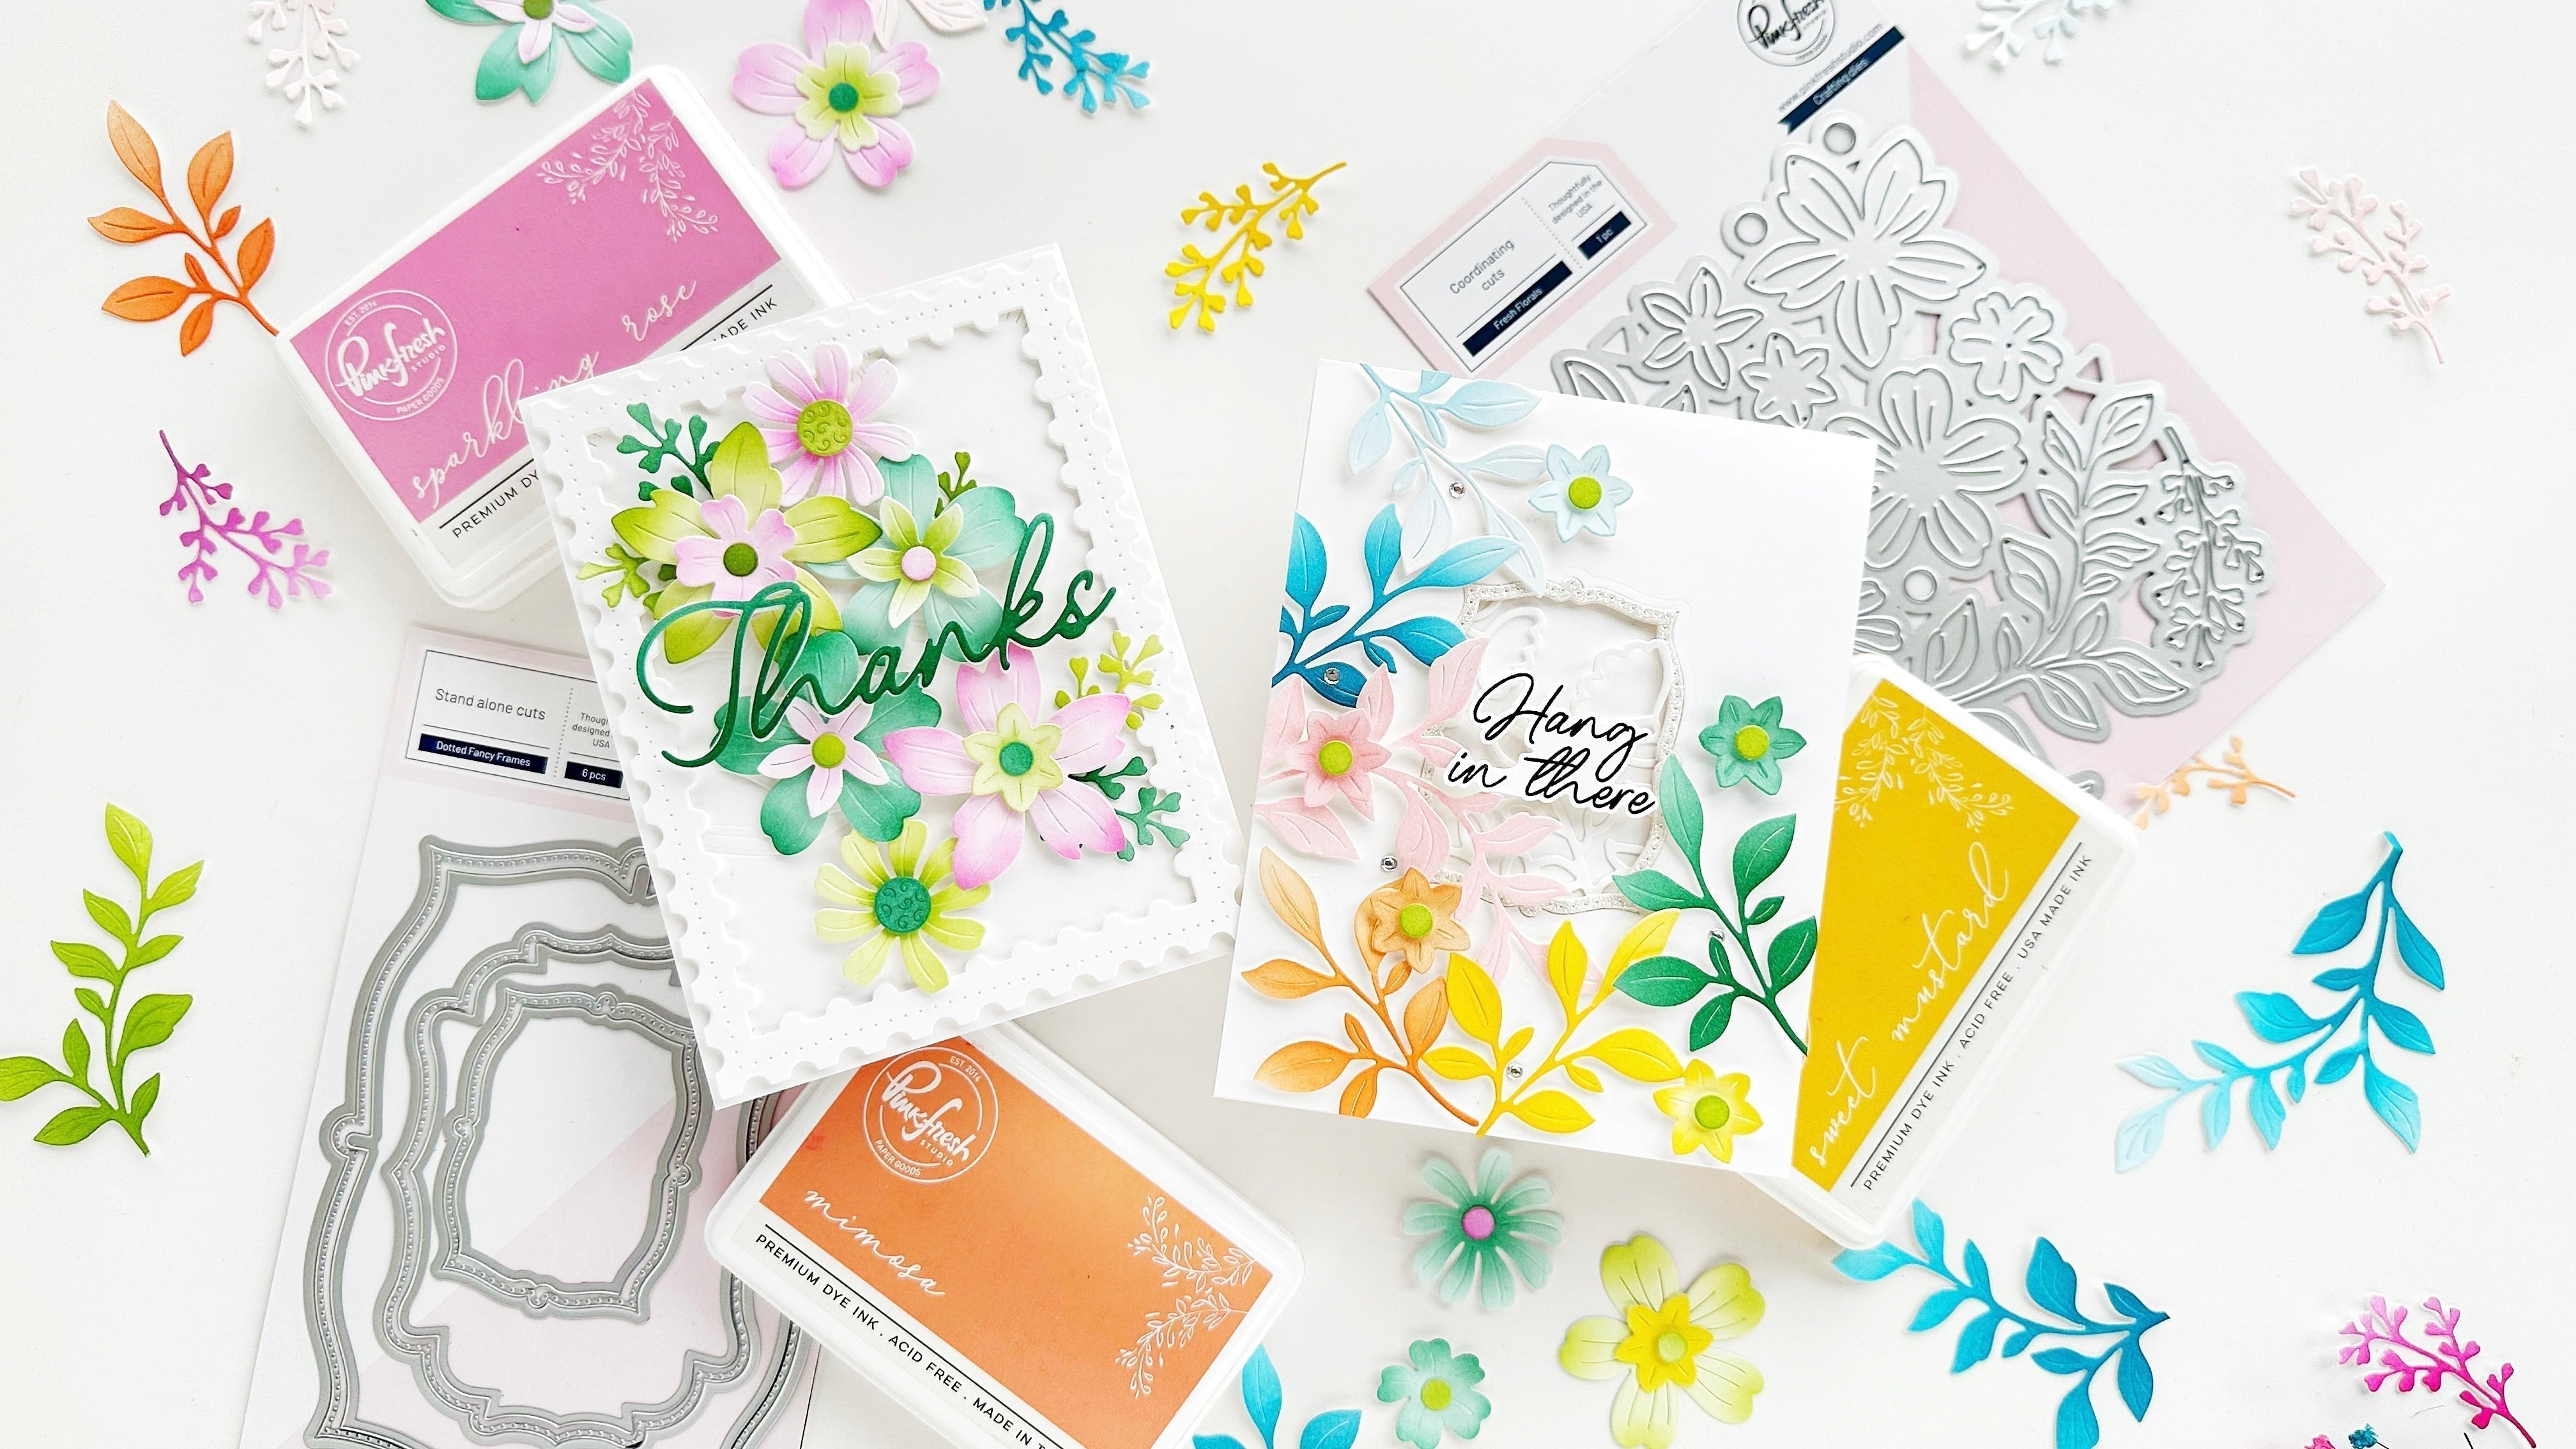
Hello Pinkfresh Studio friends! It's Rachel here, and I am excited to start off the week with a textured, dimensional shaker card that features both the Fresh Florals and Stitched Basket Weave Coverplate Die Sets from this month's gorgeous Pure Bliss Release.
Both of these die sets are super versatile and can be used all year round for many different occasions! This card is actually very easy to make and just requires some die cutting and piecing a few flower die cuts together.
*Disclaimer: All products used are linked below as clickable images. If a product isn’t listed, it’s been discontinued.

How to recreate this card:
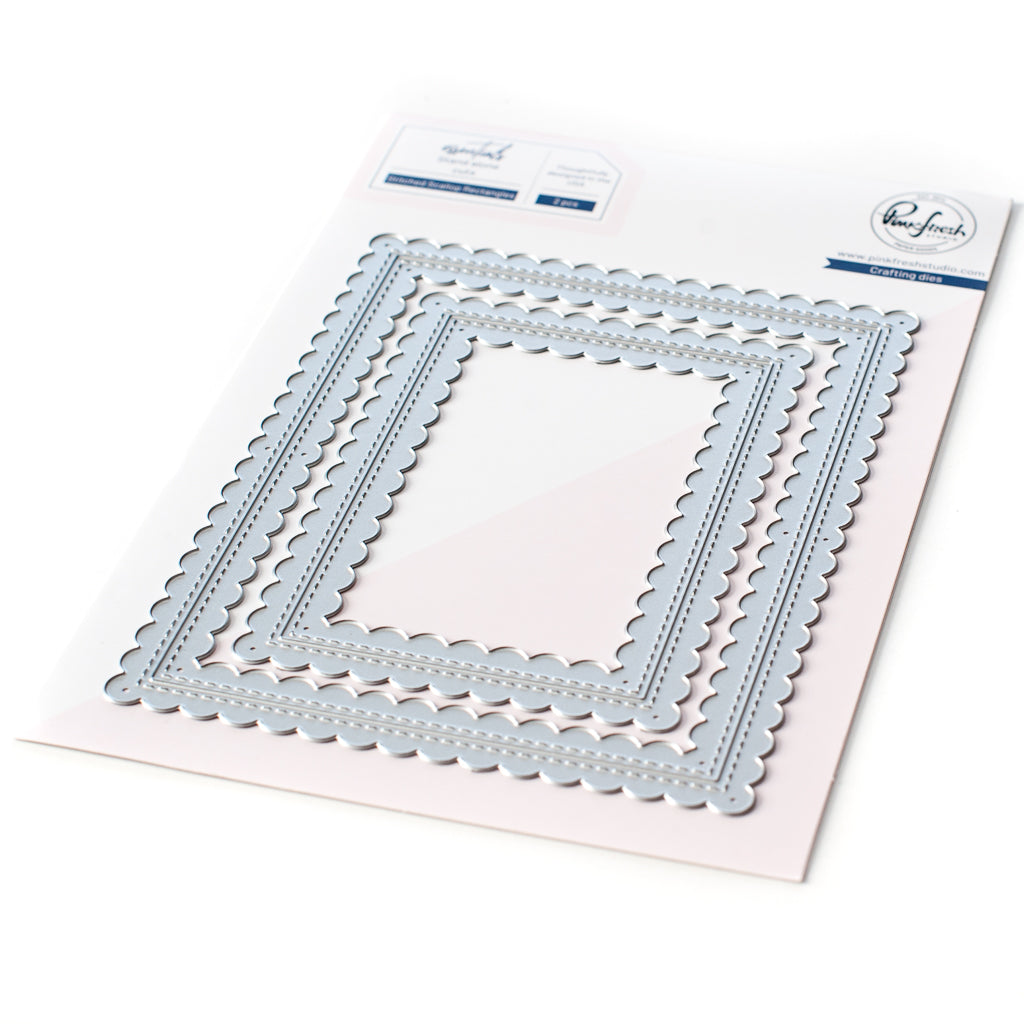
1. Die cut six frames from white card stock using the largest rectangle from the Essentials: Stitched Scallop Rectangles Die Set
2. Remove the smaller scalloped rectangle from the inside of each piece and set aside for a future project.
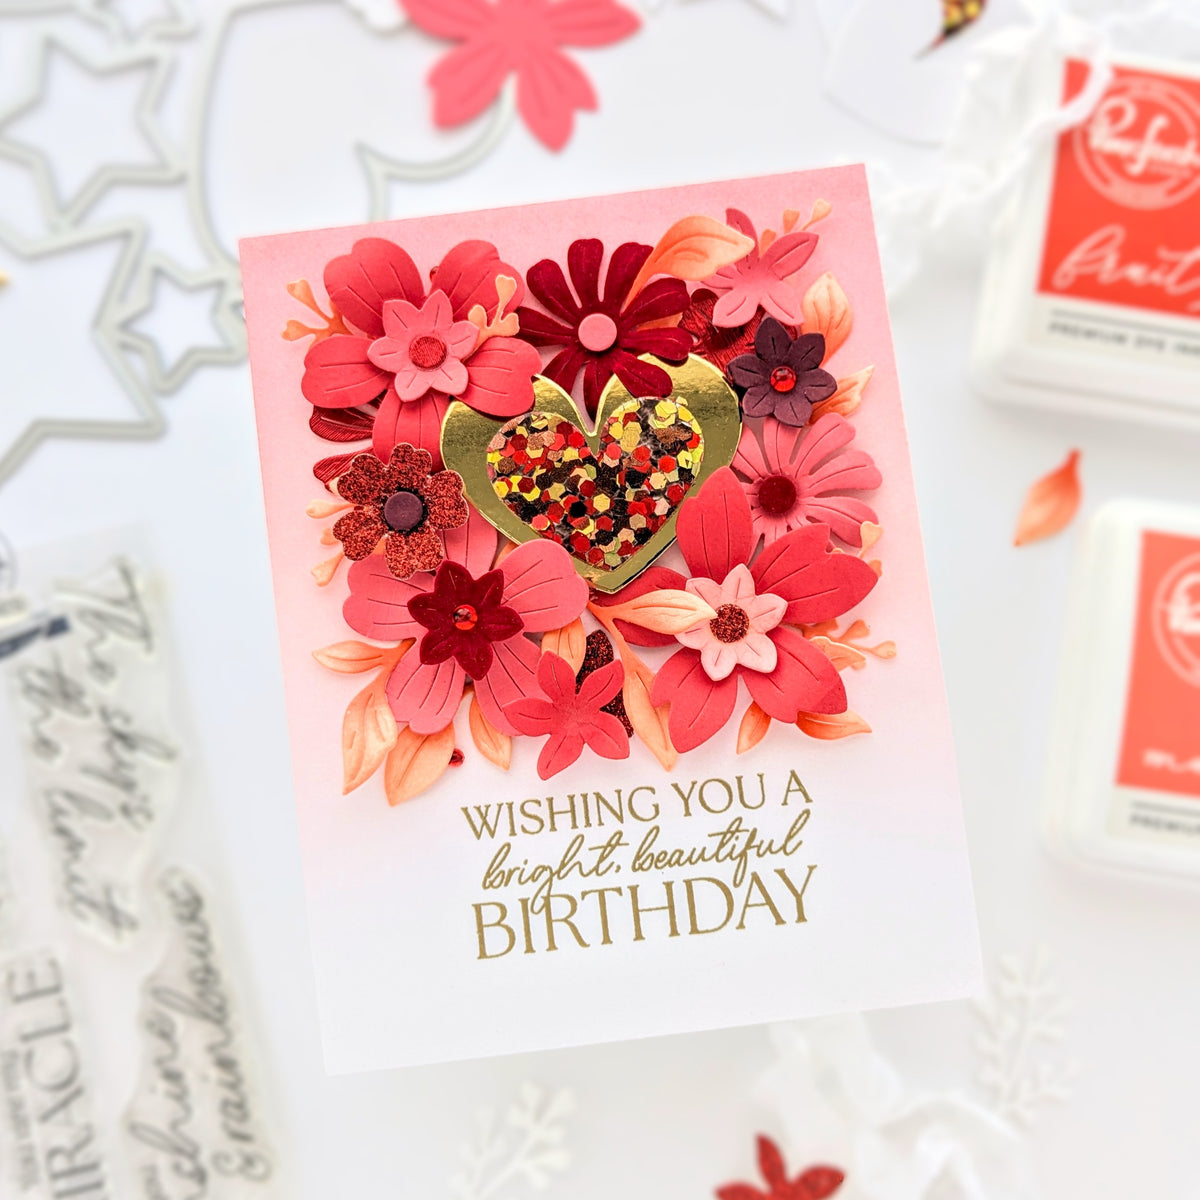
3. Using the Fresh Florals Die Set, die cut a variety of flowers and foliage using the colors of your choice. (I used a mix of pinks and blues.) ** If you want to create your own color blends for your florals, there is a matching Fresh Florals Stencil Set that coordinates perfectly with this set.**
4. Using a paper cutter, trim two pieces of light blue card stock. The first piece will be the base piece measuring at 4.25" x 5.5". The second piece will be the layering piece which will measure 4" x 5.25".
5. (This next step is optional if you enjoy ink-blending, but it is not necessary) Take the smaller of the two light blue pieces and add a light layer of ink starting at the bottom left corner of the paper with your darker colored ink and working your way toward the top right corner with your lighter colored ink, eventually fading the ink to leave some of the light blue card stock showing. I used Blue Jay and Slumber Inks.
6. Once your inked piece is dry, run this piece back through your die cutting machine using the Stitched Basket Weave Coverplate Die to give this piece some gorgeous texture. Then adhere this piece to the 4.25" x 5.5" base piece with double sided tape.
7. Using liquid adhesive, glue five of your six scalloped frames together and then adhere this dimensional frame on top of your card base. It should line up perfectly with your 4" x 5.25" ink-blended layering piece.
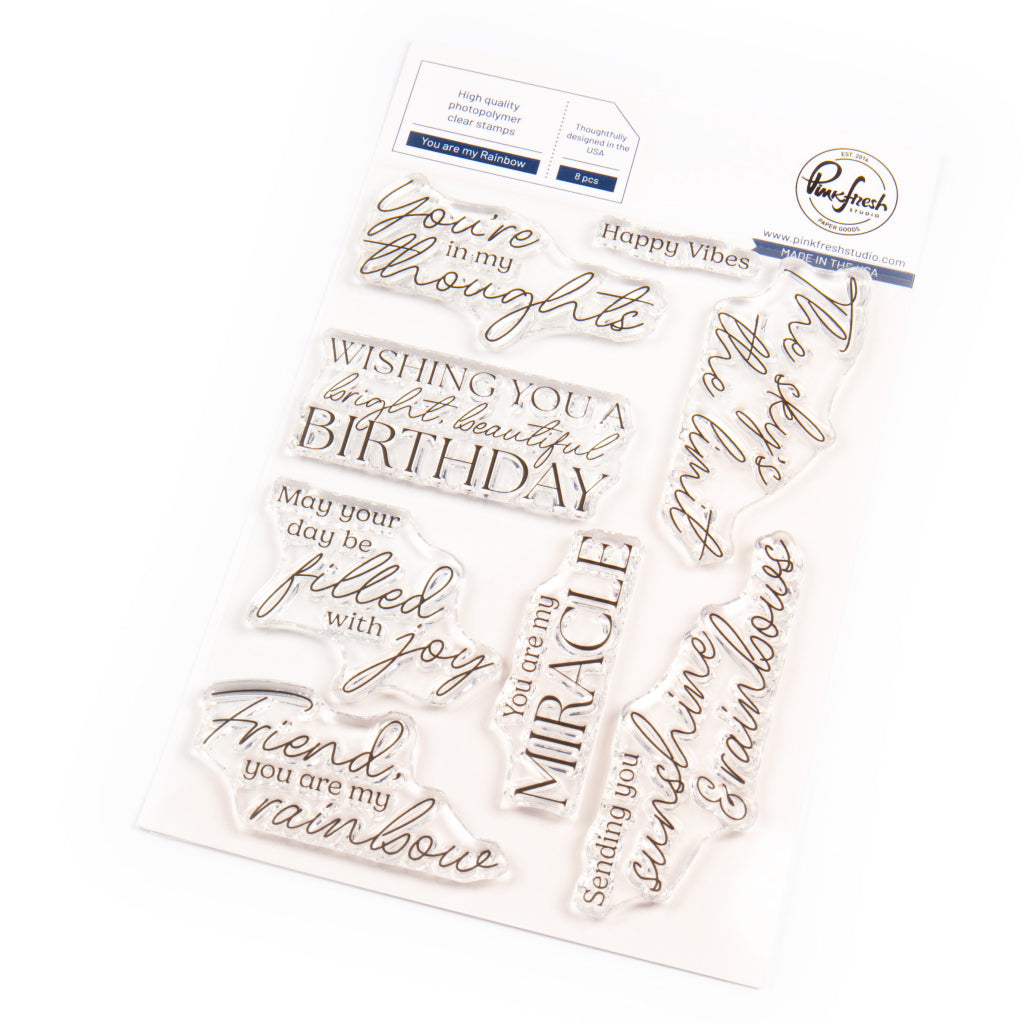
8. Using the same light blue card stock, stamp your sentiment onto a strip of it with Detail Black Ink and then use the coordinating dies to cut it out once the ink is dry. I used a sentiment from the You Are My Rainbow Stamp as well as the coordinating die set.
9. Add your sentiment to the top right corner of your card base inside the framed area with an adhesive of your choice.
10. Add some sparkly embellishments to the inside of the card (I used some Iridescent Clear Drops) and then seal off the top of the shaker portion using liquid adhesive along with a piece of clear acetate cut slightly less than 4" x 5.25".
11. Adhere your last scalloped frame to the top of your acetate with liquid adhesive, and lastly add your floral pieces with dimensional foam tape to allow them to pop up a bit from the card base.
Quick Tip: I added some half pearls to the center of my florals, but you can opt to not use them or add an another embellishment of your choice.

I hope you have been inspired by my card today and will try one of your own! Please tag us on Instagram with your own version of this card!
Feel free to leave a comment below with what you liked best about this card or any questions you may have!
Wishing you all a lovely day!
- Rachel
Recommended Products
















Leave a comment
All comments are moderated before being published.
This site is protected by hCaptcha and the hCaptcha Privacy Policy and Terms of Service apply.