
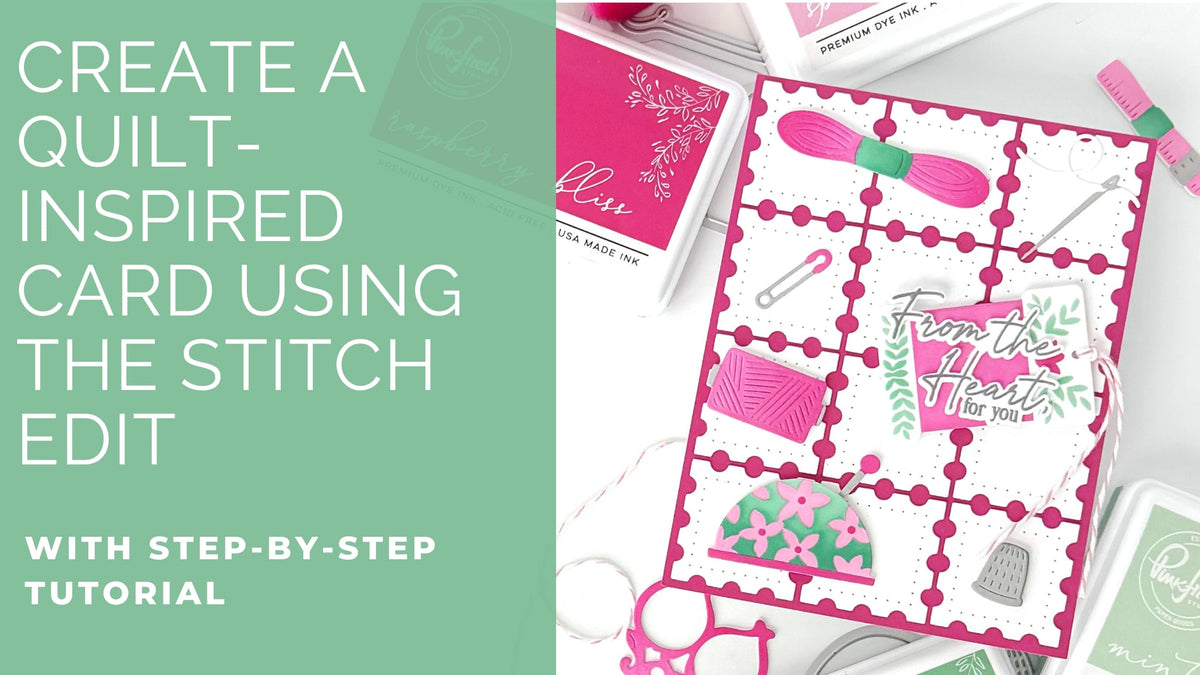
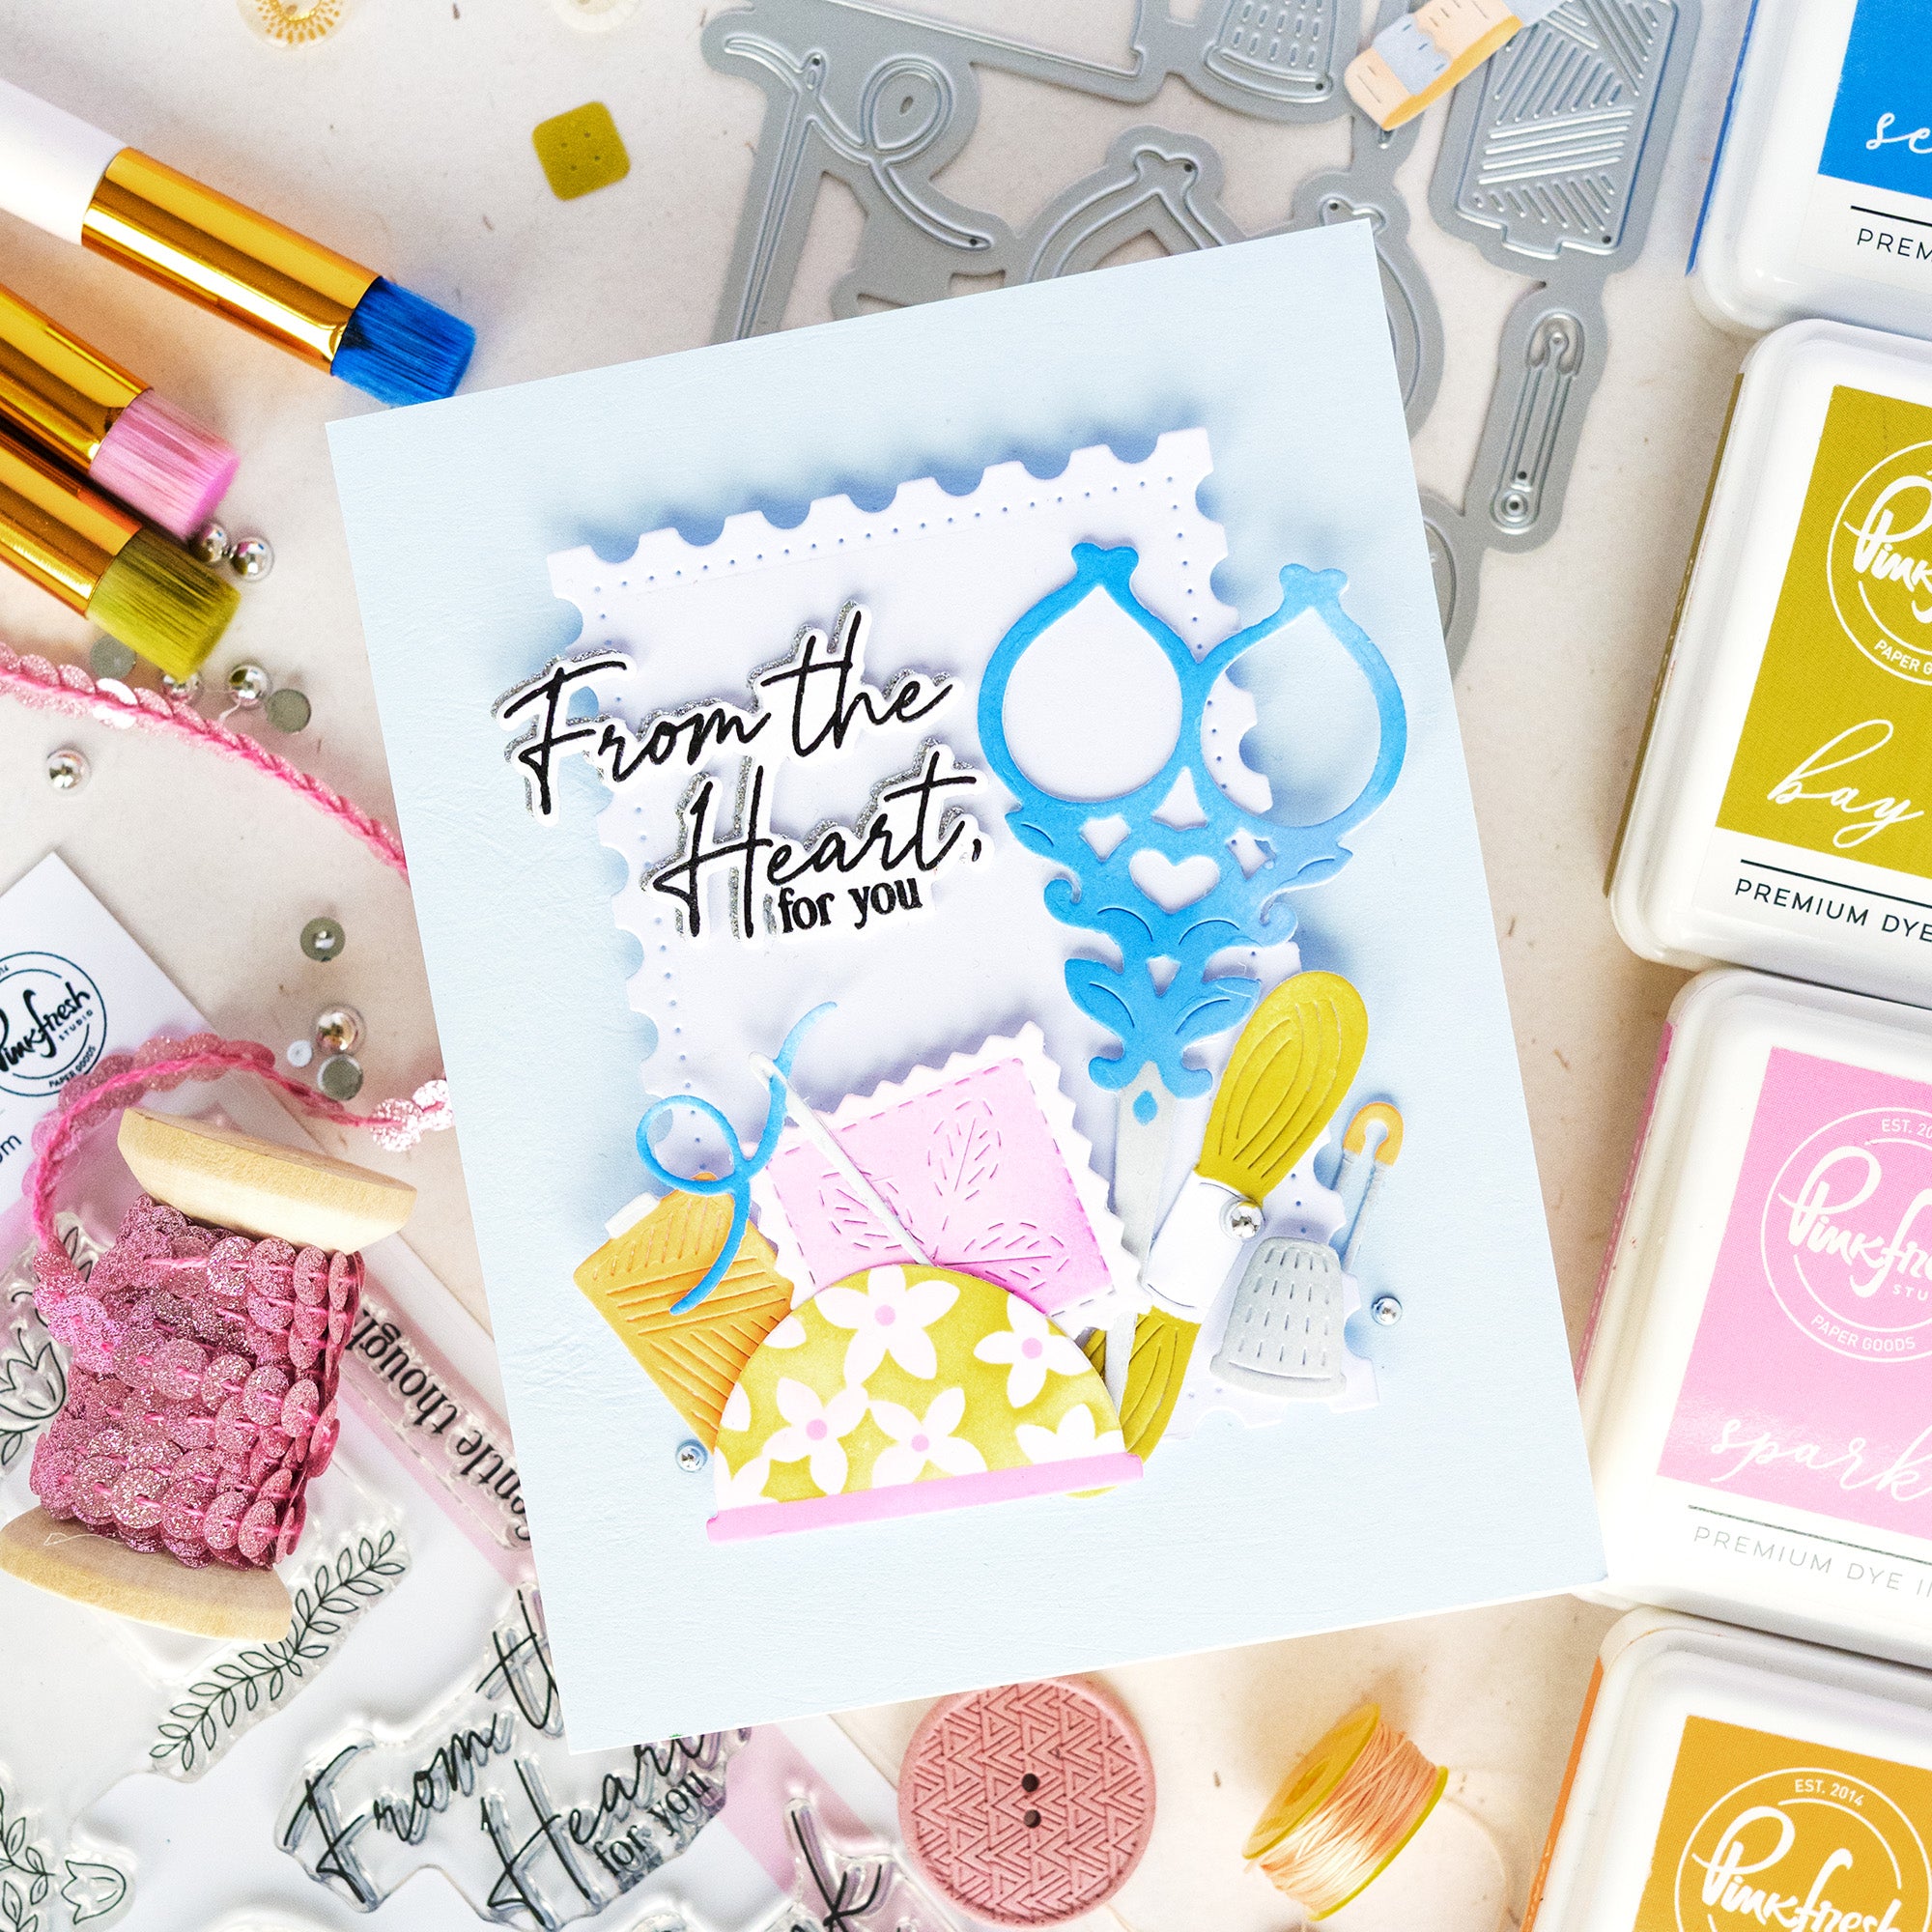
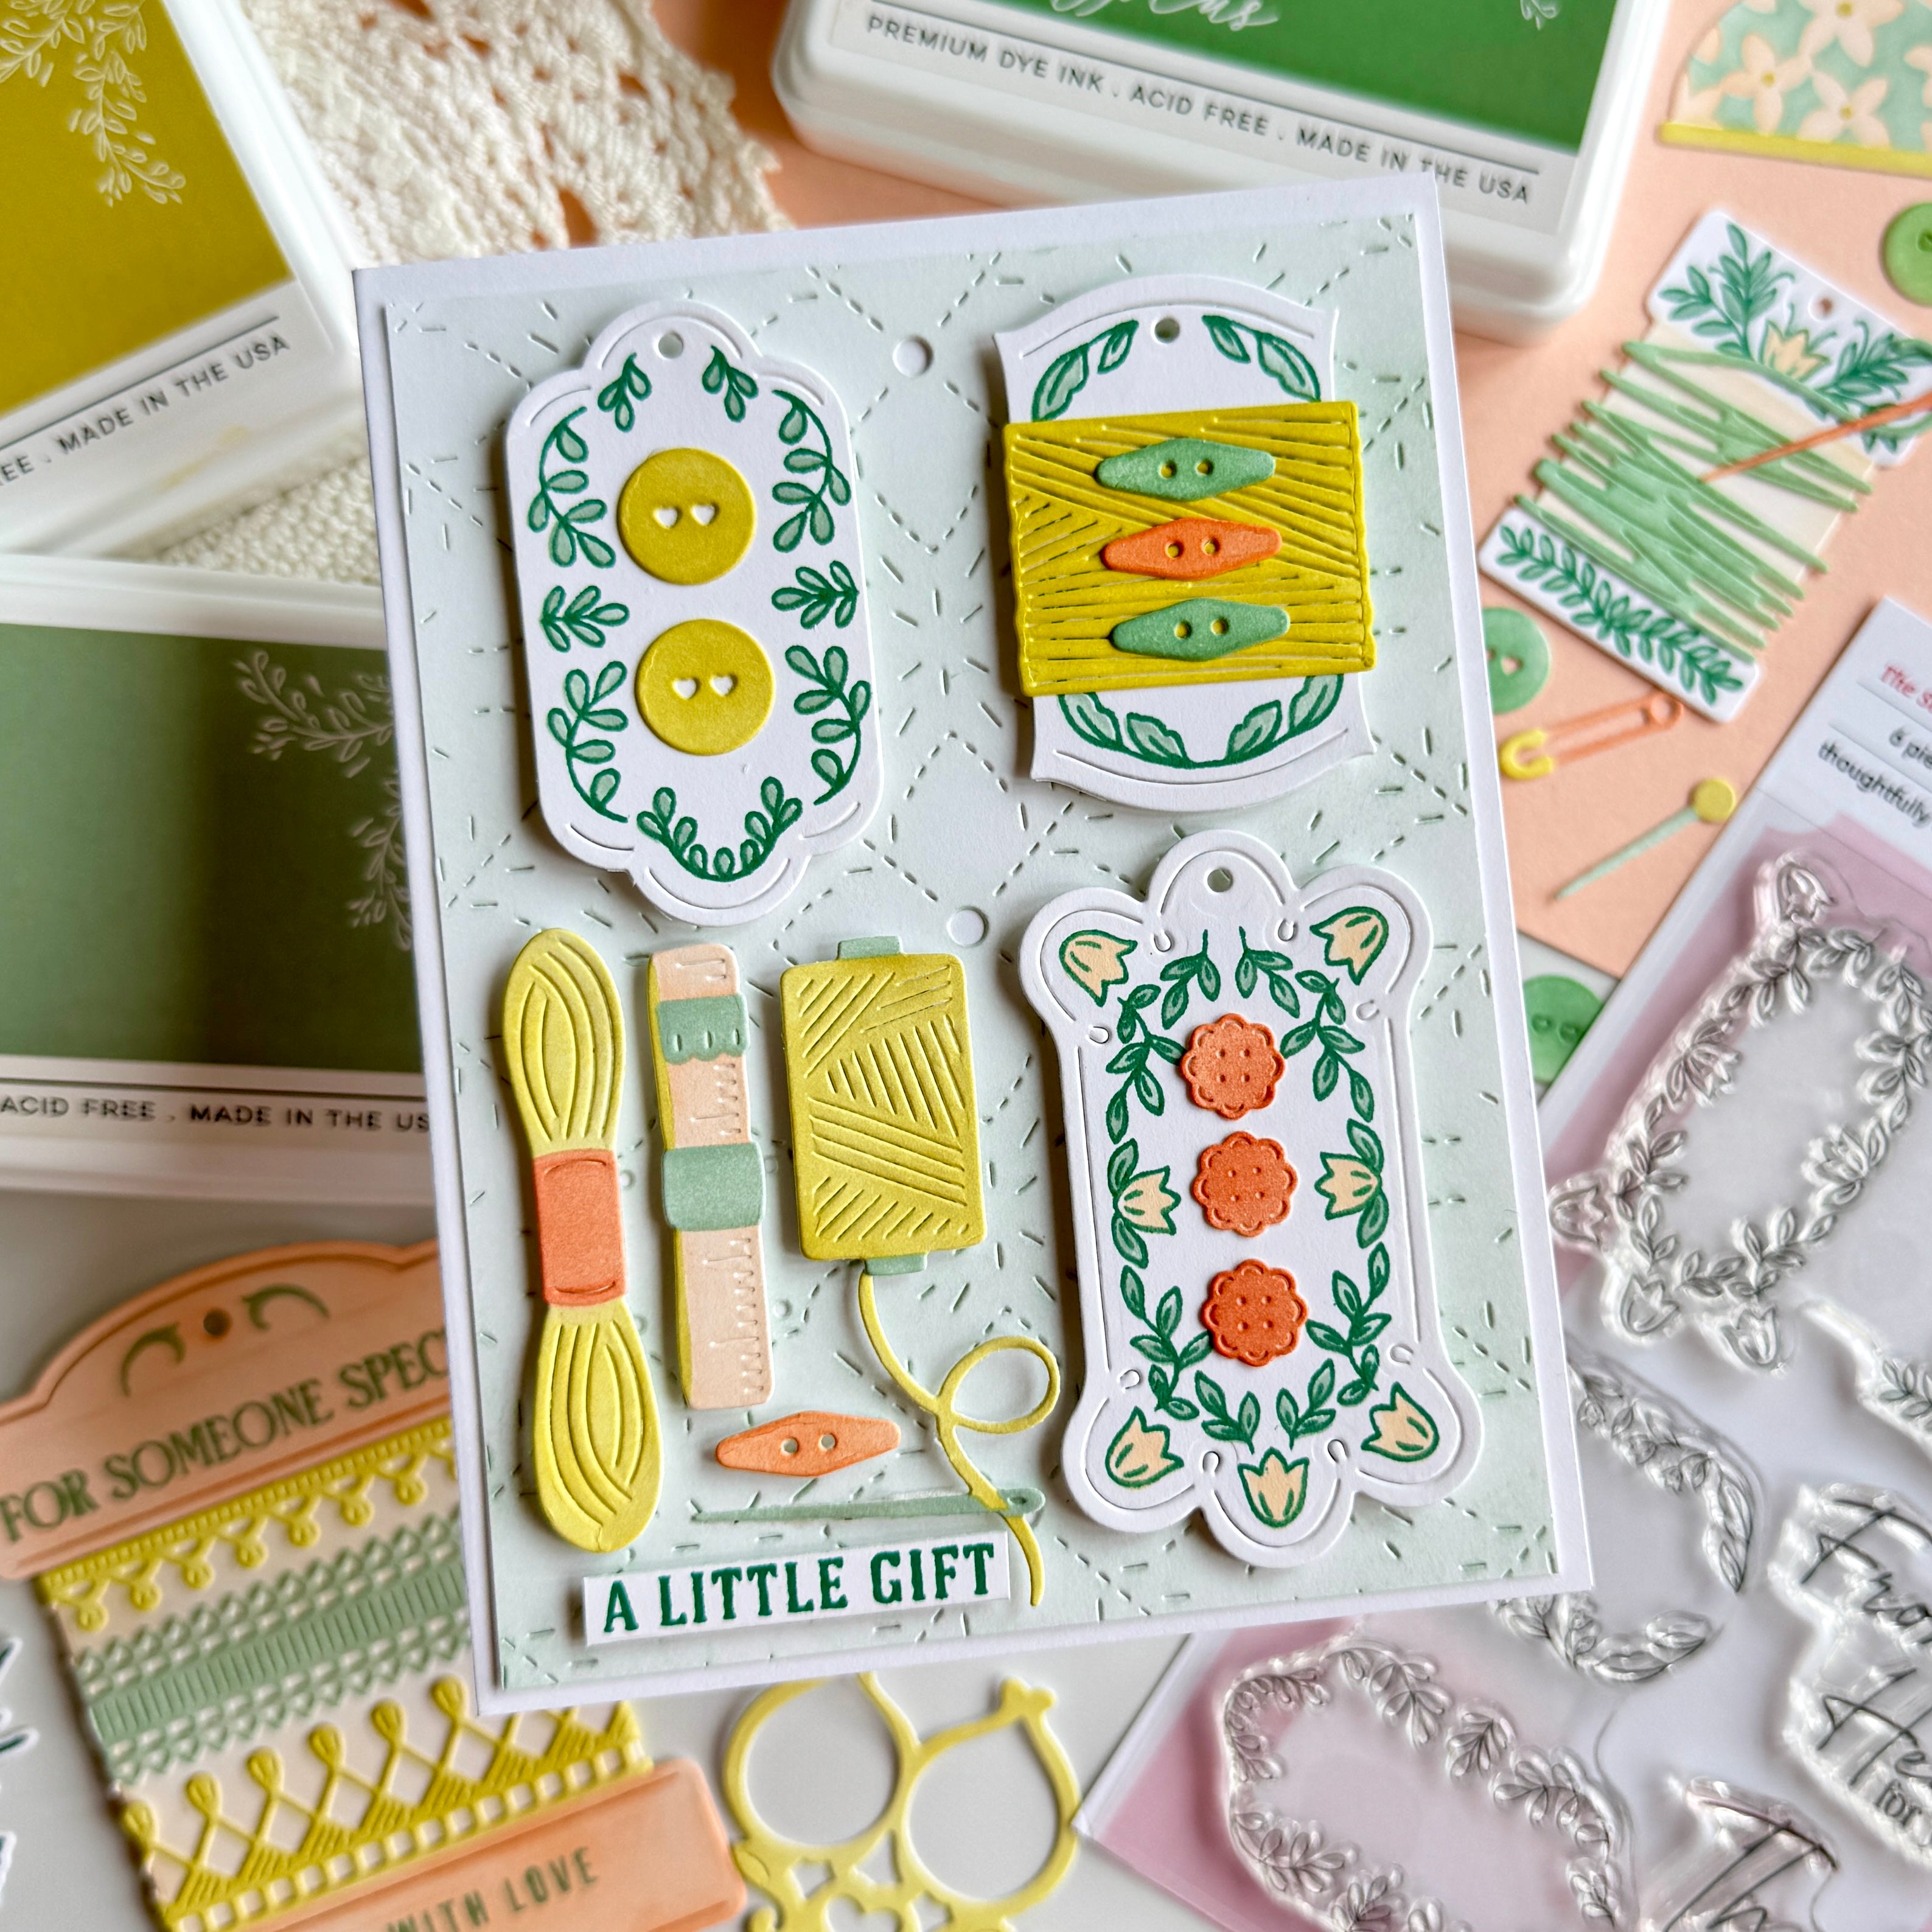
Hello, Pinkfresh friends! Today, I’m sharing a card that celebrates the cozy charm of handmade details and the beauty of a homespun sewing theme using products from The Stitch Edit product suites.
For this design, I created a quilt-inspired background using postage squares arranged in a quilted formation. Soft layers of pink, fresh greens, and subtle gray keep the palette simple and cohesive, while dimensional elements like the thread spool and stenciled notions bring the design to life.
I love how the repeated blocks create visual structure, while the soft color blending and baker’s twine add warmth and texture. This is a wonderful design for anyone who loves sewing, crafting, or sending something made truly from the heart.
*Disclaimer: All products used are linked below as clickable images. If a product isn’t listed, it’s been discontinued.

How to recreate this card:
- Create a white, top-folding A2 card base.
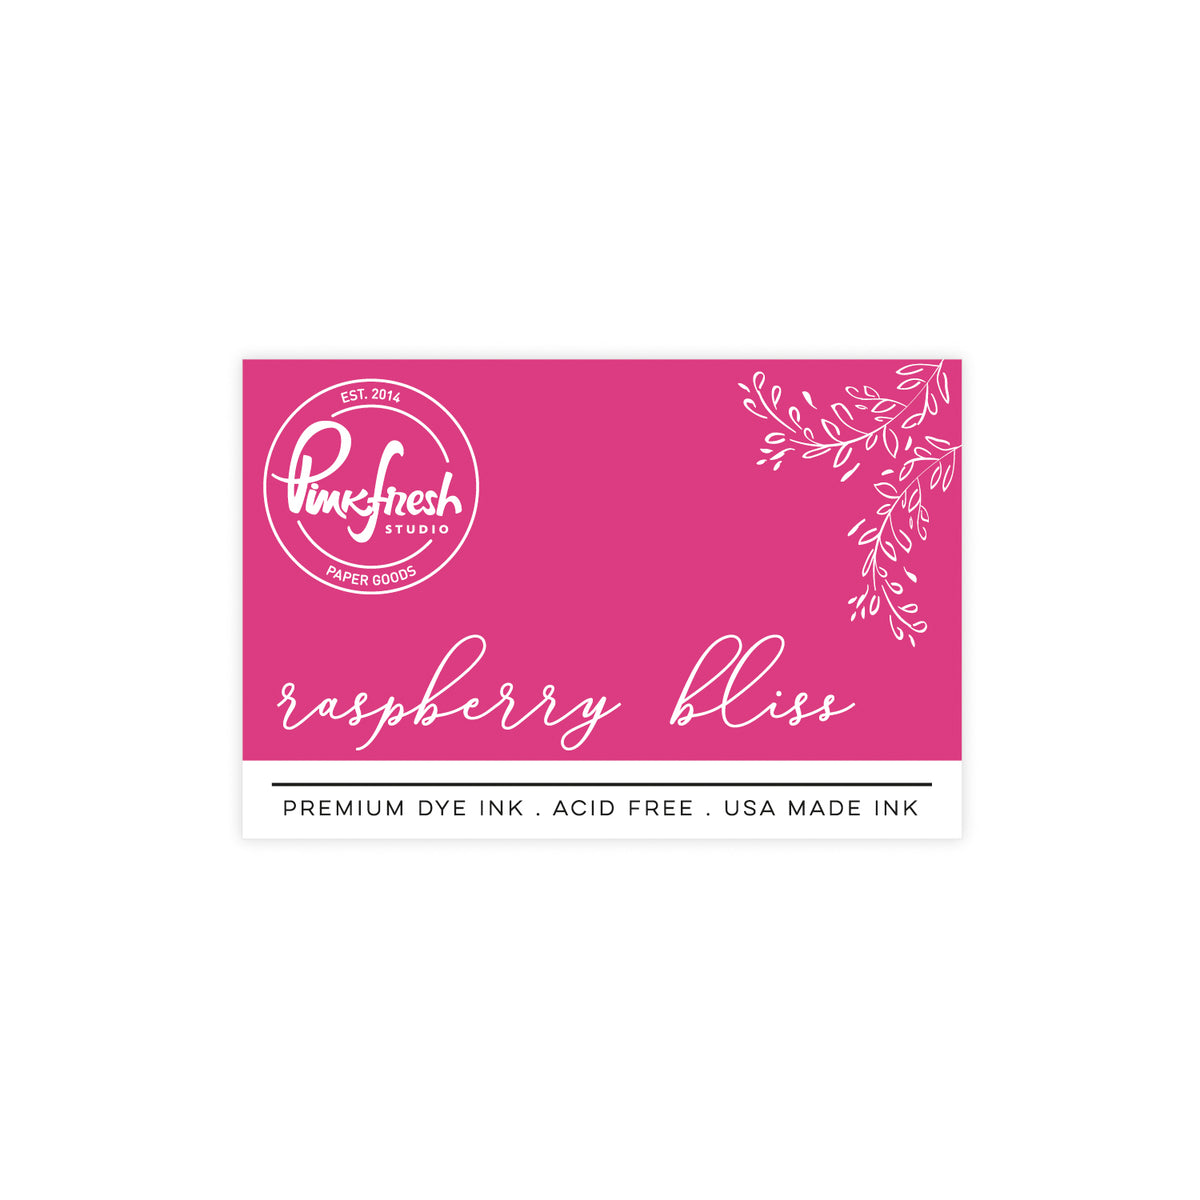
- Cut a piece of pink cardstock (A2 size) and adhere it to the card base using liquid glue. (You can also ink blend a piece of white A2 cardstock with Raspberry Bliss.)
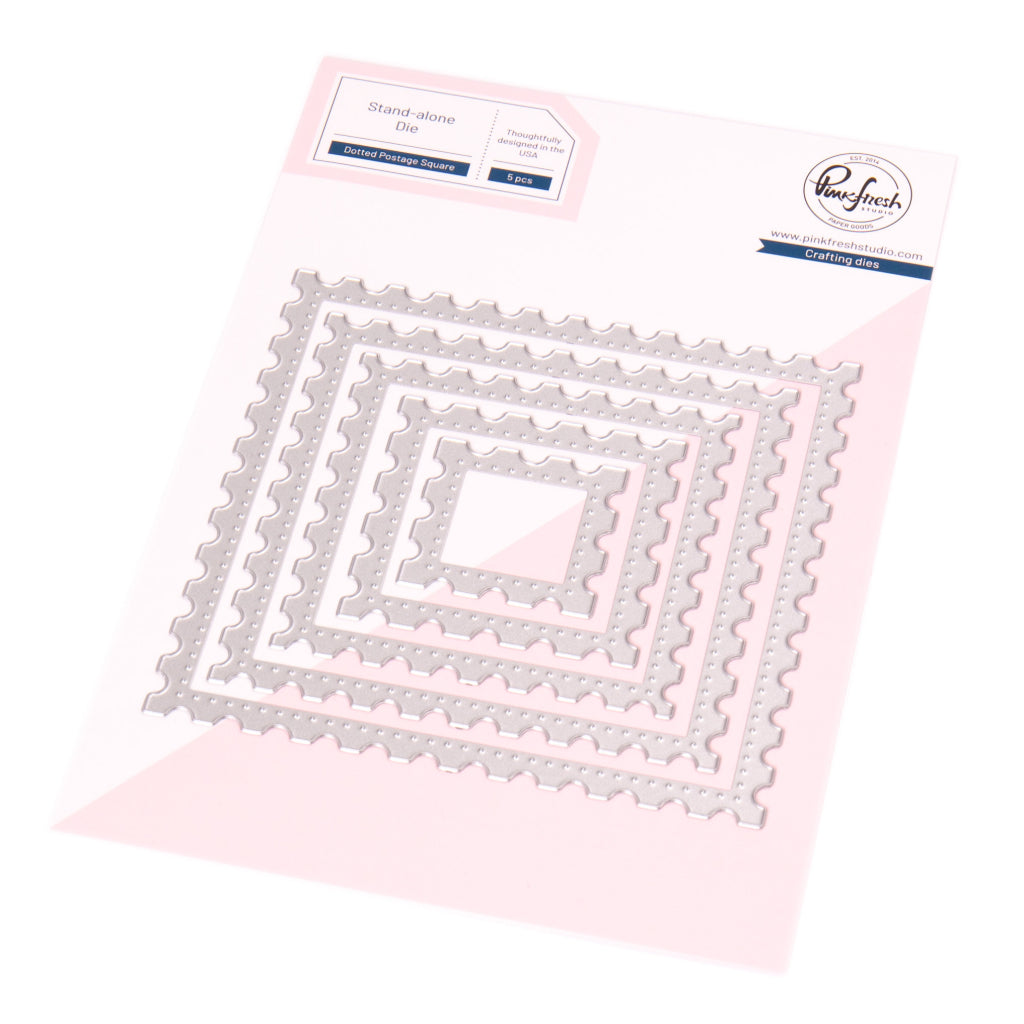
- Die cut 12 square postage edge pieces from white cardstock using the smallest Dotted Postage Edge Square die.
- Arrange the postage squares on the card front in a quilt-style grid, then adhere them with liquid glue.
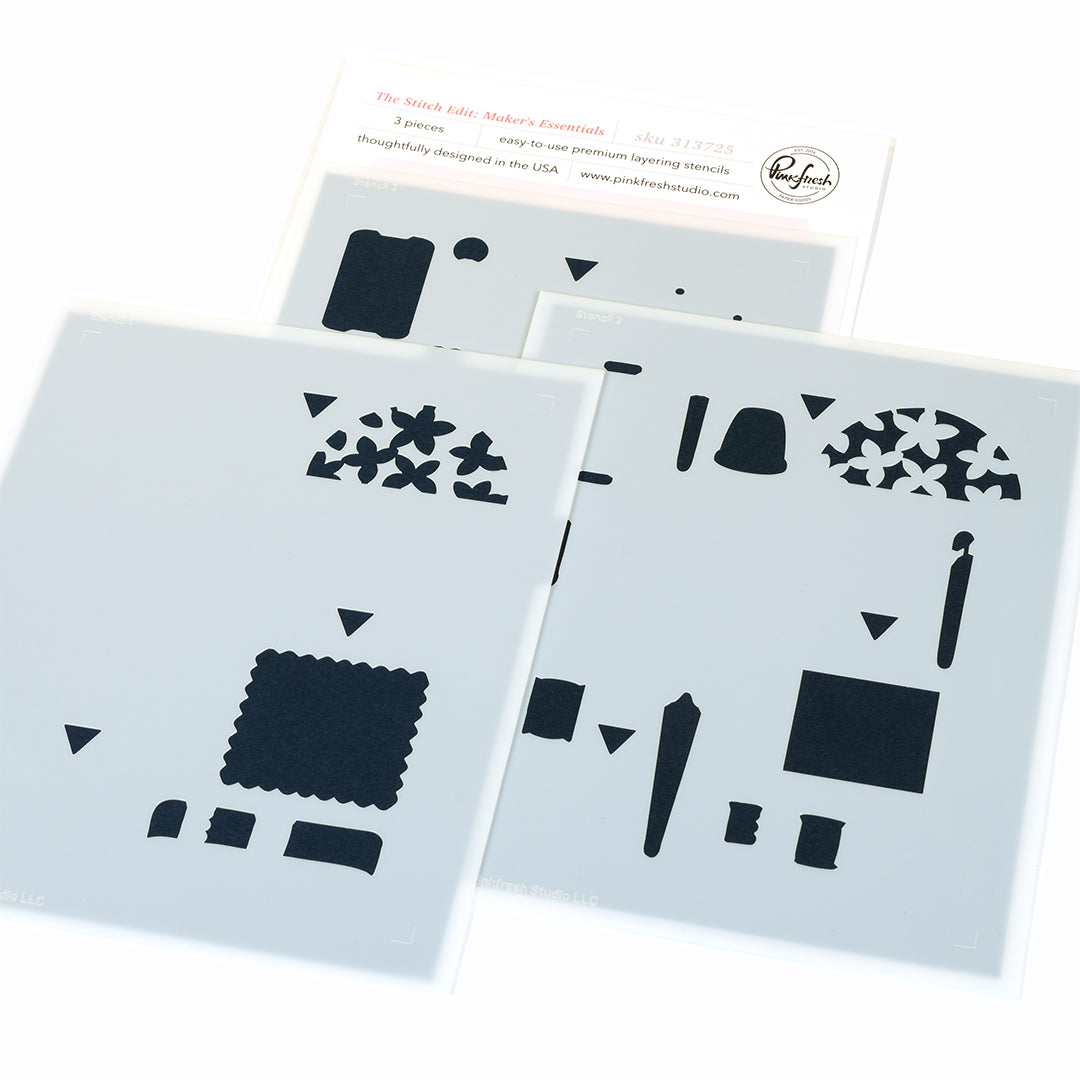
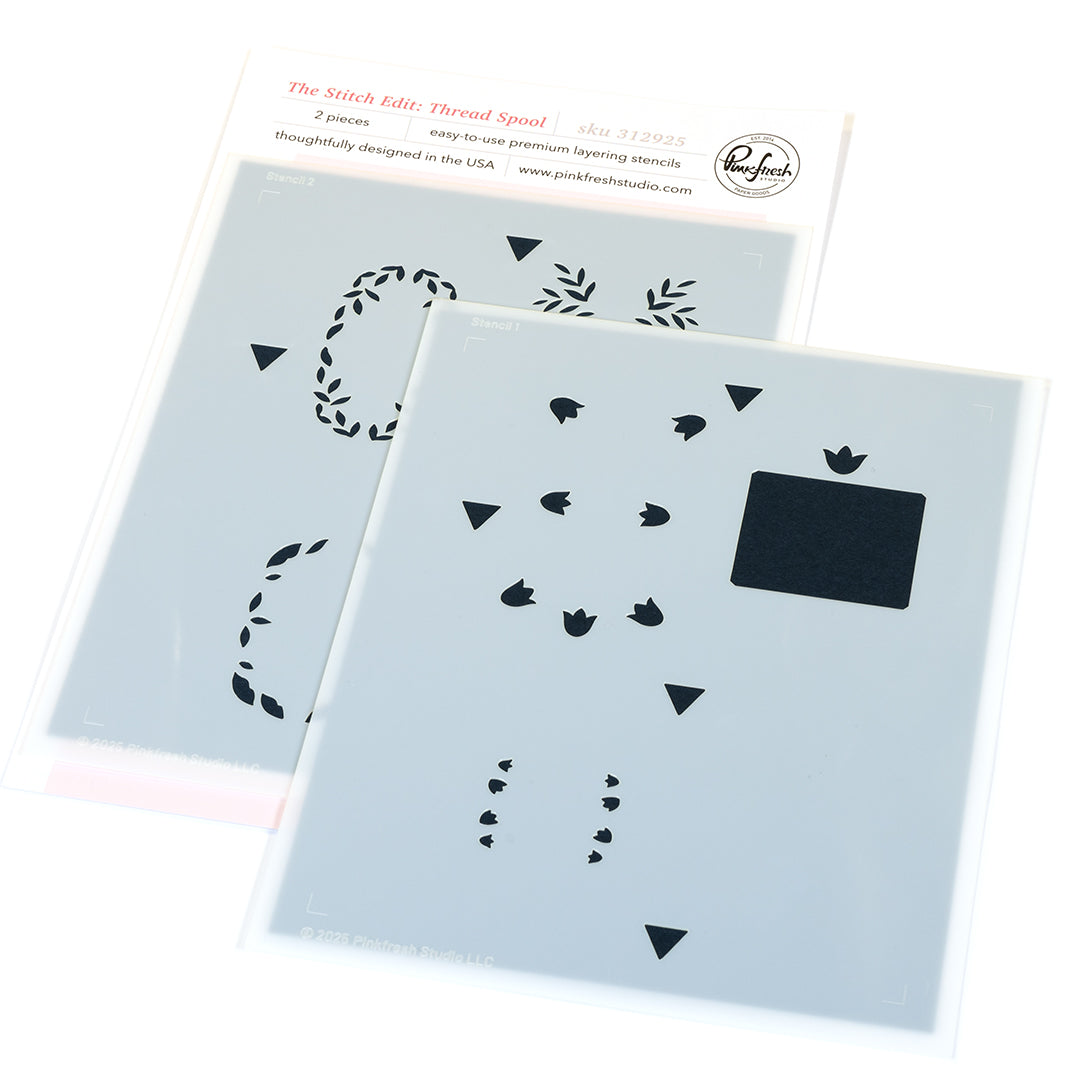
- Stencil the Makers Essentials images using the coordinating stencils:
- Stencil 1: Sparkling Rose
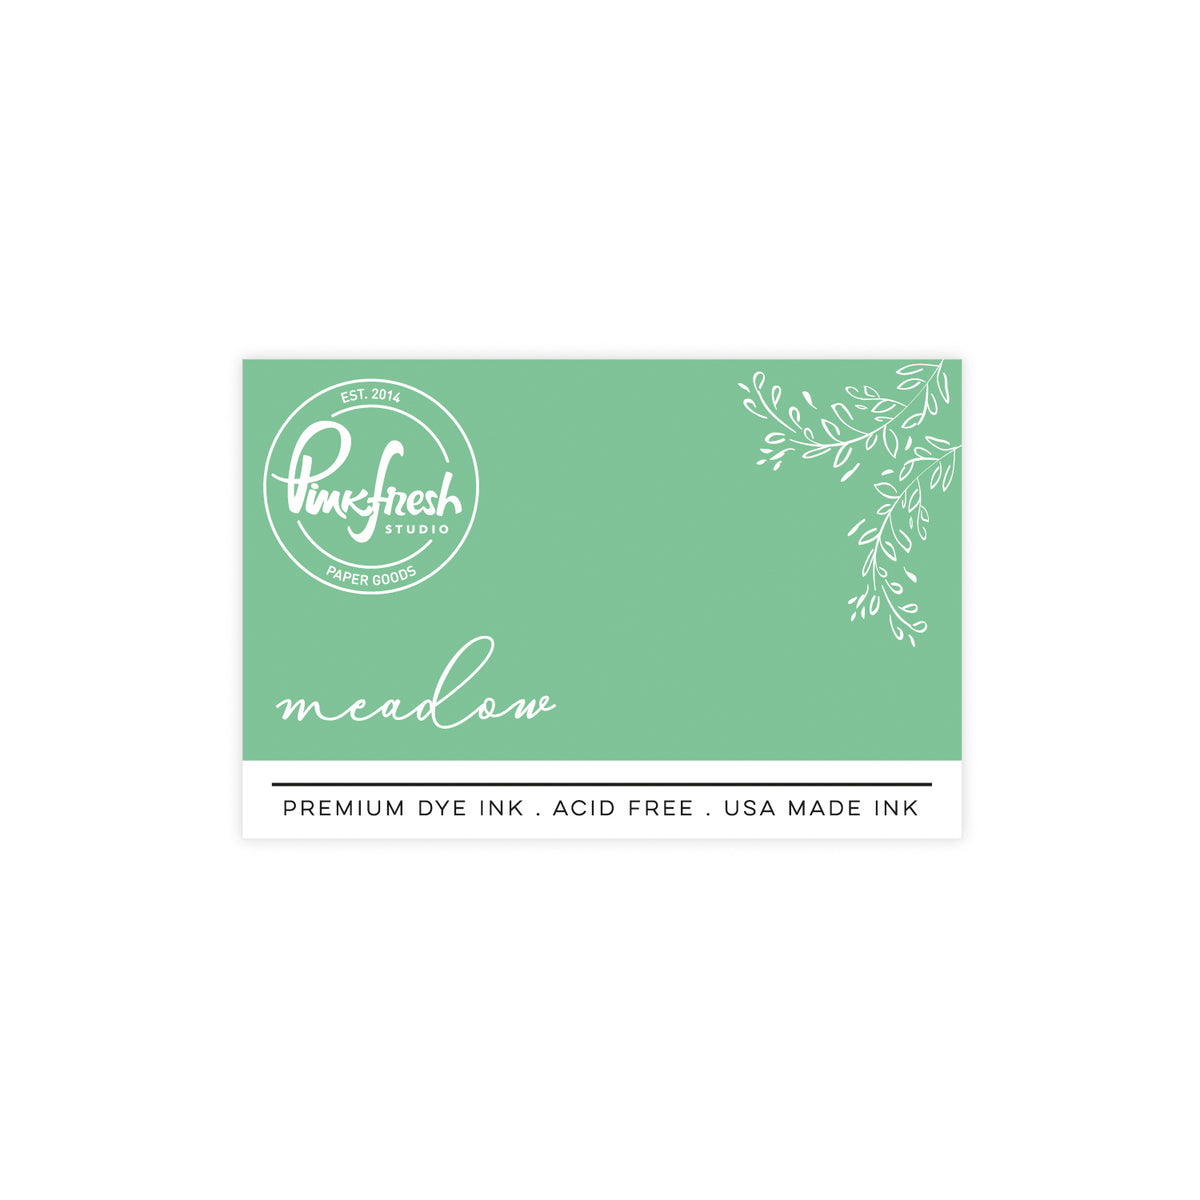
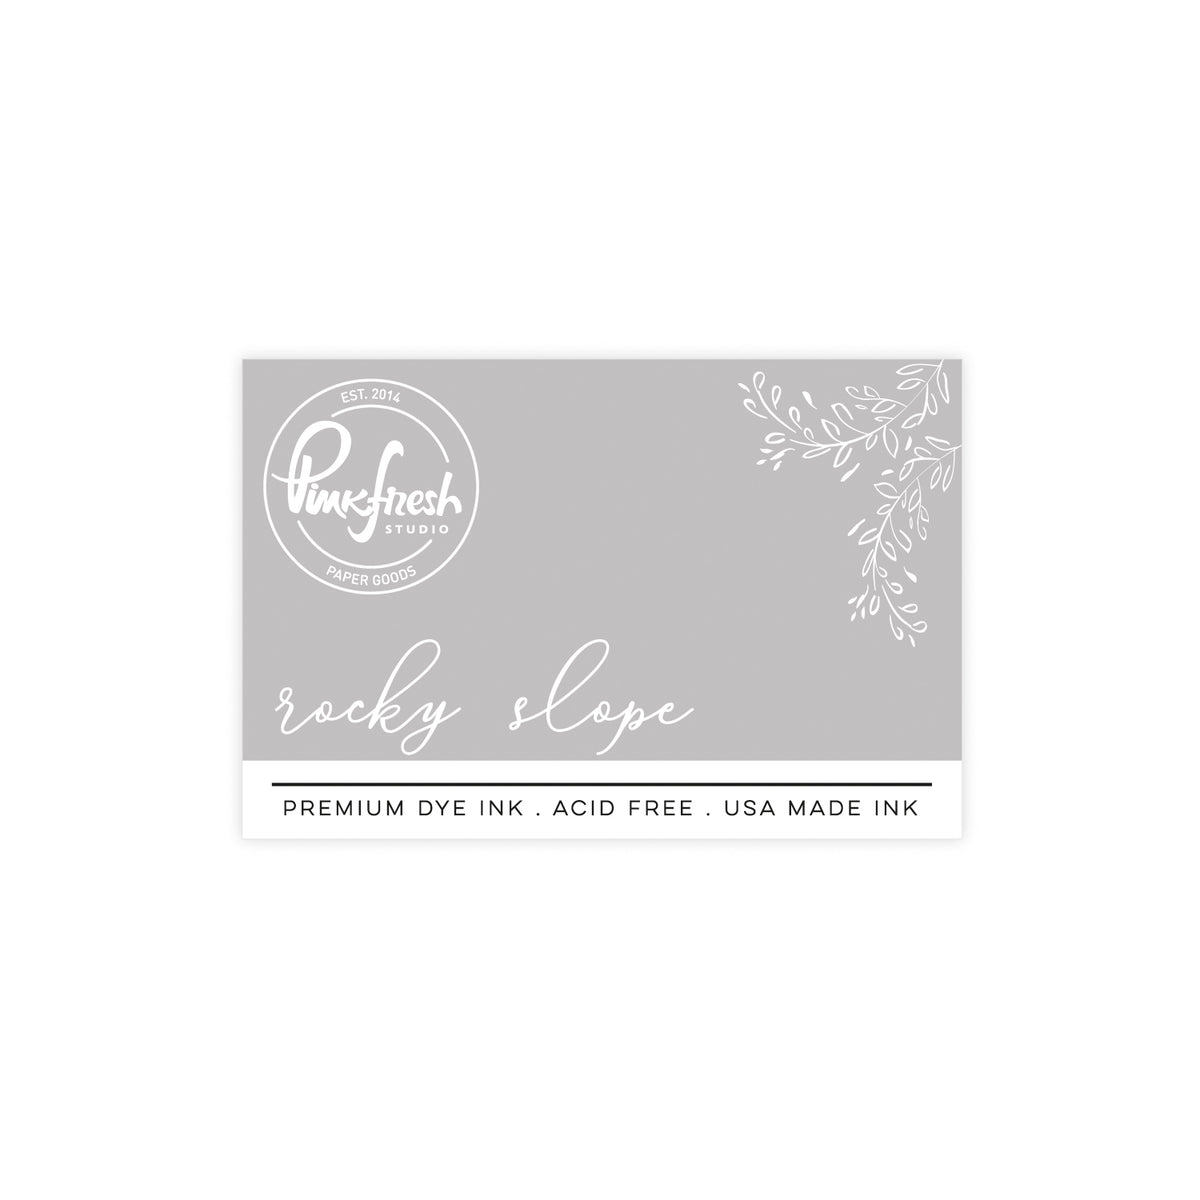
- Stencil 2: Metallic elements – Misty Coast, Rocky Slope; leaves – Fresh Pear, Meadow
- Stencil 3: Sparkling Rose, Raspberry Bliss
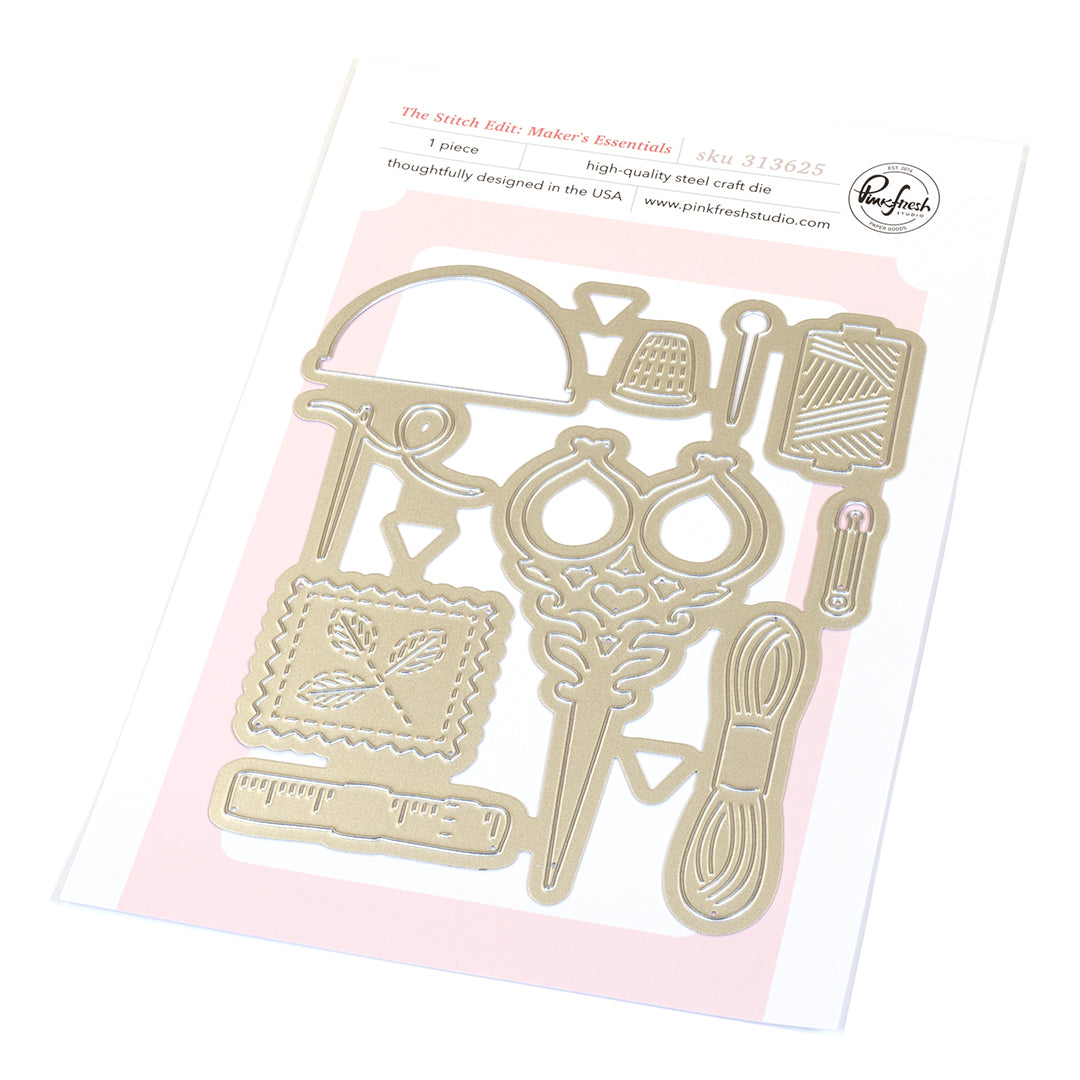
- Die cut the images.
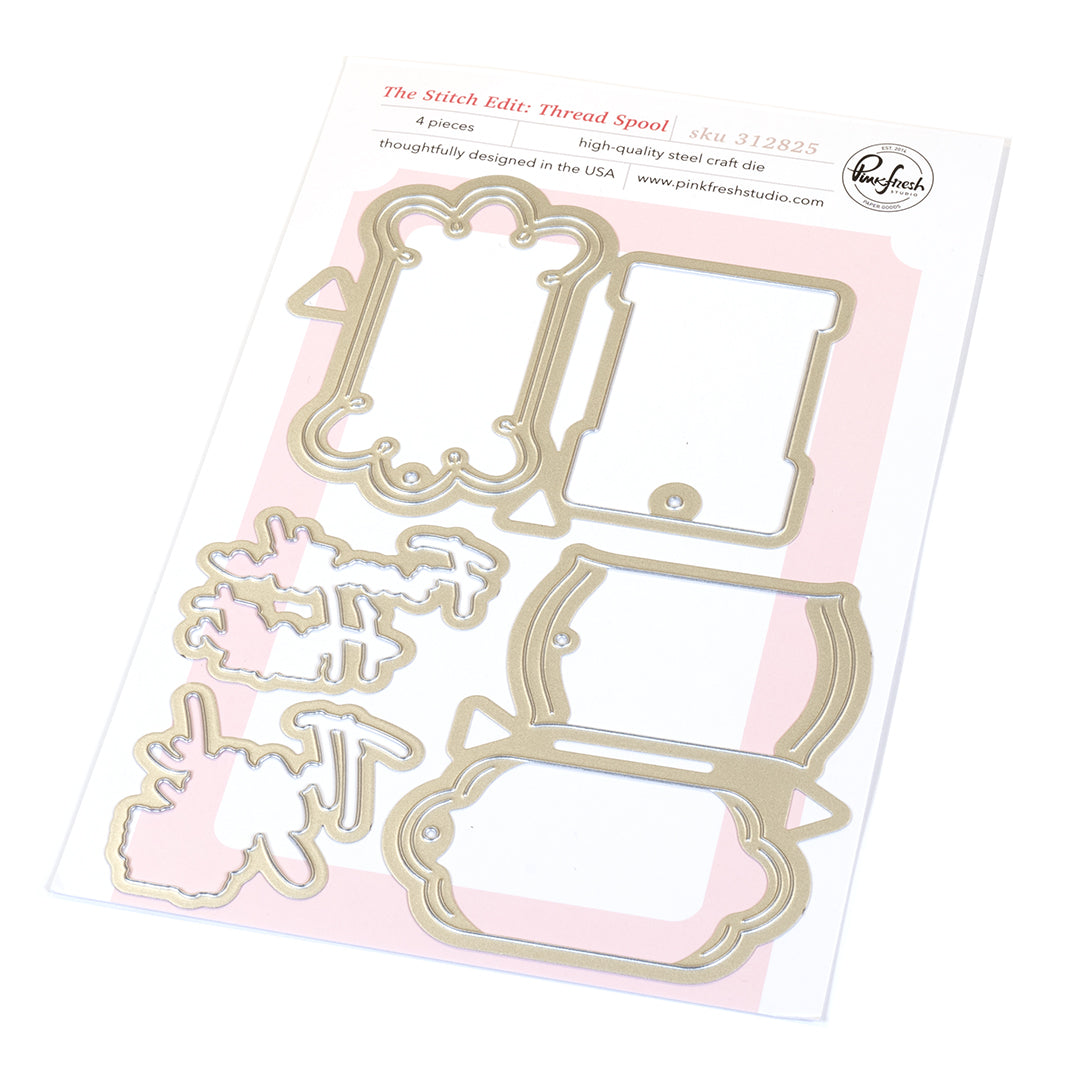
- Die cut the rectangular thread spool from white cardstock.
- Use the coordinating stencil to add color and pattern:
- Stencil 1: Sparkling Rose, Raspberry Bliss
- Stencil 2: Fresh Pear, Meadow
- Stack each larger stenciled element with one blank die-cut layer and adhere to the postage squares using foam tape.
- Add a piece of baker’s twine through the hole of the thread spool and allow the tails to hang off the edge of the card.
- Adhere the thread spool using thick foam tape for added dimension.
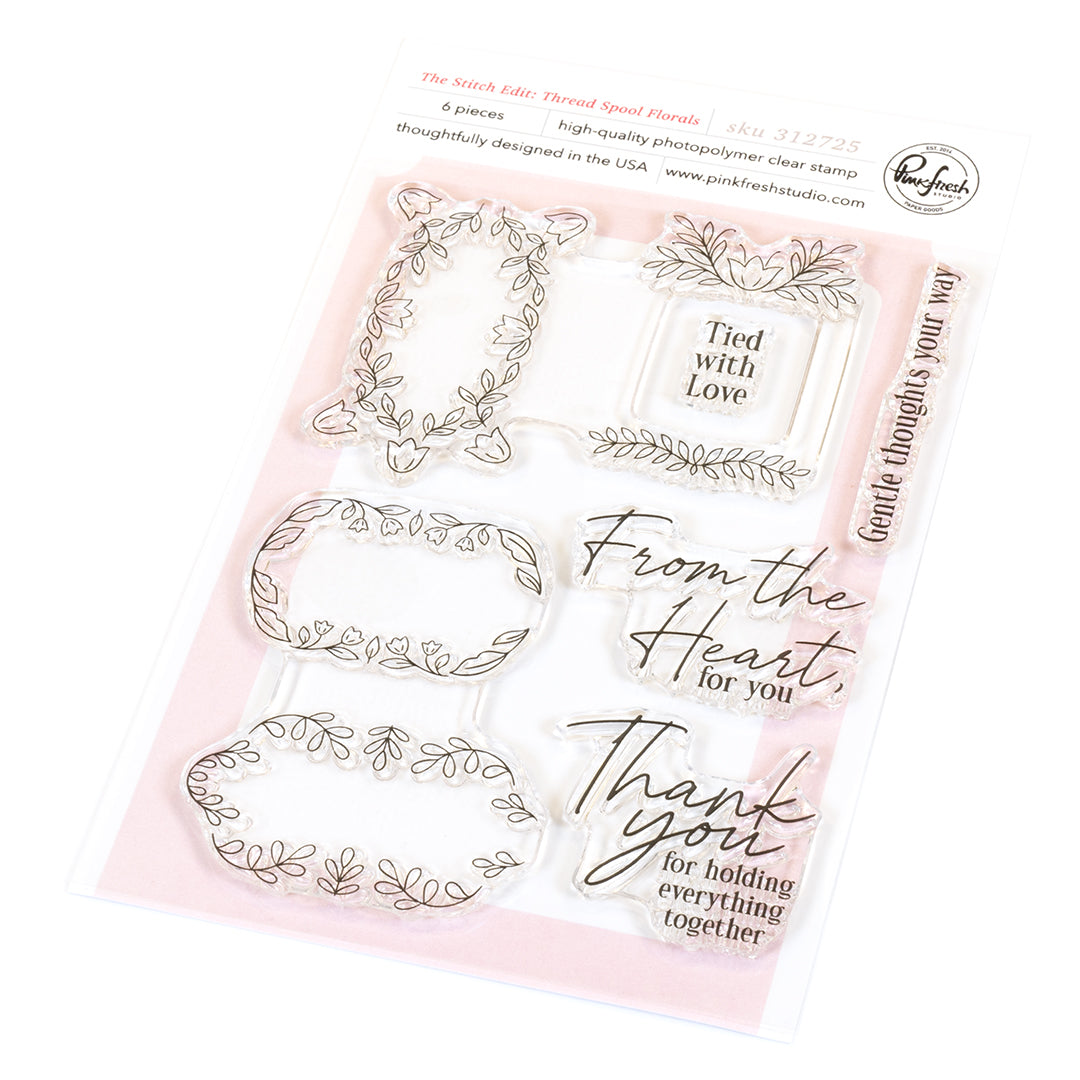
- Stamp the sentiment with Versamark ink and heat-emboss with silver embossing powder.
- Die cut the sentiment and stack it with two blank die cuts.
- Adhere the sentiment to the thread spool using liquid glue.


I love how this design brings together a homespun, handmade feel while keeping the overall look clean and modern. The quilt-style postage grid provides a beautiful foundation for the sewing elements, and the simple palette of pink, green, and gray keeps everything cohesive and easy on the eye. Layering the die cuts with foam tape adds just the right amount of dimension.
This project is a great reminder that you don’t need a large color palette to make a big impact. By repeating a few colors and mixing texture, layering, and dimension, you can create a design that feels thoughtful, polished, and full of personality.
I hope this card inspires you to explore the creative possibilities in The Stitch Edit product suites and to try building your own quilt-inspired cards.
Happy crafting! ✂️🧵
Recommended Products

























1 comment
Mariette
Leave a comment
All comments are moderated before being published.
This site is protected by hCaptcha and the hCaptcha Privacy Policy and Terms of Service apply.