
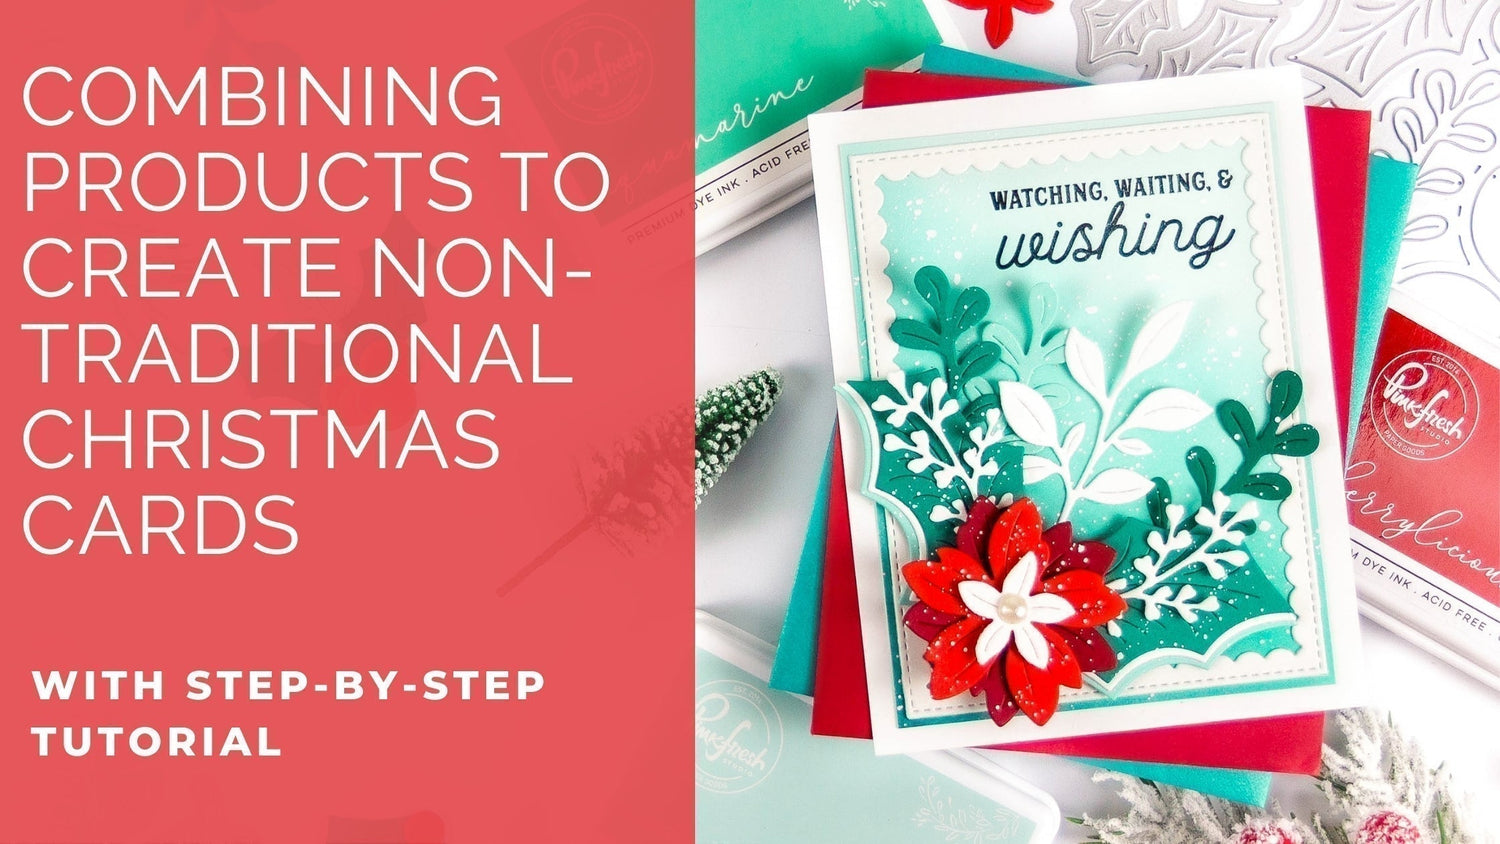
Hello everyone! It may seem like a simple concept, but did you know that you don't necessarily need solely Christmas-themed products to create Christmas-themed cards?
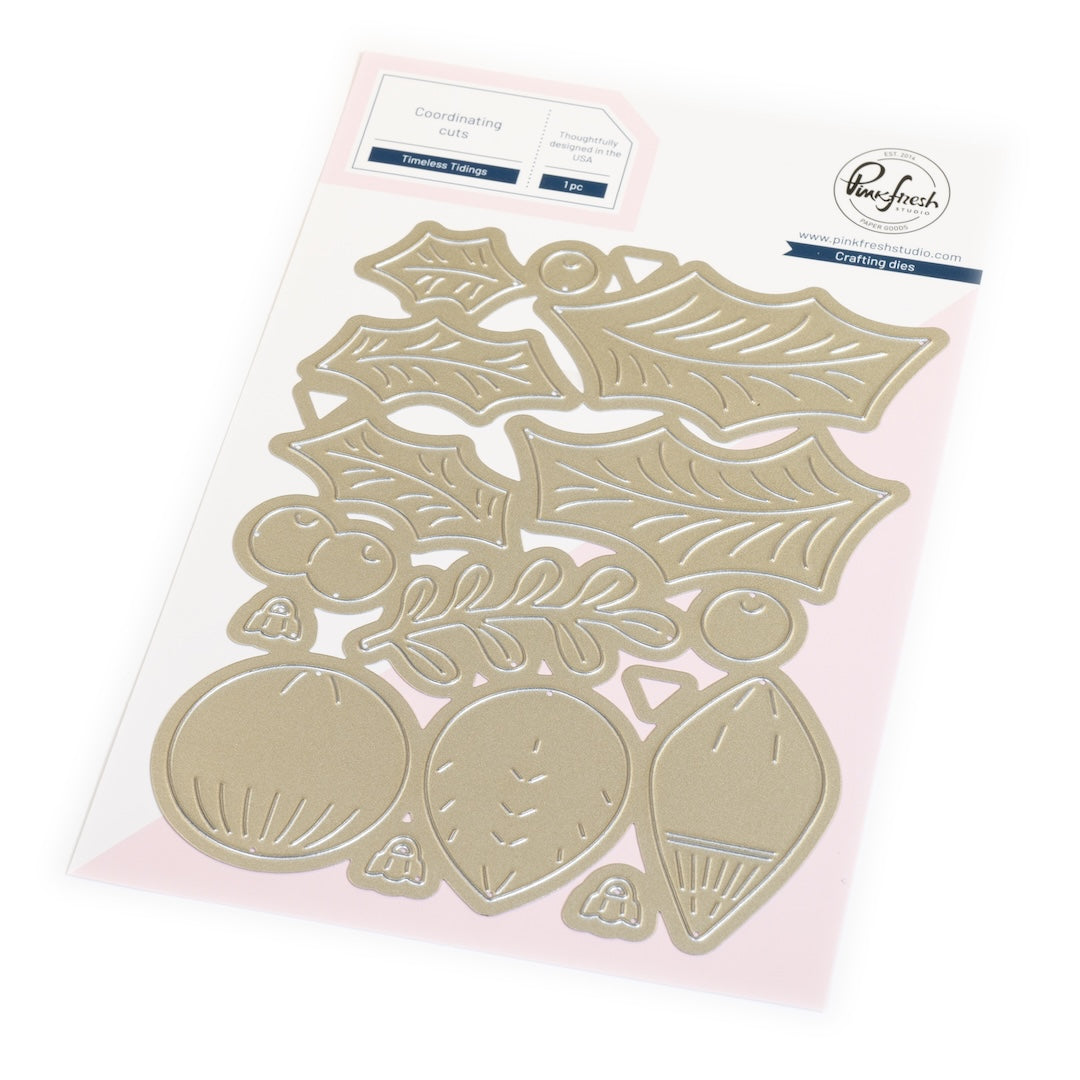
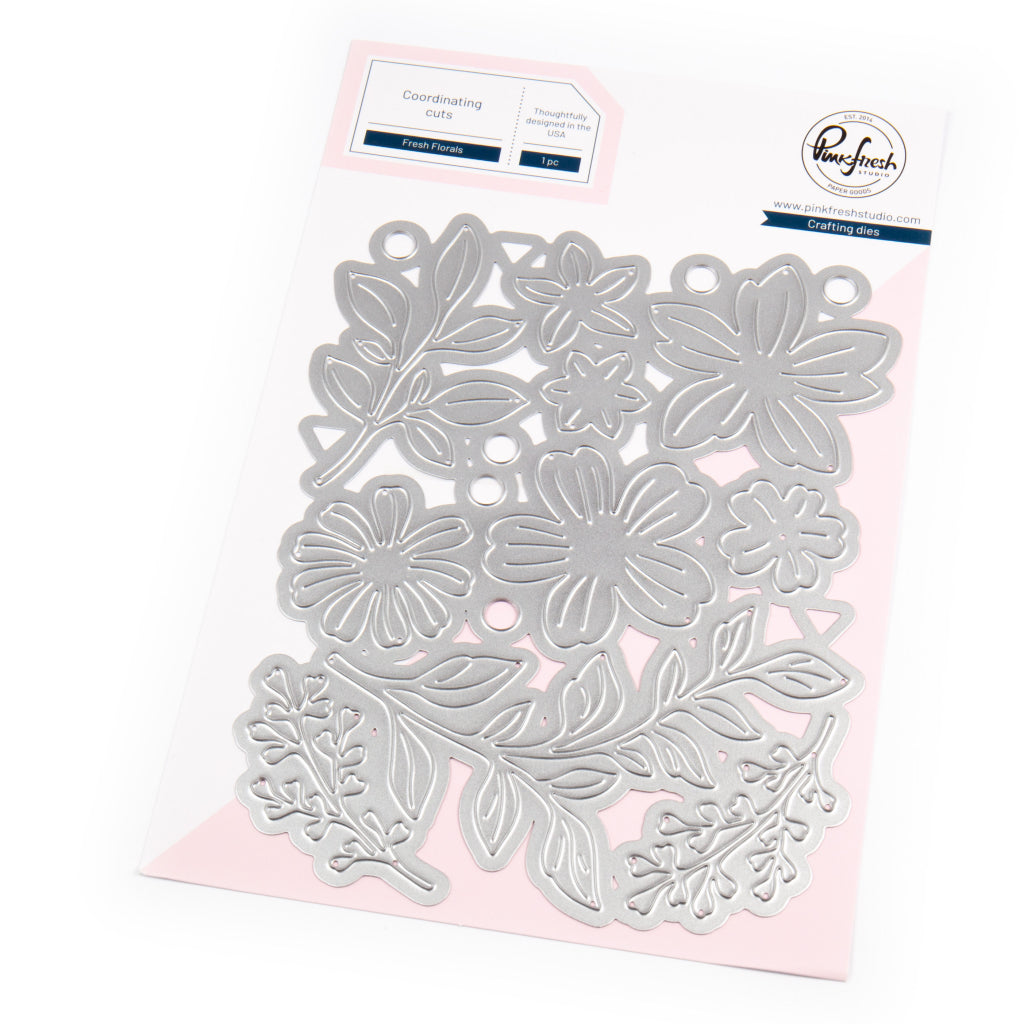
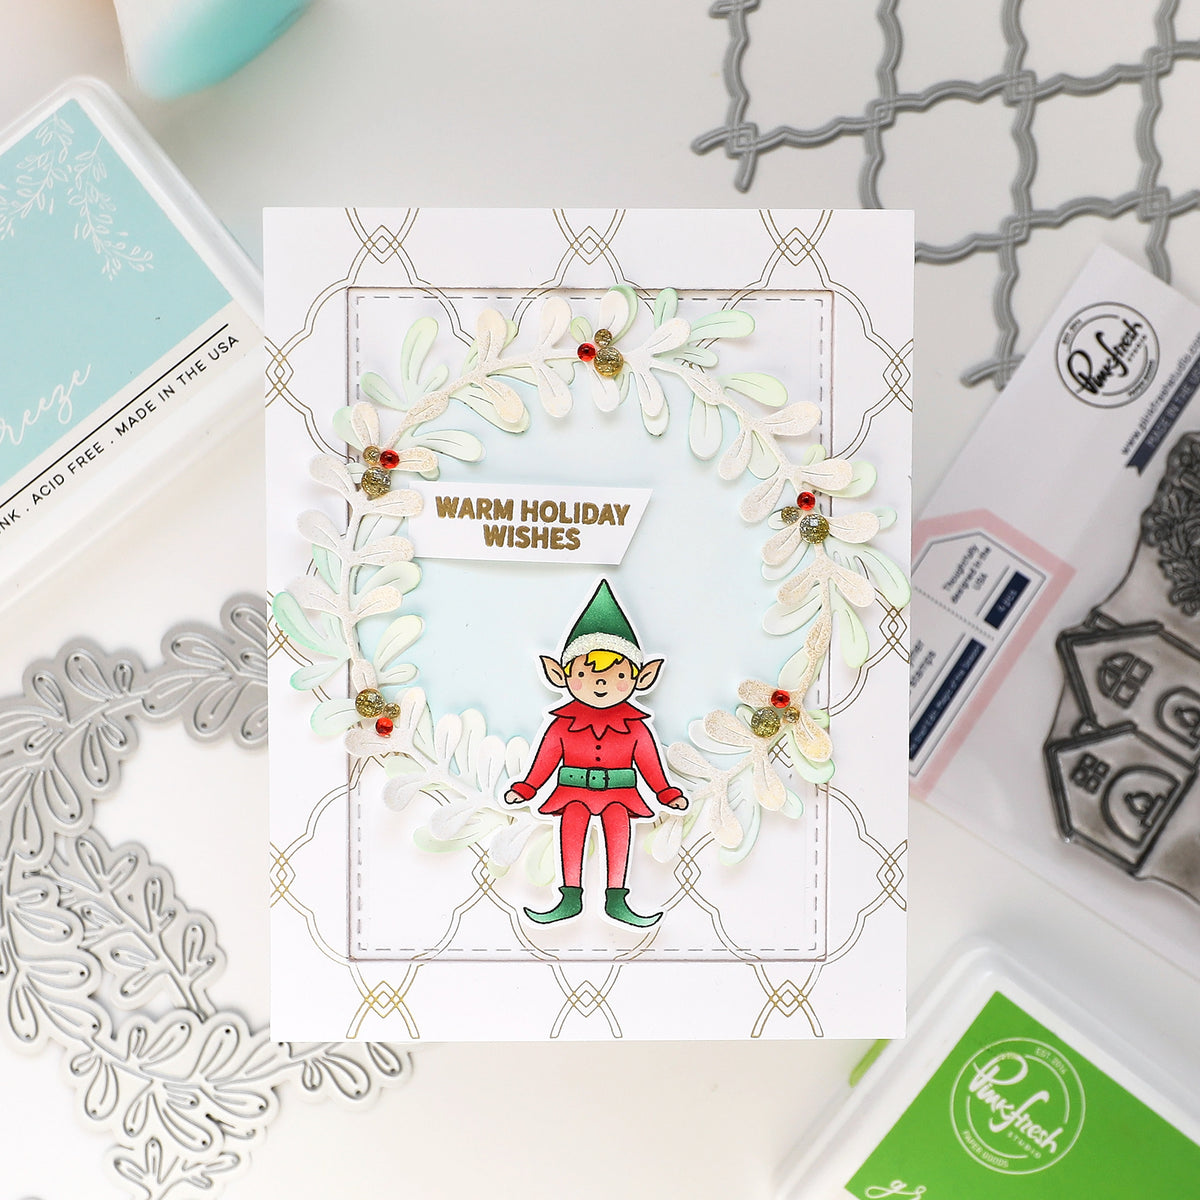
It's Rachel here with a non-traditional Christmas-themed card combining a previously released floral and foliage die that I combined with the newly released Timeless Tidings Die Set.
One of my favorite color combos for Christmas is teal, white, and red. I feel like they complement each other so well, so I used this color scheme to create my card today.
*Disclaimer: All products used are linked below as clickable images. If a product isn’t listed, it’s been discontinued

How to recreate this card:
1. Trim a piece of white card stock to 4.25" x 11" and score along the long side at 5.5" to create your top-folding A2 sized card base.
2. Trim a piece of light green/teal card stock to 3.75" x 5" and lightly blend it with some Aquamarine and Ocean Breeze Inks. Start with your darker color at the bottom left hand corner of the card stock and work your way toward the top right corner with your lighter ink. Stop before you reach the top right corner so that you have a nice diagonal color-fade of dark to light.
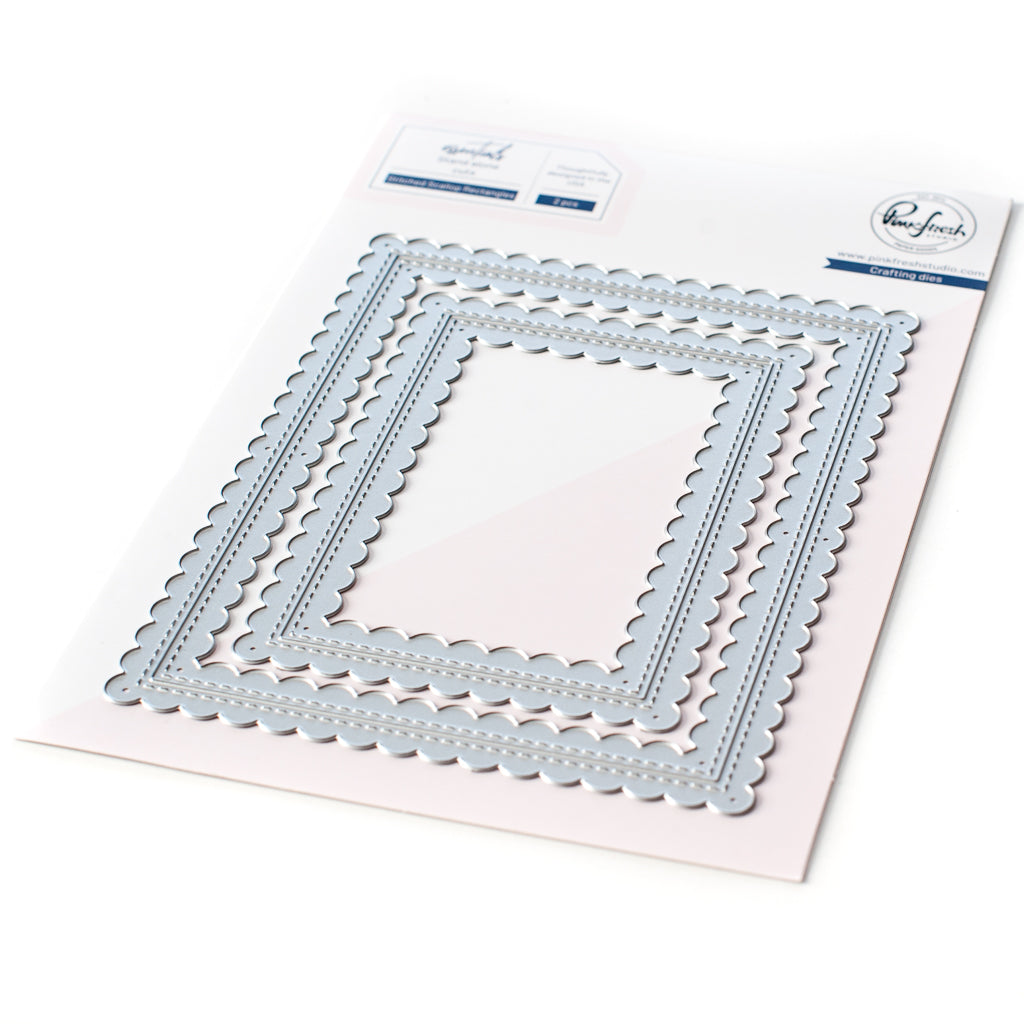
3. Use the larger of the two Stitched Scallop Rectangle Dies to die cut a white stitched scalloped rectangle. Use the inner rectangle piece and adhere it to your ink-blended piece with liquid adhesive.
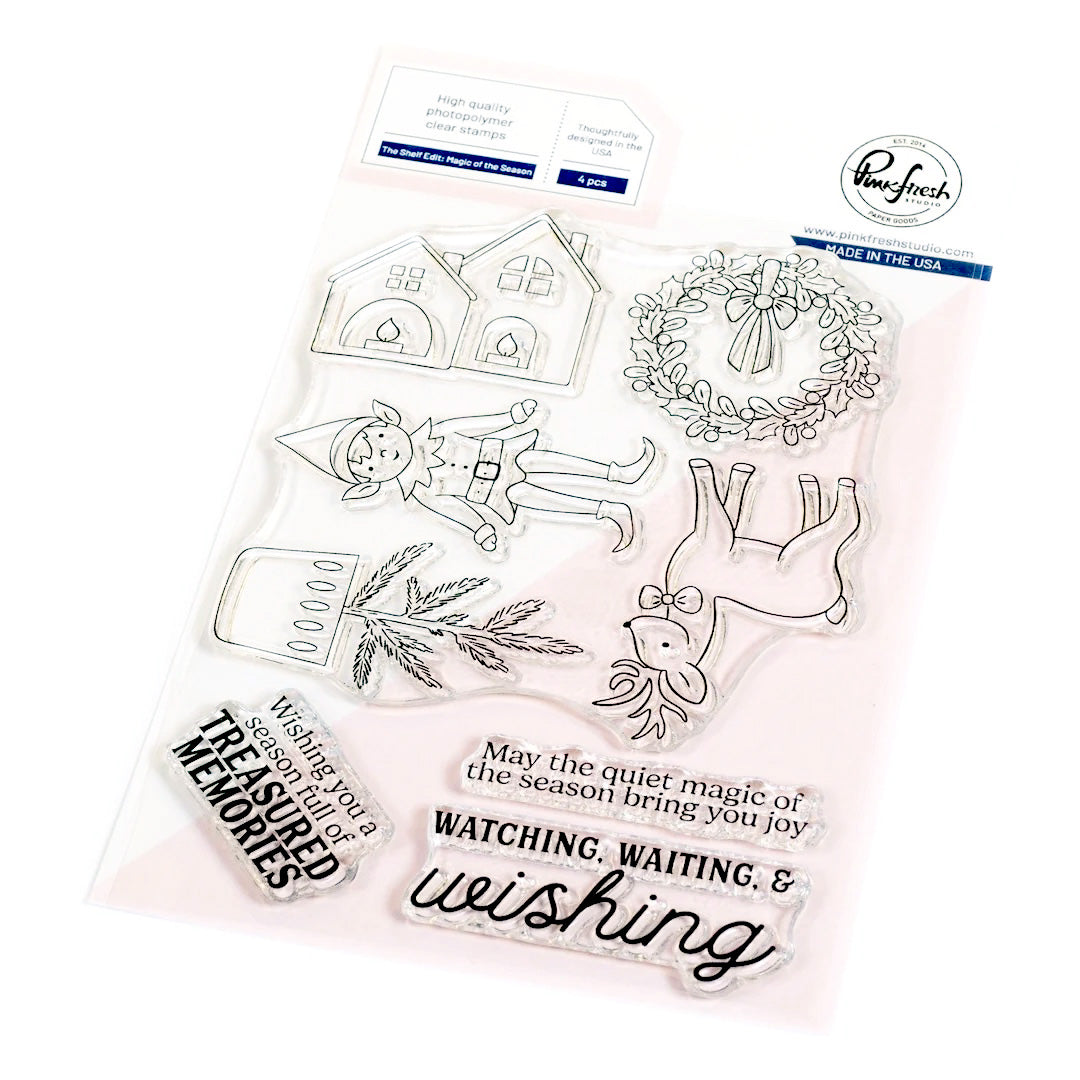
4. Stamp your sentiment from the The Shelf Edit: Magic of the Season Stamp with Fine Detail Black Ink onto the top right corner of your card, inside of the frame. Adhere this piece to your top-folding card base.
5. Use both the Timeless Tidings and Fresh Florals Dies to die cut some light teal, dark teal, light red, dark red, and white card stock pieces. (I layered my holly leaves with dark teal, light teal, and white card stock to give them more interest.)
6. Assemble your large flower using some 3D foam adhesive tape in between the floral layers to add a pop of dimension.
7. Add your holly leaves to your card base first with some more 3D foam adhesive tape. Next, add your flower and then use liquid adhesive to glue the foliage beneath it.
TIP: Add glue only to the bottom parts of your foliage pieces to allow the tops of the pieces to flow freely.
8. (This step is optional.) Mask the area that you stamped your sentiment with a piece of low-tack tape and then add some light spatters of diluted opaque white paint (I used Copic Opaque White Paint) to resemble a dusting of snow.
9. Add a half pearl or Pearl Nuvo Drops as an accent to the center of your flower if desired.

I hope you enjoyed my card today and will be inspired to make one of your own!
I would love to see what you create! Make sure to tag us on Instagram with your personal creations using these products!
Please feel free to leave a comment below as well as any questions you may have.
- Rachel
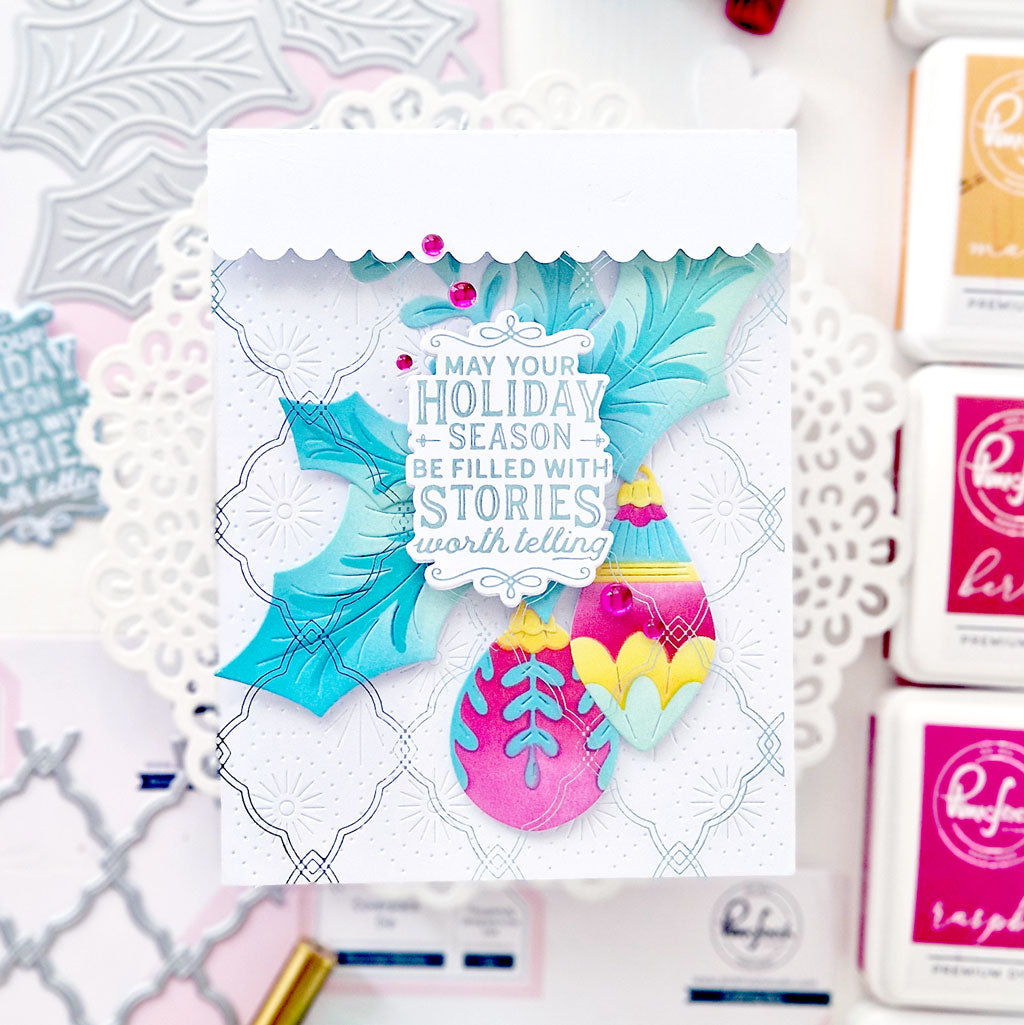
Recommended Products
















1 comment
Annette Gordon
Leave a comment
All comments are moderated before being published.
This site is protected by hCaptcha and the hCaptcha Privacy Policy and Terms of Service apply.