
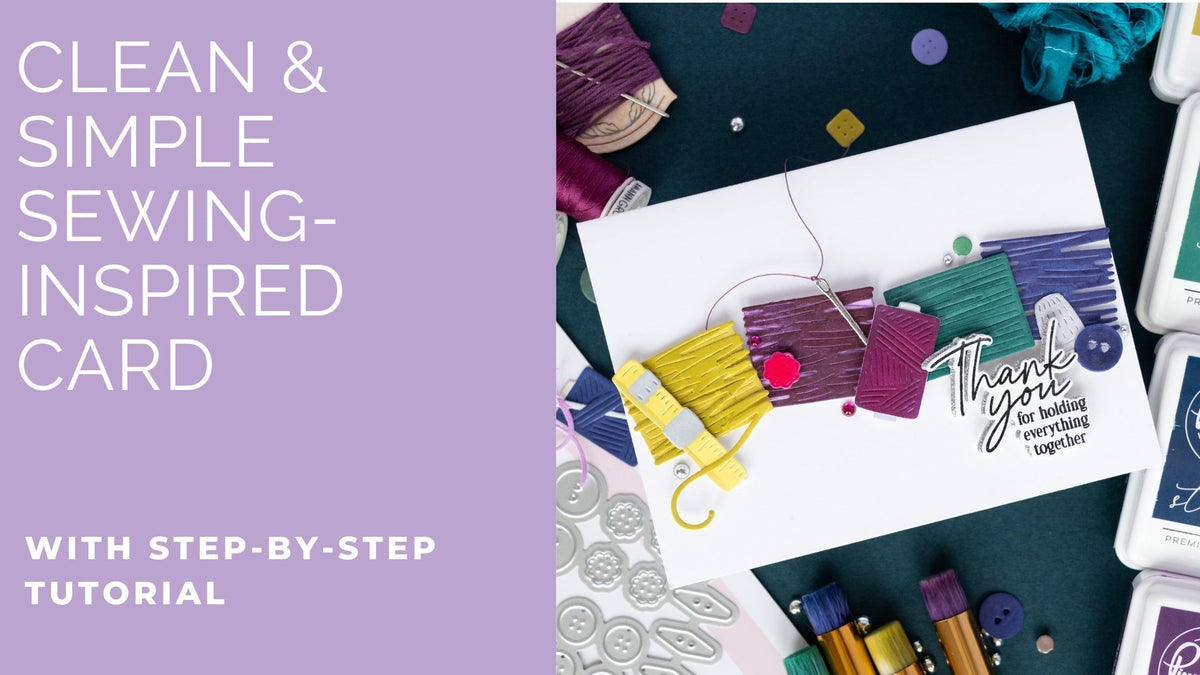
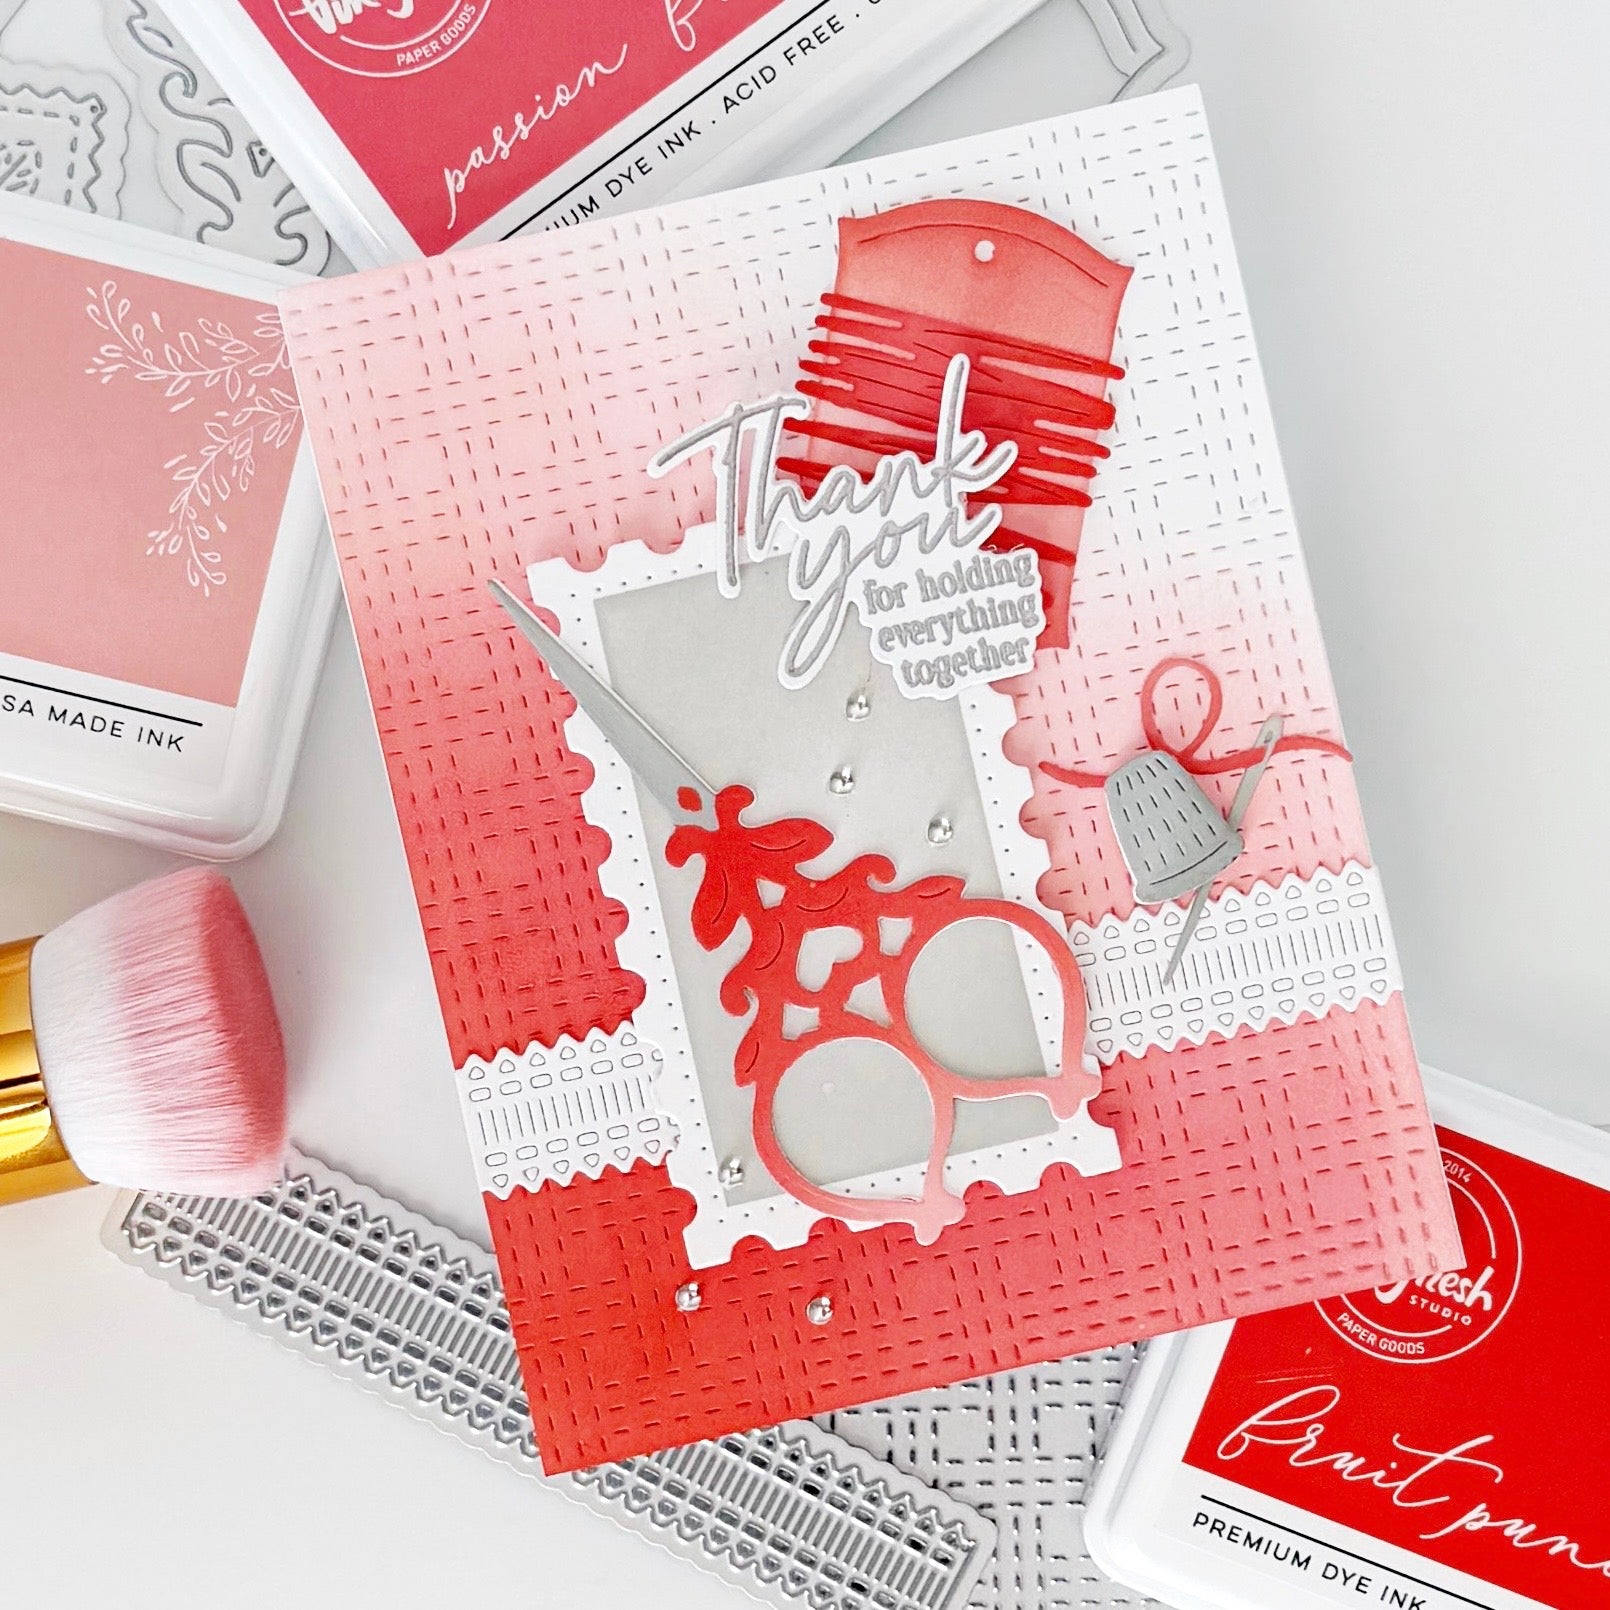
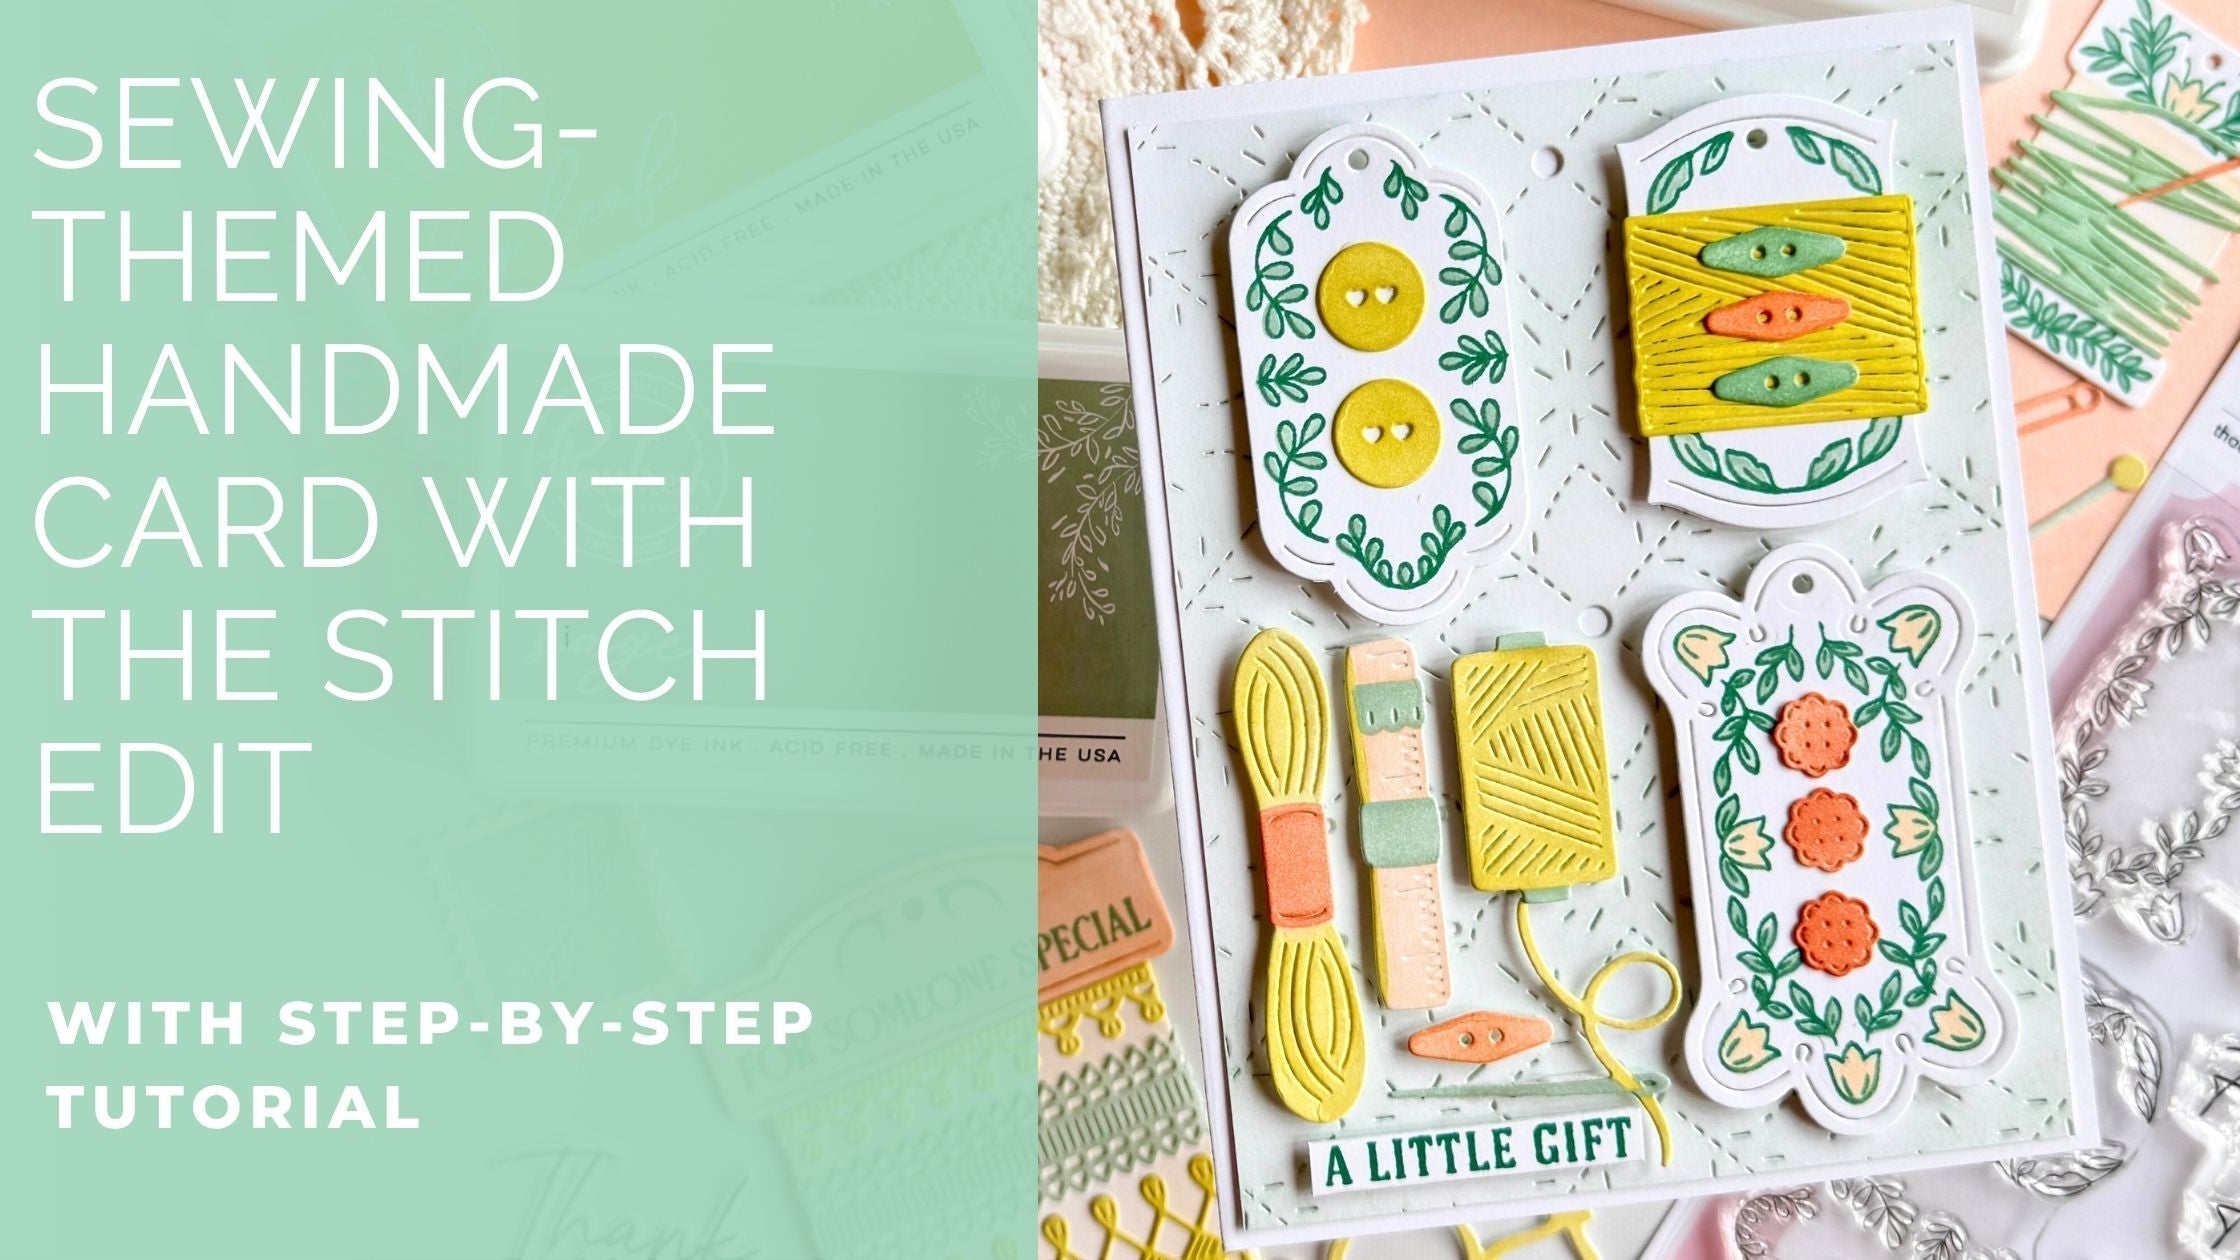
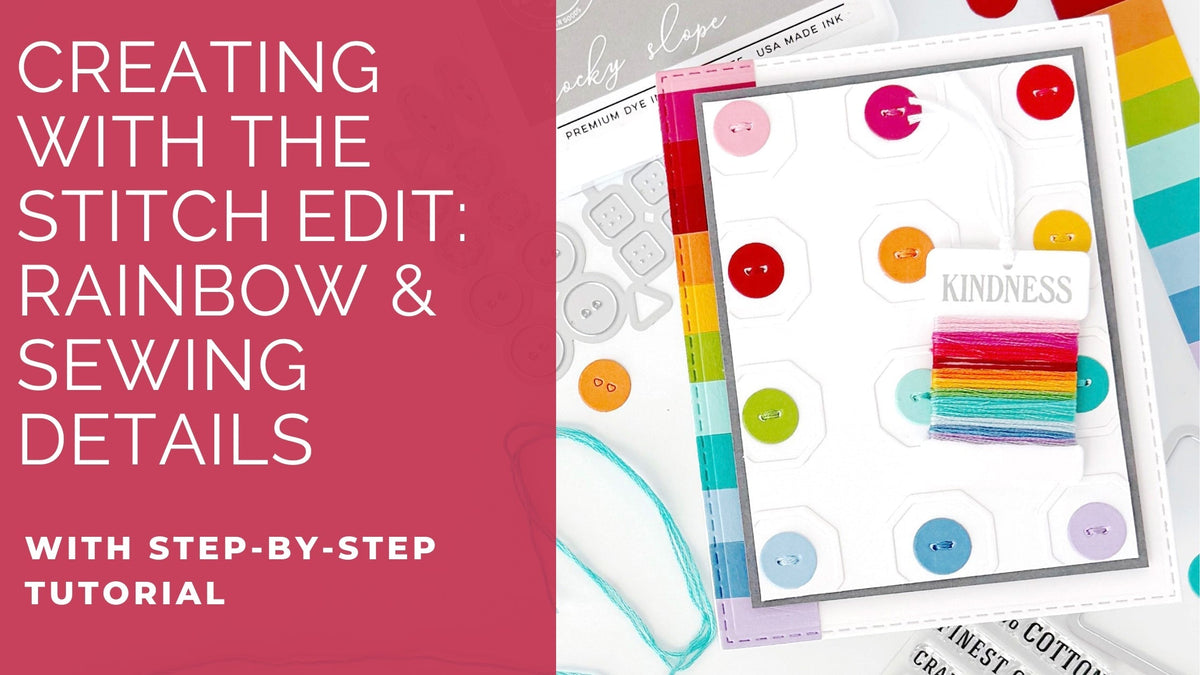
Happy Wednesday, Pinkfresh Studio fans! It's Kathleen here again and today I wanted to show you how you can step up a relatively simple card design by adding playful little details that can take a card from good to great.
*Disclaimer: All products used are linked below as clickable images. If a product isn’t listed, it’s been discontinued.


Let's see how I created this card:
- Card Base: Cut and fold an A2 side-folding card base from white cardstock.
-
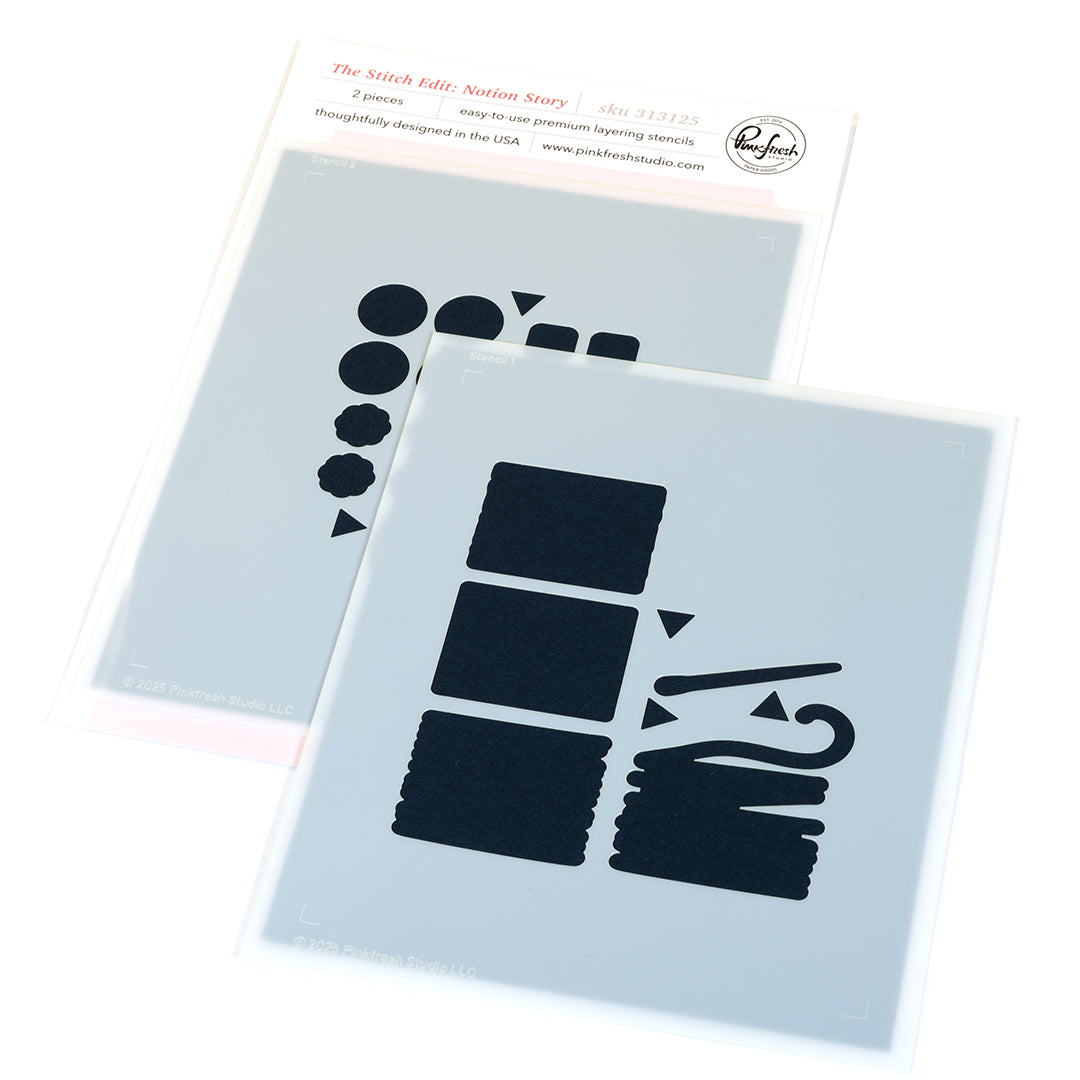
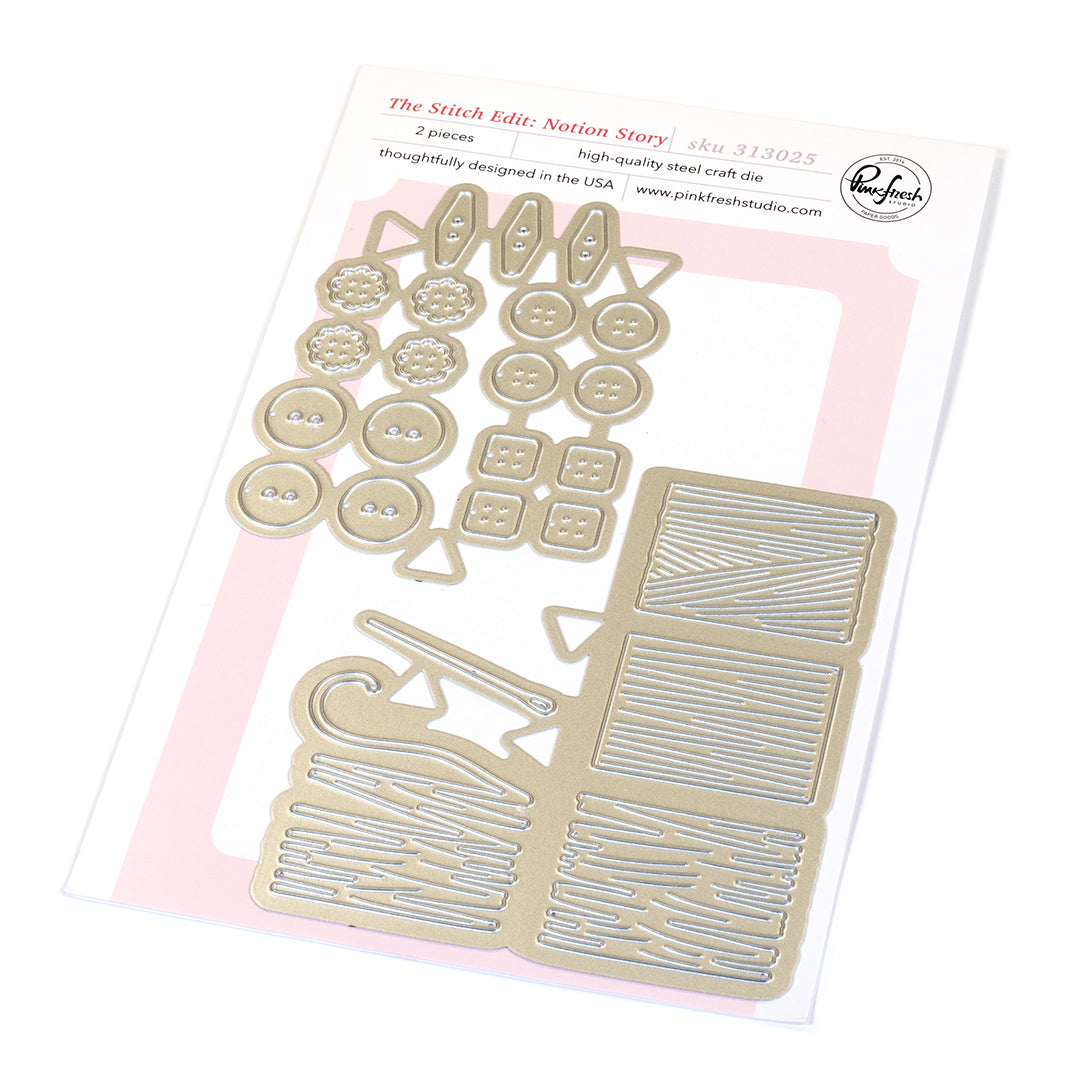
The Stitch Edit - Notion Story:
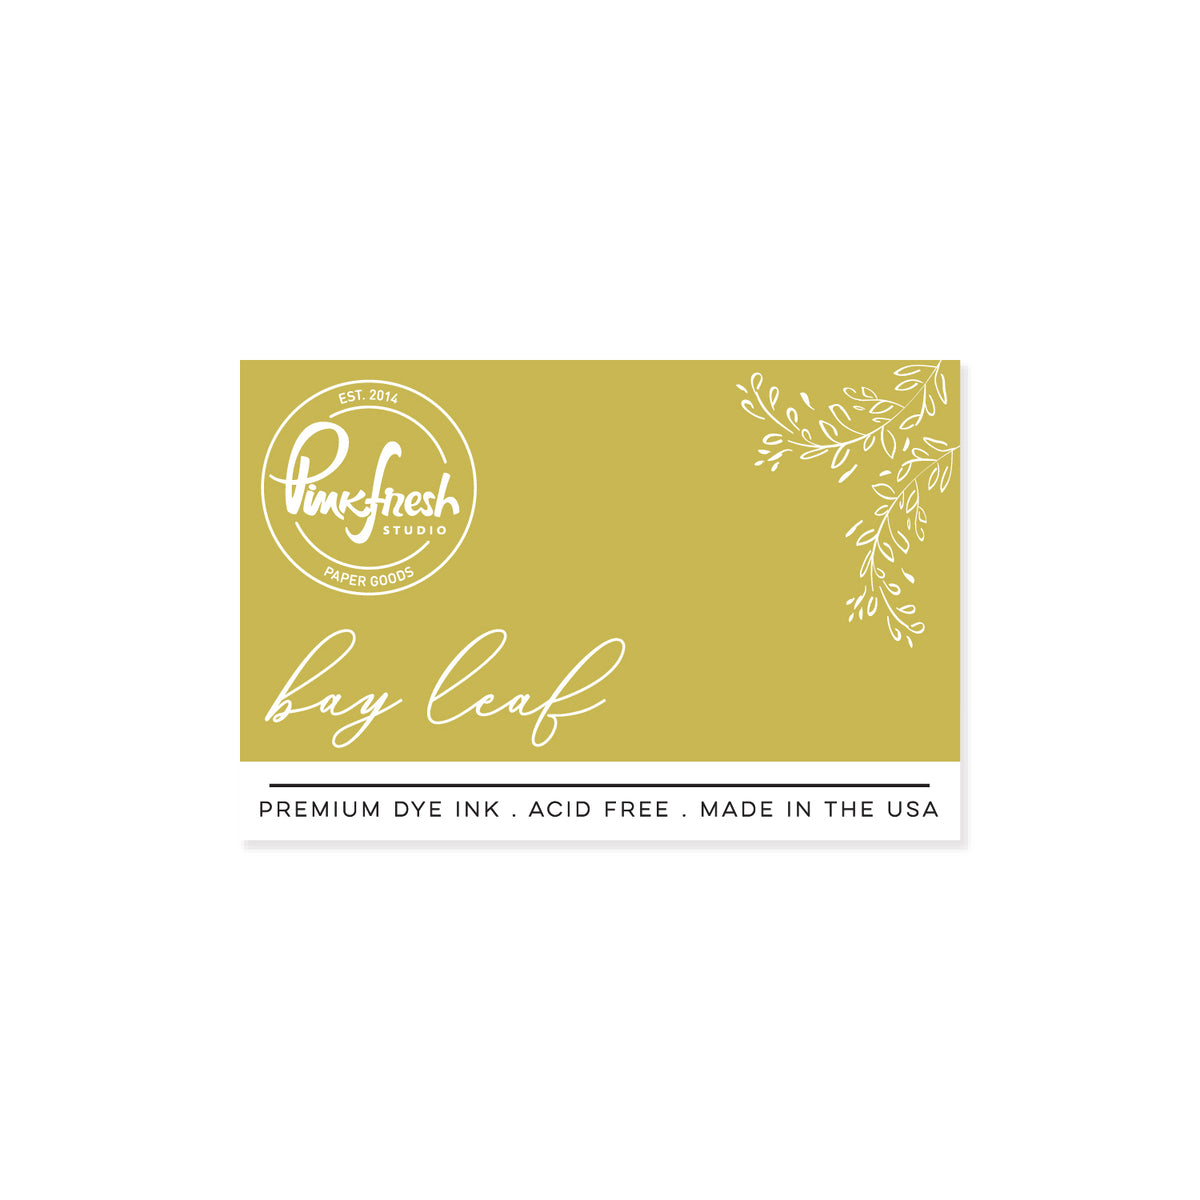
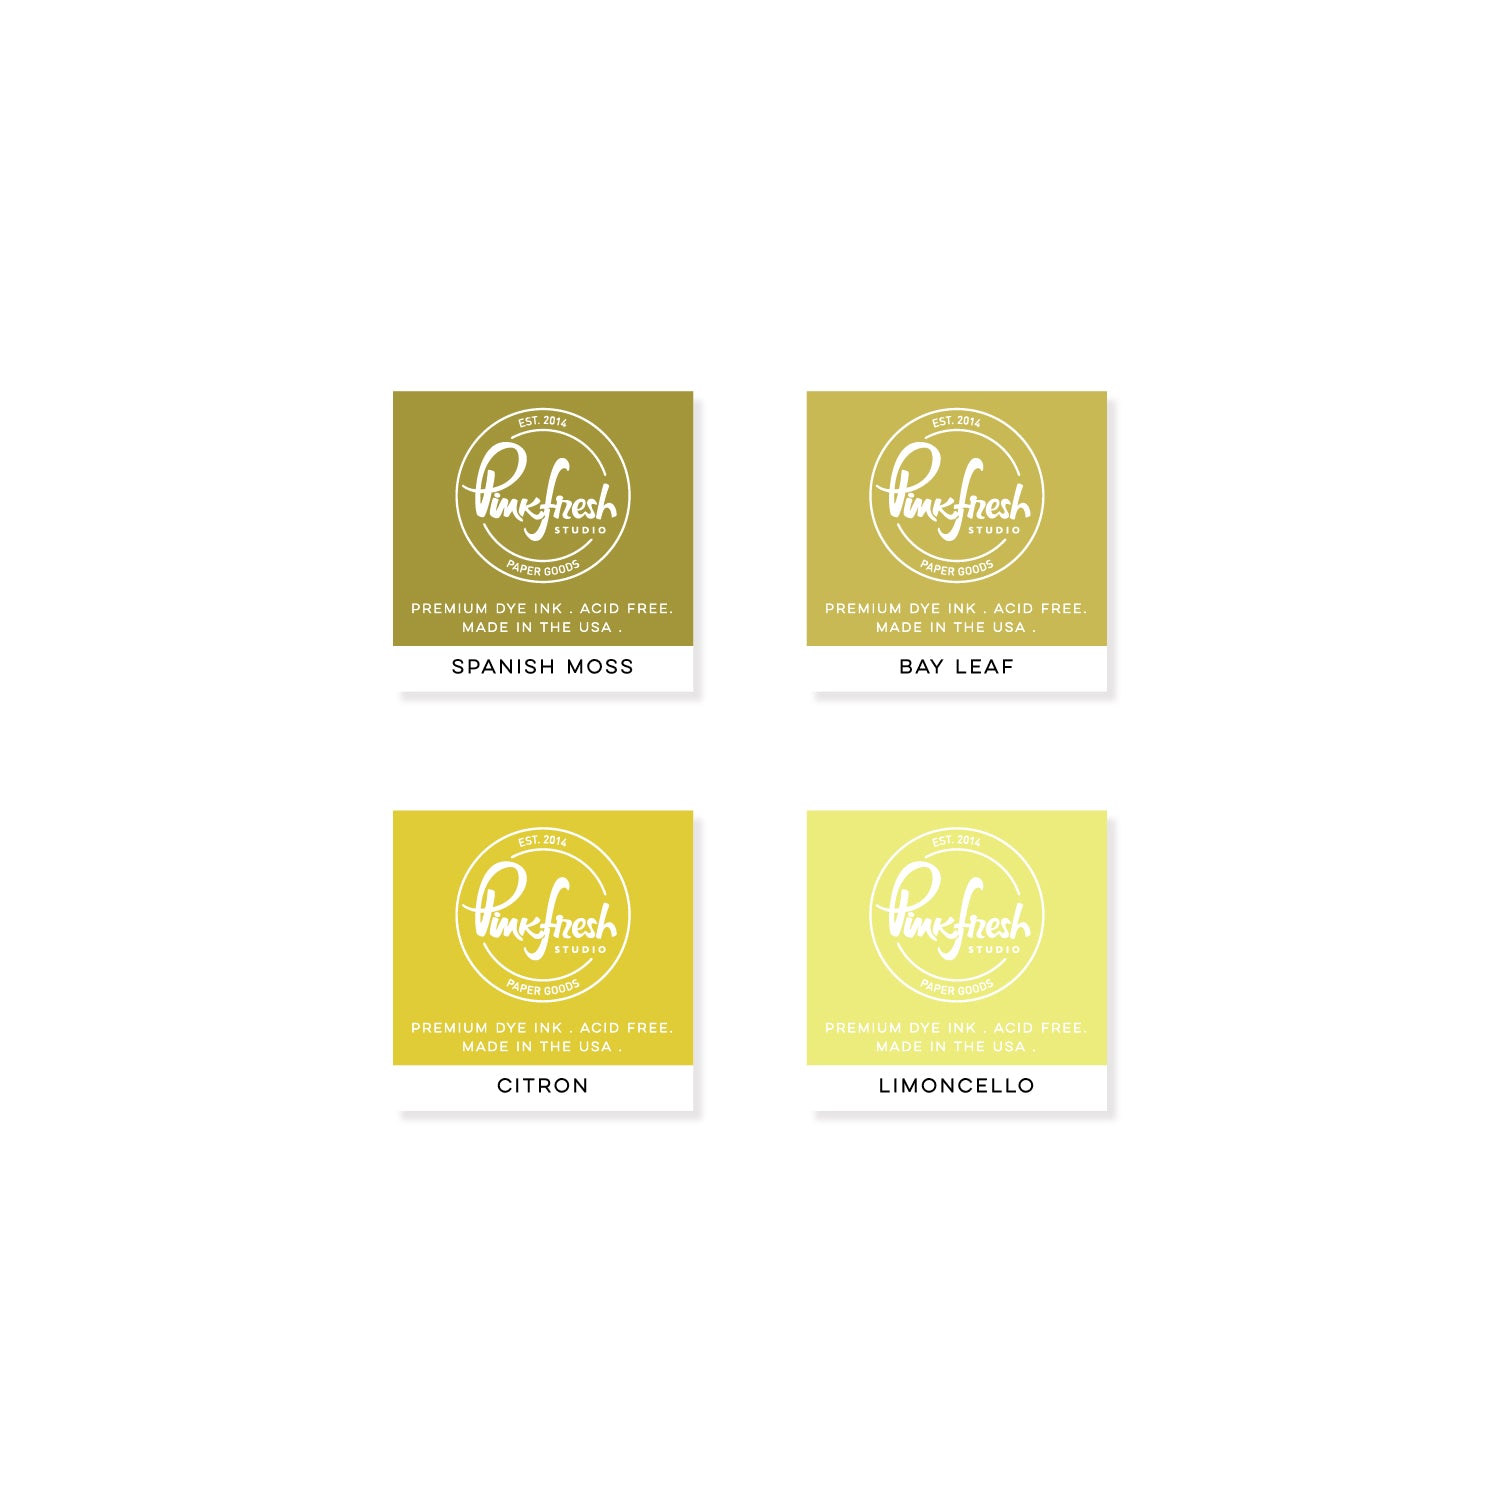
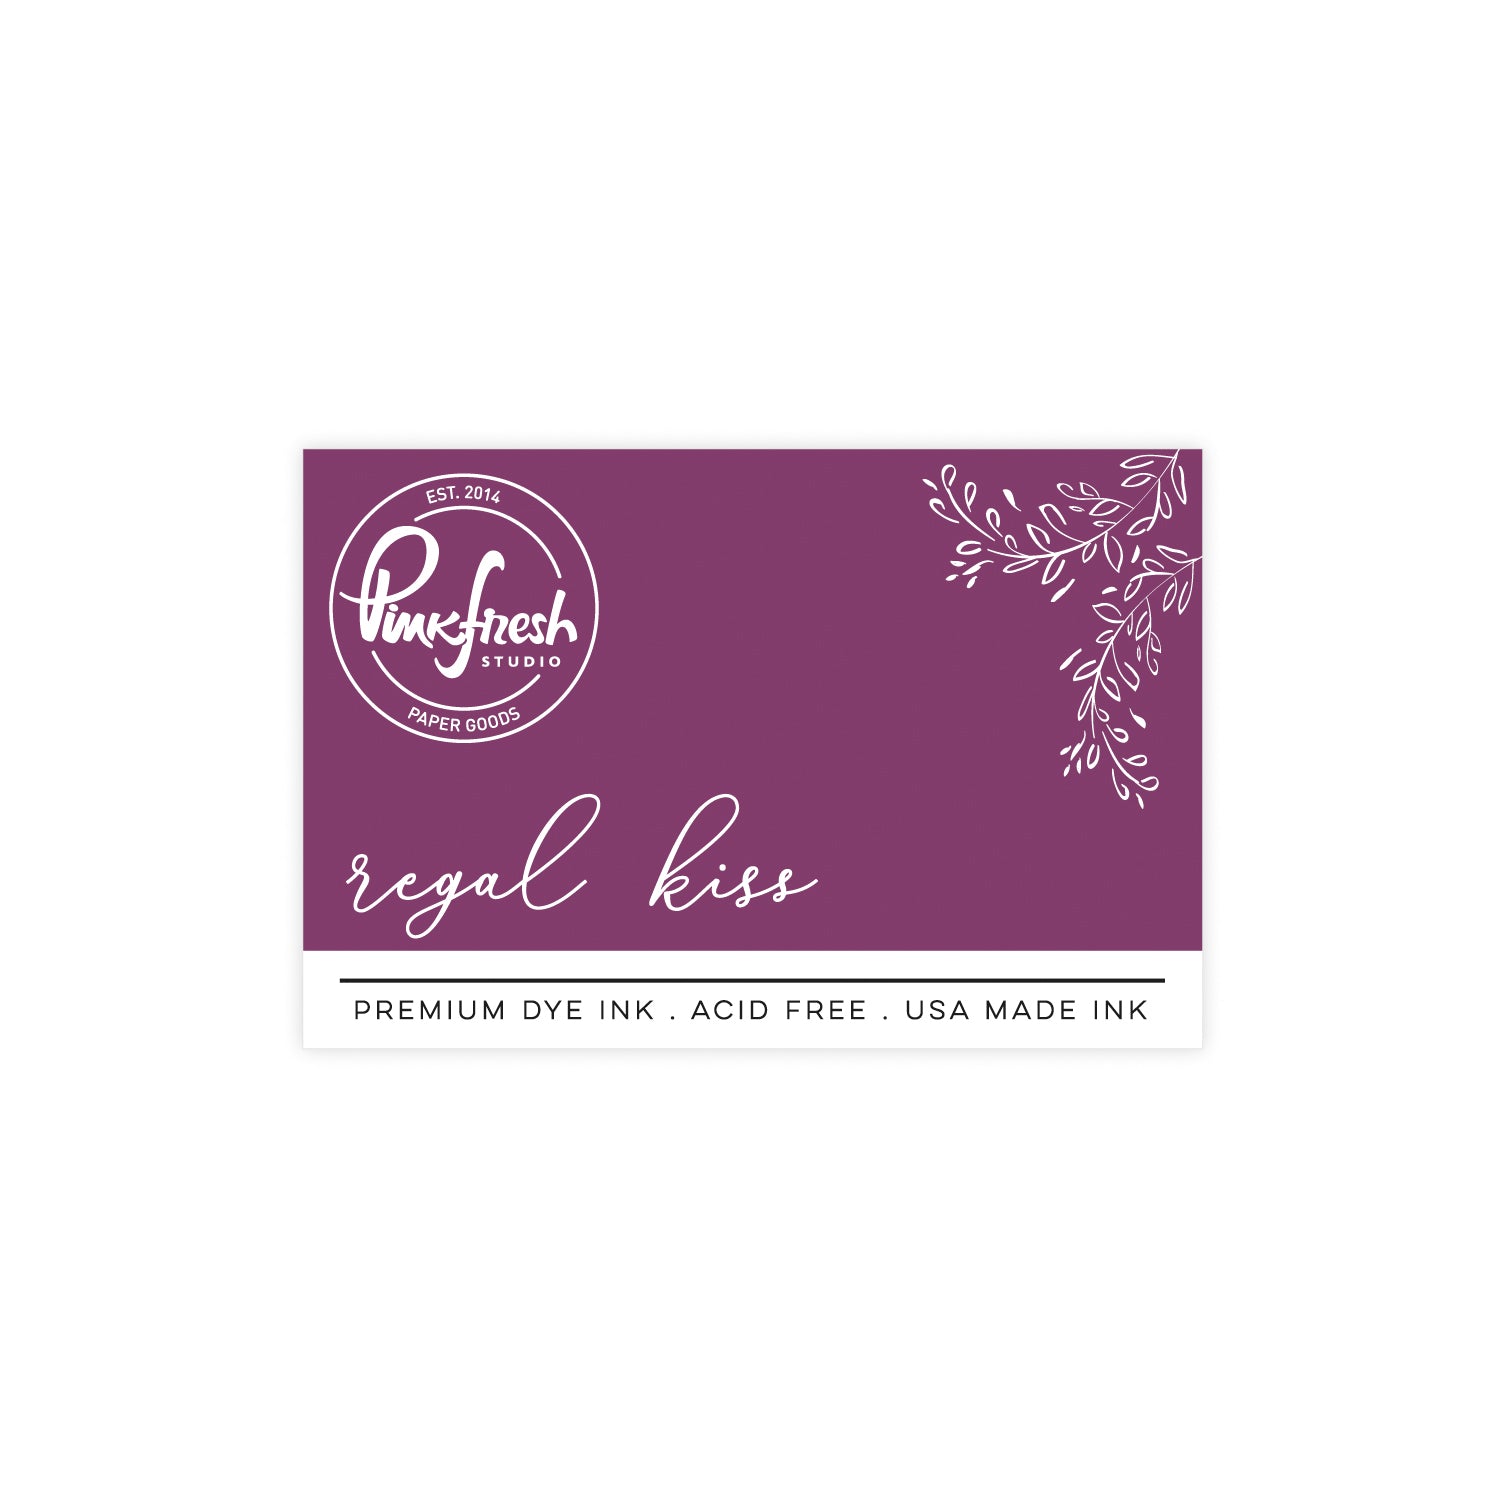
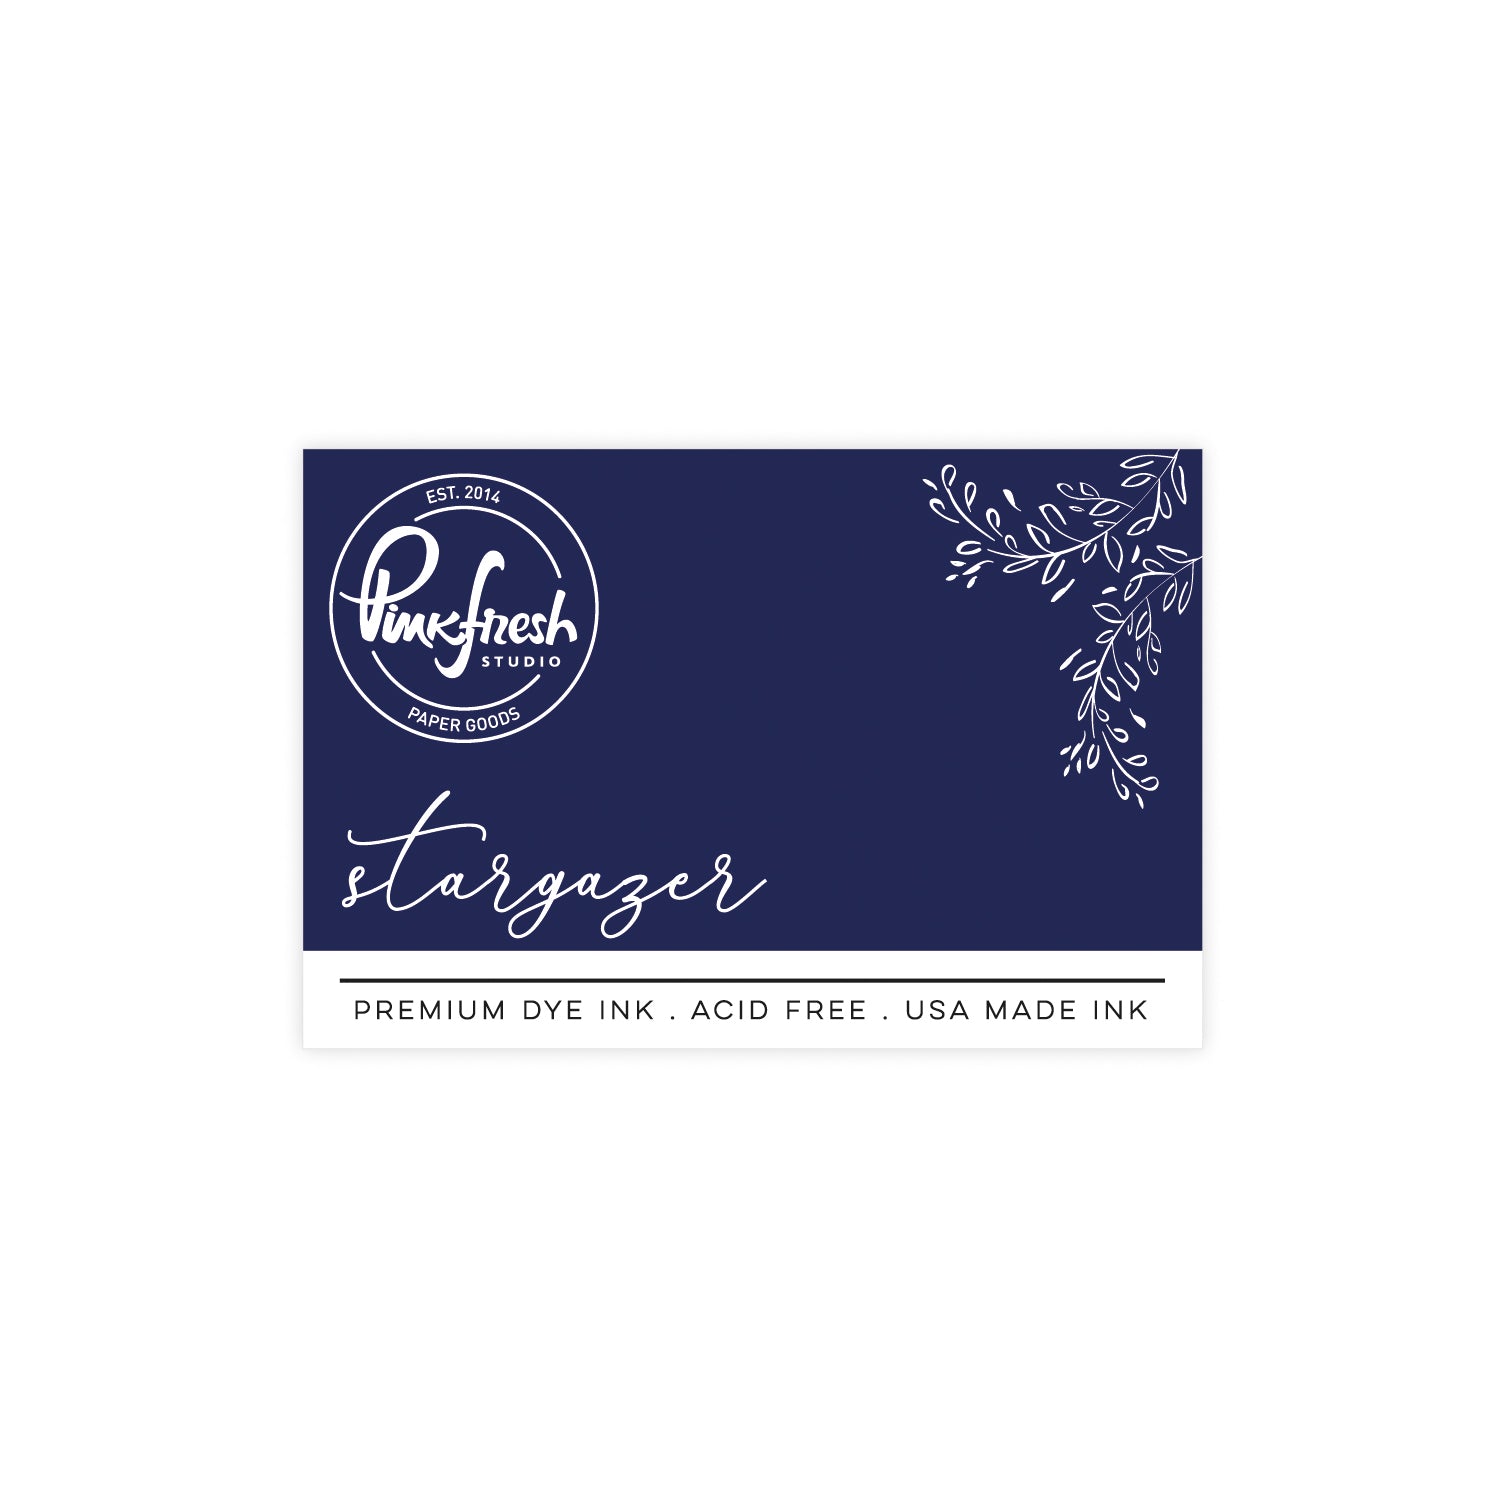
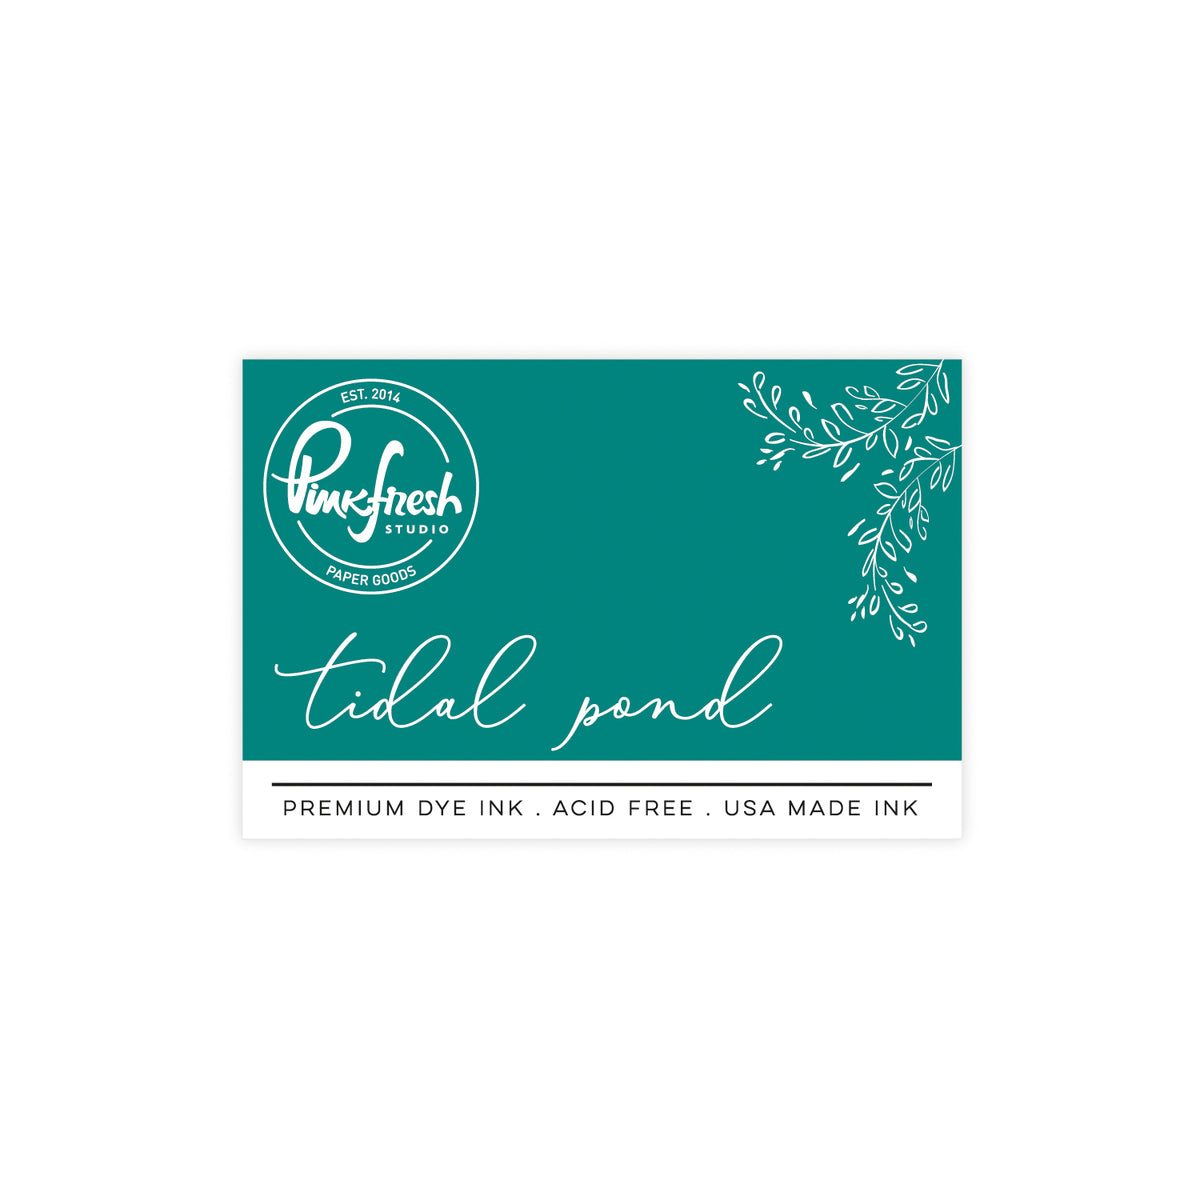
- Ink blend Stencil 1 on a white A2 panel. Use Bay Leaf, Tidal Pond, Regal Kiss, and Stargazer for the threads, and Metropolis for the needle. Die cut using the coordinating die.
- Die cut the two "solid" threads again. Ink blend one lightly with Bay Leaf, and the other lightly with Regal Kiss, then adhere behind the corresponding "loose" thread die cuts.
- Die cut the button die from white cardstock. Ink blend some of the buttons in matching colors to use as embellishments on the card.
-
The Stitch Edit Maker's Essentials:
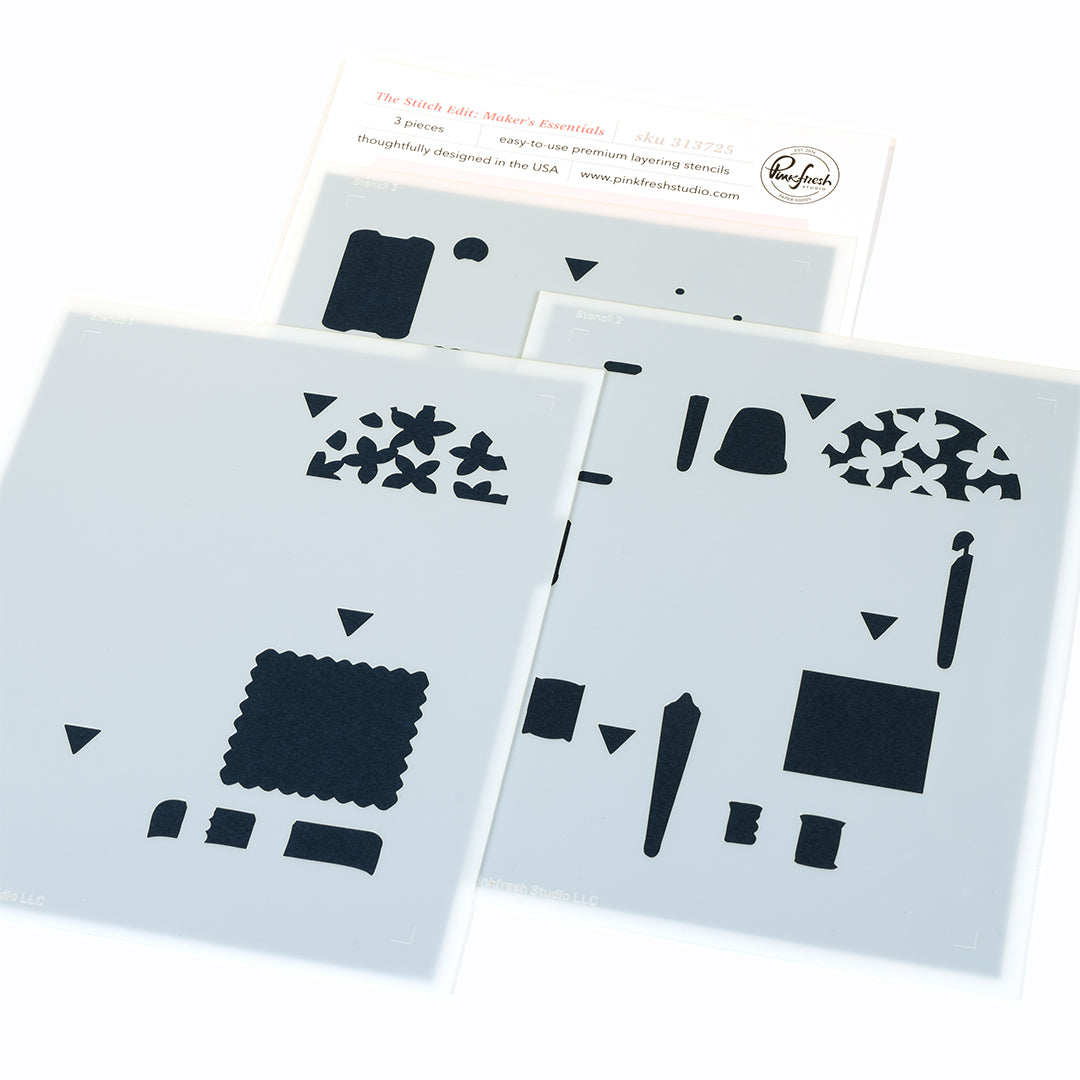
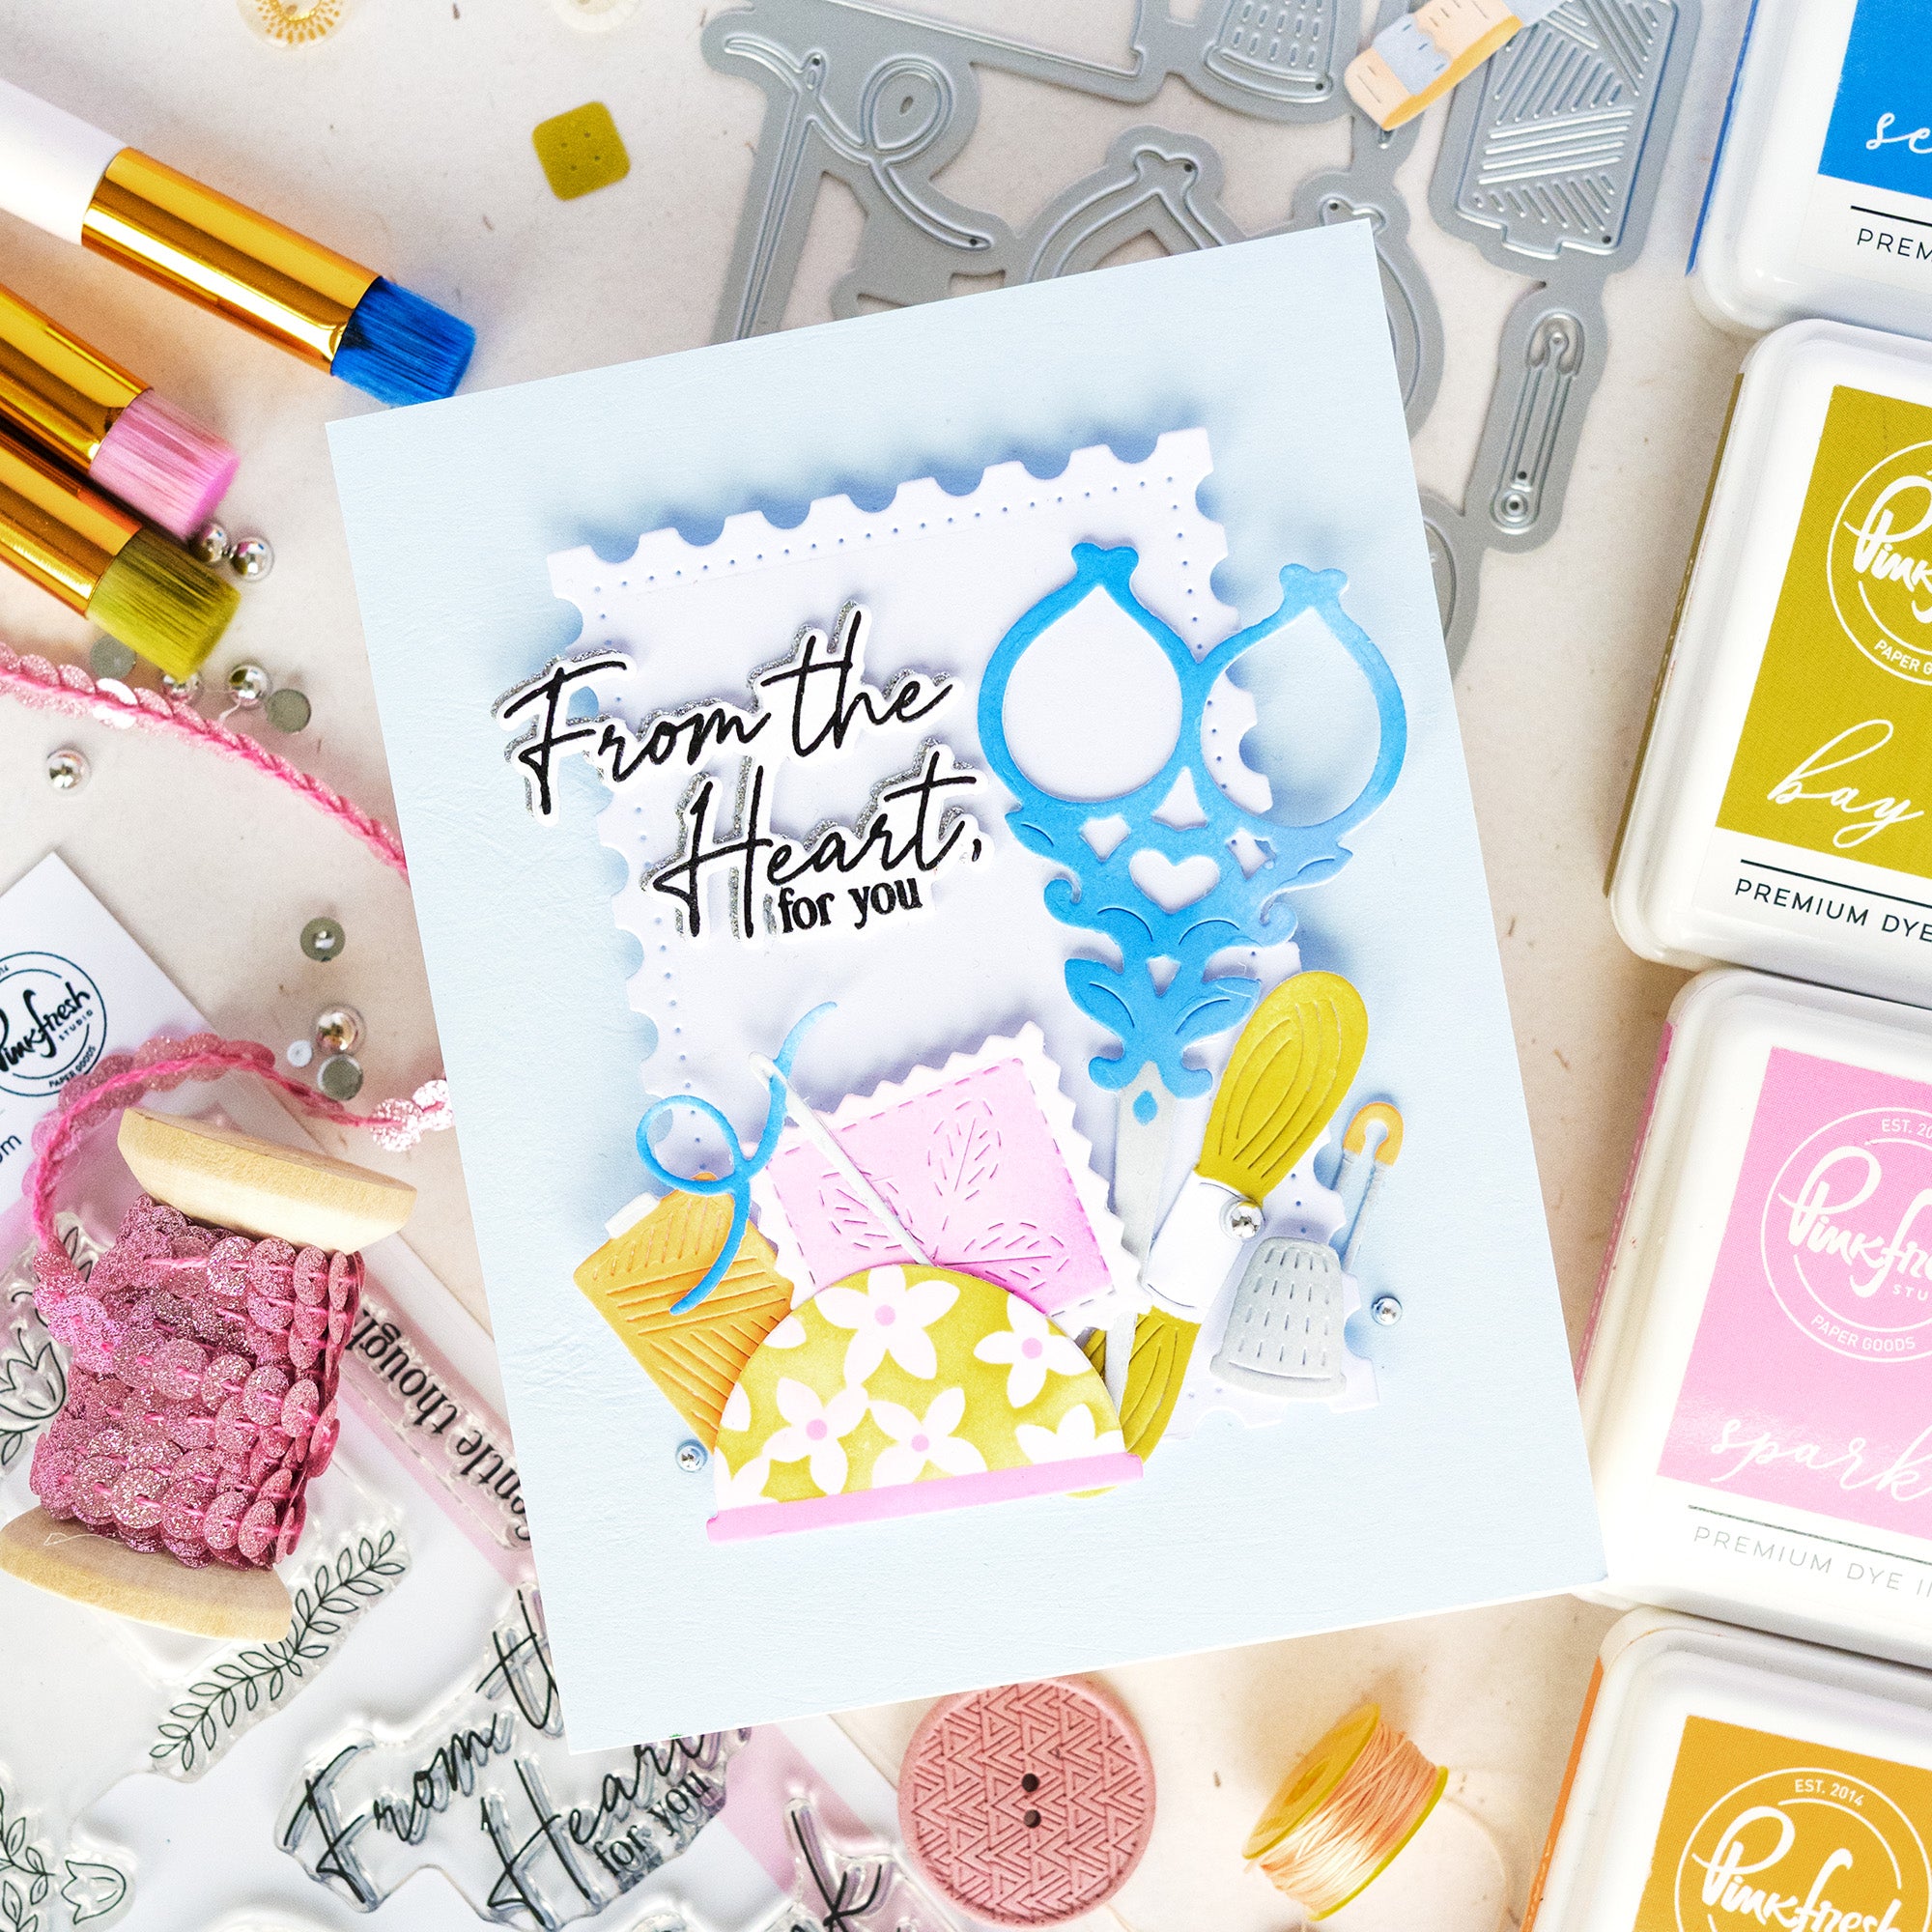
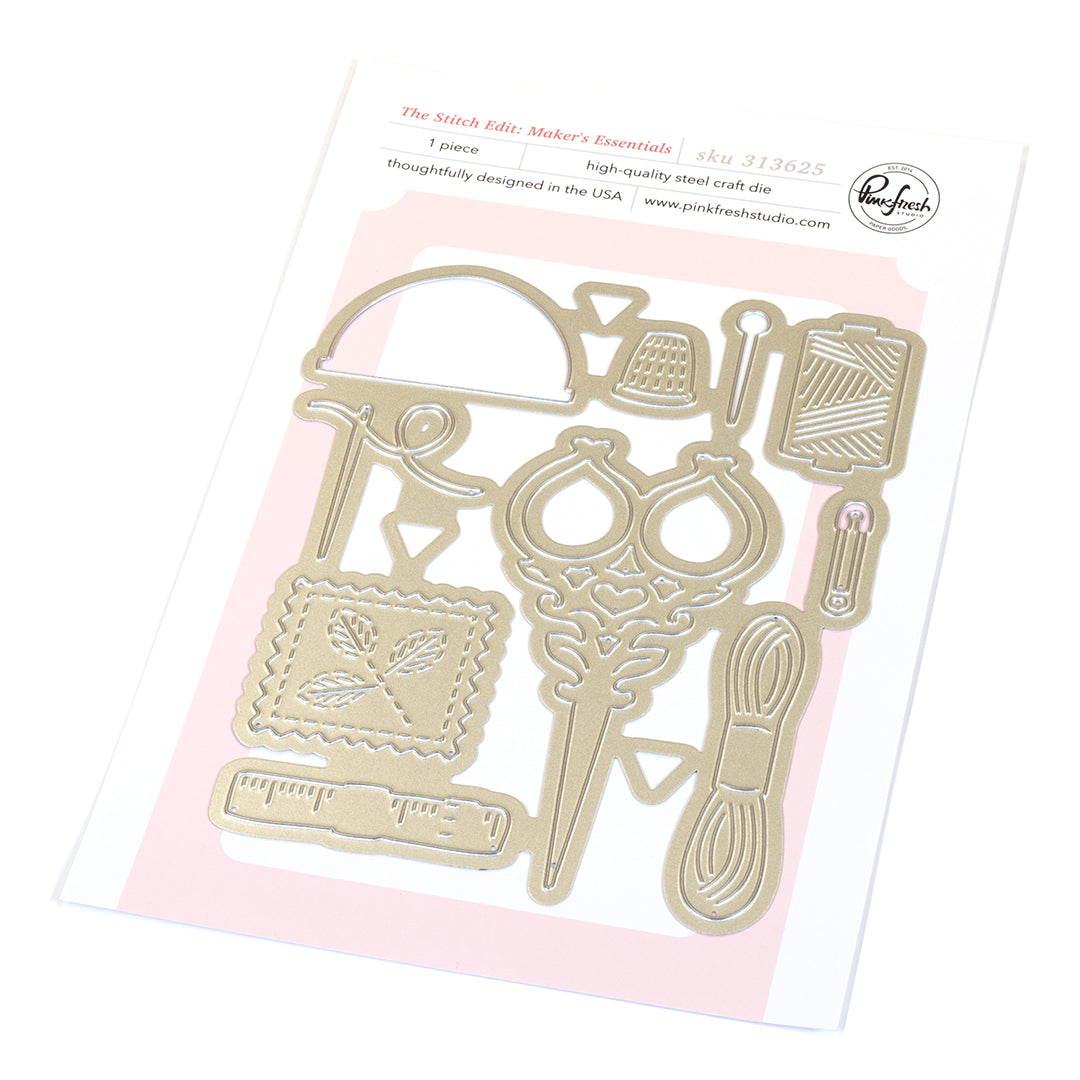
- Ink blend the stencils on an A2 panel of white cardstock (only the measuring tape, spool, pin, and thimble are needed).
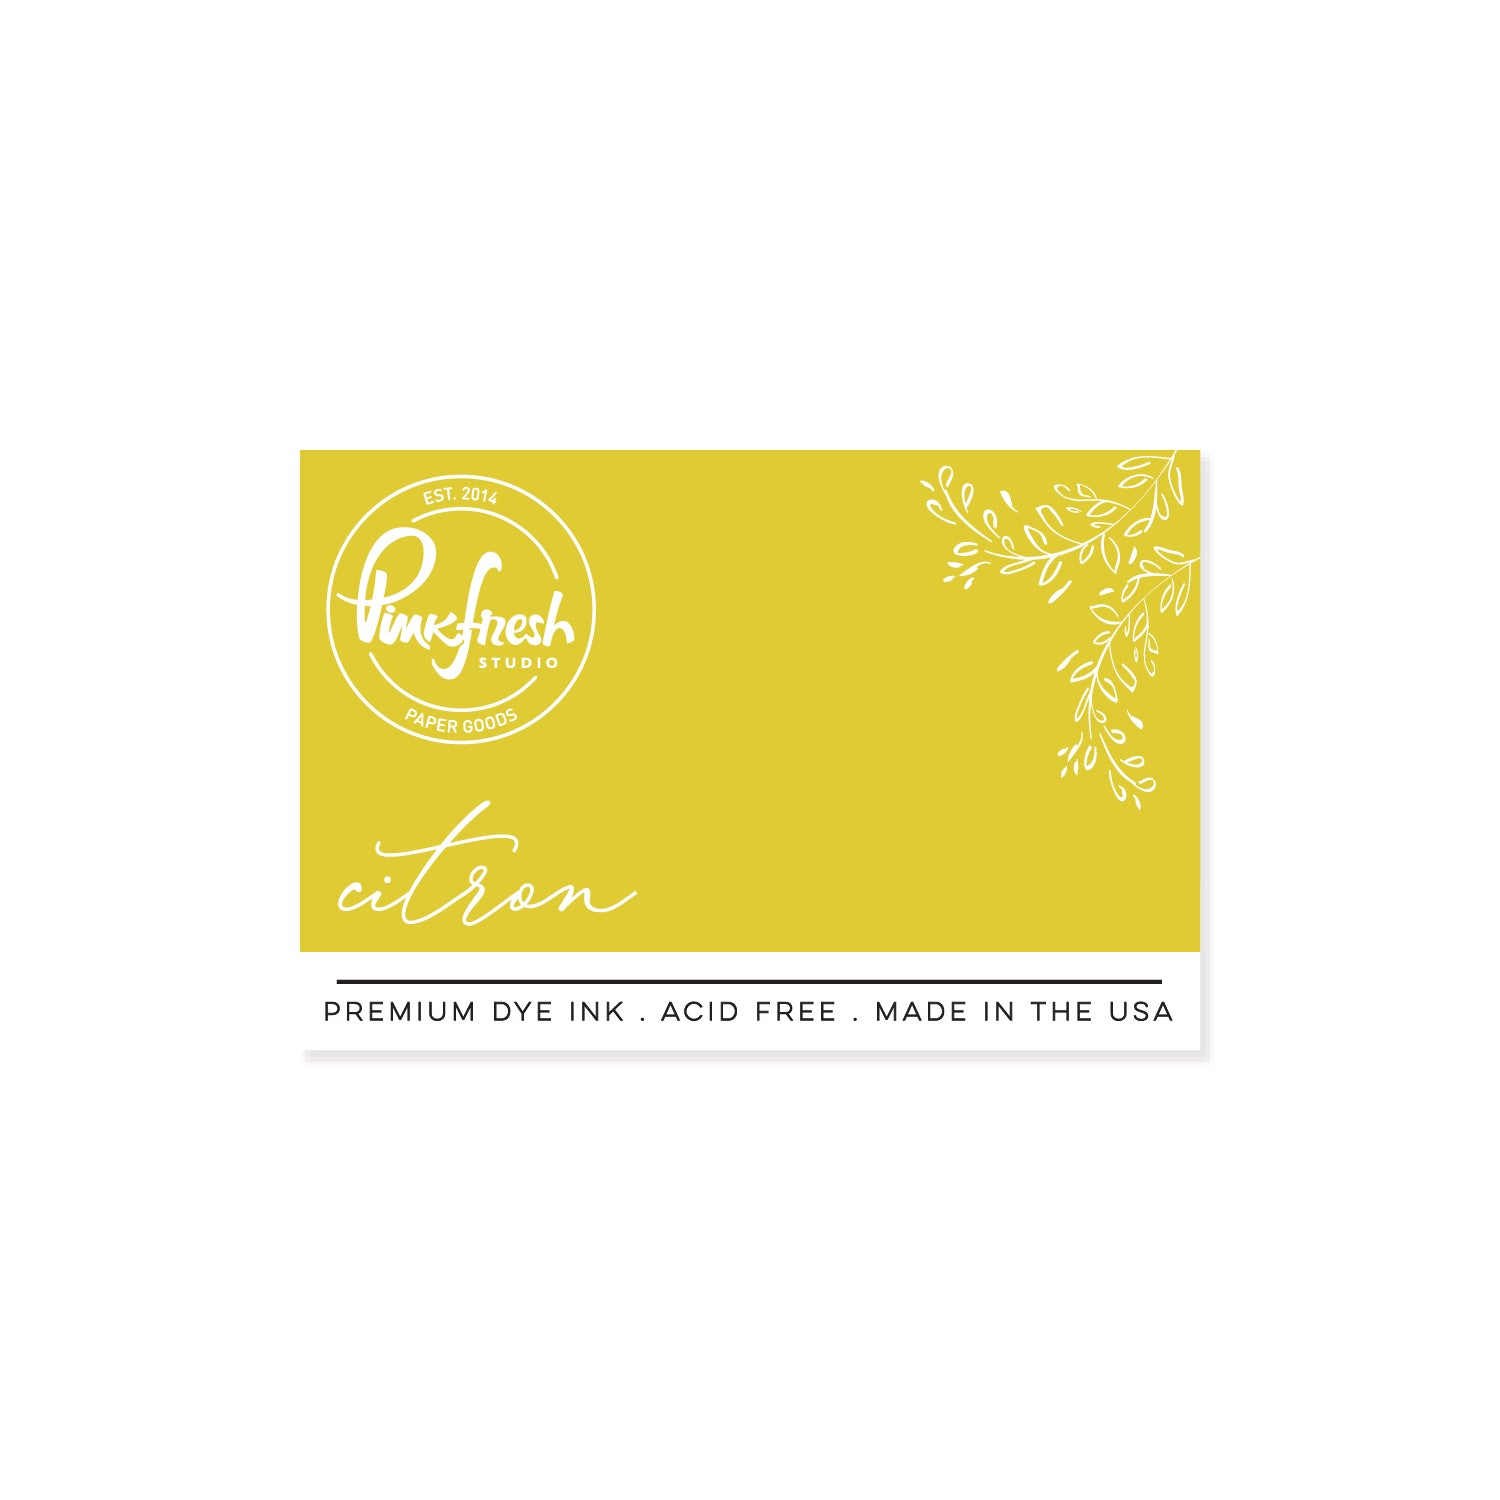
- Stencil 1: Citron
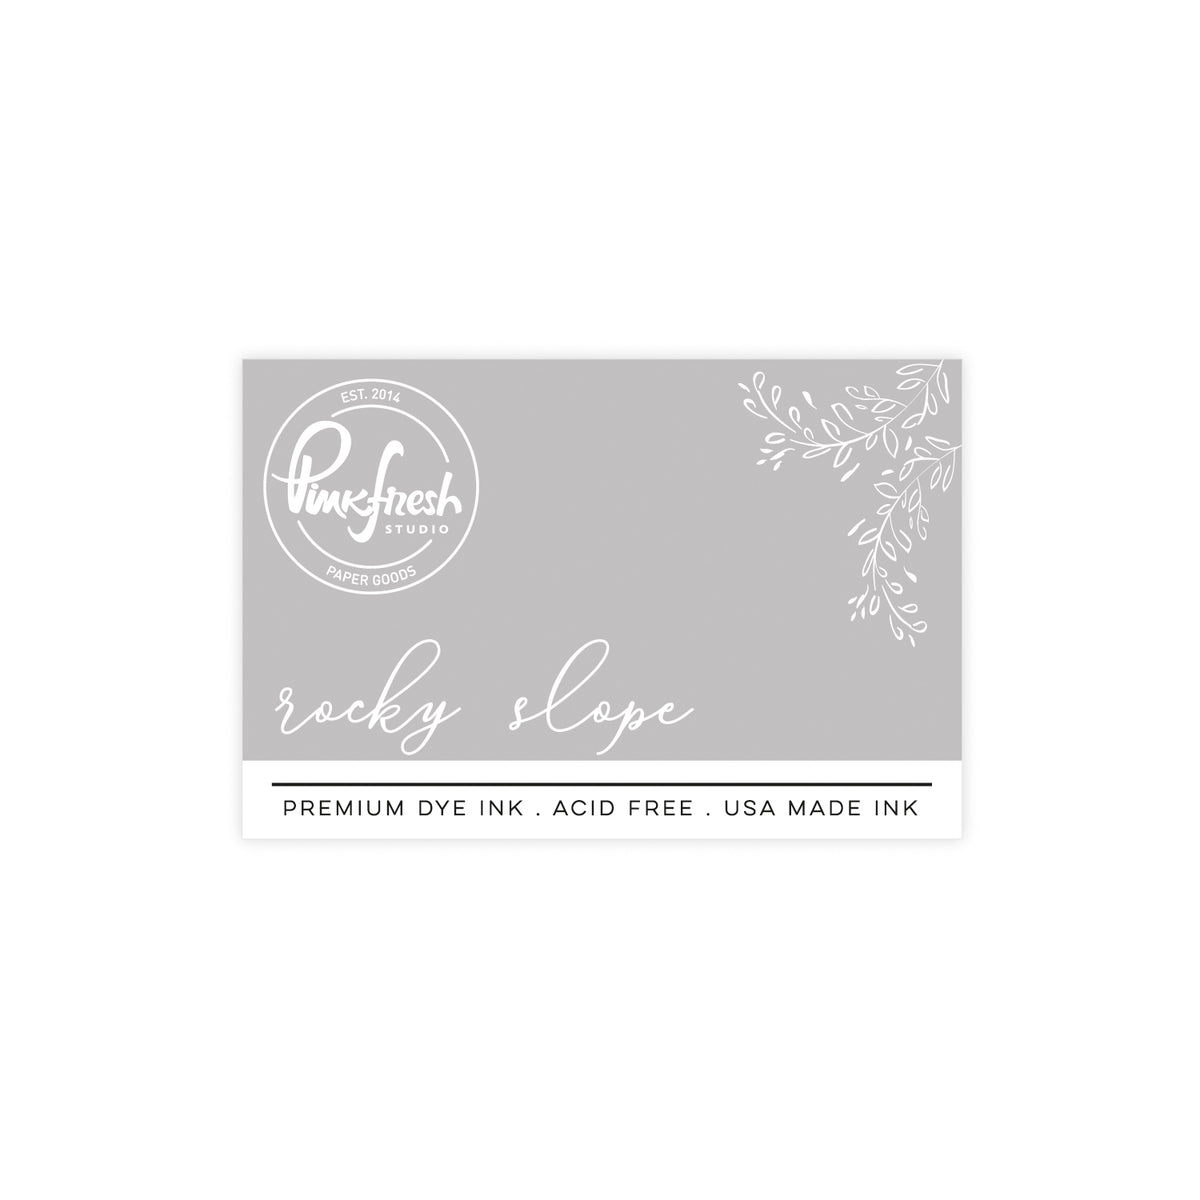
- Stencil 2: Rocky Slope
- Stencil 3: Regal Kiss (spool), Bay Leaf (measuring tape), Tidal Pond (pin head)
- Die cut using the coordinating die. Use the alignment triangles for lining it up with the ink-blended image.
- Ink blend the stencils on an A2 panel of white cardstock (only the measuring tape, spool, pin, and thimble are needed).
-
Assembly:
- Place the card base horizontally, then adhere the colored thread die cuts in a centered horizontal line across the card base.
- Add the Maker's Essentials die cuts & buttons in a tone-on-tone fashion to the colored threads.
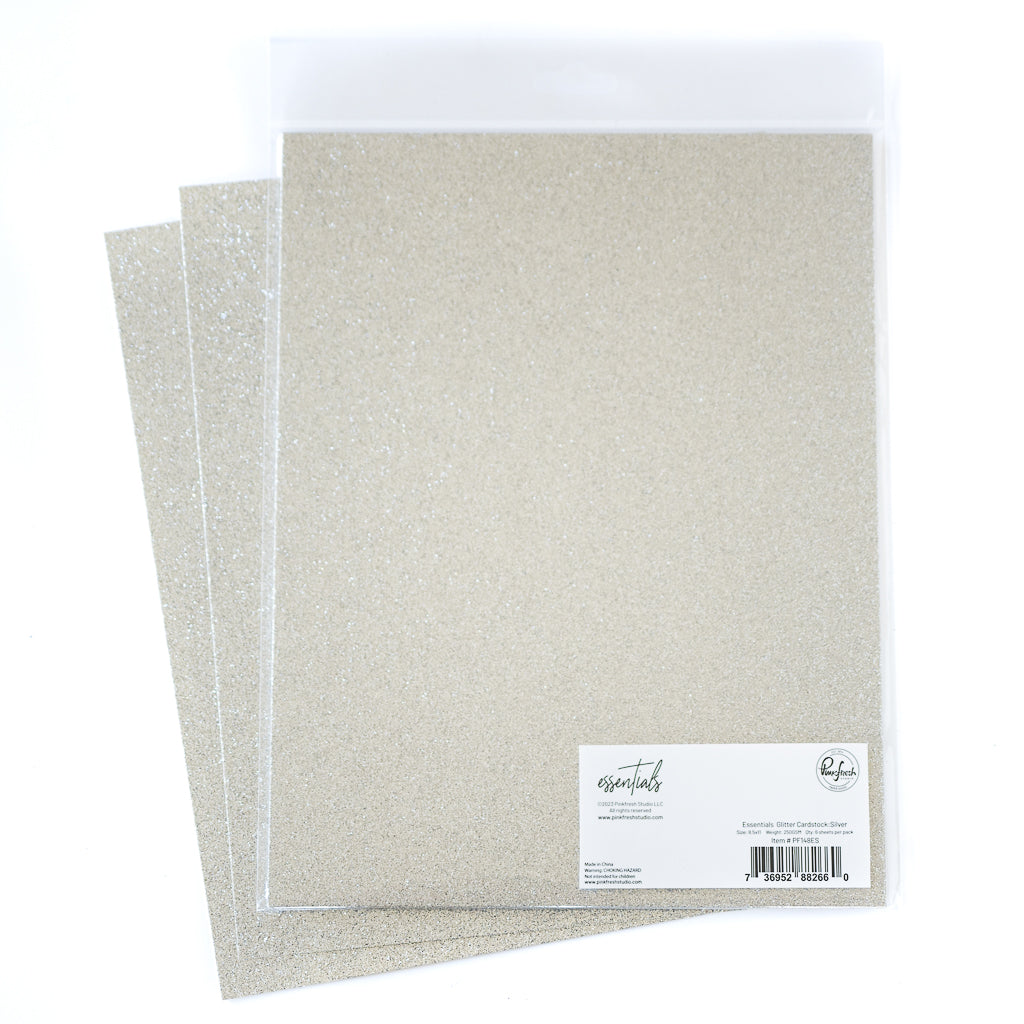
- Sentiment: Stamp "Thank you for..." in Detail Black on white cardstock. Die cut and stack with (1) blank layer. Die cut another blank from Silver Glitter cardstock & adhere slightly offset to the back. Add to the lower right of the card front.
- Embellish to your liking using Clear Drops in coordinating colors (like Purple) and Metallic Pearls in Silver.
*Tipp: Step up your card by adding details like real thread on the die-cut needle, a sparkly shadow layer behind the sentiment, or covering the die cut buttons with Crystal Glaze or Glossy Accents for a shiny, dimensional finish.

I hope you feel inspired to add fun little details on your next card! And as always, we would love to see your version, so please make sure to tag us (@pinkfreshstudio and @cardsandconfetti) on Instagram and use #pinkfreshstudio.
Thanks so much for stopping by, and until next time, happy crafting! ✨
-Kathleen
Recommended Products
















































Leave a comment
All comments are moderated before being published.
This site is protected by hCaptcha and the hCaptcha Privacy Policy and Terms of Service apply.