Bold Contrasts for Eye-Catching Cards | Kathleen Schmelz
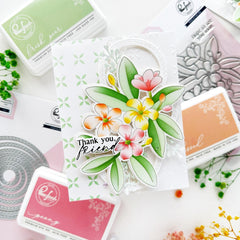
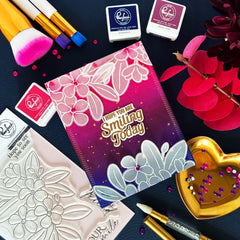
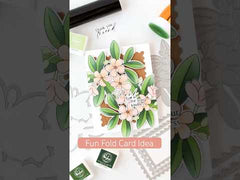
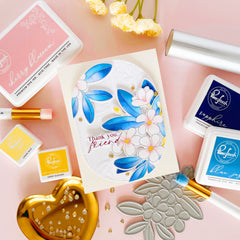
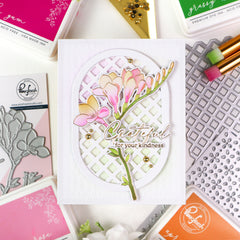
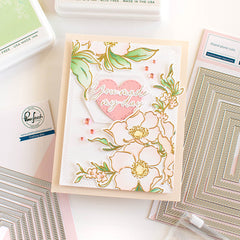
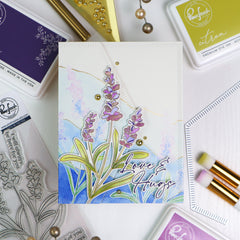
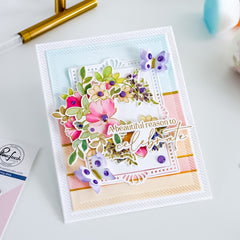
Happy Wednesday, Pinkfresh Studio fans! It's Kathleen here again and today I’ll show you how to create dramatic contrast using deep ink-blended backgrounds paired with soft, white heat-embossed florals on vellum for a bold, eye-catching design! This technique is perfect for adding depth, elegance, and a modern touch to your handmade cards.
*Disclaimer: All products used are linked below as clickable images. If a product isn’t listed, it’s been discontinued.

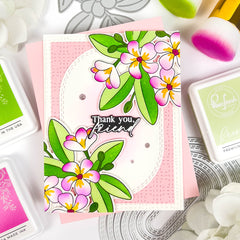
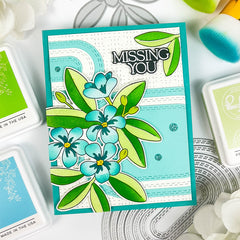
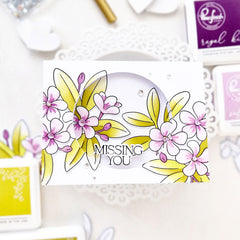
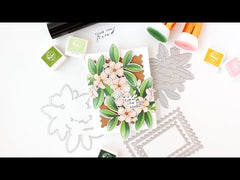
I’ve made several cards using the Plumeria product suite already, but up until now, I’ve always reached for the coordinating press plates and stencils. This time, I wanted to create something using just the stamp set and coordinating dies—and I’m excited to share the results with you.
So, let's see how I created this card:
-
Preparation: Die cut (1) A2-sized panel from smooth white cardstock (I use Hammermill, 100lb) with the largest die from the Nested Rectangles Diagonal Stitch die. Cut (2) A2-sized pieces of vellum.
- Creating the background: Using a 1" blending brush, apply Raspberry Bliss, Regal Kiss, and Stargazer from top to bottom on the white cardstock panel. Blend over the transition areas with both colors to create a smooth, seamless gradient.
-
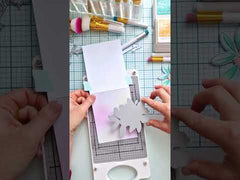
Dry emboss the Stippled Plaid press plate on the ink-blended panel. Make sure to use the correct "sandwich" of your die-cutting machine for dry embossing.
- Optional: Add gold splatters using gold watercolor or diluted gold acrylic paint & a brush.
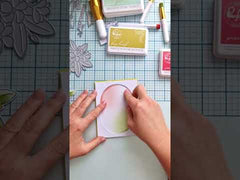
- Creating the florals: Place one of the vellum panels into a stamp positioner & use an anti-static powder tool to get rid off any static.
- Stamp the Plumeria image with embossing ink onto the vellum panel. Heat emboss with white detail embossing powder.
- Repeat steps 4 & 5 with the second vellum panel.
- Die cut both plumeria images using the coordinating die. Arrange at the top & bottom of the card front.
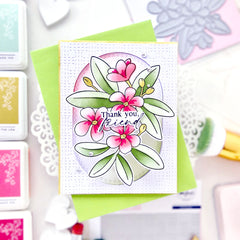
- Adding the sentiment: Heat emboss a sentiment of your choice with gold embossing powder. I used the 'I hope you are smiling...' sentiment from the Happy Vibes set.
-
Die cut the sentiment. Optional: Stack 1–2 extra blank die cuts behind for dimension*. Adhere centered onto your card panel.
- Create an A2 card base (top- or side-folding, whatever you prefer) & adhere your panel.
- Embellish to your liking using Clear Drops in Magenta and Purple, or a color of your choice.
*Tipp: Adding blank die cuts instead of foam adhesive really helps to give the elements more dimension and stability. This is especially useful for more intricate pieces (like sentiments)!

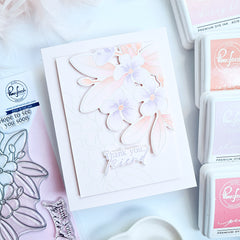
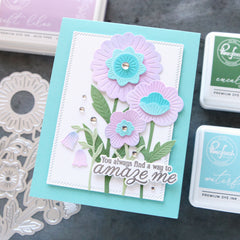
Here are some close-up shots of the card. The contrast between the soft vellum florals and the bold, dark background creates a striking design that’s sure to stand out.

I hope this tutorial inspired you to try bold ink blending paired with delicate vellum elements in your next card project! If you give this technique a go, we’d love to see what you create—don’t forget to tag us on social media so we can cheer you on. Thanks so much for stopping by, and until next time, happy crafting! ✨
-
![Plumeria stamp]()


Plumeria stamp
Create heartfelt cards with this gorgeous Plumeria stamp set, designed by Inna Moreva. The bold leaves and soft petals bring a peaceful, organic feel. You'll love how easily this design fills a card front. Coordinating products for purchase separately: Plumeria die Plumeria stencil Plumeria...- $16.00
- $16.00
- Unit price
- per
-
![Plumeria die]()
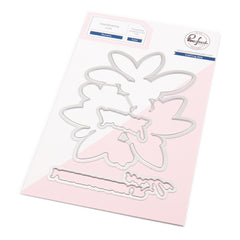


Plumeria die
With this coordinating die, you can quickly and easily cut out the stamped or foiled image. This set includes a hidden magnet within the packaging that keeps the multiple pieces in place. Coordinating products for purchase separately: Plumeria stamp Plumeria stencil Plumeria press plate...- $20.00
- $20.00
- Unit price
- per
-
![Essentials: Nested Rectangles Diagonal Stitch die]()


Essentials: Nested Rectangles Diagonal Stitch die
8-piece die set designed as an essential for crafting basics. Use the dies to cut perfect rectangle panels and frames with a diagonal stitched edge. They are perfect for creating background panels, frames, labels, adding them as a layer to your card front, framing...- $21.00
- $21.00
- Unit price
- per
-
![1” blending brushes]()
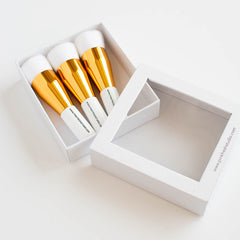
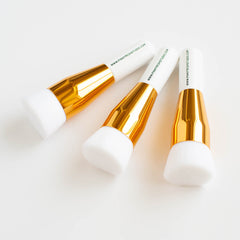
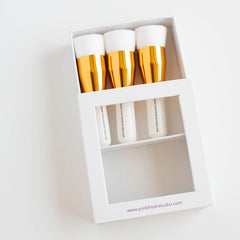
1” blending brushes
Introducing our sleek & modern 1” Blending Brush set, dubbed by Jennifer McGuire as "The Magic Brushes". The larger brush size easily blends ink on larger surfaces. Each set includes (3) 1” blending brushes that offer a white lacquer handle with the Pinkfresh...- $18.50
- $18.50
- Unit price
- per
-
![Premium Dye Ink Pad : Raspberry Bliss]()
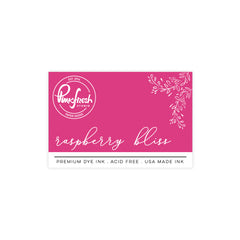
Premium Dye Ink Pad : Raspberry Bliss
Our USA-made premium dye ink is acid-free, making it perfect for stamping on cards and in scrapbooks. We've included a raised felt pad surface for perfectly crisp coverage on stamped images of any size. This ink is fast-drying and ideal for water-based techniques. USA-made...- $5.63
$7.50- $5.63
- Unit price
- per
-
![Premium Dye Ink Pad : Regal Kiss]()
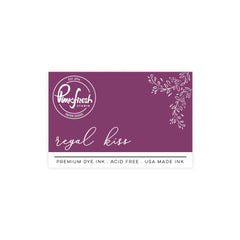
Premium Dye Ink Pad : Regal Kiss
Our USA-made premium dye ink is acid-free, making it perfect for stamping on cards and in scrapbooks. We've included a raised felt pad surface for perfectly crisp coverage on stamped images of any size. This ink is fast-drying and ideal for water-based techniques. USA-made...- $5.63
$7.50- $5.63
- Unit price
- per
-
![Premium Dye Ink Pad : Stargazer]()

Premium Dye Ink Pad : Stargazer
Our USA-made premium dye ink is acid-free, making it perfect for stamping on cards and in scrapbooks. We've included a raised felt pad surface for perfectly crisp coverage on stamped images of any size. This ink is fast-drying and ideal for water-based techniques. USA-made...- $5.63
$7.50- $5.63
- Unit price
- per
-
![Dual Tip Embellishment Tool]()
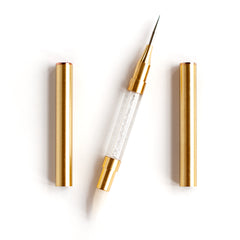
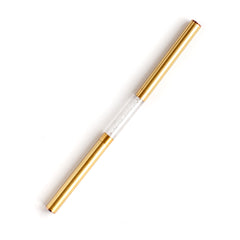
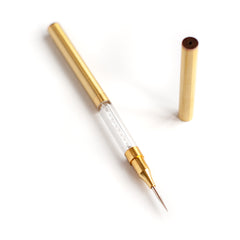
Dual Tip Embellishment Tool
Our Dual Tip Embellishment Tool is made of brass that matches our other Studio Essentials products PERFECTLY! Each metal side is sturdy & high quality, and you can really feel that when you pick the tool up. It's not heavy, but it feels just...- $16.00
- $16.00
- Unit price
- per
-
![Clear Drops: Purple]()
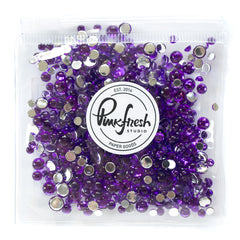
Clear Drops: Purple
1 pack of clear embellishment drops in mixed sizes (3mm/4mm/5mm/6mm). Each Clear Drop is flat backed, and can be easily adhered to a papercrafting project using liquid glue and a jewel pick or tweezers.- $5.00
- $5.00
- Unit price
- per
-
![Clear Drops: Magenta]()

Clear Drops: Magenta
1 pack of clear embellishment drops in mixed sizes (3mm/4mm/5mm/6mm). Each Clear Drop is flat backed, and can be easily adhered to a papercrafting project using liquid glue and a jewel pick or tweezers.- $5.00
- $5.00
- Unit price
- per
-
![Triangle Brass Tray]()
Triangle Brass Tray
Sleek and stunning, our brass triangle tray is perfect for showcasing embellishments you want to add to your cards or paper crafting projects! Simply shake a few embellishments into the tray, then use an embellishment wand, tweezers or your fingers to pick out the...- $10.00
- $10.00
- Unit price
- per


1 comment
Just gorgeous xx