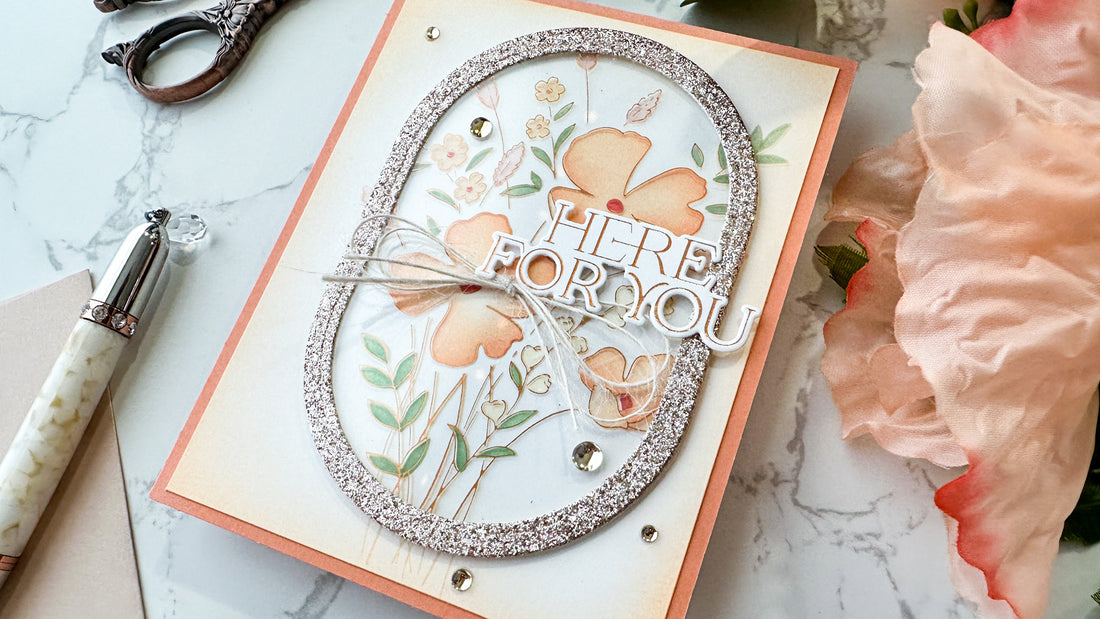
Acetate Hot Foiled Window with Playful Petals!
25 Oct 2024
1 comment
Hi friends! Emily Midgett here with you today, and I have some inspiration to share using newer goodies from the September release paired with some of the gorgeous inks to create a peachy glow! This card is unique because I used the
Playful Petals Press Plate to do some hot foiling on acetate, and I have to say, this technique never gets old! There are just so many fun things you can do with a hot foiled acetate panel. Let's get started with the details on my project!

To start, I hot foiled the
Playful Petals Press Plate onto some acetate cardstock using Satin Copper Foil. The intricate details of the Press Plate come through beautifully on the super smooth surface of the acetate, and you are left with a panel that you can use to create shakers, windows, trifold cards, etc. I chose to use the new Nested Elongated Ovals dies to die cut my patterned acetate panel, adding a frame cut using two of the nesting dies and some of Pinkfresh Studio's Rose Gold Glitter Essentials Cardstock. I layered the two oval die cuts together with some liquid adhesive and turned to the card base.

Next, I used some light tack washi tape to hold my glittery acetate window in place on my white 4" x 5.25" card front in approximately the same spot that it would be placed on the finished card, then placed the
Playful Petals Stamp set directly over the top of the hot foiled image inside my MISTI. I removed the acetate piece and stamped the image onto the white panel using
Peach Fuzz ink, creating a light outline that was perfect to do some faux "no line" stenciling. I used 1/2" Blending Brushes to blend the the Playful Petals Coordinating Stencils with
Cherry Blossom, Peach Fuzz, Sunkissed, Sage, and Passion Fruit inks. I then used one of the new and utterly luxurious 1" Blending Brushes to lightly blend Peach Fuzz around the exterior edges of the background.

Once I had completed the stenciling and blending for the background, I added some foam adhesive to the back of the glittery frame, providing some extra dimension and highlighting that acetate hot foiling! This card would also look wonderful as a shaker card, but I wanted to keep things a bit simpler. I used a coordinating hot foiled sentiment from the Here For You Sentiments Press Plate + Coordinating Dies set, foiled with the same shade of Copper Satin foil and blended lightly with the residual ink from my Peach Fuzz blending brush to coordinate with the blended background. I matted the card front on a full sized muted peach A2 card front, then added some Champagne Clear Drops and a double twine bow for added texture!
Well, that's all for my project today. If you haven't tried foiling on acetate, you're missing out, because it's such a fun technique that creates consistently beautiful results and can be used in a multitude of ways. Thanks so much for stopping by today, and have a marvelous day!


1 comment