
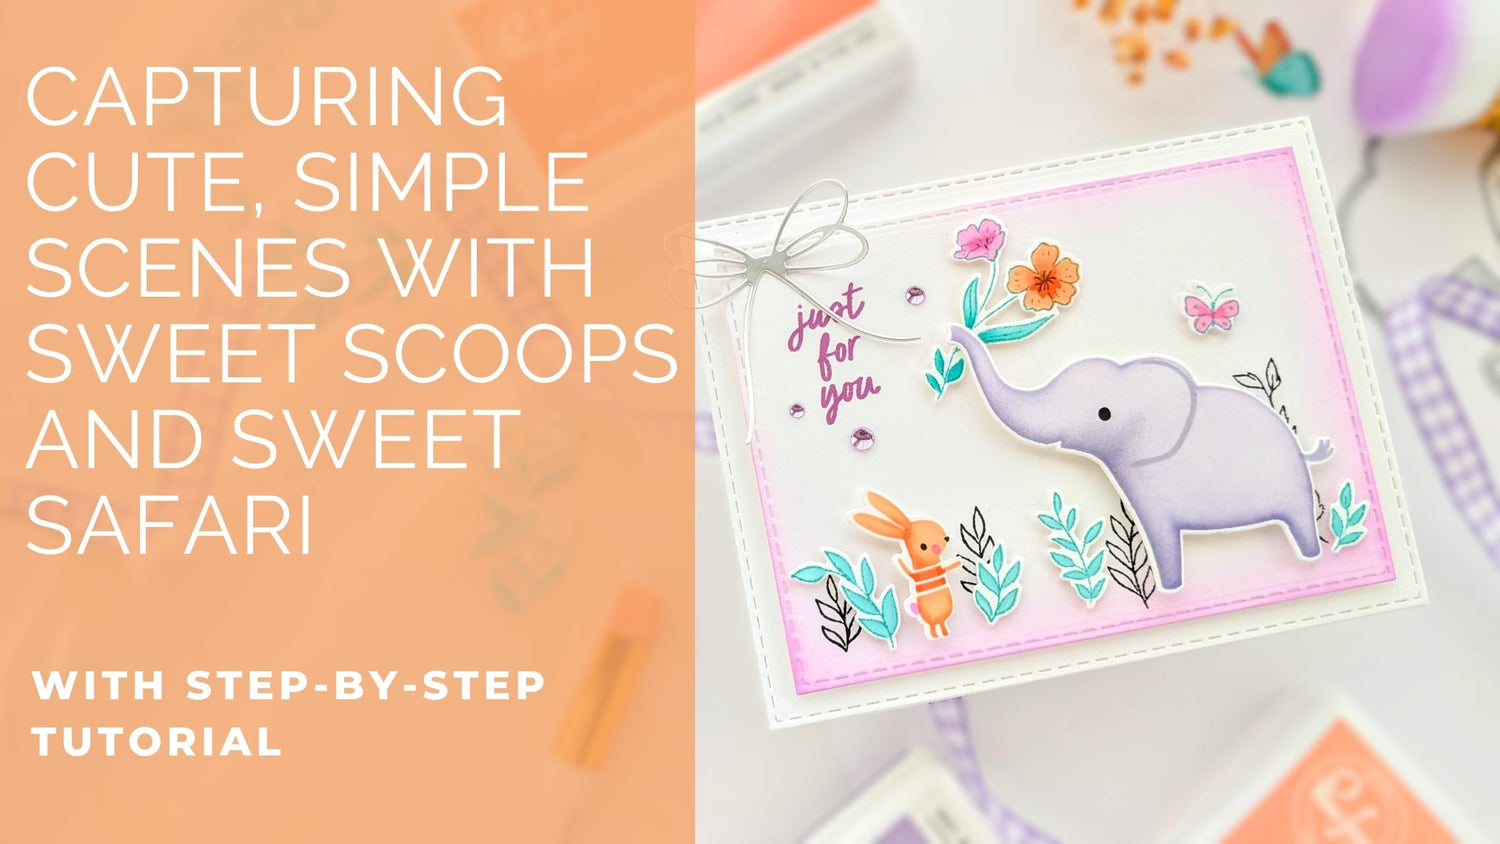
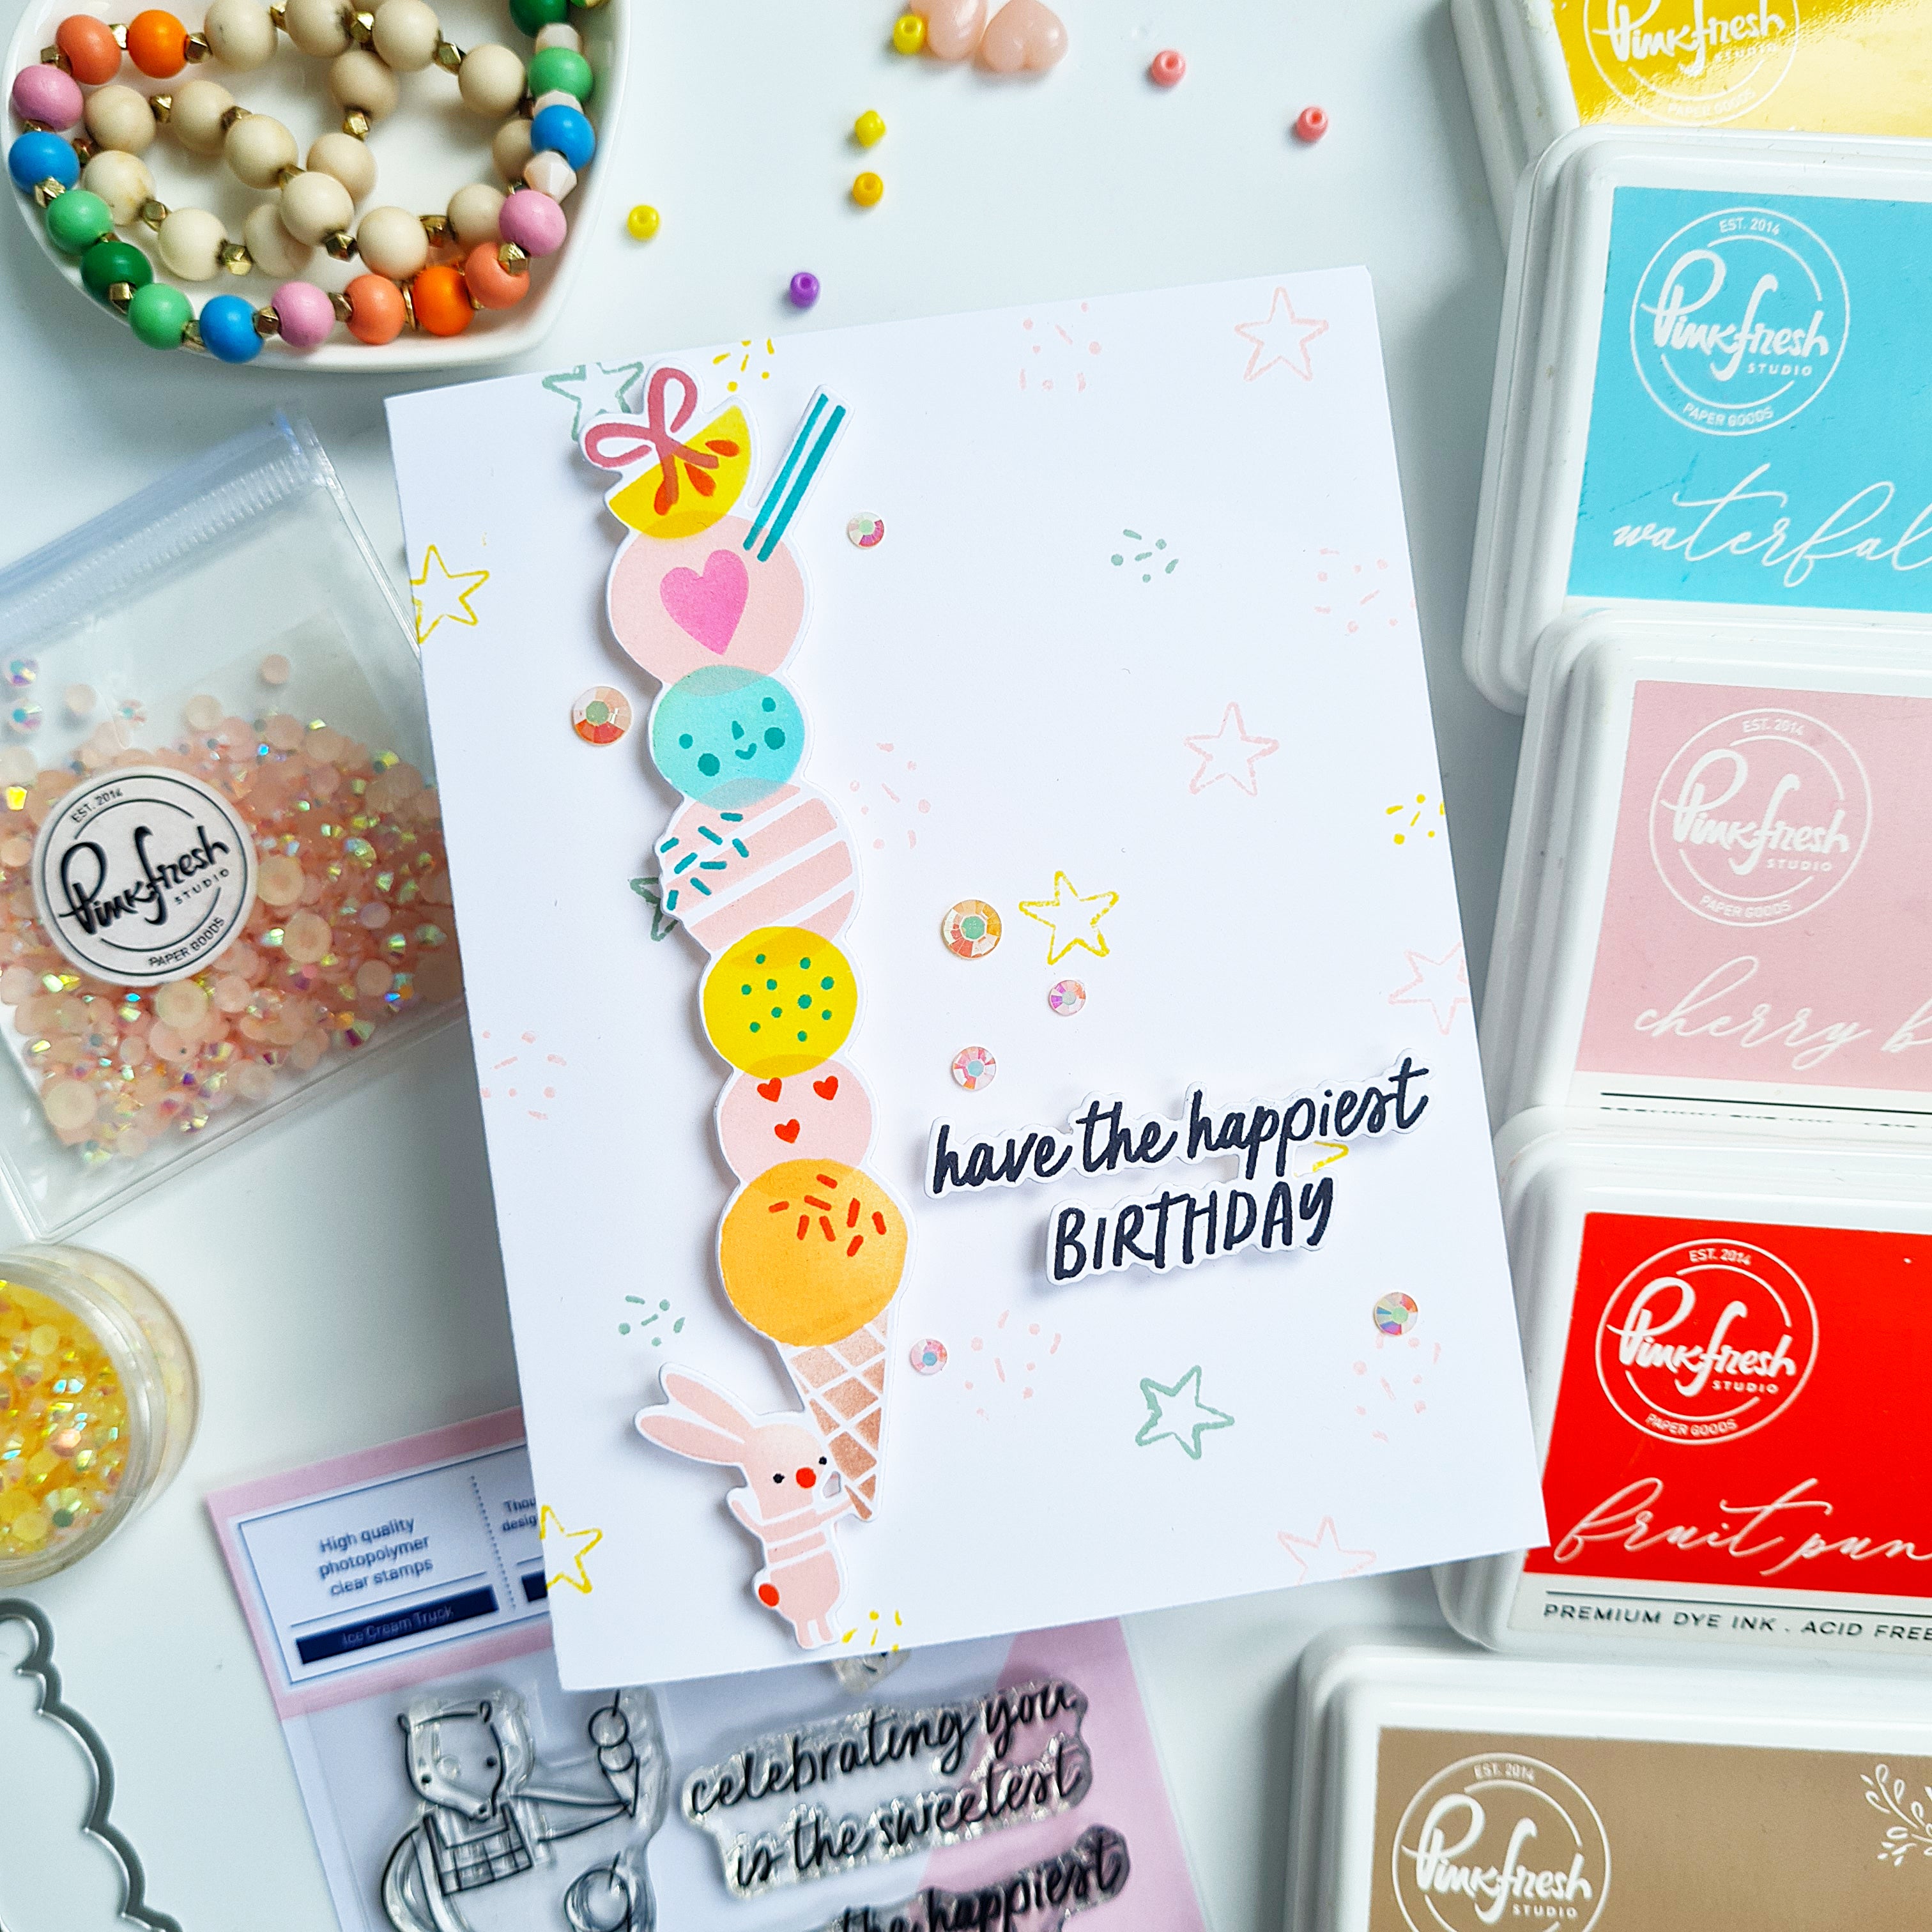
Hi everyone! I love a flower-filled card, but Pinkfresh Studio has an adorable new collection of designs out starring illustrations by Lizzie Mackay that are just irresistible. It's full of charming critters, beach blankets, and towering ice cream cones!
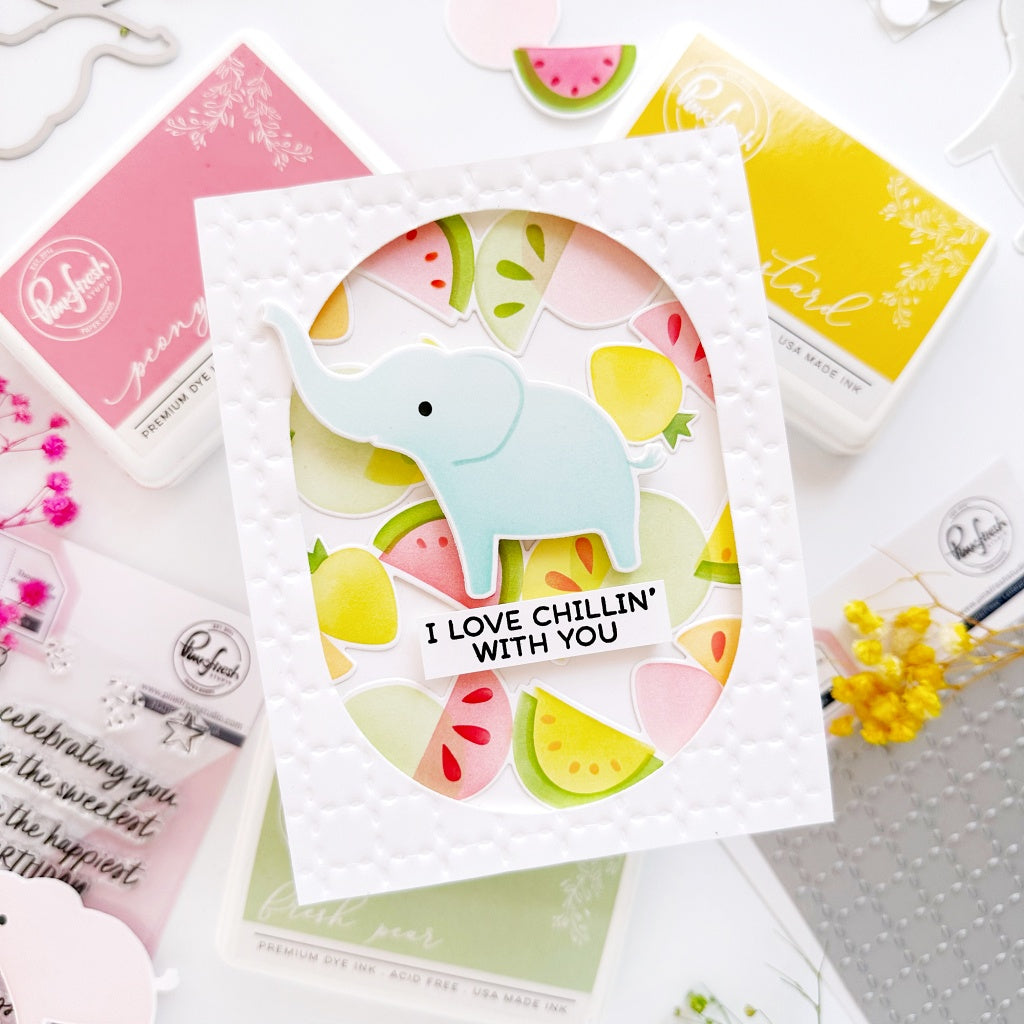
I don't have extensive experience in scene building for cards, but I've figured out a few tricks to share with you. I layered stamped images and die cuts to add depth and dimension. I used a couple of framing dies to shrink and frame the "canvas." And I used ink to anchor the stars of the scene, so that they aren't just floating there.

Let's get to it!
*Disclaimer: All products used are linked below as clickable images. If a product isn't listed, it's been discontinued.
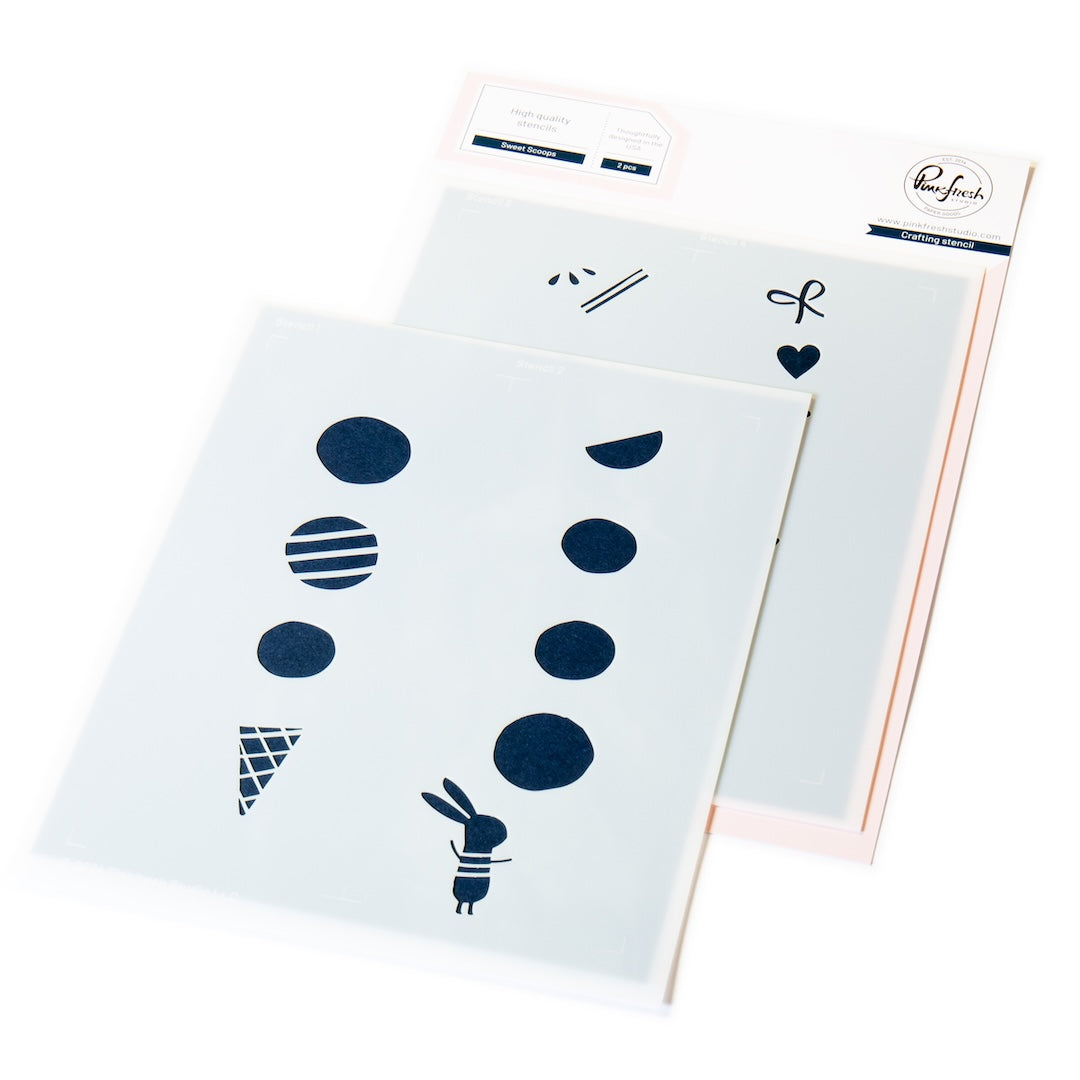
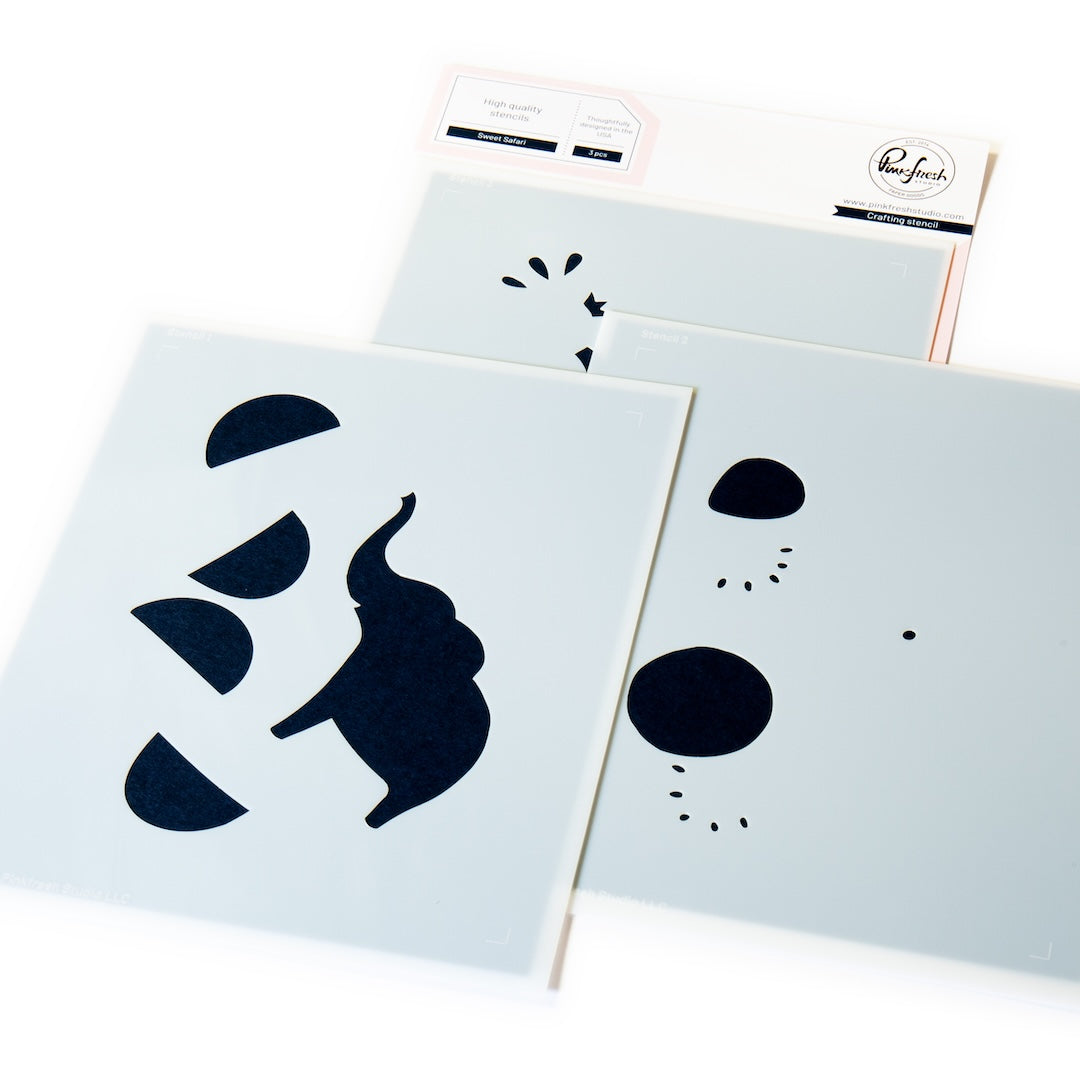
- I started with the Sweet Scoops and Sweet Safari stencil sets, and quickly colored my bunny and elephant pals on white cardstock.
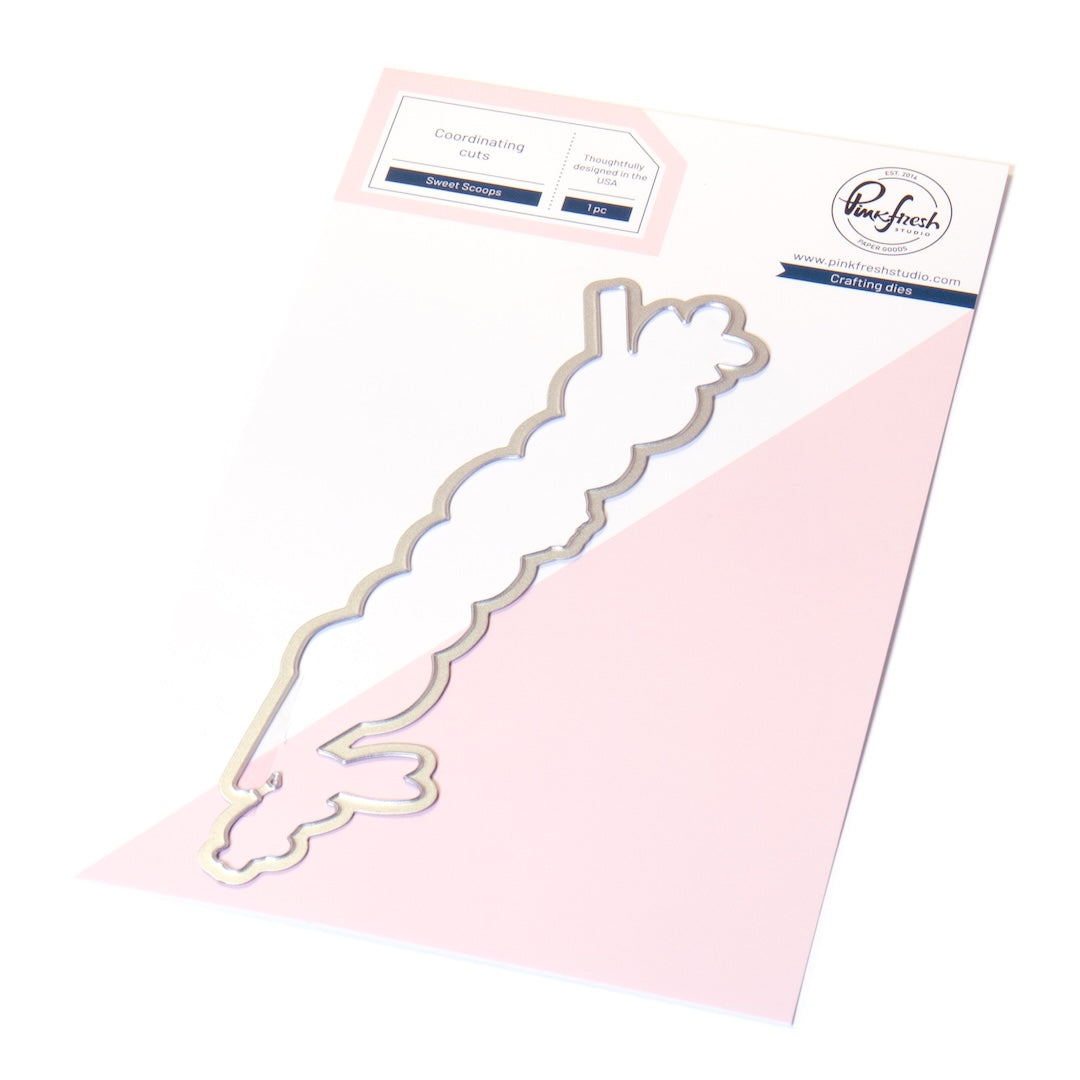
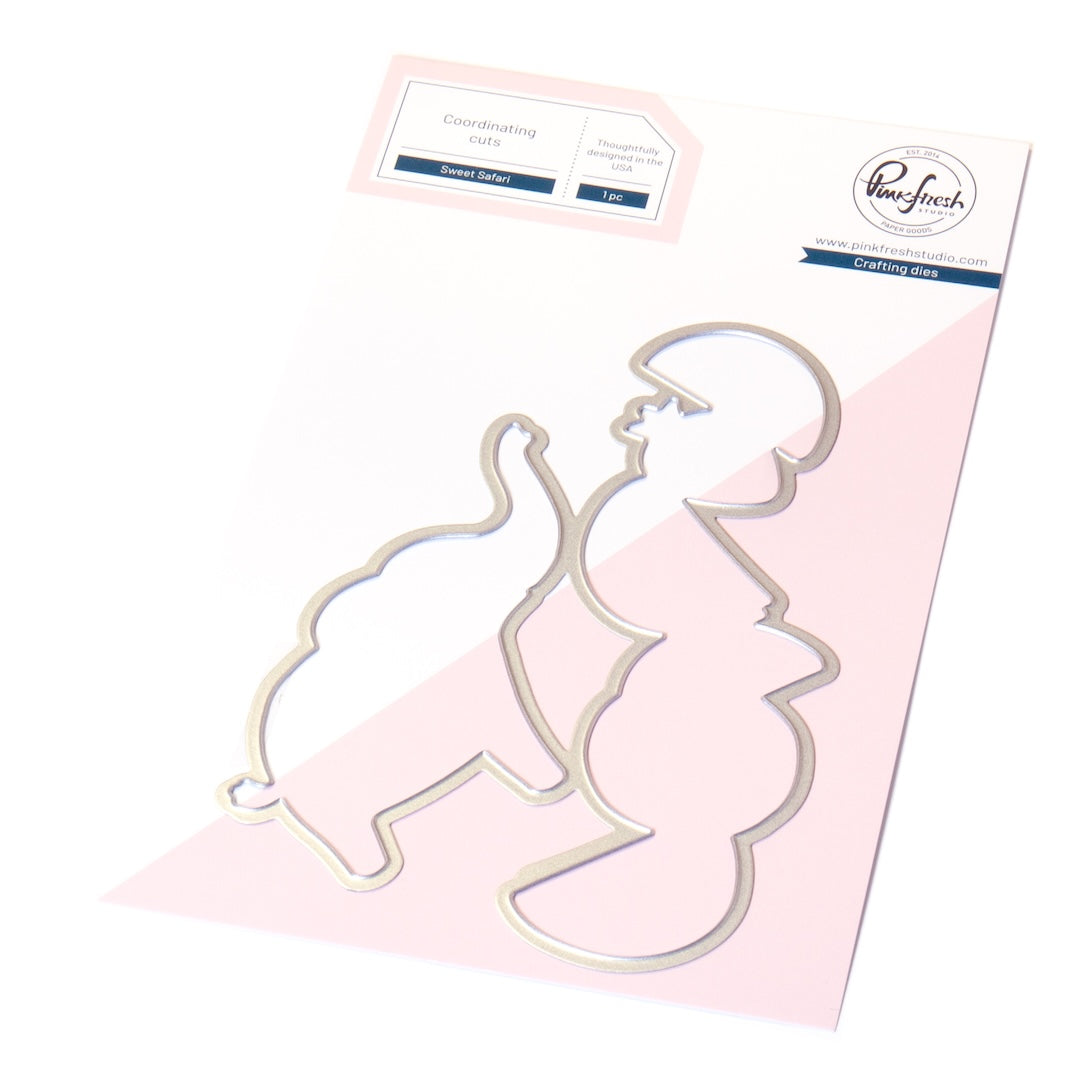
- I used the Sweet Scoops and Sweet Safari die sets to cut them out. I used a pair of scissors to cut the ice cream cone away from the bunny. It was just a few snips. When you do this, make sure to leave a white border, just like the rest of the die cut.
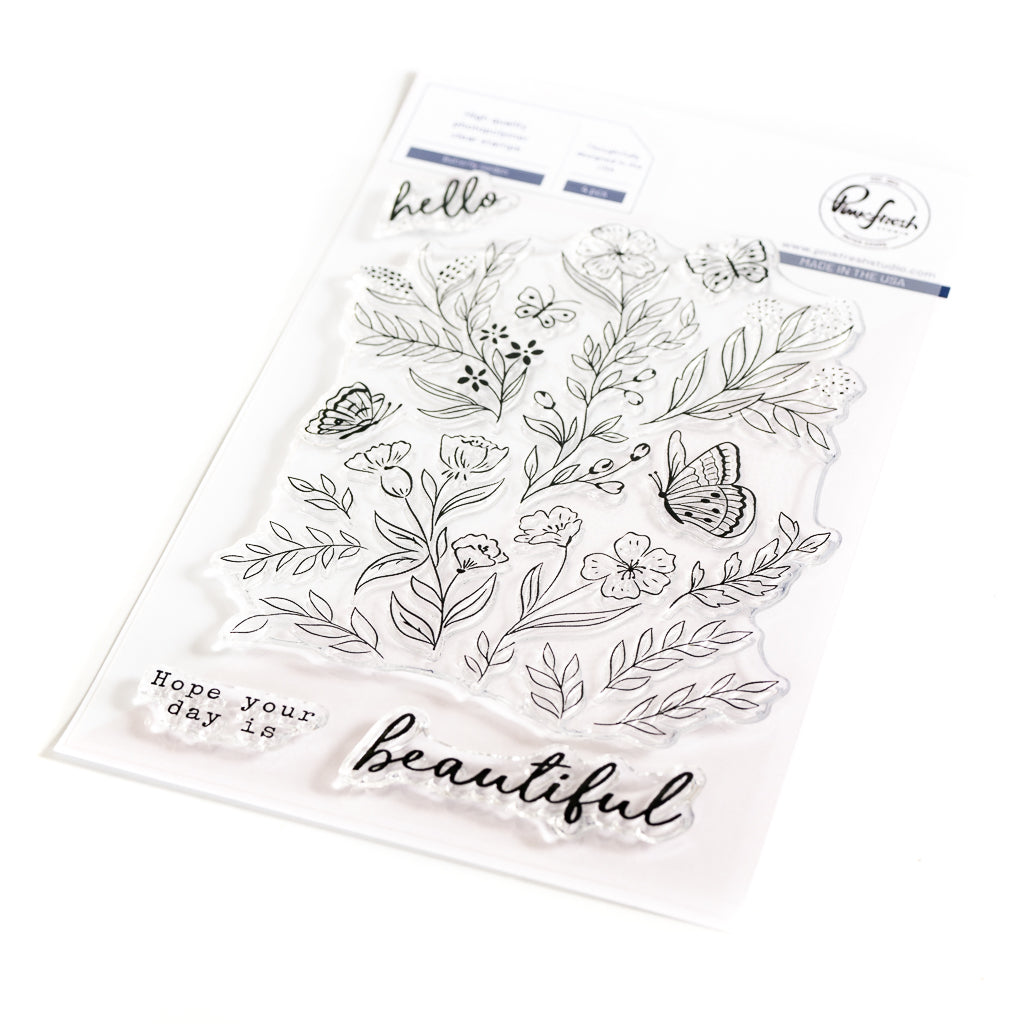
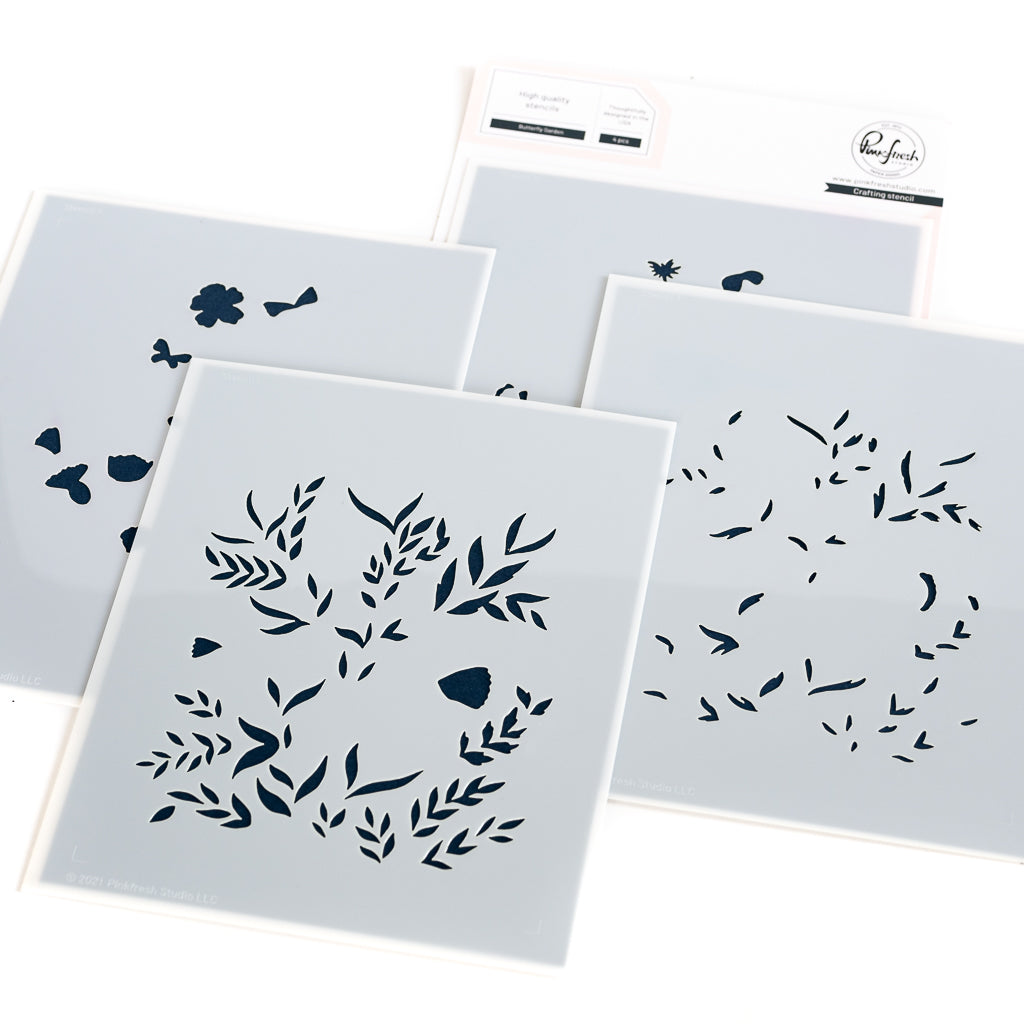
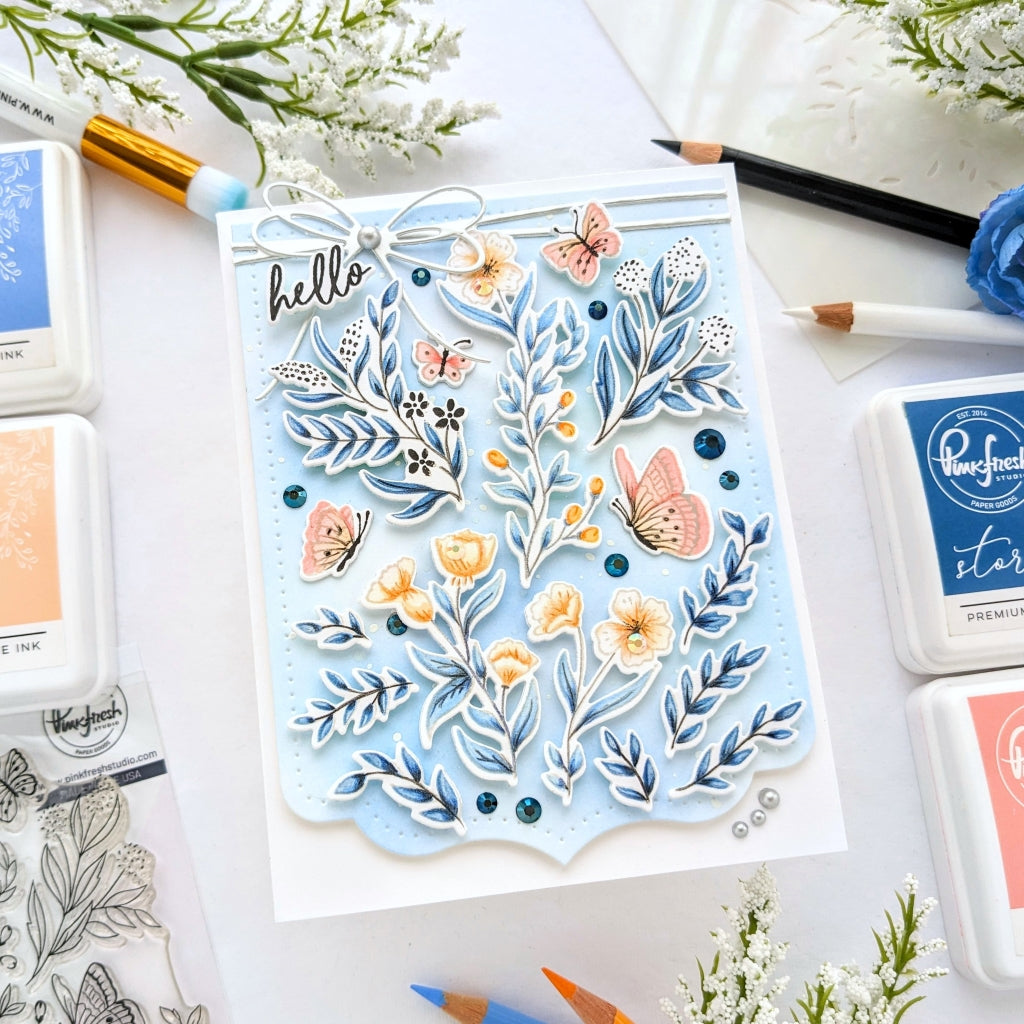
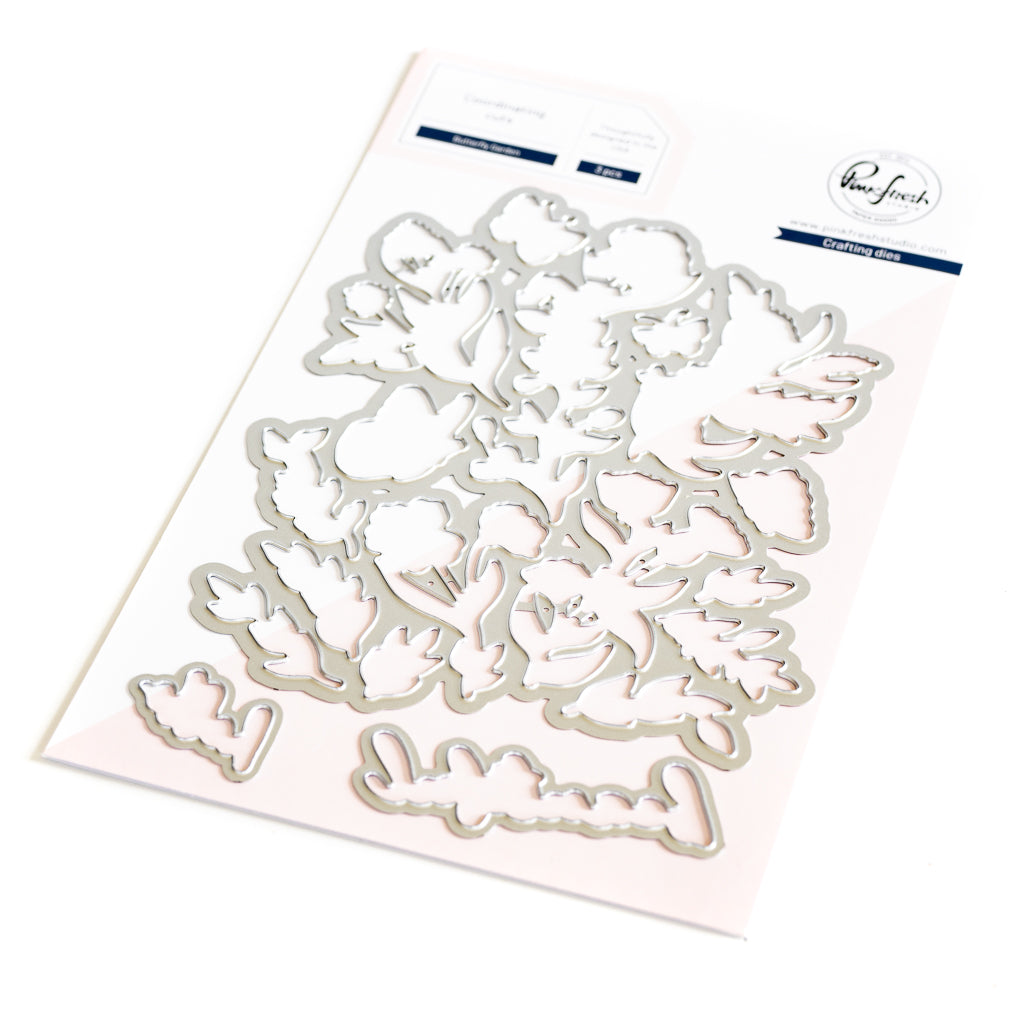
- I set them aside and used Pinkfresh's Butterfly Garden stamp, stencil, and die for some flowers and a cute butterfly.
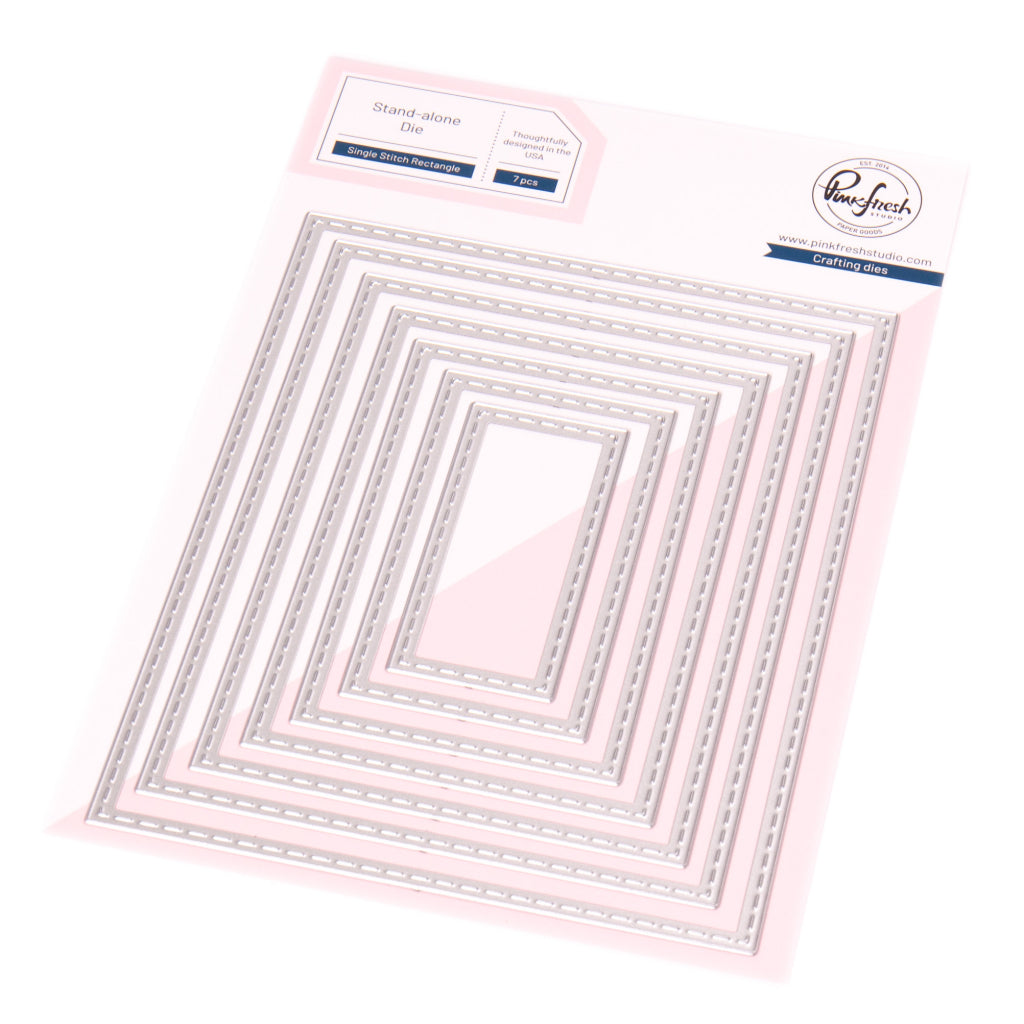
- I set all my die-cut elements aside and began working on my background panel. I used a die from the Single Stitch Rectangle die set to cut out a panel of white cardstock, and meant to color just the bottom part of the panel. (I got a little carried away and ended up coloring just a bit more.)
- I put the background panel in my stamping platform and used the Butterfly Garden stamp to place some foliage along the bottom of the card. I used black ink and didn't color them in, so that they would stay in the background.
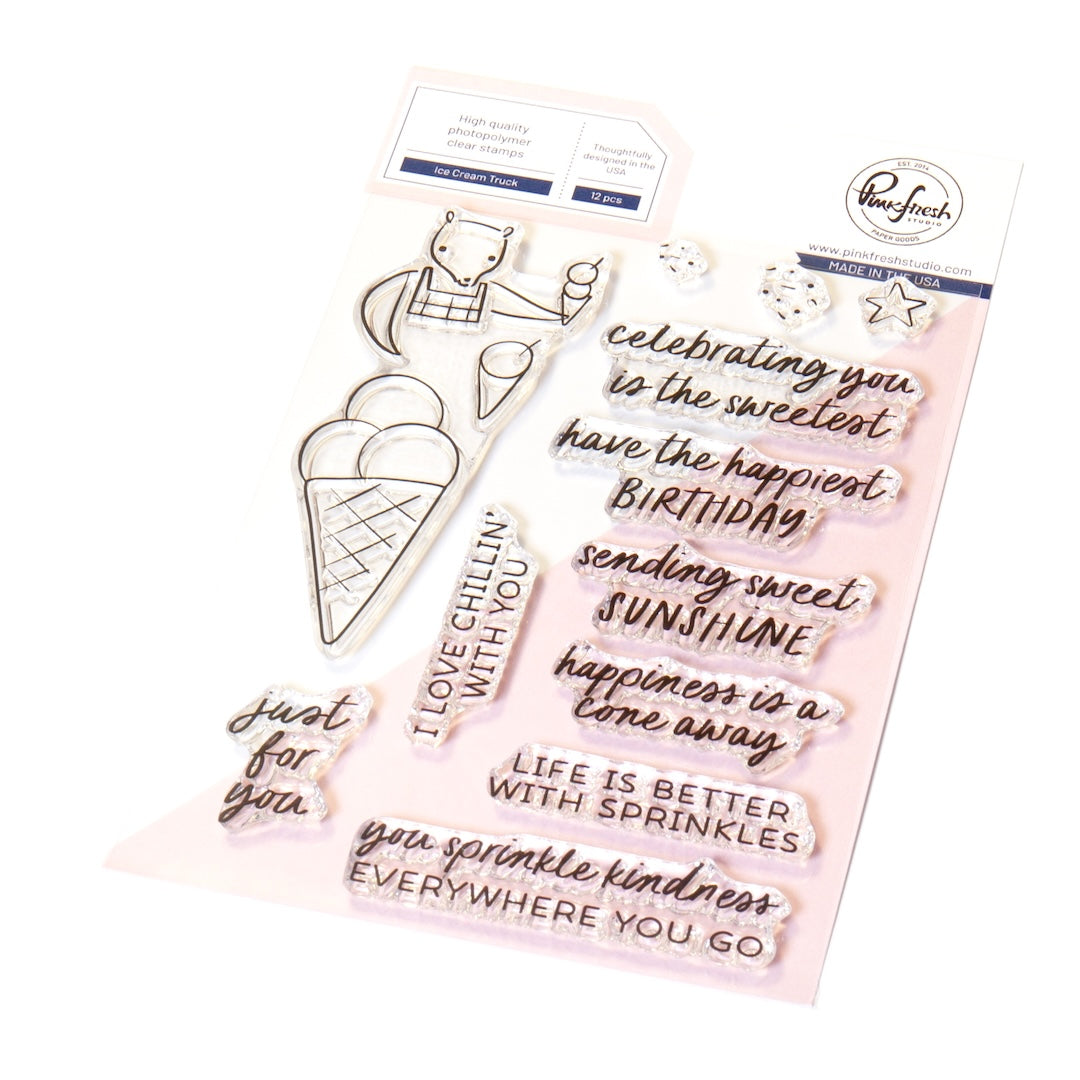
- I stamped a sentiment from the Ice Cream Truck stamp set. And that was it for stamping!
- Use the Single Stitch Rectangle die on white cardstock again, and adhere to the top of an A2-sized card.
- I used fun foam to adhere the backing panel to my card, but it isn't necessary; I like all that dimension.
- Then I started arranging and adhering my die-cut elements, using foam tape.
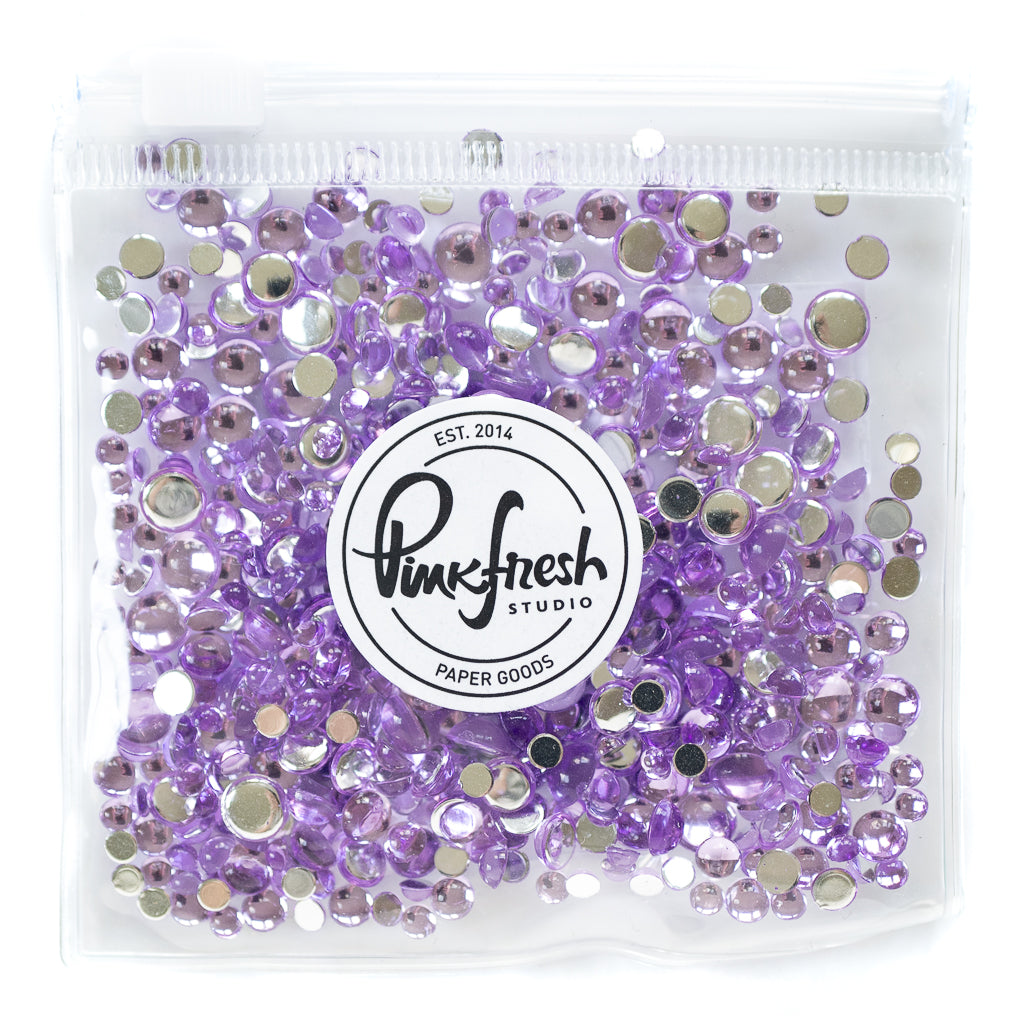
- I added a few lilac clear drops and was done with my card.

The simple, just-jotted-down look of the sentiment matches perfectly with the simple (non-detailed) illustrations. And I hope that whoever I end up giving this card to is as charmed by those bunny and elephant pals as I am.
If you're a novice scene builder like me, I hope that these tips prove helpful.
Thank you so much for coming by!
-Anne
Recommended Products






















Leave a comment
All comments are moderated before being published.
This site is protected by hCaptcha and the hCaptcha Privacy Policy and Terms of Service apply.