
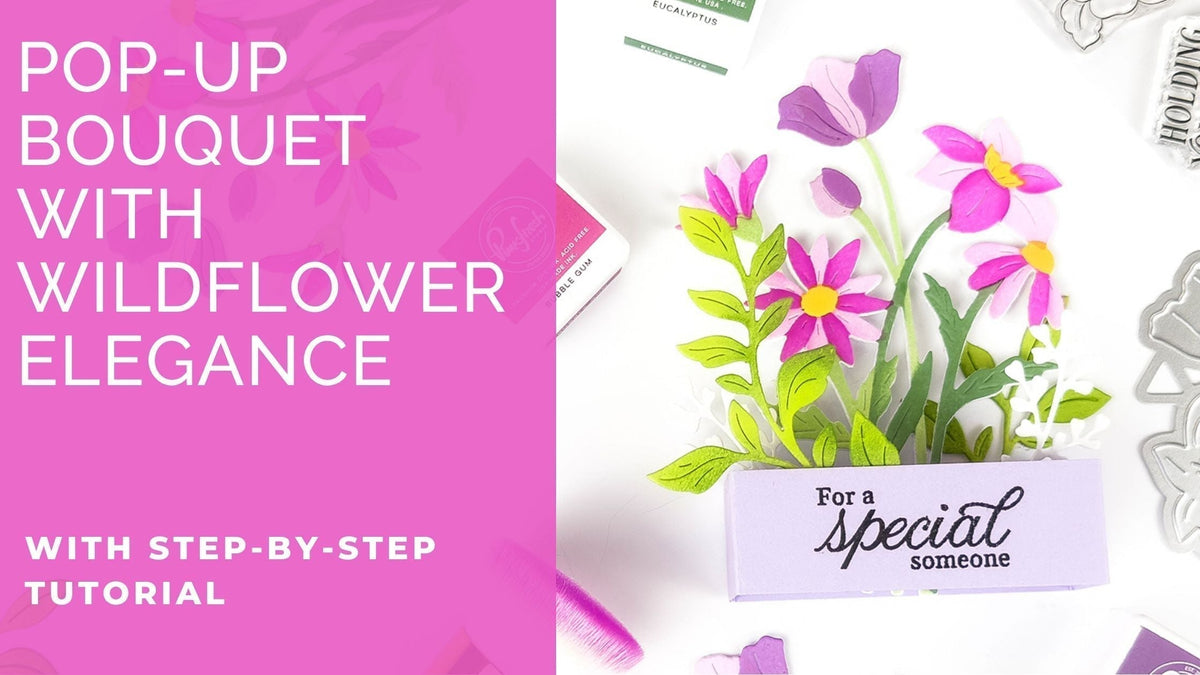
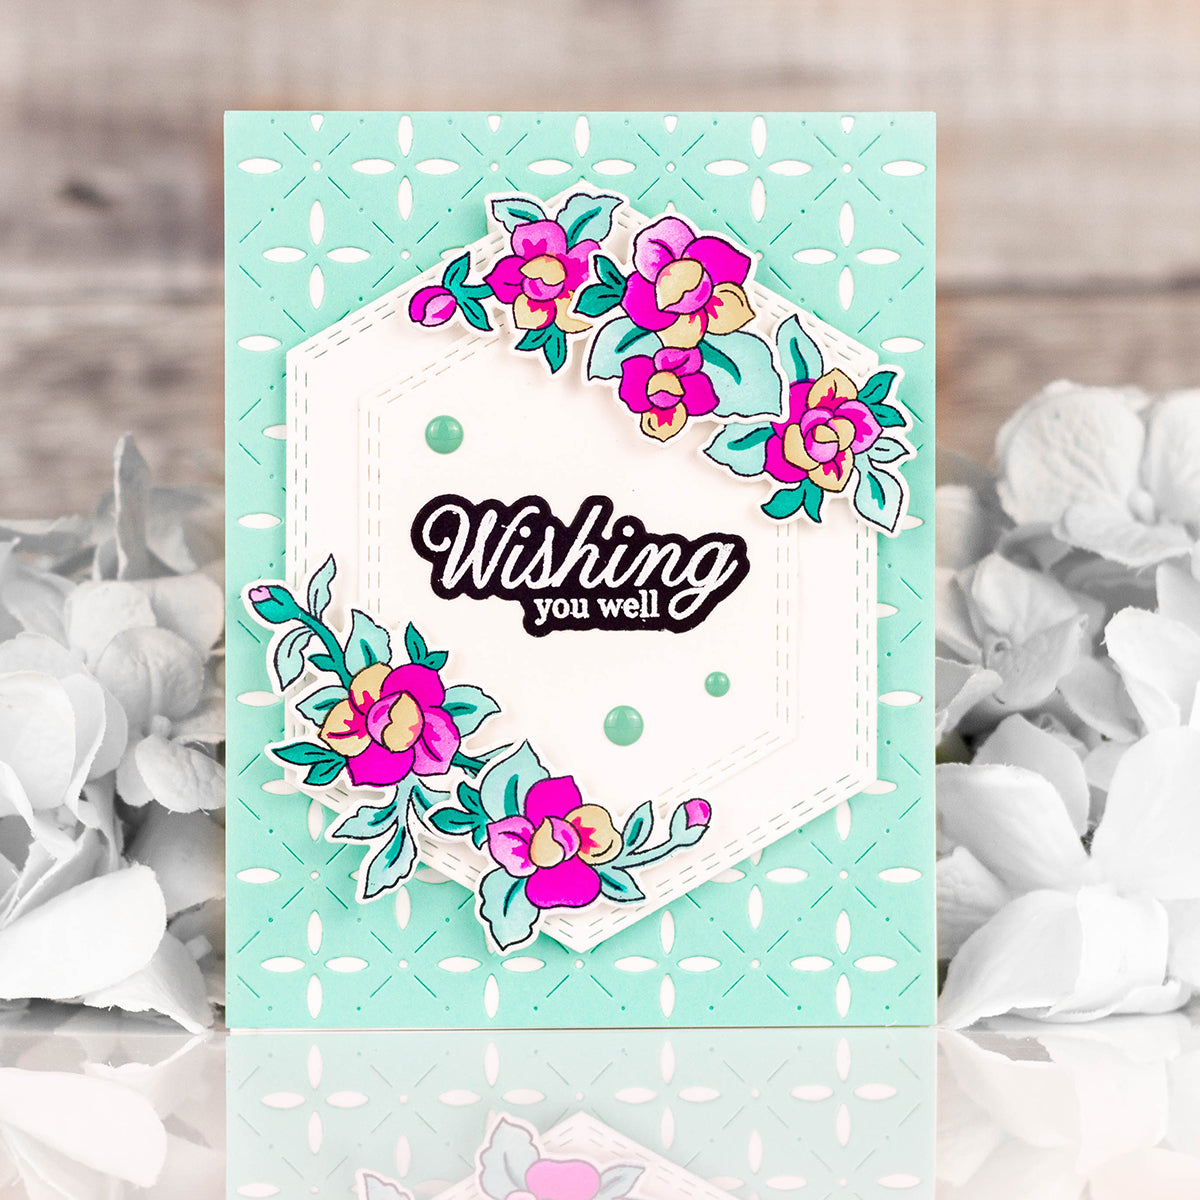
Hello friends! It's Rachel here with a fun 3D pop-up box card that features a sweet little bouquet of flowers from the new Wildflower Elegance product suite.
I have always enjoyed making box cards. When I first saw this set, I thought it would be perfect as a simple upright bouquet that would look lovely as a display on a shelf. This card is actually quite simple to make, so I hope you will give it a try on your own!
*Disclaimer: All products used are linked below as clickable images. If a product isn’t listed, it’s been discontinued

How to recreate this card:
1. Trim one strip of colored card stock (I used light purple) at 9" x 1" and two more at 3 3/4" x 1".
2. Score the 9" piece at 1 1/4", 4 1/4", 5 1/2", and 8 1/2".
3. Fold along each score line until you create an open rectangular shaped base and adhere the ends together by adding liquid adhesive to the 1/2" tab on the one end.
4. Score each of the smaller strips at 3/8" from each end (to form tabs) and add glue to the tabs in order to insert each strip into the rectangular box base to form inner shelves.
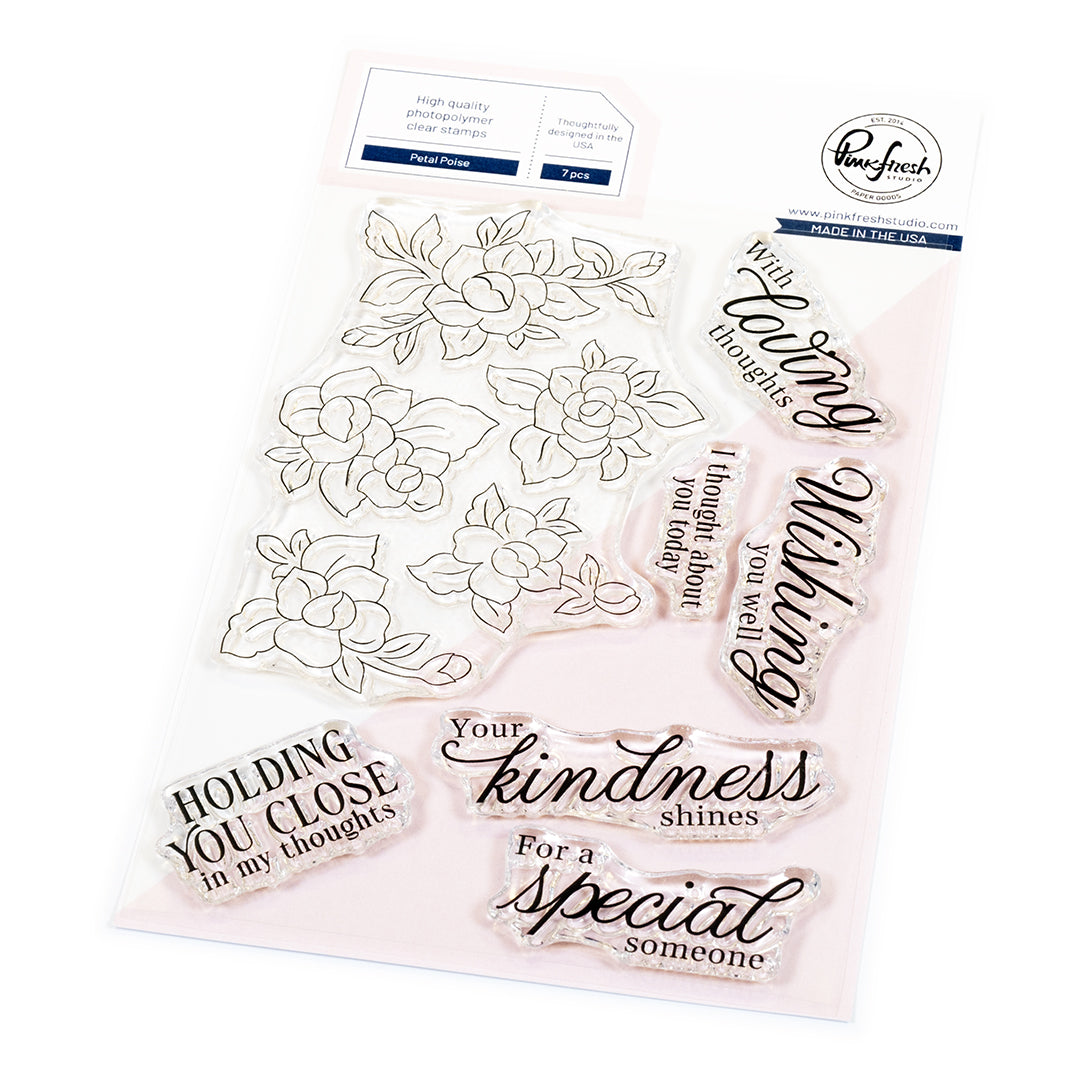
5. Fold flat and stamp the sentiment from the Petal Poise Stamp onto the center front of the box. (You can always stamp the sentiment before you make the base or add a die cut sentiment at a later time if desired.)
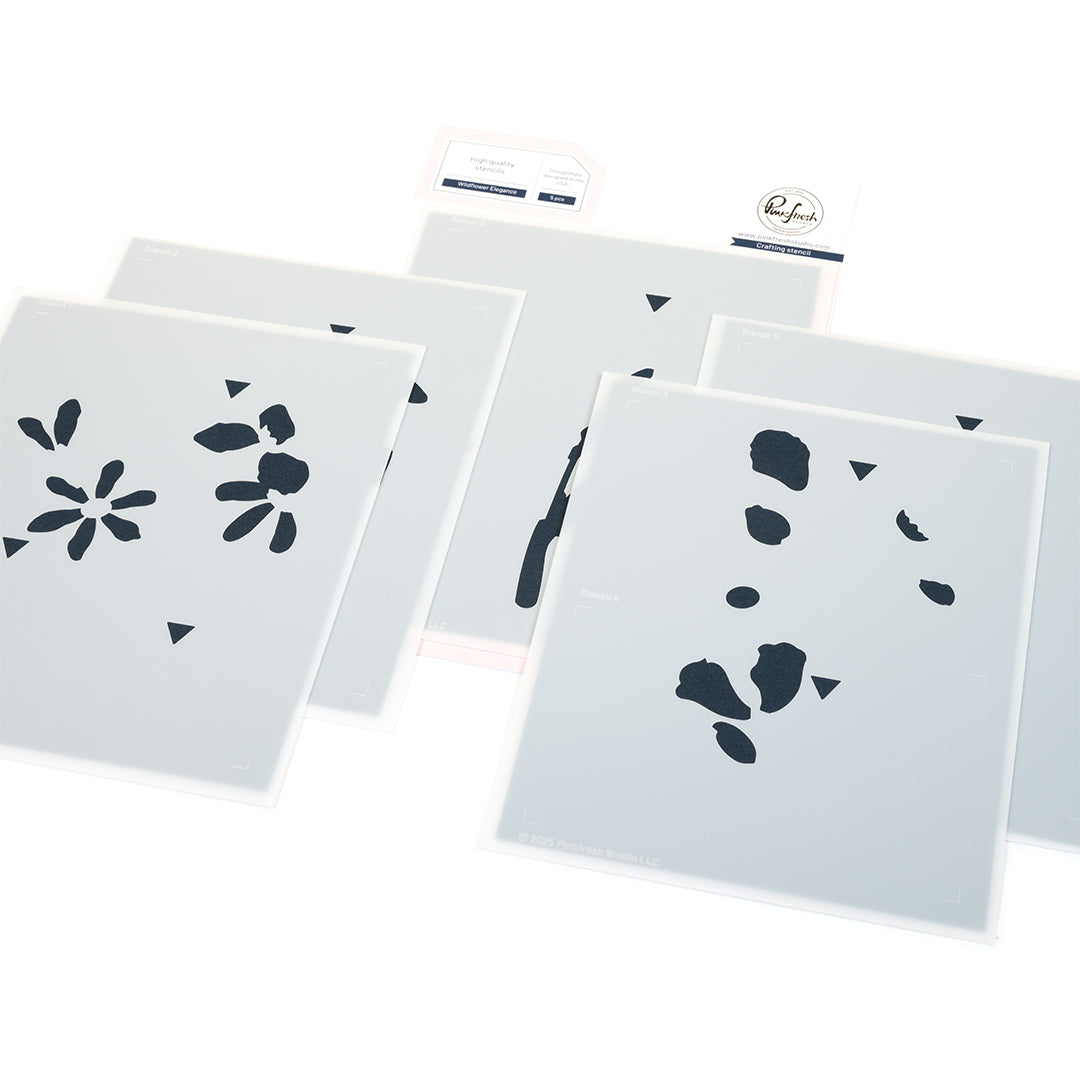
6. Set the box base aside and create flowers using the Wildflower Elegance Stencils and a piece of smooth white card stock. Add color to your stencils using Pinkfresh Studio Inks and Brushes.
- Stencil 1: Sparkling Rose
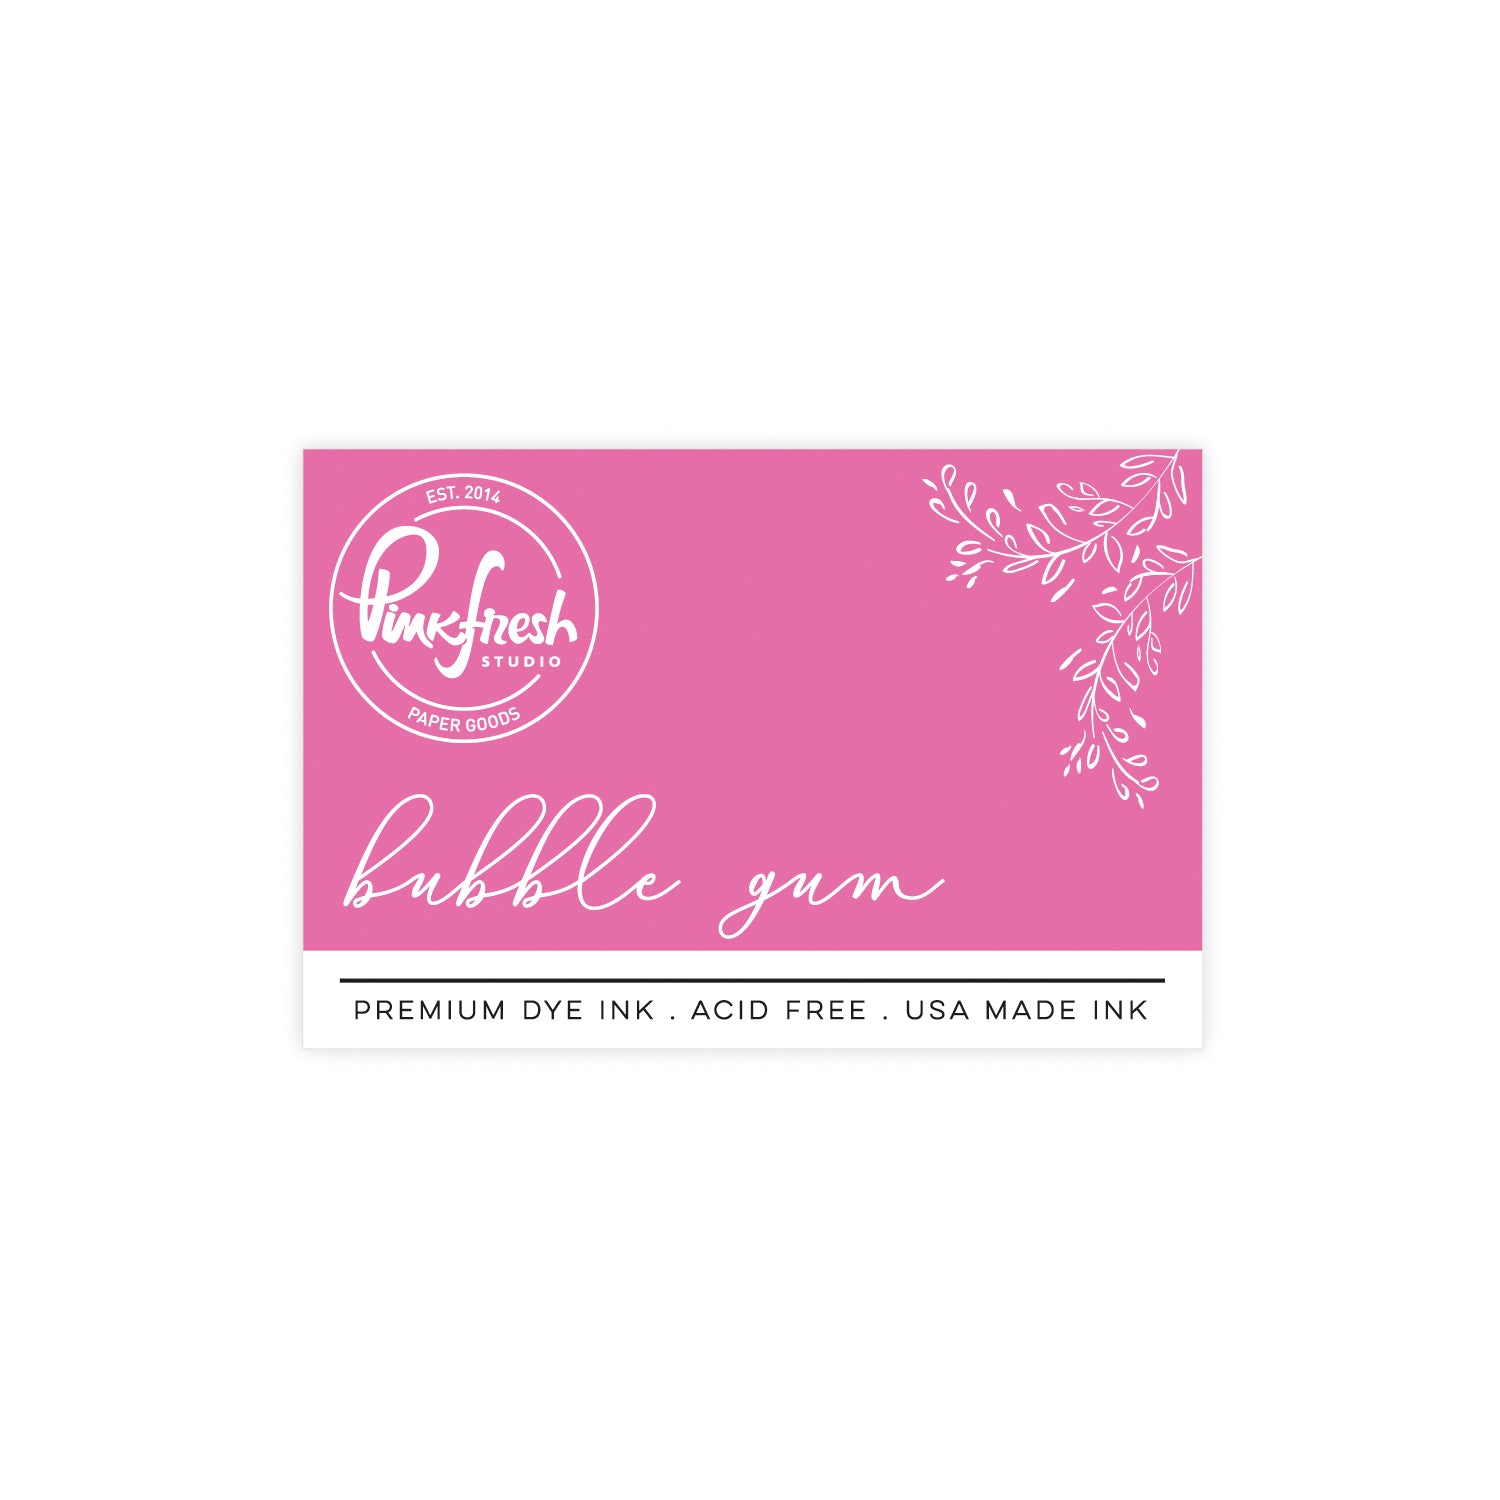
- Stencil 2: Bubble Gum
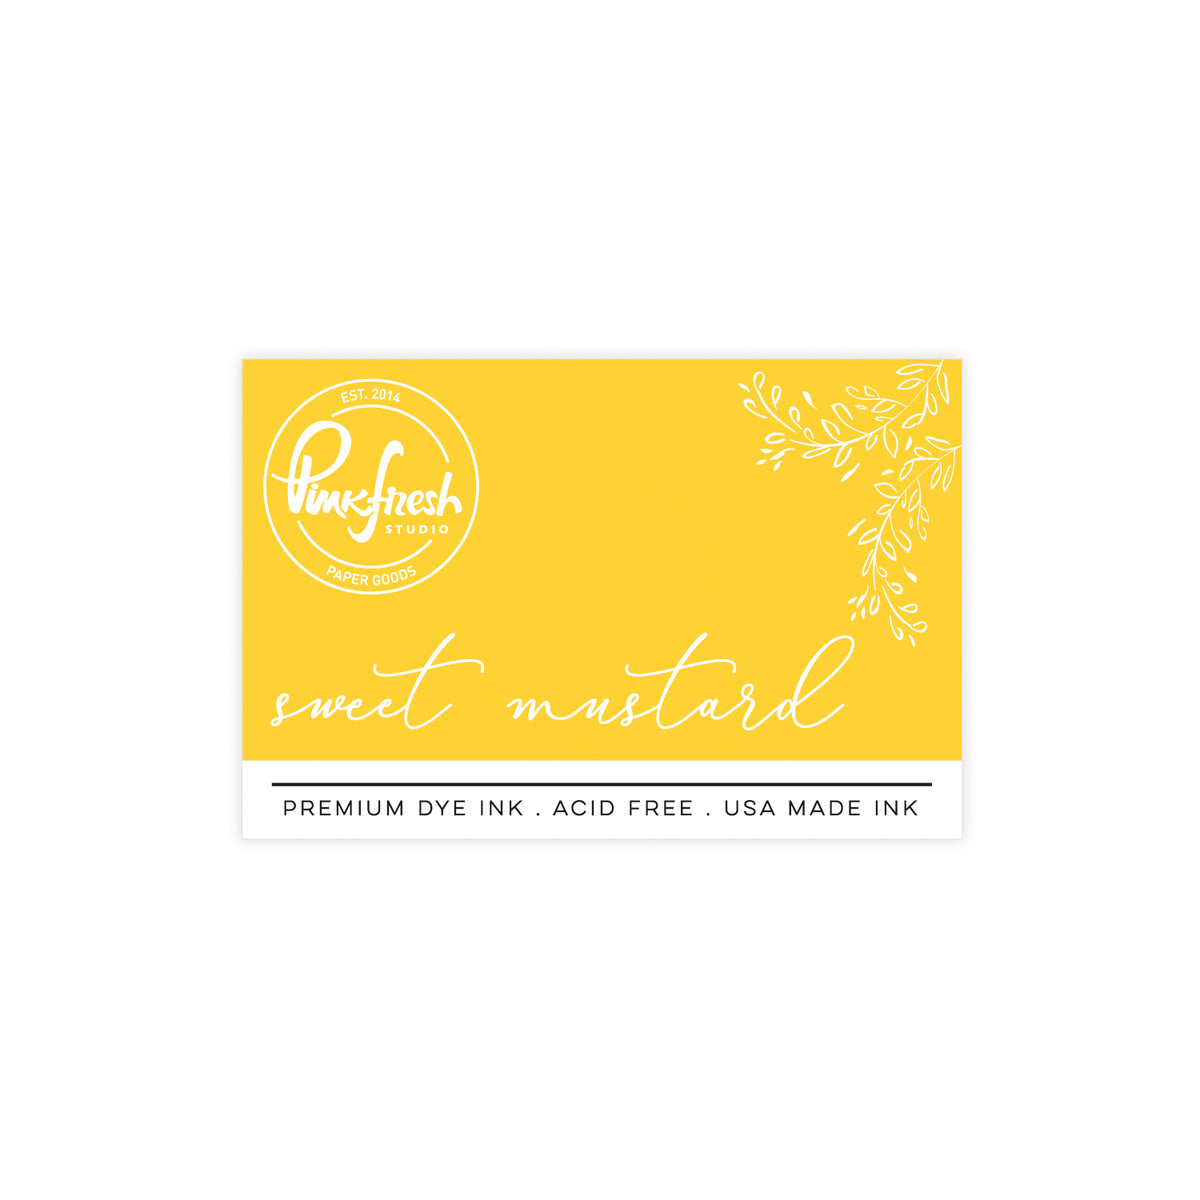
- Stencil 3: Soft Lilac, Sweet Mustard
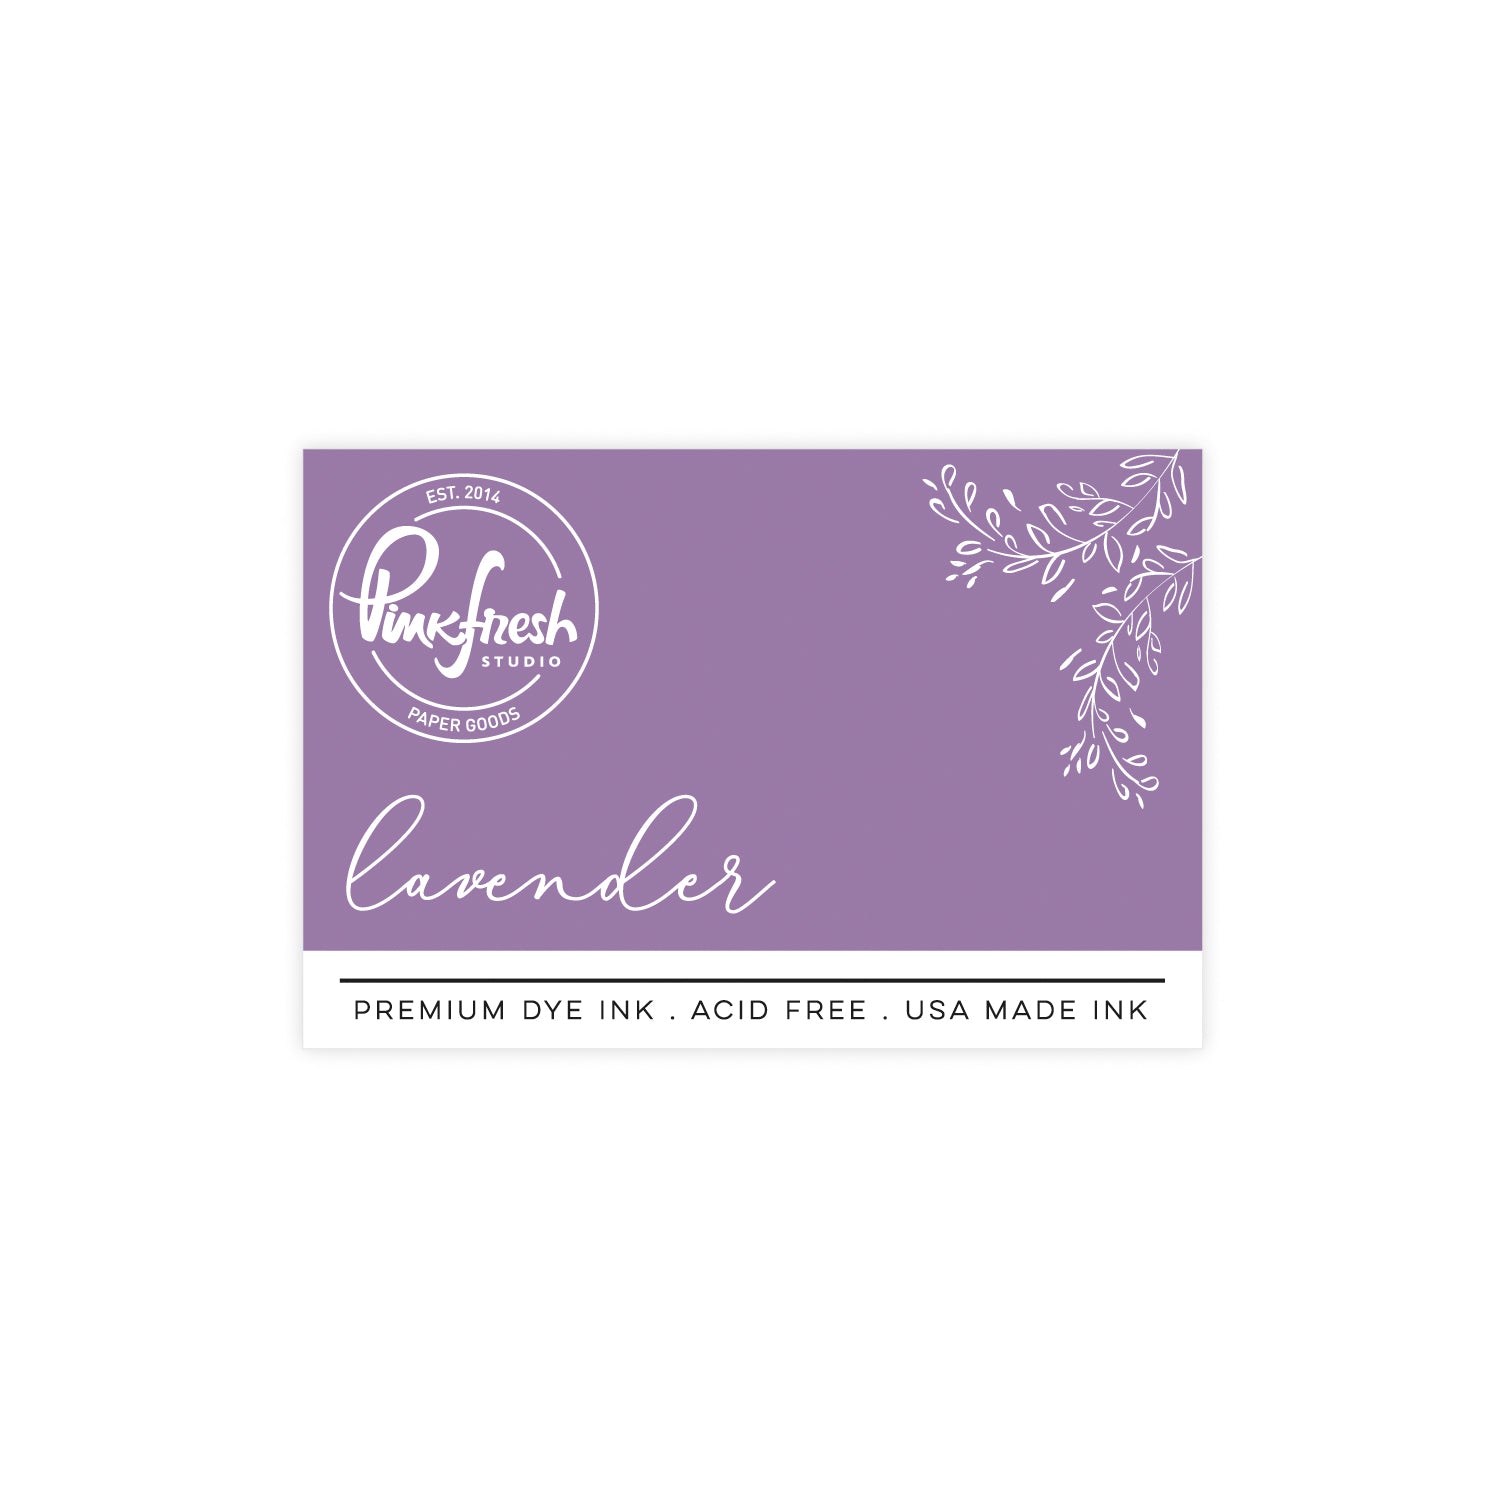
- Stencil 4: Lavender
- Stencil 5: Fresh Pear
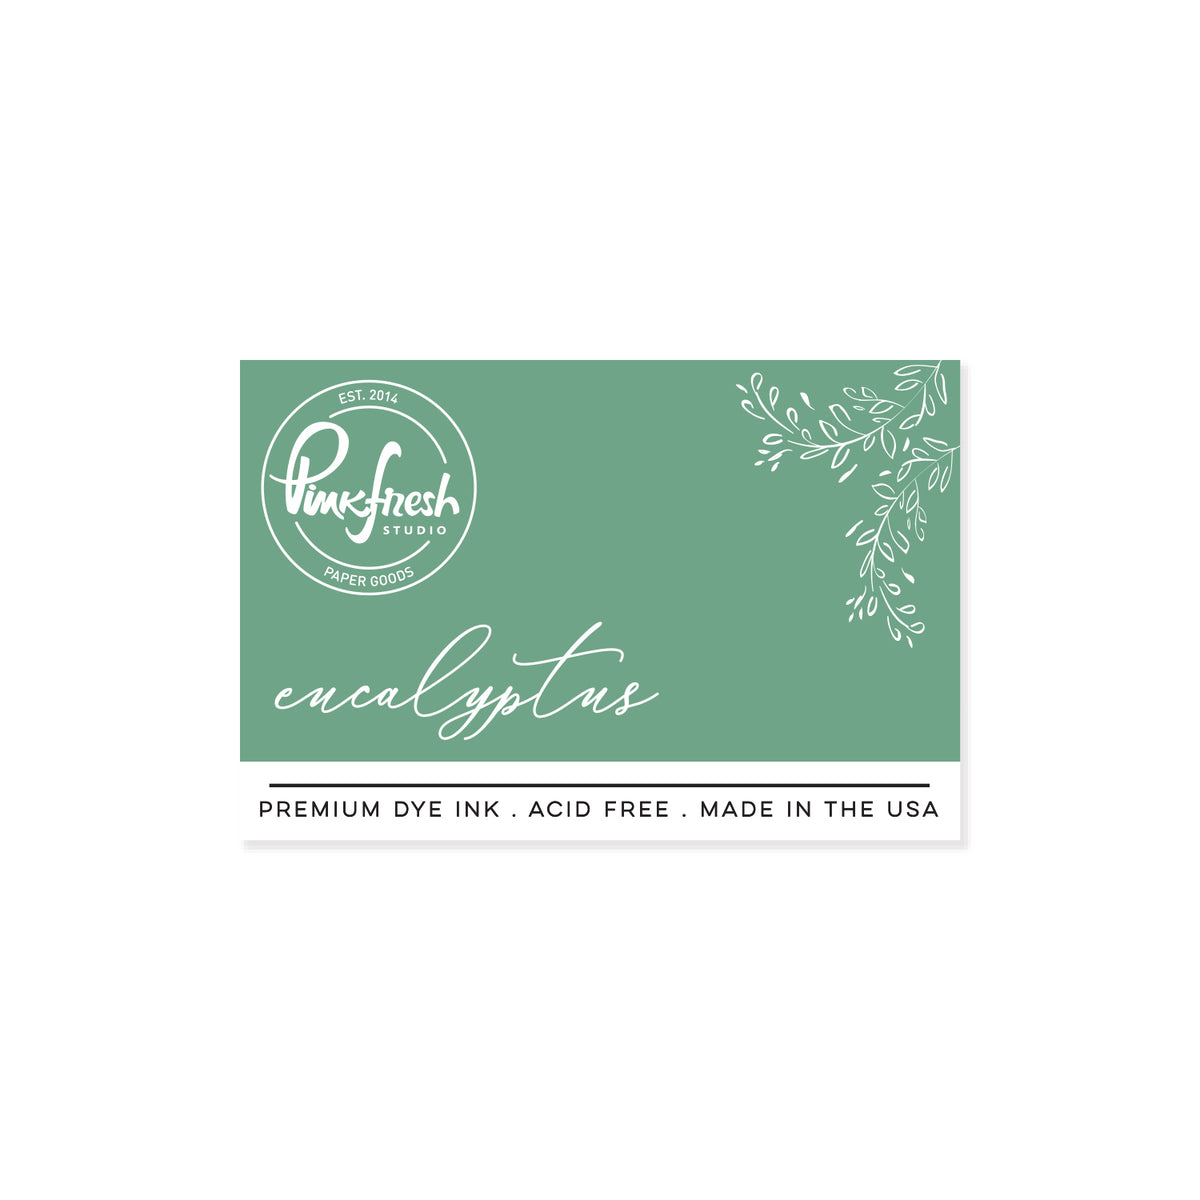
- Stencil 6: Eucalyptus
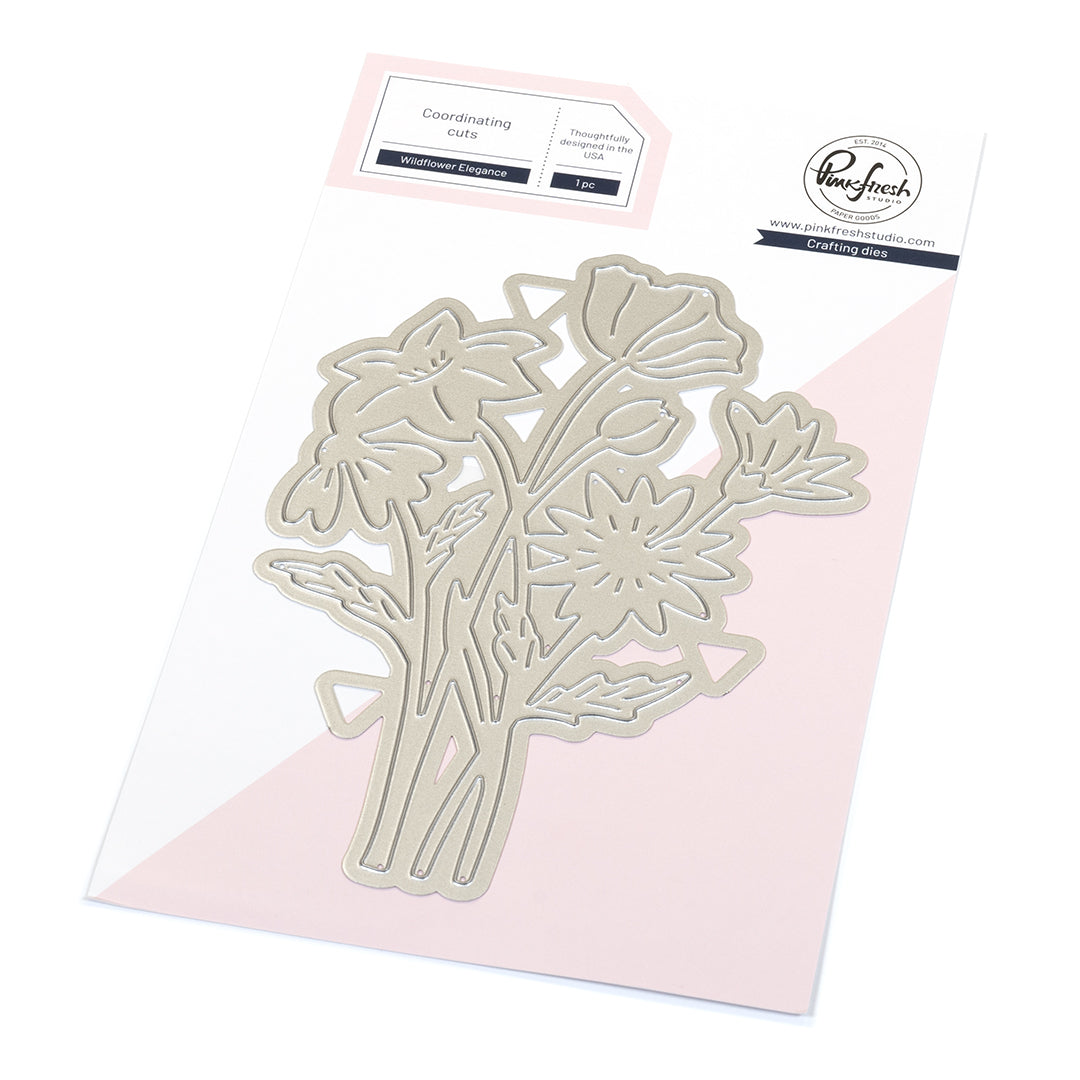
7. Use the coordinating Wildflower Elegance Die to die cut the ink-blended floral arrangement.
8. Using just the Wildflower Elegance Die, die cut one or two more plain wildflower bouquets from white card stock and adhere them with liquid adhesive behind the ink blended cut. This allows the flowers to stand upright without falling over once placed inside the box card.
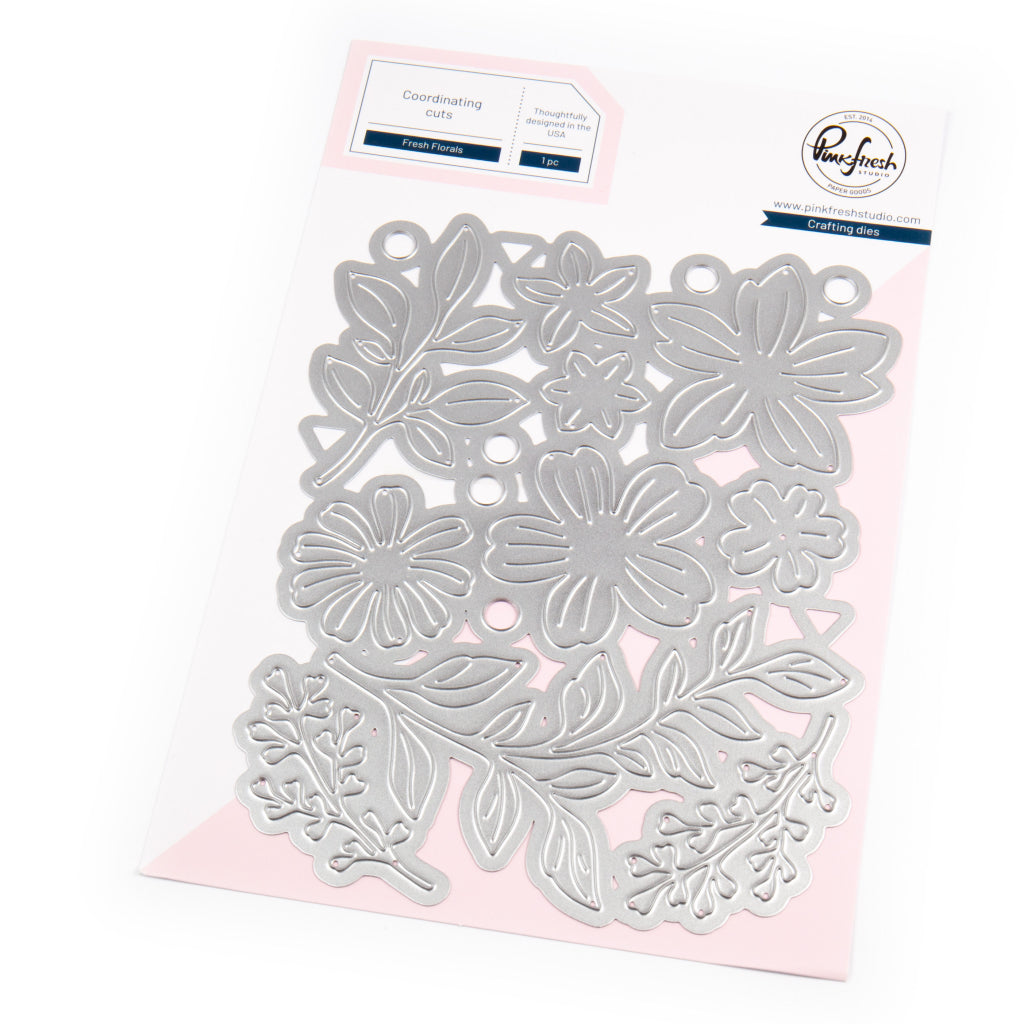
9. If desired, die cut some greenery and other foliage using the previously released Fresh Florals Die. Add some shading to the die cuts with Pinkfresh Studio Inks. (I used Eucalyptus ink to add some depth to my green foliage pieces.)
10. Lastly, add florals and foliage inside of box card base using liquid adhesive.

Once finished, you should have a simple but sweet 3D bouquet of wildflowers. This card folds flat to fit perfectly into an A2 envelope (as shown below).
Tip: If your card doesn't fit into the envelope when folded, try folding it to the other side. Sometimes, that's all it needs and you won't need to readjust anything. If that doesn't work, you can always use a slightly larger envelope.

I hope you enjoyed my card today and will be inspired to make one of your own!
I would love to see what you create! Make sure to tag us on Instagram with your personal creations using these products!
Please feel free to leave a comment below as well as any questions you may have.
- Rachel
Recommended Products



















Leave a comment
All comments are moderated before being published.
This site is protected by hCaptcha and the hCaptcha Privacy Policy and Terms of Service apply.