
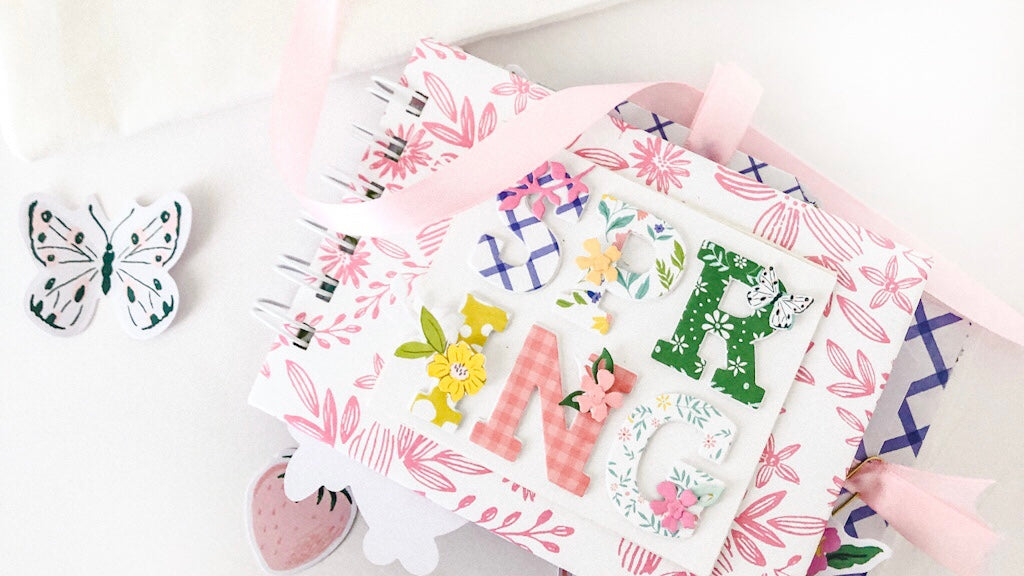
Hello everyone! It's Susi here today sharing my very first project using the gorgeous Happy Blooms collection which soon you will be able to find on the Pinkfresh shop. I decided to use this collection to create a spring mini album. I don't know about you guys, but spring is probably my favorite season. I love summer too and this collection is perfect to document both seasons.
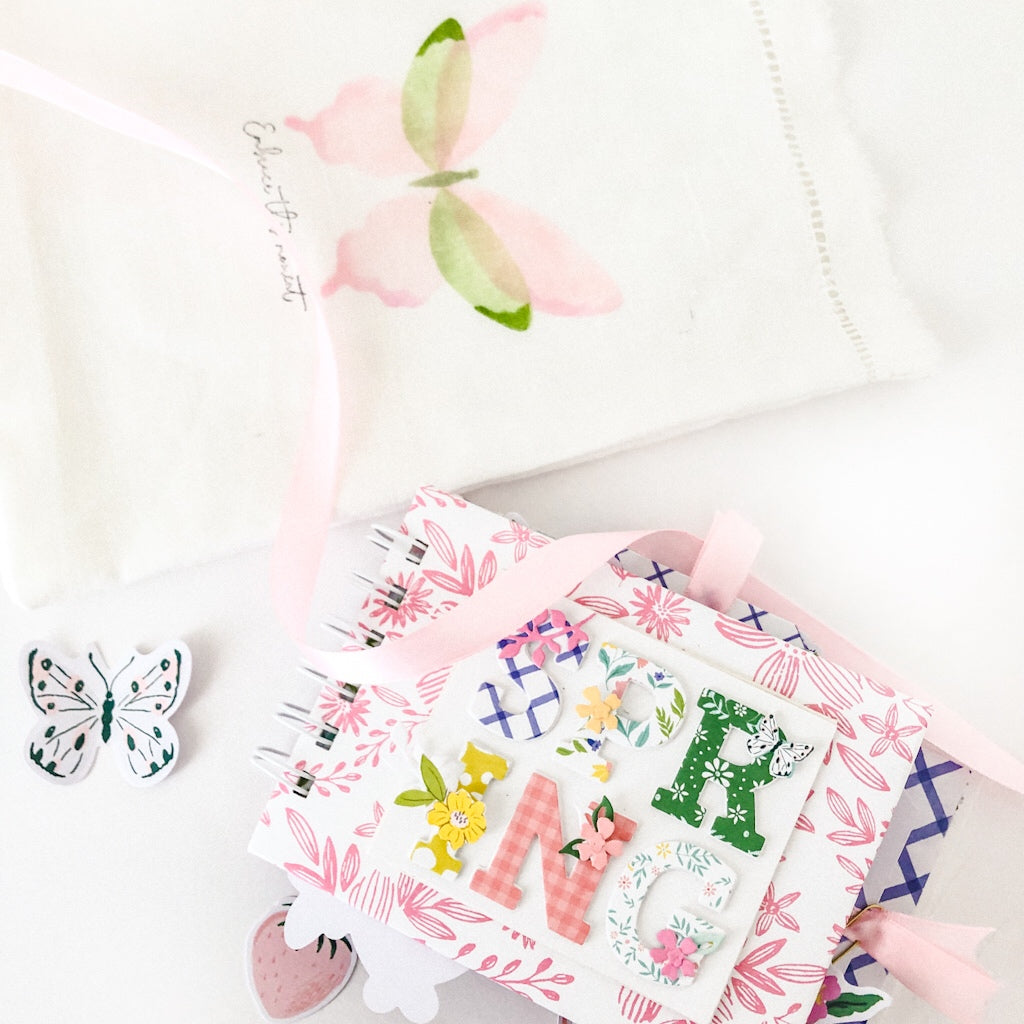
I started by cutting chipboard to 4 x 5 inches for the cover and to 4 x 6 inches for the back cover. I wanted to cover the mini book with my favorite patterned paper from the collection called "Embroidered". I cut it to 5 x 6 inches and covered the outside of my album with it. After that I cut white cardstock to 5 x 7 inches to cover the back. I used the B-side of the patterned paper to covered the inside of the front and the inside of the back of the mini.
To decorate the cover I die cut the word spring using the Adore Alpha Die Set. I die cut four times each letter using white cardstock and glued them together. I die cut one more time each letter using different papers from the collection. Then I glued all the letters on a white 4 x 4 inches cardstock

Next, I made 6 pages/inserts for this mini album.
1. To make the first page I used an element from Journaling Bits. I only added the cute pear from the Ephemera Pack. On the back I glued another Journaling bit and decorated it with the beautiful butterfly. If you don't know I'll tell you that I love the butterflies.

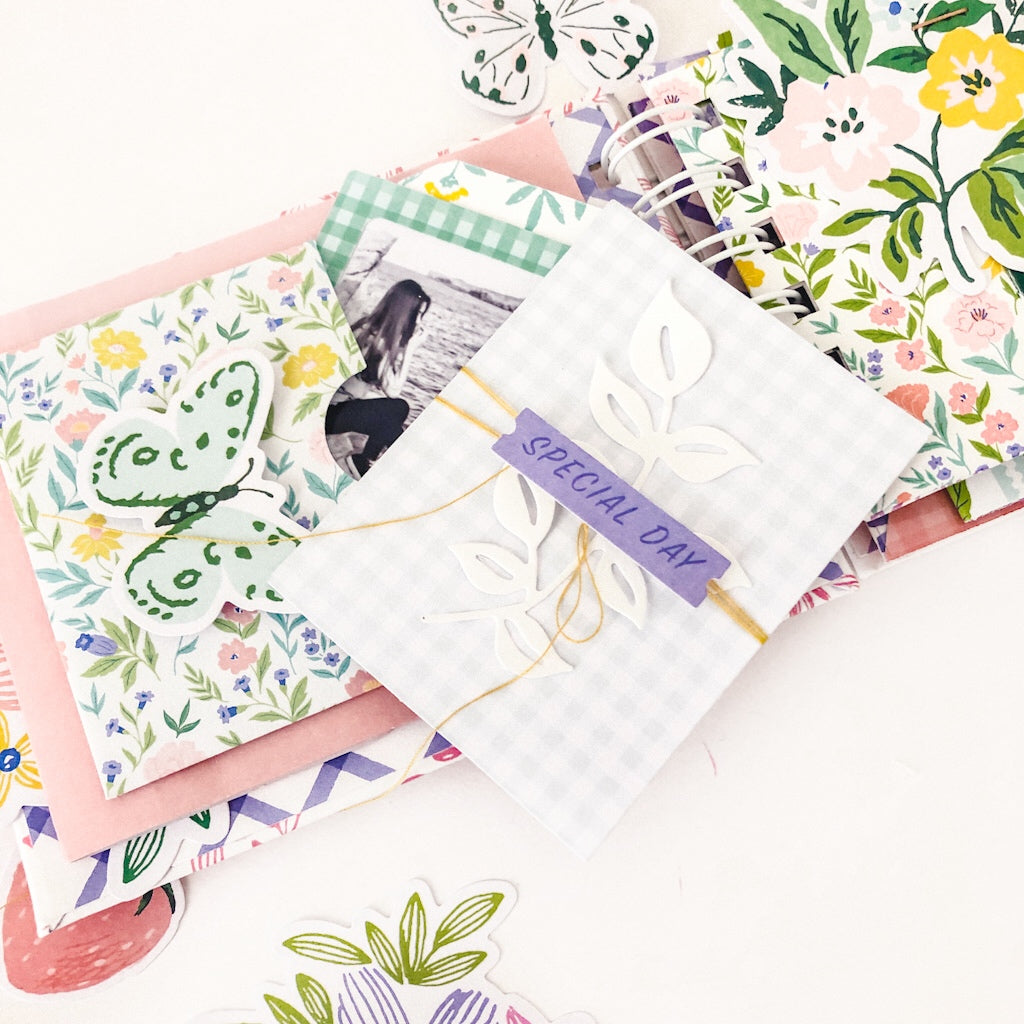
2. Page two: I trimmed down a piece of "Happy Place" paper to 4 x 11 inches and folded it in half to create a pocket. I added a photo with elements from floral ephemera pack to embellished it. Next, I used the Butterflies Layering Stencil Set and Butterflies die to create the butterfly. I die cut a photo and glued it on back.
I used the following ink cubes: Slumber, Lavender, Ballet Slipper and Sparkling Rose.

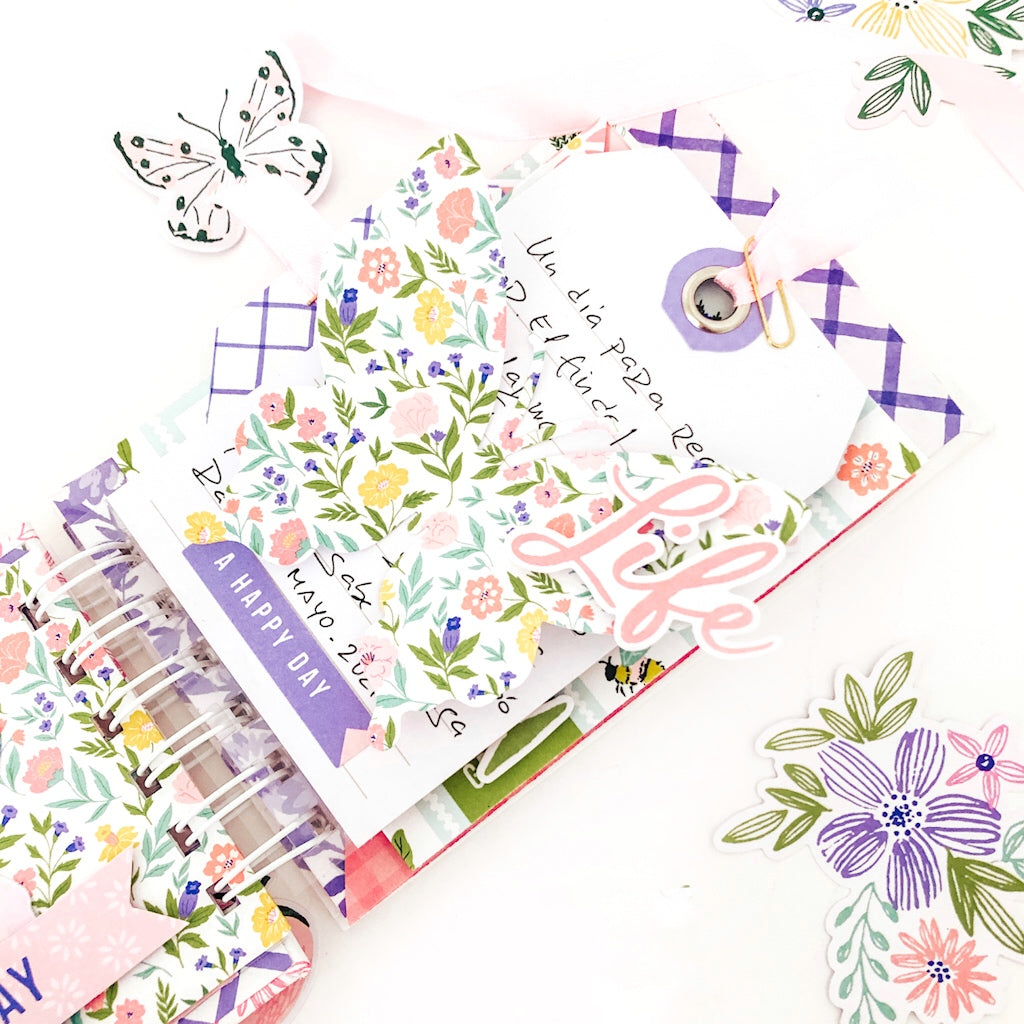
3- The next page is another journaling bit. I die cut a butterfly and wrote my journaling. On the back I used the new Lots of Love Die Set. It's simply gorgeous!

4. Page four: I created a false enveloped using the Cottage patterned paper. I added cardstock stickers to embellish it. I created flaps using the cards from the ¨Homegrown" patterned paper.


5- Page five: I trimmed down a piece from ¨Garden¨paper to 4 x 10 inches. I folded it in half and die cut a heart. Then, I cut another piece to 4 x 5 iinches from the B-side of ¨Cottage¨patterned paper and die cut an smaller heart. Then, I attached it with a tab. Finally I die cut my photo using a smaller heart die. I love the effect created. I embellished the page using elements from Ephemera Pack.
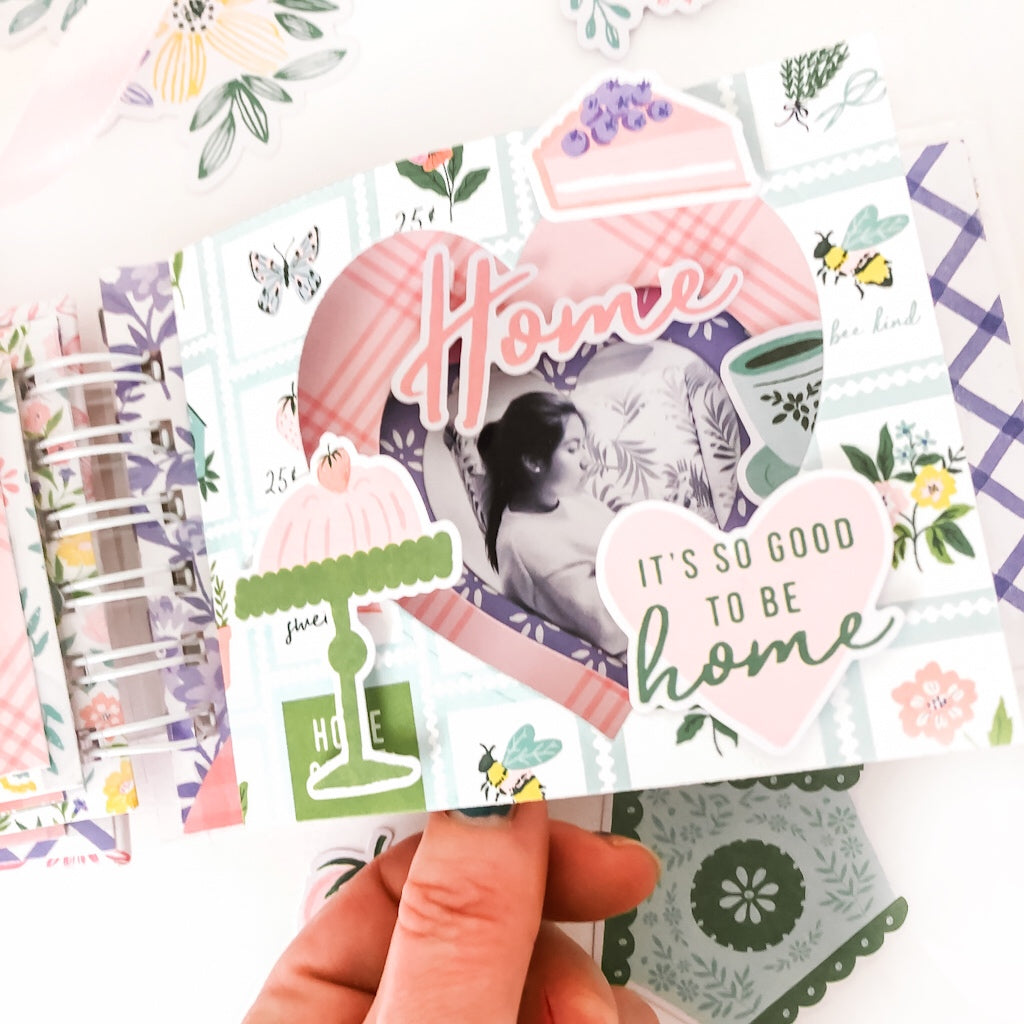
6- Finally, I trimmed down a piece of ¨Daydream¨patterned paper and I made a pocket.

I wanted to use my Zutter Bind-it-all machine so I trimmed down hinges from acetate sheet and then I attached the pages 1,3,4 and 5 to the hinges. I used a white 3/4¨ binding wires to attached them.
I decided to make a cute packaging so I created a fabric bag. I used the gorgeous ¨Butterflies layered stencil set" to embellished it. I used Grassy knoll, Key Lime, Ballet Slipper and Sparkling Rose ink cubes. I stamped the sentiment "Embrace this moment" from Butterflies Stamp Set. I think it is a very nice way to wrap a gift.

I hope you like it! Thanks for the visit and have a great day! I'm sure you check all the Happy Blooms collection on the blog.

6 comments
Didbaw
cialis otc uk brand cialis no prescription medicamente potenta cialis
Leave a comment
All comments are moderated before being published.
This site is protected by hCaptcha and the hCaptcha Privacy Policy and Terms of Service apply.