

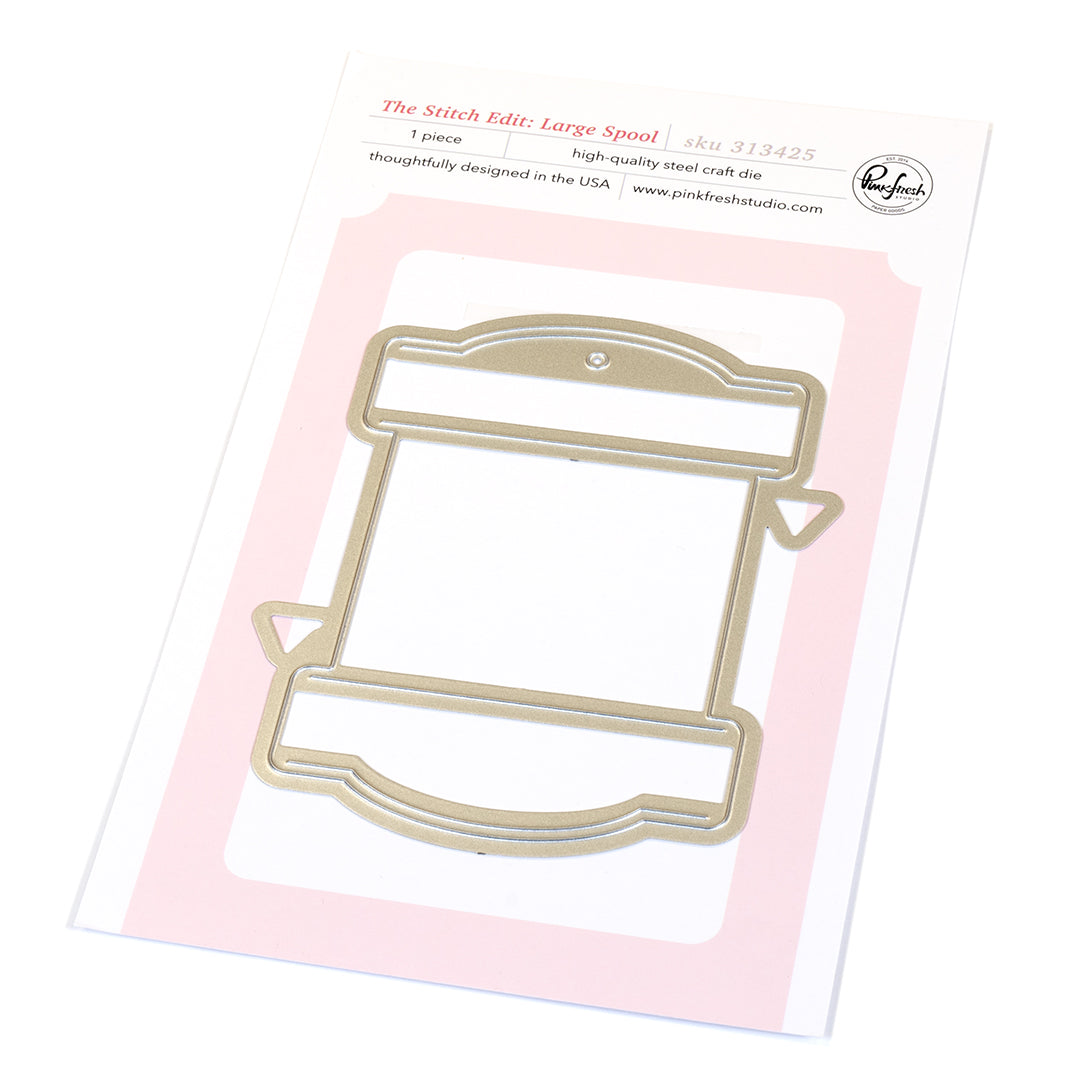
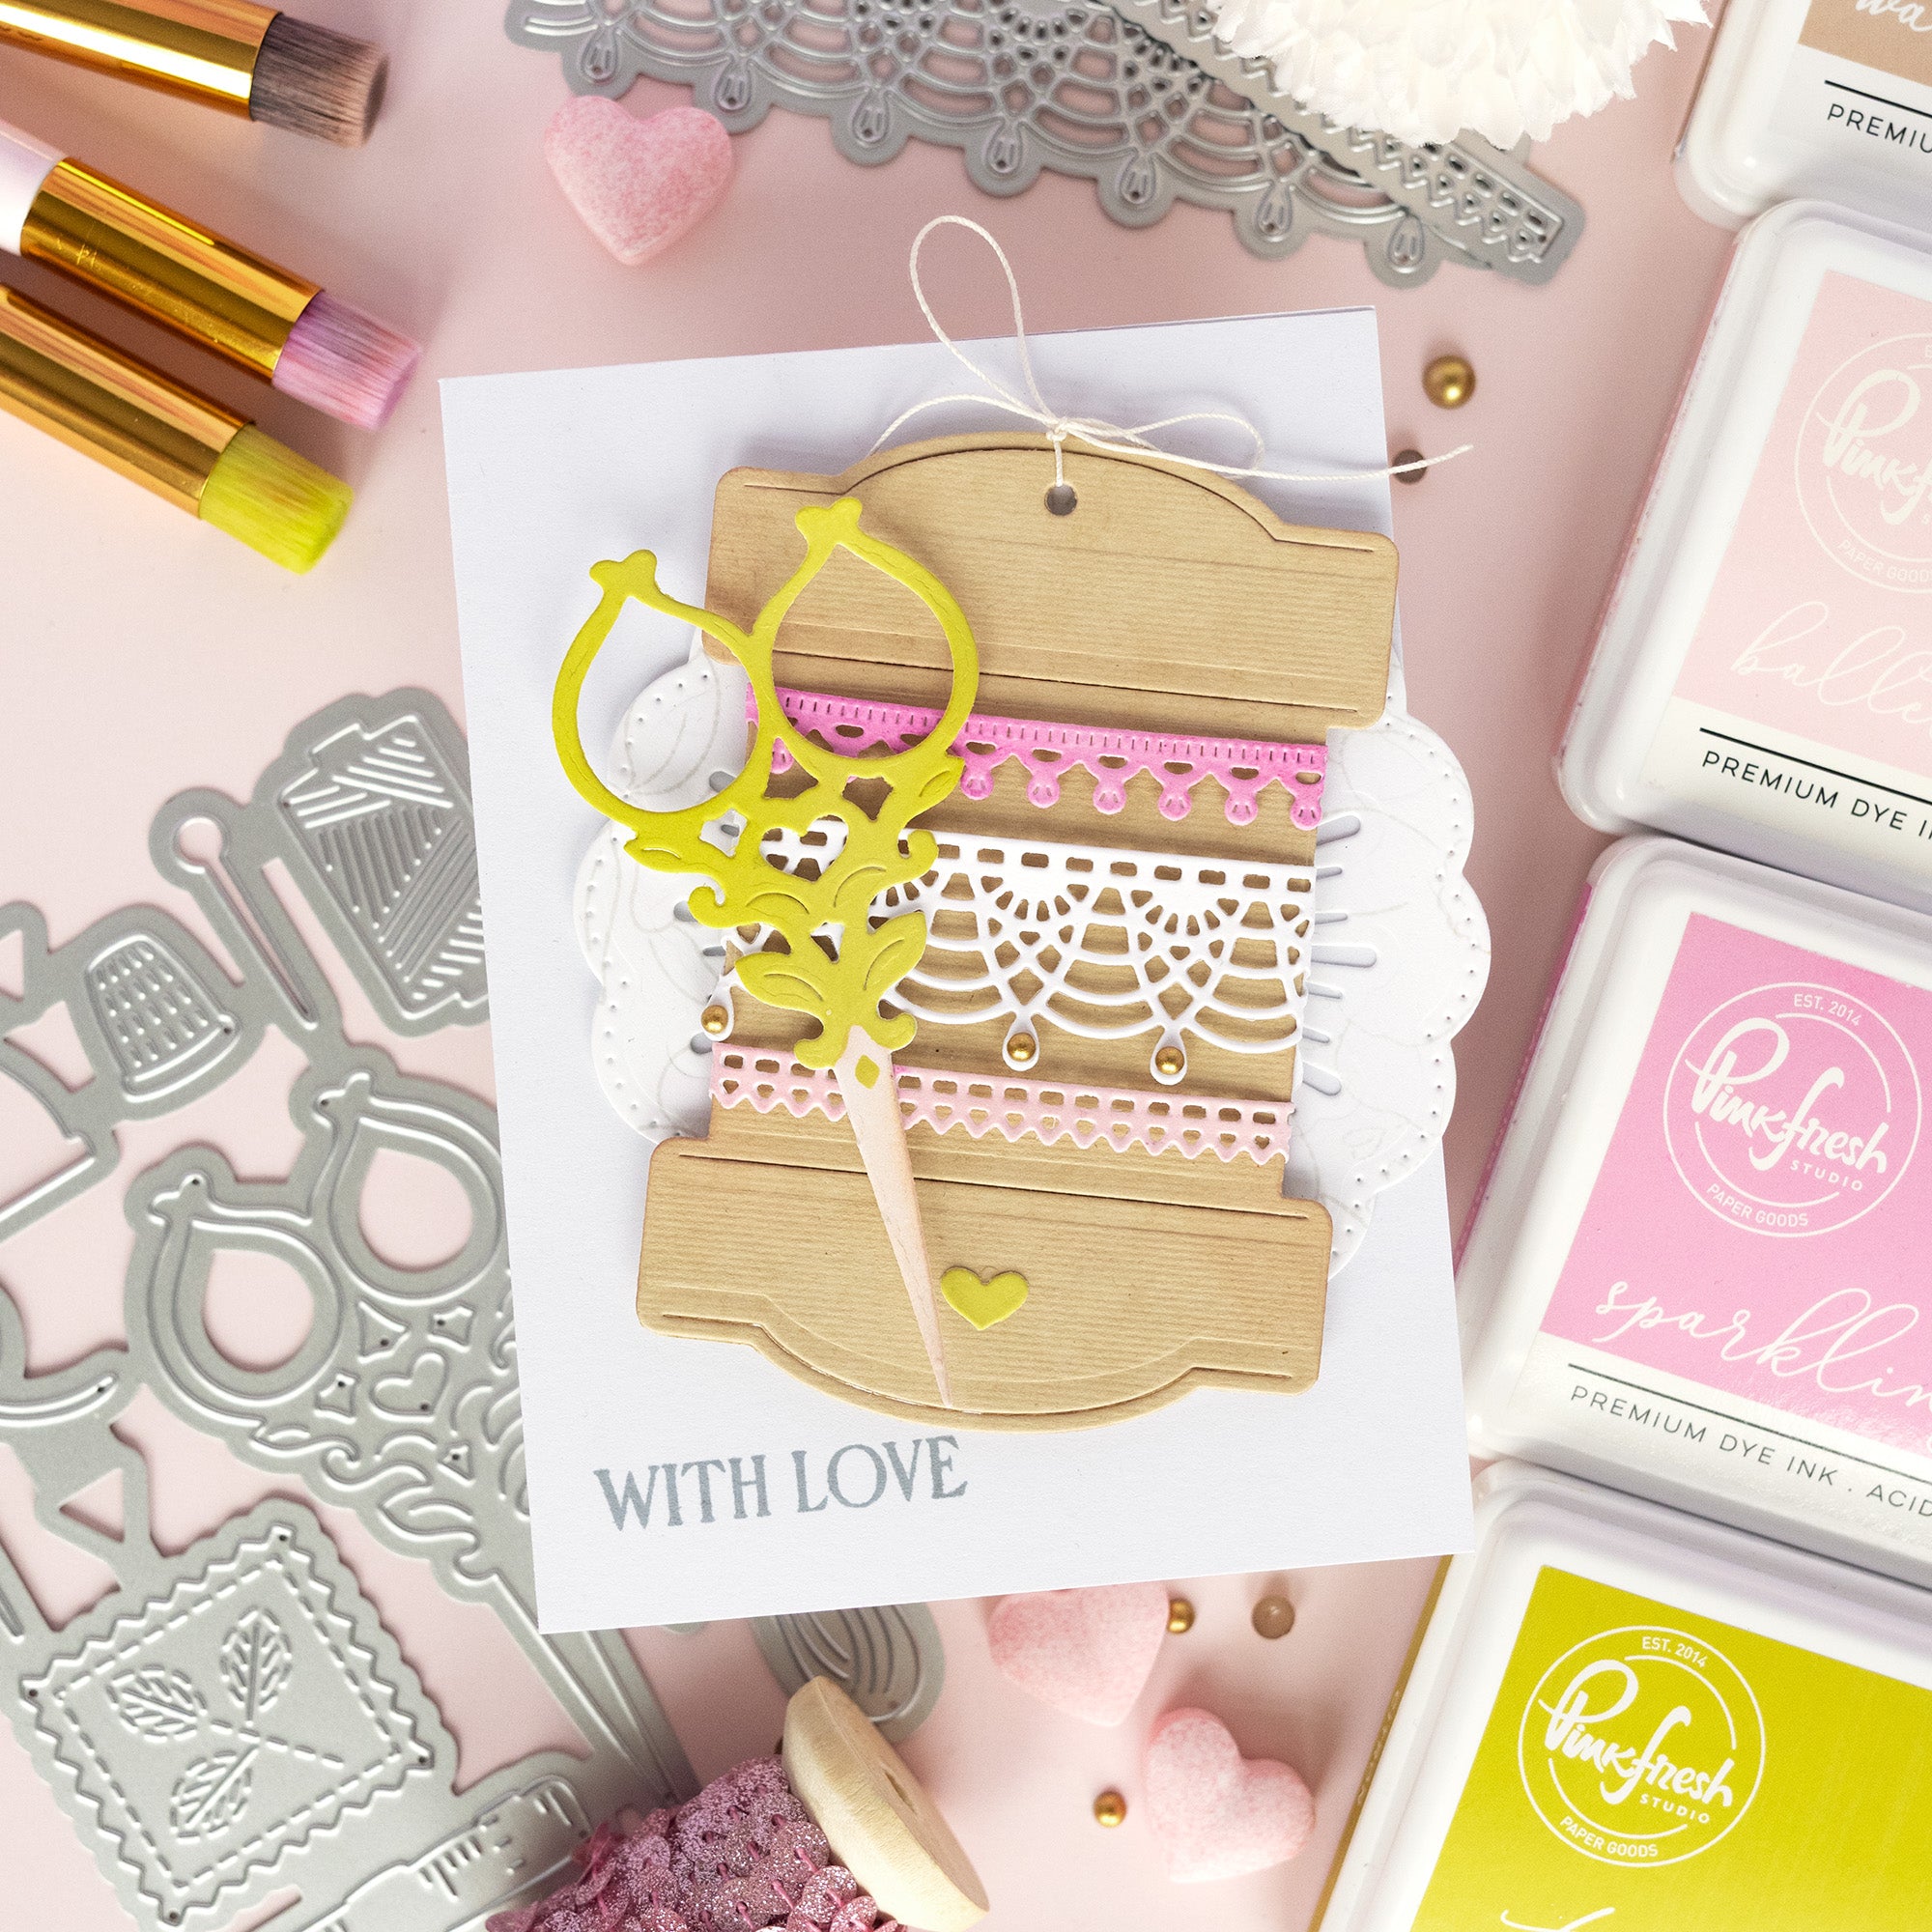
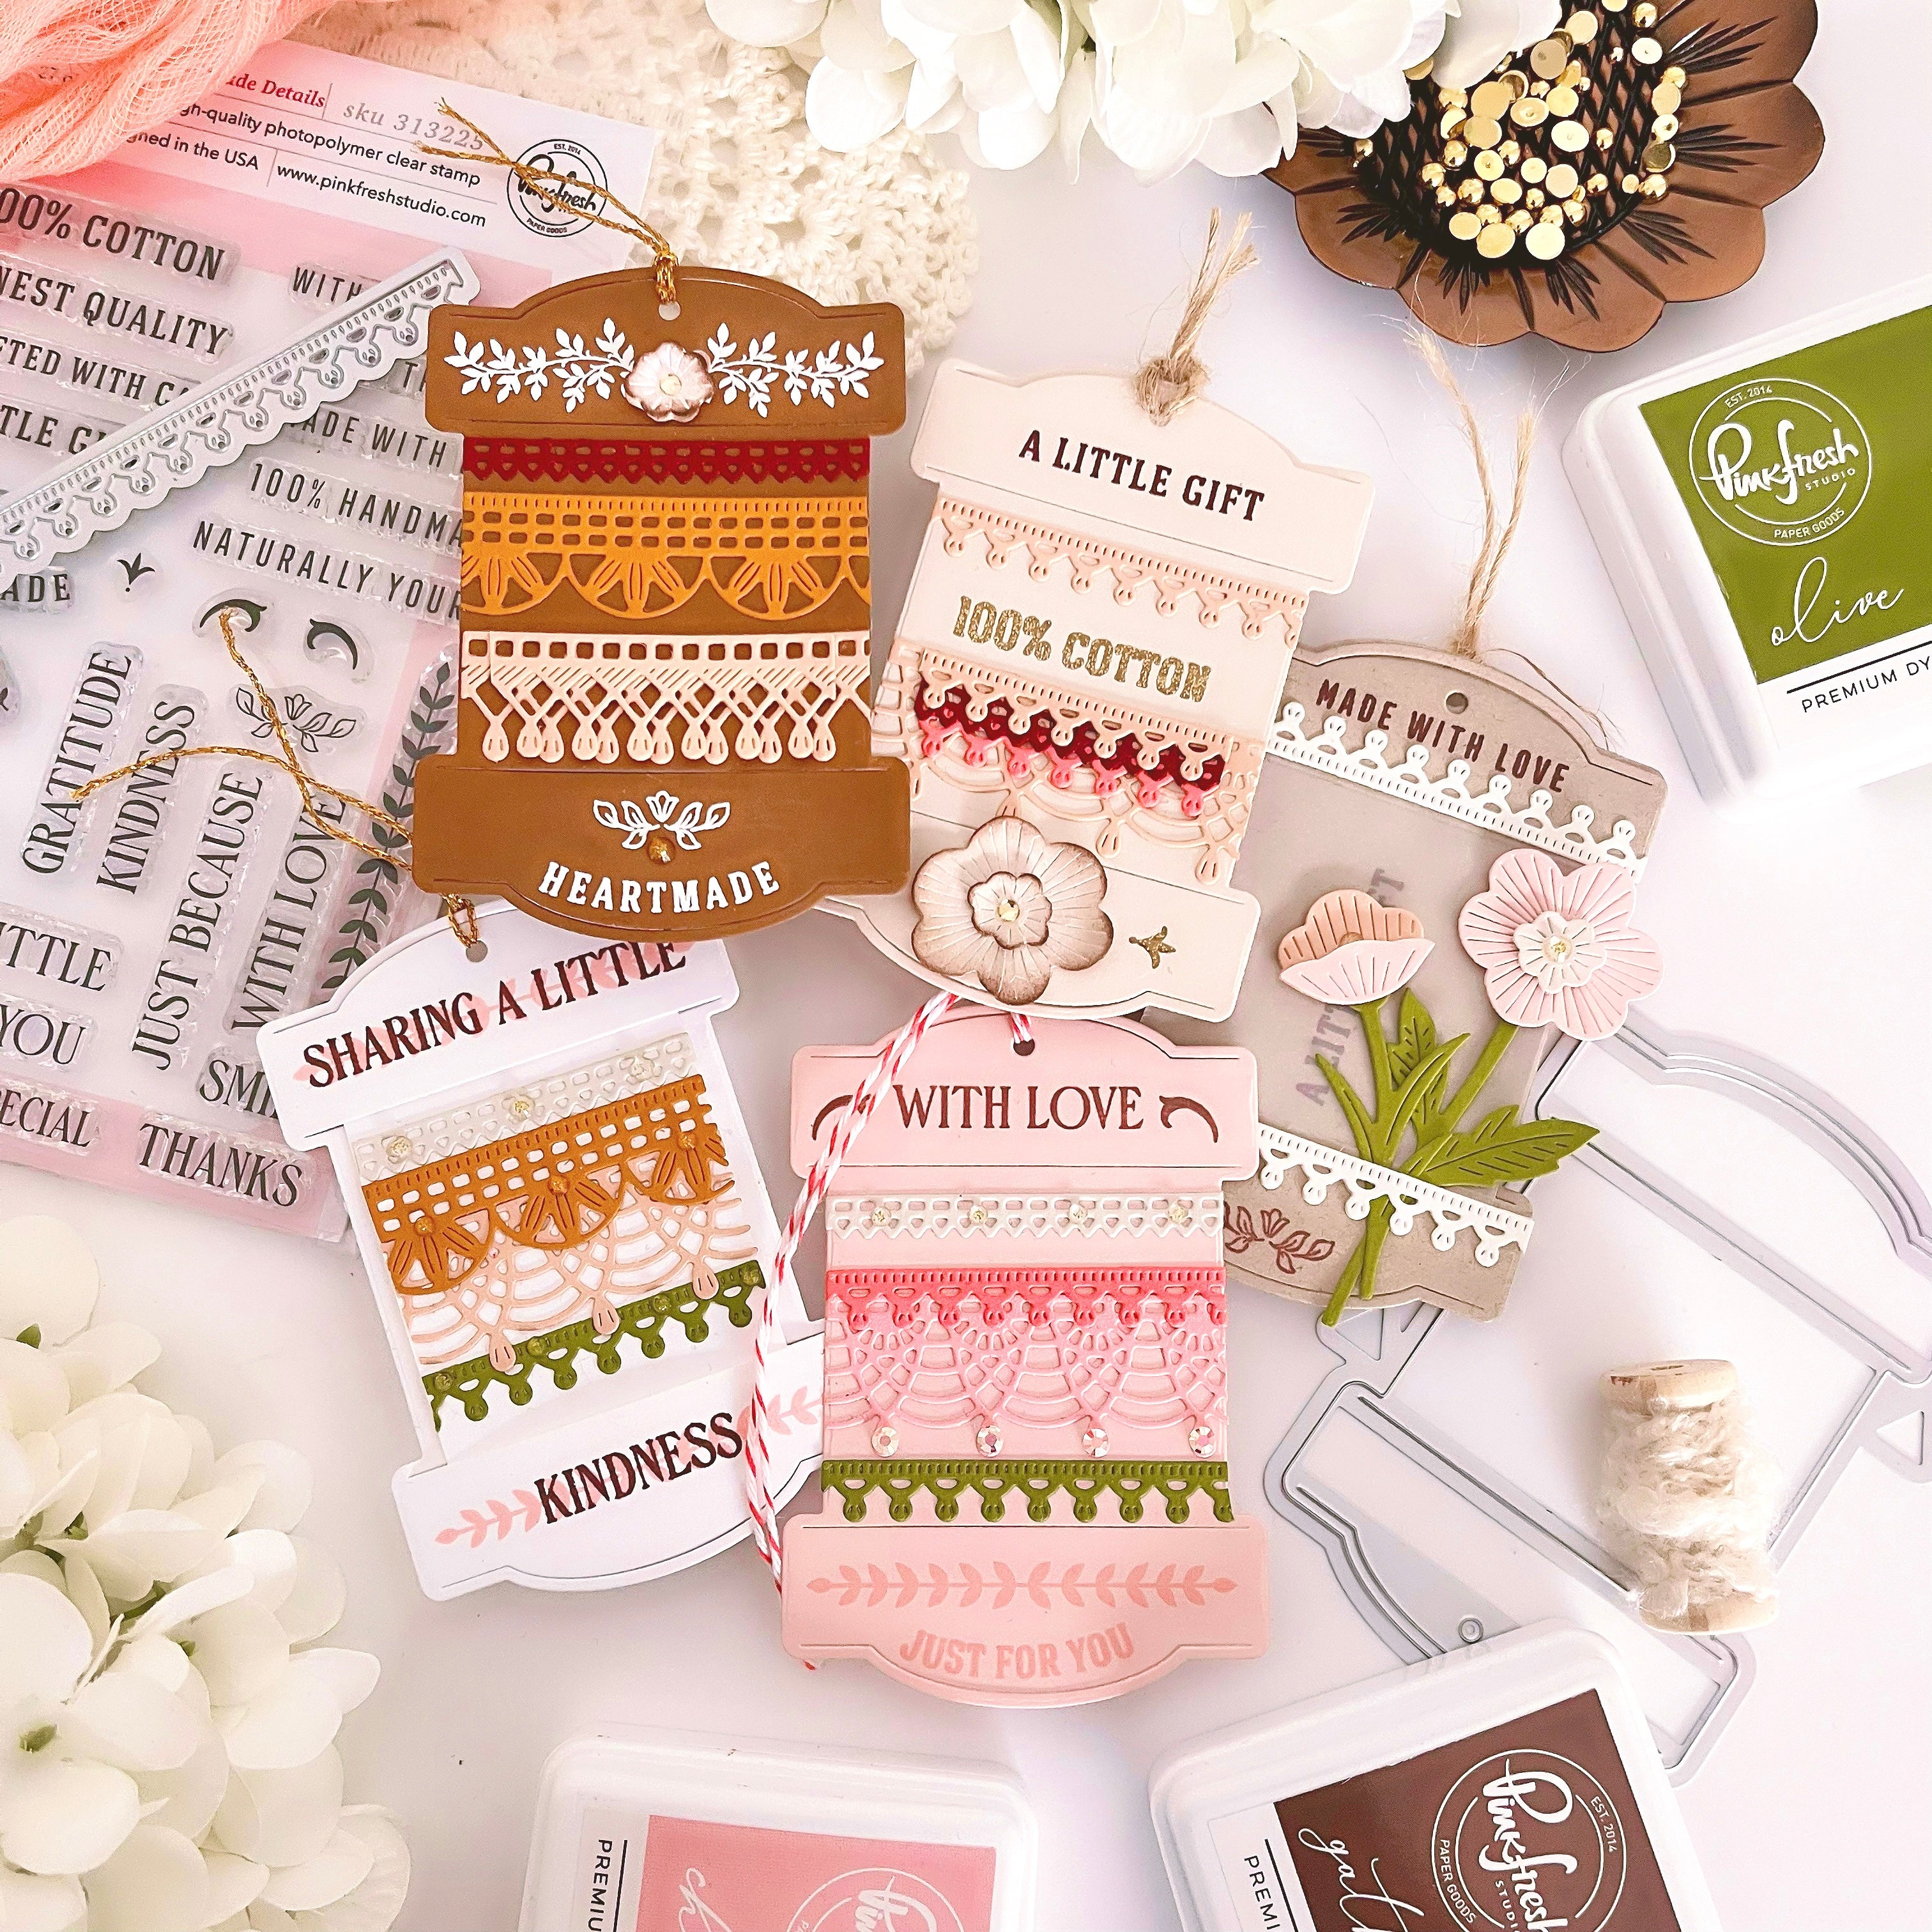
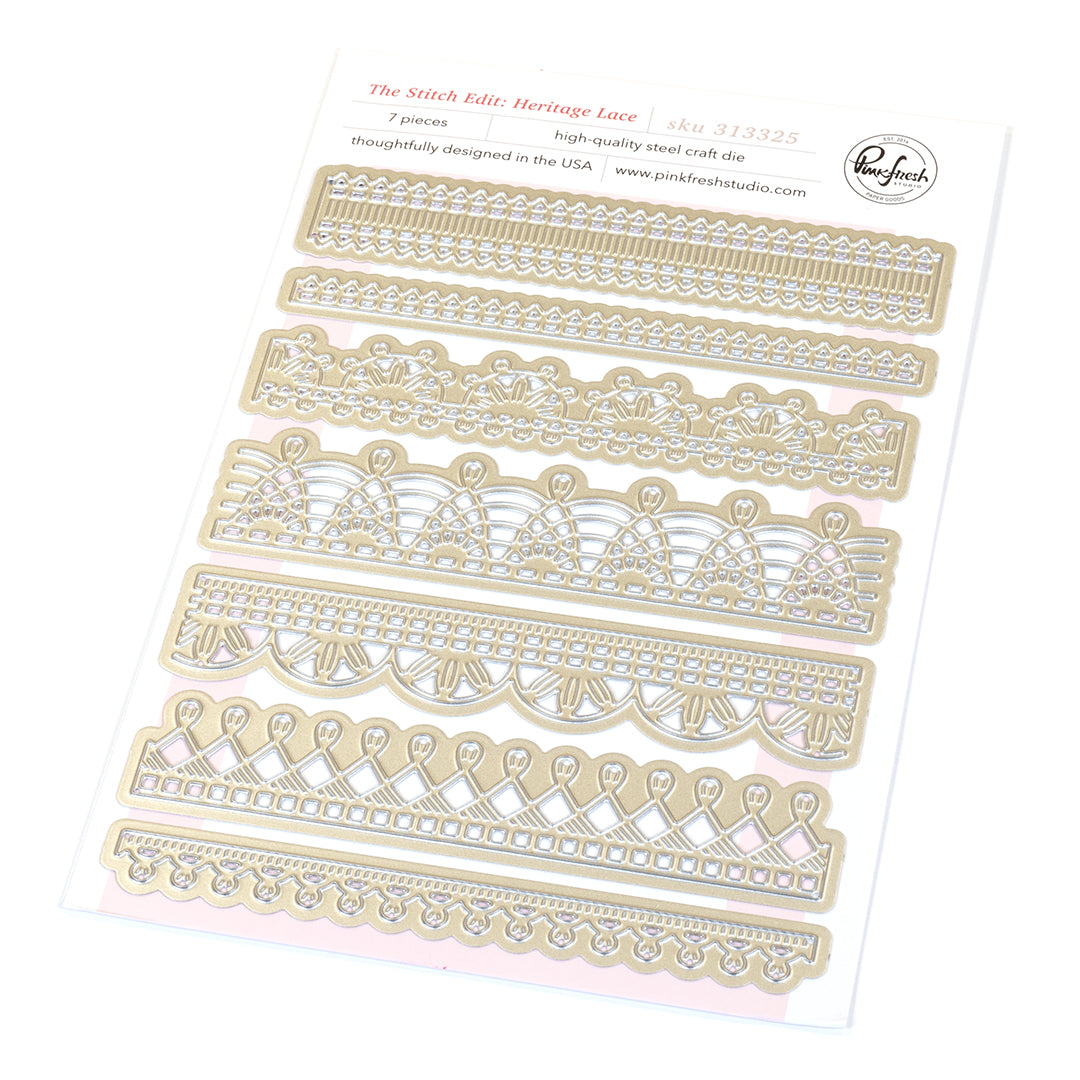
Hello everyone! Hope you’re having a great week so far! It’s TaeEun here today with a fun and colorful card for the sewing lover in your life, featuring some unique items from the “Homespun with Heart” Release.I decorated The Stitch Edit: Large Spool with delicate trims from the Heritage Lace set and sweet accents from the Freshly Picked suite to give it a charming feel.
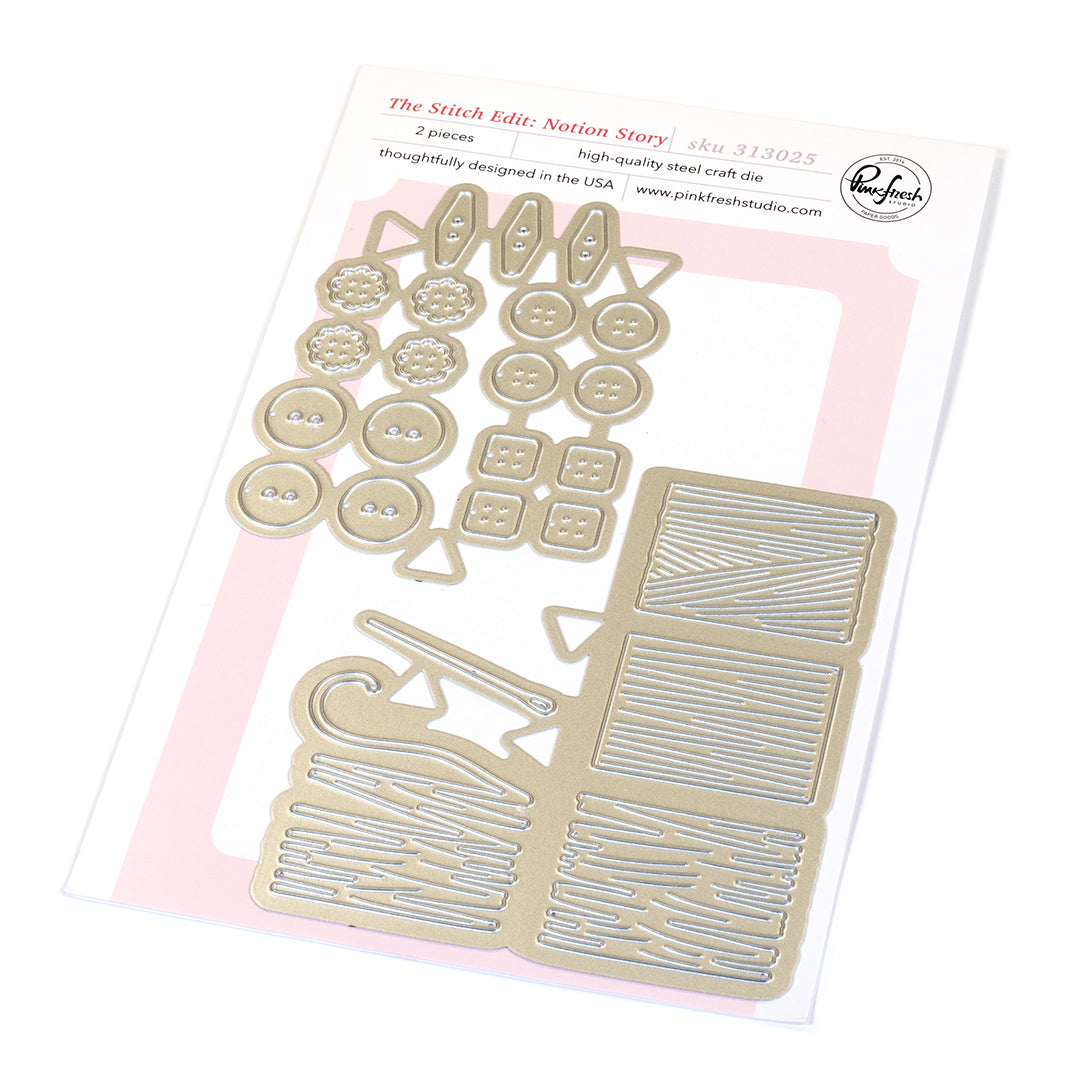
By adding the cute buttons from The Stitch Edit: Notion Story die set to the watercolored background, I was able to bring everything together and create a cohesive sewing-inspired design that feels extra special!
*Disclaimer: All products used are linked below as clickable images. If a product isn’t listed, it’s been discontinued.

Here is how I made the card.
Creating the Large Spool
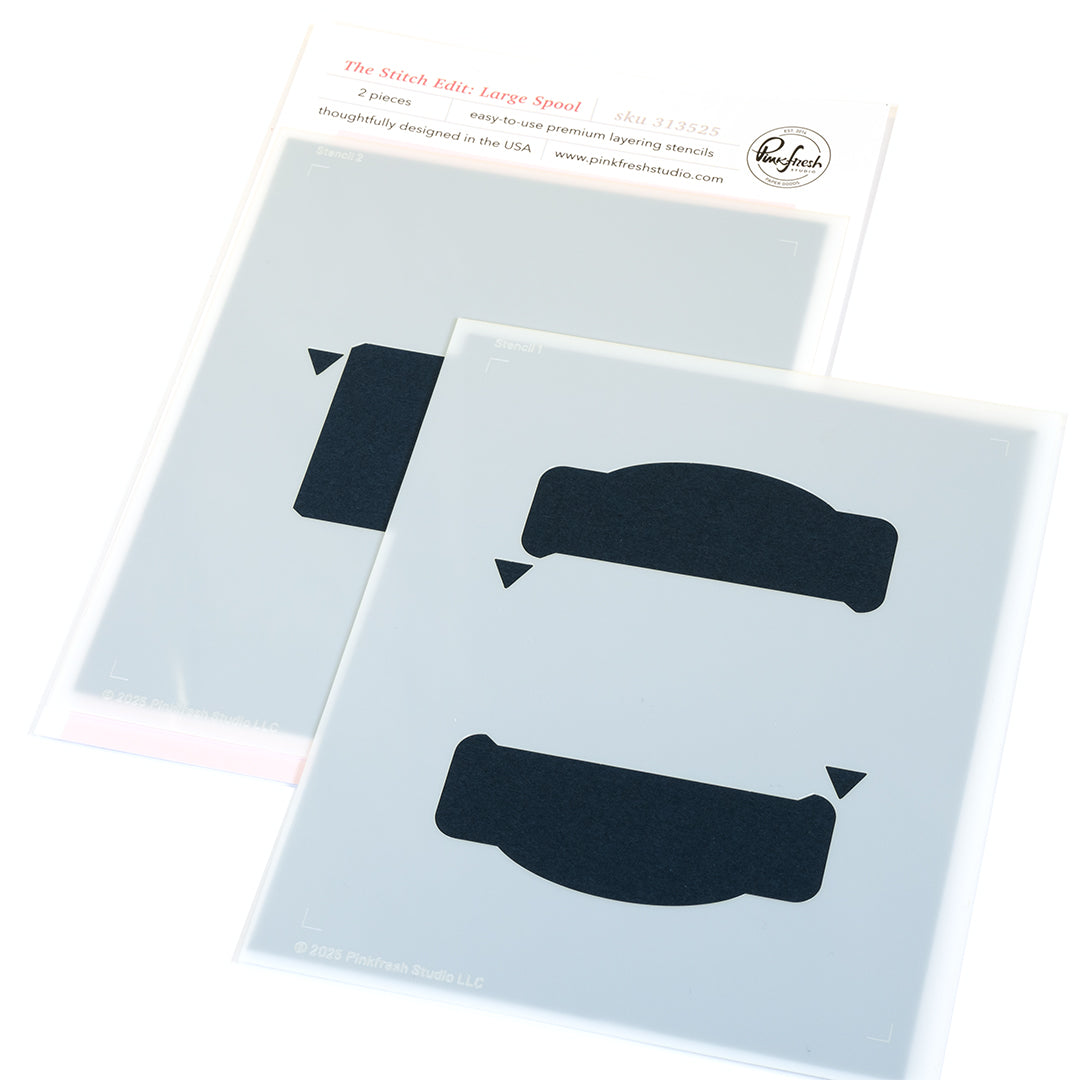
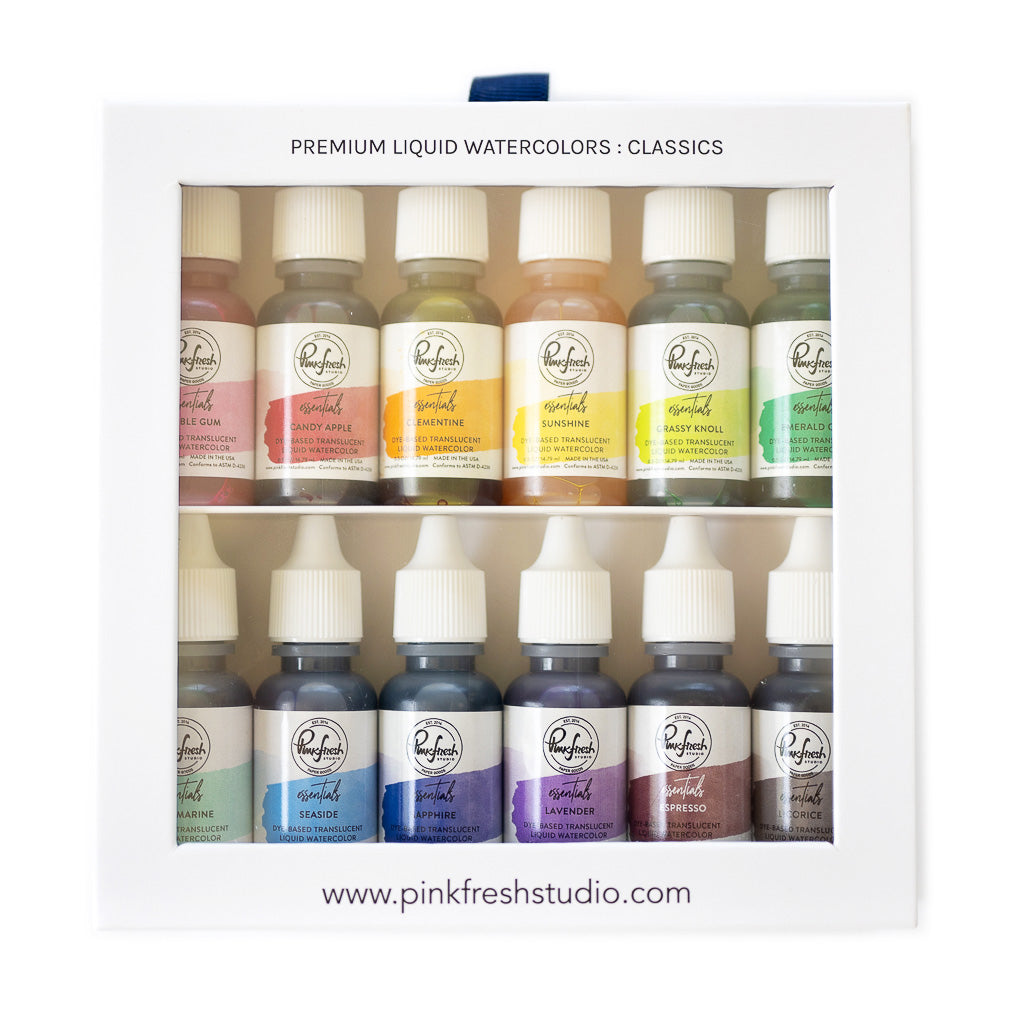
- Stencil The Stitch Edit: Large Spool. Blend the top and bottom section of the spool in Citron adding a touch of Grassy Knoll along both sides, and the middle part in Bay Leaf and Spanish Moss.
- Die cut the Large Spool using the coordinating die.
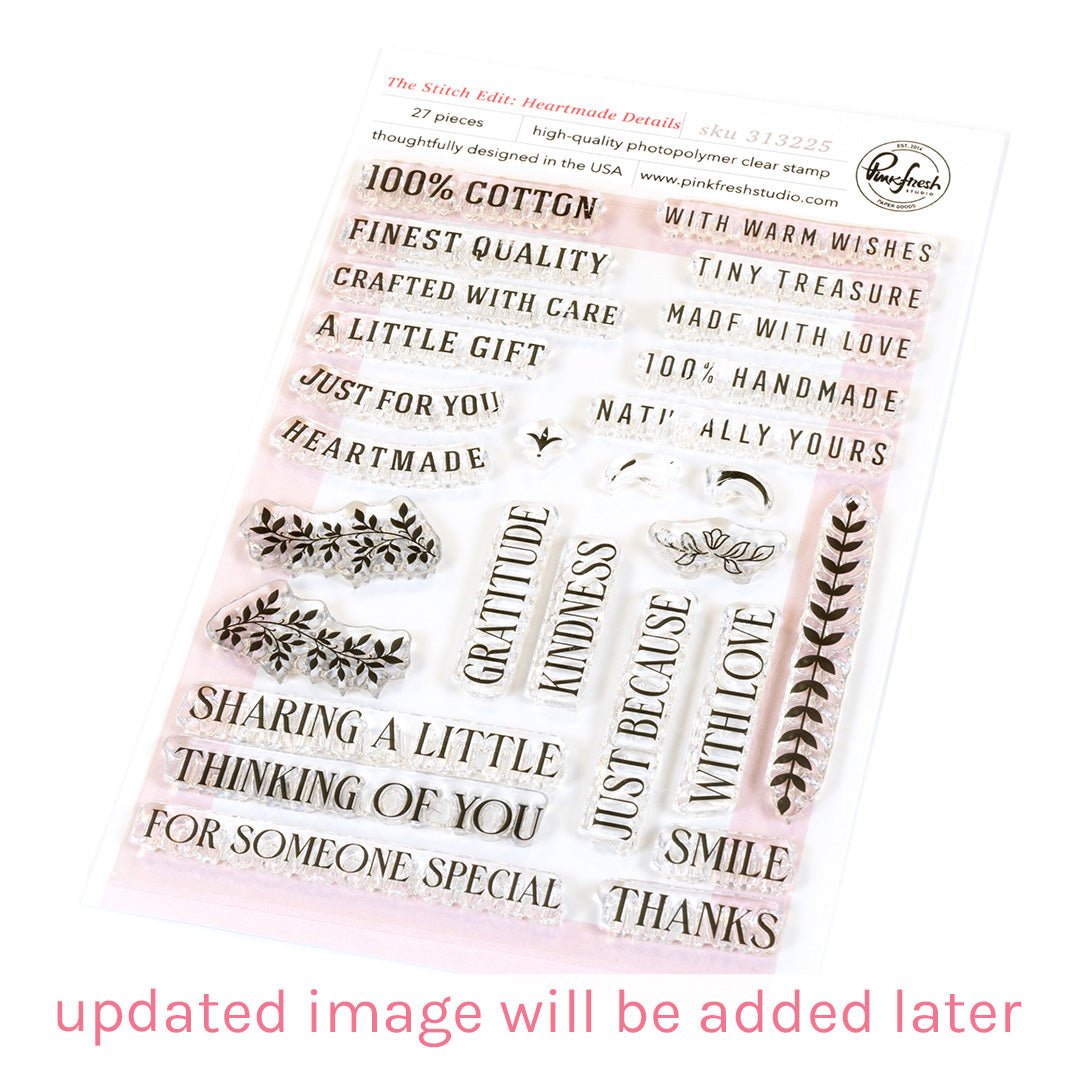
- Heat emboss the decorative patterns and sentiment from The Stitch Edit: Heartmade Details stamp set in gold on the top and bottom sections of the Large Spool.
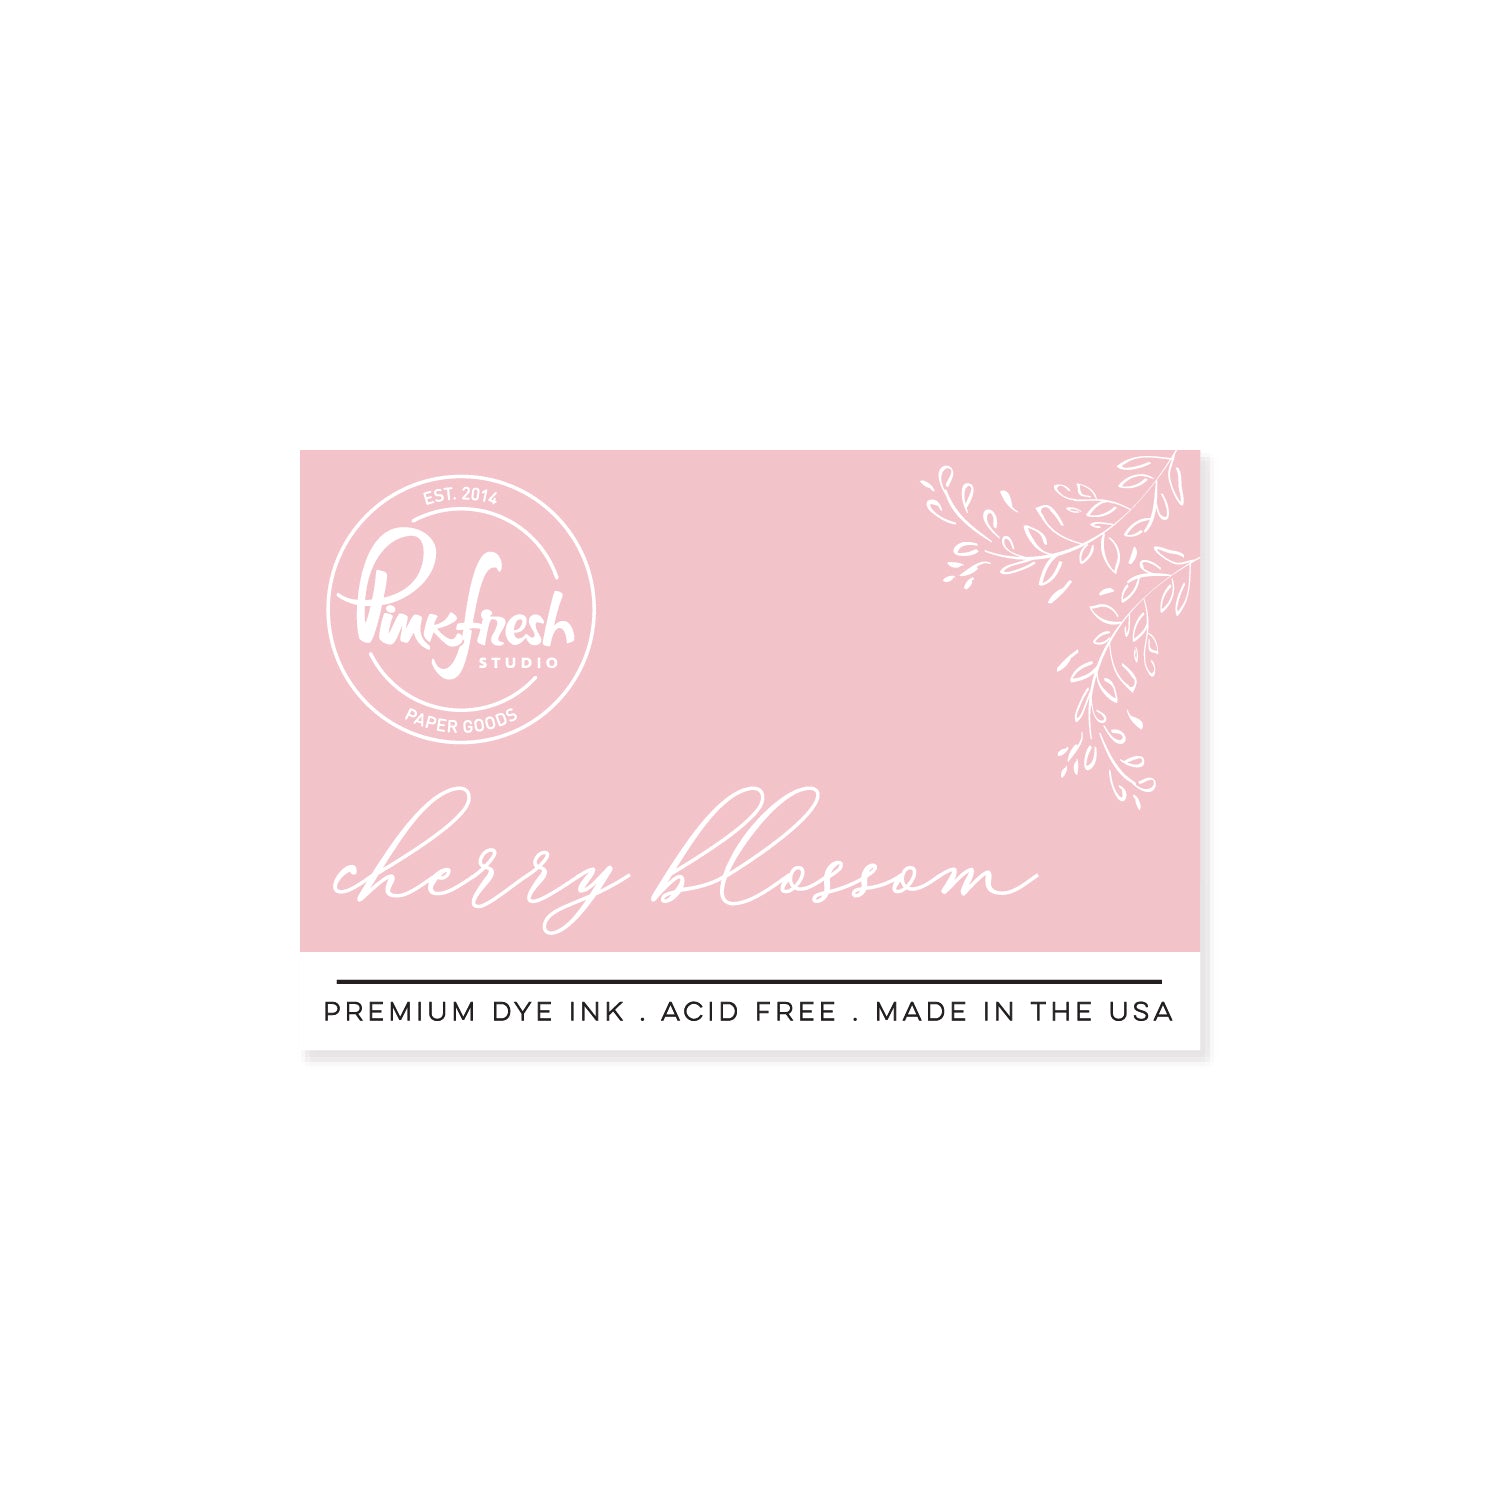
- Ink blend three pieces of white cardstock in Cherry Blossom, Lemon Whip and Mint. Die cut the lace trims using The Stitch Edit: Heritage Lace die set.
- Adhere the lace pieces to the Large Spool and trimm off the excess.
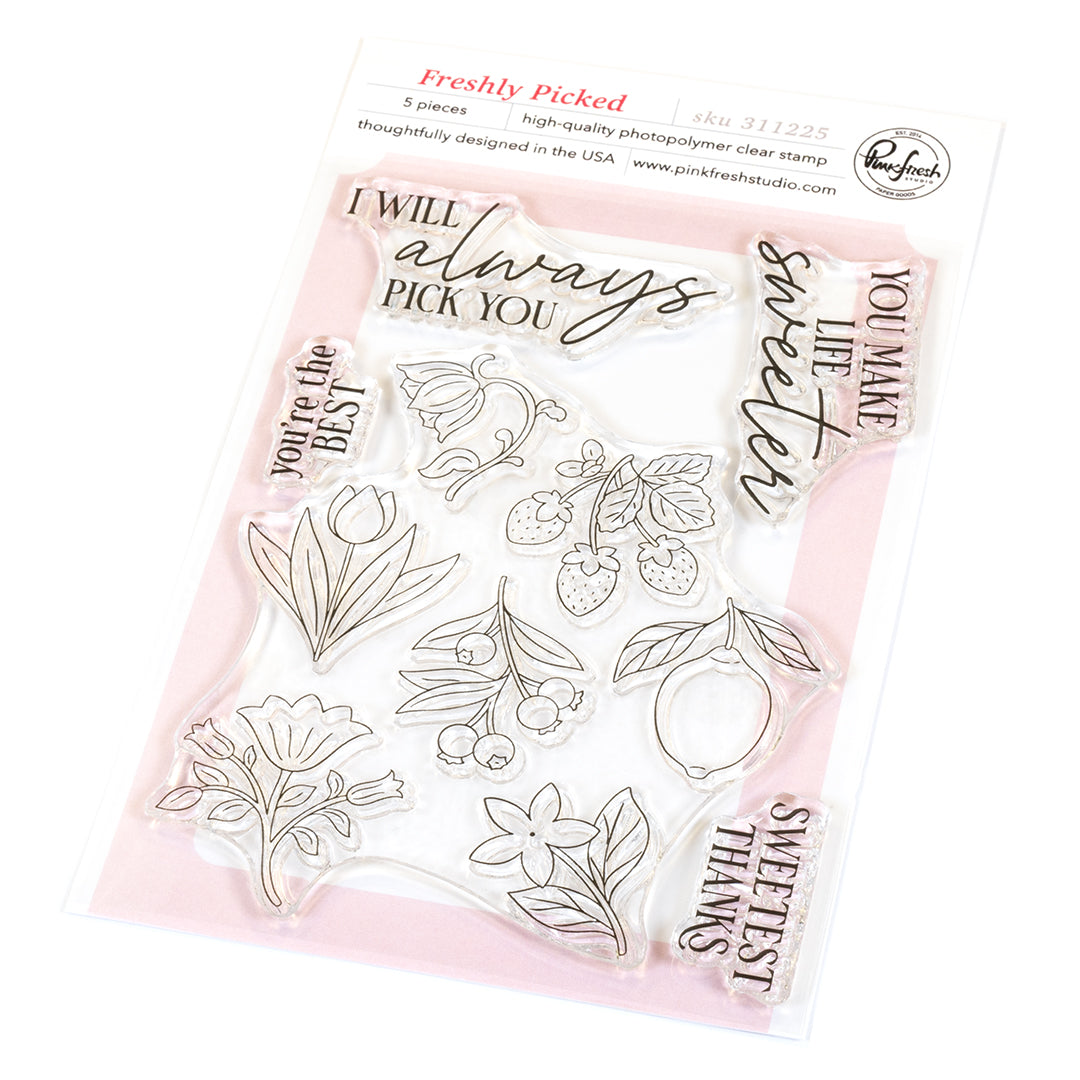
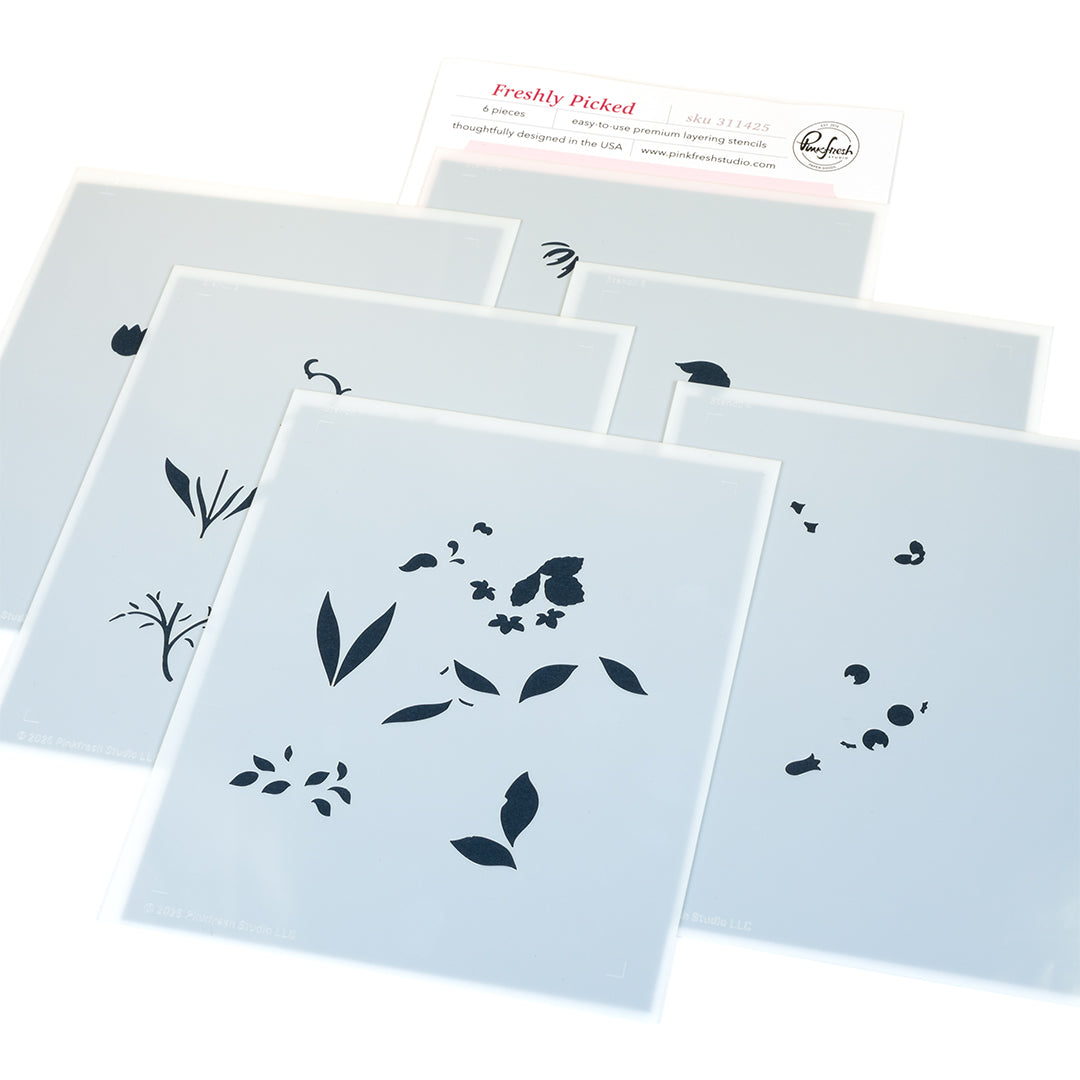
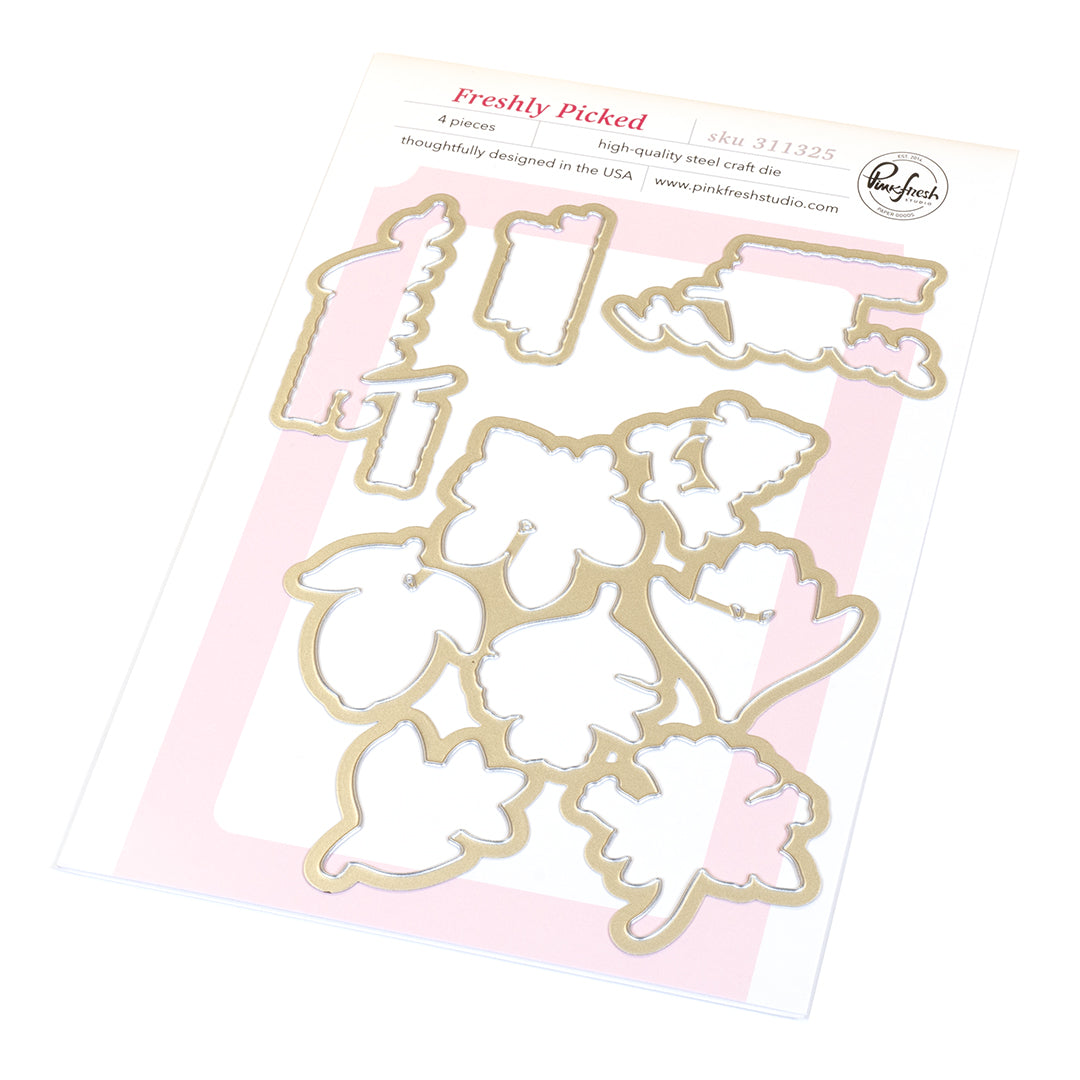
- Heat emboss the Freshly Picked images in gold, then stencil them using the coordinating stencils in following colors:
Leaves: Citron, Grassy Knoll
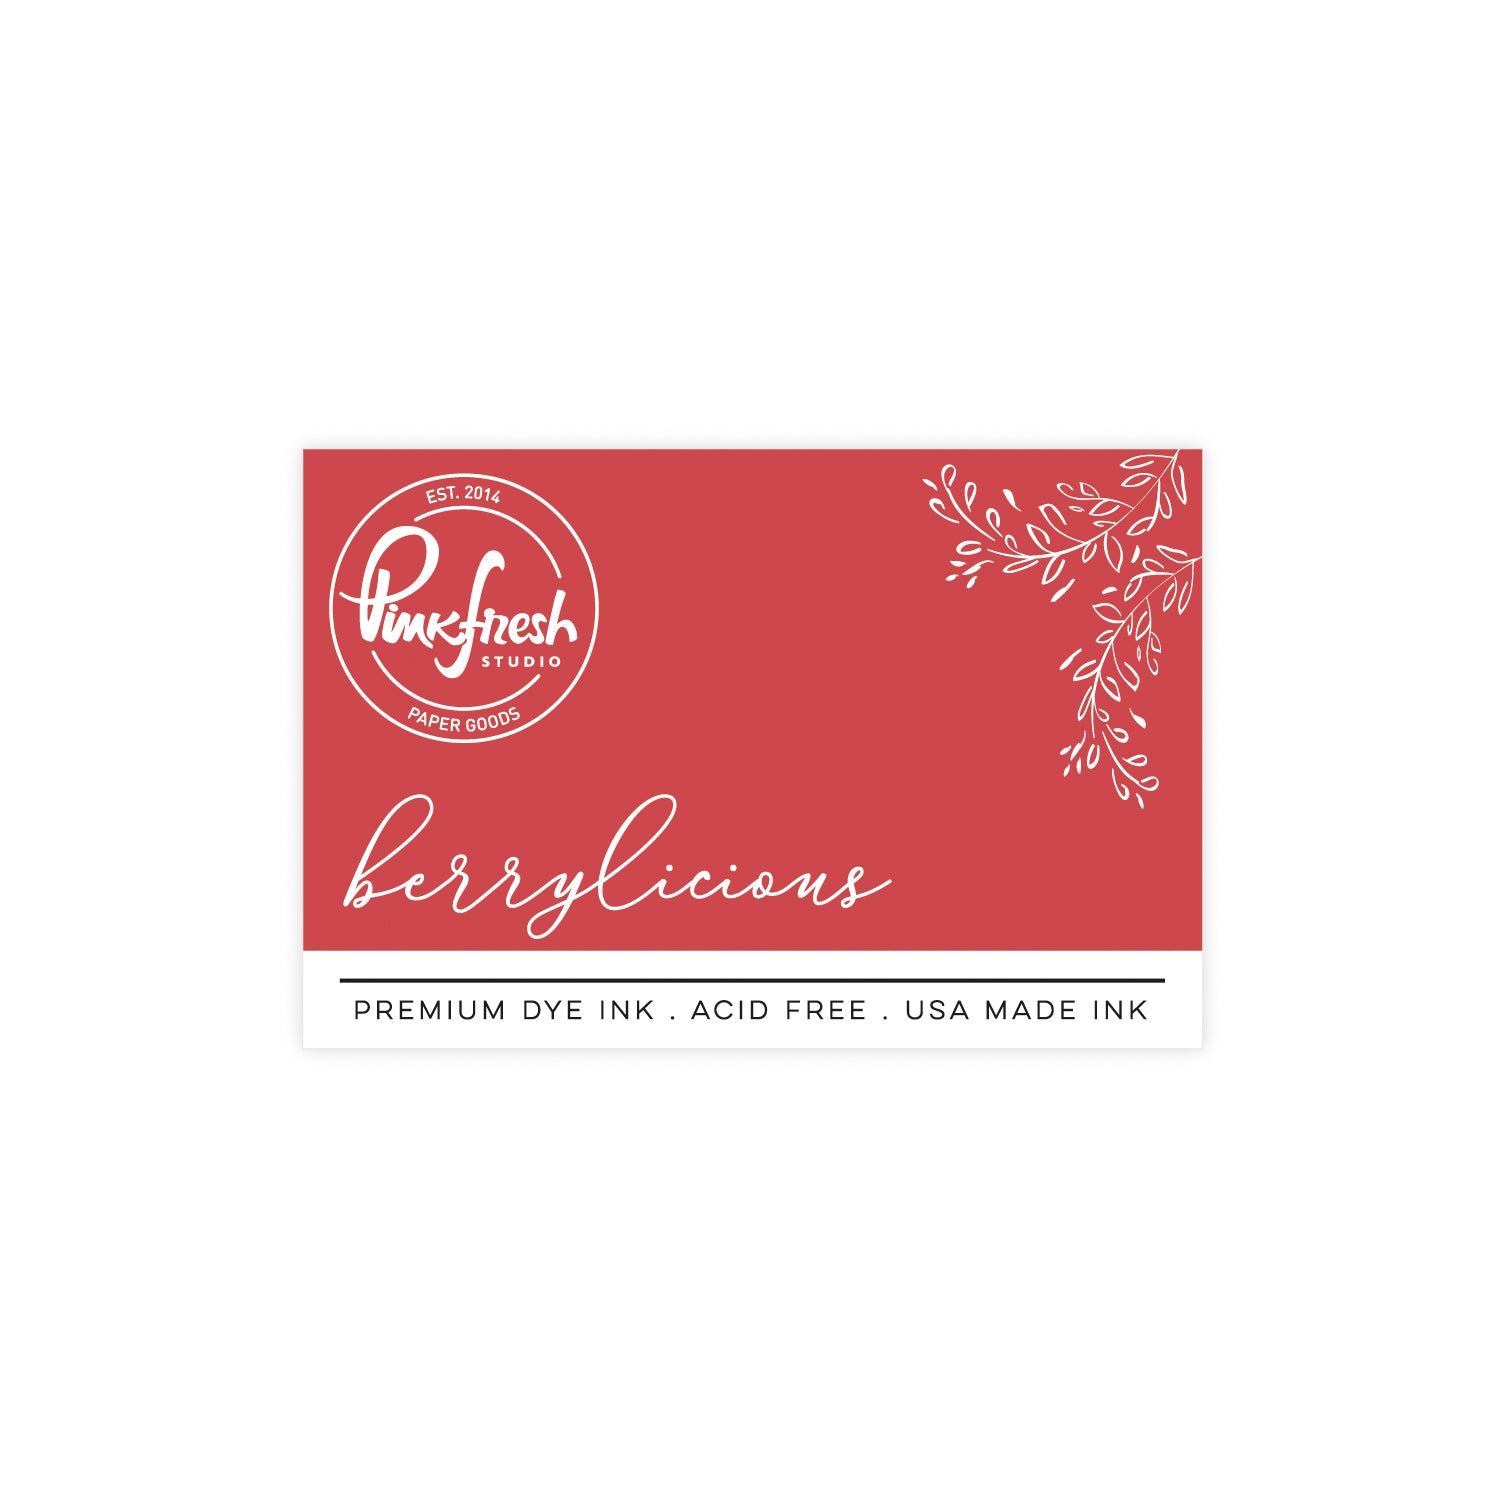
Strawberries: Berrylicious
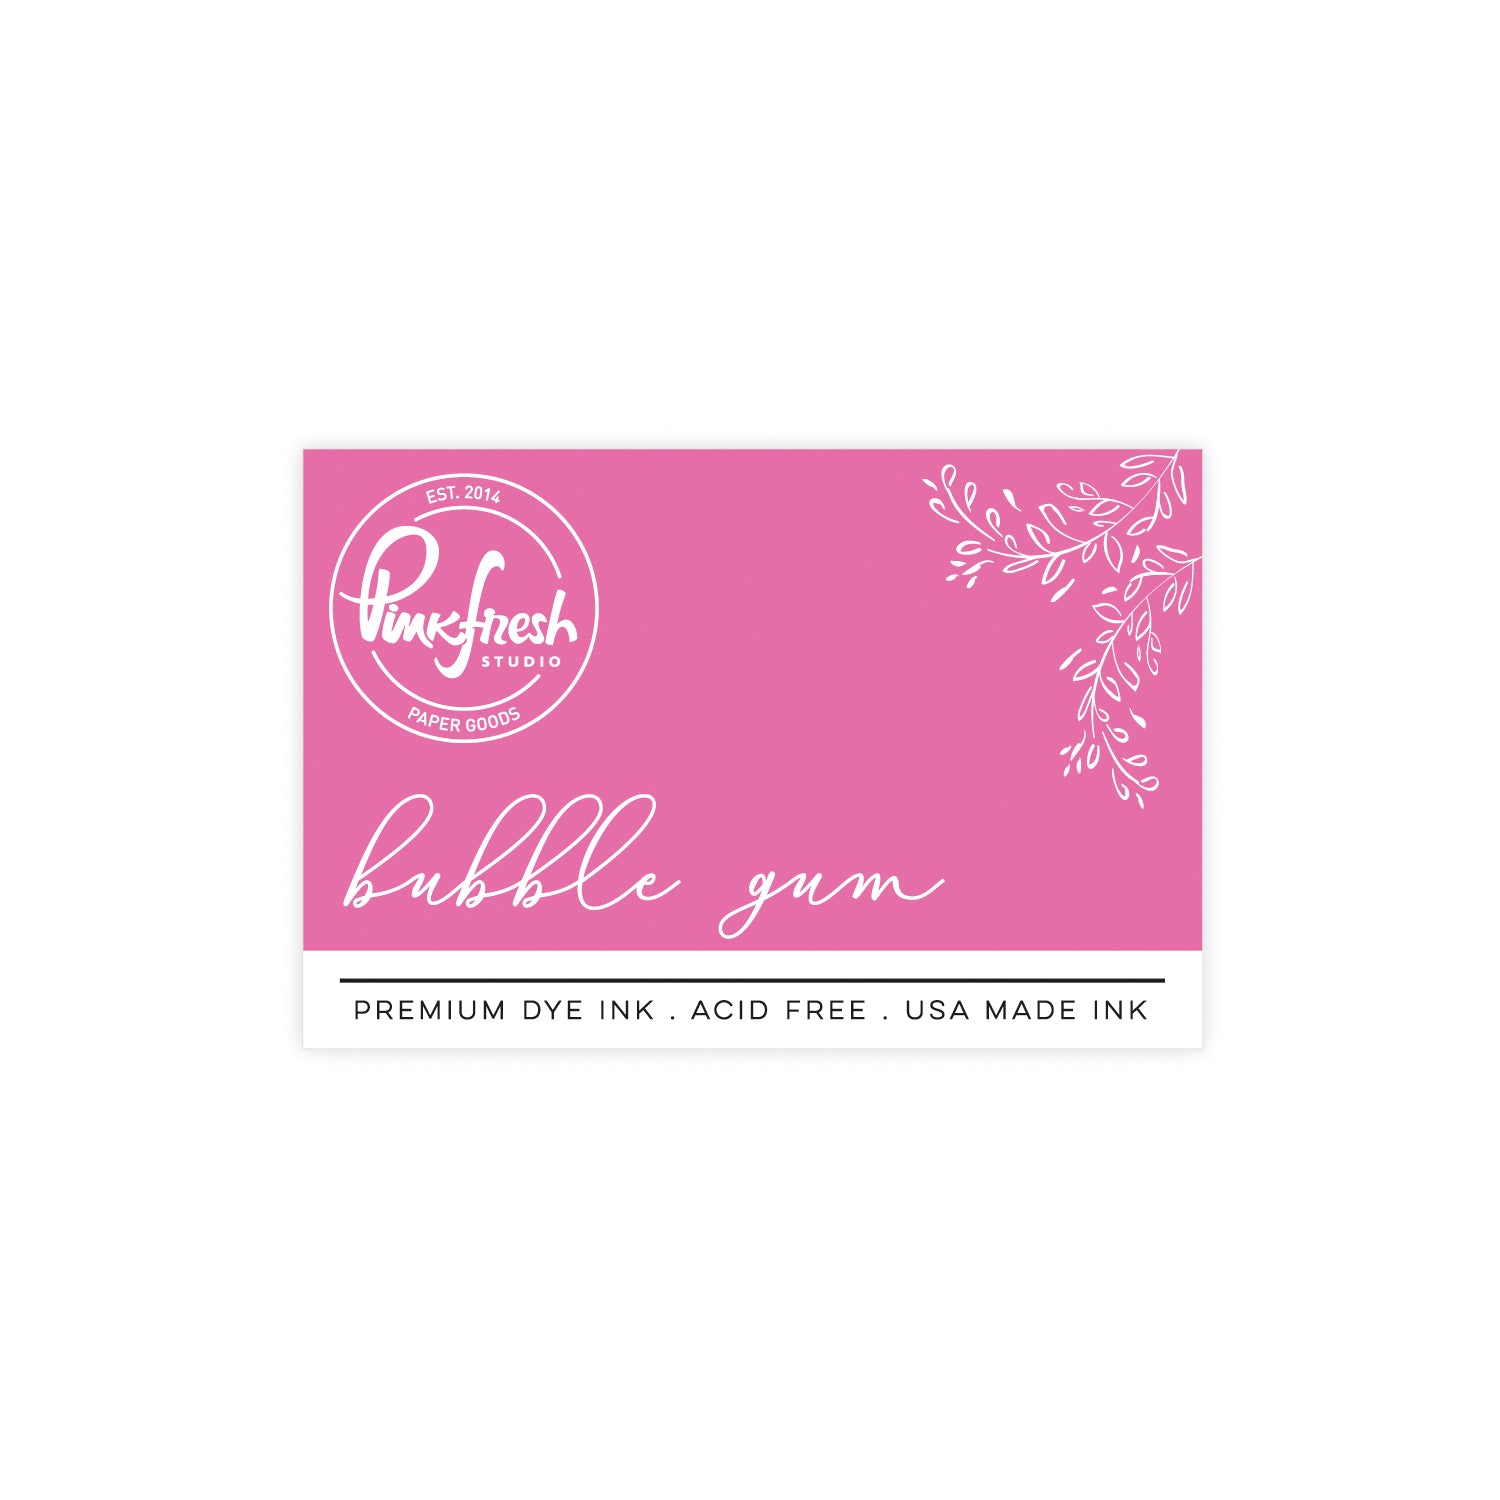
Flowers: Sparkling Rose, Bubble Gum
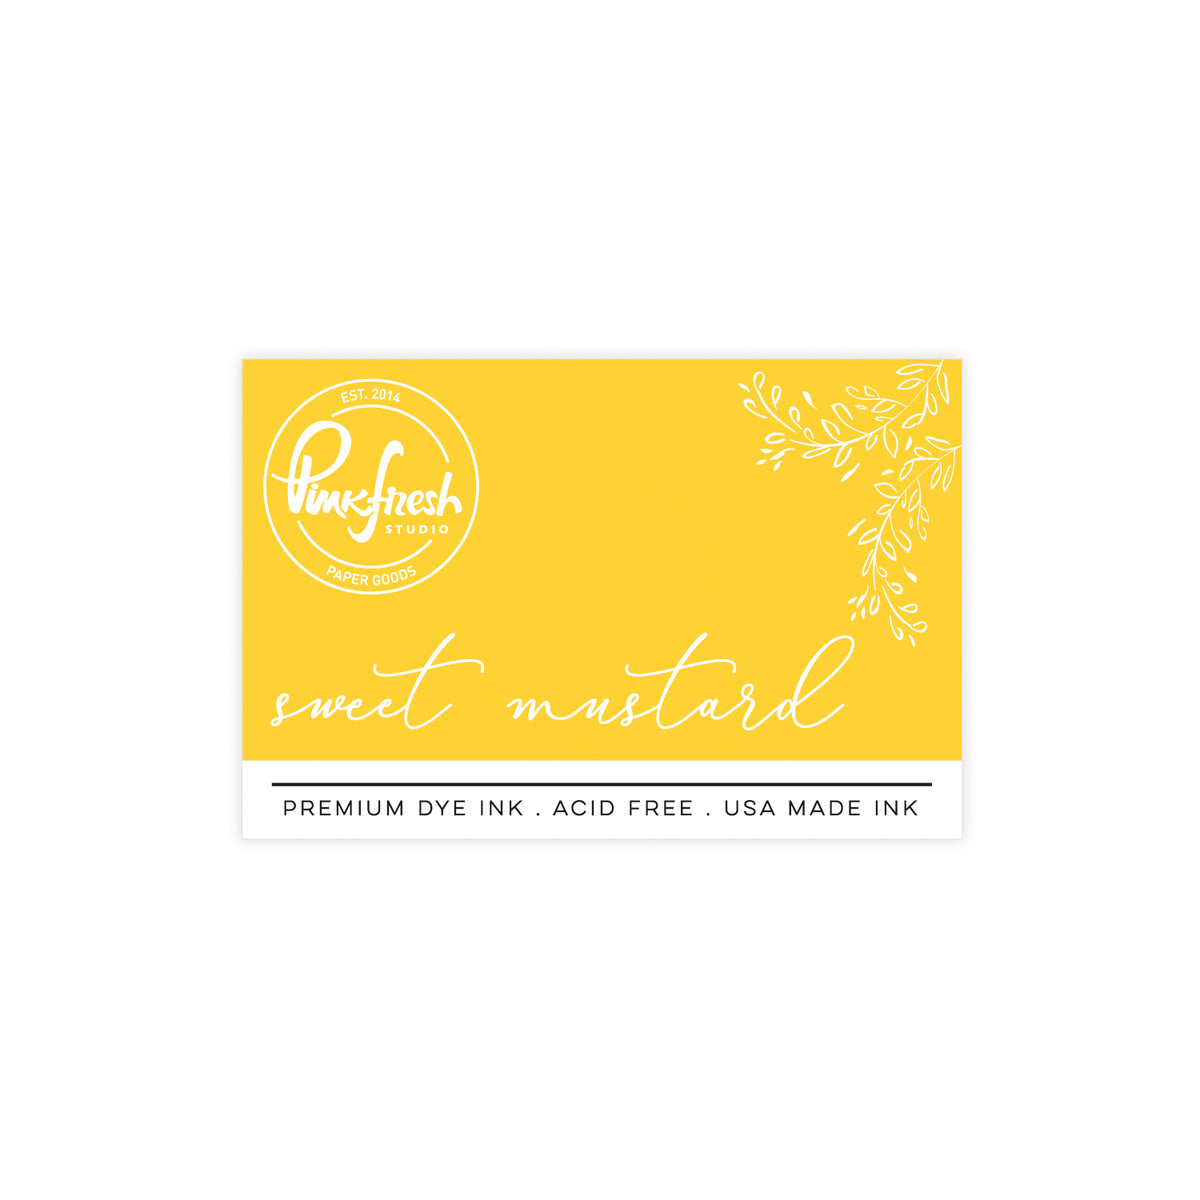
Lemon: Sweet Mustard, Marigold - Die cut the stenciled images using the coordinating die.
Background
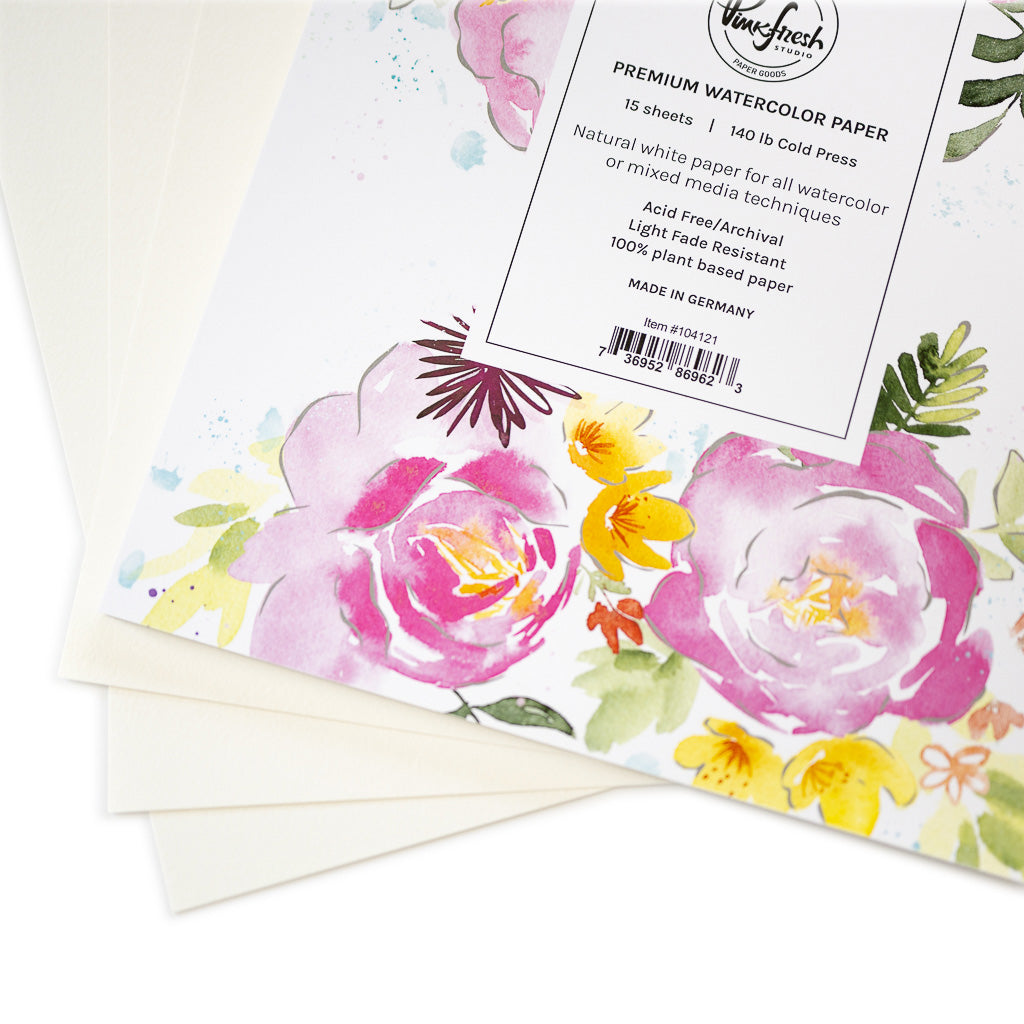
- Apply clean water to an A2 panel of Premium watercolor paper to prepare the surface for a wet-on-wet watercolor technique.
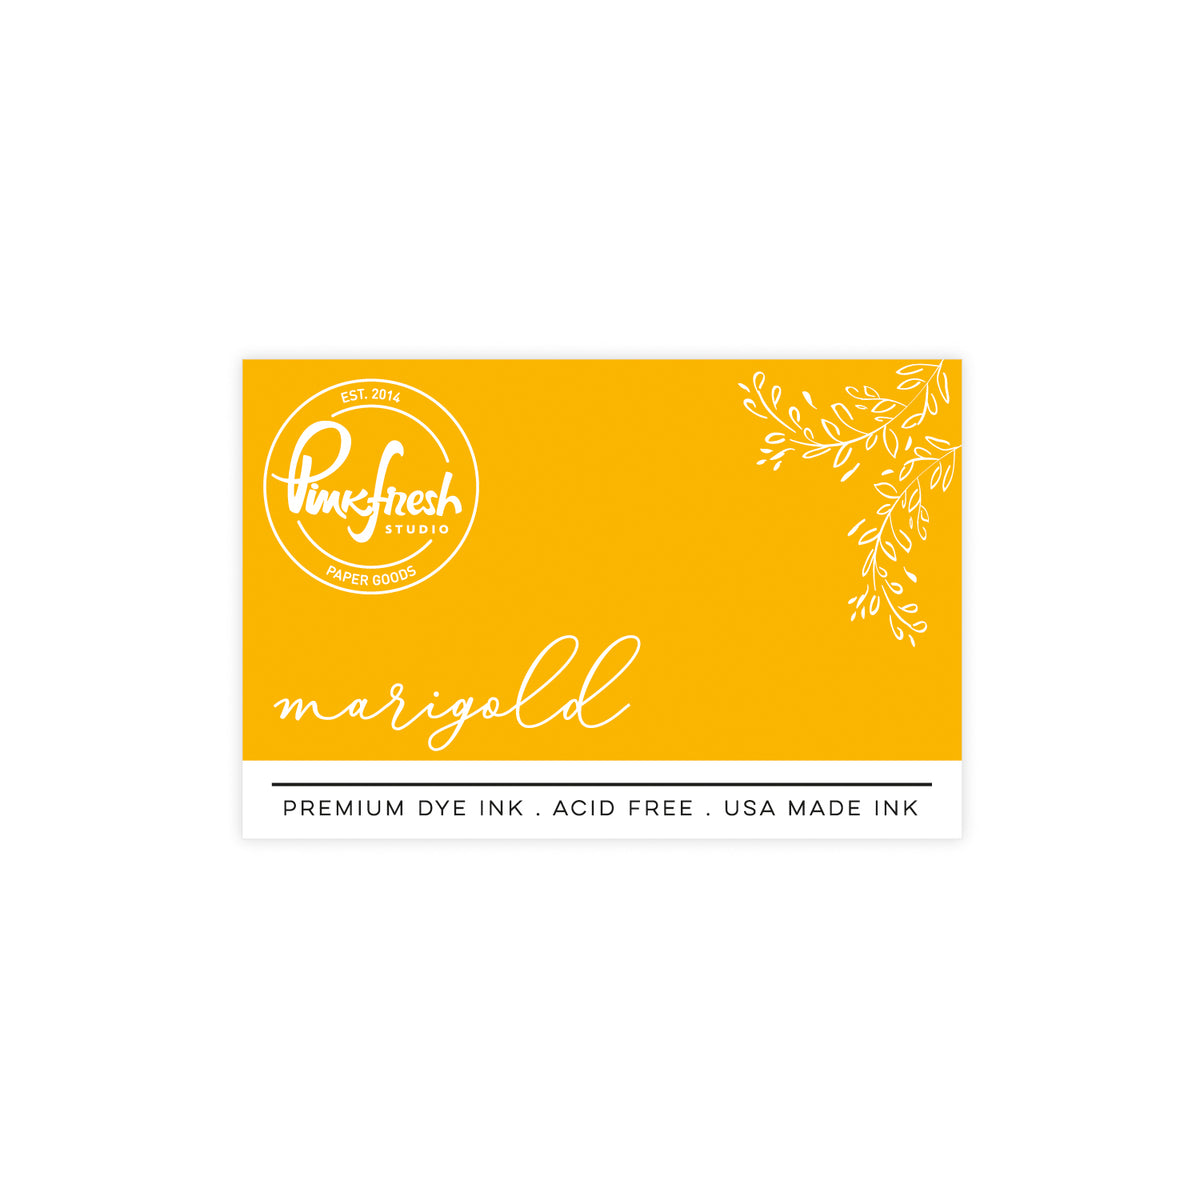
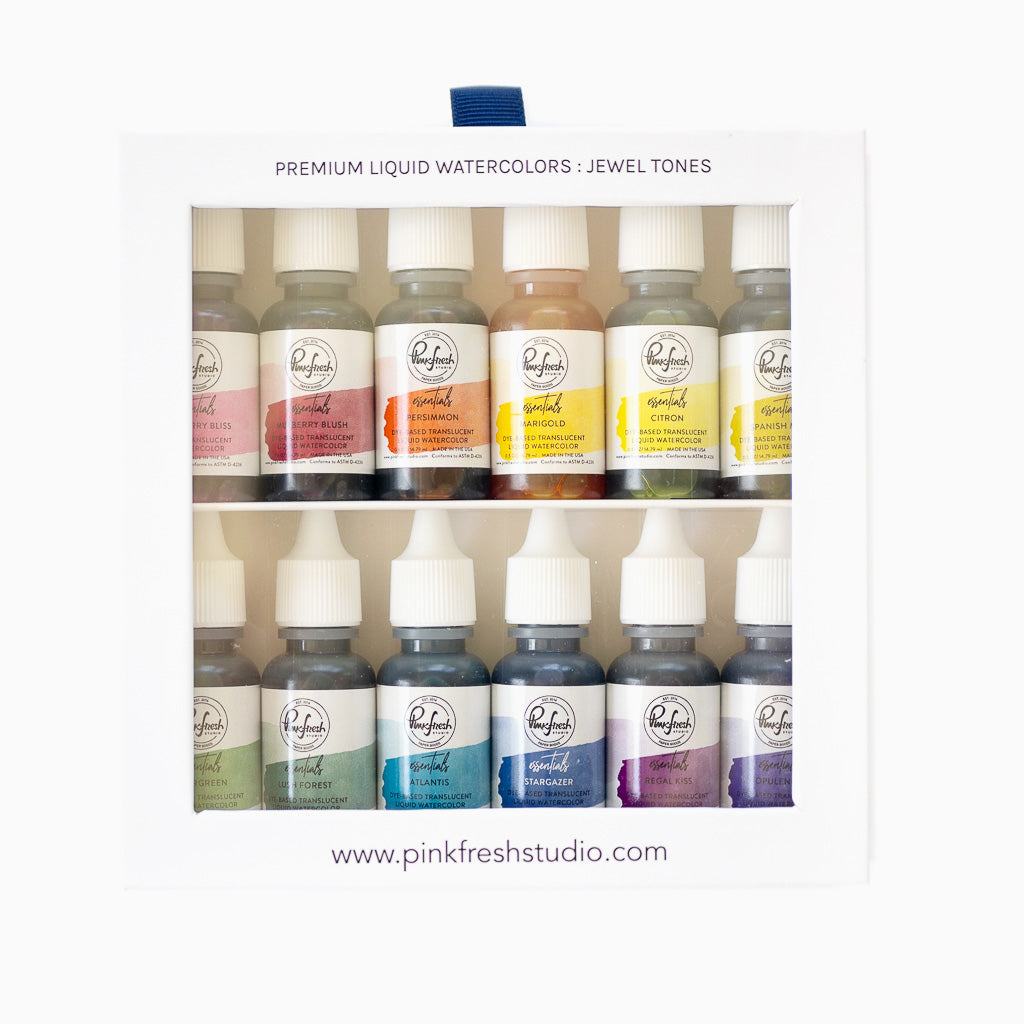
- Watercolor the top left corner using a mix of Raspberry Bliss and Clementine and watercolor the bottom right corner in Marigold Premium Liquid Watercolor.
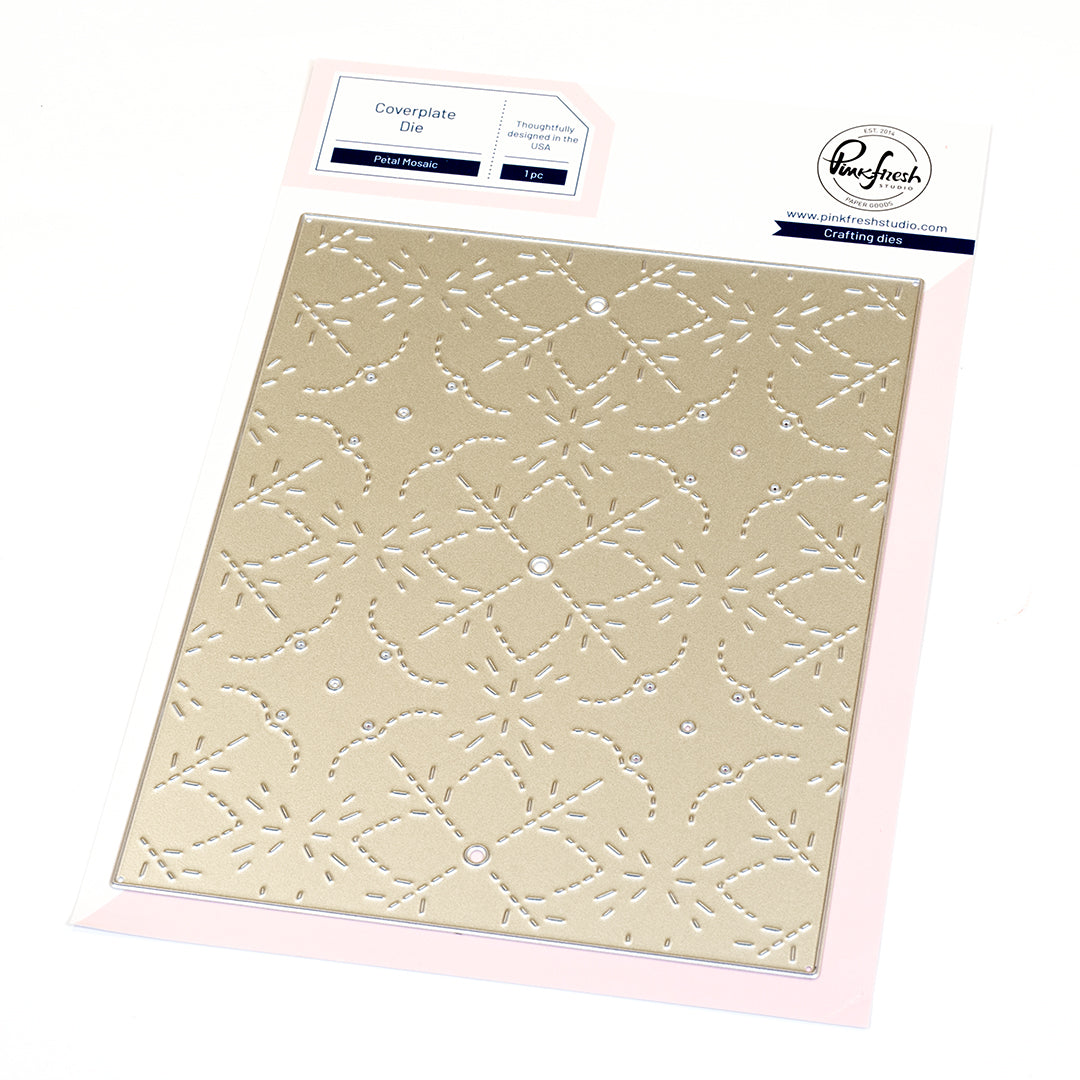
- Allow the panel to dry completely, then die cut it using the Petal Mosaic die.
- Watercolor scrap pieces of Watercolor paper in the same shades used for the background
- Die cut the buttons from the watercolored scraps using The Stitch Edit: Notion Story die.
Assembling
- Adhere the background panel to a white cardbase
- Foam mount the Large Spool in the center of the card for added dimension.
- Decorate the Large Spool with the strawberry and the lemon images from Freshly Picked.
- Scatter the red buttons in the red area of the background and the yellow buttons in the yellow area for the coordinated look.
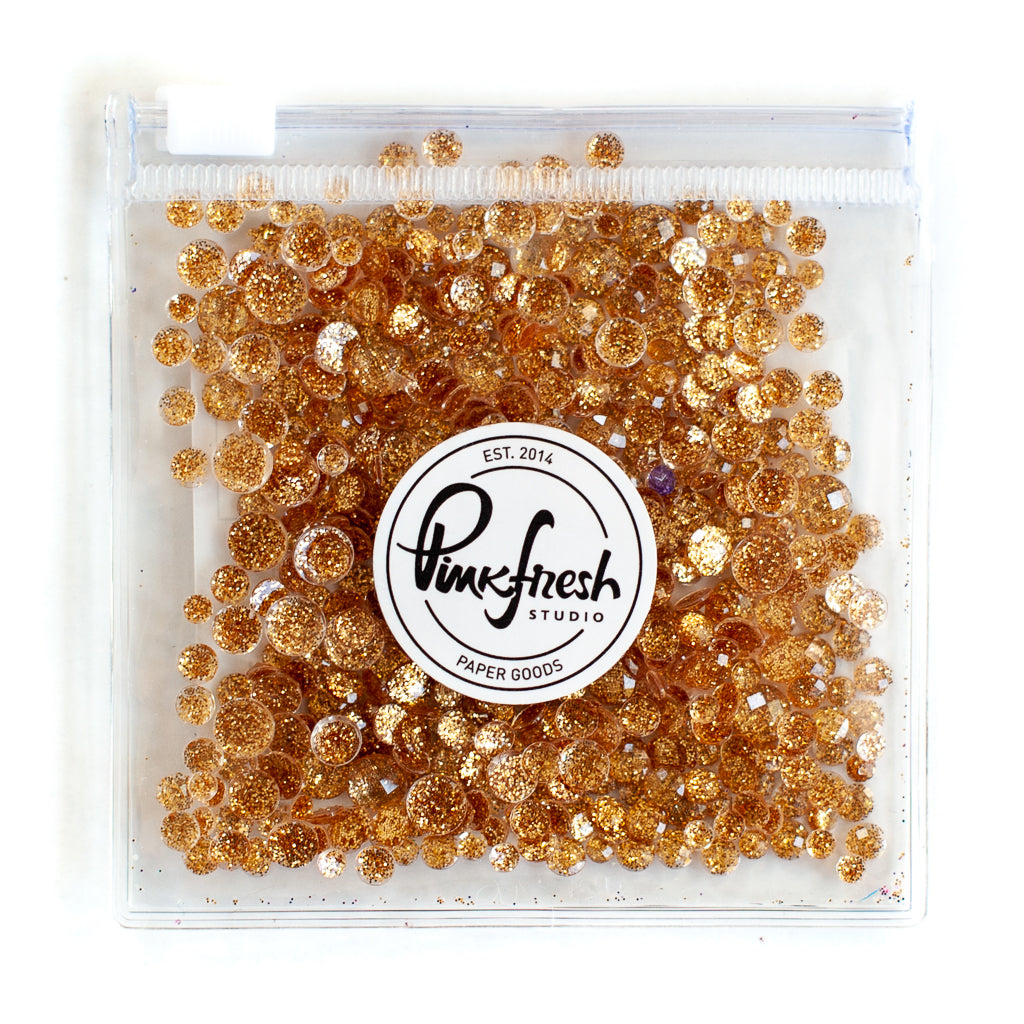
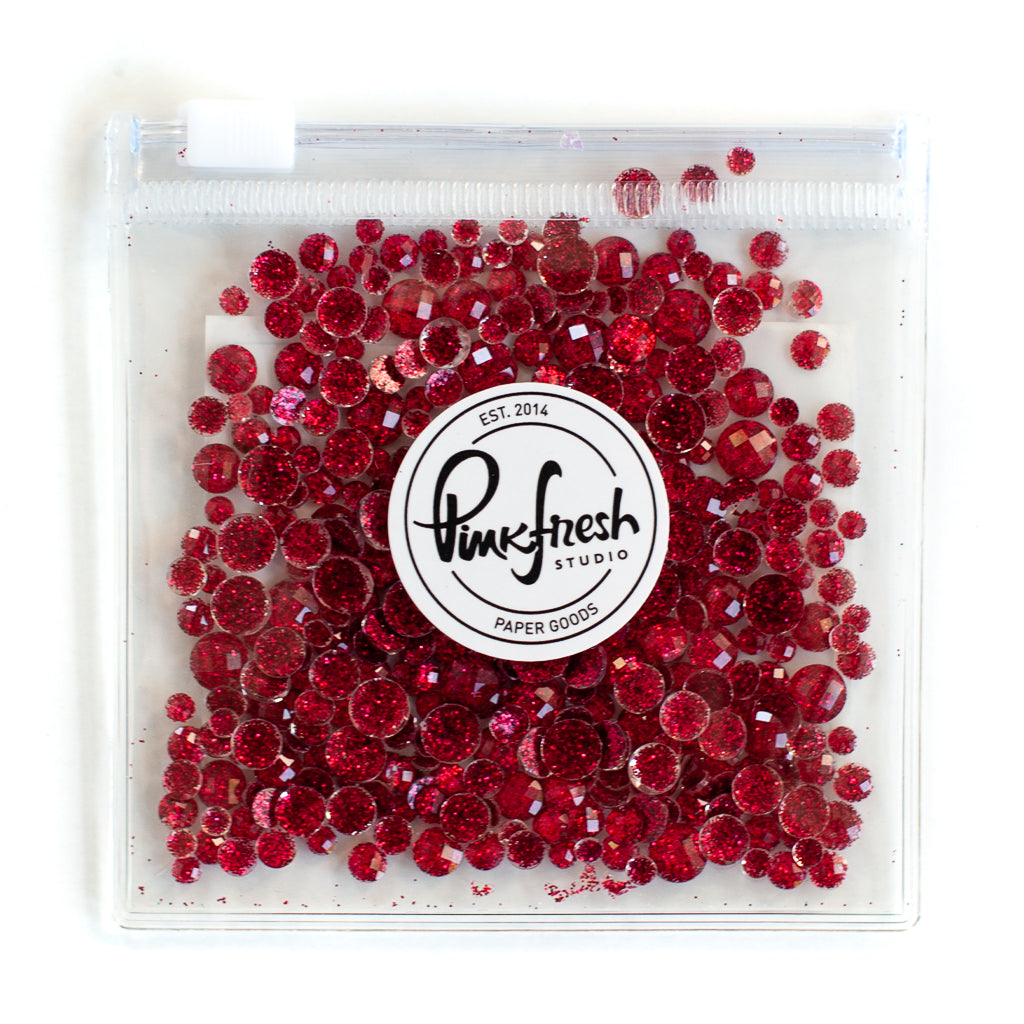
- Finish the card with a few Ruby and Gold glitter Drops for sparkle.

TIP: If you want a smooth, seamless blend in your watercolor background, the wet-on-wet technique is the perfect choice. Start by applying an even layer of clean water to your watercolor paper. Then, while the surface is still wet, add your chosen watercolor shades and let them softly flow and blend together before the paper begins to dry.
You can easily mix and match the items from The Stitch Edit collection — they are beautifully designed to coordinate with each other. The sky’s the limit when it comes to layering, combining colors, and creating your own unique sewing-inspired designs!
I hope you’ll have lots of fun creating with this release — just like I did :) !
Thank you so much for stopping by today!
Wishing you a crafty day!
TaeEun
Recommended Products
























































Leave a comment
All comments are moderated before being published.
This site is protected by hCaptcha and the hCaptcha Privacy Policy and Terms of Service apply.