
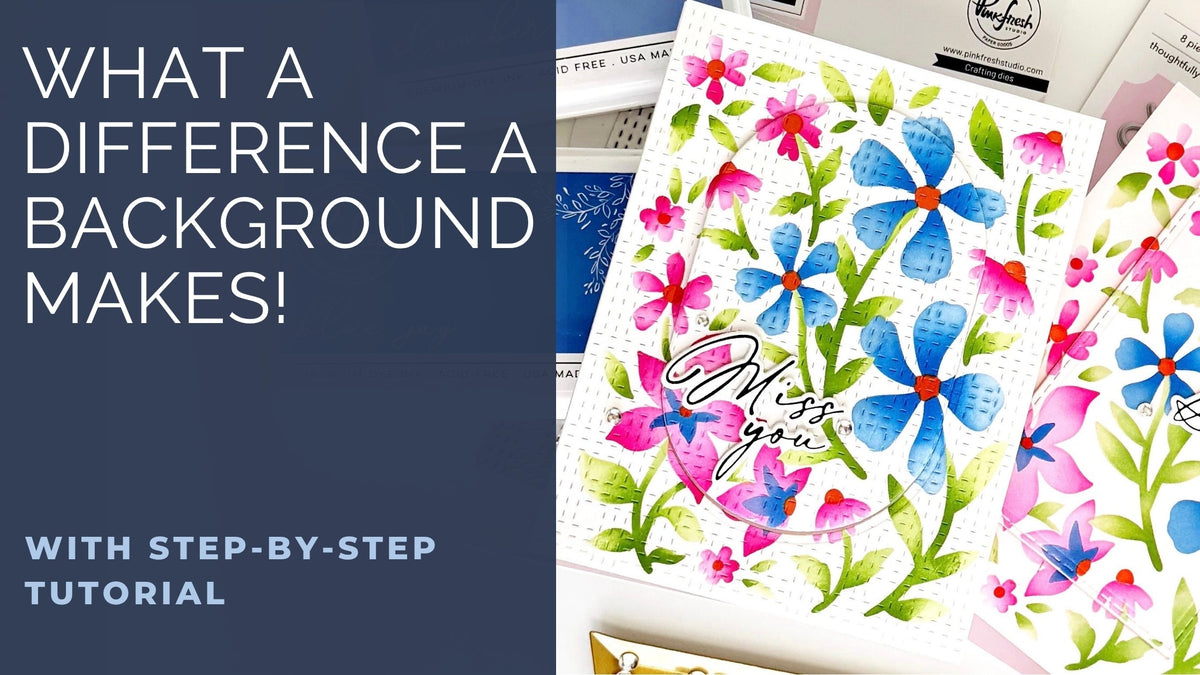
One of the things I love most about cardmaking is discovering just how much versatility we can get from a single product. It's easy to fall into the habit of using our favorite supplies the same way each time, but sometimes a small change in approach can lead to an entirely different result.
For today's projects, I challenged myself to create two distinct cards using the same Wildflower Notes stencil set and a nearly identical color palette. My goal wasn't simply to make two cards—it was to explore how our design decisions influence the finished result, even when we're working with the same starting point.
From background treatments and die-cut shapes to the way we introduce dimension, every choice contributes to the overall look and feel of a card. By comparing these two designs side by side, I hope to encourage you to experiment with your own supplies, challenge your usual creative habits, and discover new possibilities in products you already own.
Let's see just how different two cards can look when we start with the same stencil!
*Disclaimer: All products used are linked below as clickable images. If a product isn't listed, it's been discontinued.

How to re-create these cards:
Card 1: Stenciled Background Color
- Create a top-folding A2 card base from white cardstock.
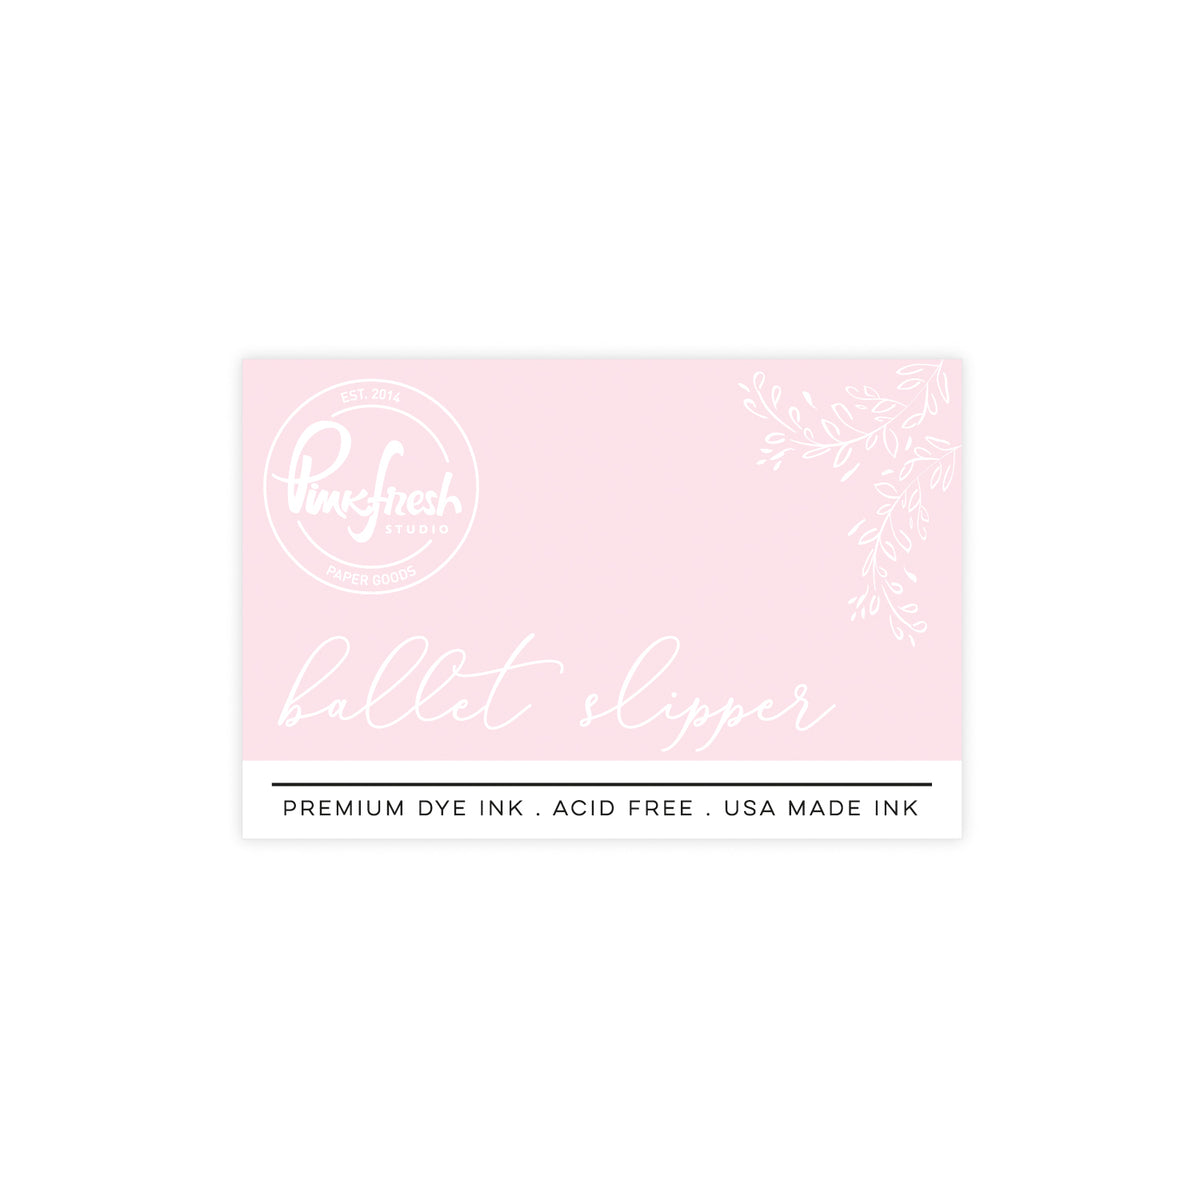
- Cut a white cardstock panel to A2 size and ink blend the entire surface with Ballet Slipper. Allow the ink to dry completely before continuing.
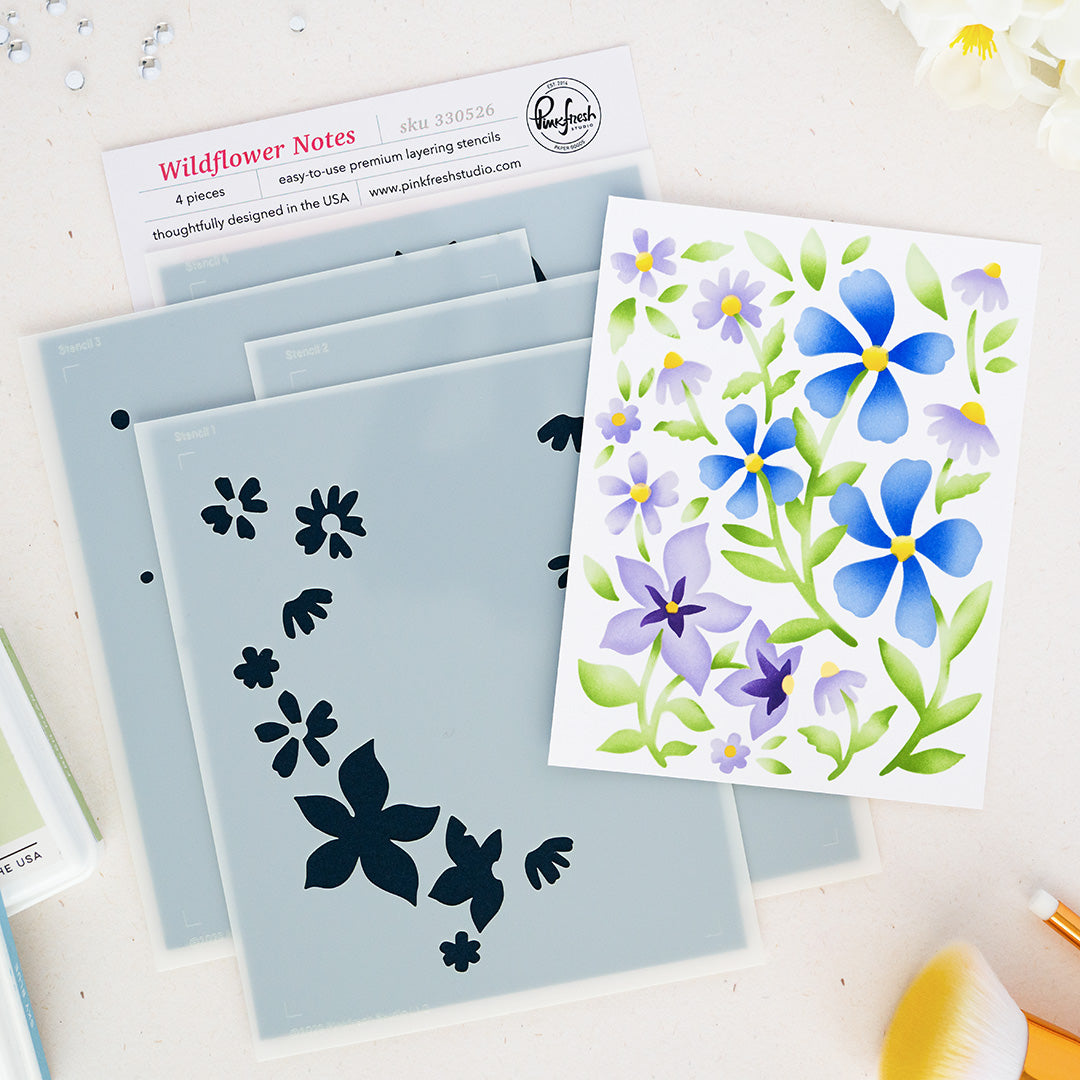
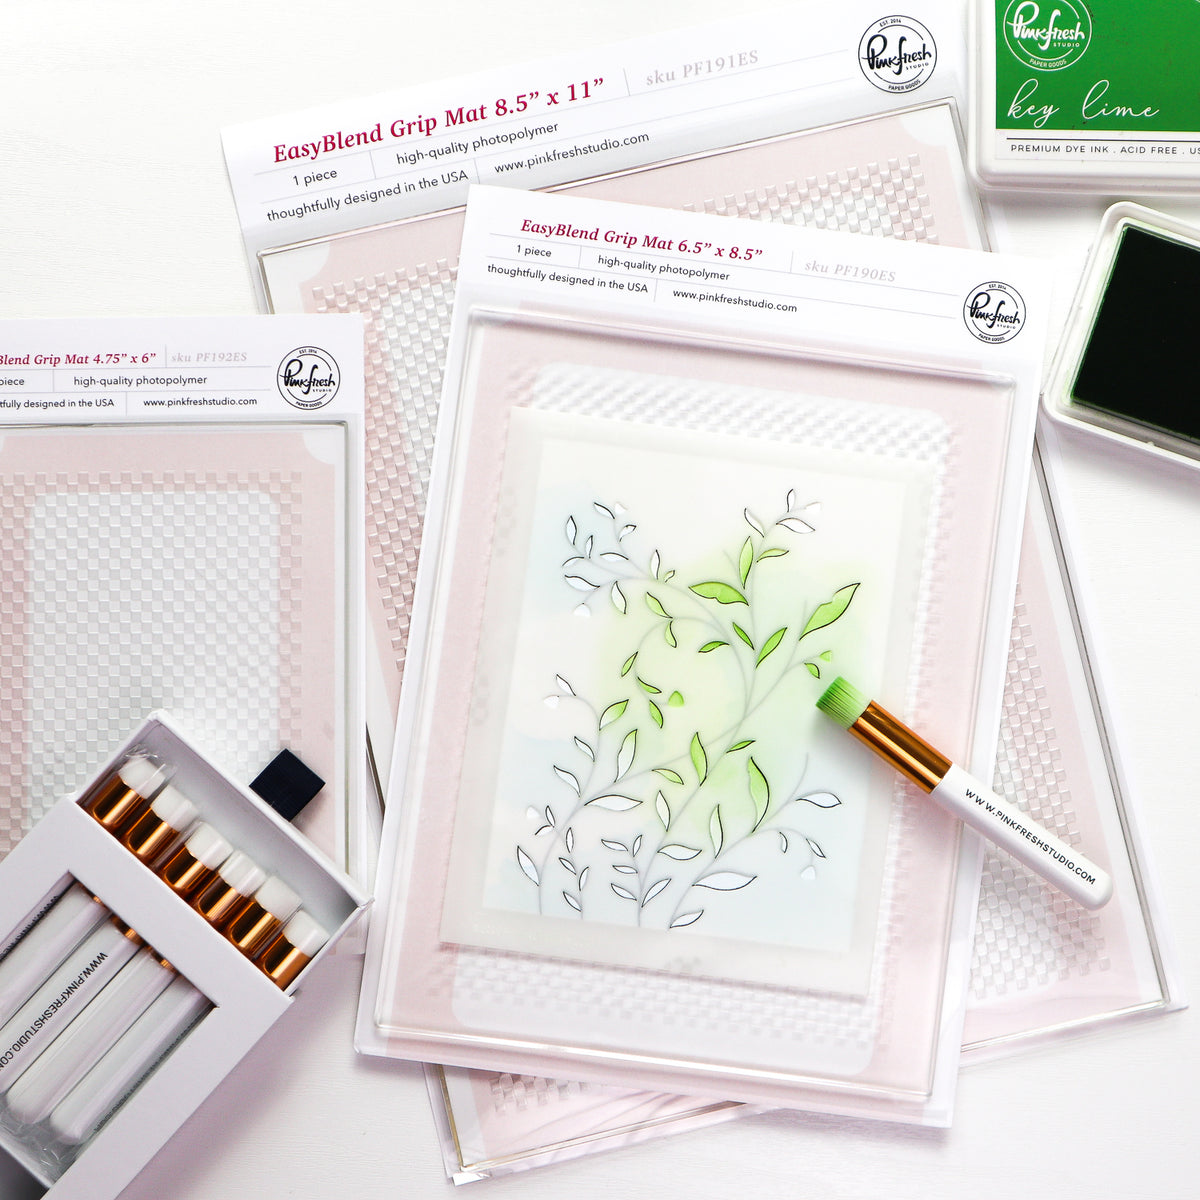
- Place the panel on an Easy Blend Grip Mat and align the Wildflower Notes stencils using the corner registration marks.
- Add color using the coordinating stencils:
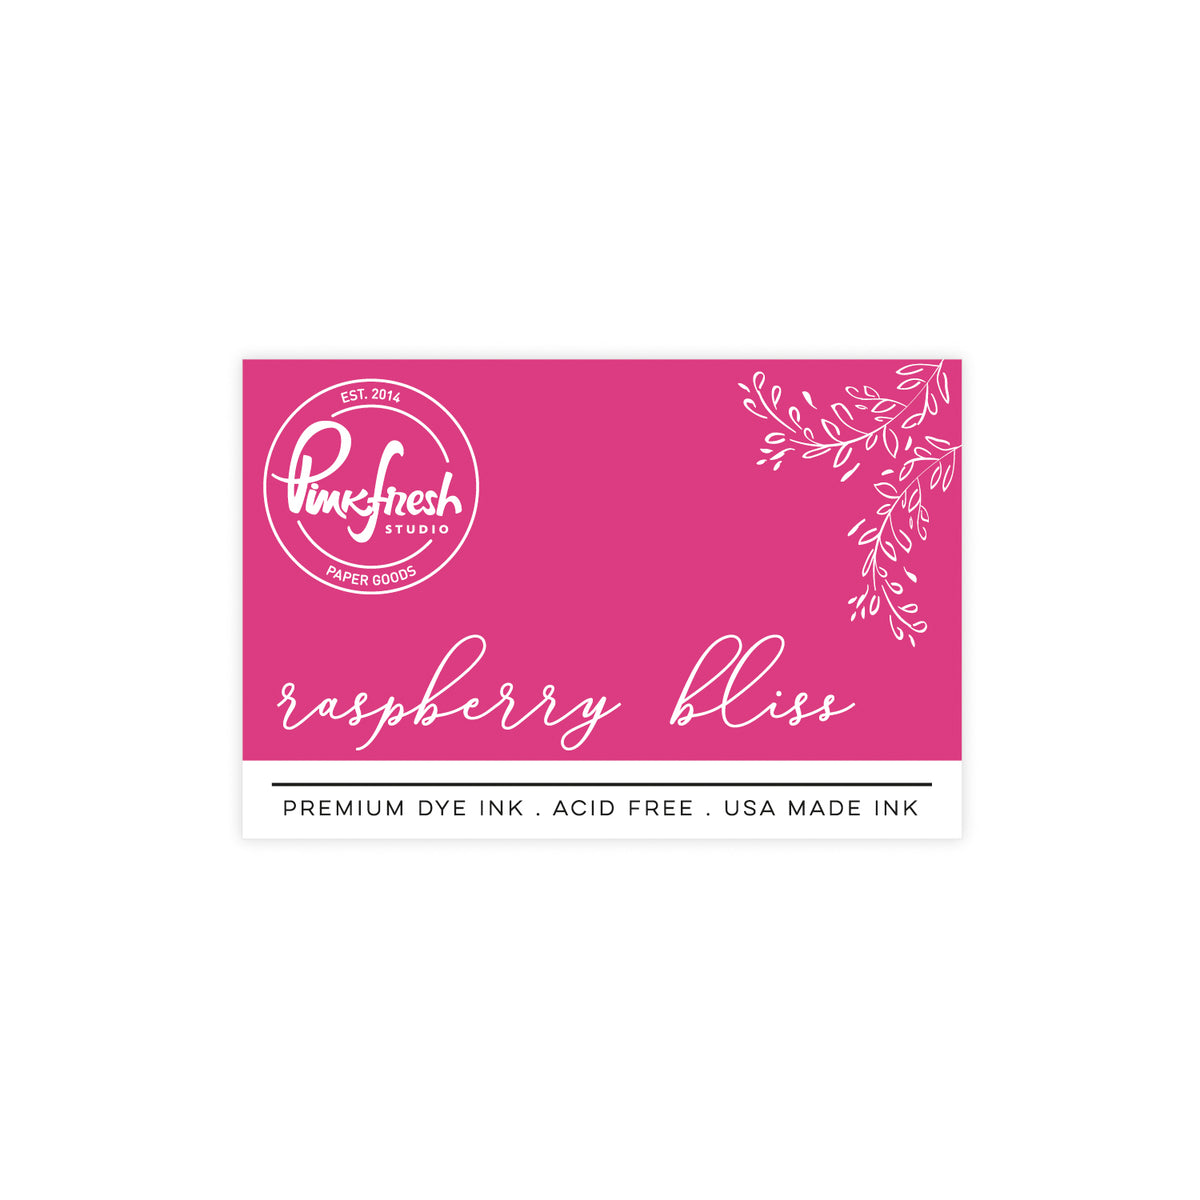
- Stencil 1: Sparkling Rose, Raspberry Bliss
- Stencil 2: Slumber, Blue Jay
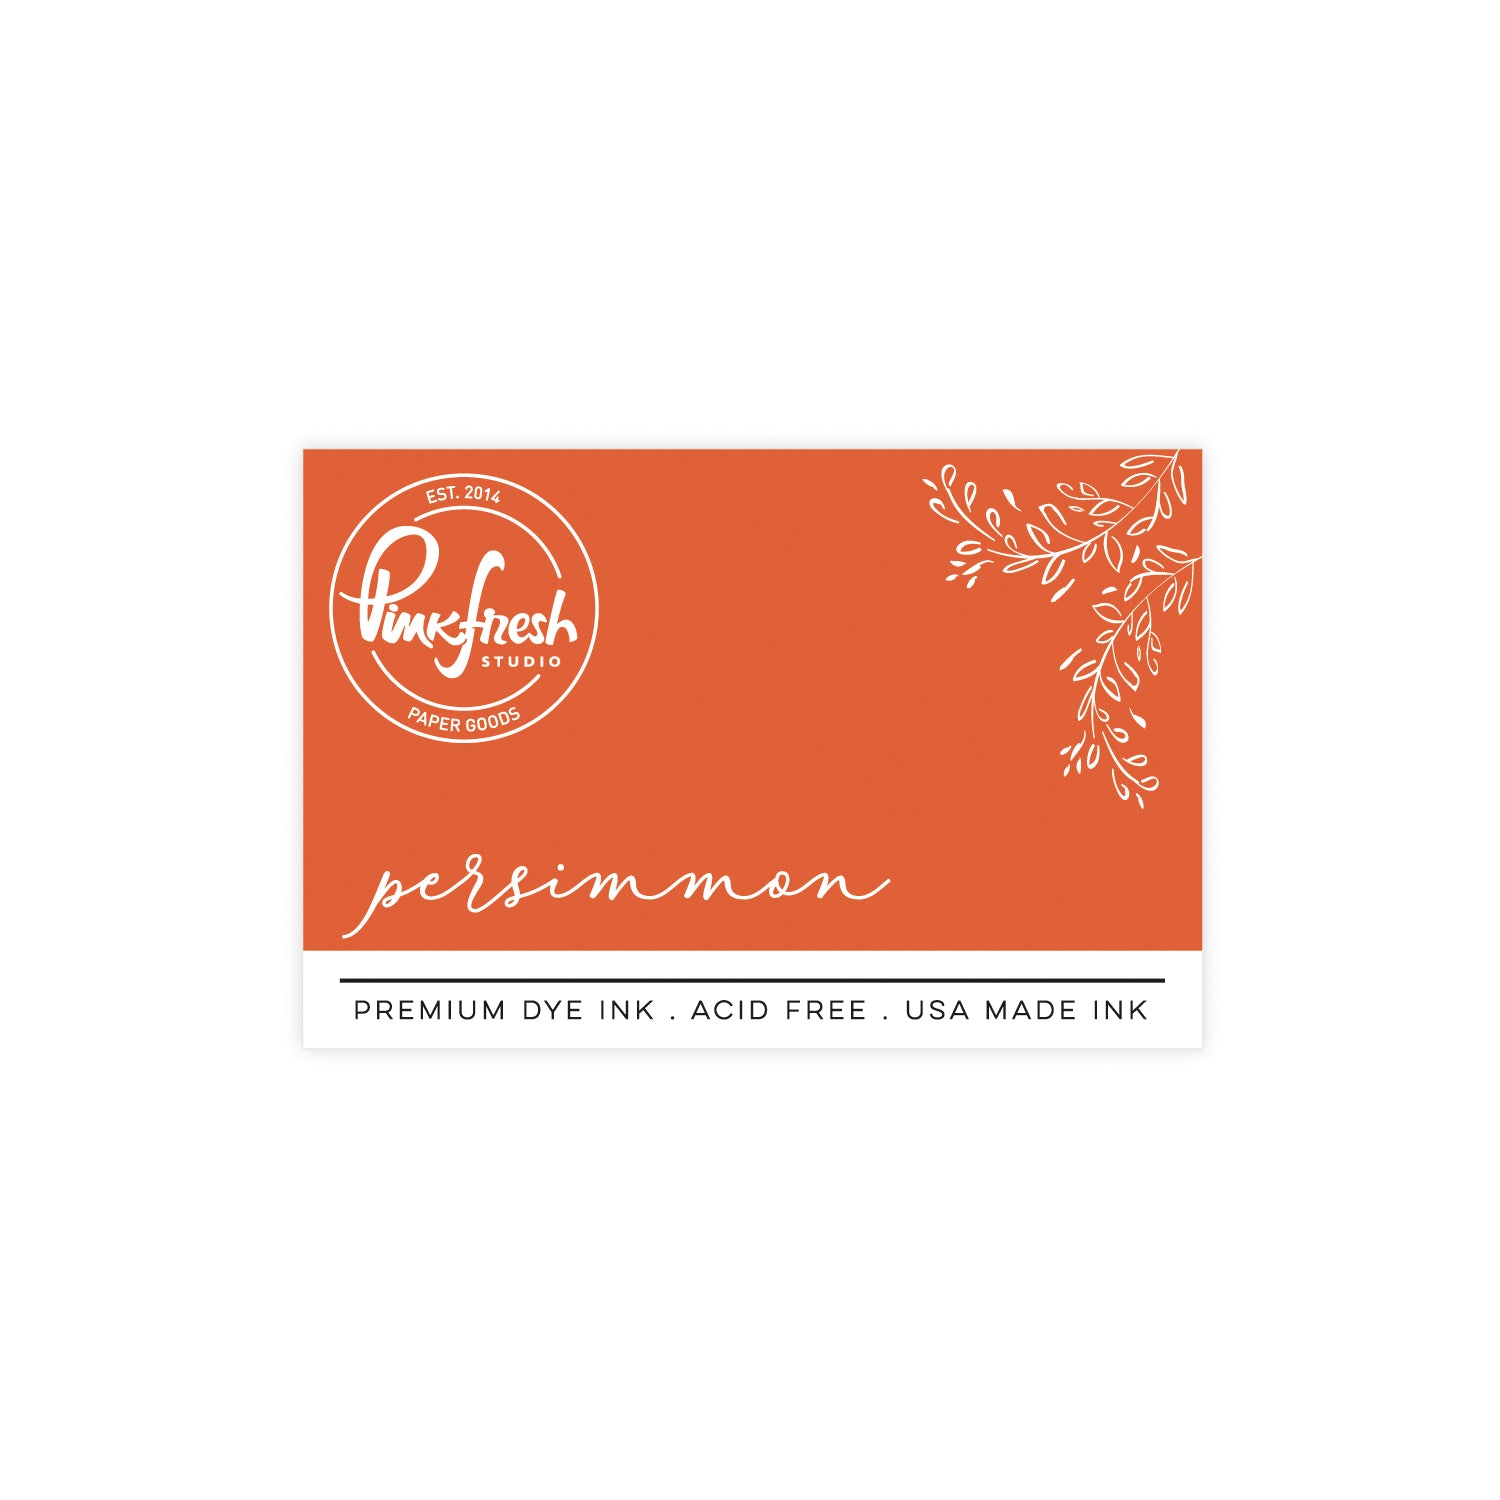
- Stencil 3: Persimmon
- Stencil 4: Fresh Pear, Olive
- Begin with the lighter ink colors and gradually introduce the darker shades to create contrast. Blot excess ink from your blending brush onto a scrap piece of paper or the stencil before applying it to the cardstock for greater control.
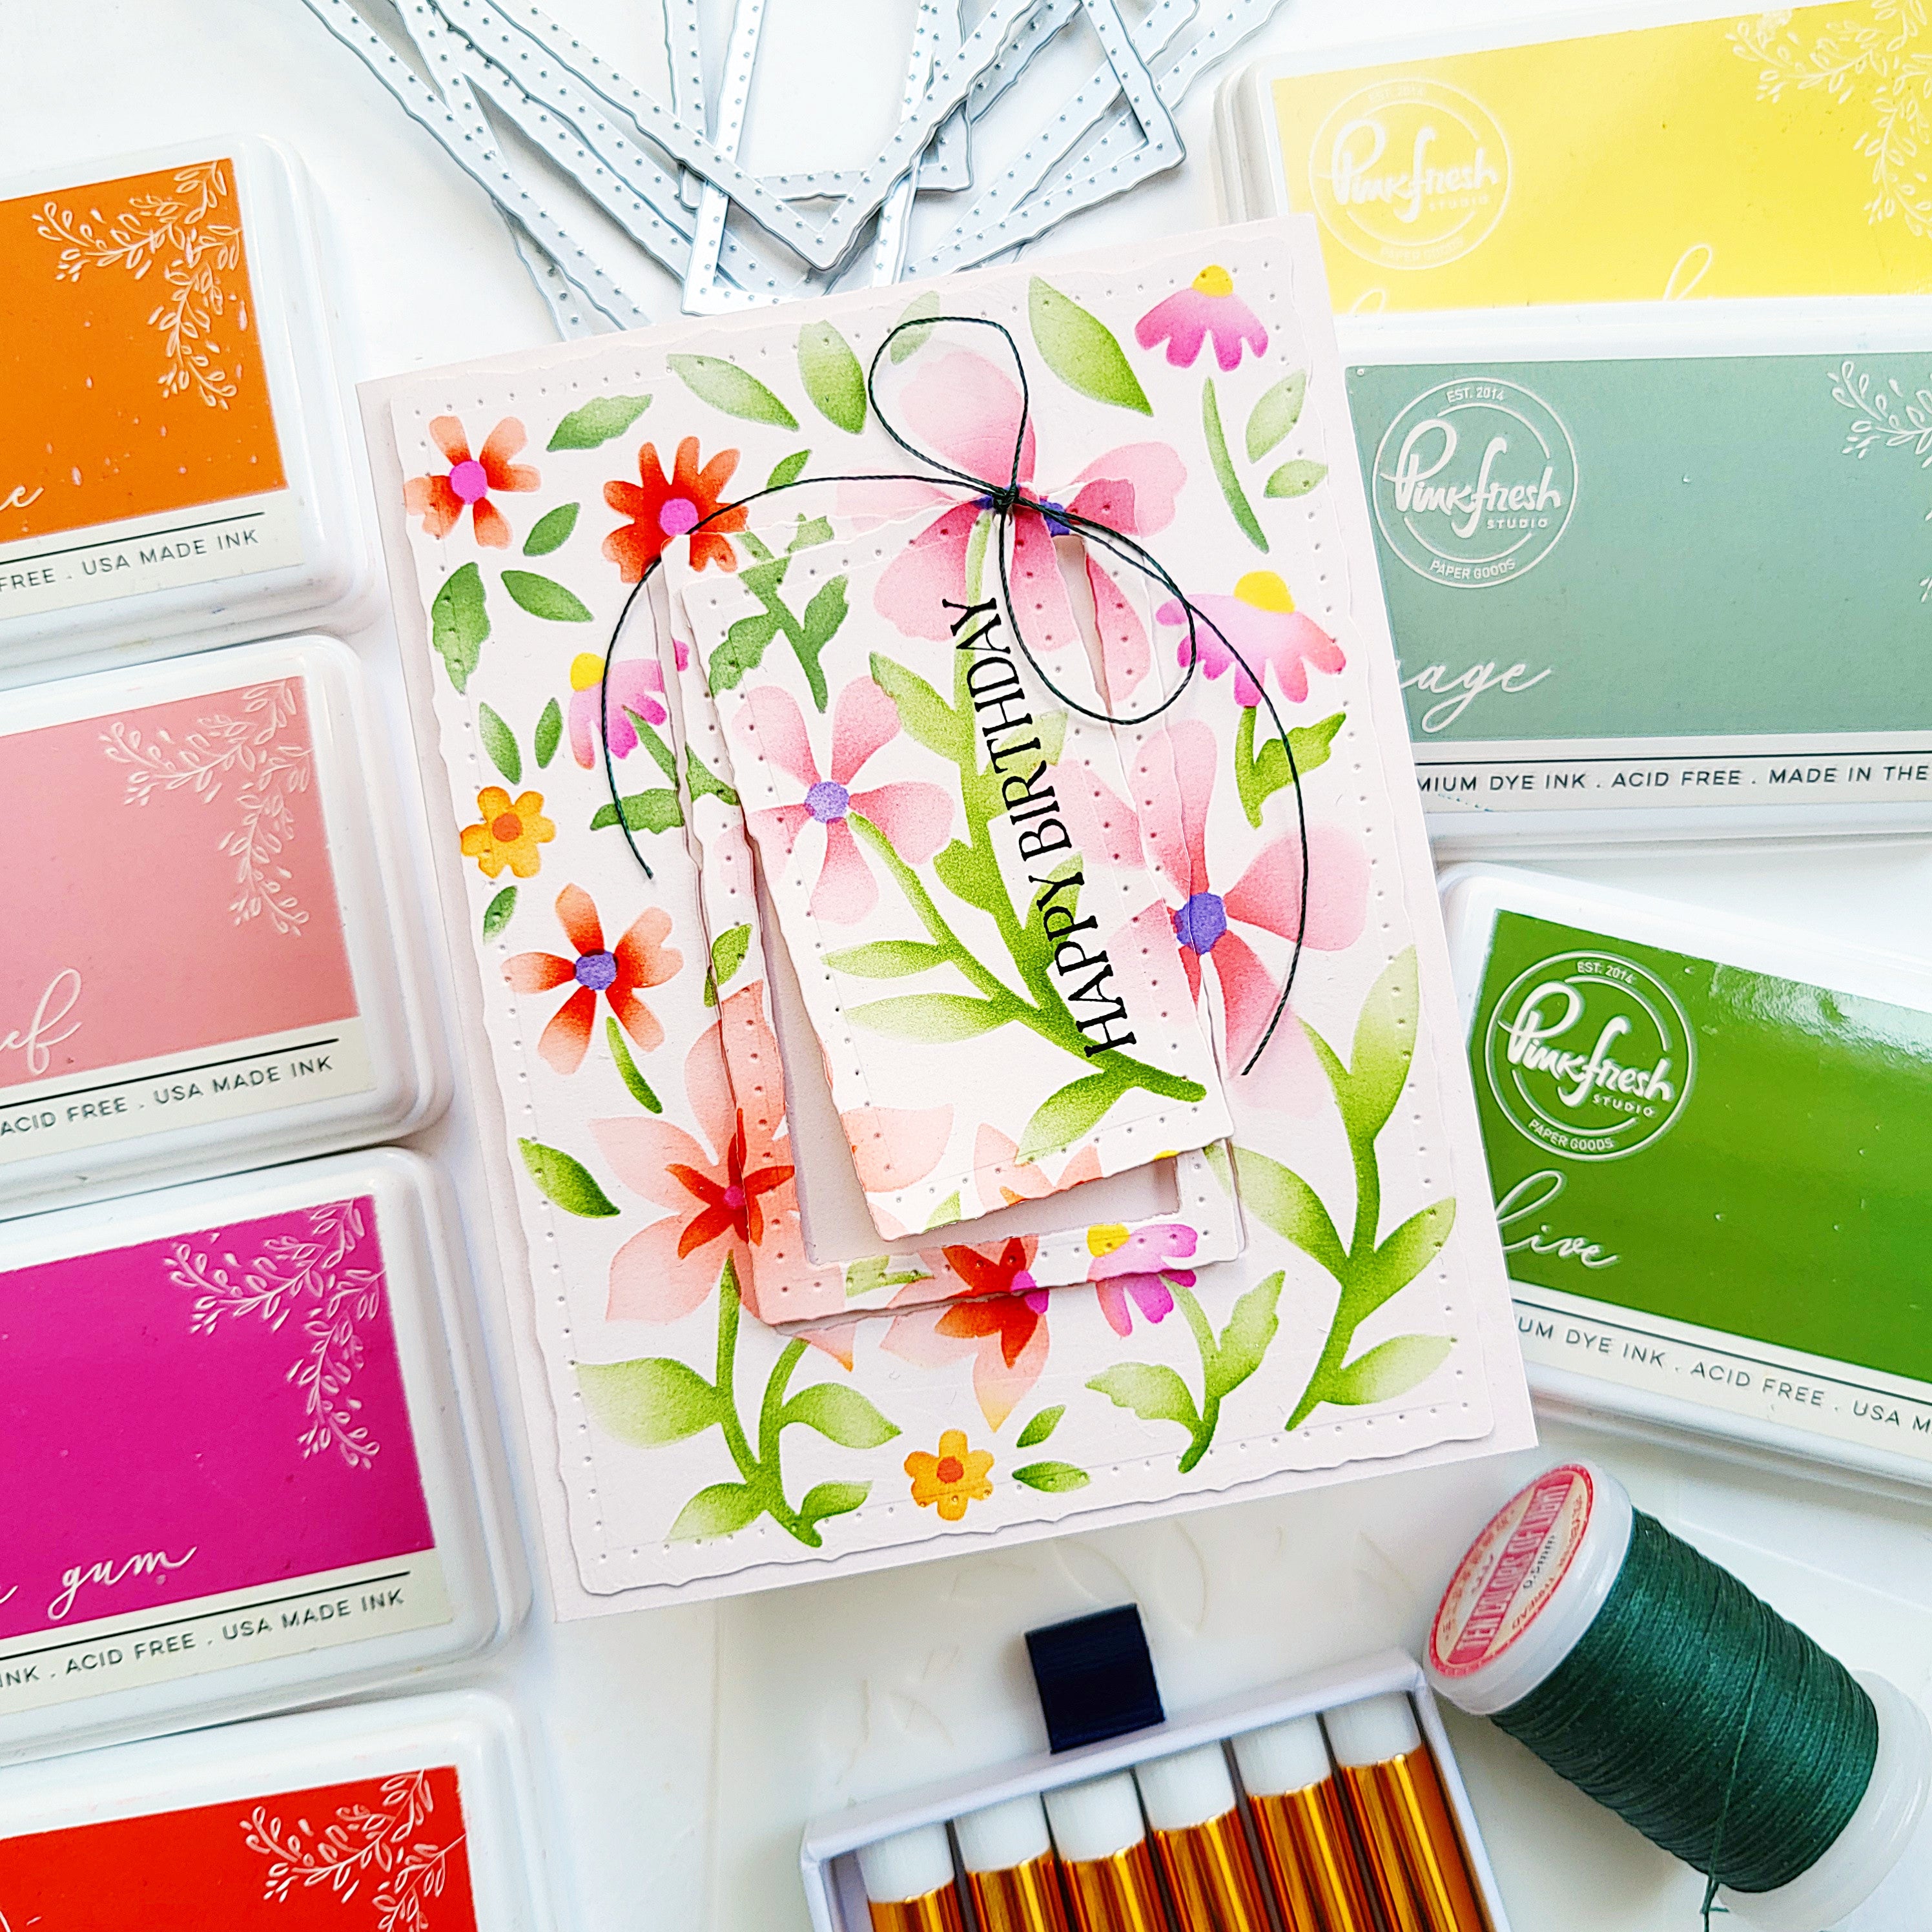
- Use a rectangular Essentials die to cut a centered rectangle from the completed floral panel, keeping both the outer frame and interior rectangle.
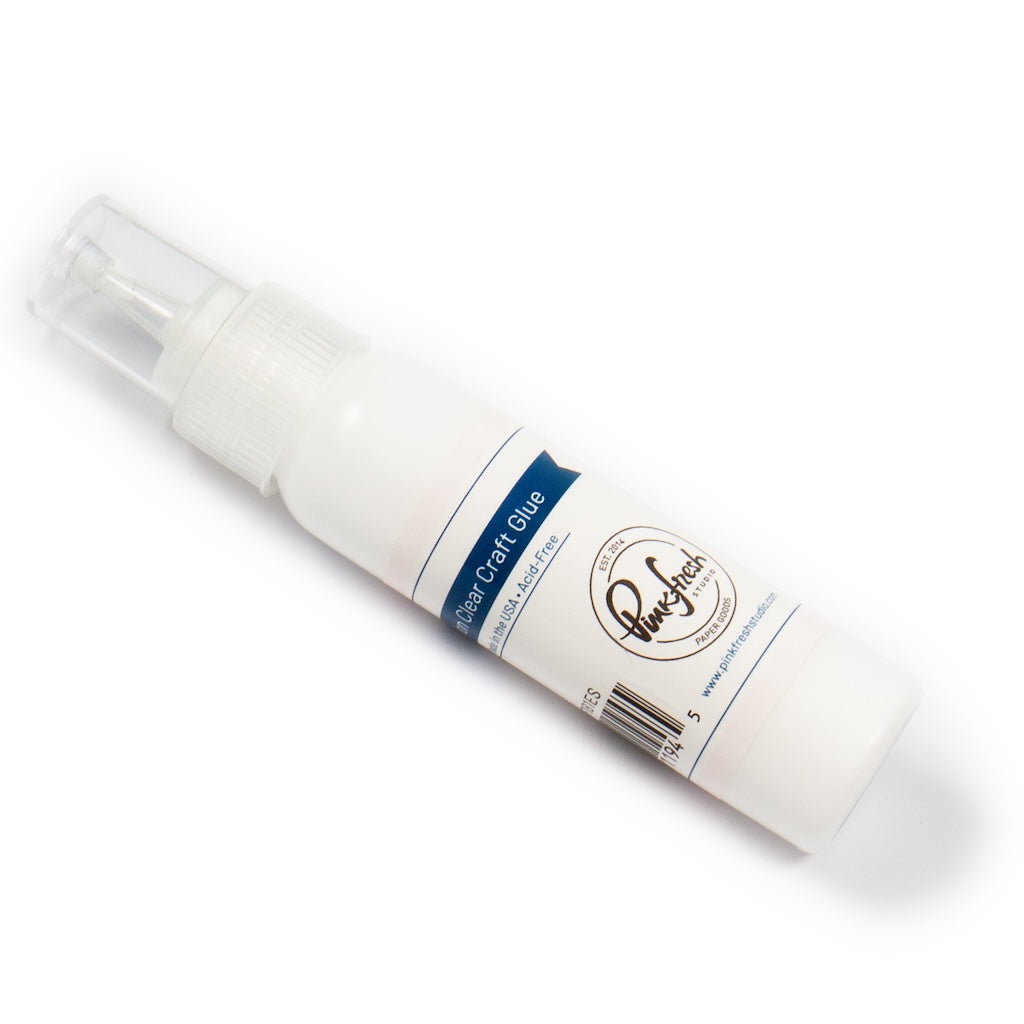
- Adhere the outer floral panel directly to the A2 card base using liquid glue.
- Apply 2 mm foam tape to the back of the interior rectangle. Carefully align the floral pattern with the surrounding panel and adhere the rectangle in its original position, creating a raised center.
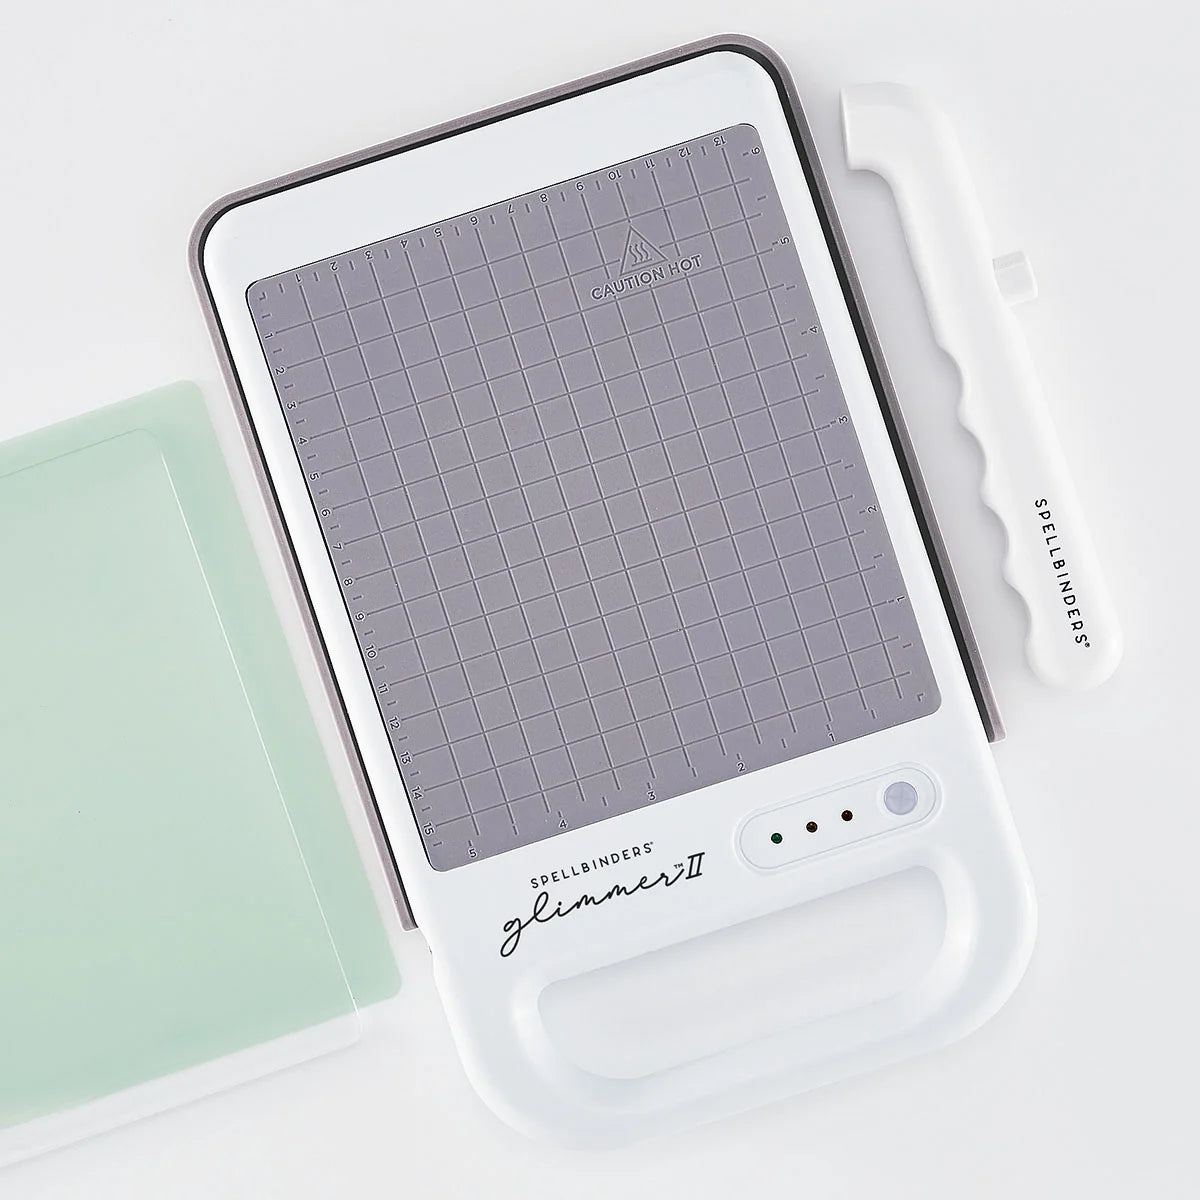
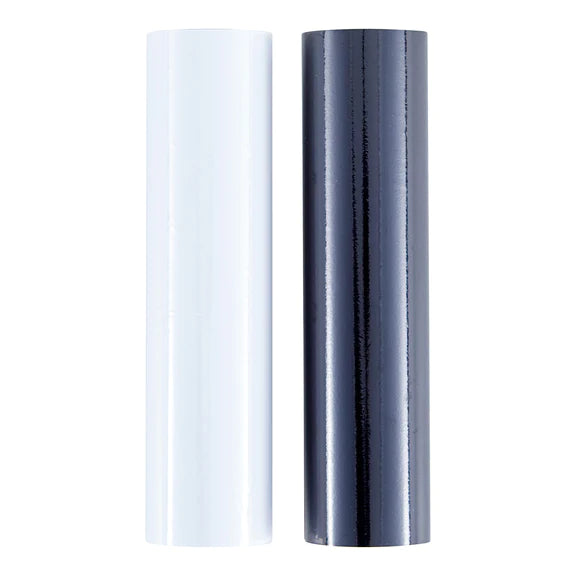
- Hot foil the "Happy Birthday" sentiment from the Simply Said Press Plate using black hot foil and die cut it with the coordinating die.
- Die cut two additional blank sentiment layers from white cardstock and stack the three pieces together with liquid glue.
- Position the sentiment over the raised rectangle, considering the placement of the surrounding flowers to maintain a balanced composition. Adhere it using liquid glue.
- Finish the card with a few clear embellishments for a subtle touch of sparkle.
Card 2: Textured Stenciling over a Coverplate
- Create a top-folding A2 card base from white cardstock.
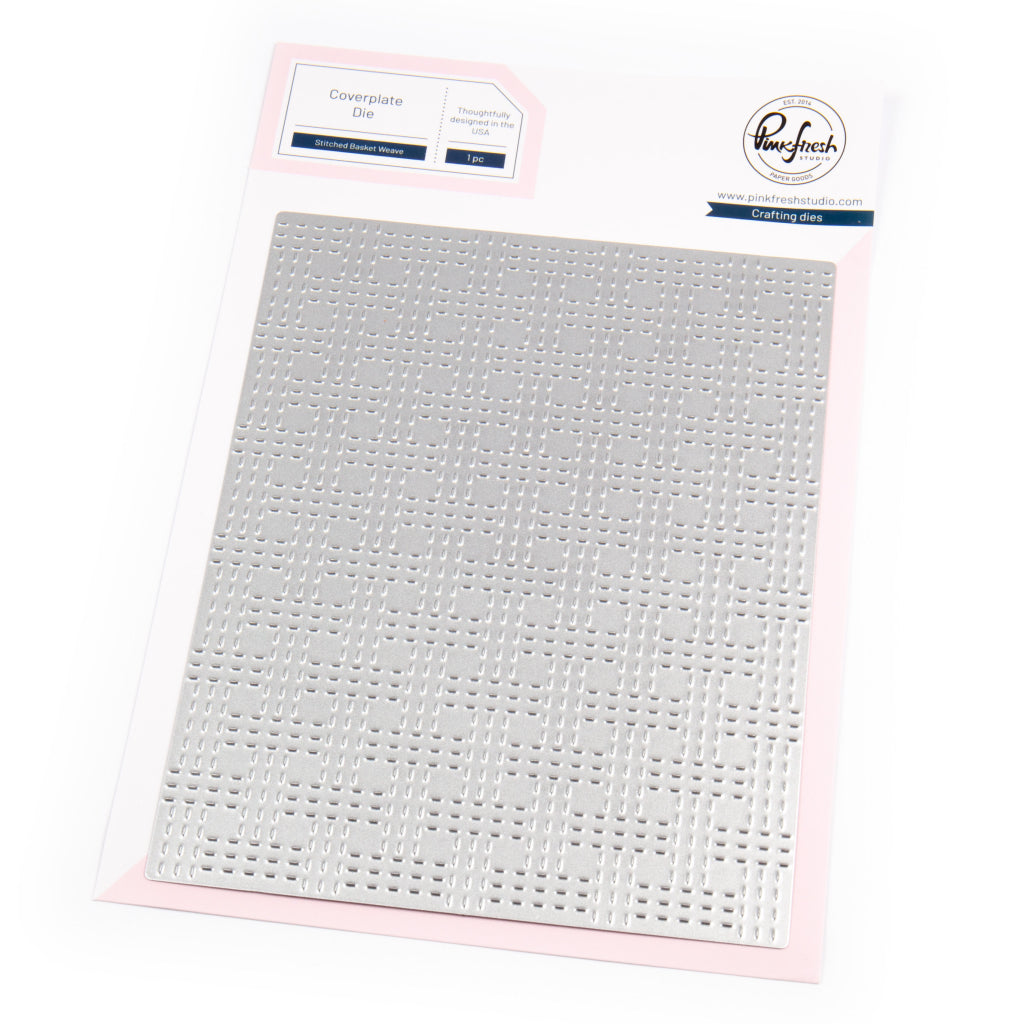
- Die cut the Blanket Stitched Basket Weave Coverplate from an A2-sized piece of white cardstock before beginning the stenciling process.
- Place the die-cut panel on an Easy Blend Grip Mat and align the Wildflower Notes stencils using the corner registration marks.
- Add color using the coordinating stencils:
- Stencil 1: Sparkling Rose, Raspberry Bliss
- Stencil 2: Slumber, Blue Jay
- Stencil 3: Persimmon
- Stencil 4: Fresh Pear, Olive
- Blend the lighter colors first, then add the darker shades for contrast. Because the coverplate was die cut before stenciling, the ink will collect along the stitched openings, making the texture more pronounced.
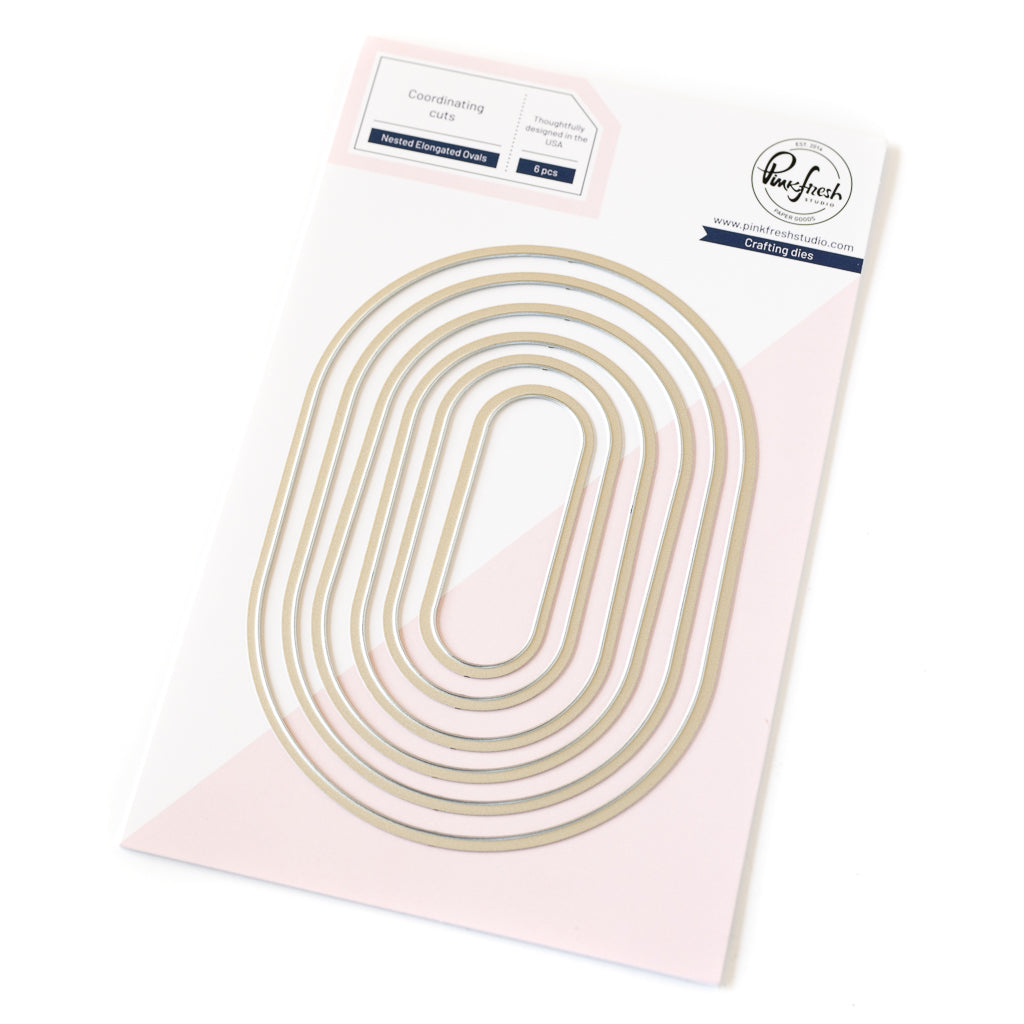
- Use a Nested Elongated Ovals Die to cut an oval from the center of the completed panel. Set aside both the outer panel and the oval die cut.
- Adhere the outer panel to the card base using foam tape to raise it above the cardstock.
- Add another layer of foam tape to the back of the oval die cut. Carefully align the floral pattern and stitched details with the surrounding panel, then adhere the oval in its original position to create a second level of dimension.
- Hot foil the "Miss You" sentiment from the Simply Said Press Plate using black hot foil and die cut it with the coordinating die.
- Stack the sentiment with additional blank die cuts for dimension, then adhere it over the raised oval using liquid glue.
- Finish the card with clear embellishments for a little sparkle.
Jody's Technique Tip: Die Cut Before You Stencil
If you want to emphasize the texture of a stitched coverplate, try die cutting your cardstock before adding ink.
As you blend over the die-cut surface, the ink naturally catches along the stitched openings, making the pattern more visible. Stenciling first and die cutting afterward will give you a more subtle effect.
I also recommend blotting excess ink from your blending brush before applying darker colors. You can always build additional contrast, but starting with a lighter application gives you more control over the finished result.


What I enjoyed most about this experiment was seeing just how differently these two cards turned out, despite starting with the same Wildflower Notes stencil set and nearly identical ink colors.
For the first card, I chose a soft Ballet Slipper background and a simple raised rectangle to create a clean, cohesive design. For the second, I introduced the Blanket Stitched Basket Weave Coverplate and a layered oval, resulting in a completely different look with more pronounced texture and dimension.
Neither approach is better than the other, and that's really the point! The same supplies can produce remarkably different results depending on how we choose to use them.
I think it's important to remember that creativity isn't always about finding something new to buy or learning an entirely new technique. Sometimes, it's about looking at the products we already own with a fresh perspective. Changing the background, experimenting with different shapes, or approaching a familiar technique in a new way can open up possibilities we might not have considered.
My biggest takeaway from this experiment is that our design choices are just as important as the products we use. Understanding how those choices influence the finished result gives us more creative freedom and confidence to experiment.
I hope these two cards inspire you to pull out a favorite stencil set and challenge yourself to create two completely different looks. You might be surprised by what you discover!
Recommended Products






























Leave a comment
All comments are moderated before being published.
This site is protected by hCaptcha and the hCaptcha Privacy Policy and Terms of Service apply.