
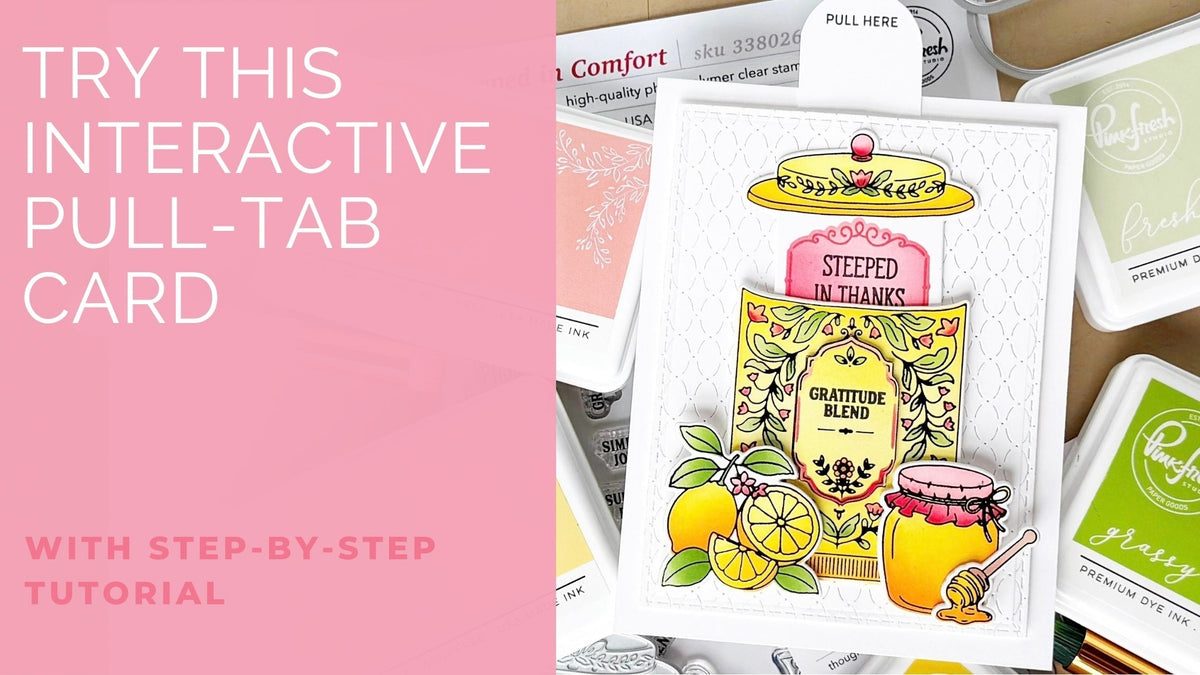
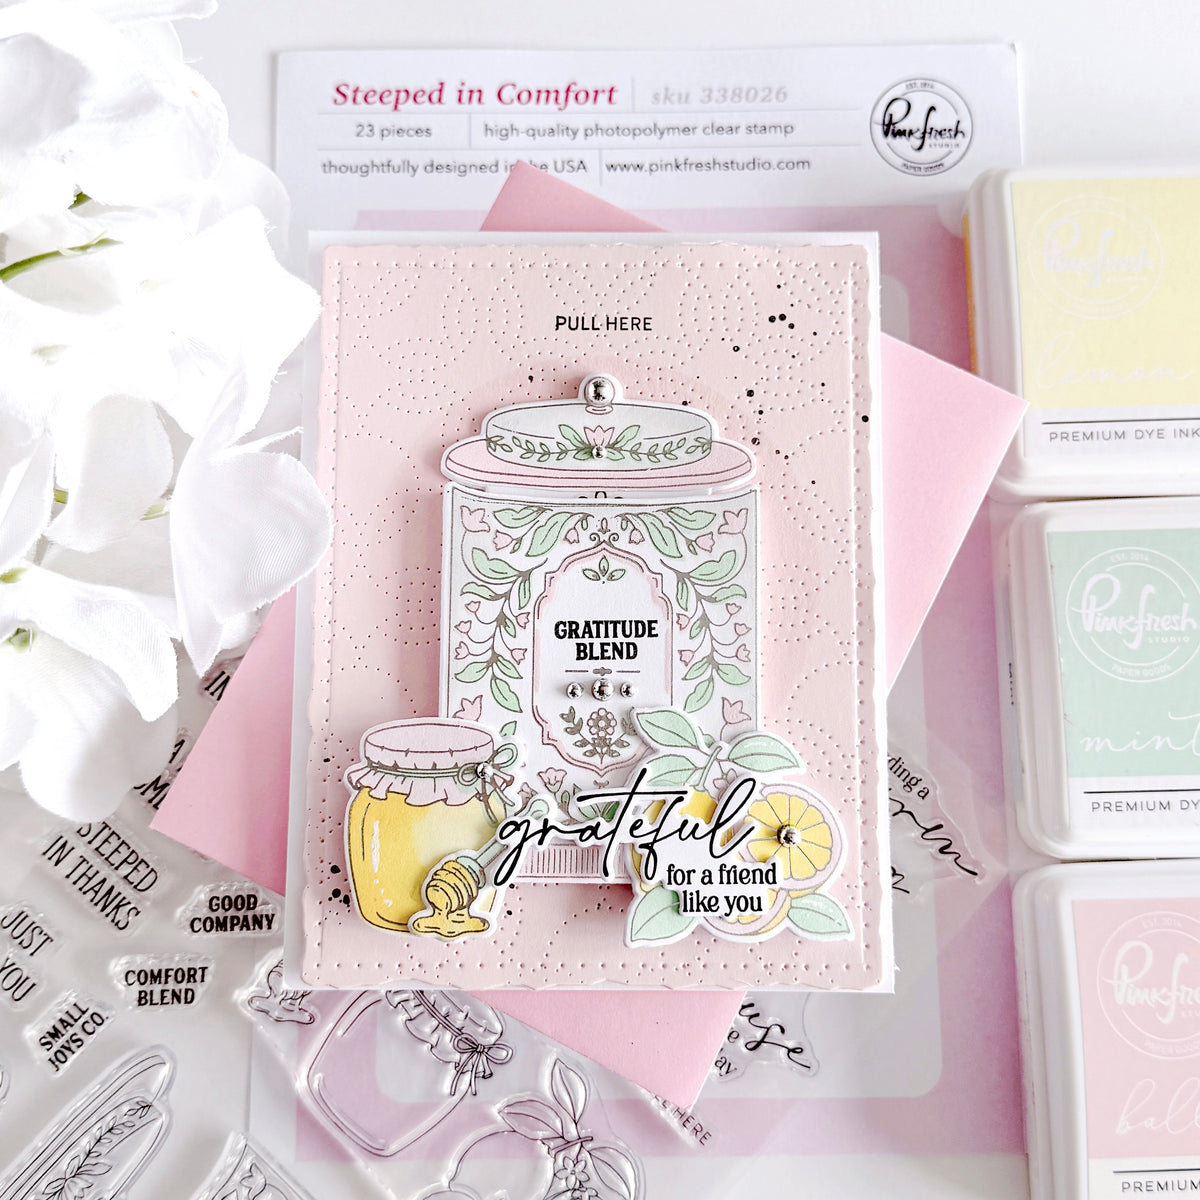
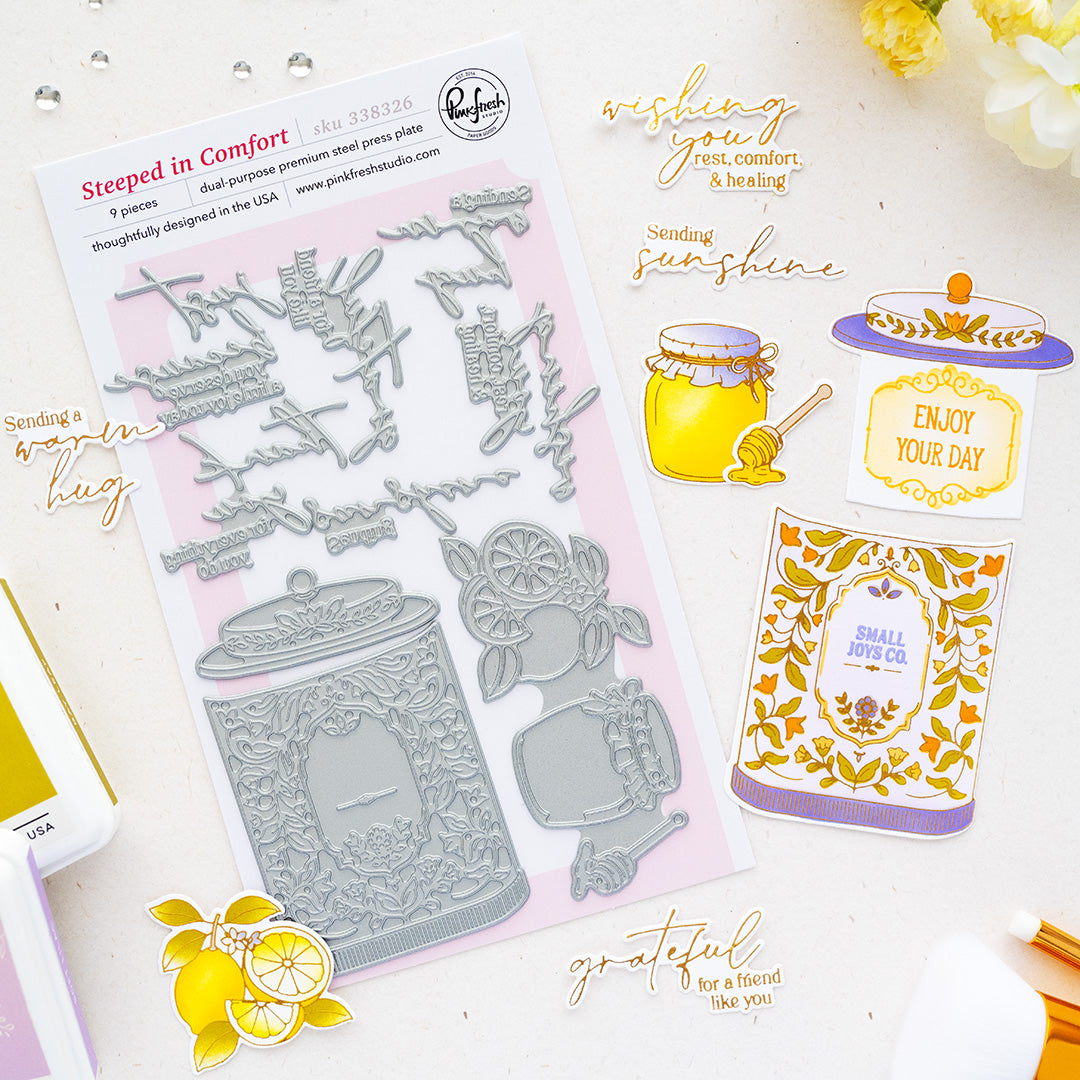
There’s more to this sweet tea canister than meets the eye! I am featuring the new Steeped in Comfort suite from The Simple Things release to create an interactive thank-you card with a hidden message.
At first glance, the colorful canister, lemons, and honey create a cheerful gratitude card. But pull the tab at the top, and the canister lid lifts to reveal a second sentiment tucked inside! A simple handmade slider mechanism brings the interactive element to life, while bright ink blending, layered die cuts, and the subtle texture of the Oval Rhythm Coverplate Die complete the design.


How to re-create this card:
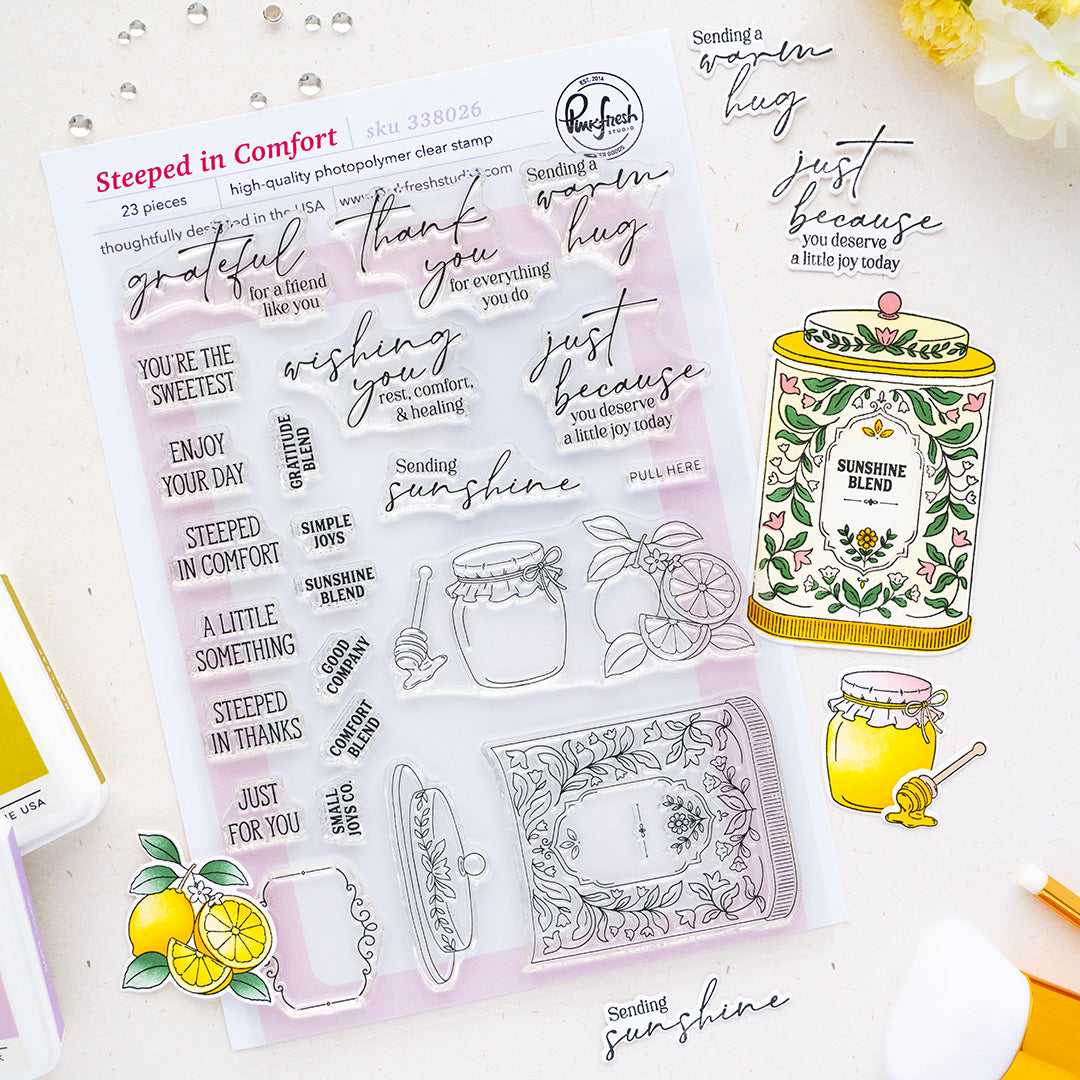
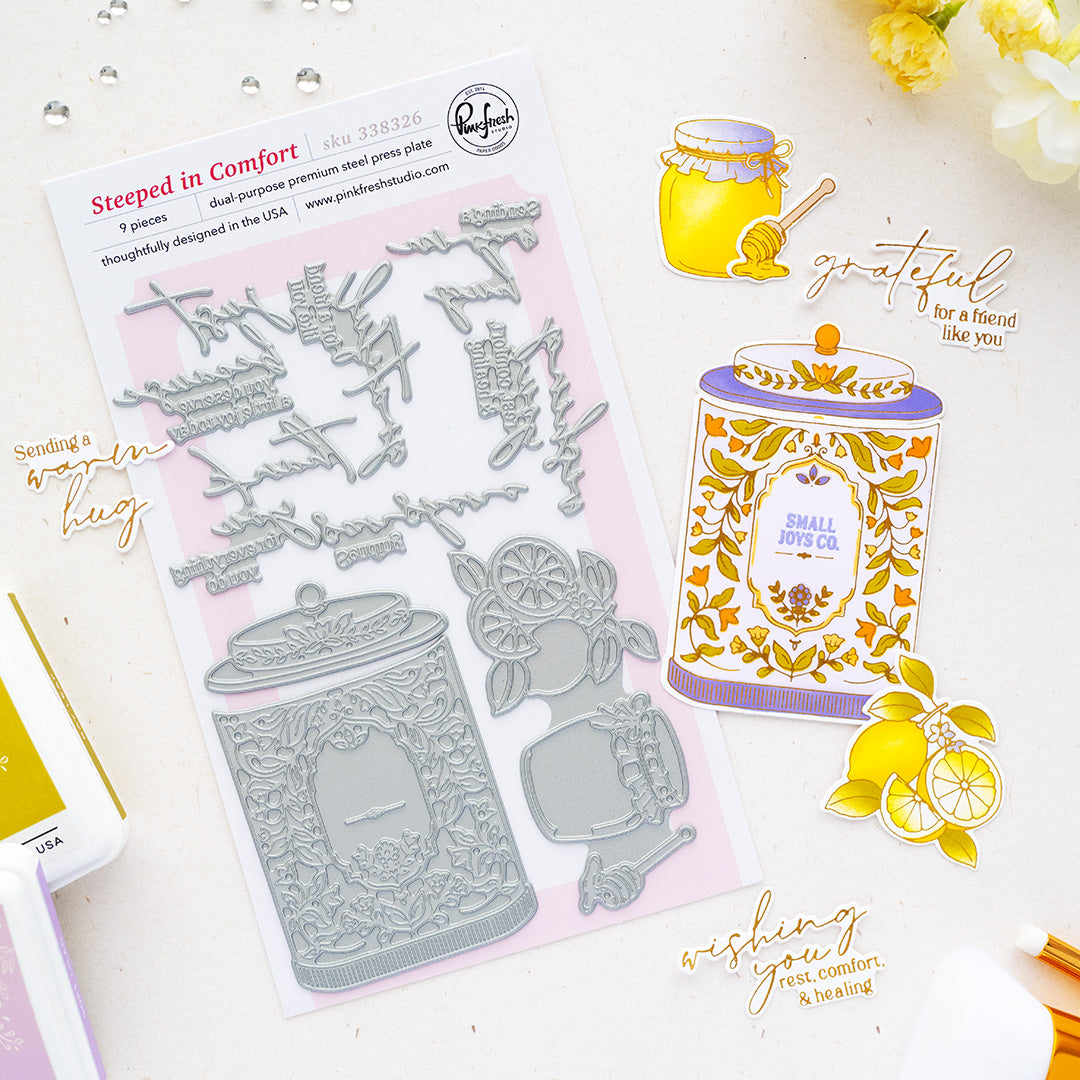
- Use the Steeped in Comfort Press Plate to hot foil the tea canister, lid, lemon cluster, honey jar, honey dipper, and sentiments onto white cardstock using opaque black hot foil.
- For more efficient stenciling, roughly trim around the foiled tea canister and lemon/honey images, then temporarily secure them beside one another on your work surface. Carefully align the first Steeped in Comfort stencil over both images at the same time. Once the first stencil is positioned, each remaining stencil can be placed over both pieces together rather than aligning and coloring them separately.
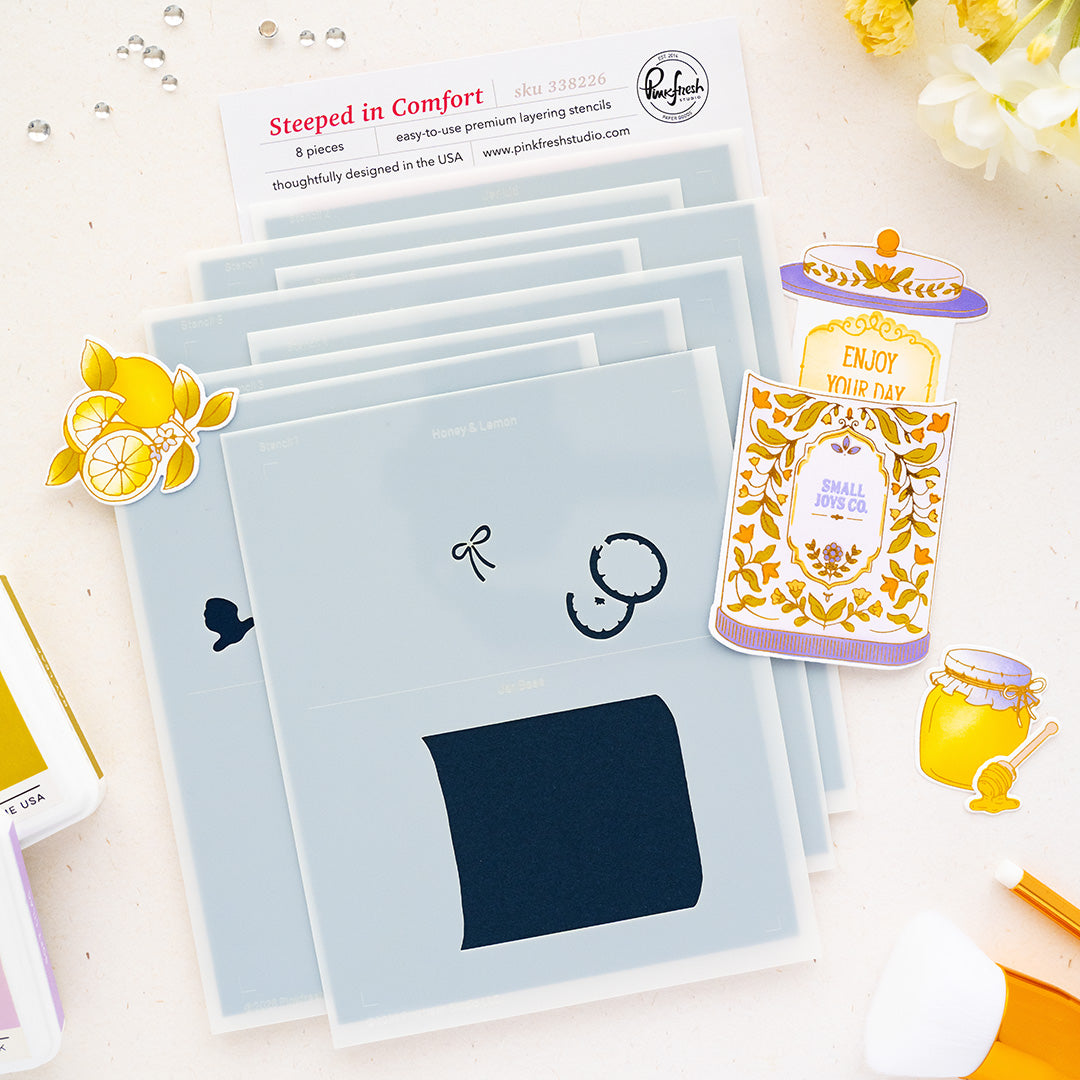
- Use the coordinating stencils to add color to the foiled images:
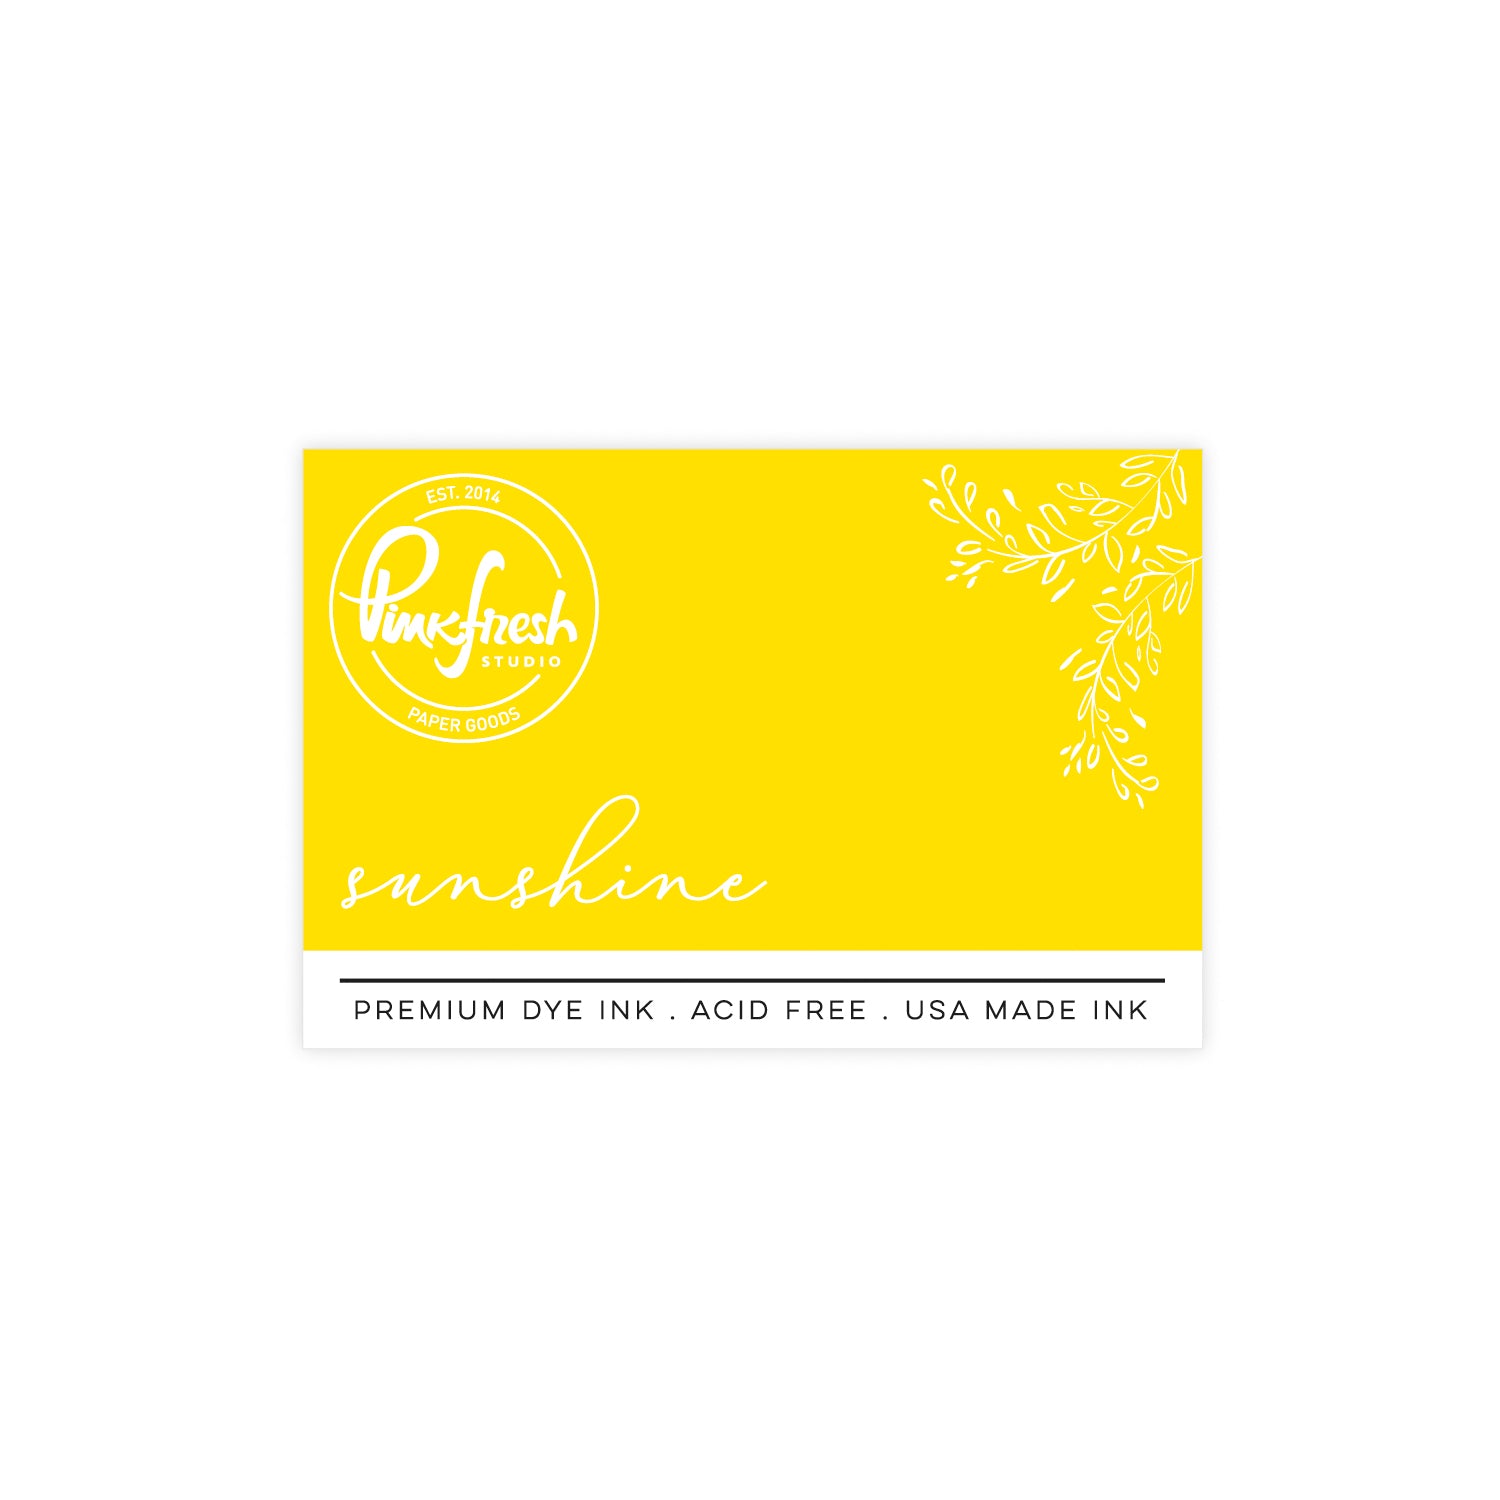
- Stencil 1: Lemon Whip, Sunshine
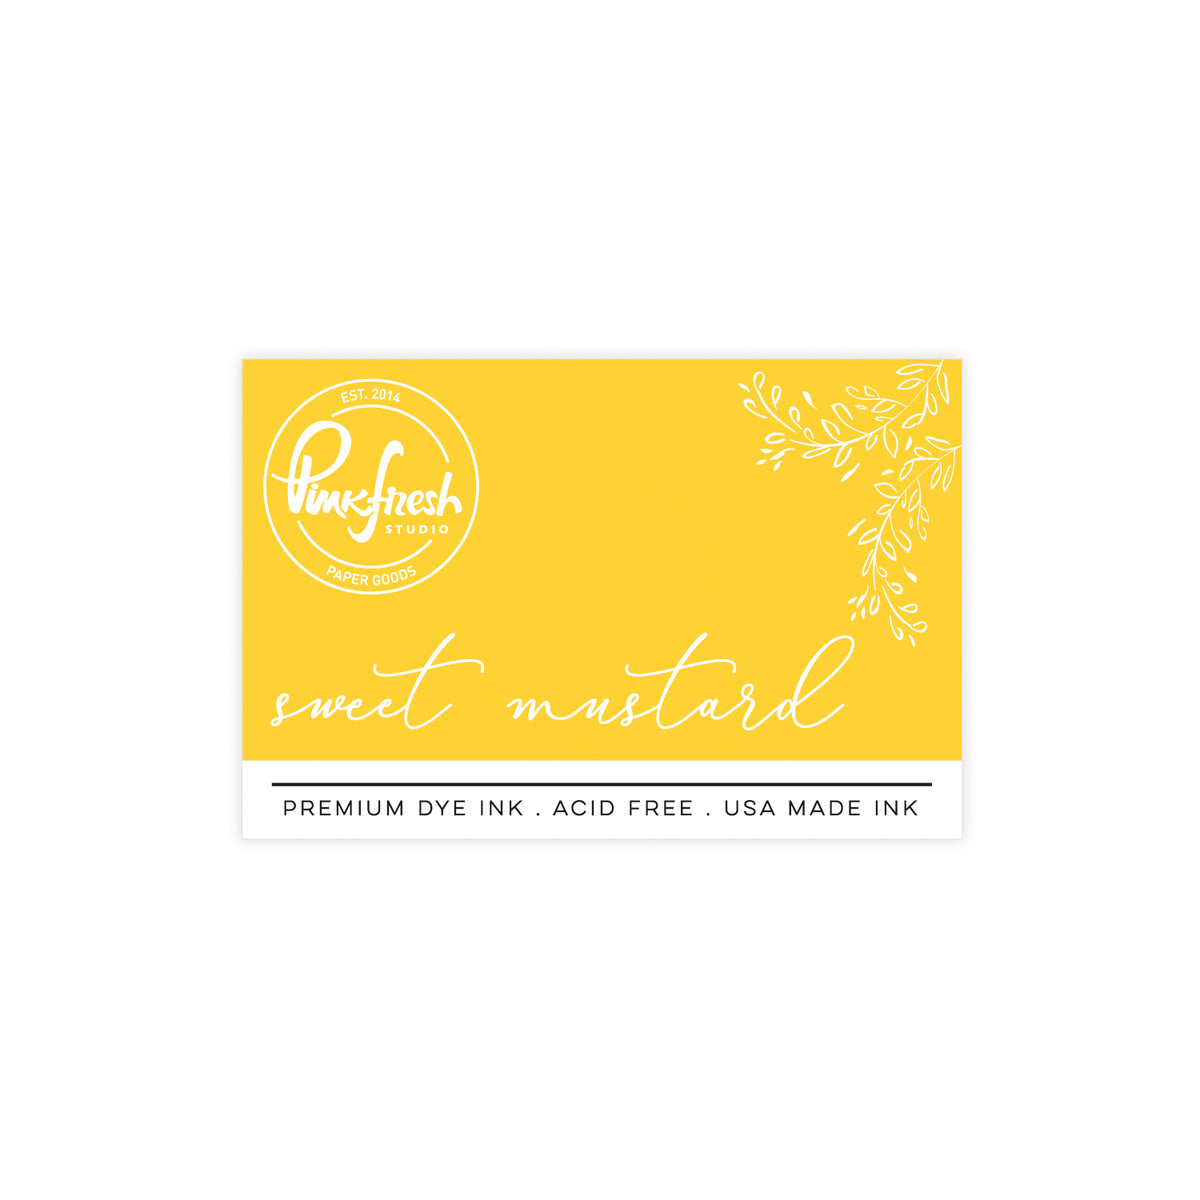
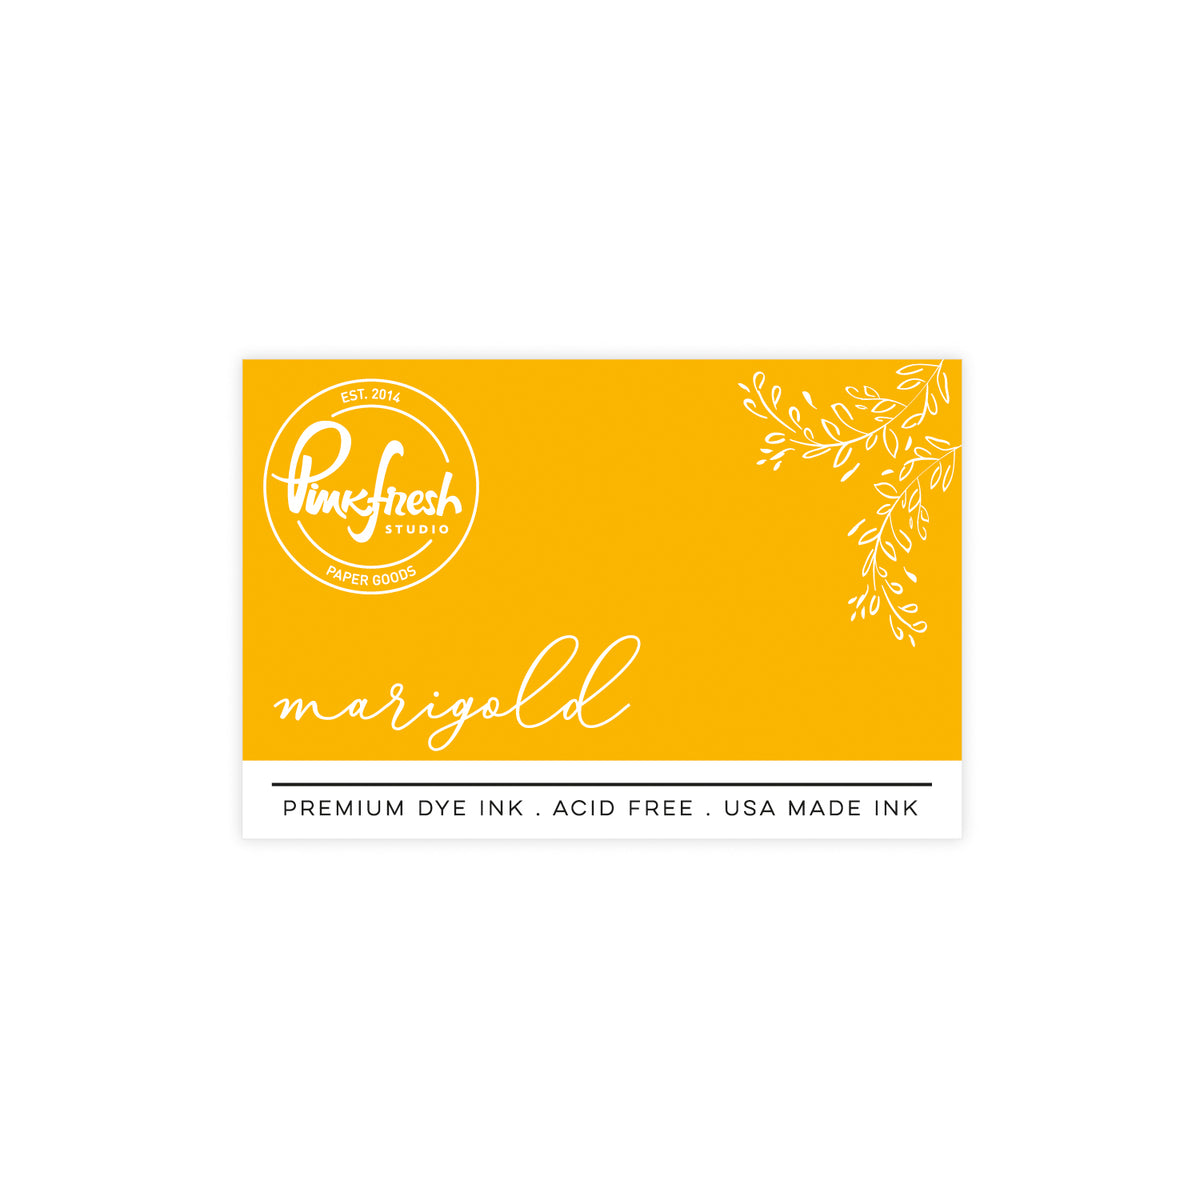
- Stencil 2: Sweet Mustard, Marigold, Clementine
- Stencil 3: Sunshine, Sweet Mustard
- Stencil 4: Fresh Pear, Grassy Knoll, Olive
- Stencil 5: Coral Reef, Passion Fruit, Candy Apple
- Stencil 6: Warm Buff, Doe, Grassy Knoll
- Stencil 7: Lemon Whip, Sunshine, Sweet Mustard, Marigold
- Stencil 8: Coral Reef, Passion Fruit, Fresh Pear, Grassy Knoll
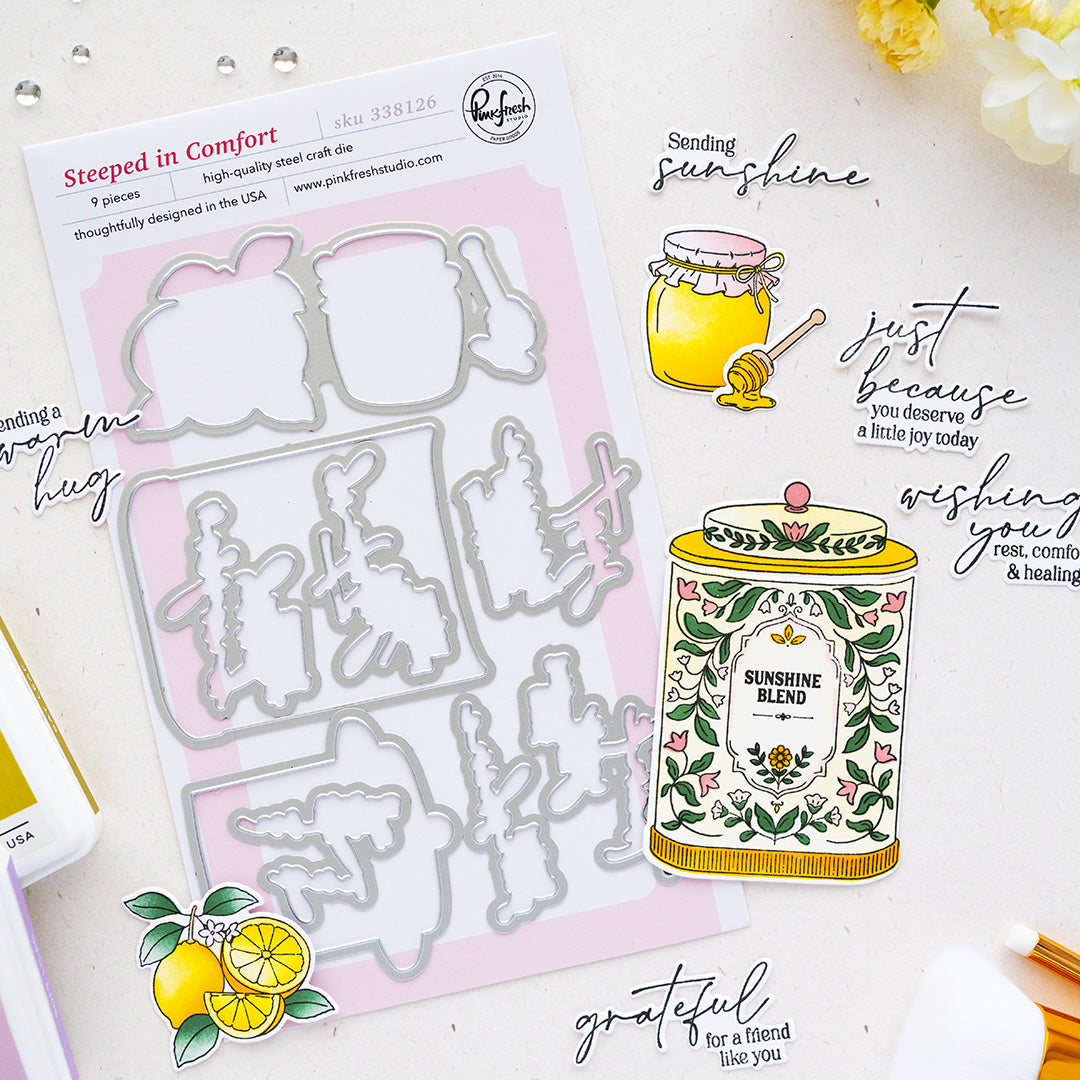
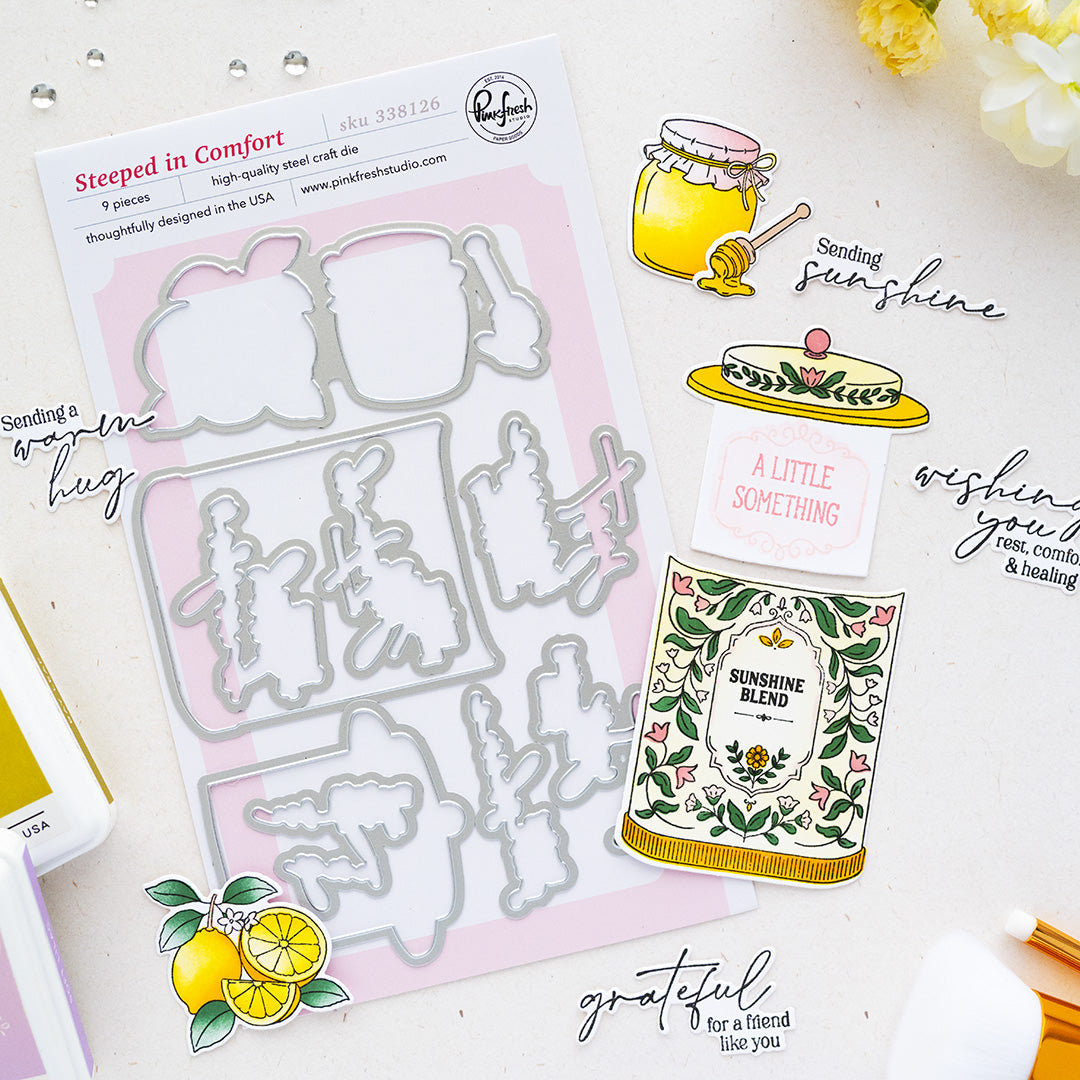
- Die cut the canister, lid, lemon cluster, honey jar, honey dipper, and sentiments with the coordinating Steeped in Comfort dies. Die cut an additional blank or two and adhere them behind the colored pieces for added stability and dimension.
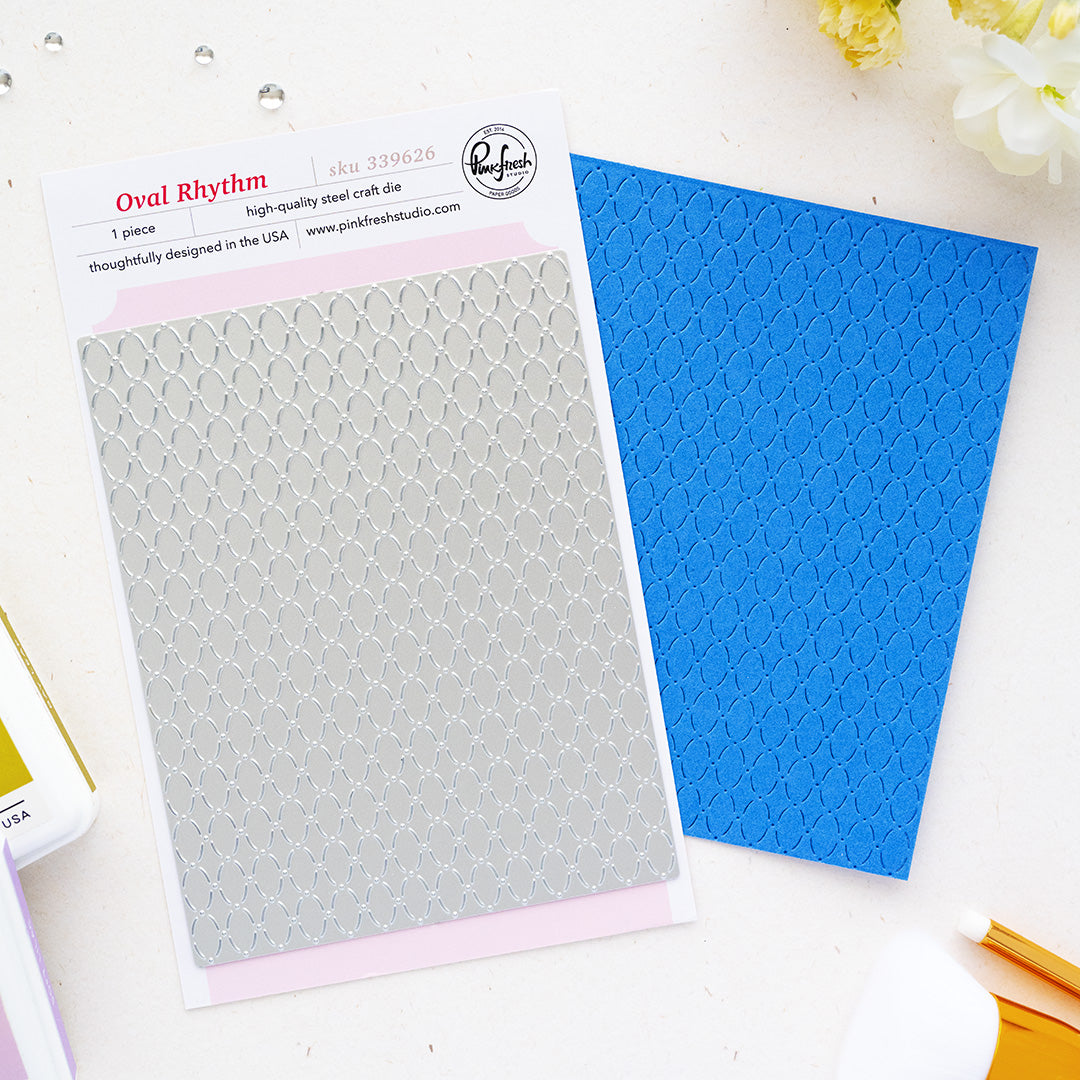
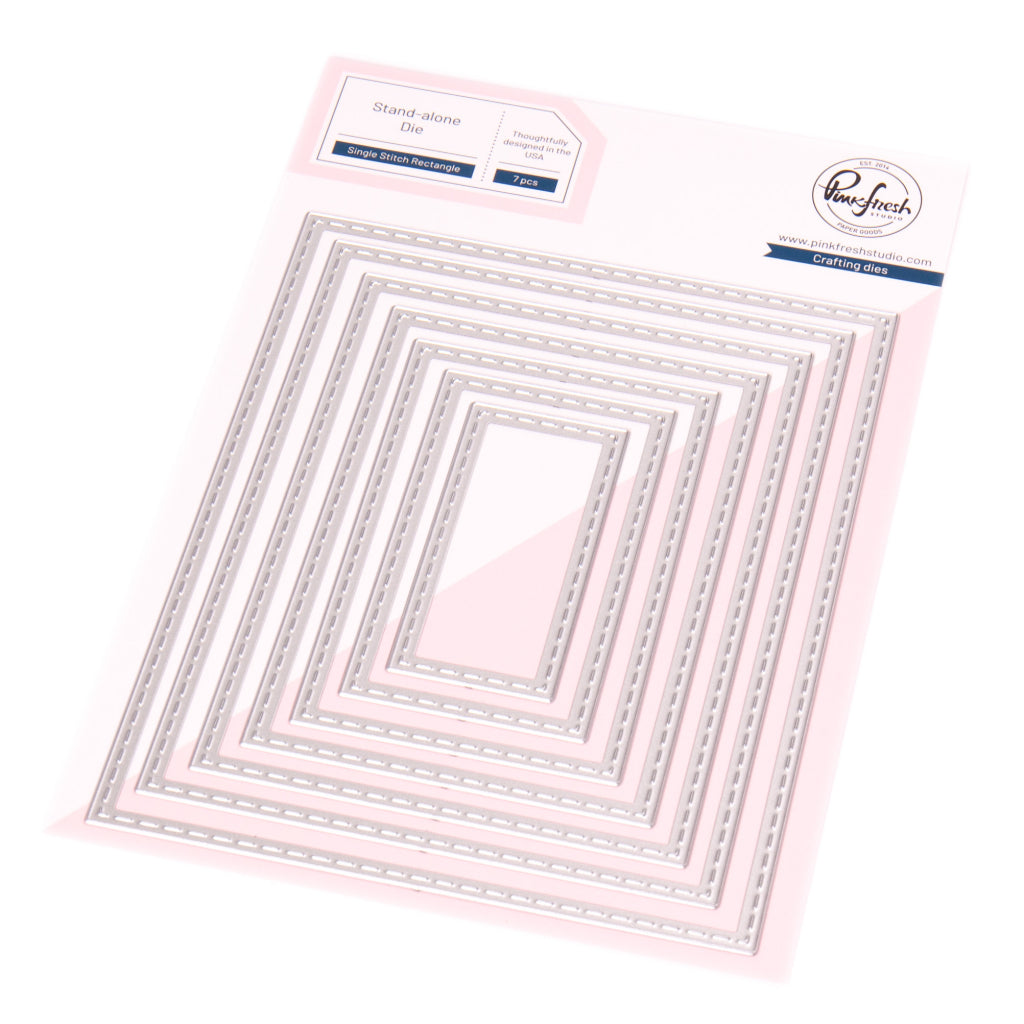
- Die cut a white cardstock panel with the Oval Rhythm Coverplate Die. Then use the second-largest Single Stitch Rectangle Die to trim the coverplate panel, creating the textured background for the card.
- Temporarily position the tea canister and its lid on the textured panel to determine where the interactive mechanism needs to sit. The opening must be centered behind the canister and positioned low enough that the lid has room to travel upward when the tab is pulled.
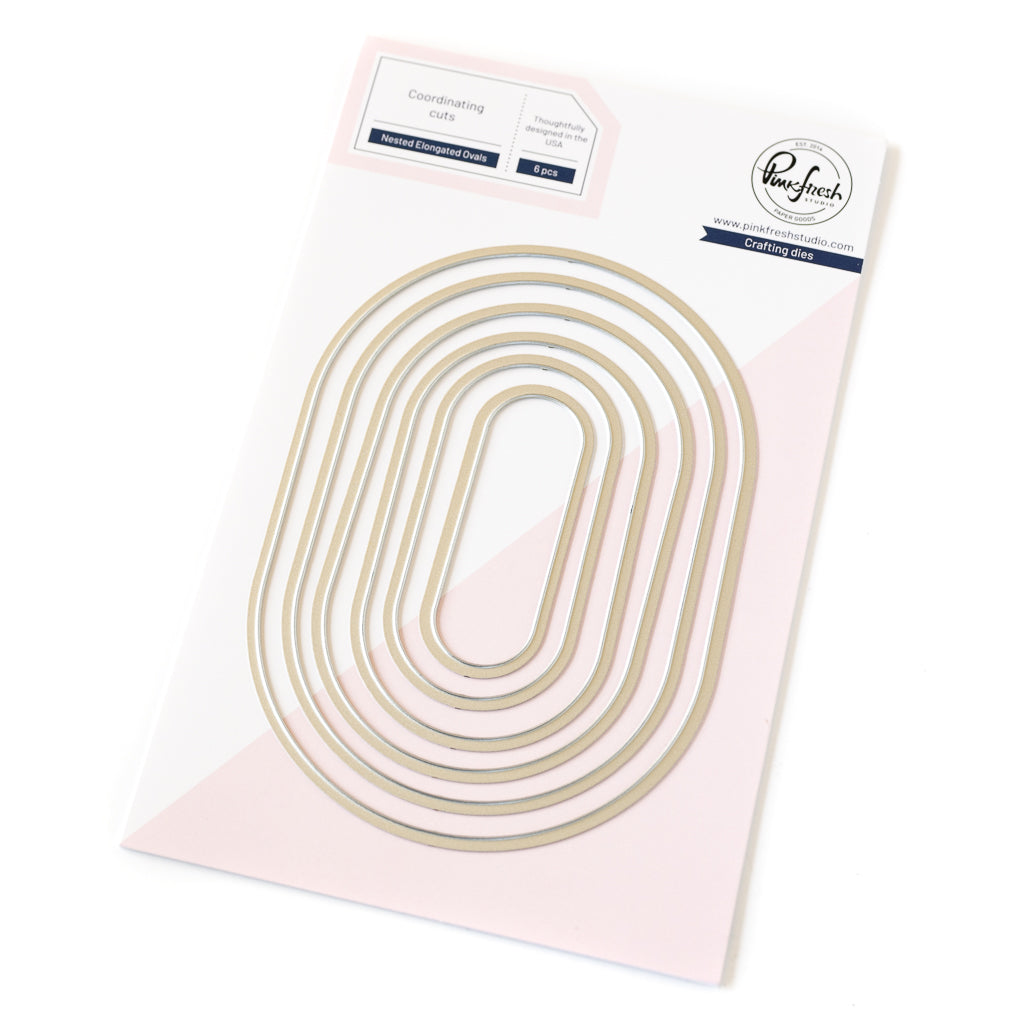
- Use the smallest Nested Elongated Oval Die to cut a vertical opening through the textured panel behind the canister.
- Add approximately 1/4" wide, 2 mm thick foam tape vertically along both sides on the back of the tea canister. Add another piece across the bottom to act as a stopper for the lid, plus additional foam tape near the bottom as needed to keep the canister evenly supported. Leave the center open so the lid's die-cut extension can slide freely inside the channel.
- Position the canister over the opening in the textured panel, making sure it is centered and straight, then adhere it securely. Insert the lid's die-cut extension through the opening from the front so it slides into the foam-tape channel behind the canister. Test the lid to make sure it moves freely up and down before continuing.
- Cut a strip of white cardstock slightly narrower than 1 1/4". Place the second-smallest Nested Elongated Oval Die over one end, centering the cardstock strip inside the die's cutting edges. Use partial die cutting by placing the top cutting plate only over the rounded end of the die. Run it partially through the die-cutting machine, then reverse it as soon as the rounded end has cut. This creates a long pull tab with a perfectly rounded top.
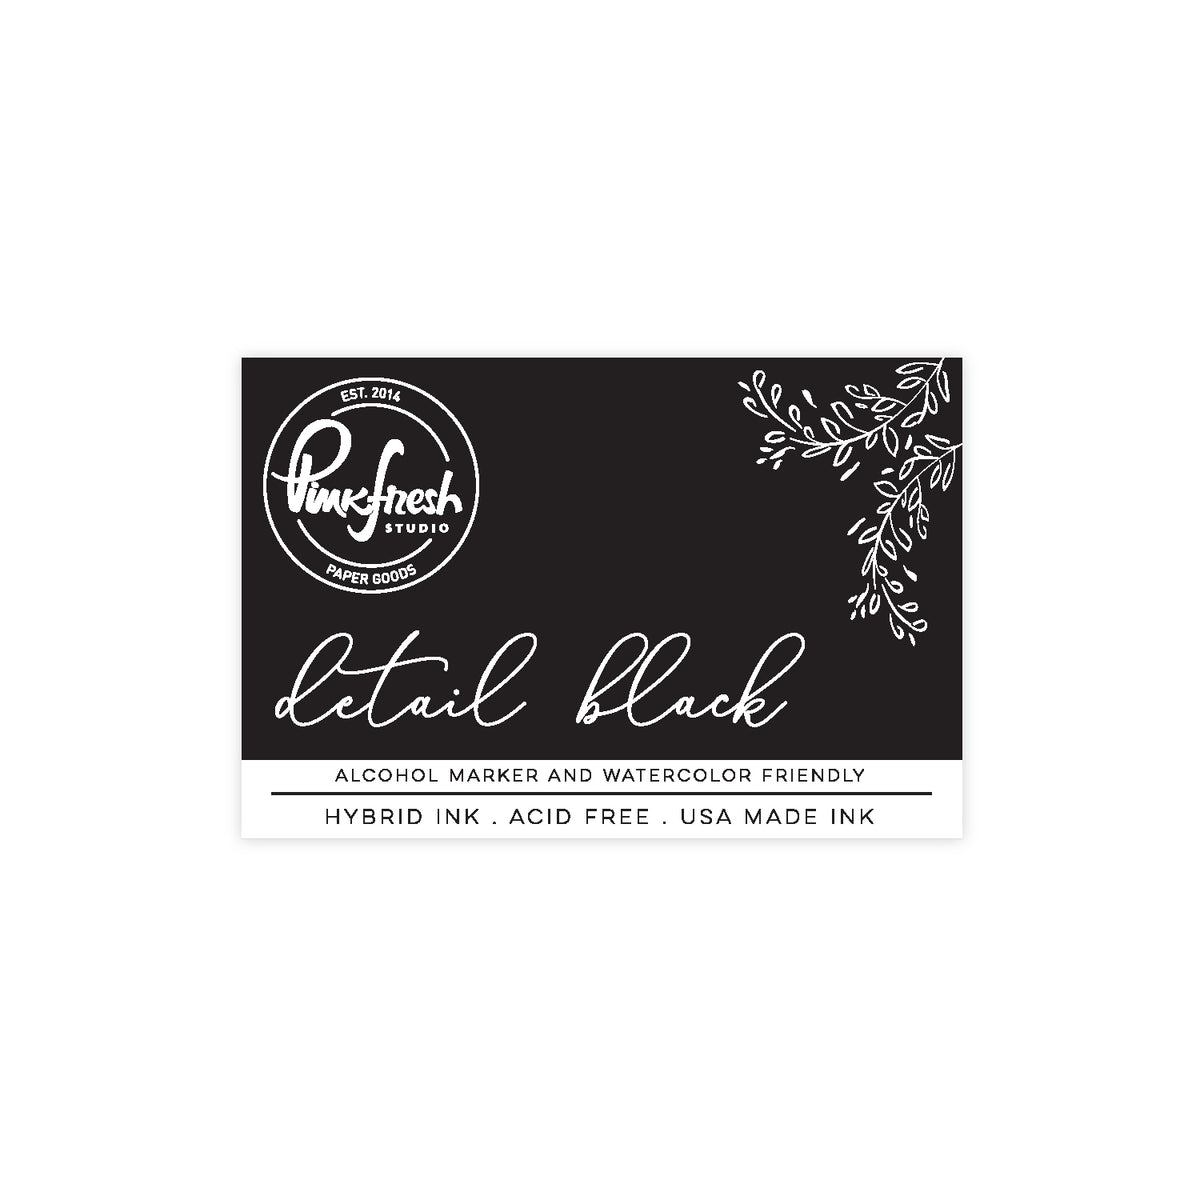
- Stamp "PULL HERE" near the rounded end of the tab using Detail Black ink. Stamp two or three times as needed for a crisp, solid impression.
- Slide the pull tab through the opening from the back of the panel and determine its finished length. With the canister lid completely lowered, allow the rounded "PULL HERE" end to extend slightly above the top of the panel. Mark the excess at the bottom and trim the cardstock strip straight across.
- Temporarily secure the lid from the front so it cannot move while connecting the mechanism. On the back, center the pull tab behind the opening. Add one small strip of foam tape at the very bottom of the lid's die-cut extension and adhere it to the pull tab. Be careful that the foam tape does not extend beyond the sides of the opening or adhere to the stopper below it.
- Remove the temporary tape and test the mechanism. Pulling the rounded tab should now raise the canister lid and reveal the hidden "Steeped in Thanks" message; pushing the tab back down should return the lid neatly to the top of the canister.
- To keep the pull tab traveling straight, add thicker foam tape vertically along both sides of the pull tab on the back of the textured panel, creating a second guide channel. Add additional foam tape around the panel as needed so the entire surface is evenly supported, but keep all adhesive away from the moving tab and its channel.
- Remove the foam tape liners and adhere the completed interactive panel to a white A2 card base. Test the pull mechanism again to make sure the tab moves smoothly after the panel is attached.
- Finish the card by arranging the lemon cluster along the lower left of the canister and the honey jar along the lower right. Add the honey dipper over the jar using liquid adhesive. The die-cut elements can be stacked with additional blank die cuts for a sturdy, chipboard-like finish and added dimension.
- Use "Gratitude Blend" on the front of the canister and "Steeped in Thanks" for the hidden message revealed when the tab is pulled. Finish the inside of the card with the "Thank you for everything you do" sentiment.
Seems like a lot of instructions to follow? No problem! Follow the 2 YouTube videos below to see the pieces being stenciled, and then another one showing the process of assembling the interactive mechanics.


The best interactive cards have a little element of surprise, and this design delivers exactly that! The Steeped in Comfort suite already includes the clever pull-out lid, but adding a simple slider mechanism takes it one step further and turns the hidden sentiment into part of the card experience.

The bright lemons, honey, and warm color palette make this such a cheerful way to say thank you, while the Oval Rhythm Coverplate Die adds just enough texture without competing with the detailed focal point. Best of all, the same pull-tab construction can be adapted for other interactive designs whenever you want to hide a message and give the recipient something fun to discover.
Recommended Products




















































Leave a comment
All comments are moderated before being published.
This site is protected by hCaptcha and the hCaptcha Privacy Policy and Terms of Service apply.